Project "M5 - Flat Eric Edition"
 01-09-2013, 03:20 PM
#51
Contributors
Join Date: May 2009
Location: SoCal
Posts: 10,496
Likes: 0
Received 2 Likes
on
2 Posts
My Ride: 2008 550I LOADED, all options except HUD and NV
LOL, Antti, I thought you said you didn't want to update this thread and the FB posts, what happened? Are you letting Eric update Facebook?
 01-09-2013, 10:14 PM
#53
Contributors
Thread Starter
Join Date: Apr 2007
Location: Kajaani, Finland
Posts: 5,851
Likes: 0
Received 3 Likes
on
3 Posts
My Ride: Bmw 530d 2004
However, then I realized that my FB site can be viewed even without having a profile in FB.
Hehehe! If I (or we) ever happen to come to NY, at least I know few people that I must meet
 .
.- Antti -

 .
.

 !
!
 01-13-2013, 08:08 AM
#59
Contributors
Thread Starter
Join Date: Apr 2007
Location: Kajaani, Finland
Posts: 5,851
Likes: 0
Received 3 Likes
on
3 Posts
My Ride: Bmw 530d 2004
Jan 13, 2013
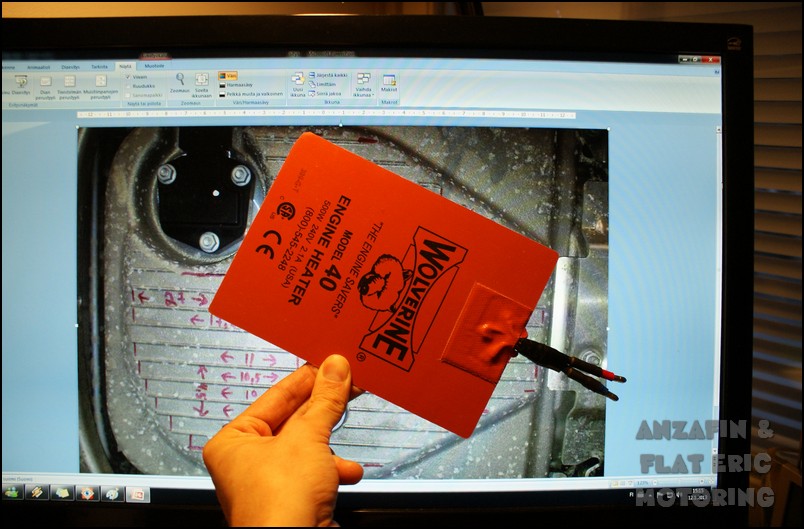
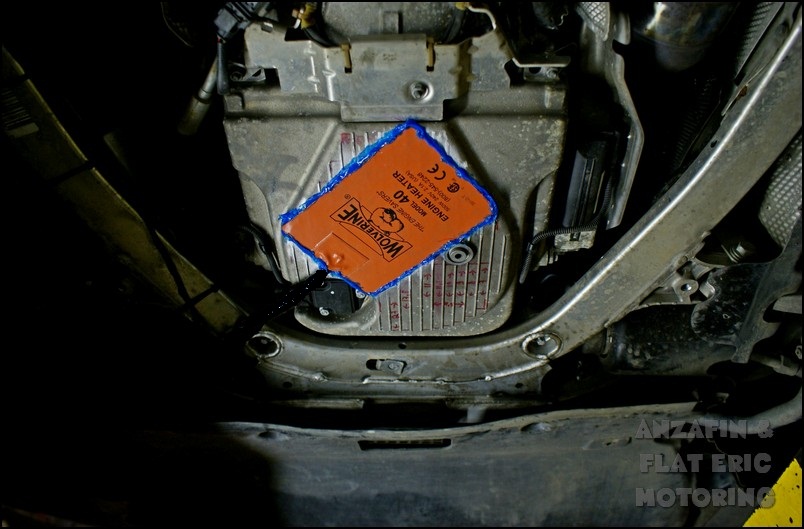
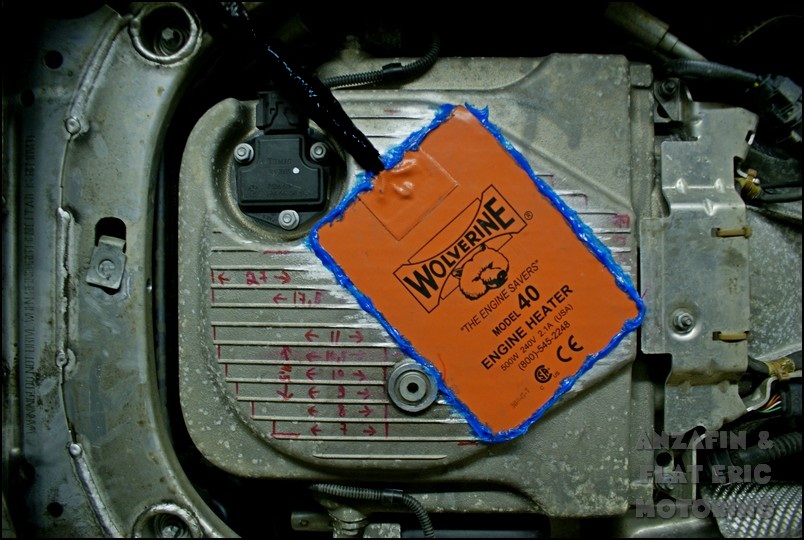
Installing the engine oil heater pad.
I did some measuring on computer screen beforehand about how to orient the heater on the oil pan. I had measured the oil pan earlier at the winter and wrote the measures on the pan. So it was easy to zoom the picture into a real life size.
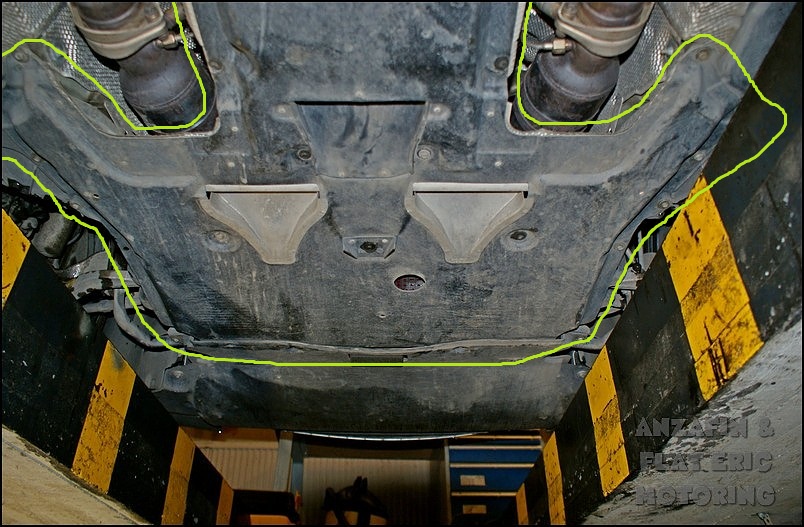
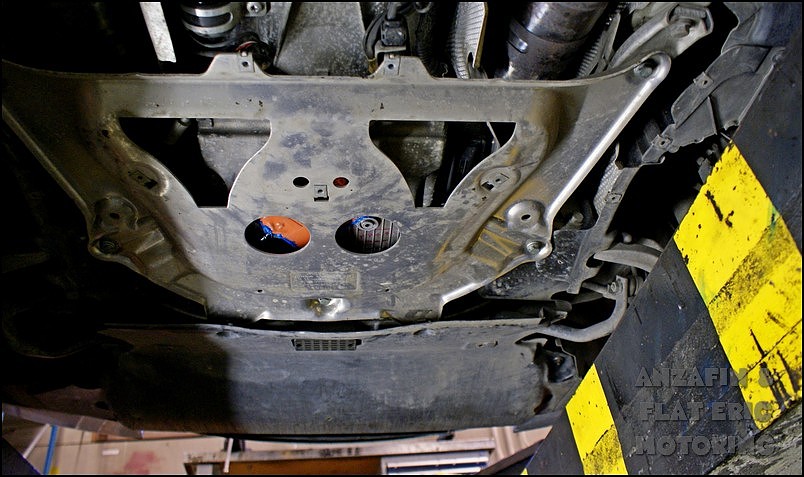
Then, at the club garage. At first I had to remove the large plastic cover. There was 19 screws attaching it if I remember it right .
.
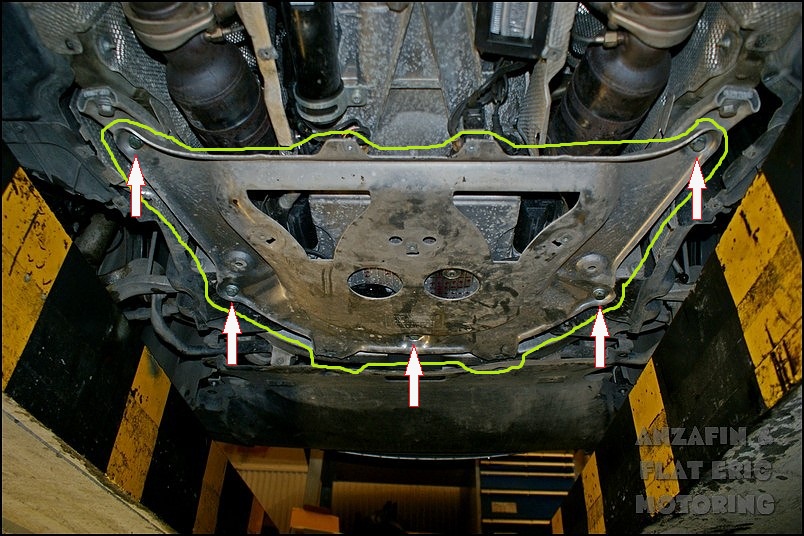
Next I removed the reinforcement plate to expose the oil pan.
The sweatiest part was grinding and sanding down the low fins on the bottom of the oil pan. Fortunately I was heavily equipped.
The pad installed. It was mounted with a strong 3M™ VHB™ adhesive. The blue stuff is only silicone which was used to seal the edges. Again, not the prettiest install, but works lol!
Putting things back...
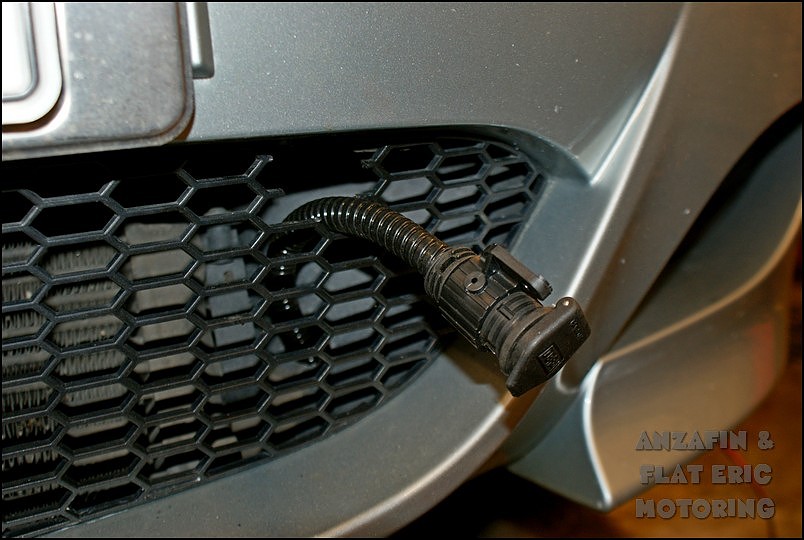
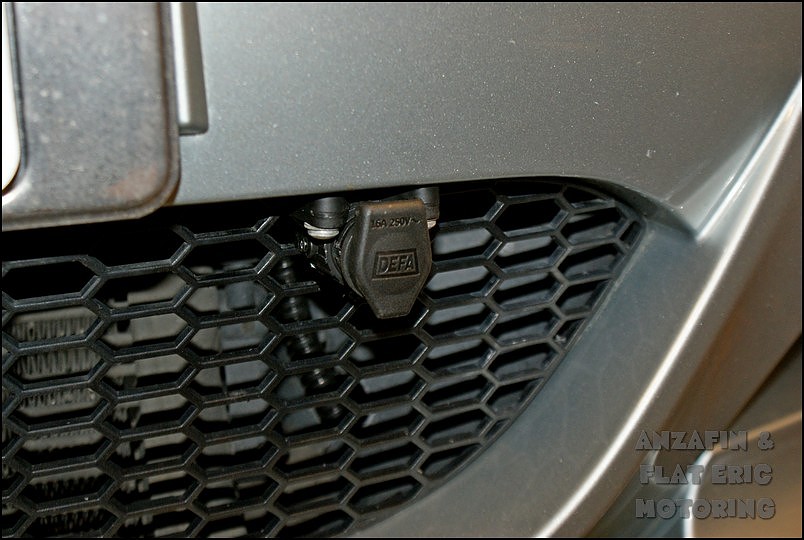
Luring the DEFA cable to the front mask was a bit annoying haha!
The end.
- Antti -
Installing the engine oil heater pad.
I did some measuring on computer screen beforehand about how to orient the heater on the oil pan. I had measured the oil pan earlier at the winter and wrote the measures on the pan. So it was easy to zoom the picture into a real life size.
Then, at the club garage. At first I had to remove the large plastic cover. There was 19 screws attaching it if I remember it right
.Next I removed the reinforcement plate to expose the oil pan.
The sweatiest part was grinding and sanding down the low fins on the bottom of the oil pan. Fortunately I was heavily equipped.
The pad installed. It was mounted with a strong 3M™ VHB™ adhesive. The blue stuff is only silicone which was used to seal the edges. Again, not the prettiest install, but works lol!
Putting things back...
Luring the DEFA cable to the front mask was a bit annoying haha!
The end.
- Antti -
Last edited by Anzafin; 01-13-2013 at 08:55 AM.
01-13-2013, 05:16 PM
#60
Members
Senior Members
Join Date: Apr 2012
Location: MA/CT
Posts: 571
Likes: 0
Received 0 Likes
on
0 Posts
My Ride: 2005 525i 6MT
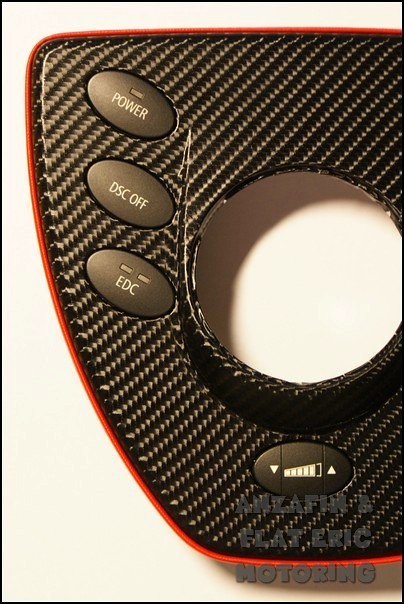
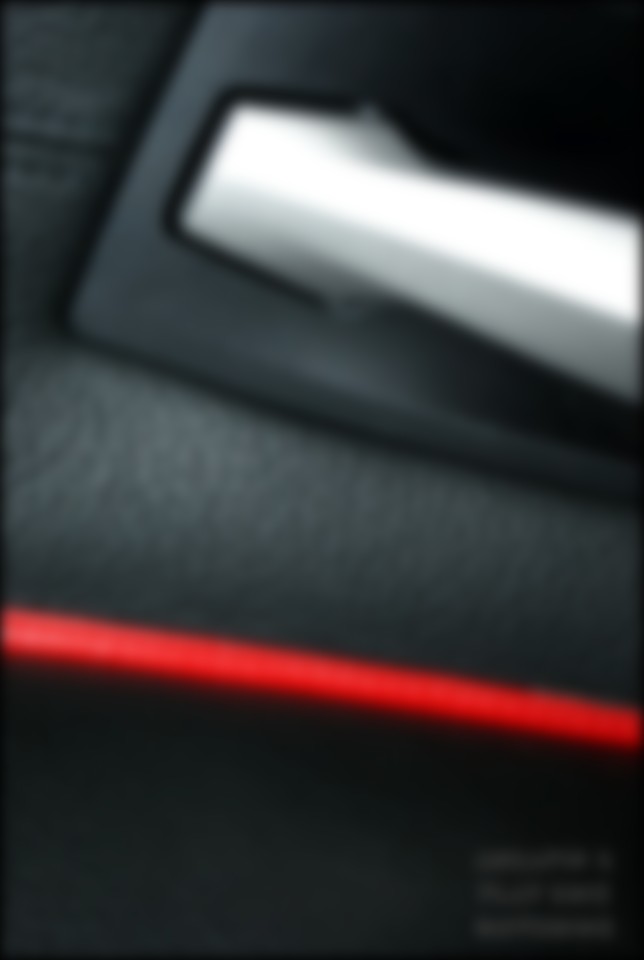
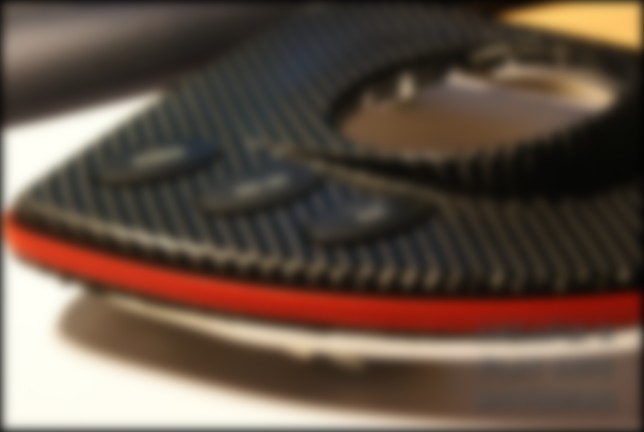
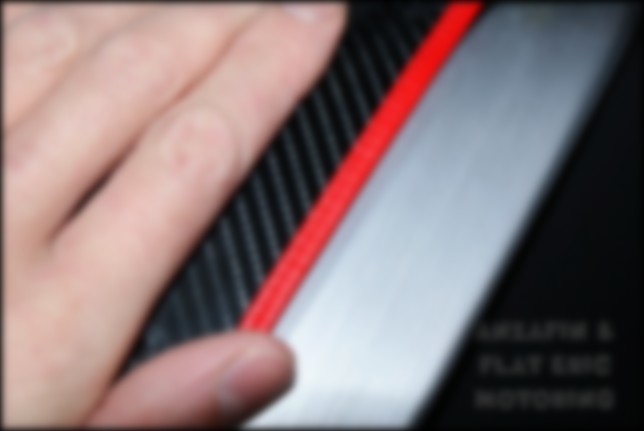
Can't wait to see that red lining on the trim! it looks great in the teaser shots hahaha.
Can i ask what you used to do the red trim? Im officially following along on fb now to!
Can i ask what you used to do the red trim? Im officially following along on fb now to!