
HELP! Rear window rubber trim replacement!
 08-17-2009, 08:11 AM
#31
Members
Join Date: Jan 2009
Location: Fontana, Ca
Posts: 65
Likes: 0
Received 0 Likes
on
0 Posts
One more useful hint; when installing the new either rear or front trim, use a bottle with soapy solution (water+car soap) in the area where the trim goes; this makes the installation a lot easier and quicker.  GL
GL
GL
 08-17-2009, 08:59 AM
#32
Contributors
Join Date: Oct 2007
Location: Thousand Oaks, California
Posts: 11,084
Likes: 0
Received 0 Likes
on
0 Posts
My Ride: 2008 550i Jet Black on Black Leather, SAT with Paddles, Logic 7, Comfort Seats, NAV, Sport Package, PDC, Xenons, Sirius, Trinity 12W LED Angel Eyes, RPi GT Exhaust, M rear spoiler, ACS Roof Spoiler, Tinted Tail Lights, Bimmian Carbon Fiber Pillar Trim, Bimmian Shadow 550i emblem, RPi Scoop, E60 Forum Cling, Mtec bulbs in fog lights, Mtec 2W LED for License Plate Light Bulbs, K&N Filter, Bimmian LED Smoked Side Markers, Blackout roundels, Carbon Fiber Kidney Grills.
Retired Rides - 1989 325i convertible, 1995 M3, 2002 X5, 2005 545i, 2008 X5 (Lemon)
I just noticed the trim around my rear window looks like crap, and will need replacement too! 
08-26-2009, 10:02 AM
#33
Members

Join Date: Aug 2009
Posts: 1
Likes: 0
Received 0 Likes
on
0 Posts
Hello, the problem with the rubber used on the BMW E60 windshield and rear window is that it is biodegradable so exposure to the elements will cause premature failure. Not to worry, there is an easy and inexpensive fix. Bow will charge you 200 to replace the front top strip part number 408b02 (Cover, windshield) and around 400 for the rear 3/4 trim part number 405c01 (Rear window cover). Both of these parts can be purchased for less that ninety dollars from BMW and can be installed in less than an hour. Once you have the parts, you will need to go to Harbor and Freight and purchase a interior trim tool set, under six dollars. Wait until rubber on vehicle is cool, if it is hot it will be gummy and make a mess. To remove the rubber use on the trim tolls you purchased and pry a piece of the rubber up at one end so you can pull it out, remember you MUST PULL SLOW and STEADY. Once old rubber is removed use window clearer and a shop vac to remove old residue and any pieces of old rubber. Start by tucking a small portion of the new rubber under the existing trim then begin inserting the new trim into the track. Only work in 2 to 3 inch segments. First press the new rubber in the track by hand then use one of the trim tools you push the rubber into place. when you have about ten inches to go on the front piece tuck the open end under the existing time and work the rubber in reverse. REMEMBER THERE IS NO Adhesive used. For the rear trim you will want to start at one of the top corners and work rubber into the track using the wedge shaped tool. Once the top is inserted then work the sides remember before you reach the bottom you must tuck new rubber under the existing trim. Important to remember watch the corner so that it is firmly in place before you insert the rubber down the side. failure to o so will result in a gap. If you are unsure about performing this procedure on your own I will do it for $250 parts included. I live in Ventura CA. I hope this helps. Regards.
01-02-2010, 01:27 PM
#34
Contributors
Join Date: Sep 2007
Location: Charlotte, NC
Posts: 256
Likes: 0
Received 0 Likes
on
0 Posts
My Ride: 525
Model Year: 2004
Just replaced my front and rear trim. Got the part from Pelican as described for less than $80. Front and rear took a total of about 1 hour. My front windshield trim had degraded to the point that it would just flake off with the touch of a finger. Rear trim was disintegrating, but not as fast. This is definitley one of the easier DIY jobs, especially if your comfortable working with any kind of weather stripping. Knowing how easy this was, I never would have waited so long to repair. The old pieces really looked bad and had been bothering me for a year.
Also, quick note.....when replacing the front trim, I did not need to remove the side pieces. You'll need to be careful removing the old piece, however the new one was the perfect length to just barely fit under the side trim without issue.
Also, quick note.....when replacing the front trim, I did not need to remove the side pieces. You'll need to be careful removing the old piece, however the new one was the perfect length to just barely fit under the side trim without issue.
03-09-2010, 08:03 AM
#35
Senior Members
Join Date: Nov 2008
Location: Houston, TX
Posts: 670
Likes: 0
Received 0 Likes
on
0 Posts
My Ride: 2006 530i, Jet Black, Tan, Premium, Steptronic
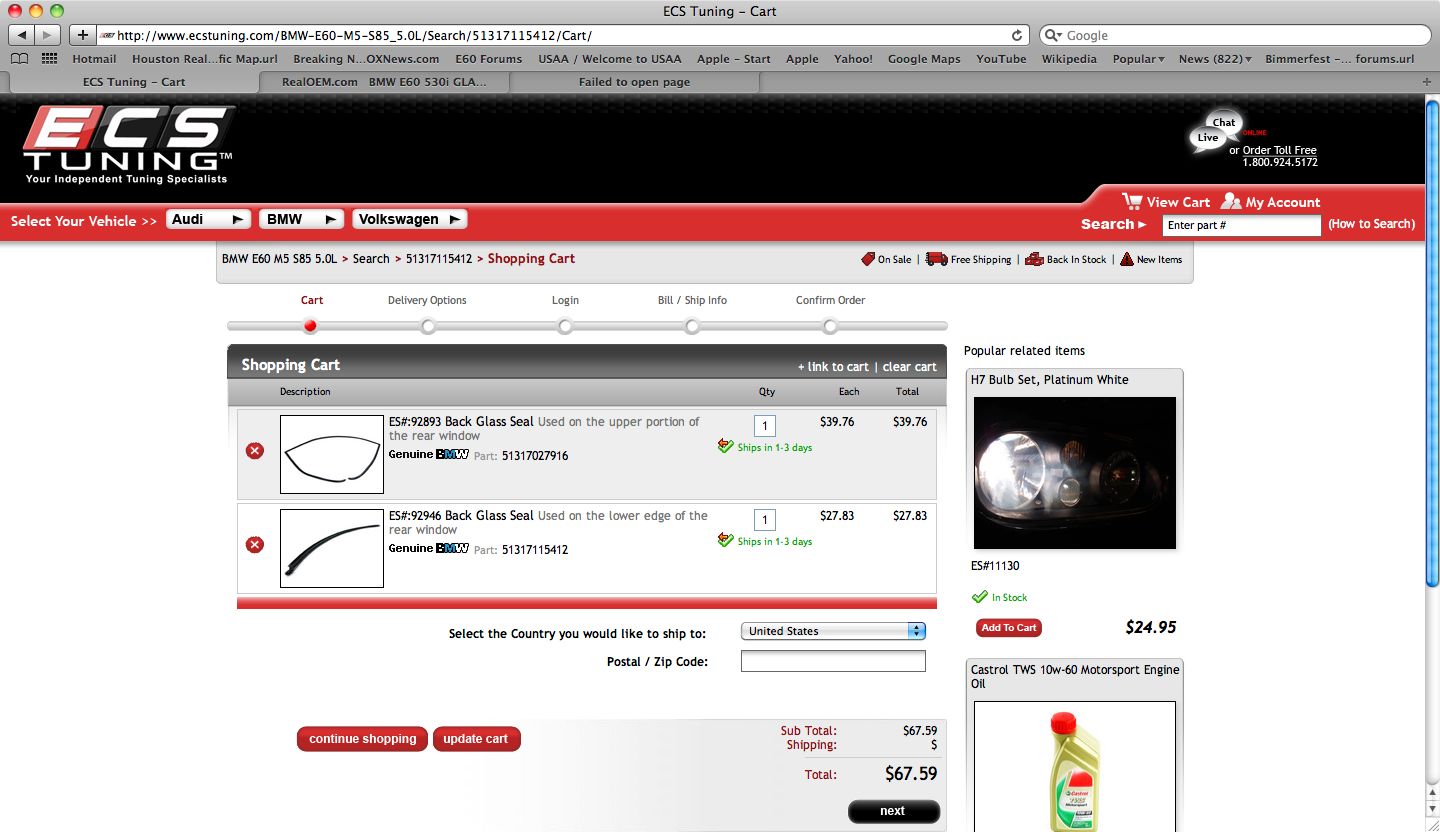
I'm planning on doing this repair as well. Can one of you confirm that you need two seals for the rear window?
Part# 51317027916
Part# 51317115412
Thanks in advance for the help.

Part# 51317027916
Part# 51317115412
Thanks in advance for the help.
 03-11-2010, 02:16 PM
#37
Members
Thread Starter
I'm planning on doing this repair as well. Can one of you confirm that you need two seals for the rear window?
Part# 51317027916
Part# 51317115412
Thanks in advance for the help.
Attachment 100785
Part# 51317027916
Part# 51317115412
Thanks in advance for the help.
Attachment 100785
That one simply slides/clips on and off and can be accessed best by opening the trunk.
 I love this forum. I always thought I had to have the rear glass removed.
11-11-2010, 02:26 PM
I love this forum. I always thought I had to have the rear glass removed.
11-11-2010, 02:26 PM
#39
Members

Join Date: Jan 2009
Location: Hawaii
Posts: 75
Likes: 0
Received 0 Likes
on
0 Posts
My Ride: 2006 BMW 550i CPO bought in Jan 2009
Thanks to all. I just replaced the front and rear on my 550. The front was much harder than the rear, it was real hard to take off. Putting it on was not too bad. I did use some soapy water, which made it much easier. The rear was way easy. Came off quick and went on quick. Love this forum!