
Replacement Headlight AND Remove Headlamps DIY


Thread Starter
Banned
Joined: Jun 2008
Posts: 7,983
Likes: 1
From: Queens, NY
My Ride: A Car
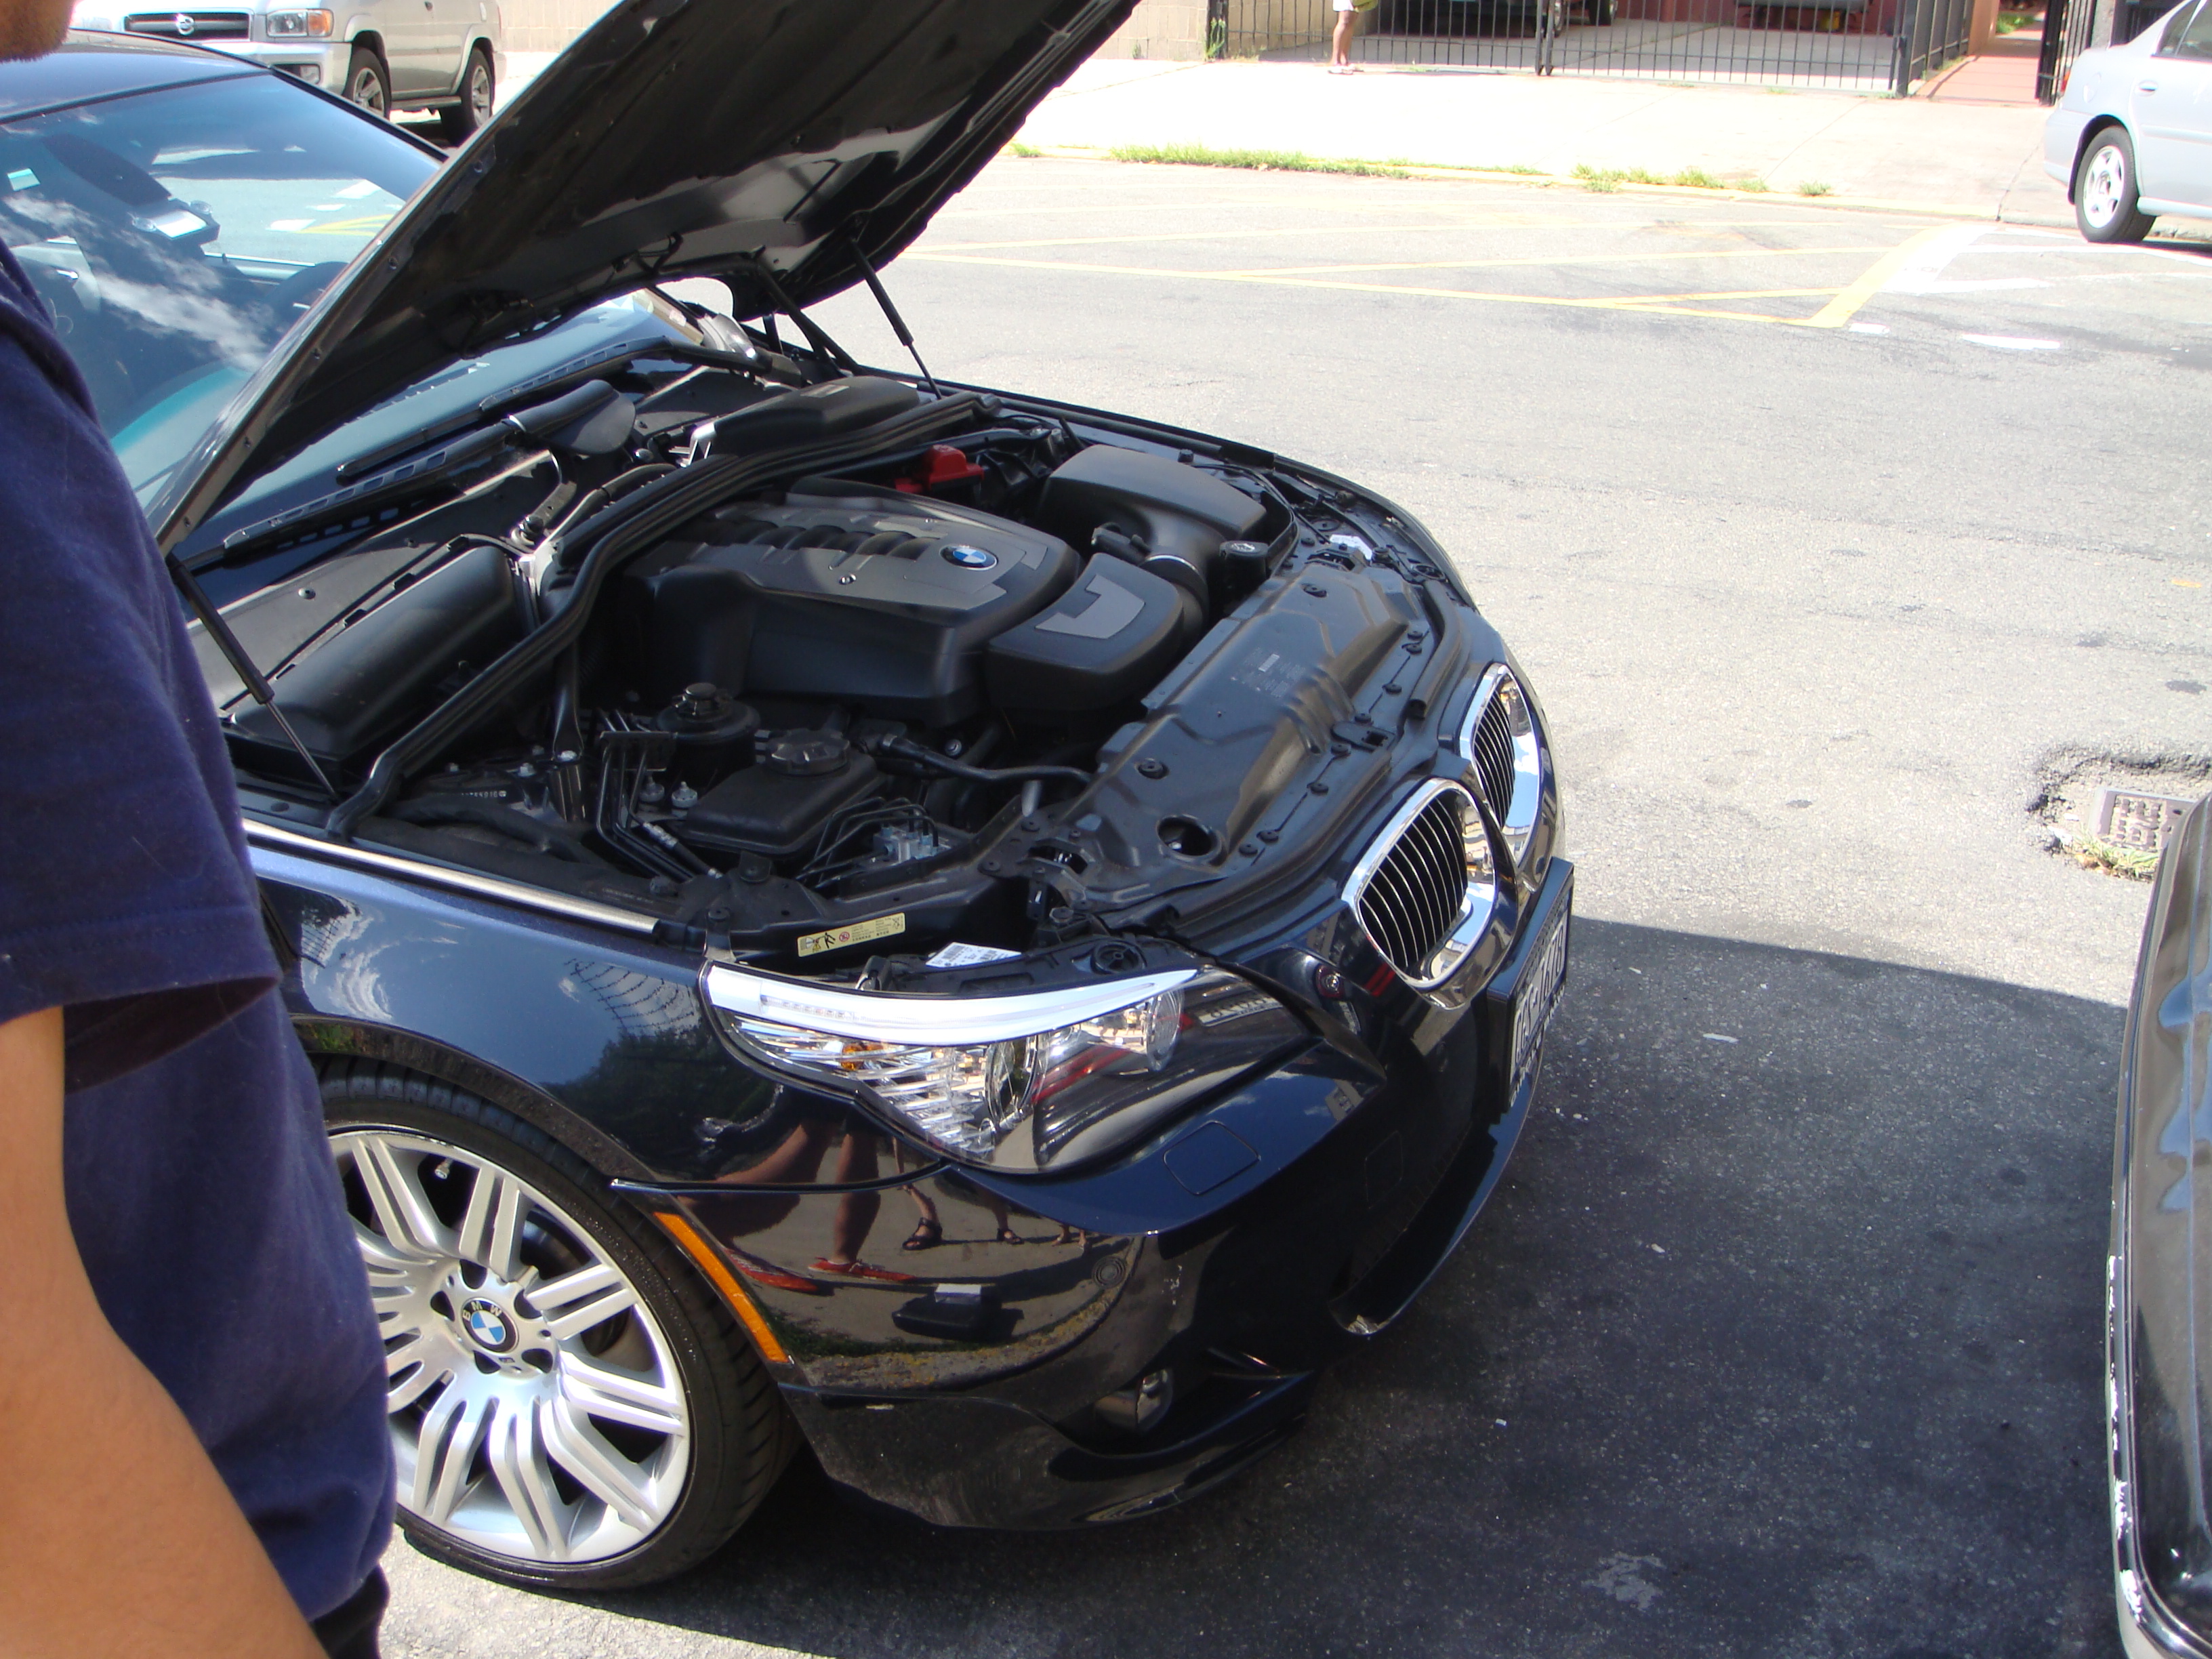
This a DIY for replacing headlights in the e60 and/or removing the headlamps. It's a DIY on one side. It's the same exact procedure for the other side. I'll use Scott's (sdg1871's) pictures for now until I can find my cable for my camera. It literally takes me about 2 minutes to remove BOTH headlights from the car. Procedure works for LCI and pre-LCI e60s. If the stealership tells u it takes them 2 hours to install headlights, then tell them to EFF off because u dont have to remove your bumper. You can also use this method to install HID fogs without going into the fender well while installing headlights! 
Pop the hood open
Lift rubber piece UP with your finger on one side
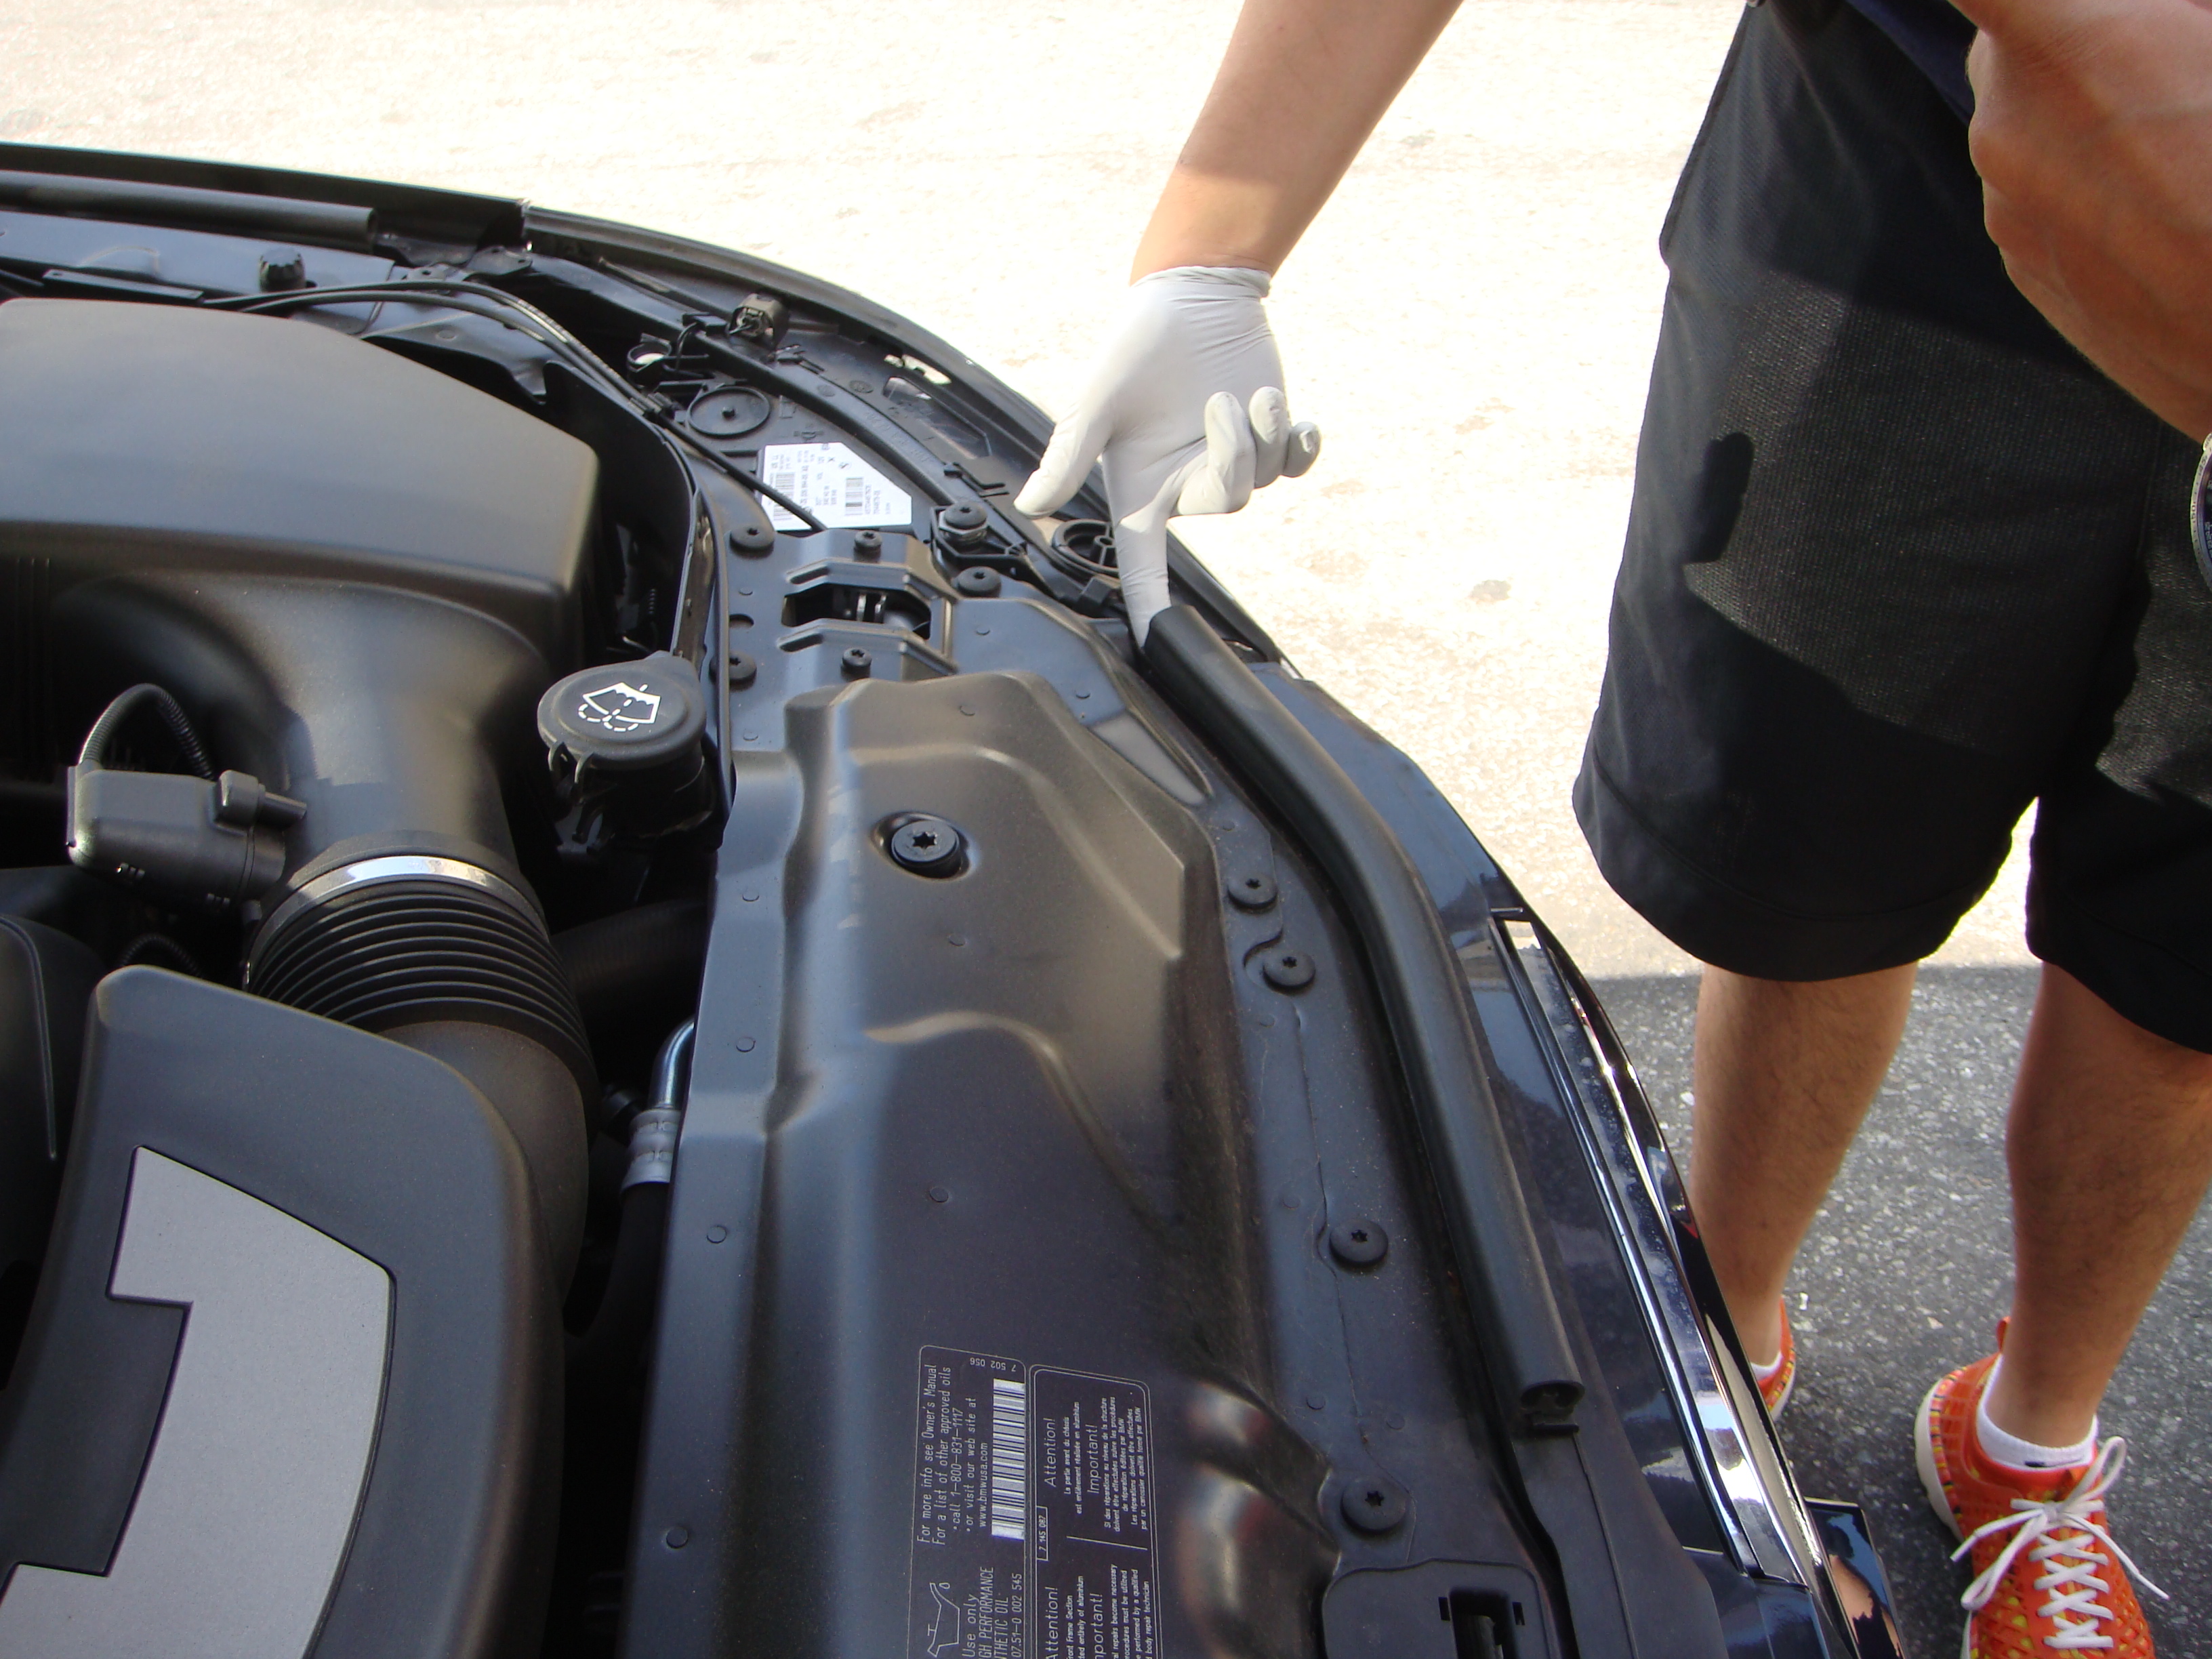
Rubber piece removed
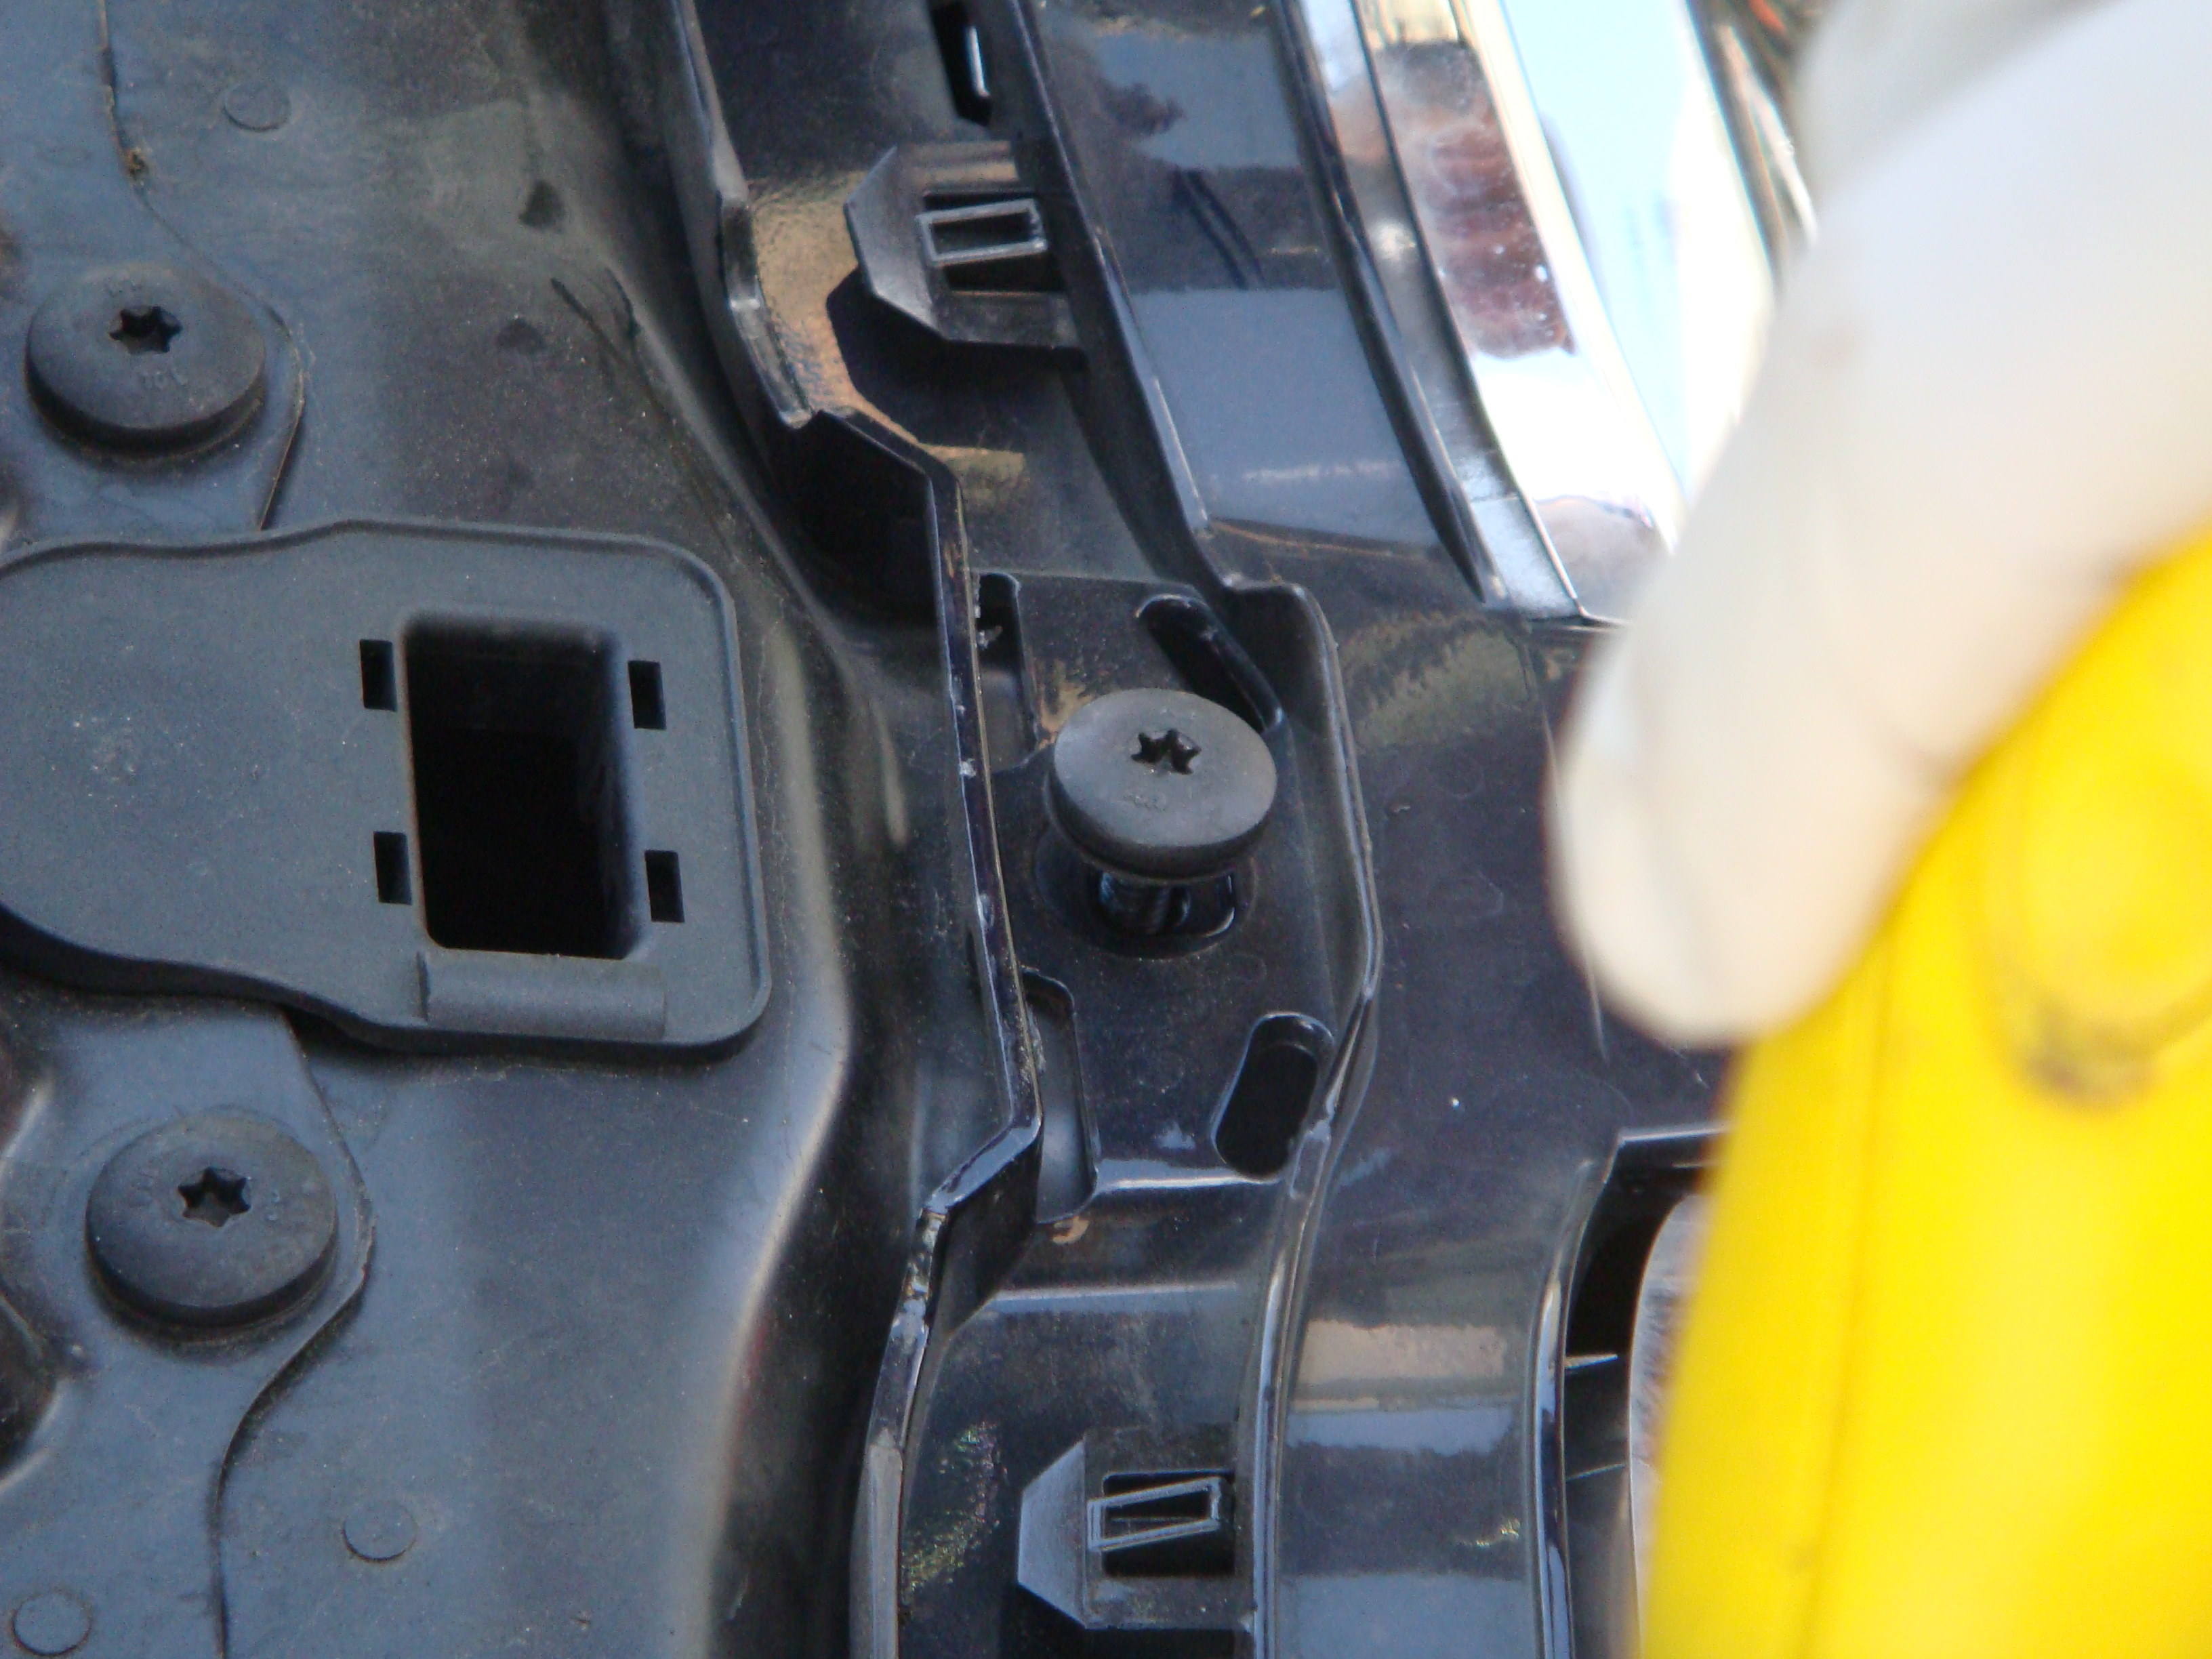
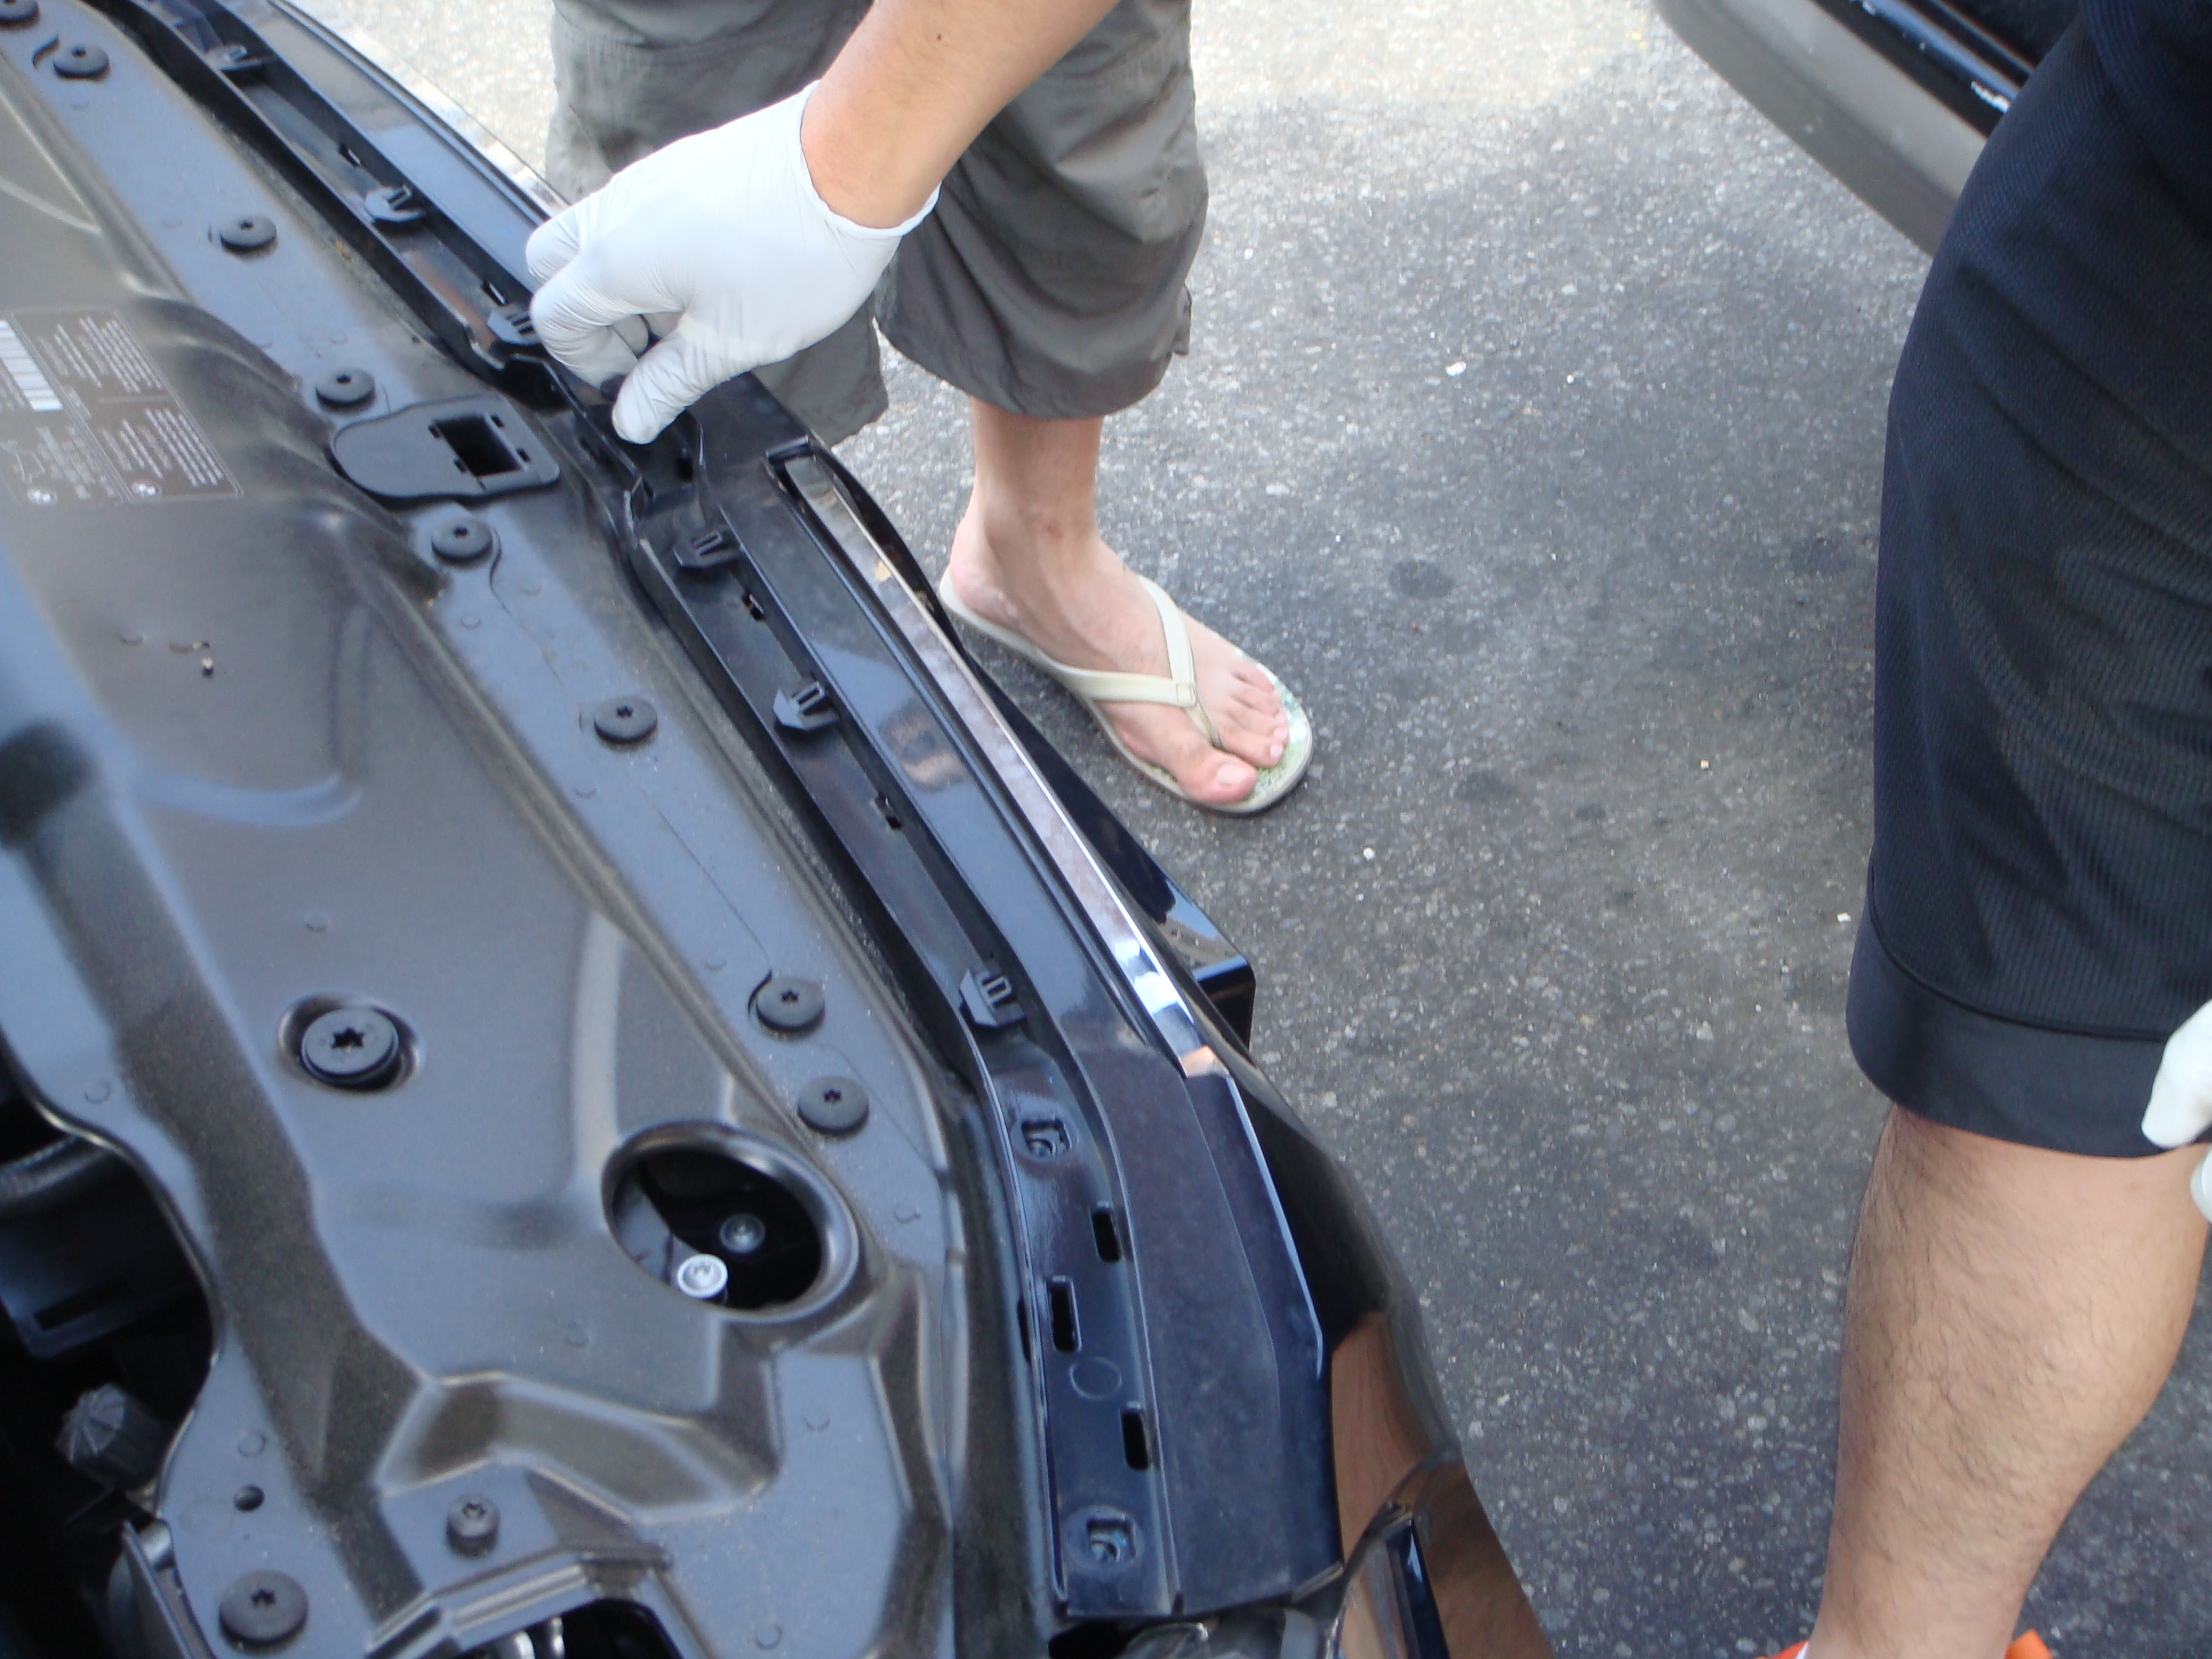
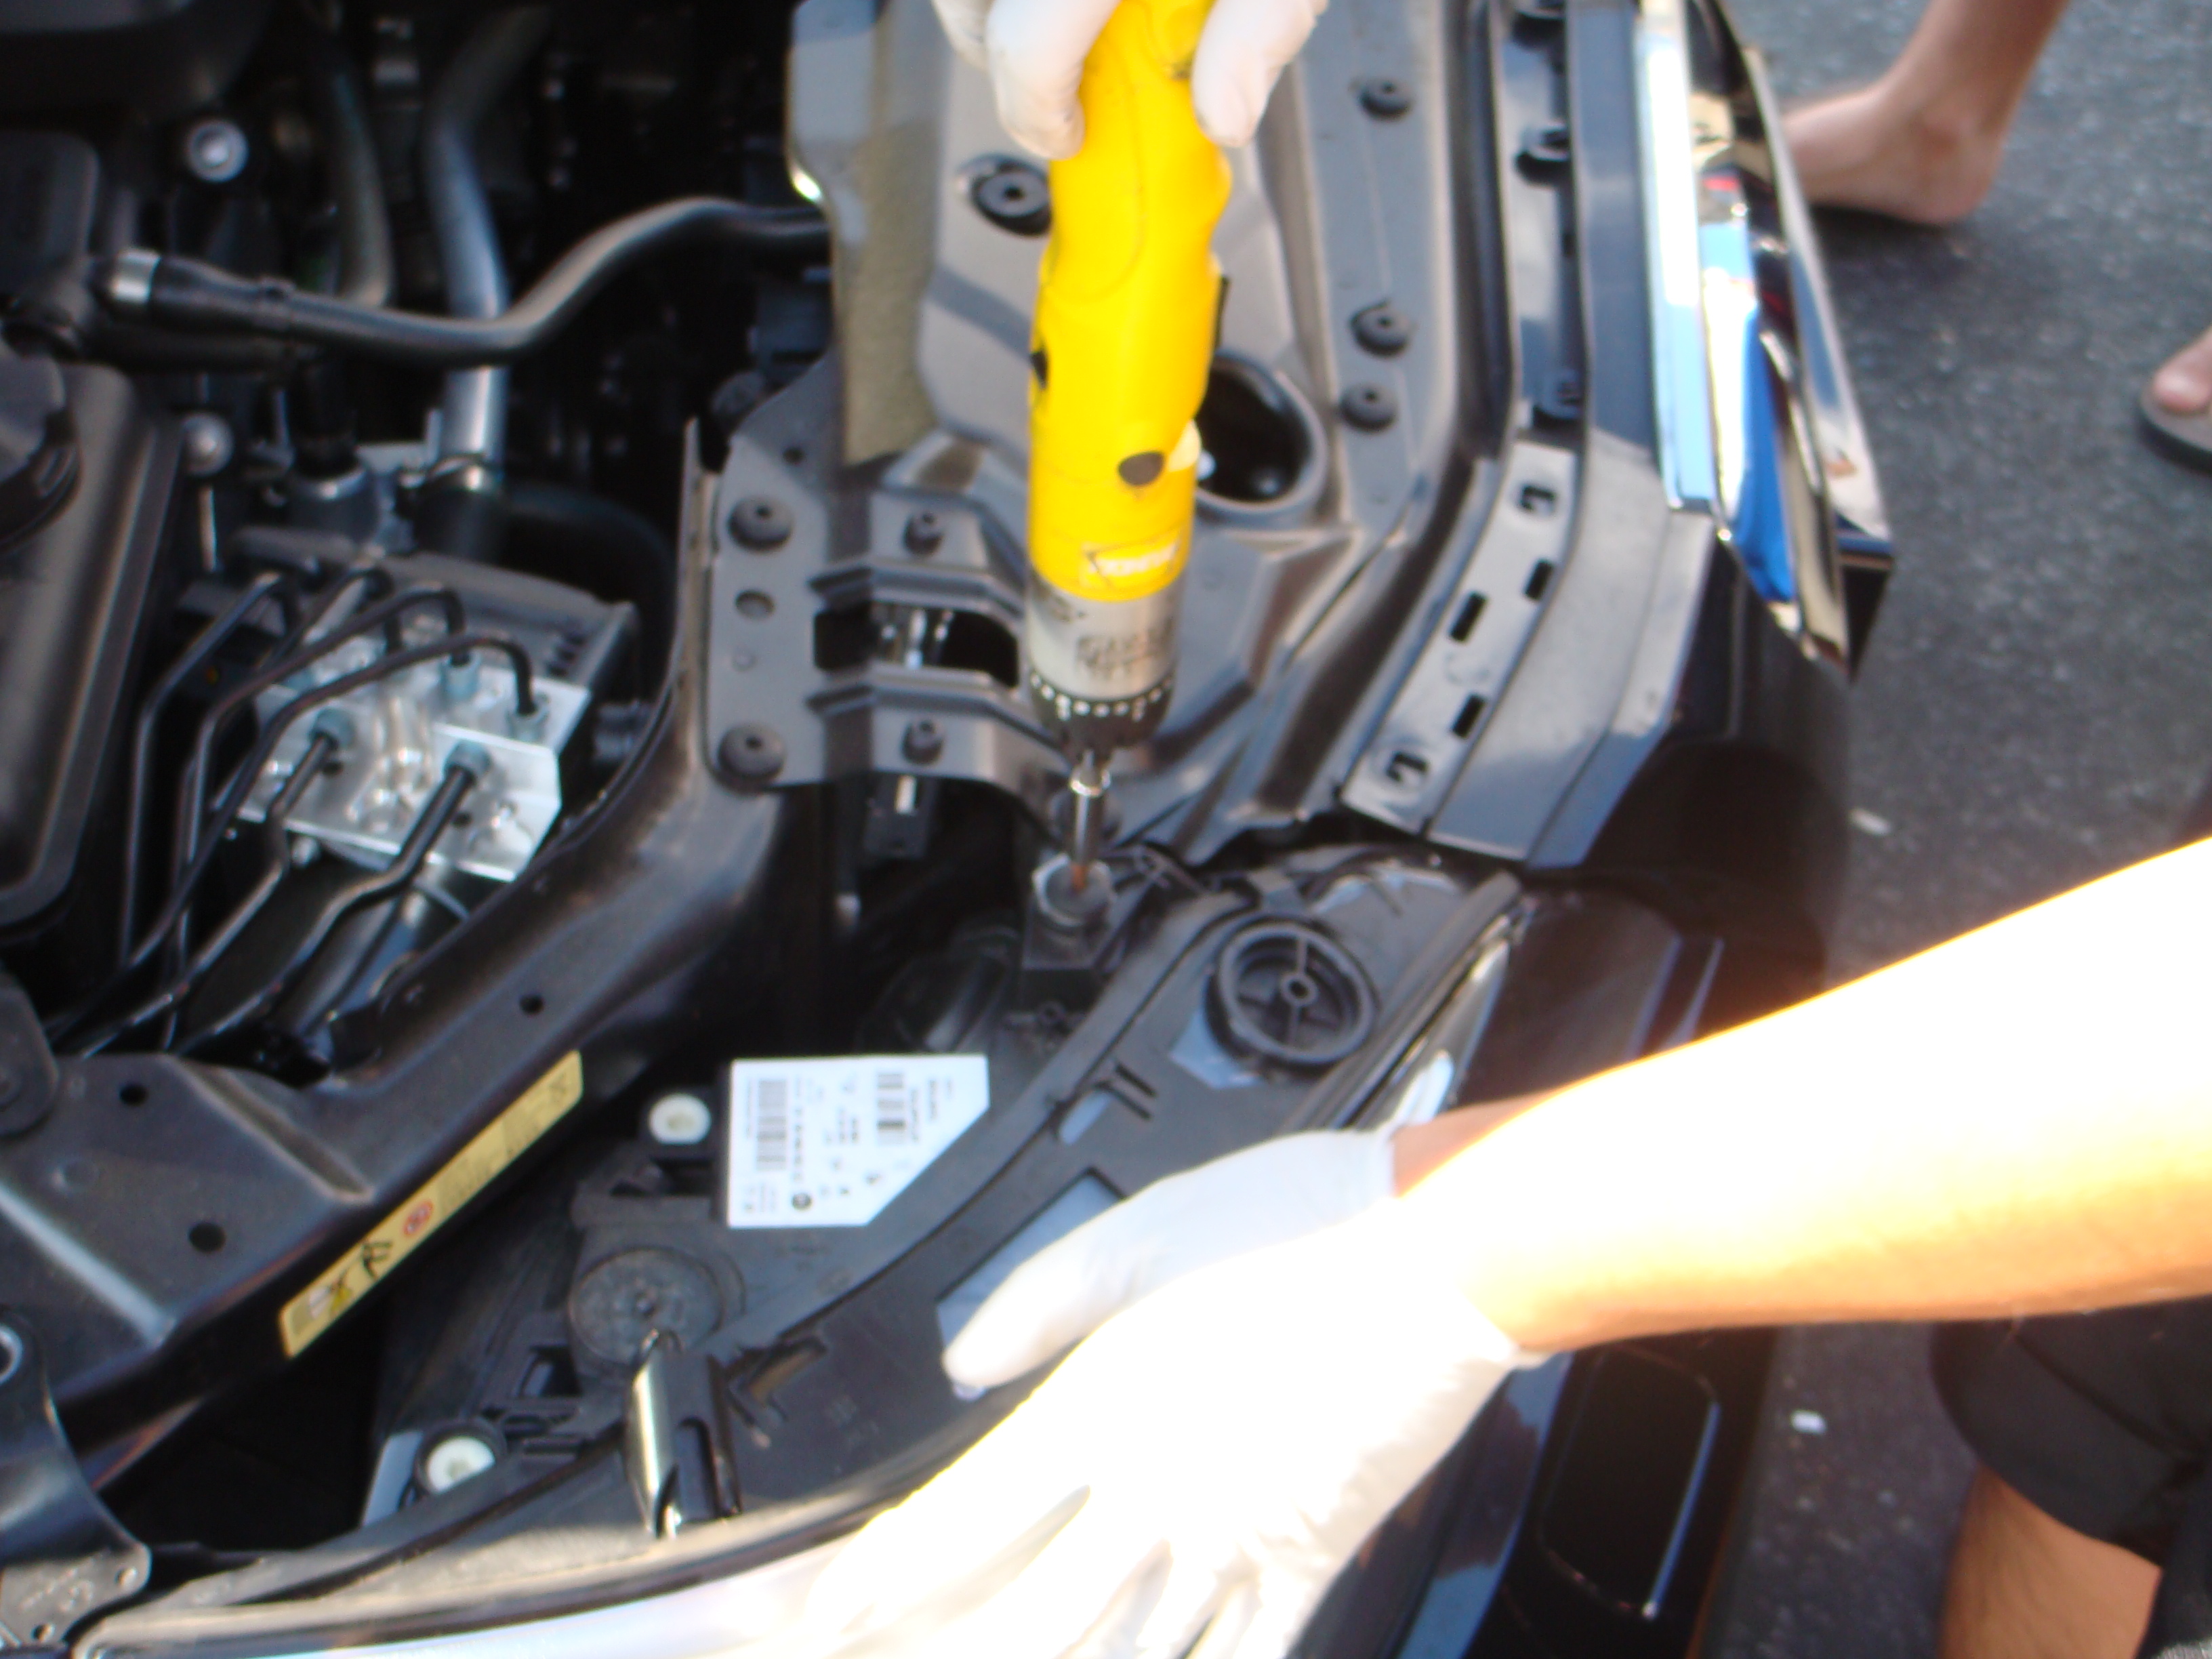
Remove the five screws that holds the beautiful front bumper

Pop the hood open
Lift rubber piece UP with your finger on one side
Rubber piece removed
Remove the five screws that holds the beautiful front bumper
Thread Starter
Banned
Joined: Jun 2008
Posts: 7,983
Likes: 1
From: Queens, NY
My Ride: A Car
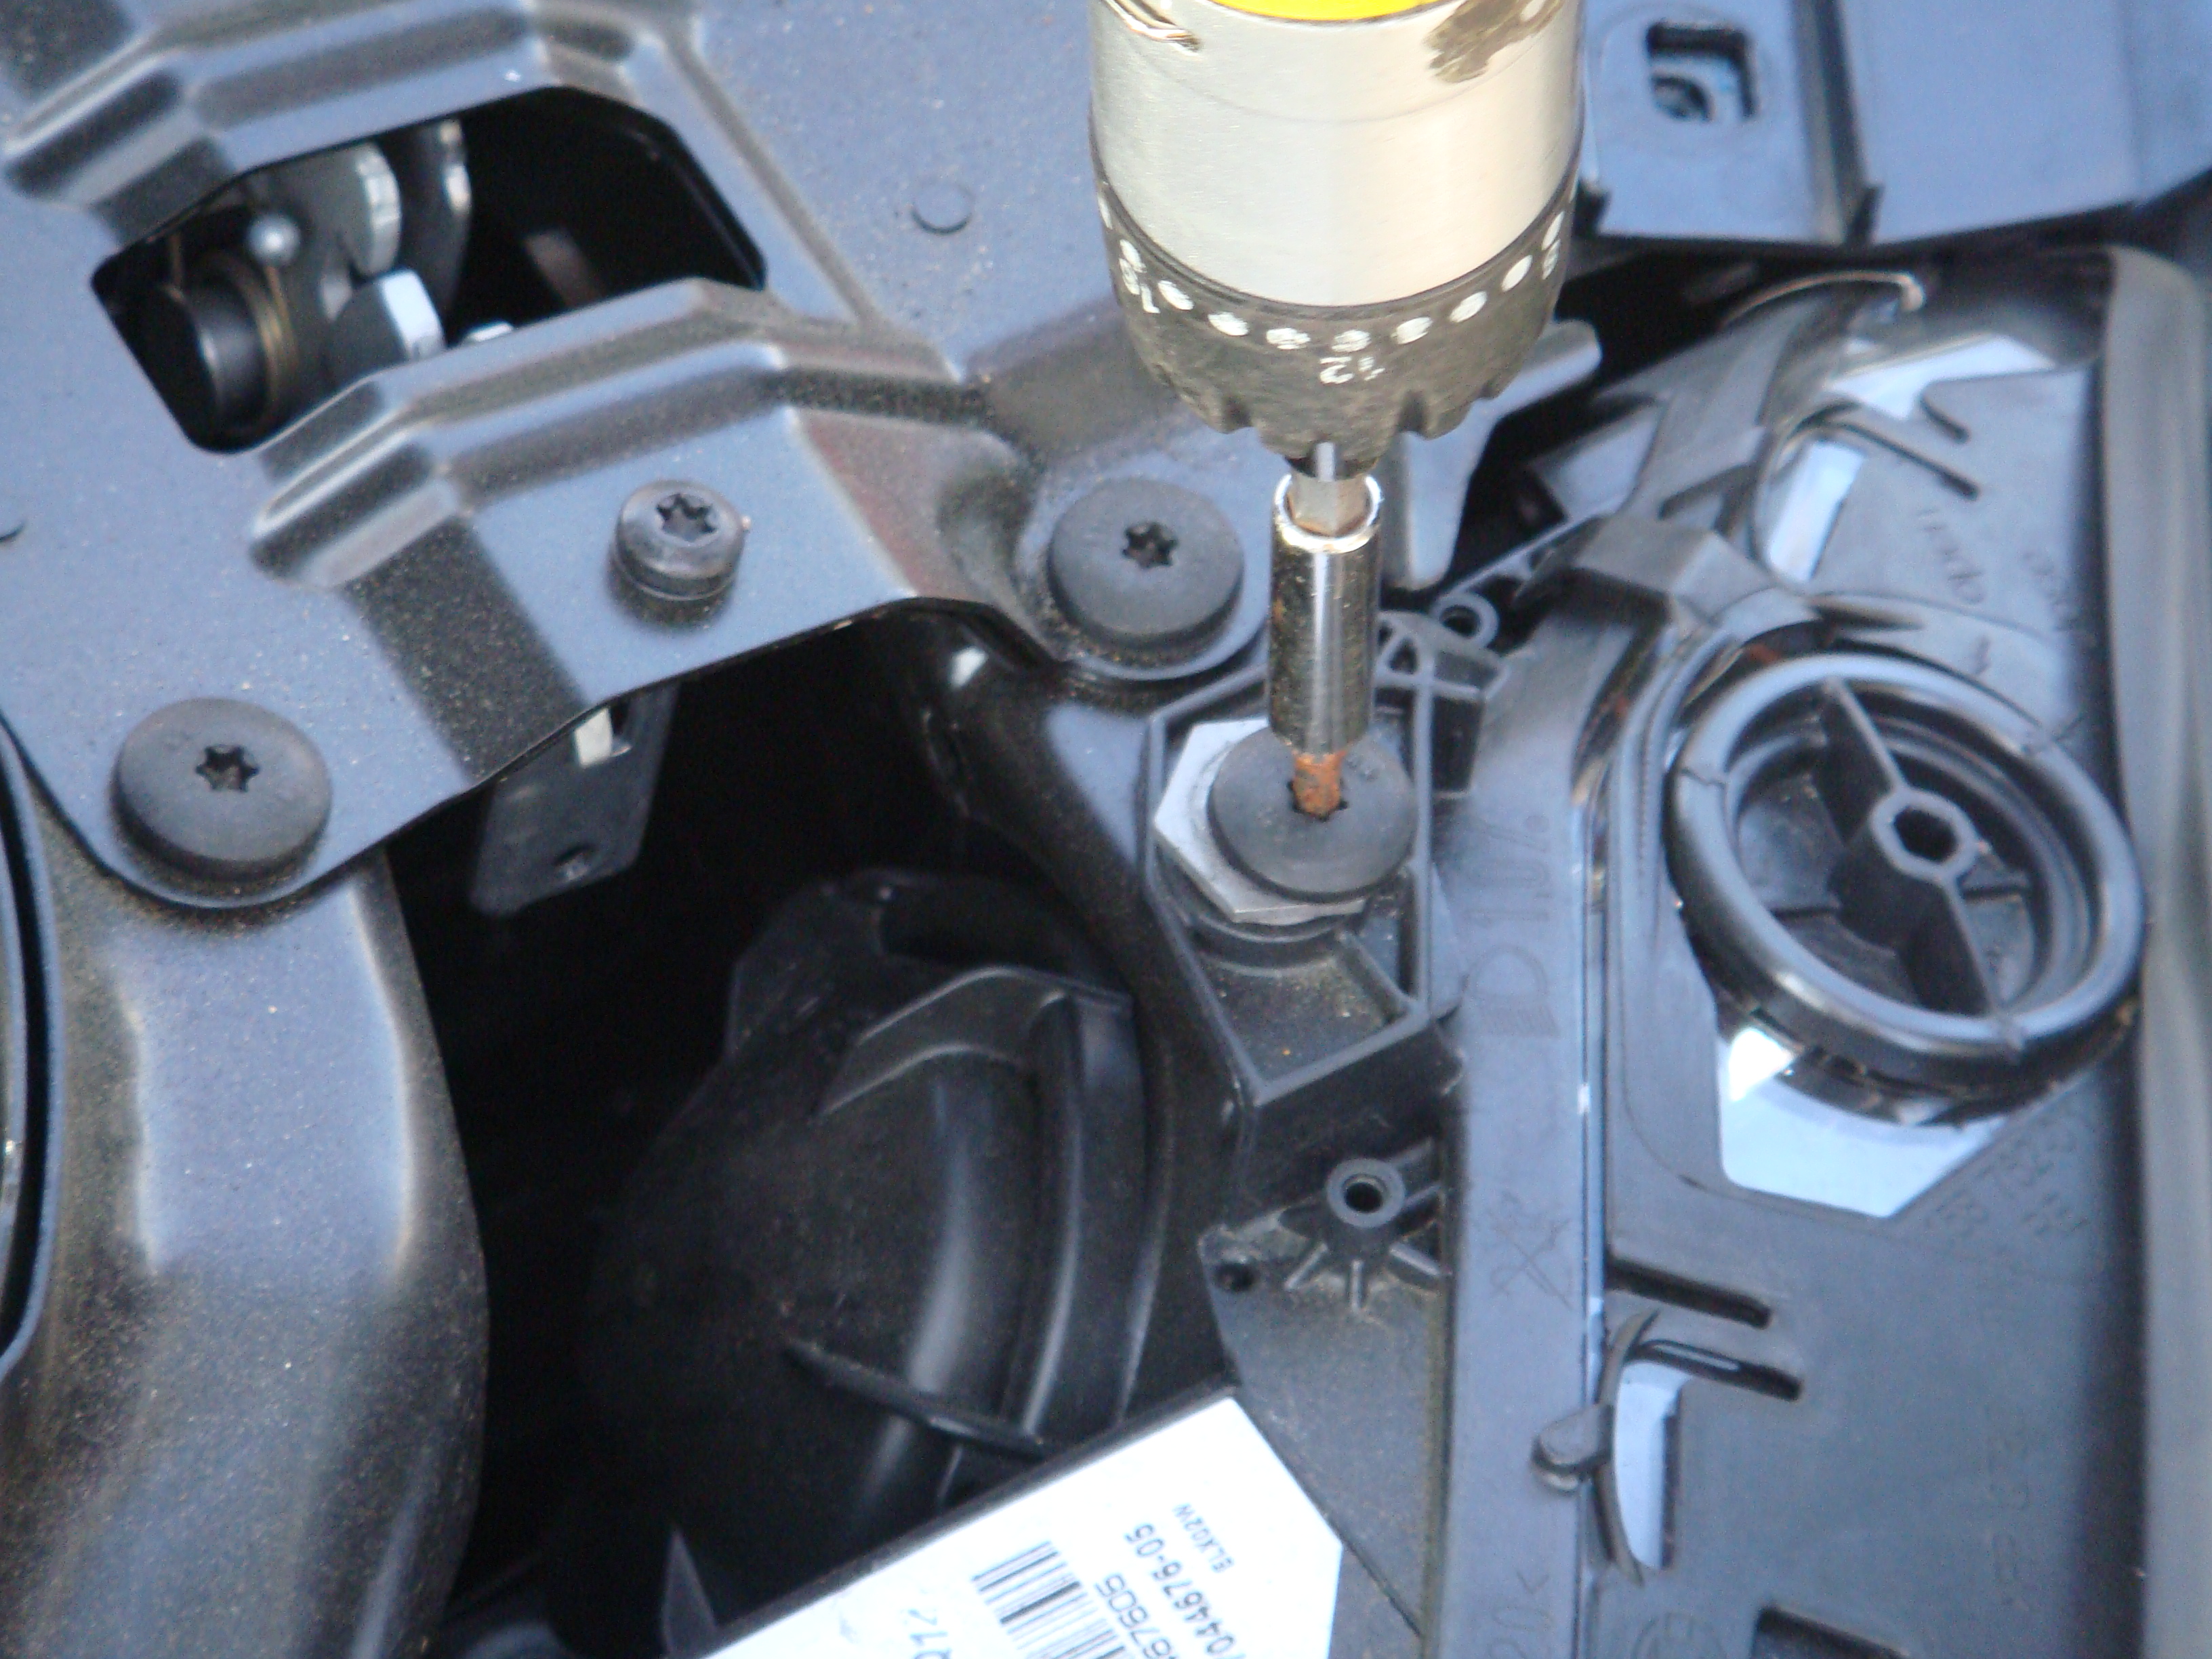
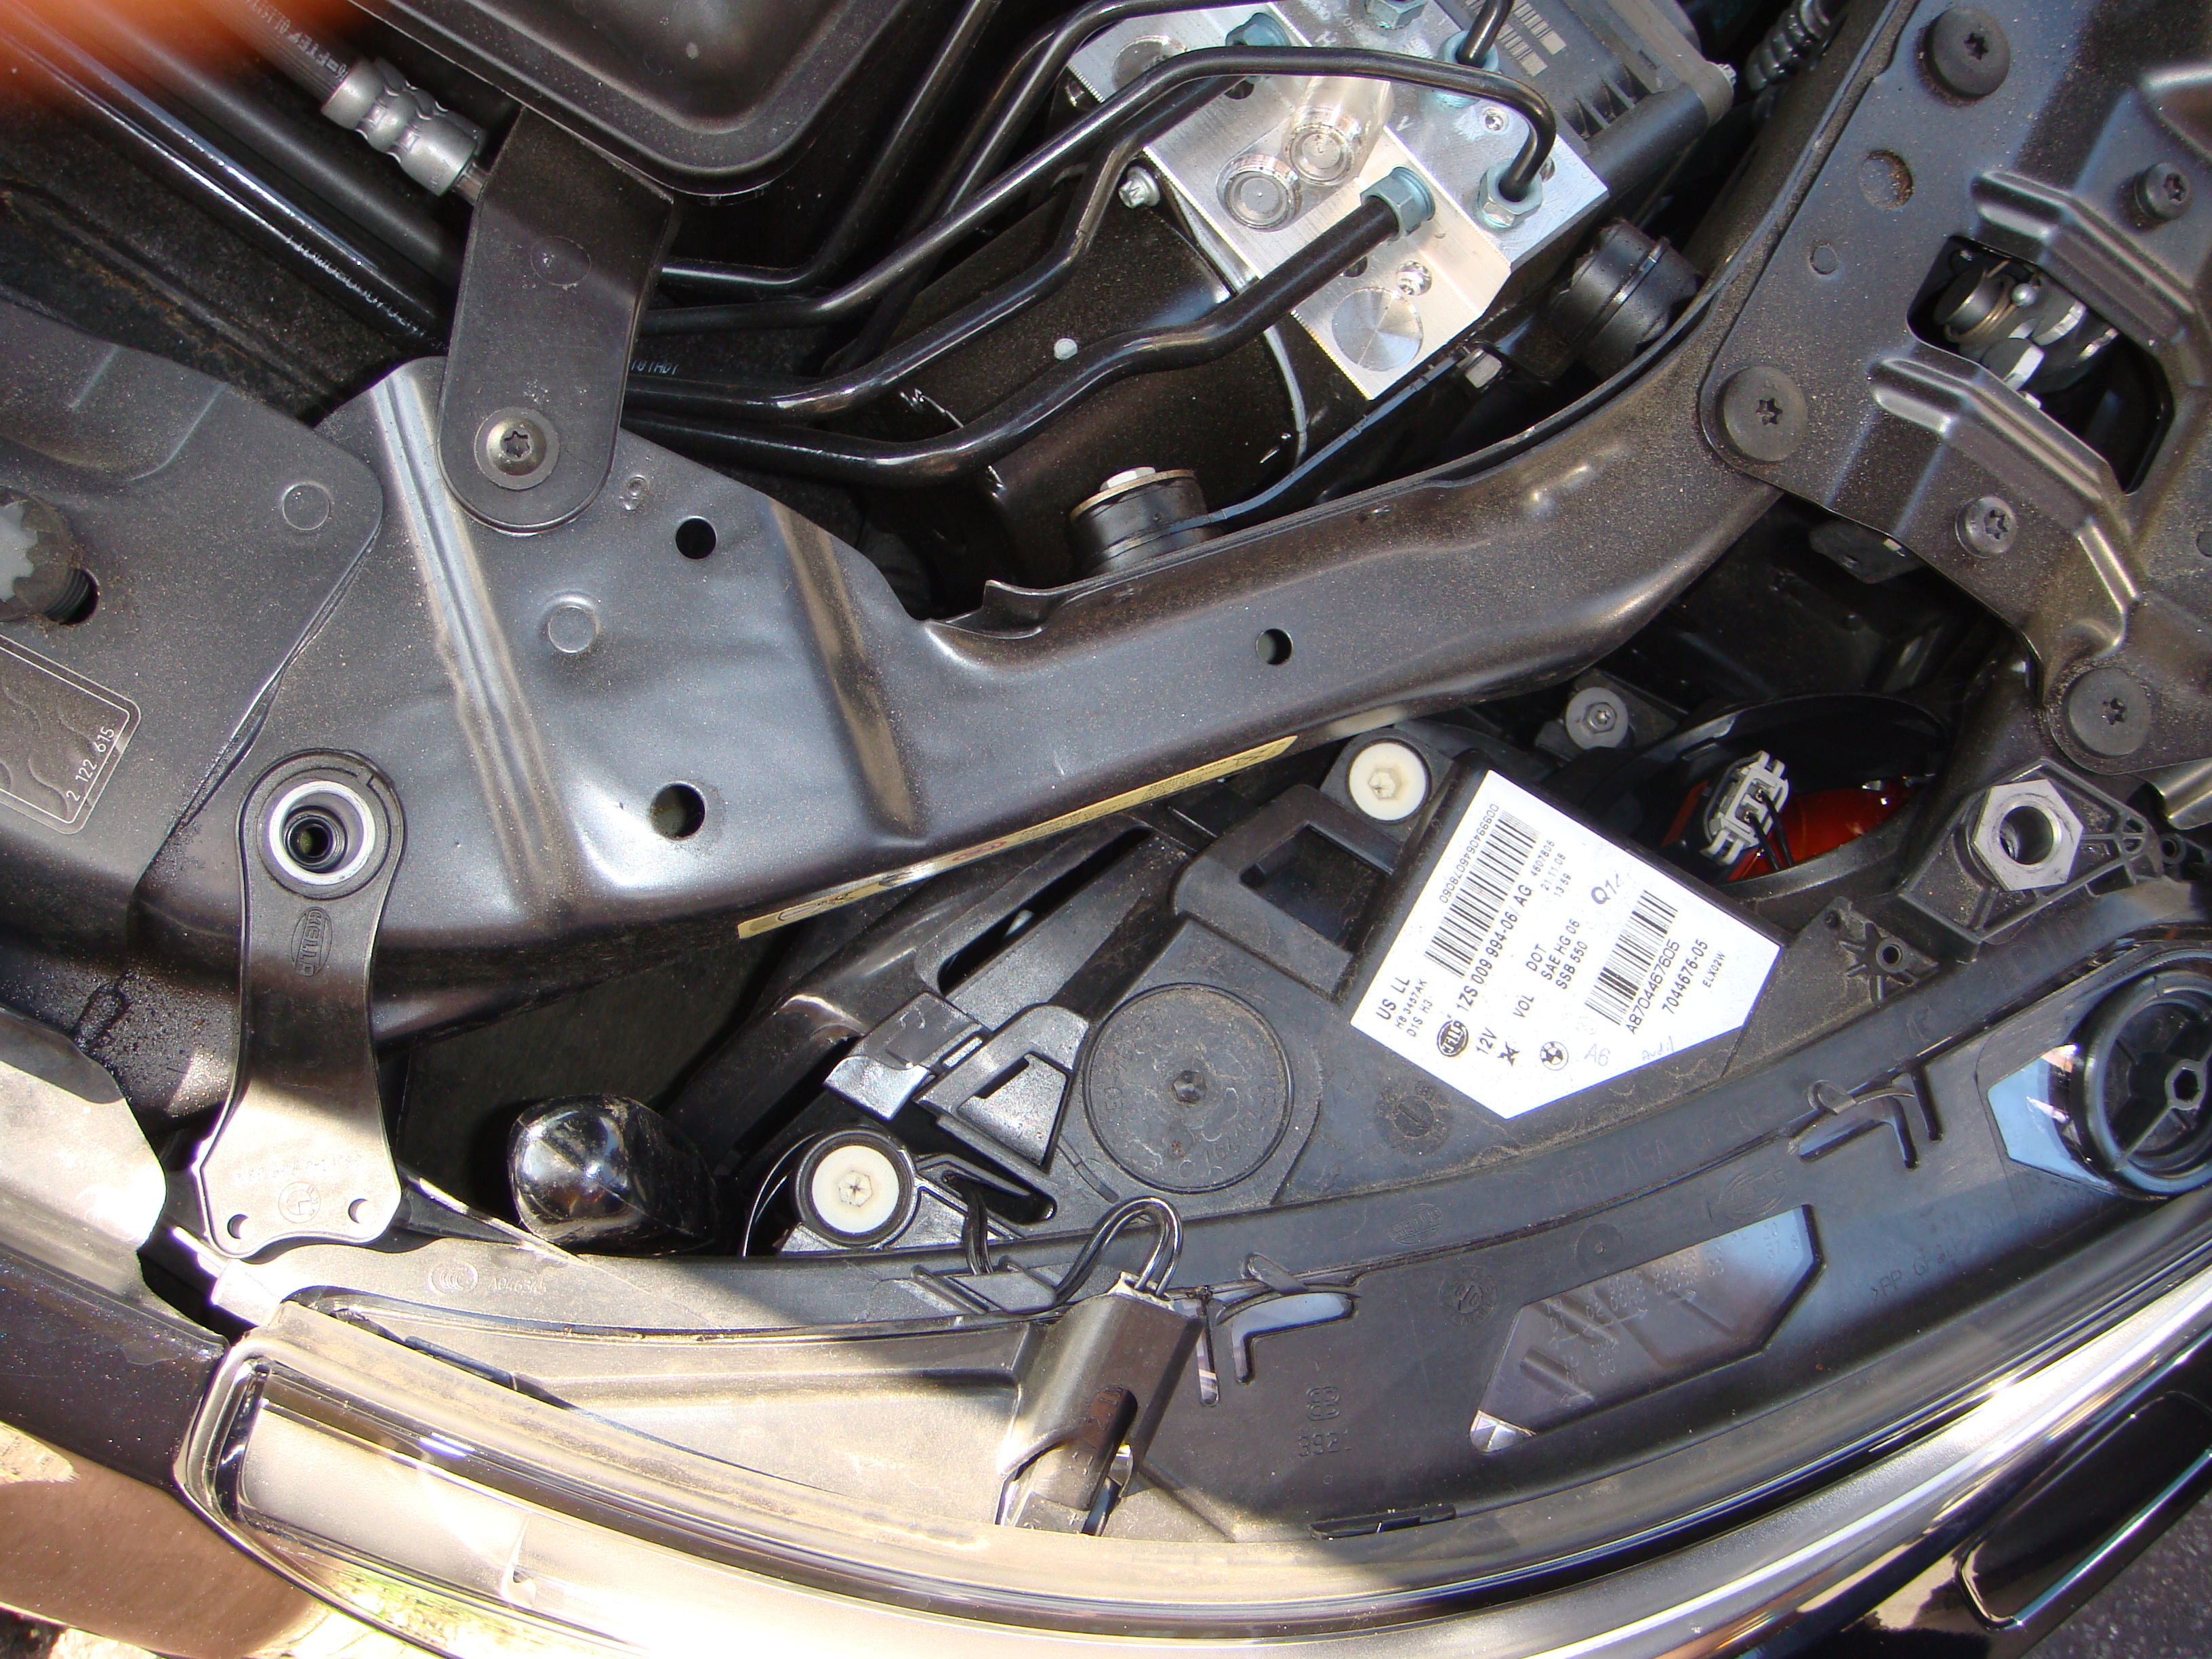
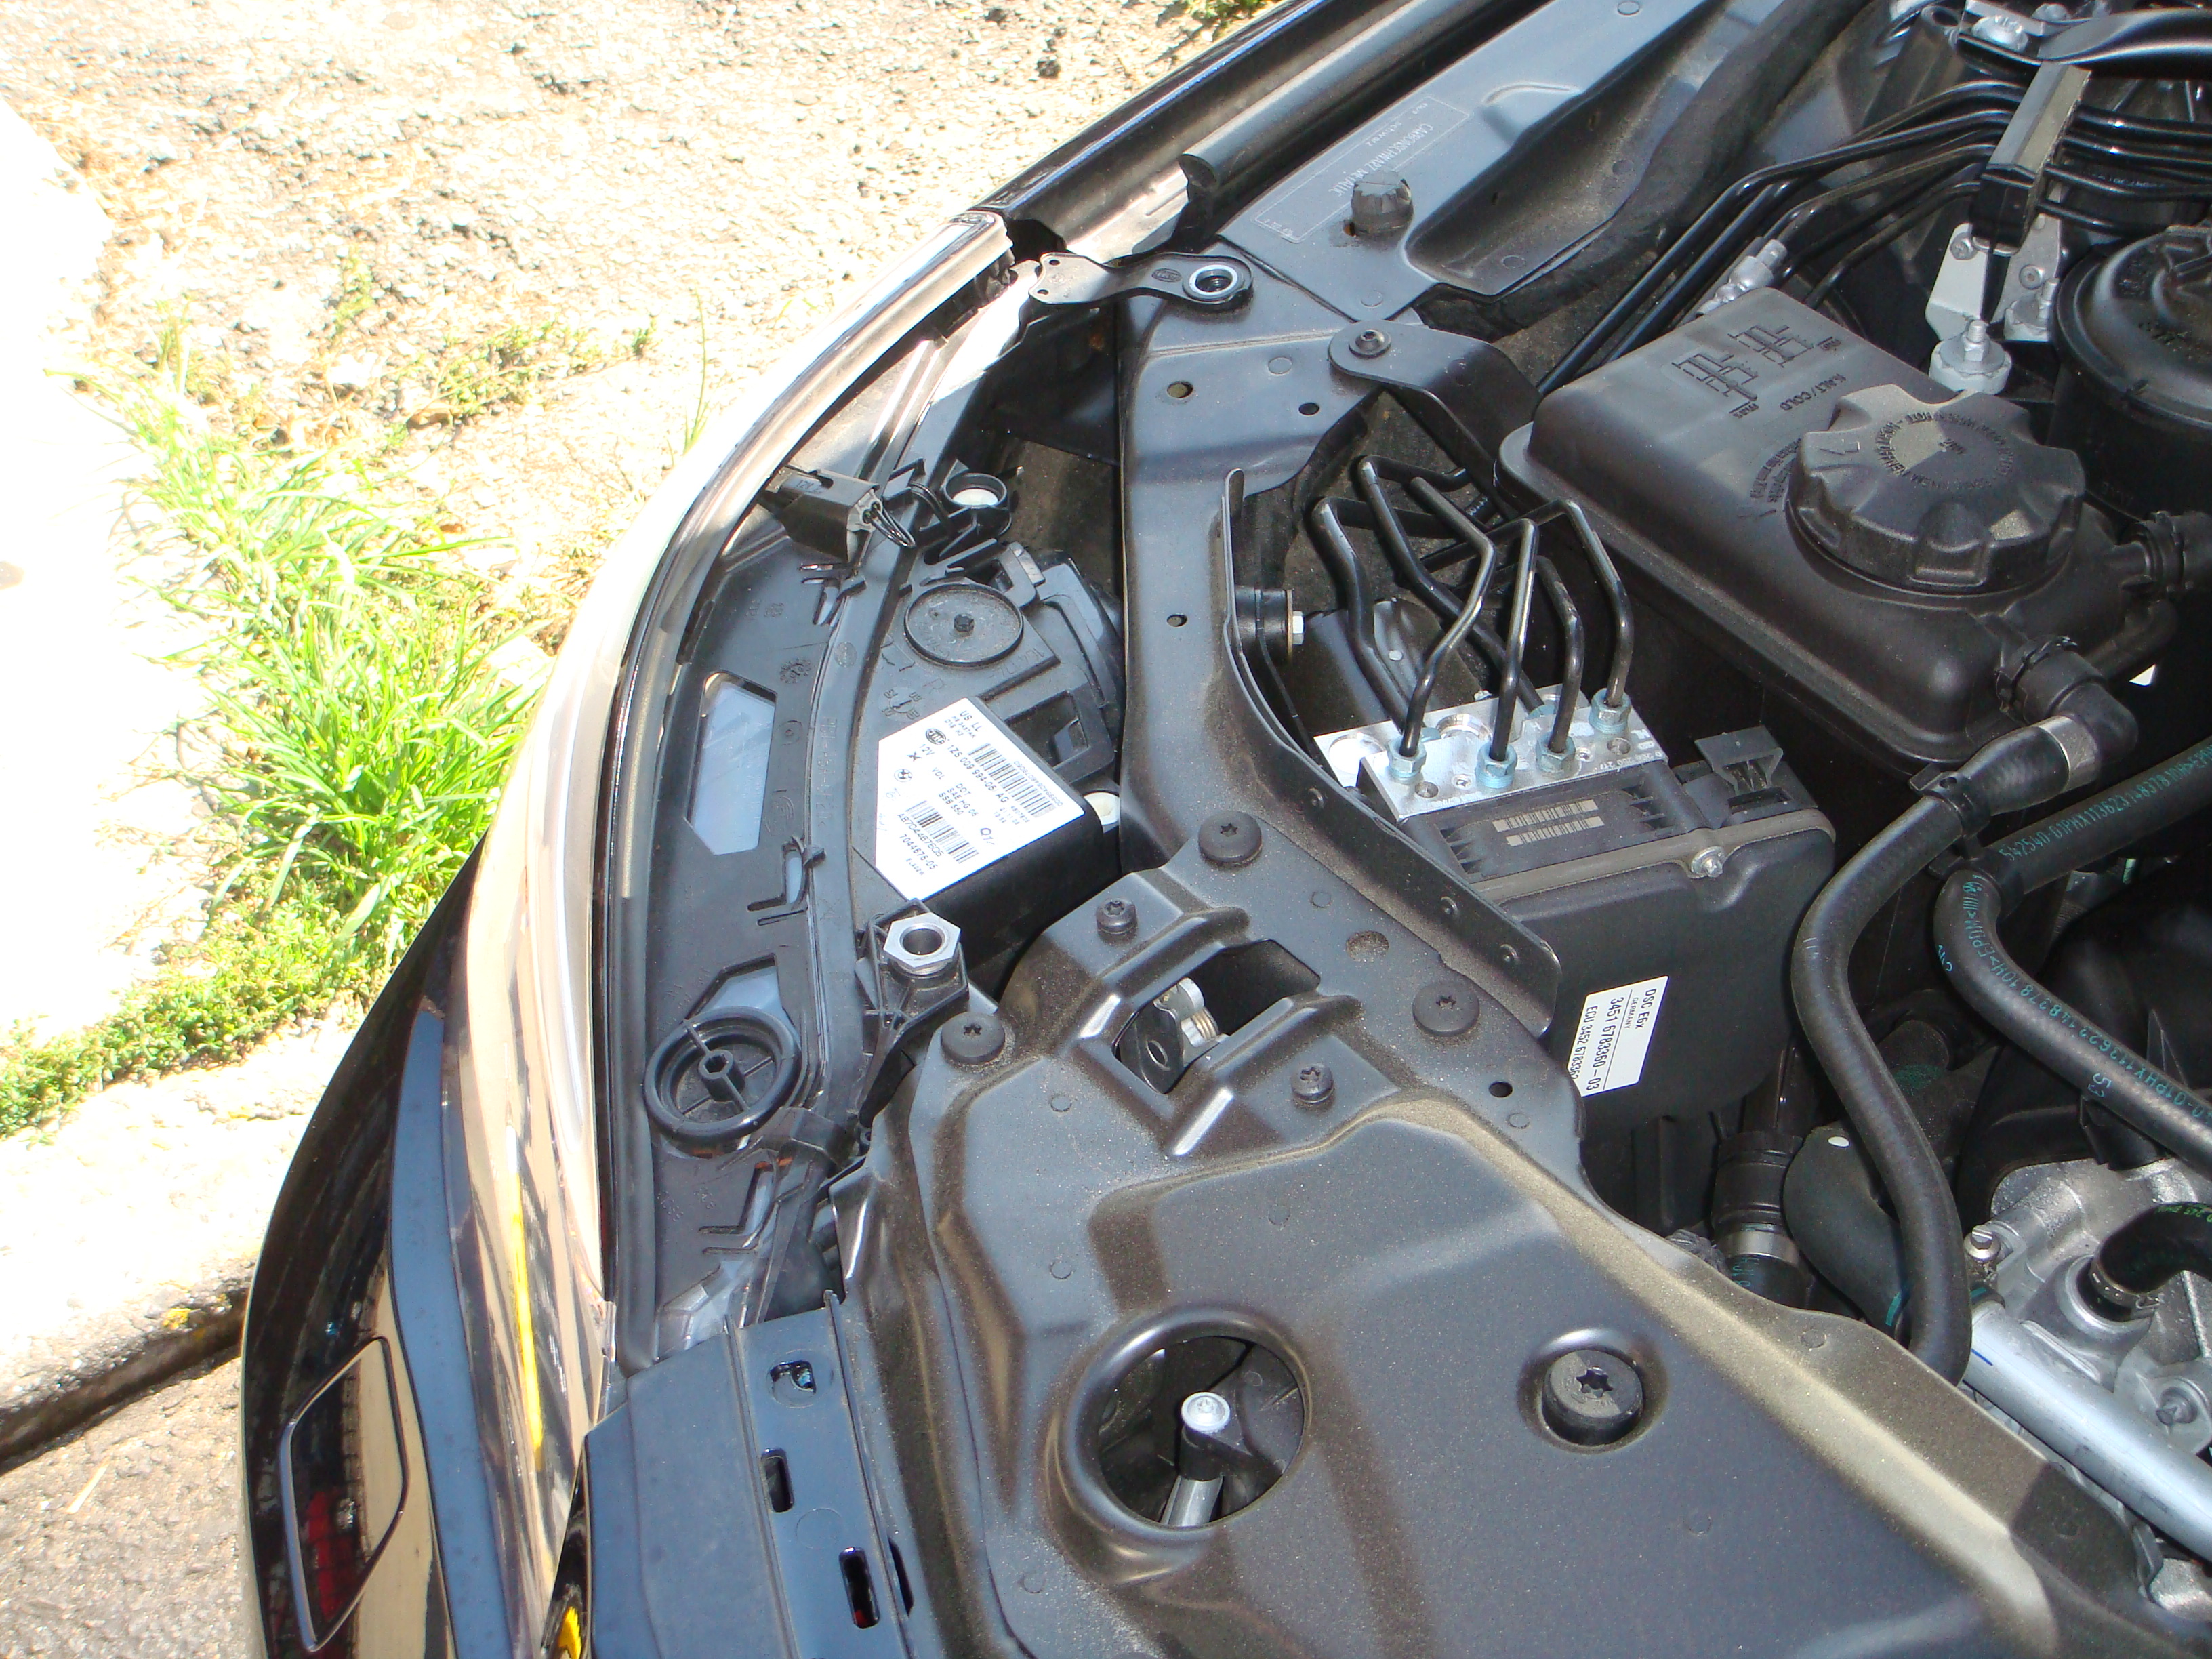
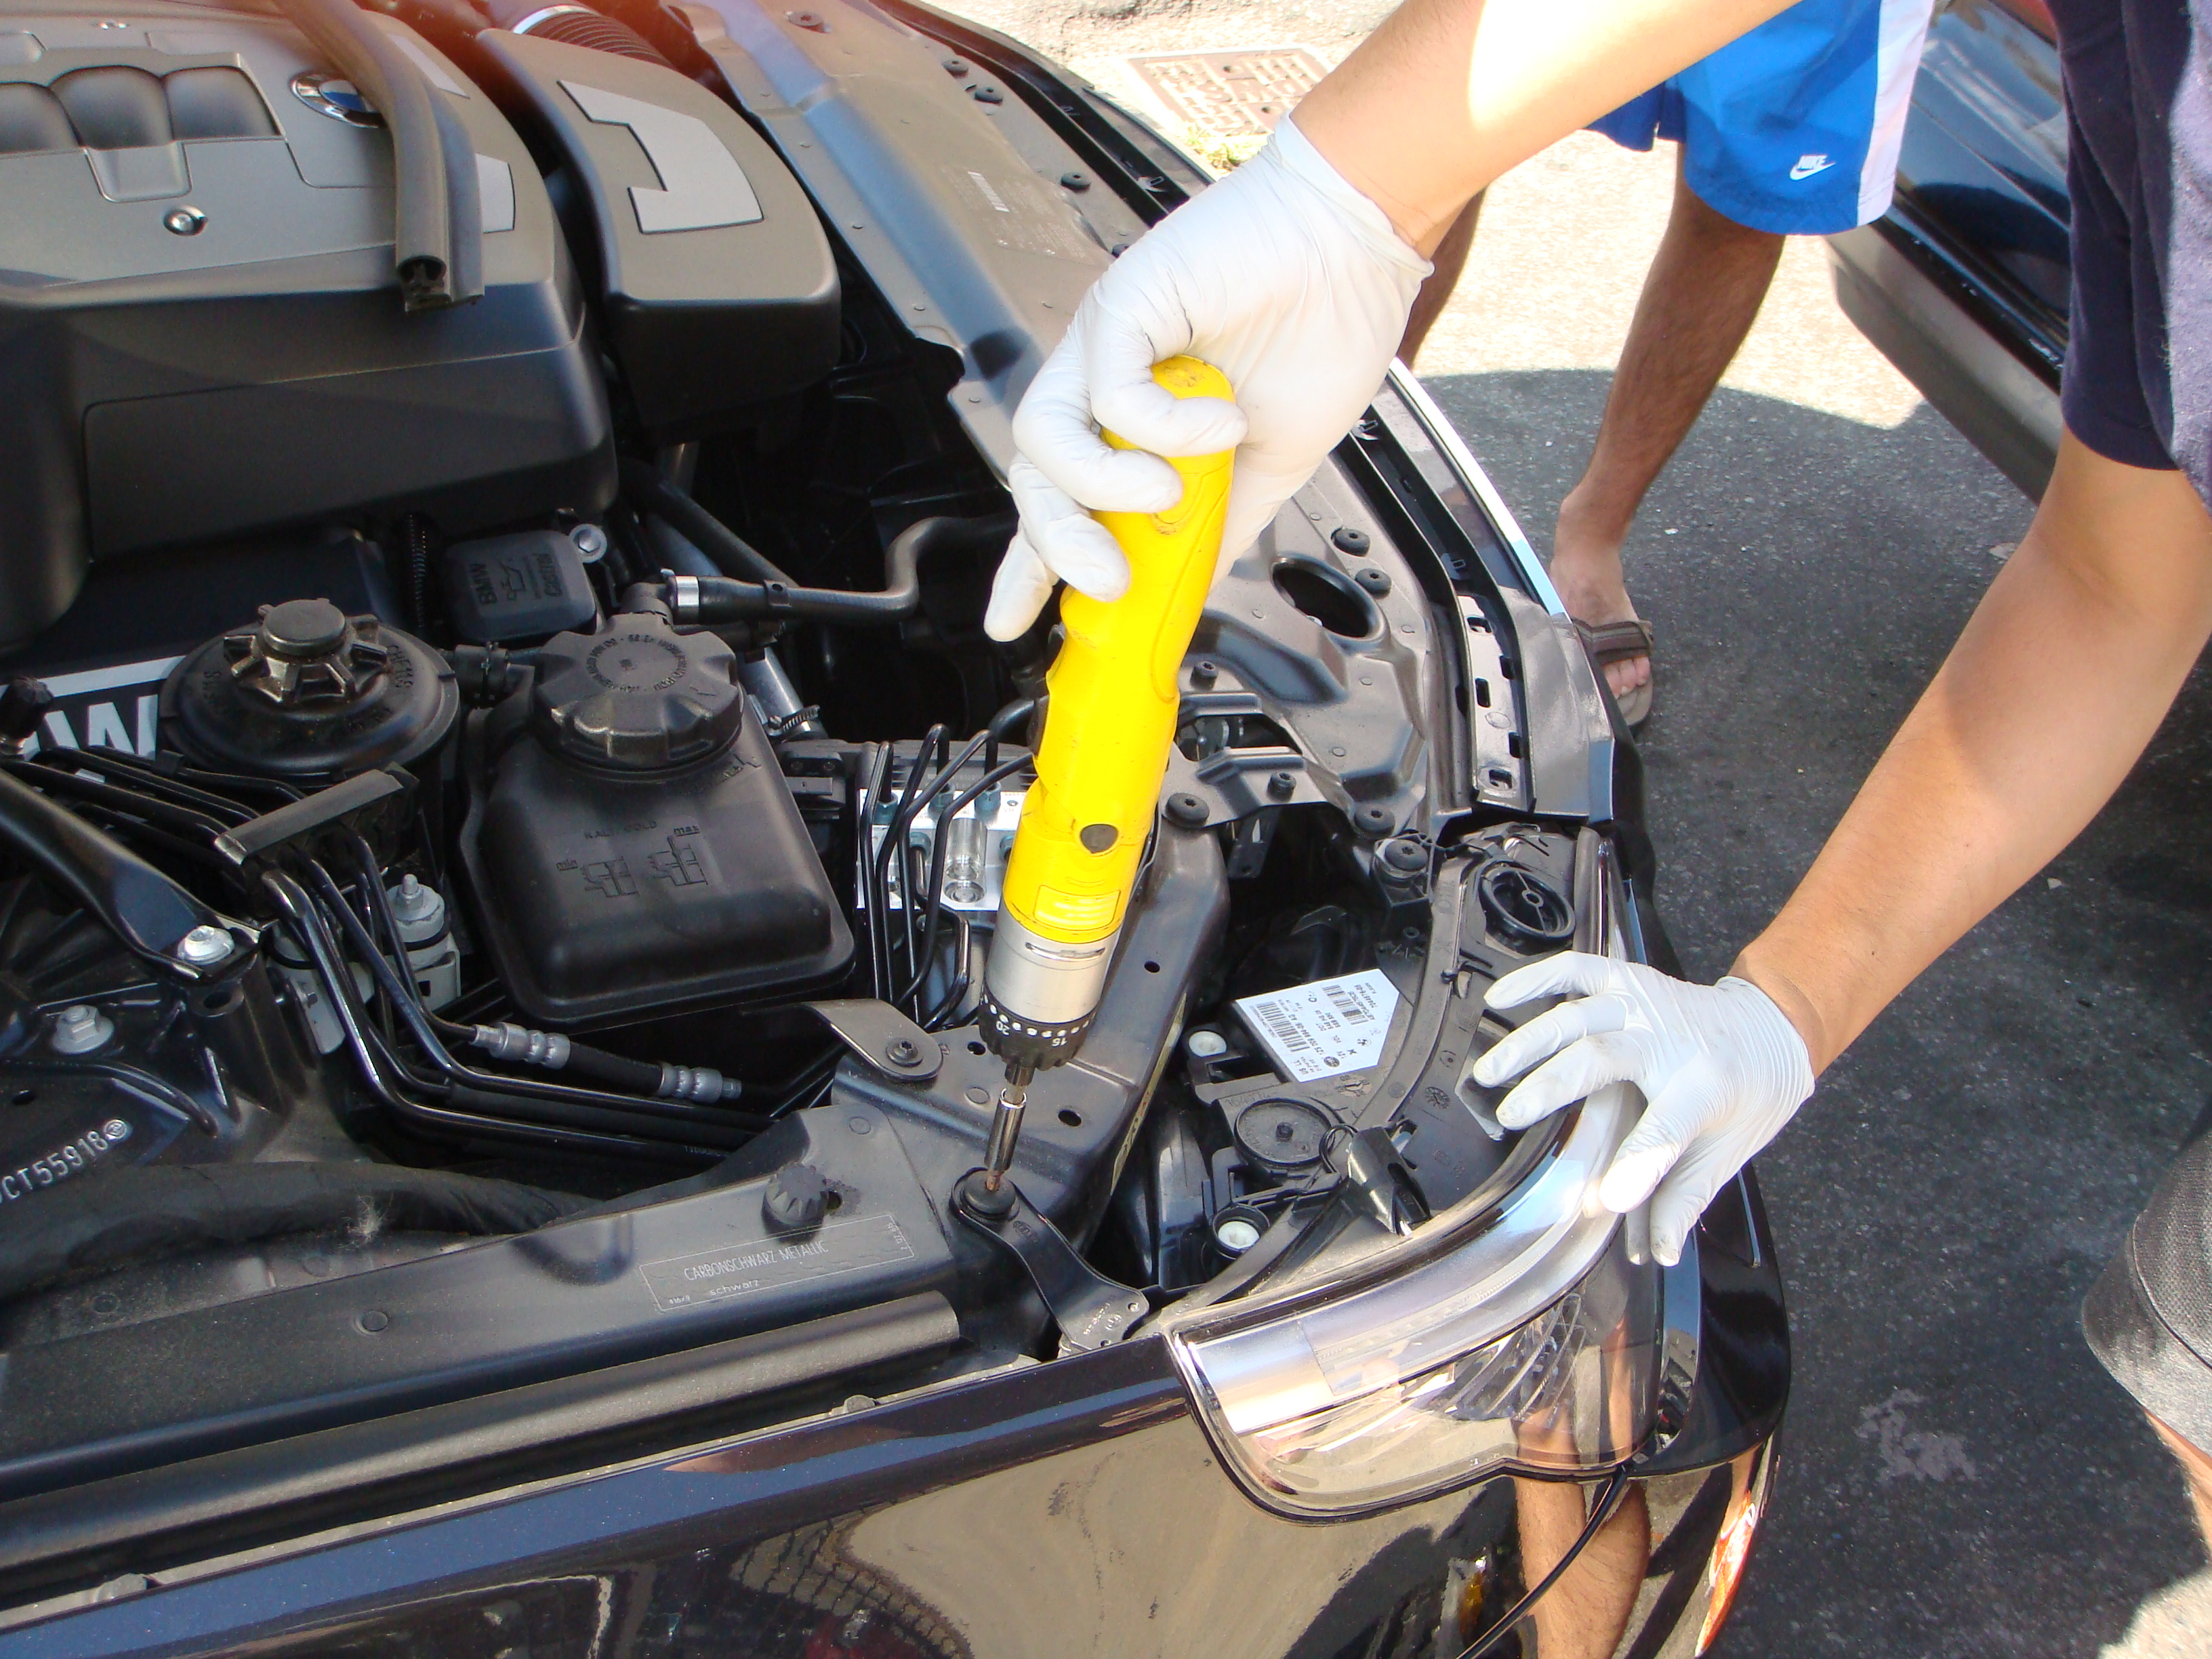
Now remove the two top screws holding the headlight
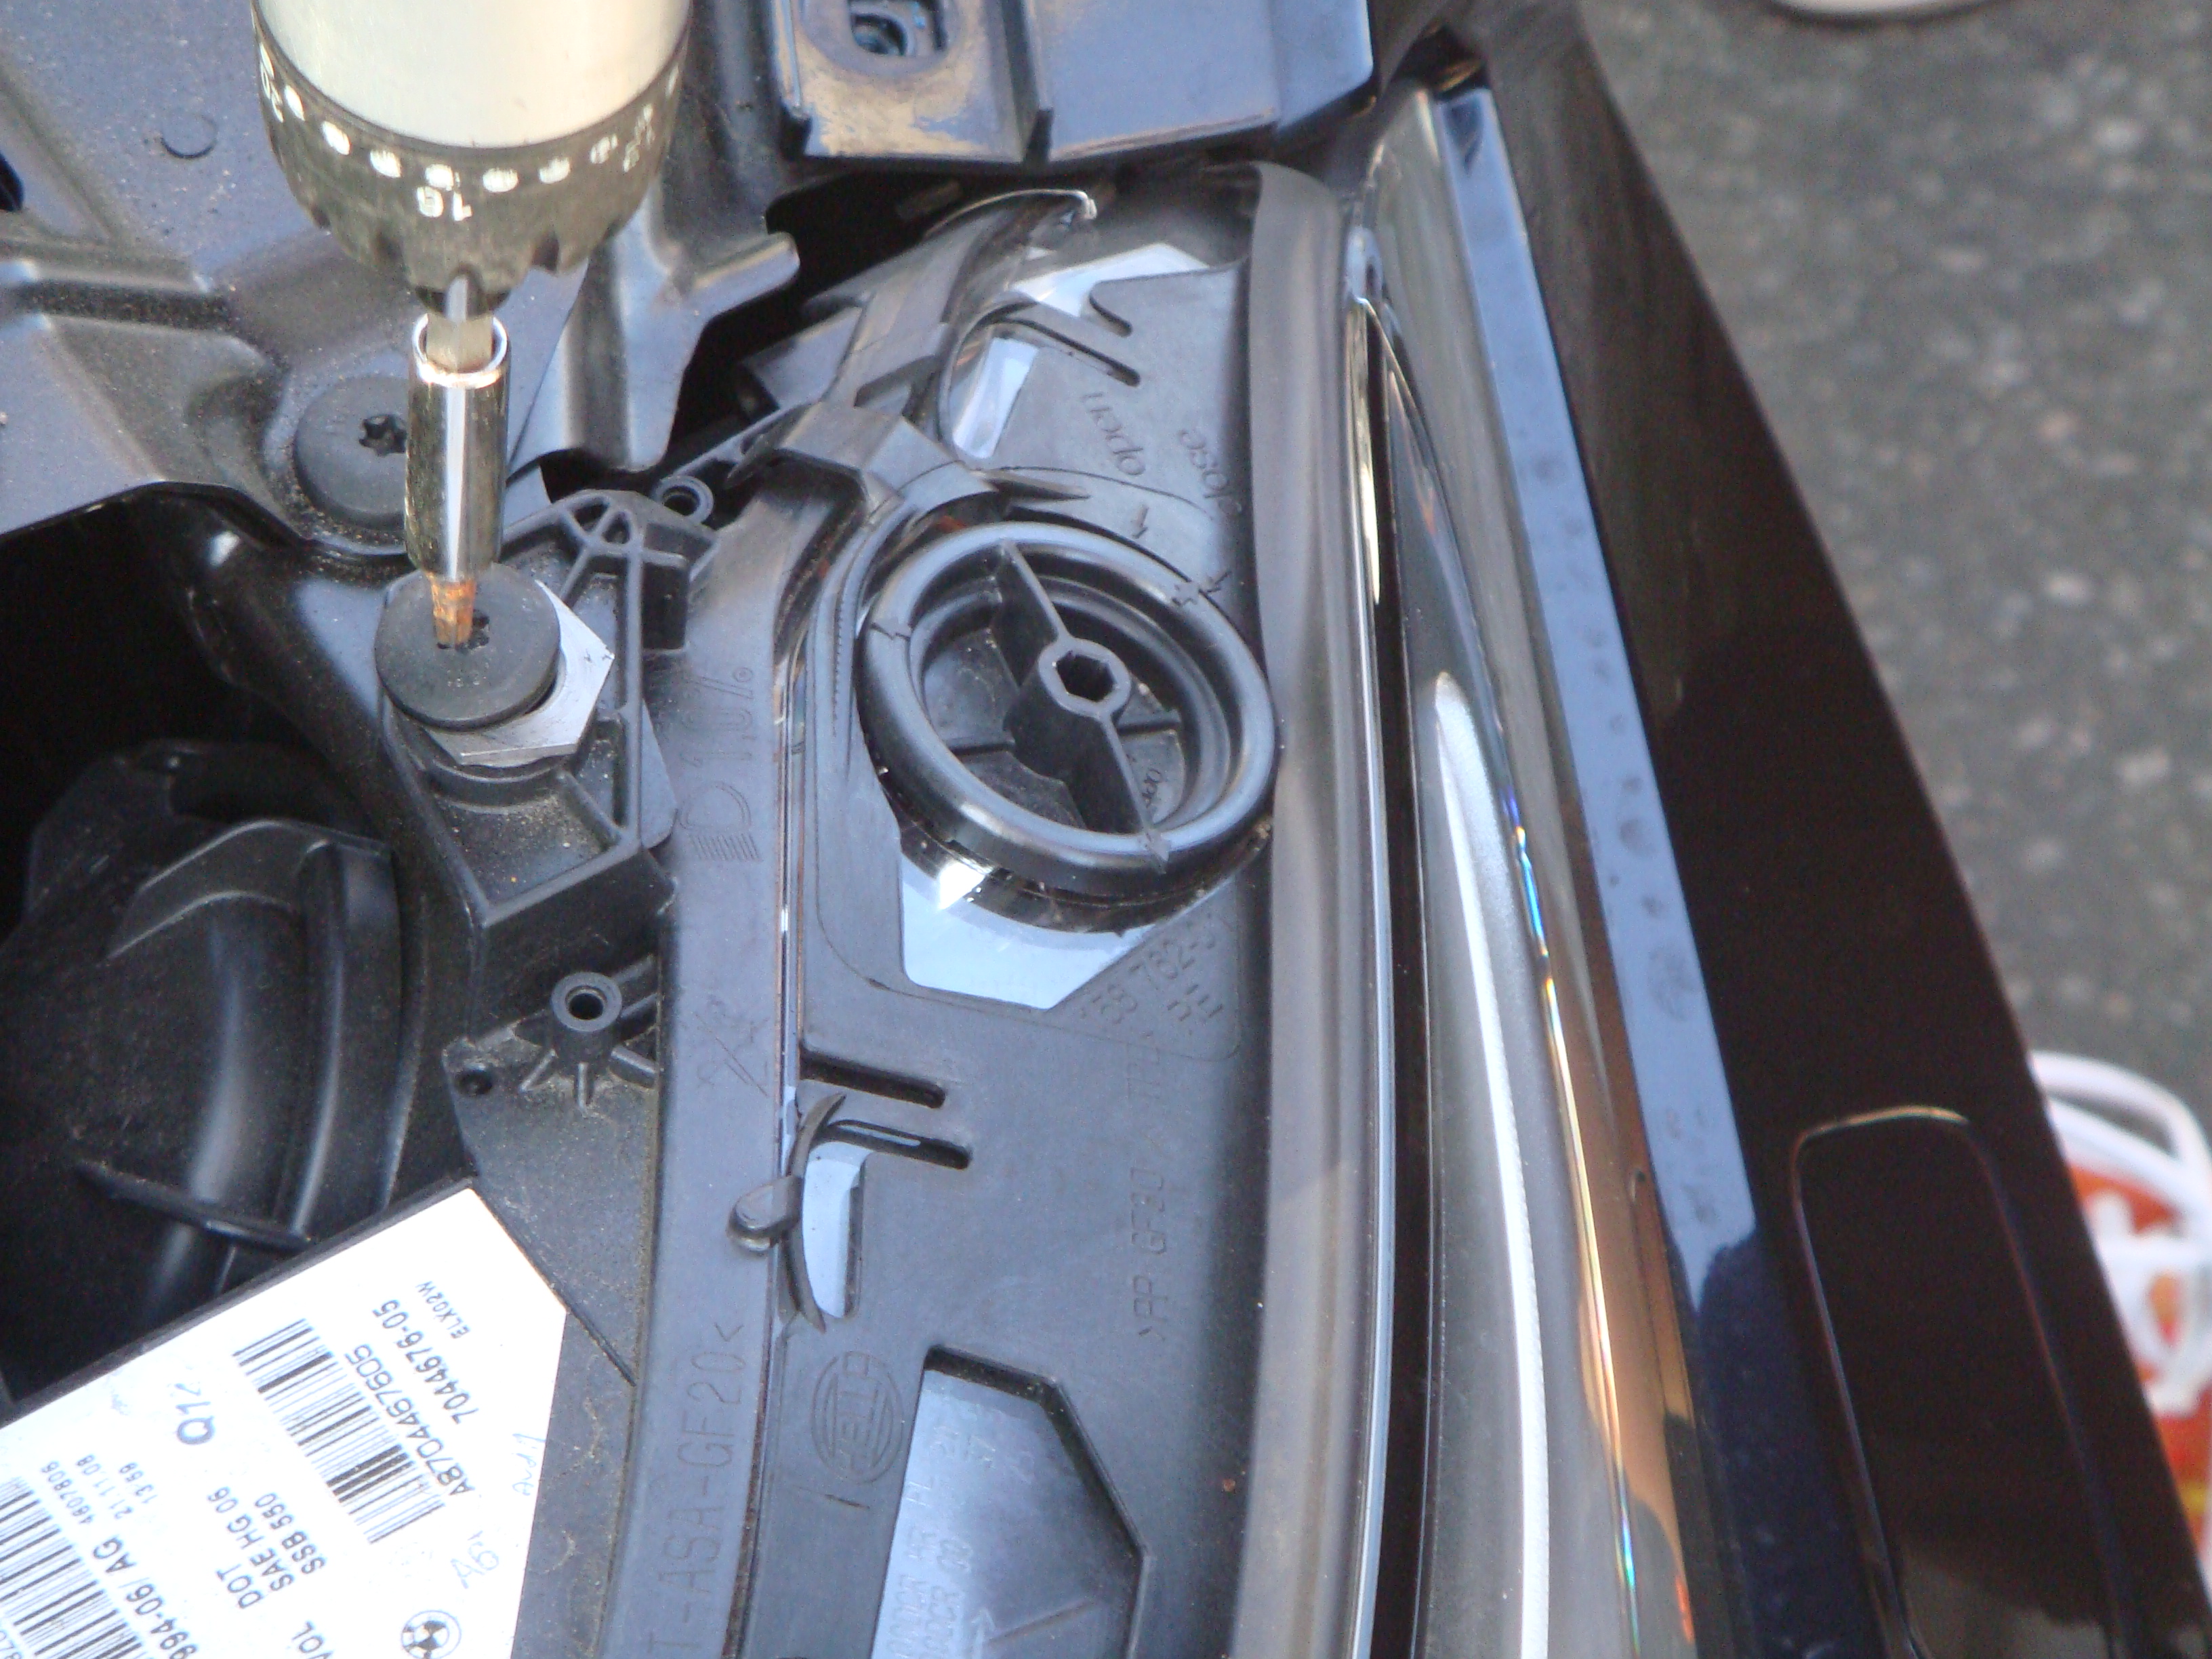
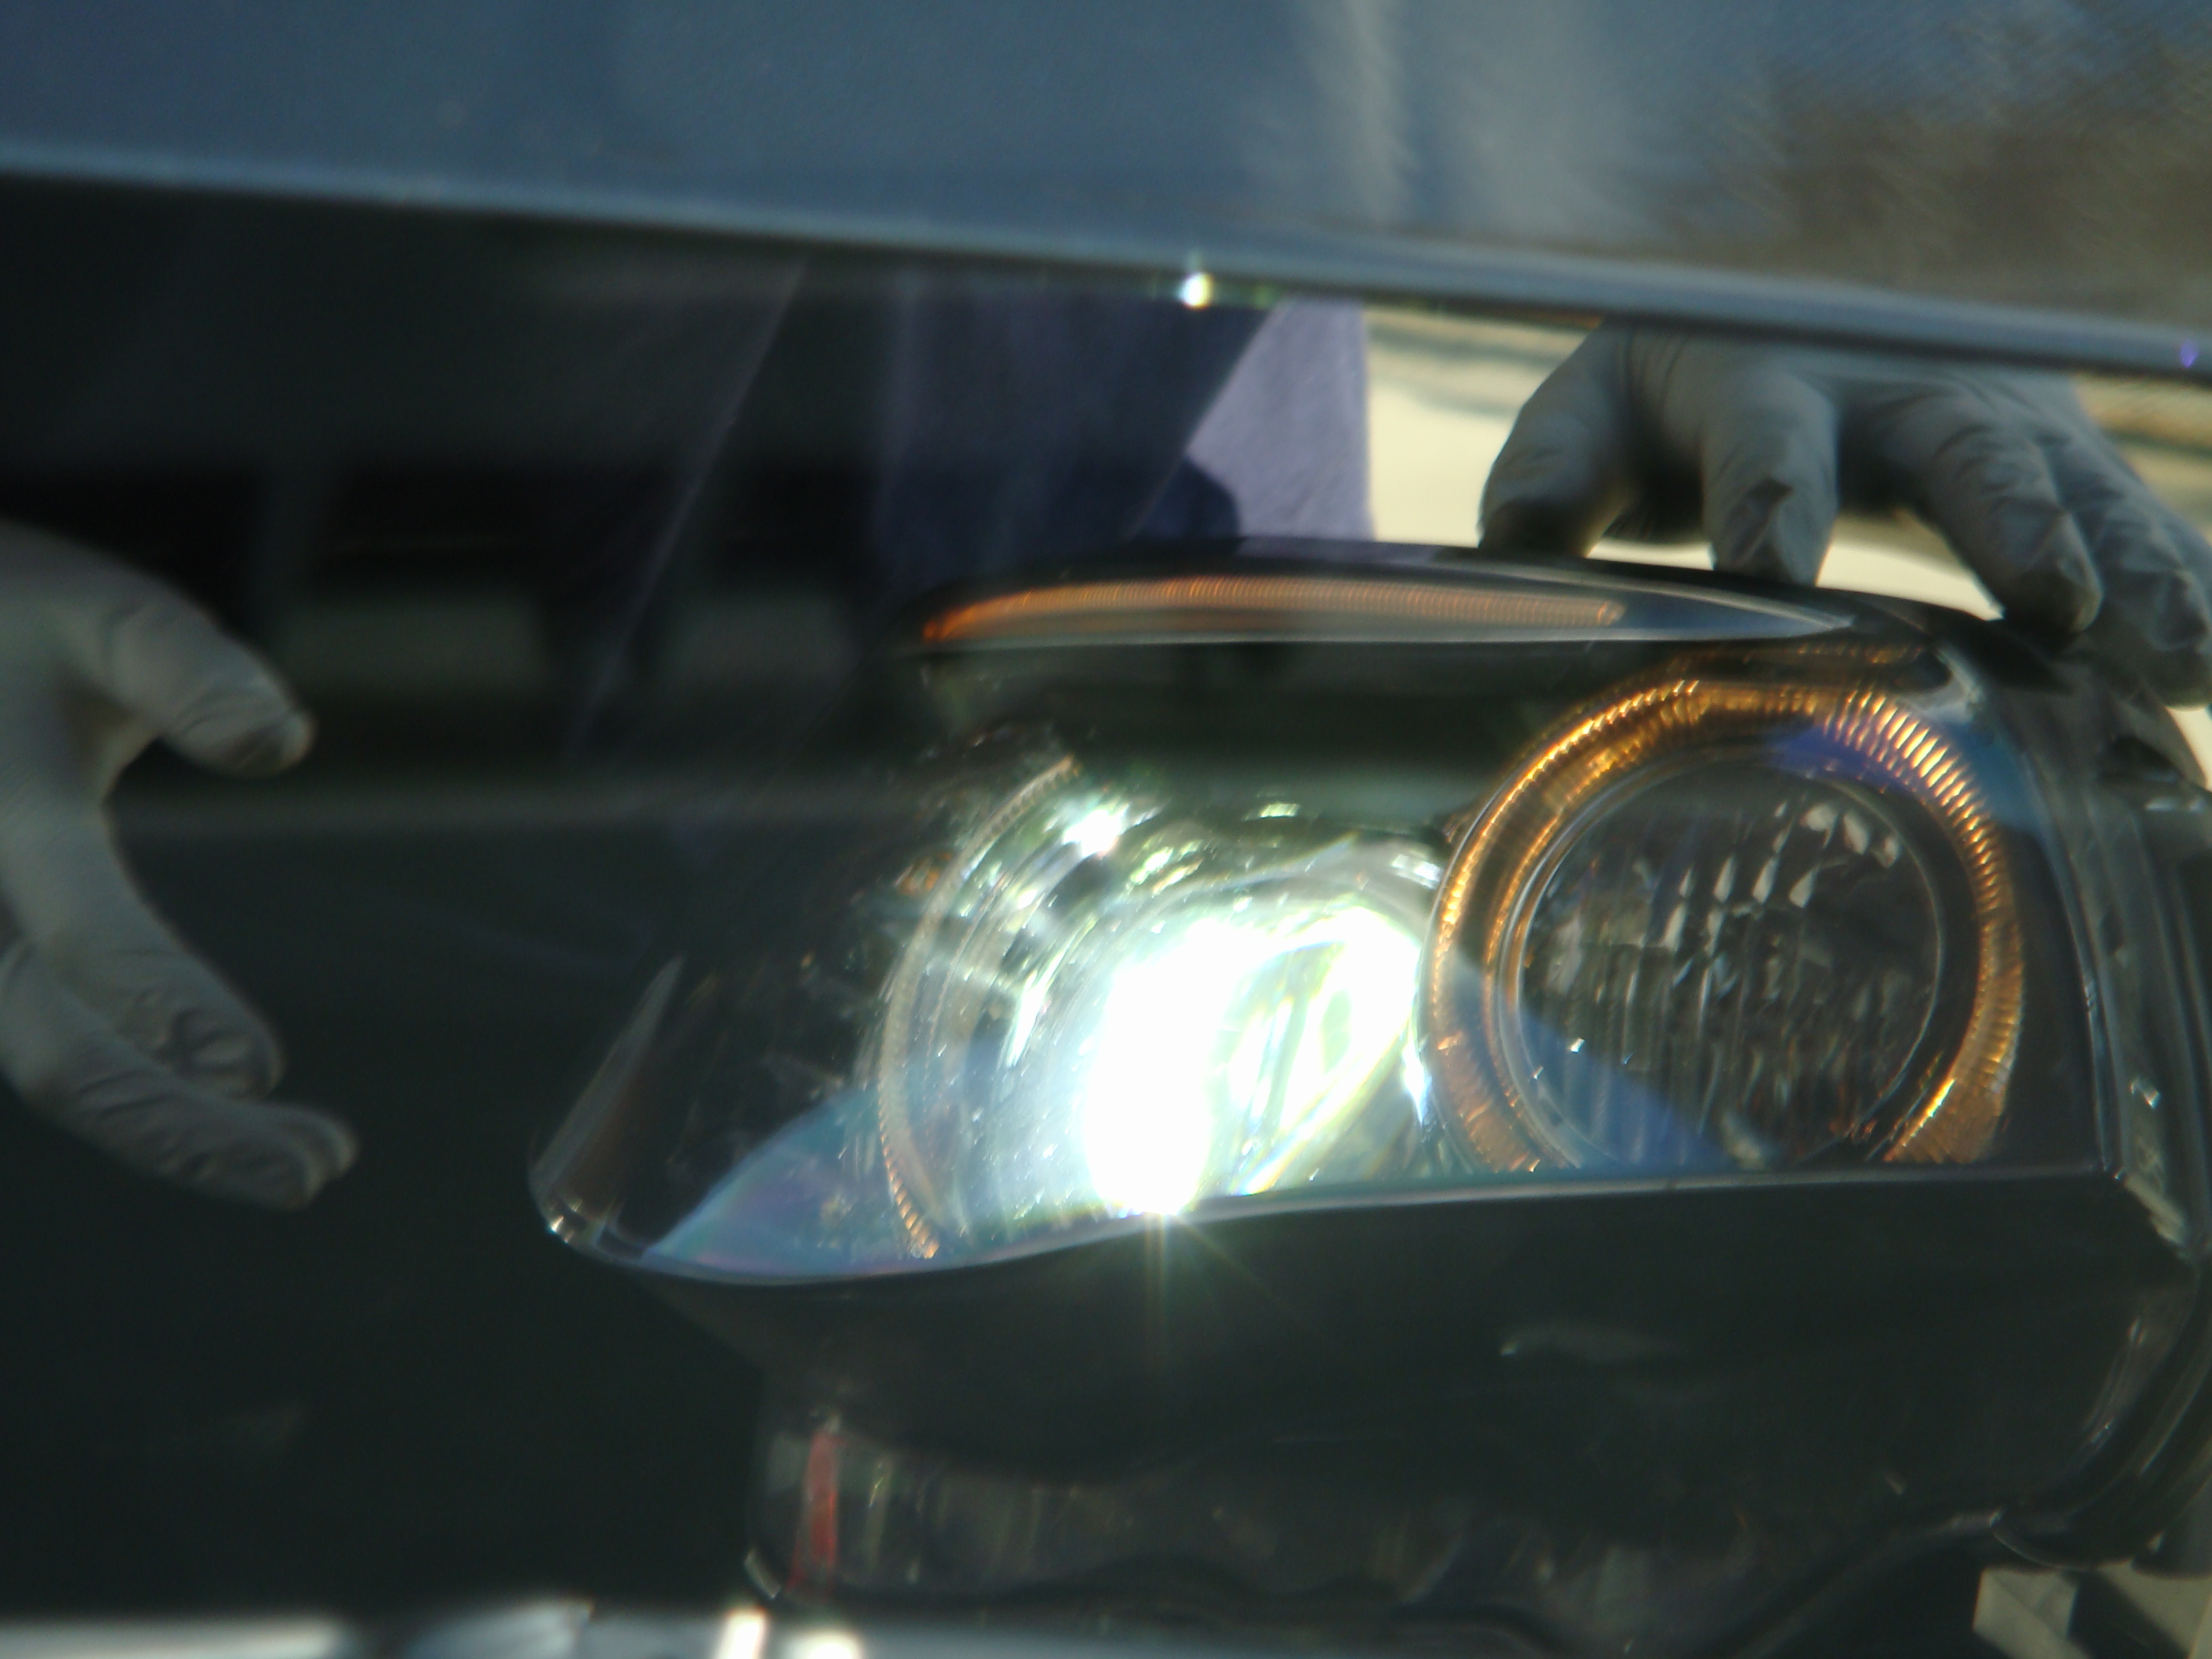
Remove angel eye cover
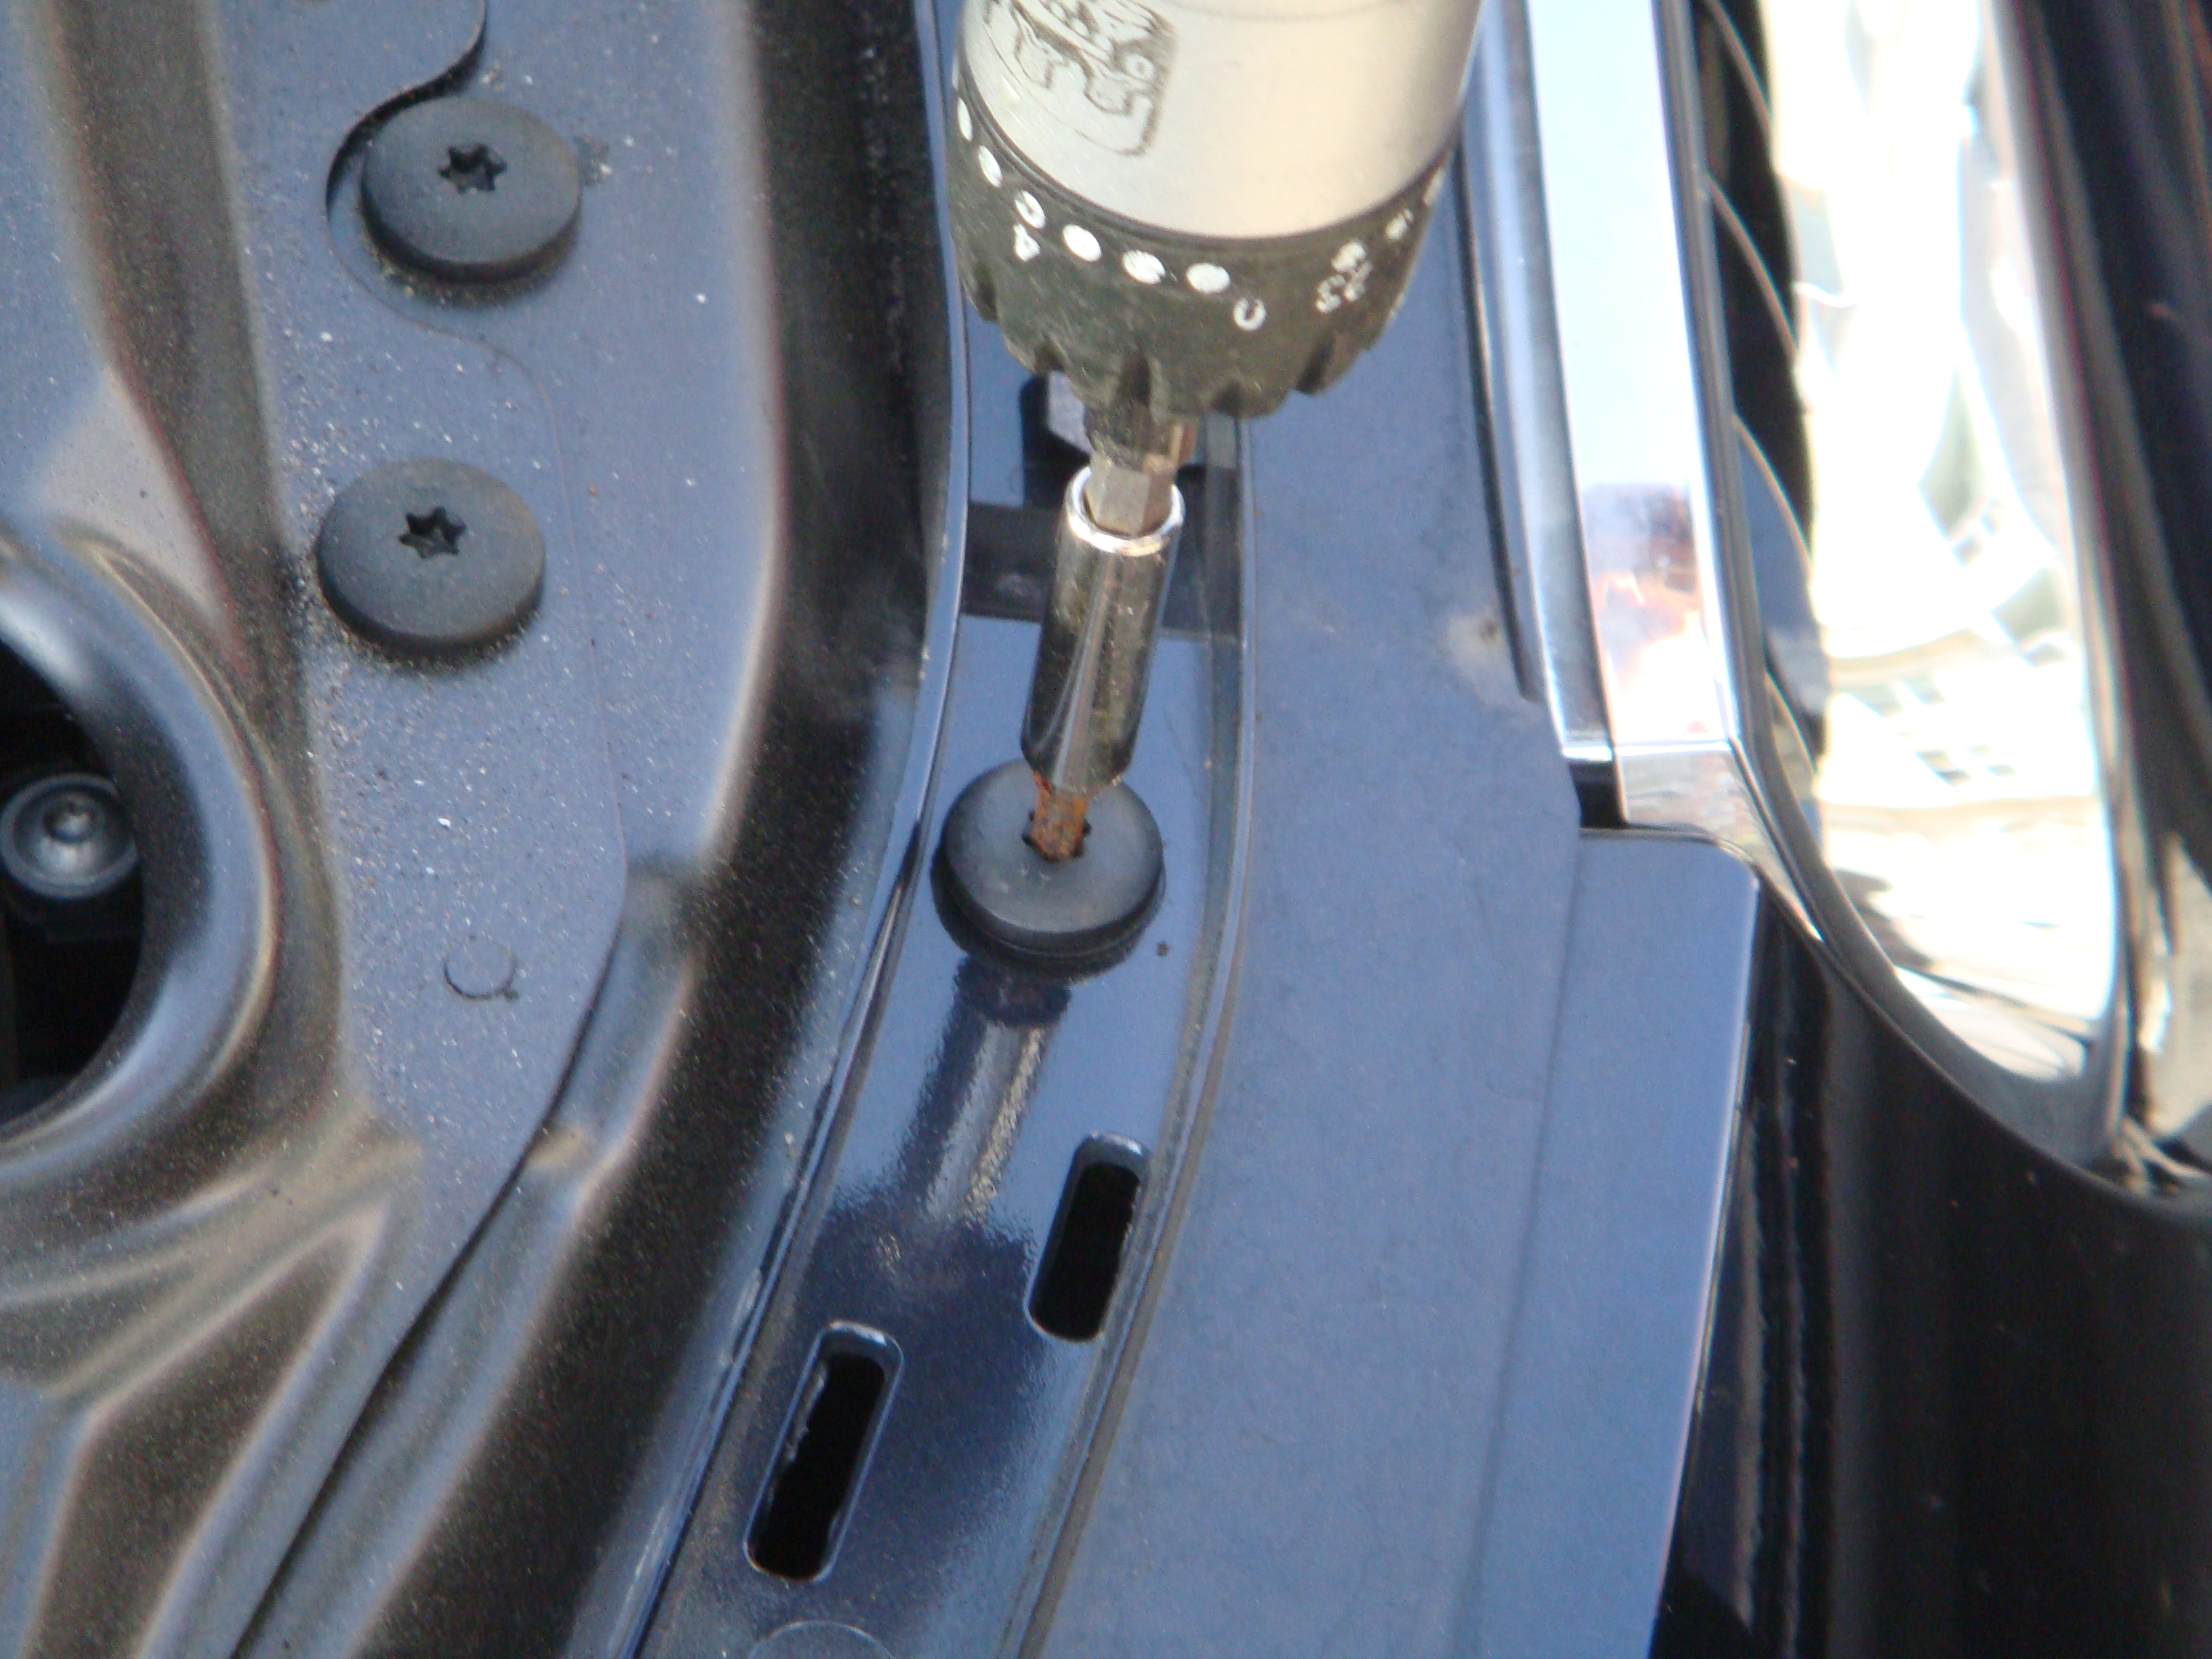
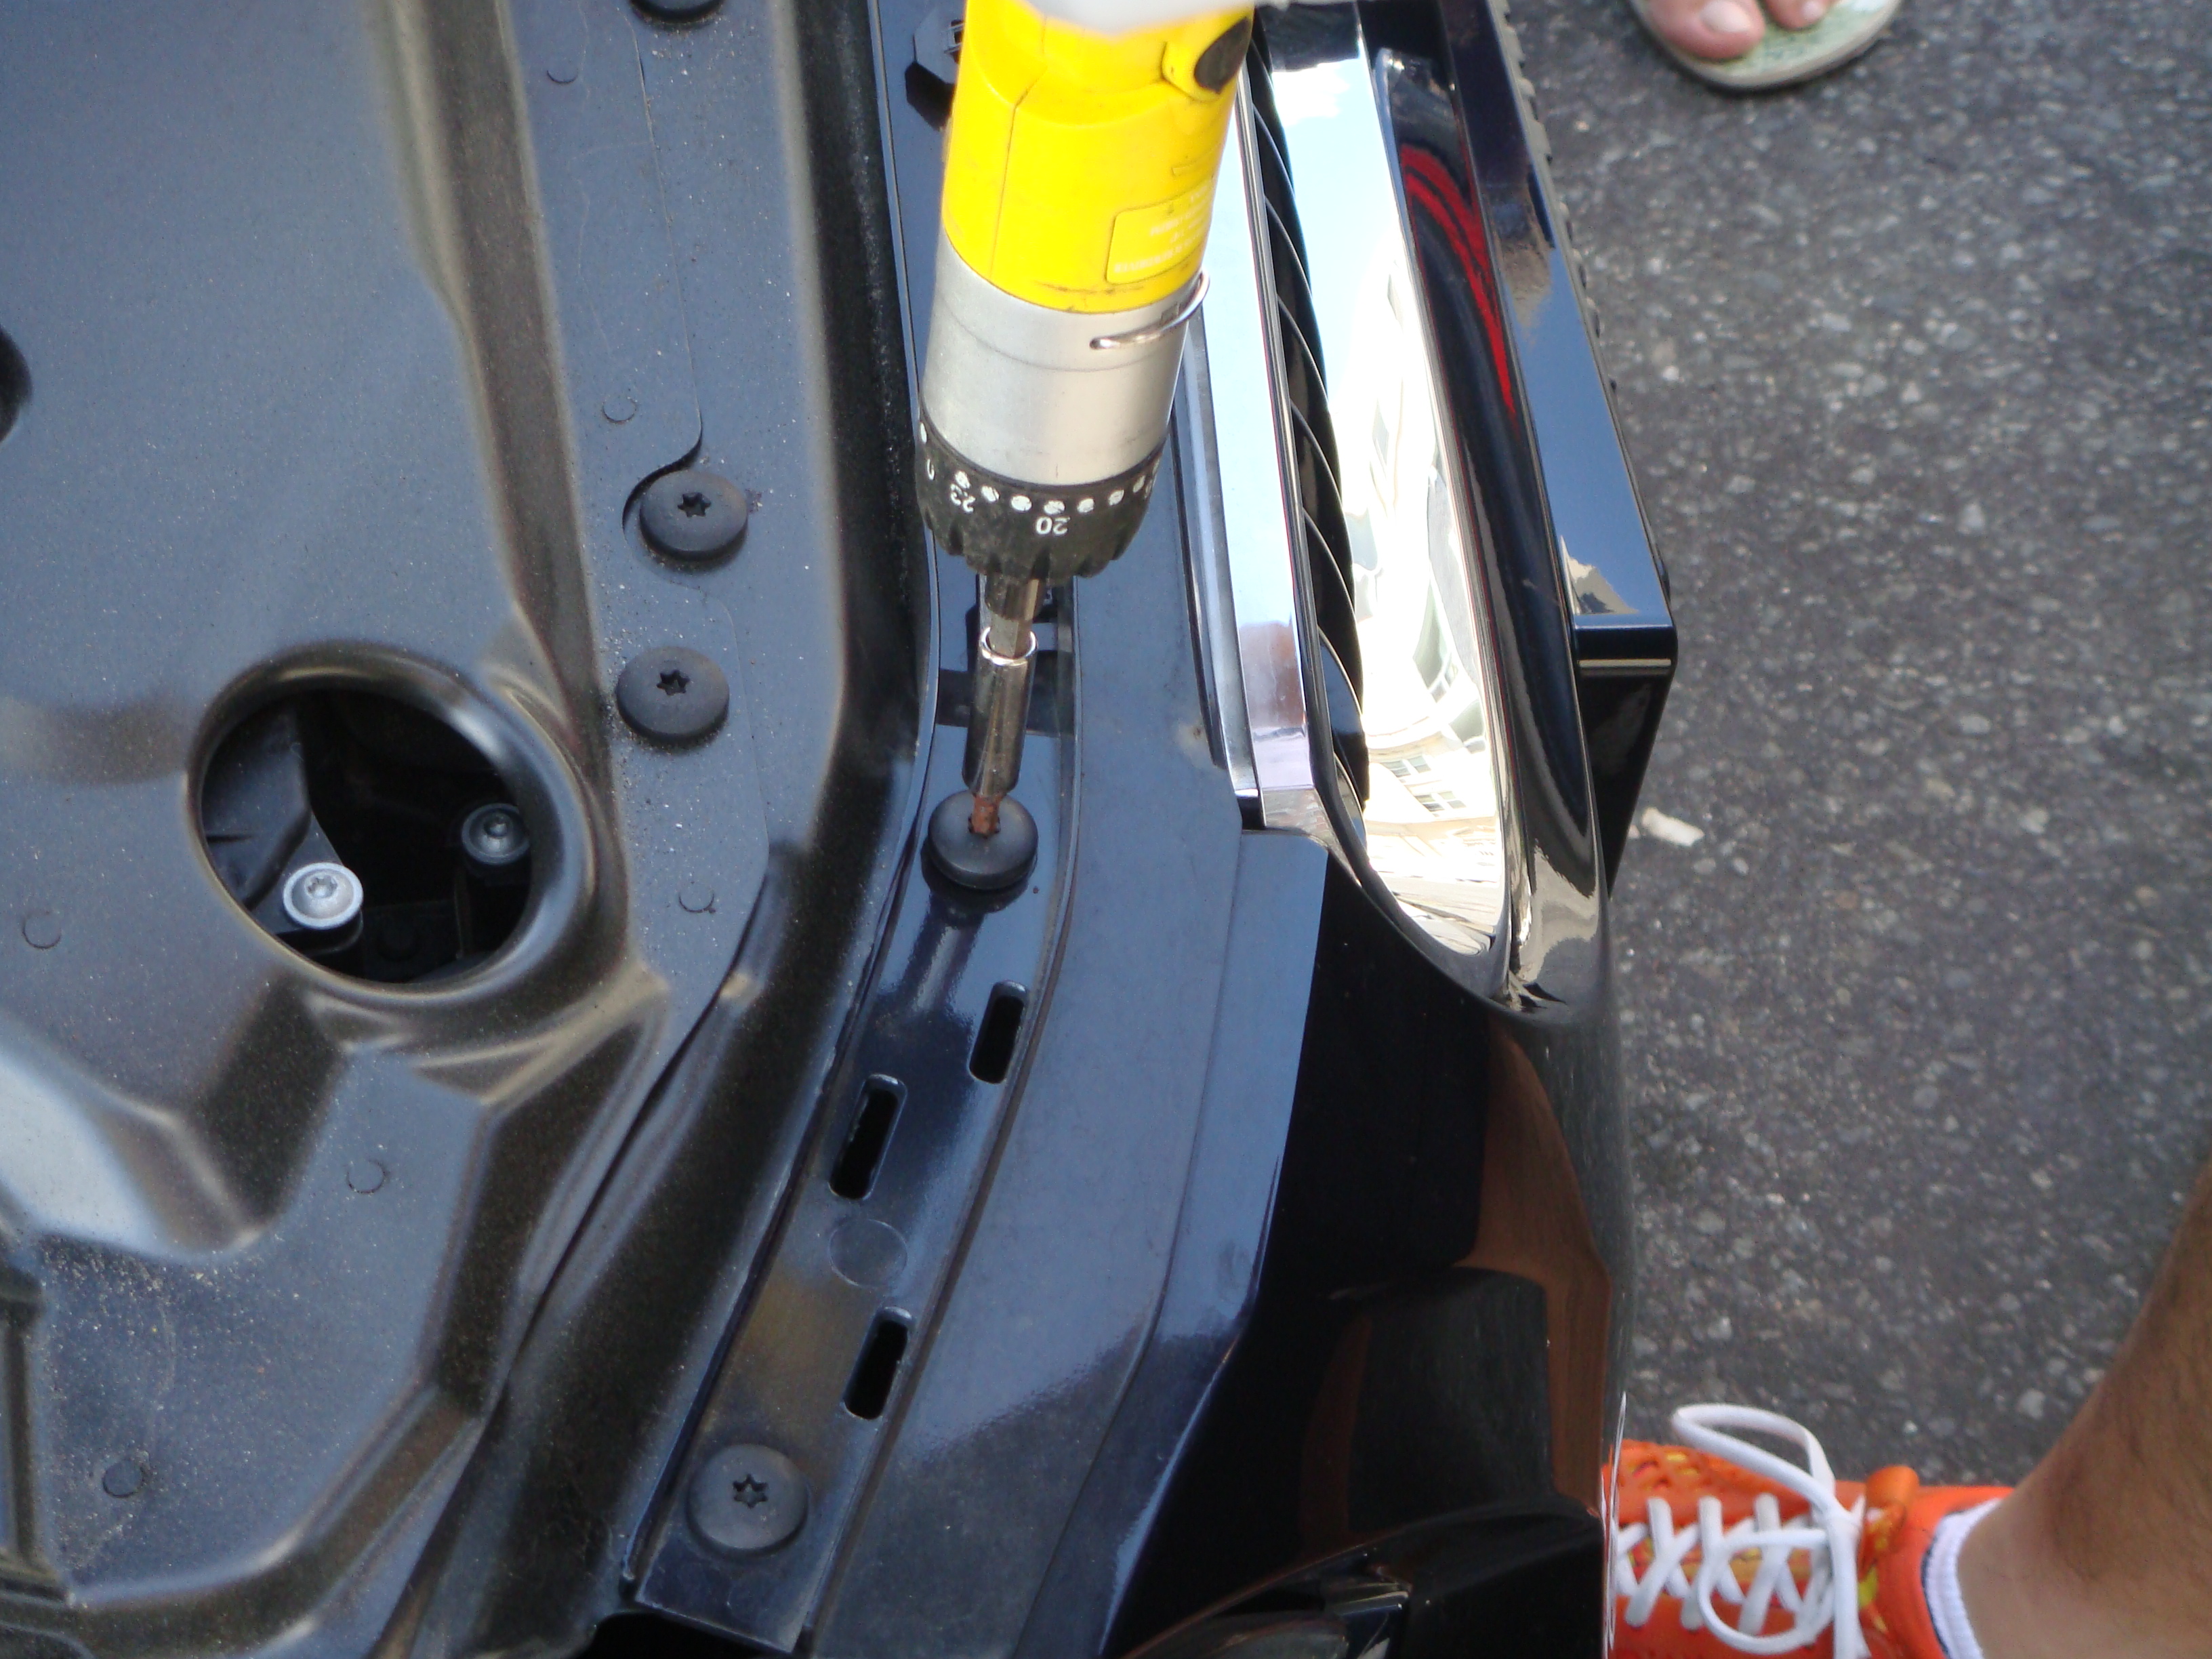
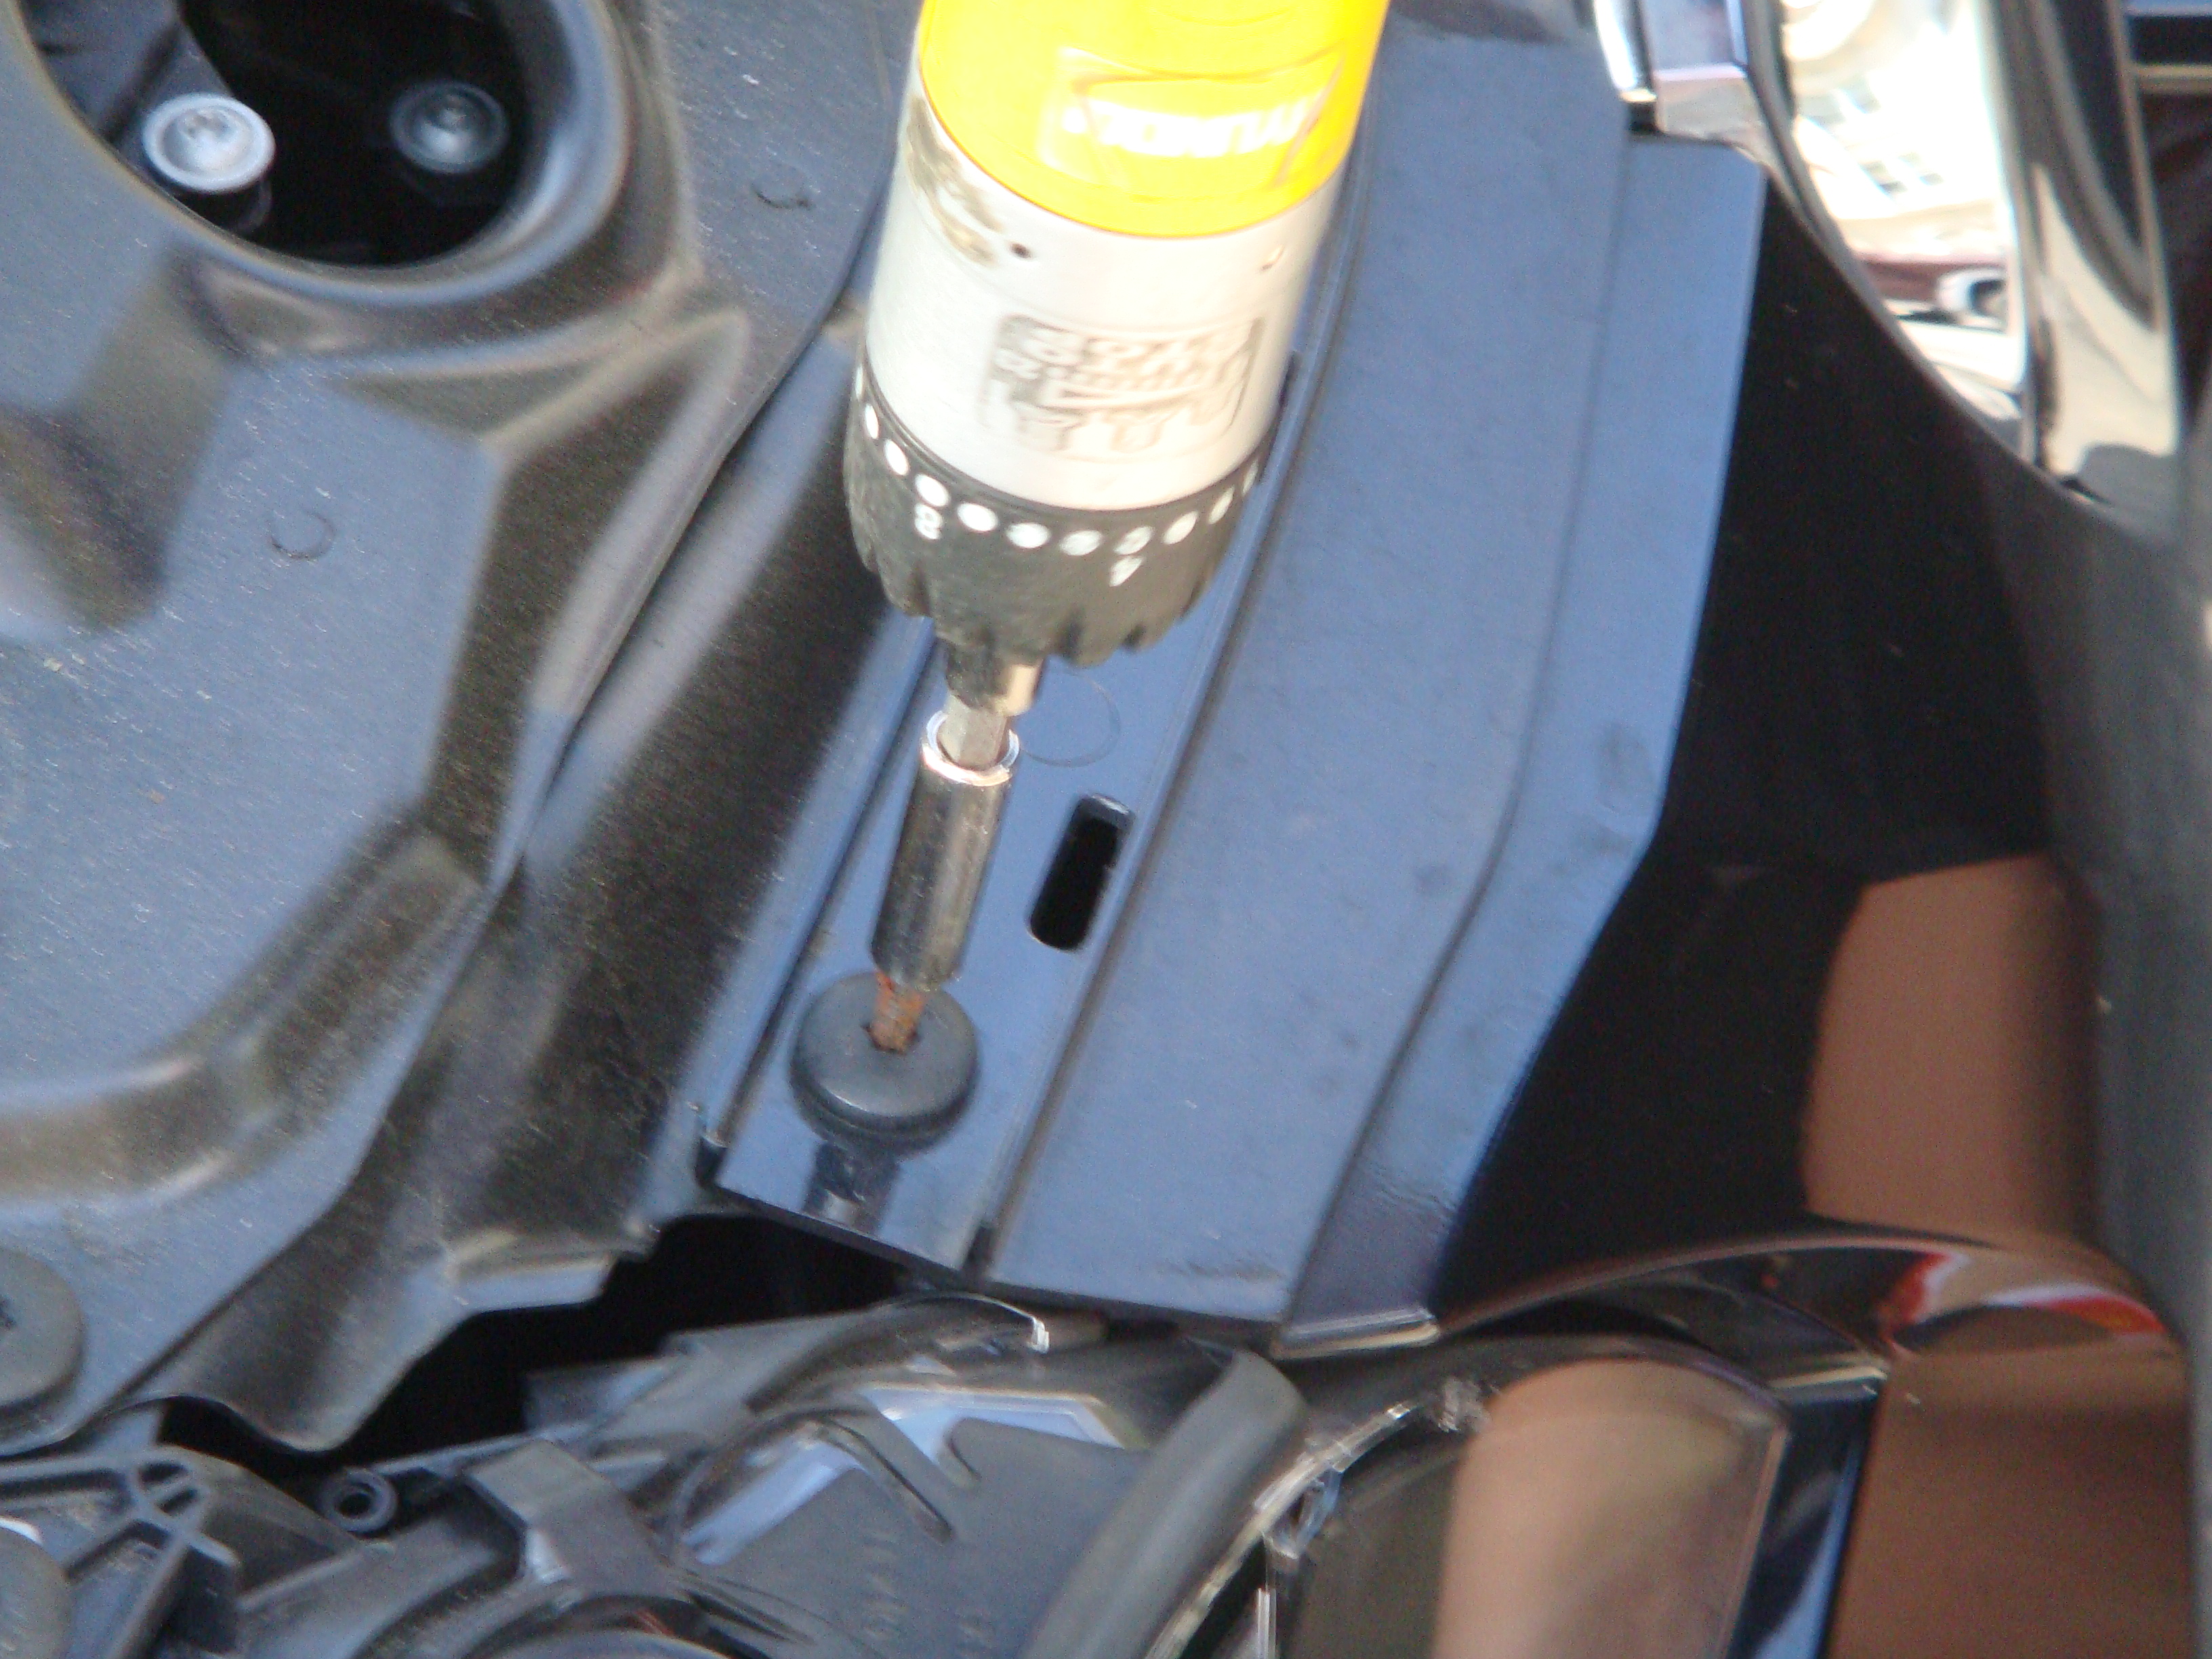
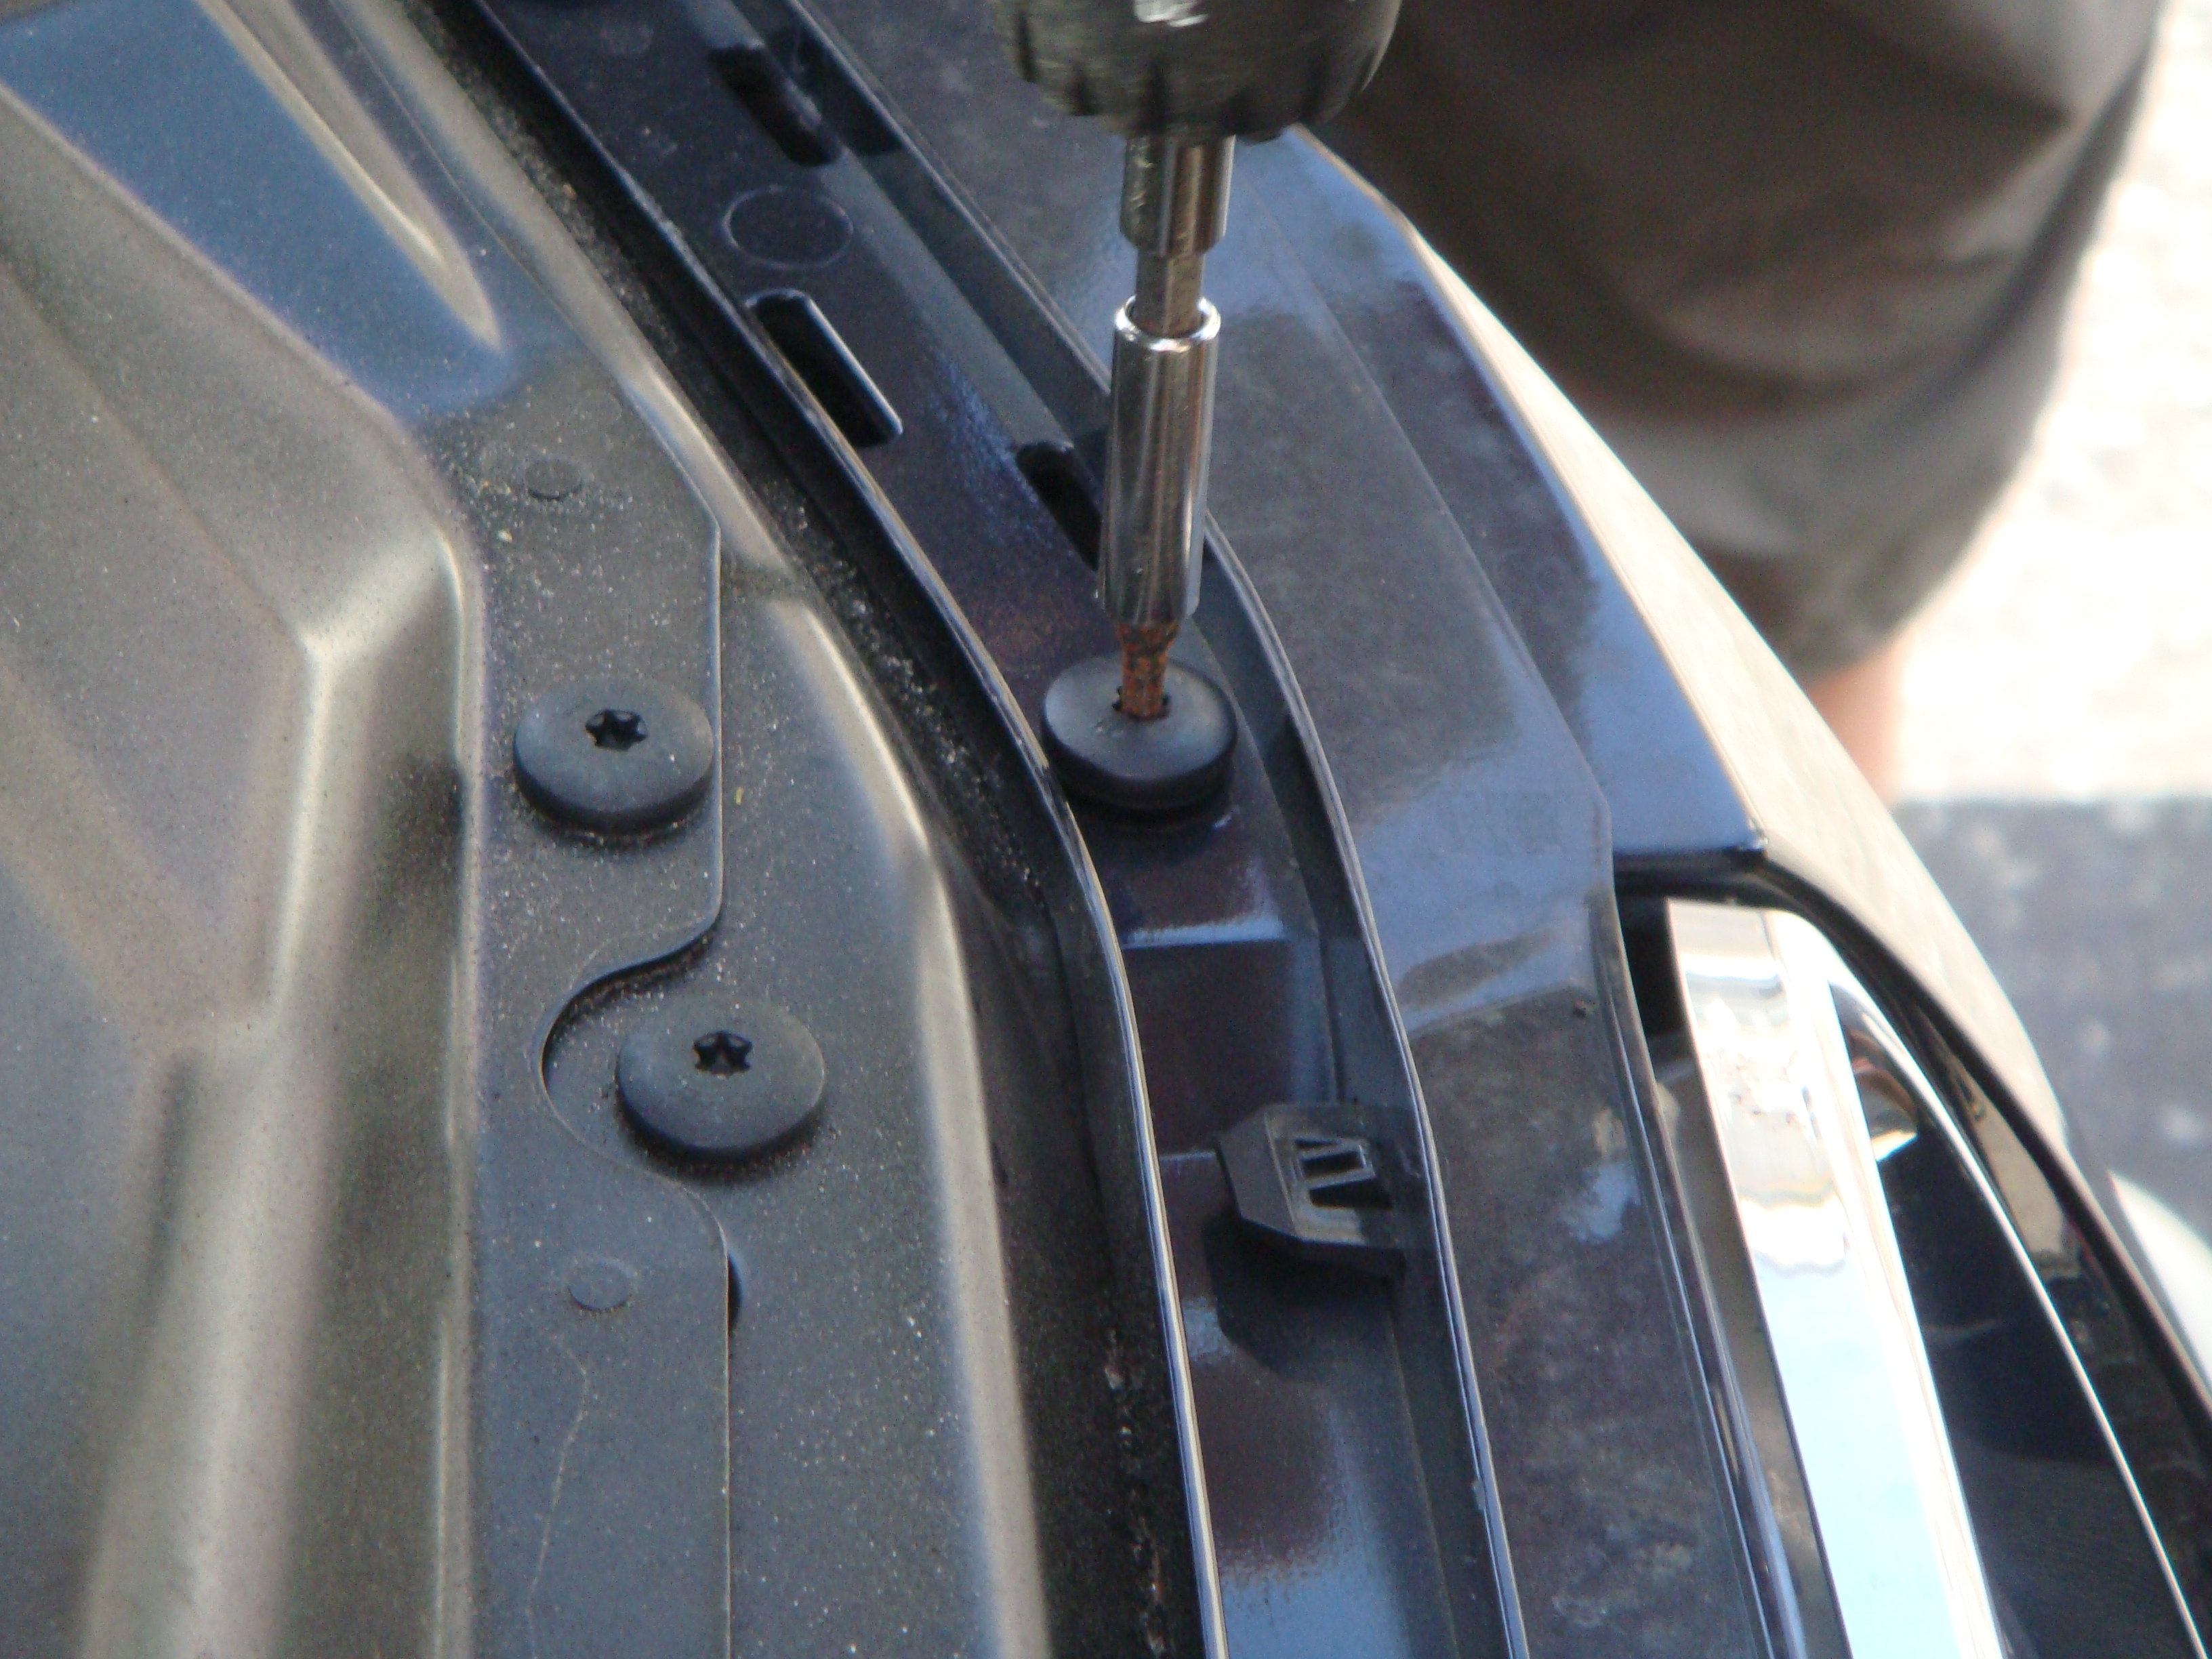
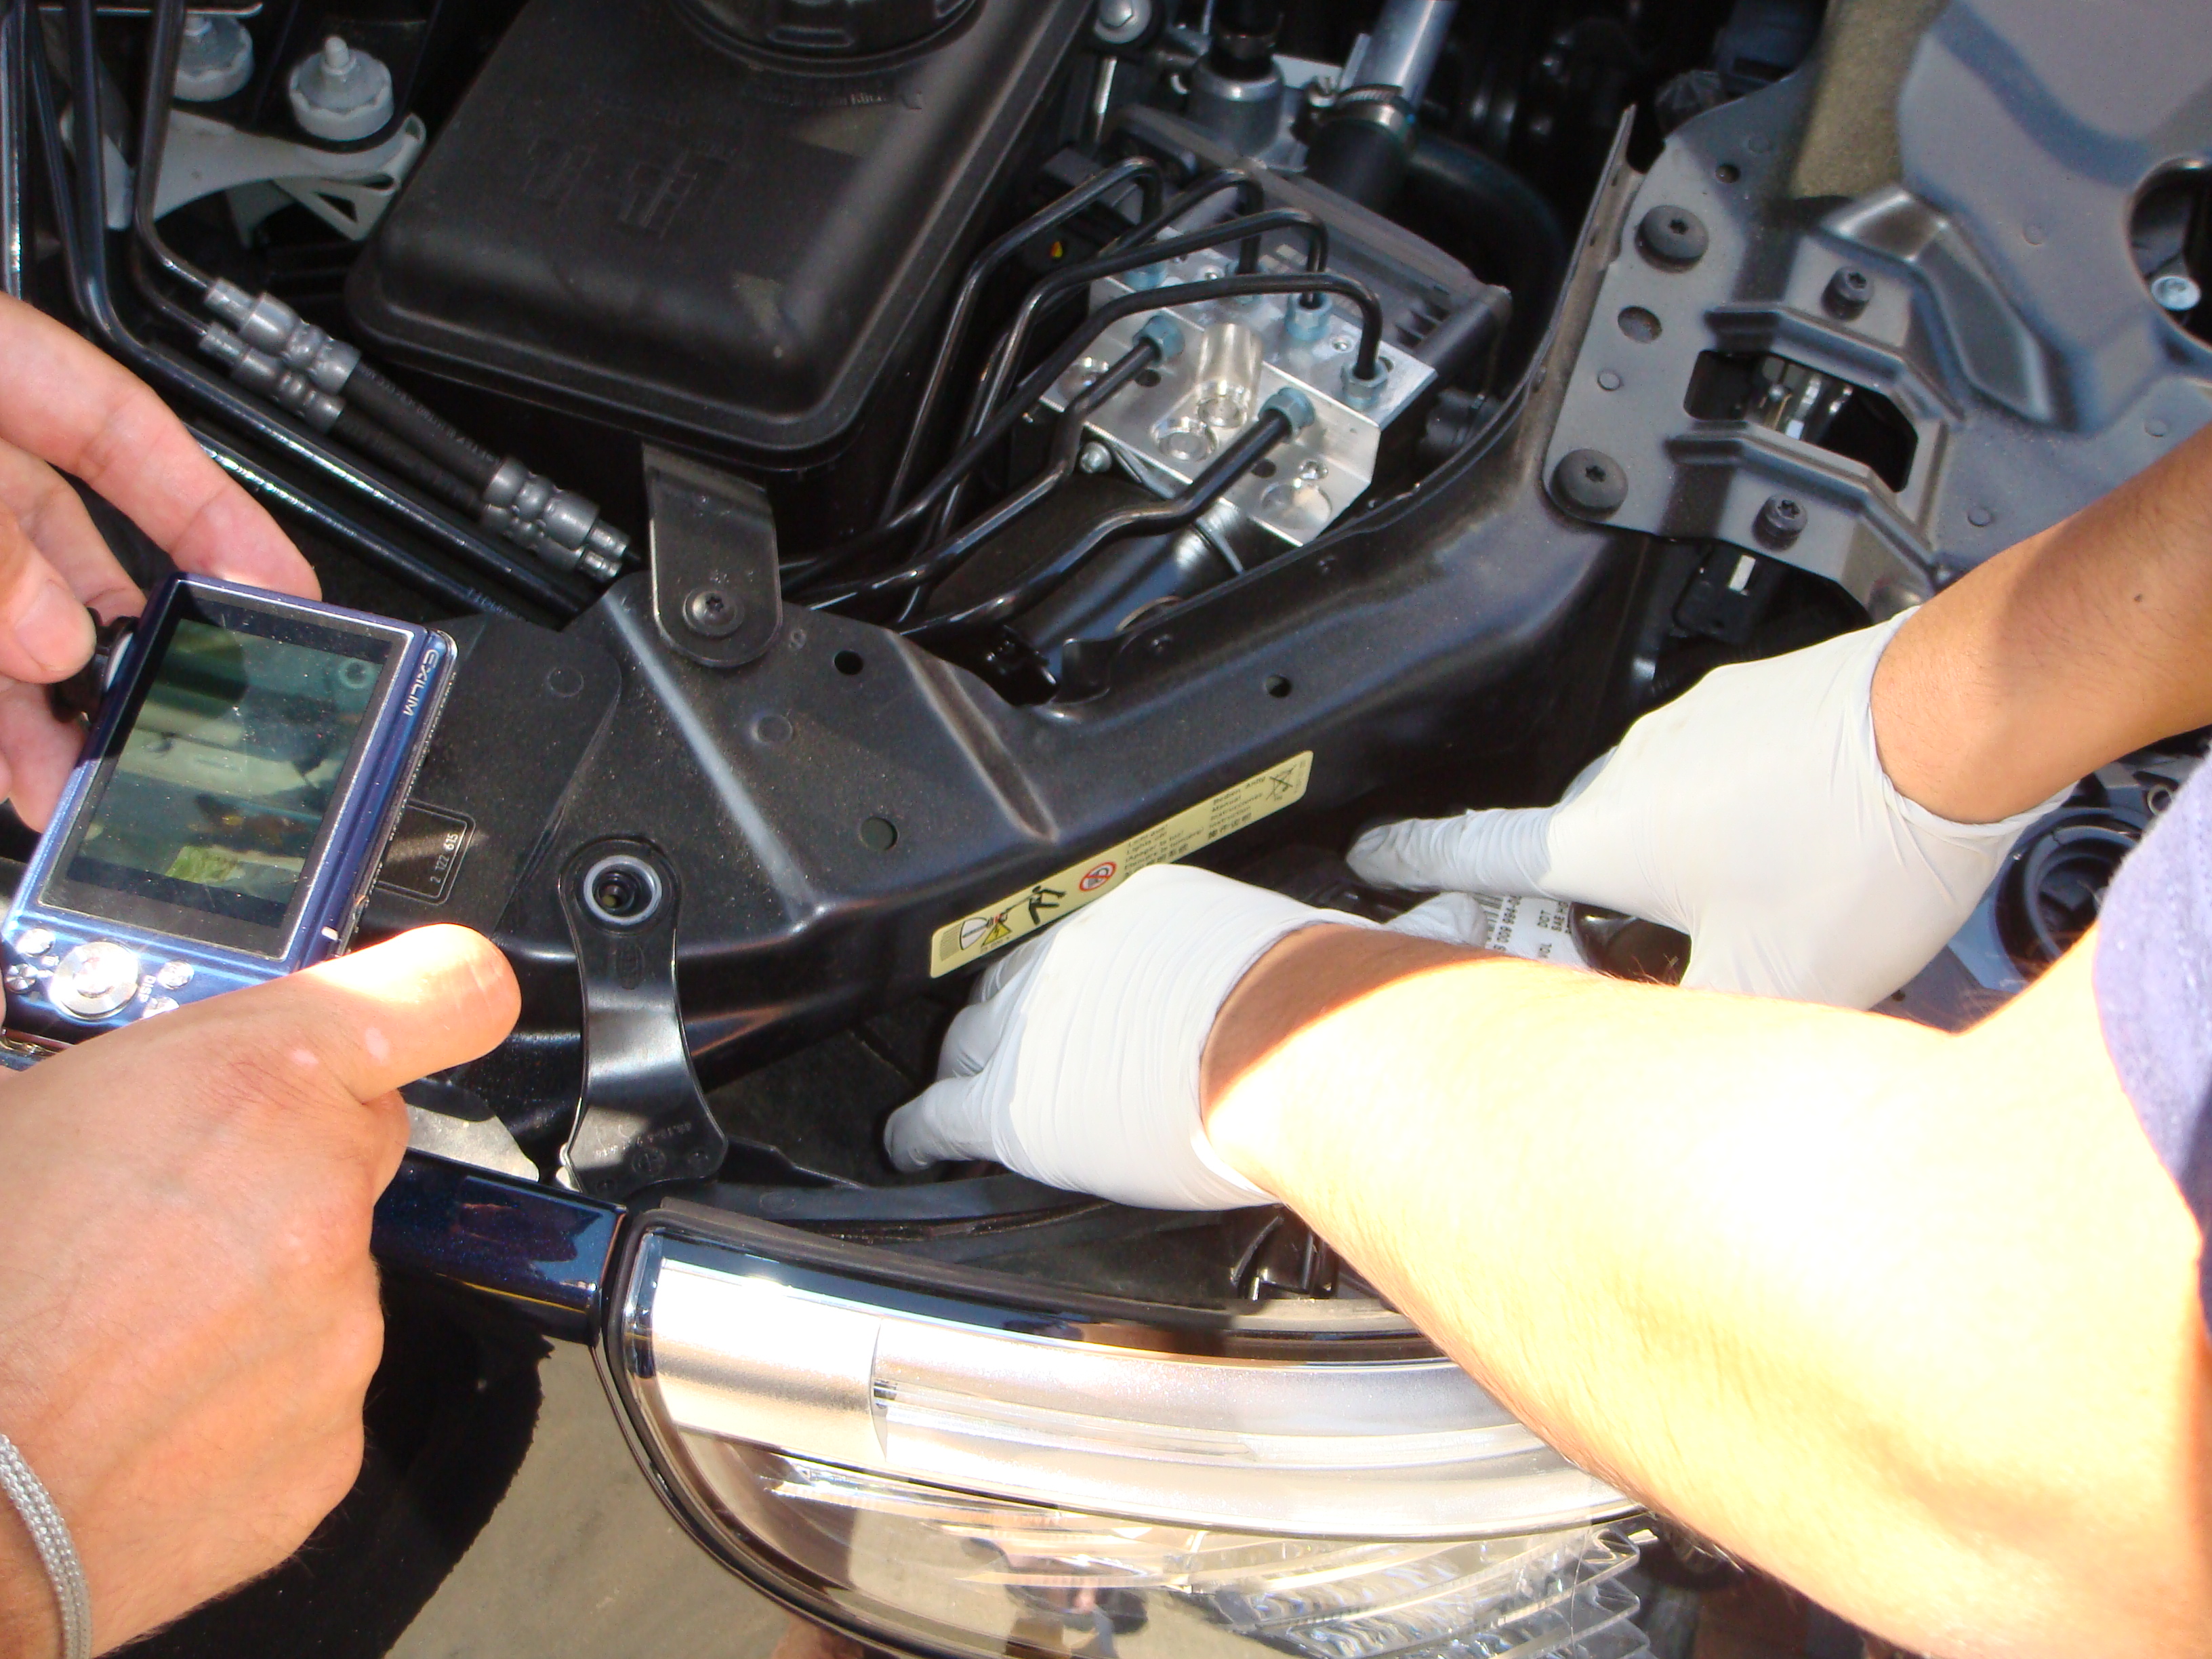
Unscrew the bottom screws for the headlights a FEW TURNS ONLY. You dont need to unscrew all of it and then lose the screw. Then ur really SCREWED.

You may also open the headlight cover to get more room
Remove angel eye cover
Unscrew the bottom screws for the headlights a FEW TURNS ONLY. You dont need to unscrew all of it and then lose the screw. Then ur really SCREWED.
You may also open the headlight cover to get more room
Thread Starter
Banned
Joined: Jun 2008
Posts: 7,983
Likes: 1
From: Queens, NY
My Ride: A Car
Originally Posted by pjinca' post='969306' date='Aug 8 2009, 03:44 AM
Kinda missing some pics aren't you John?
 Be patient.
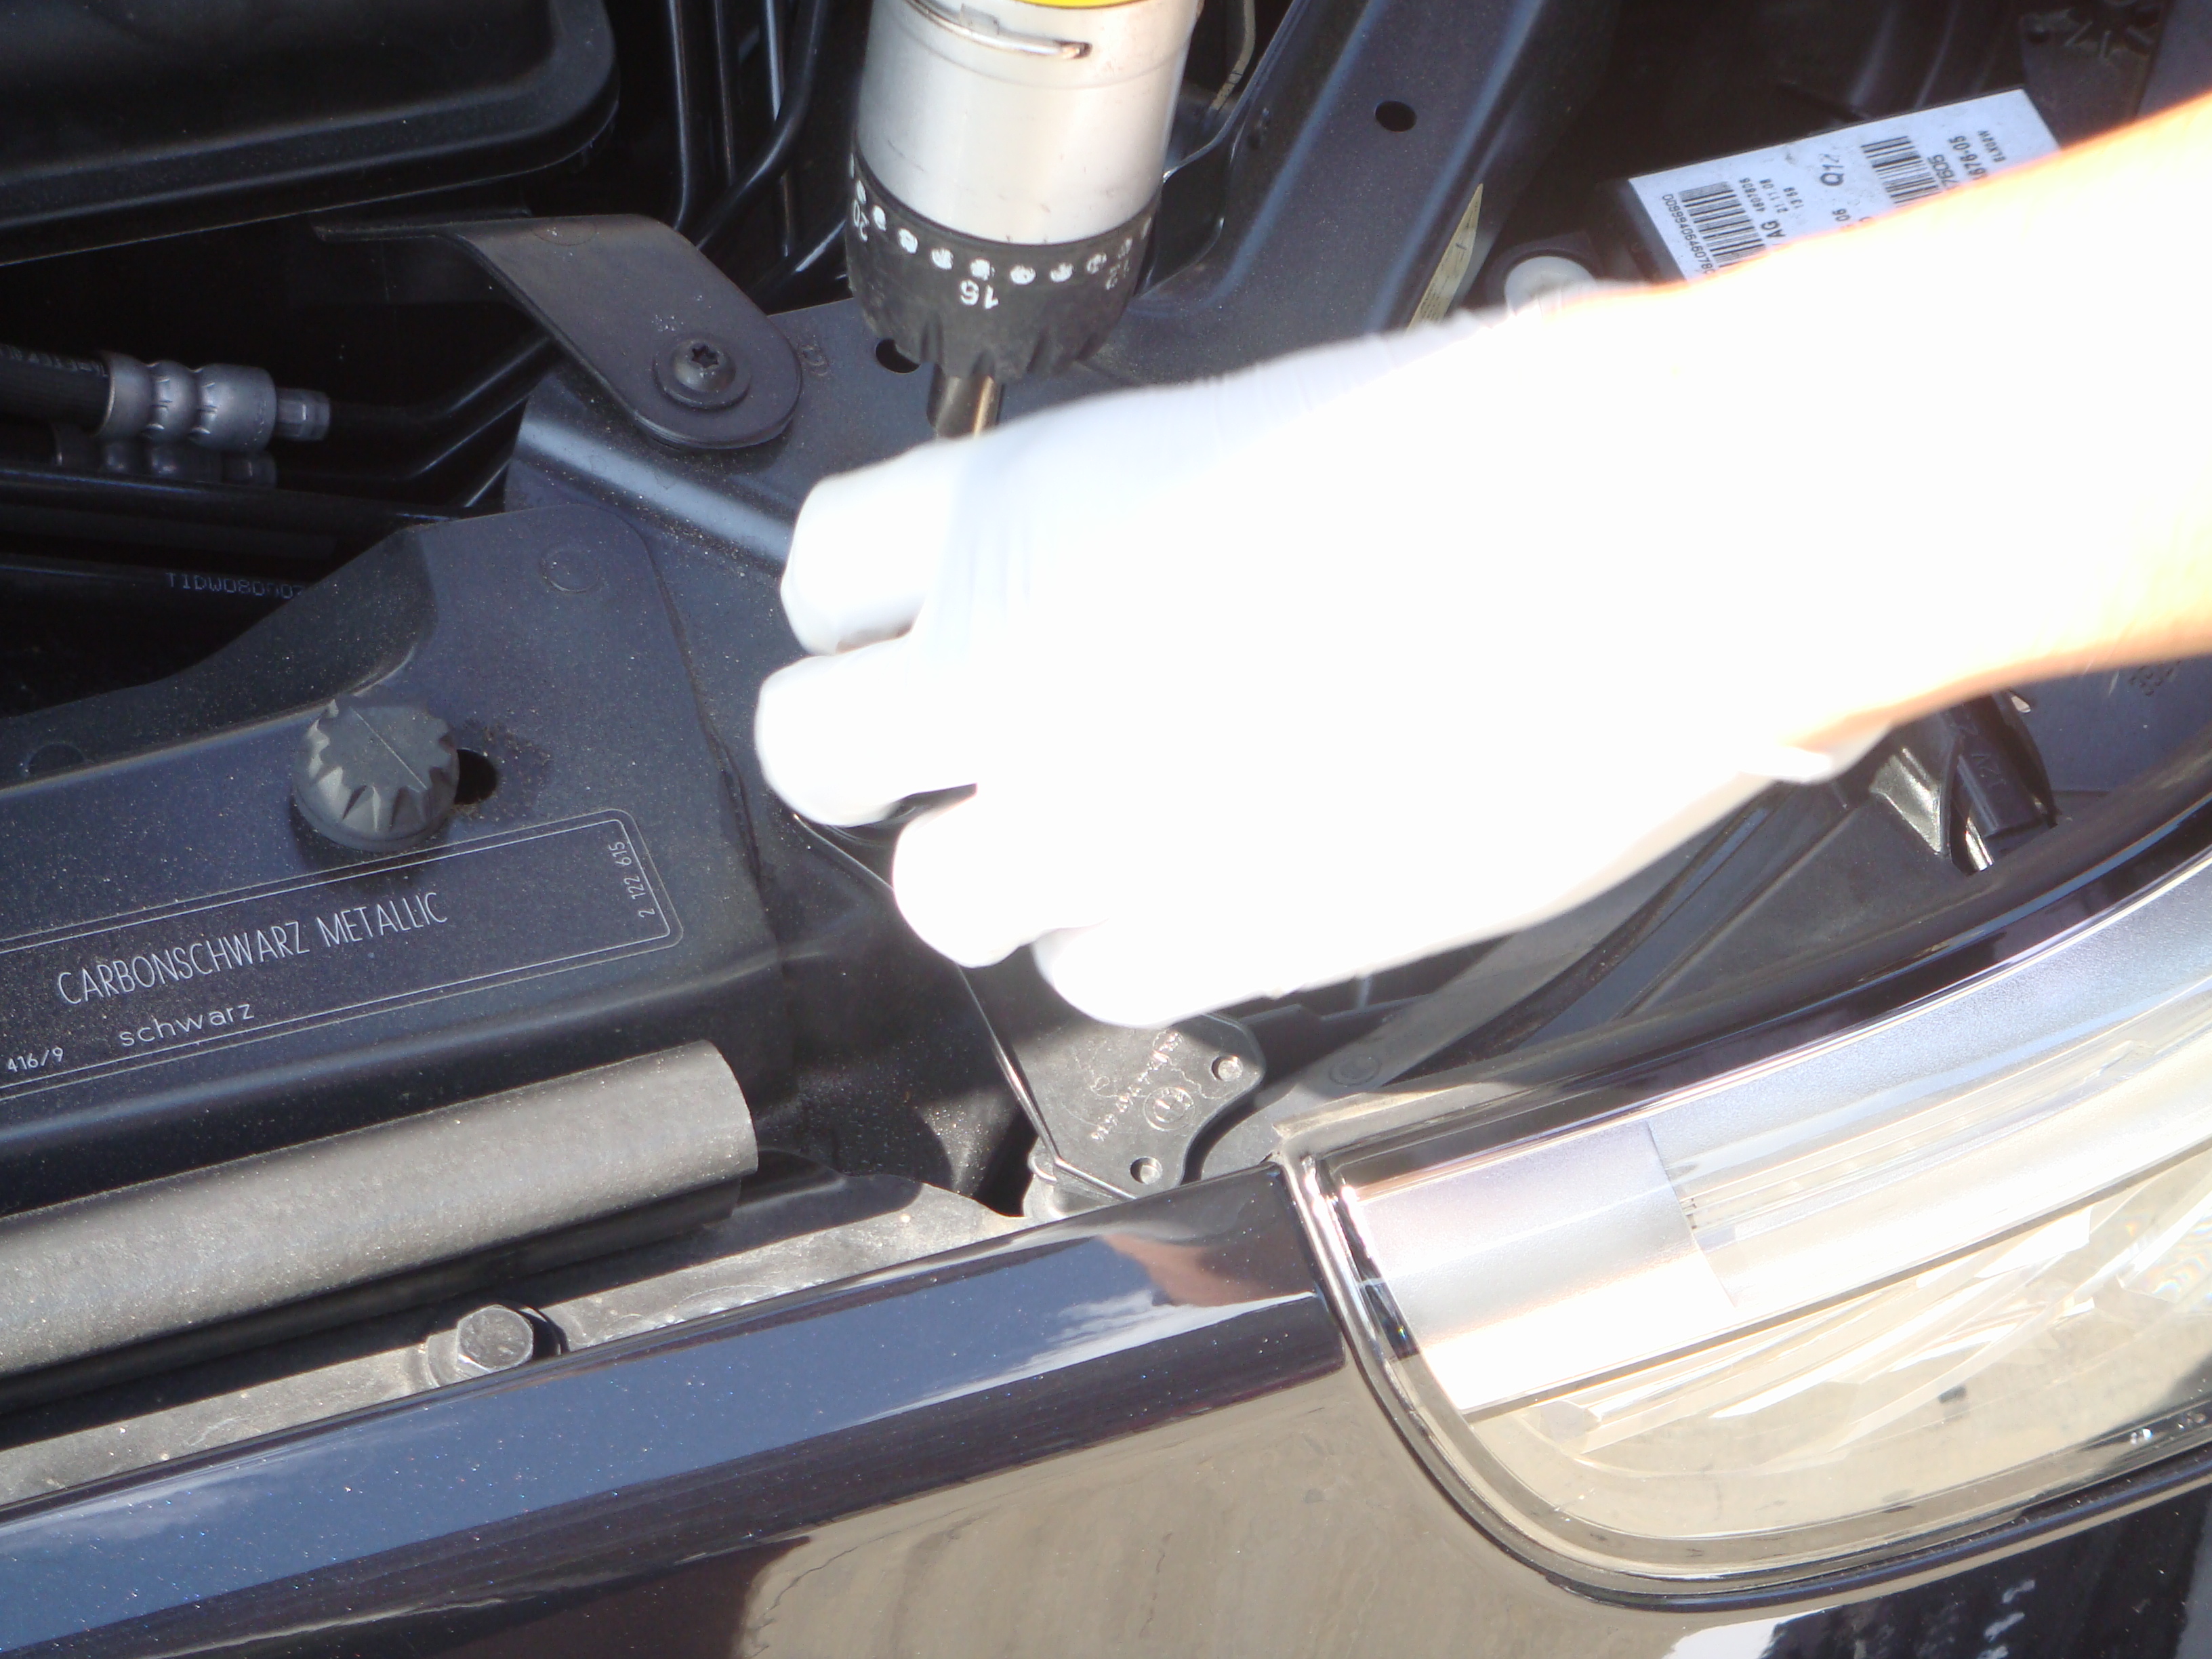
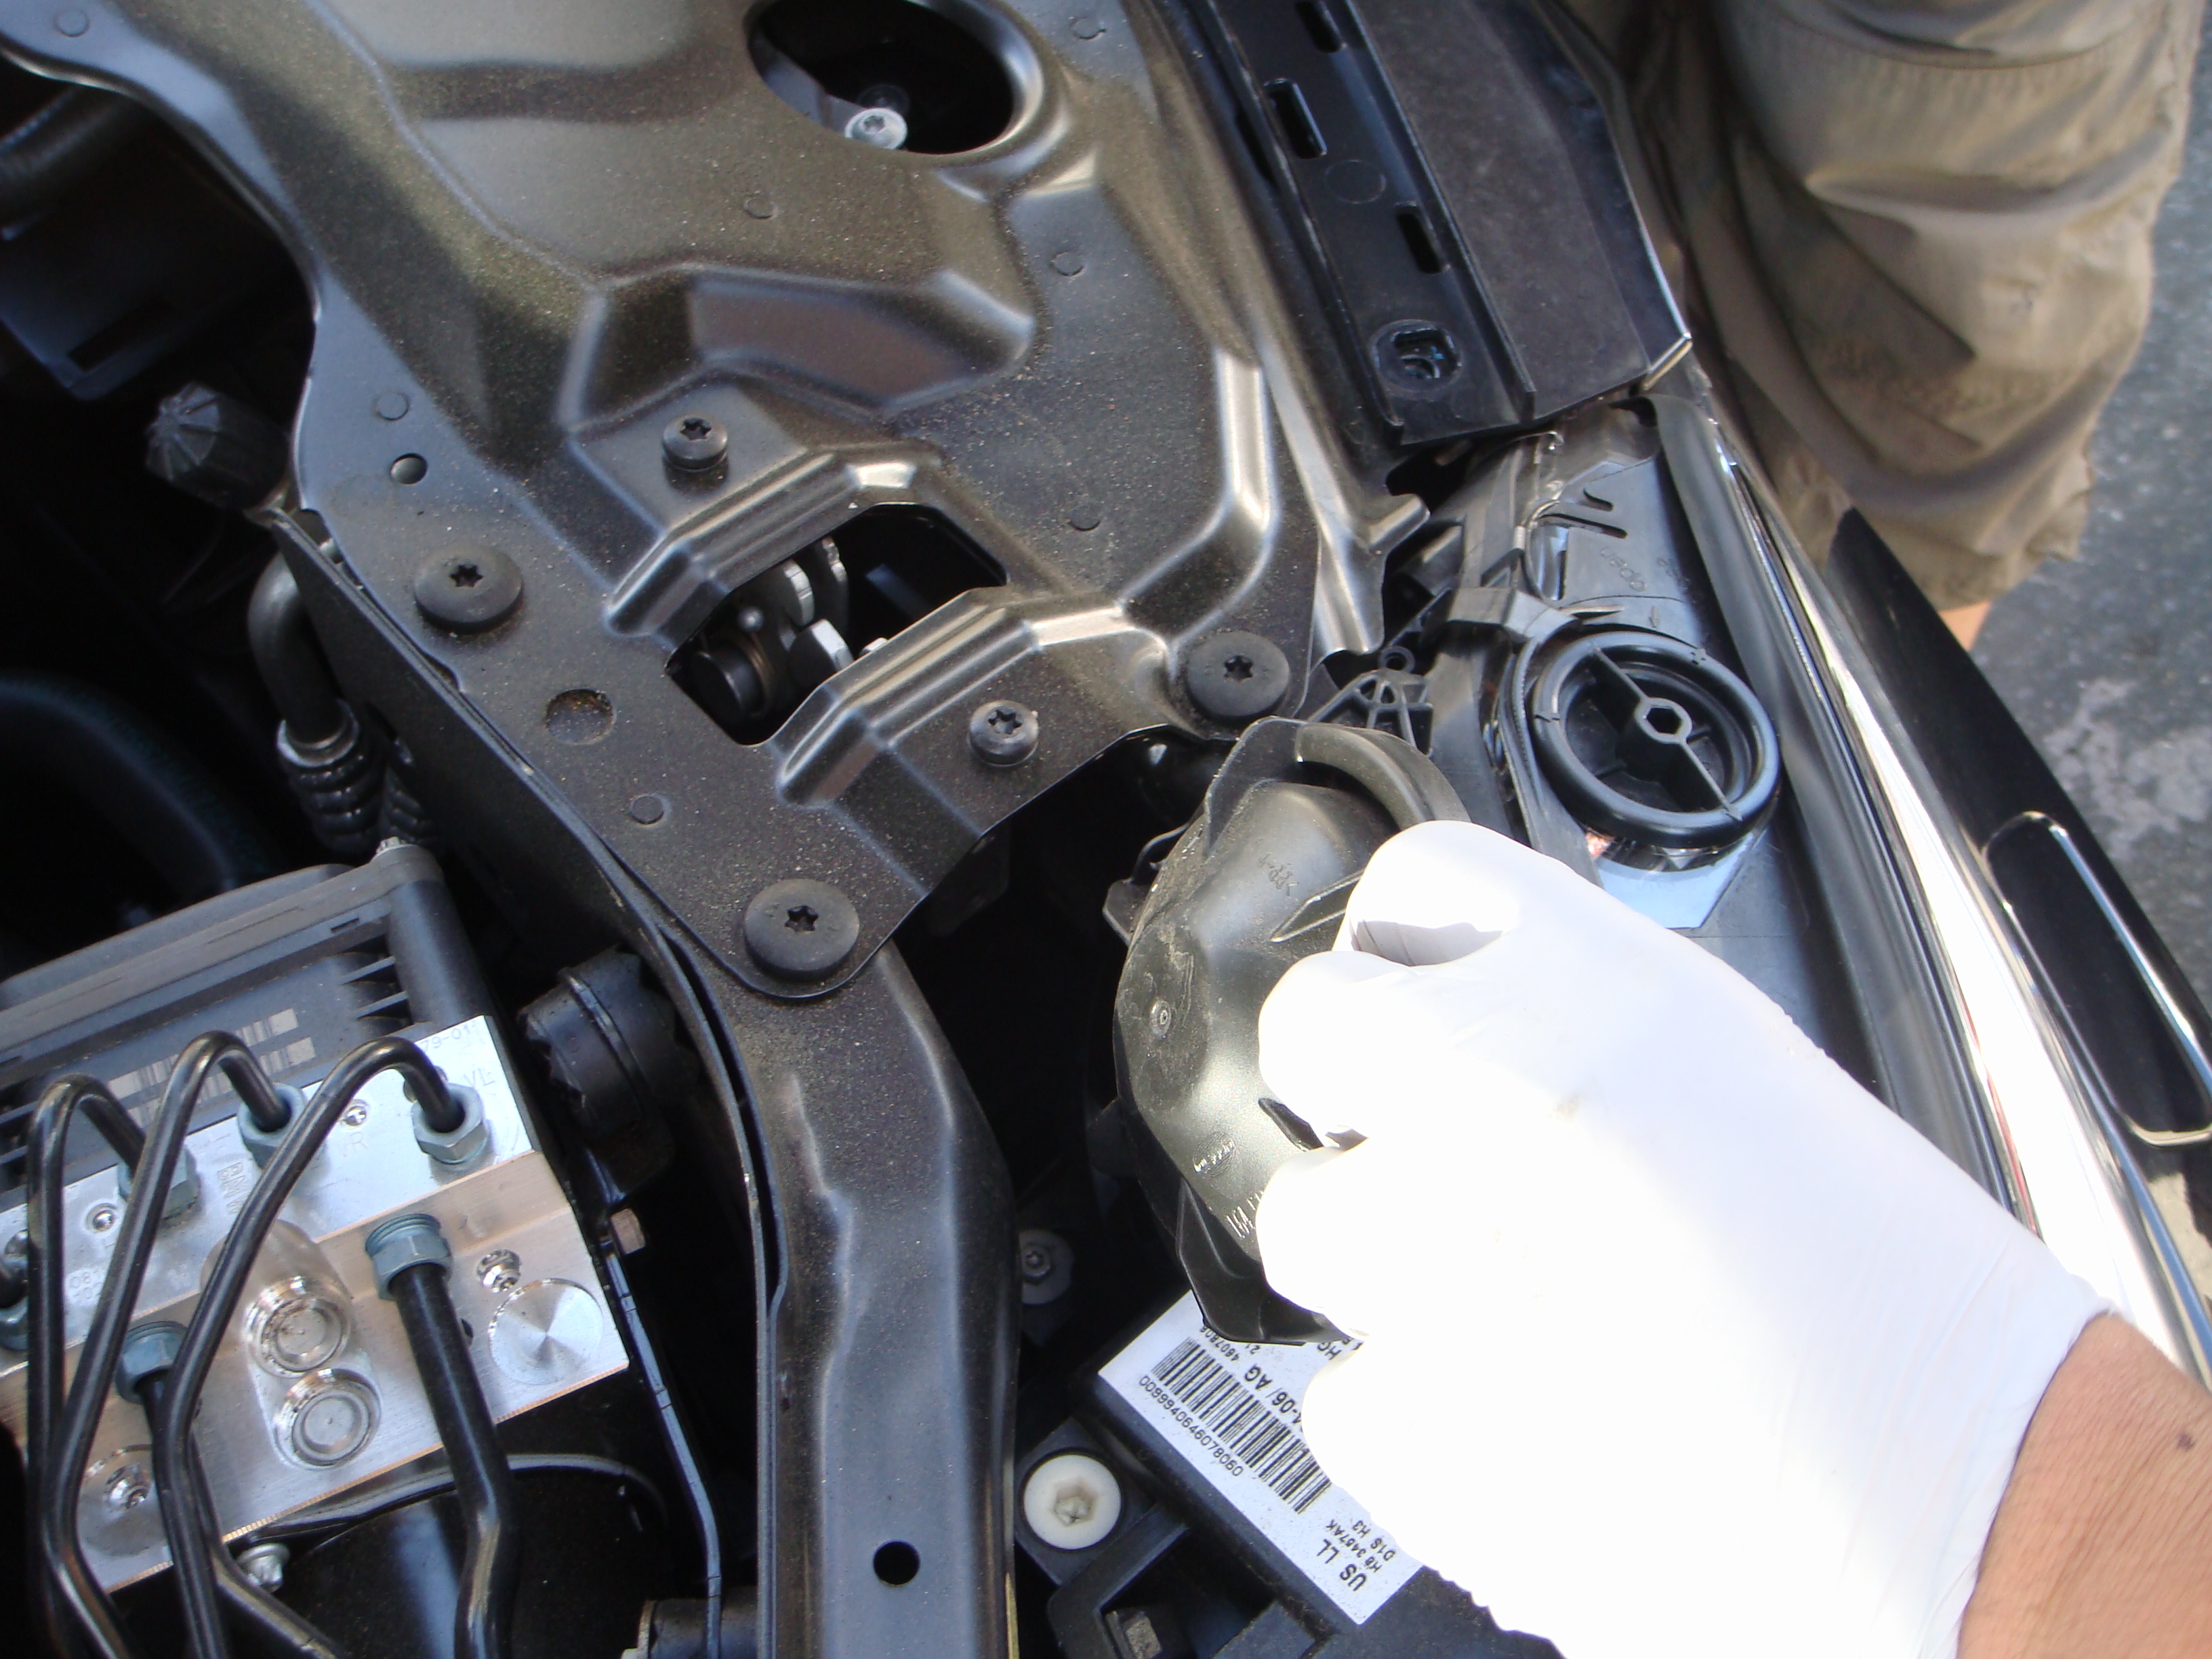
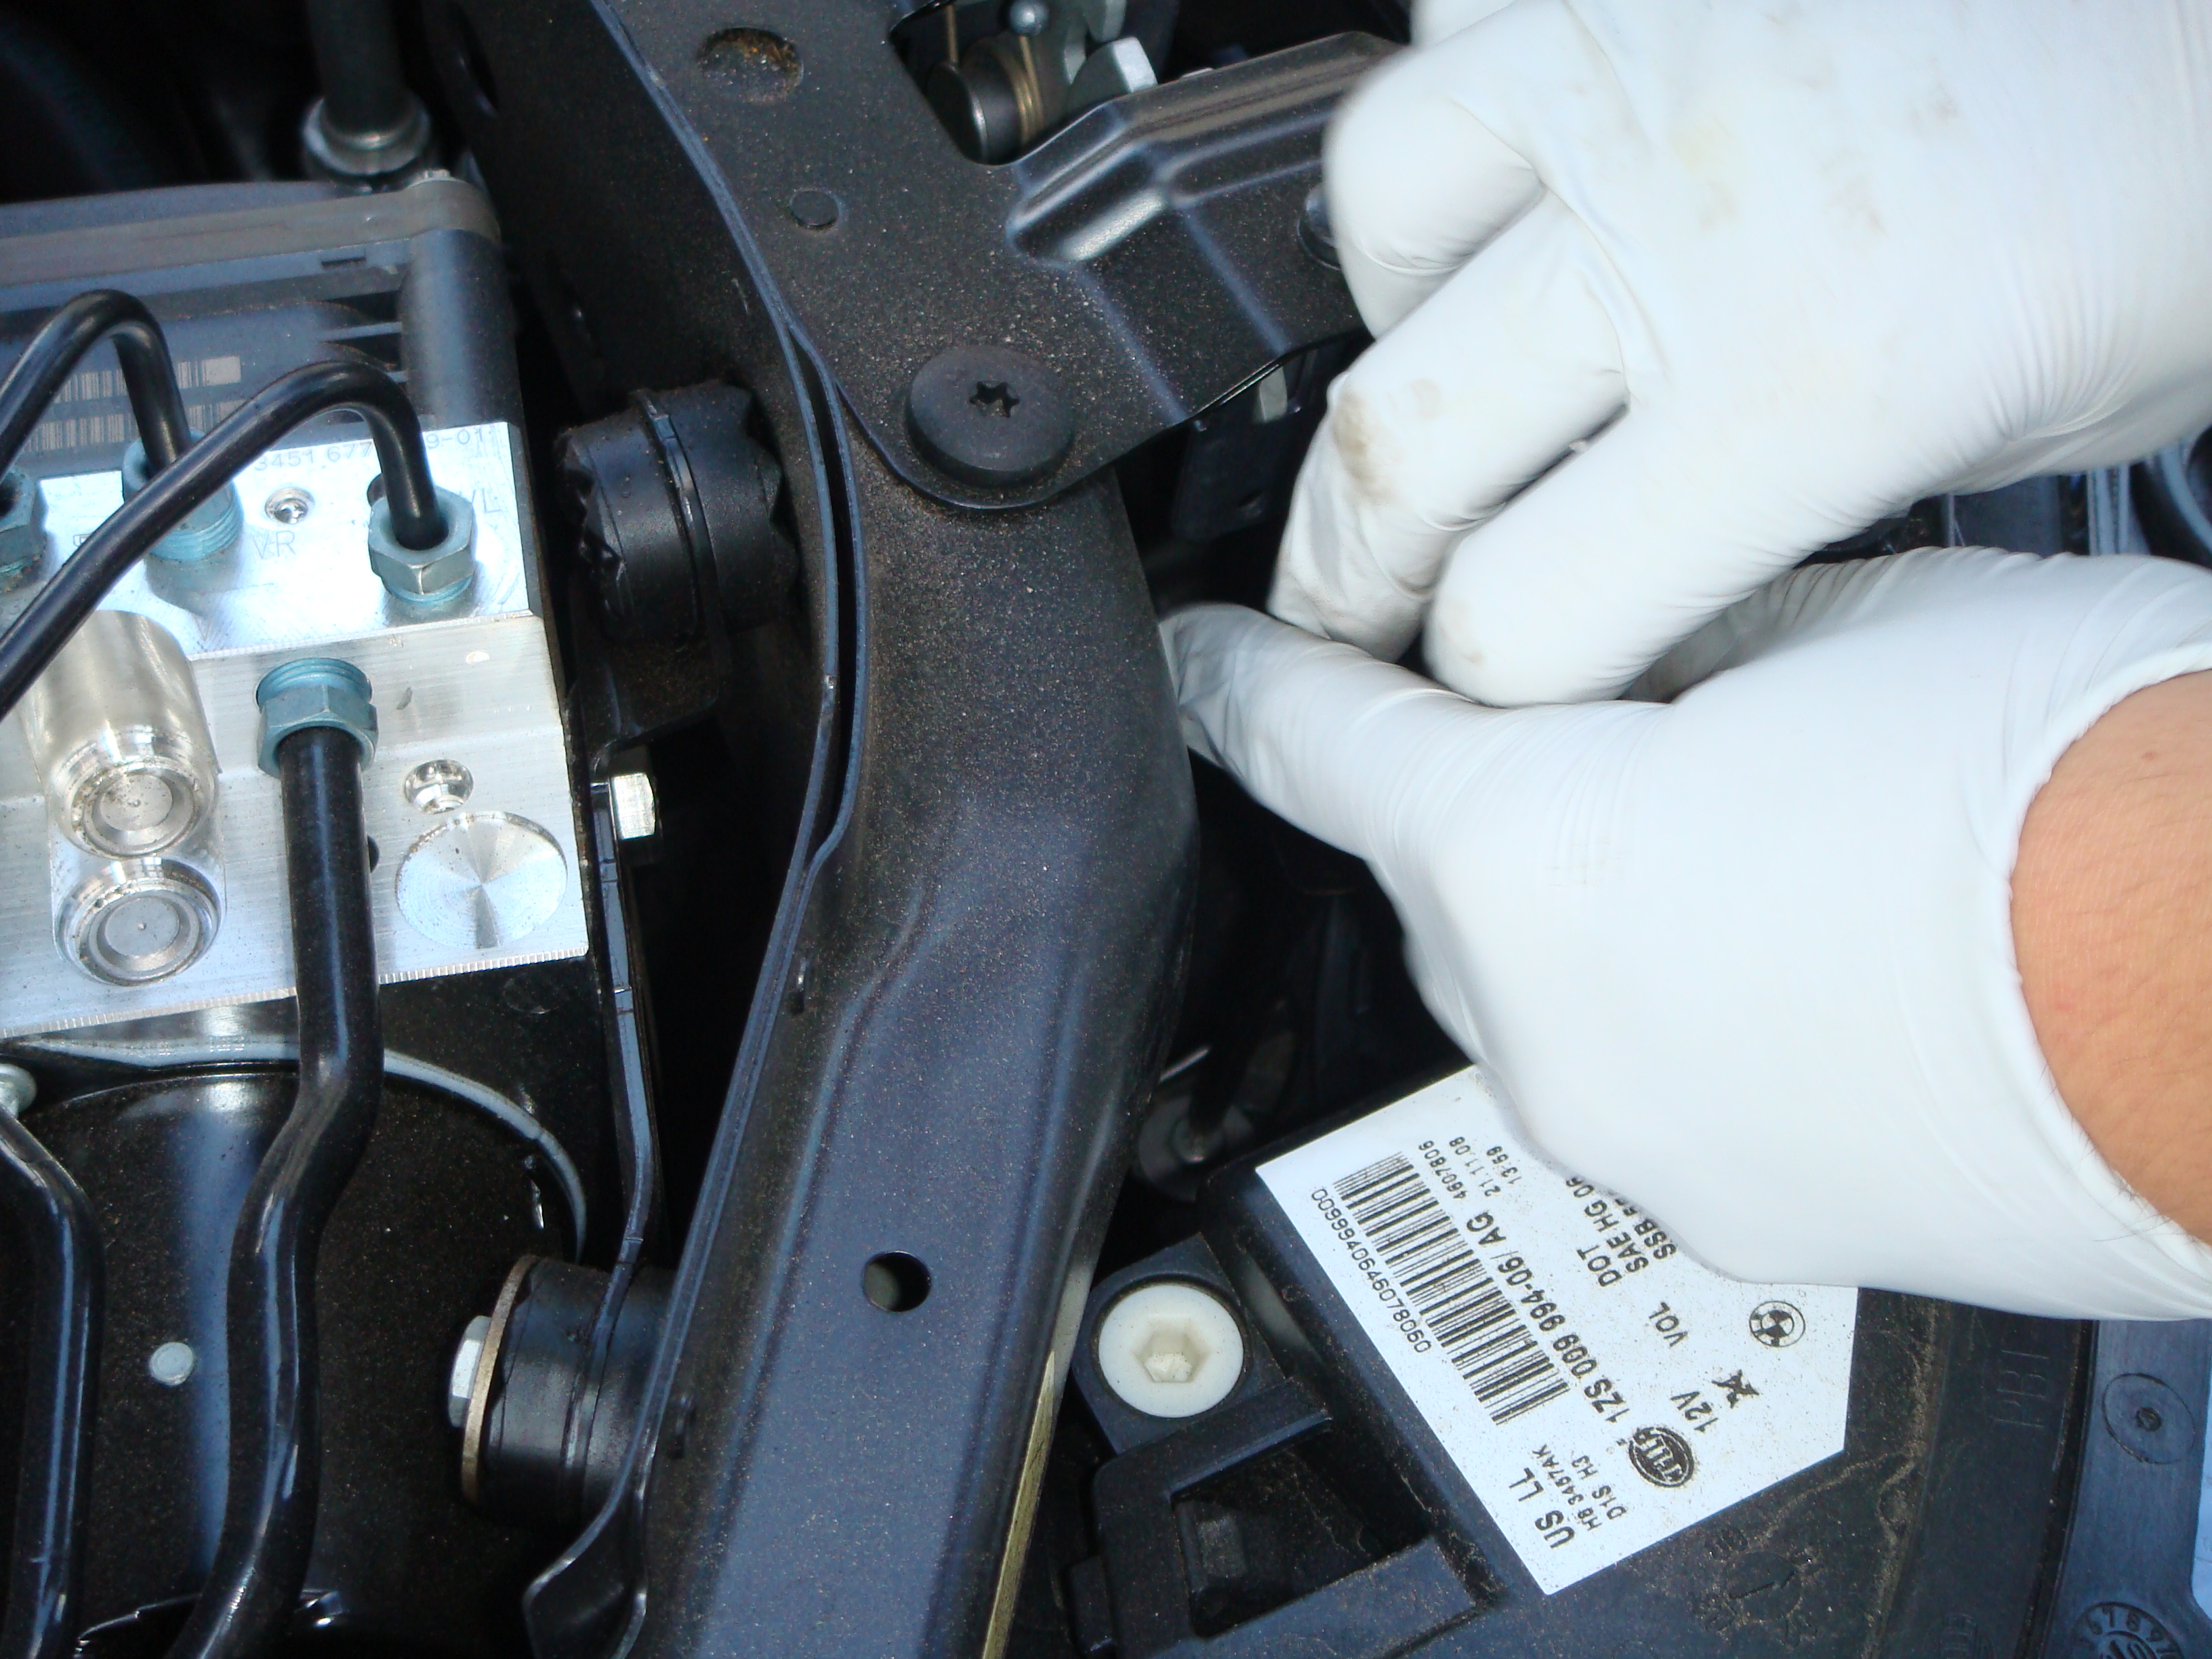
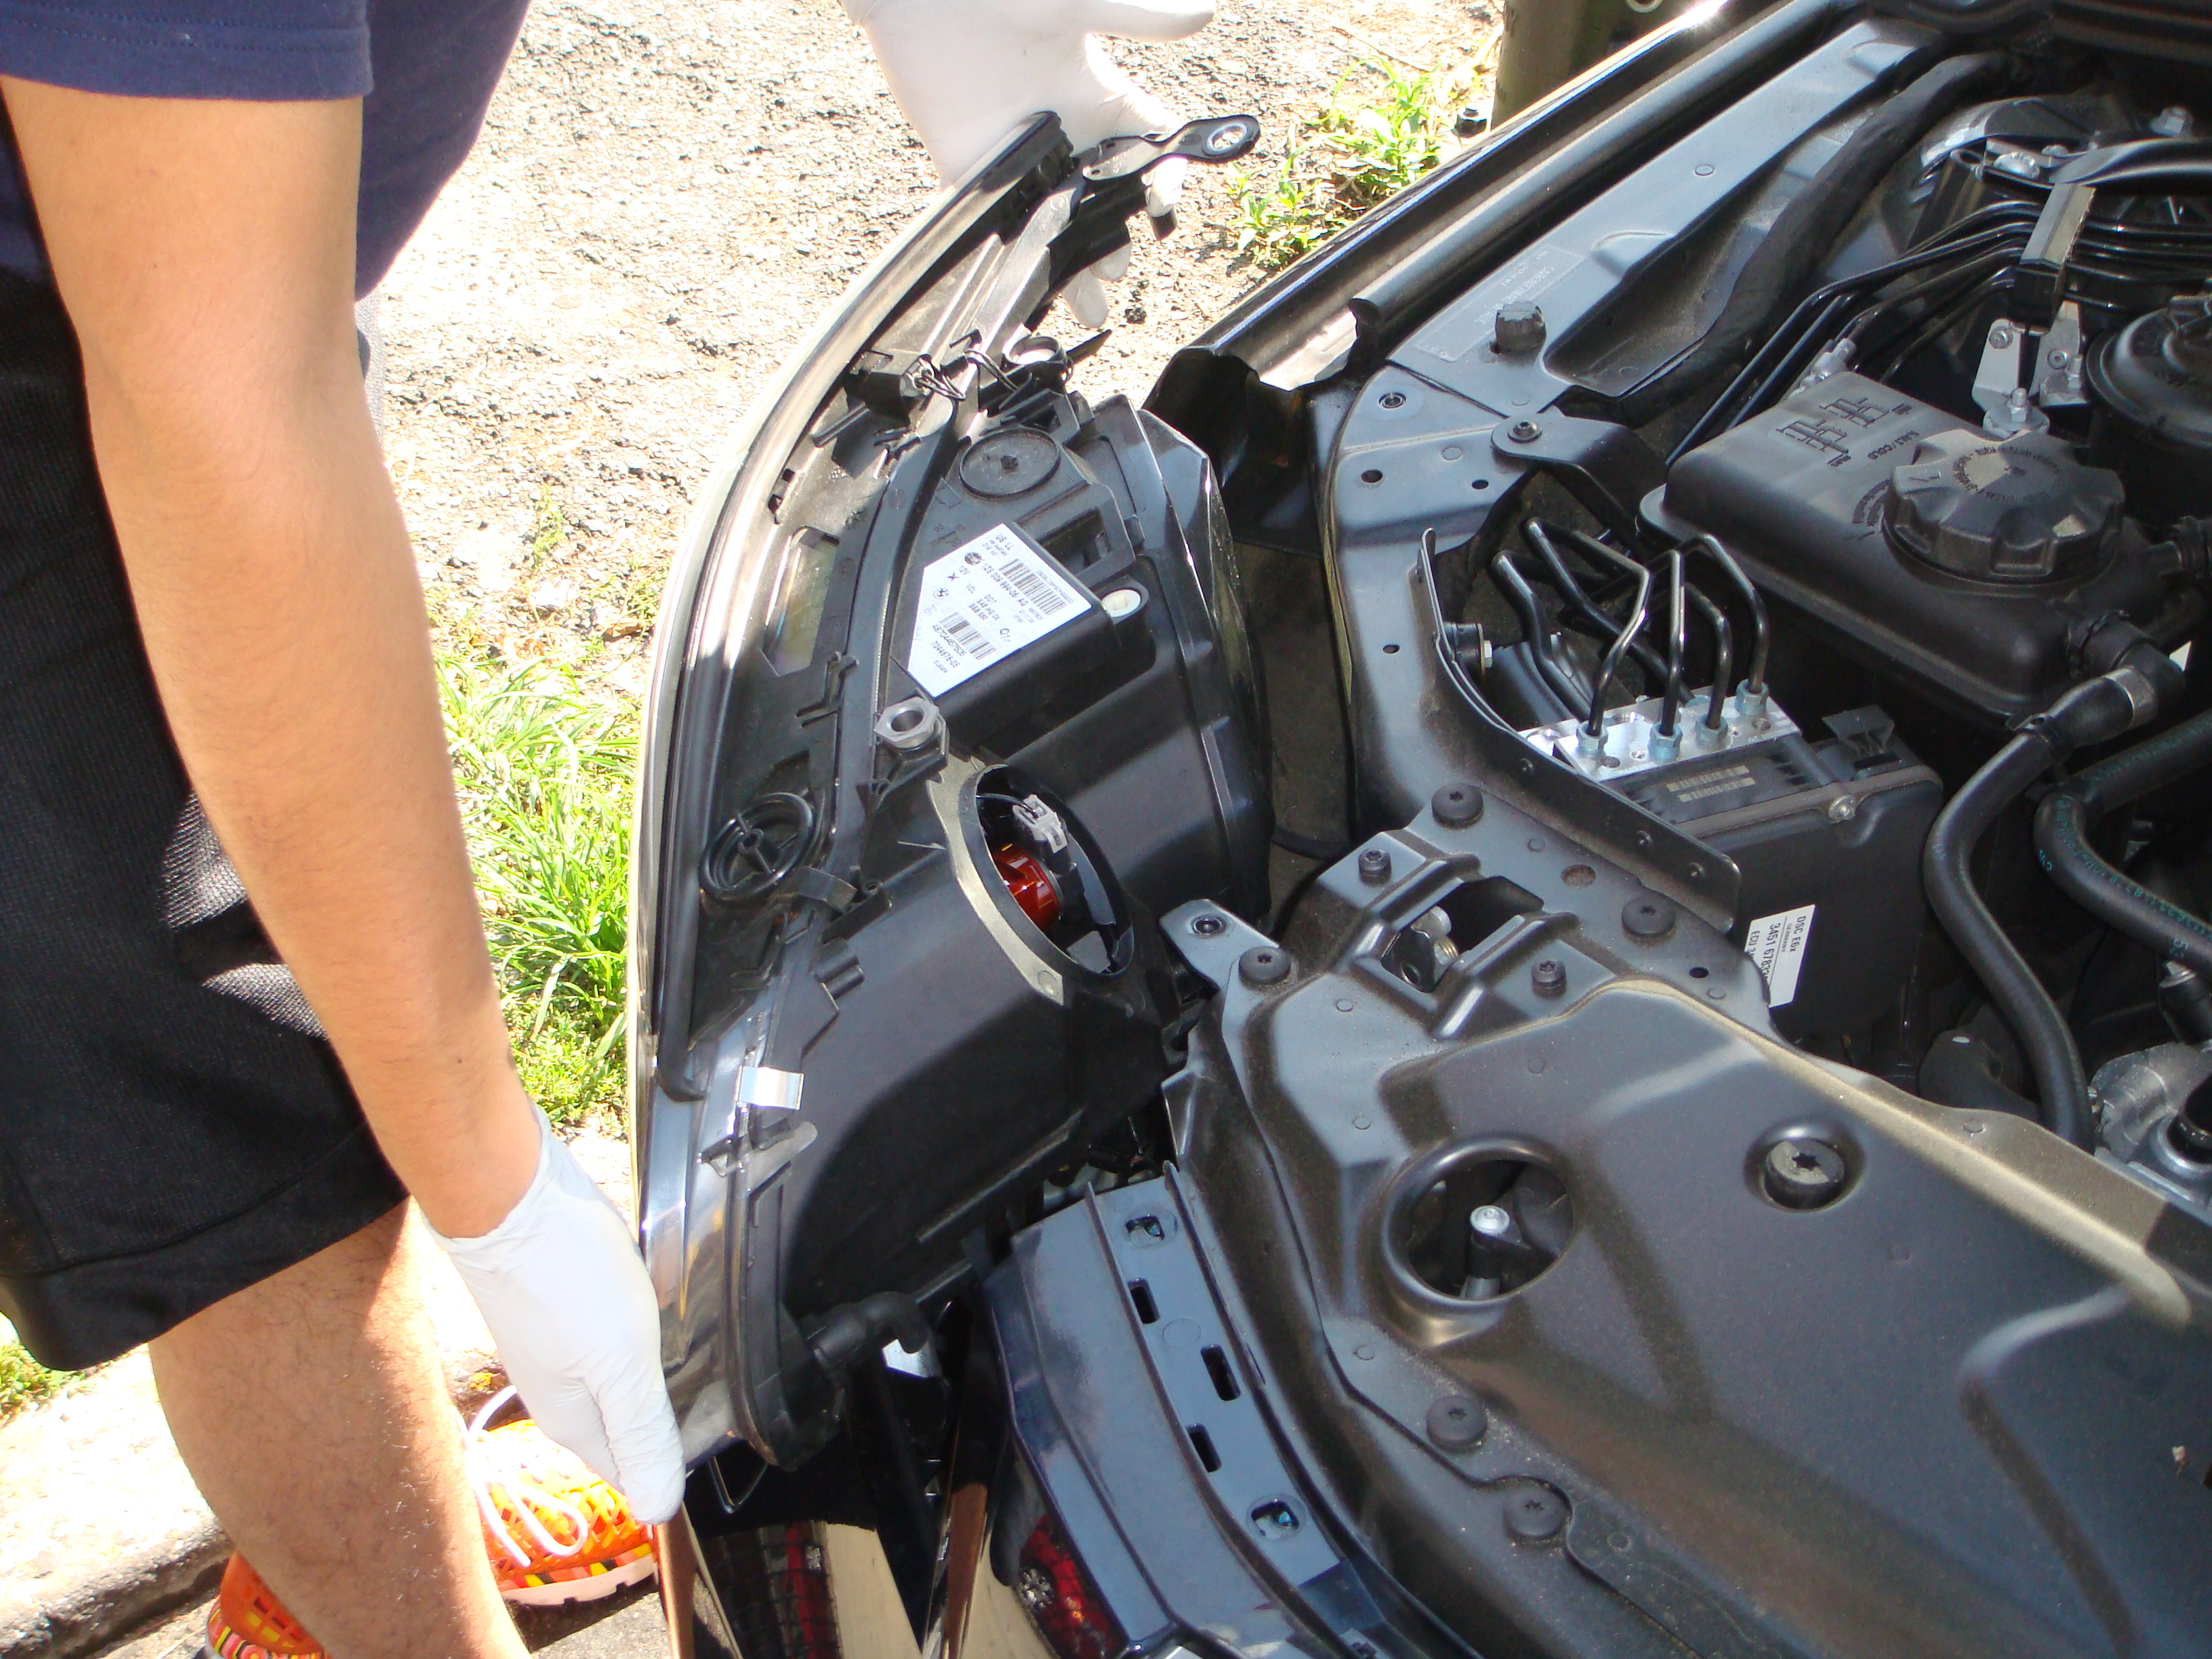
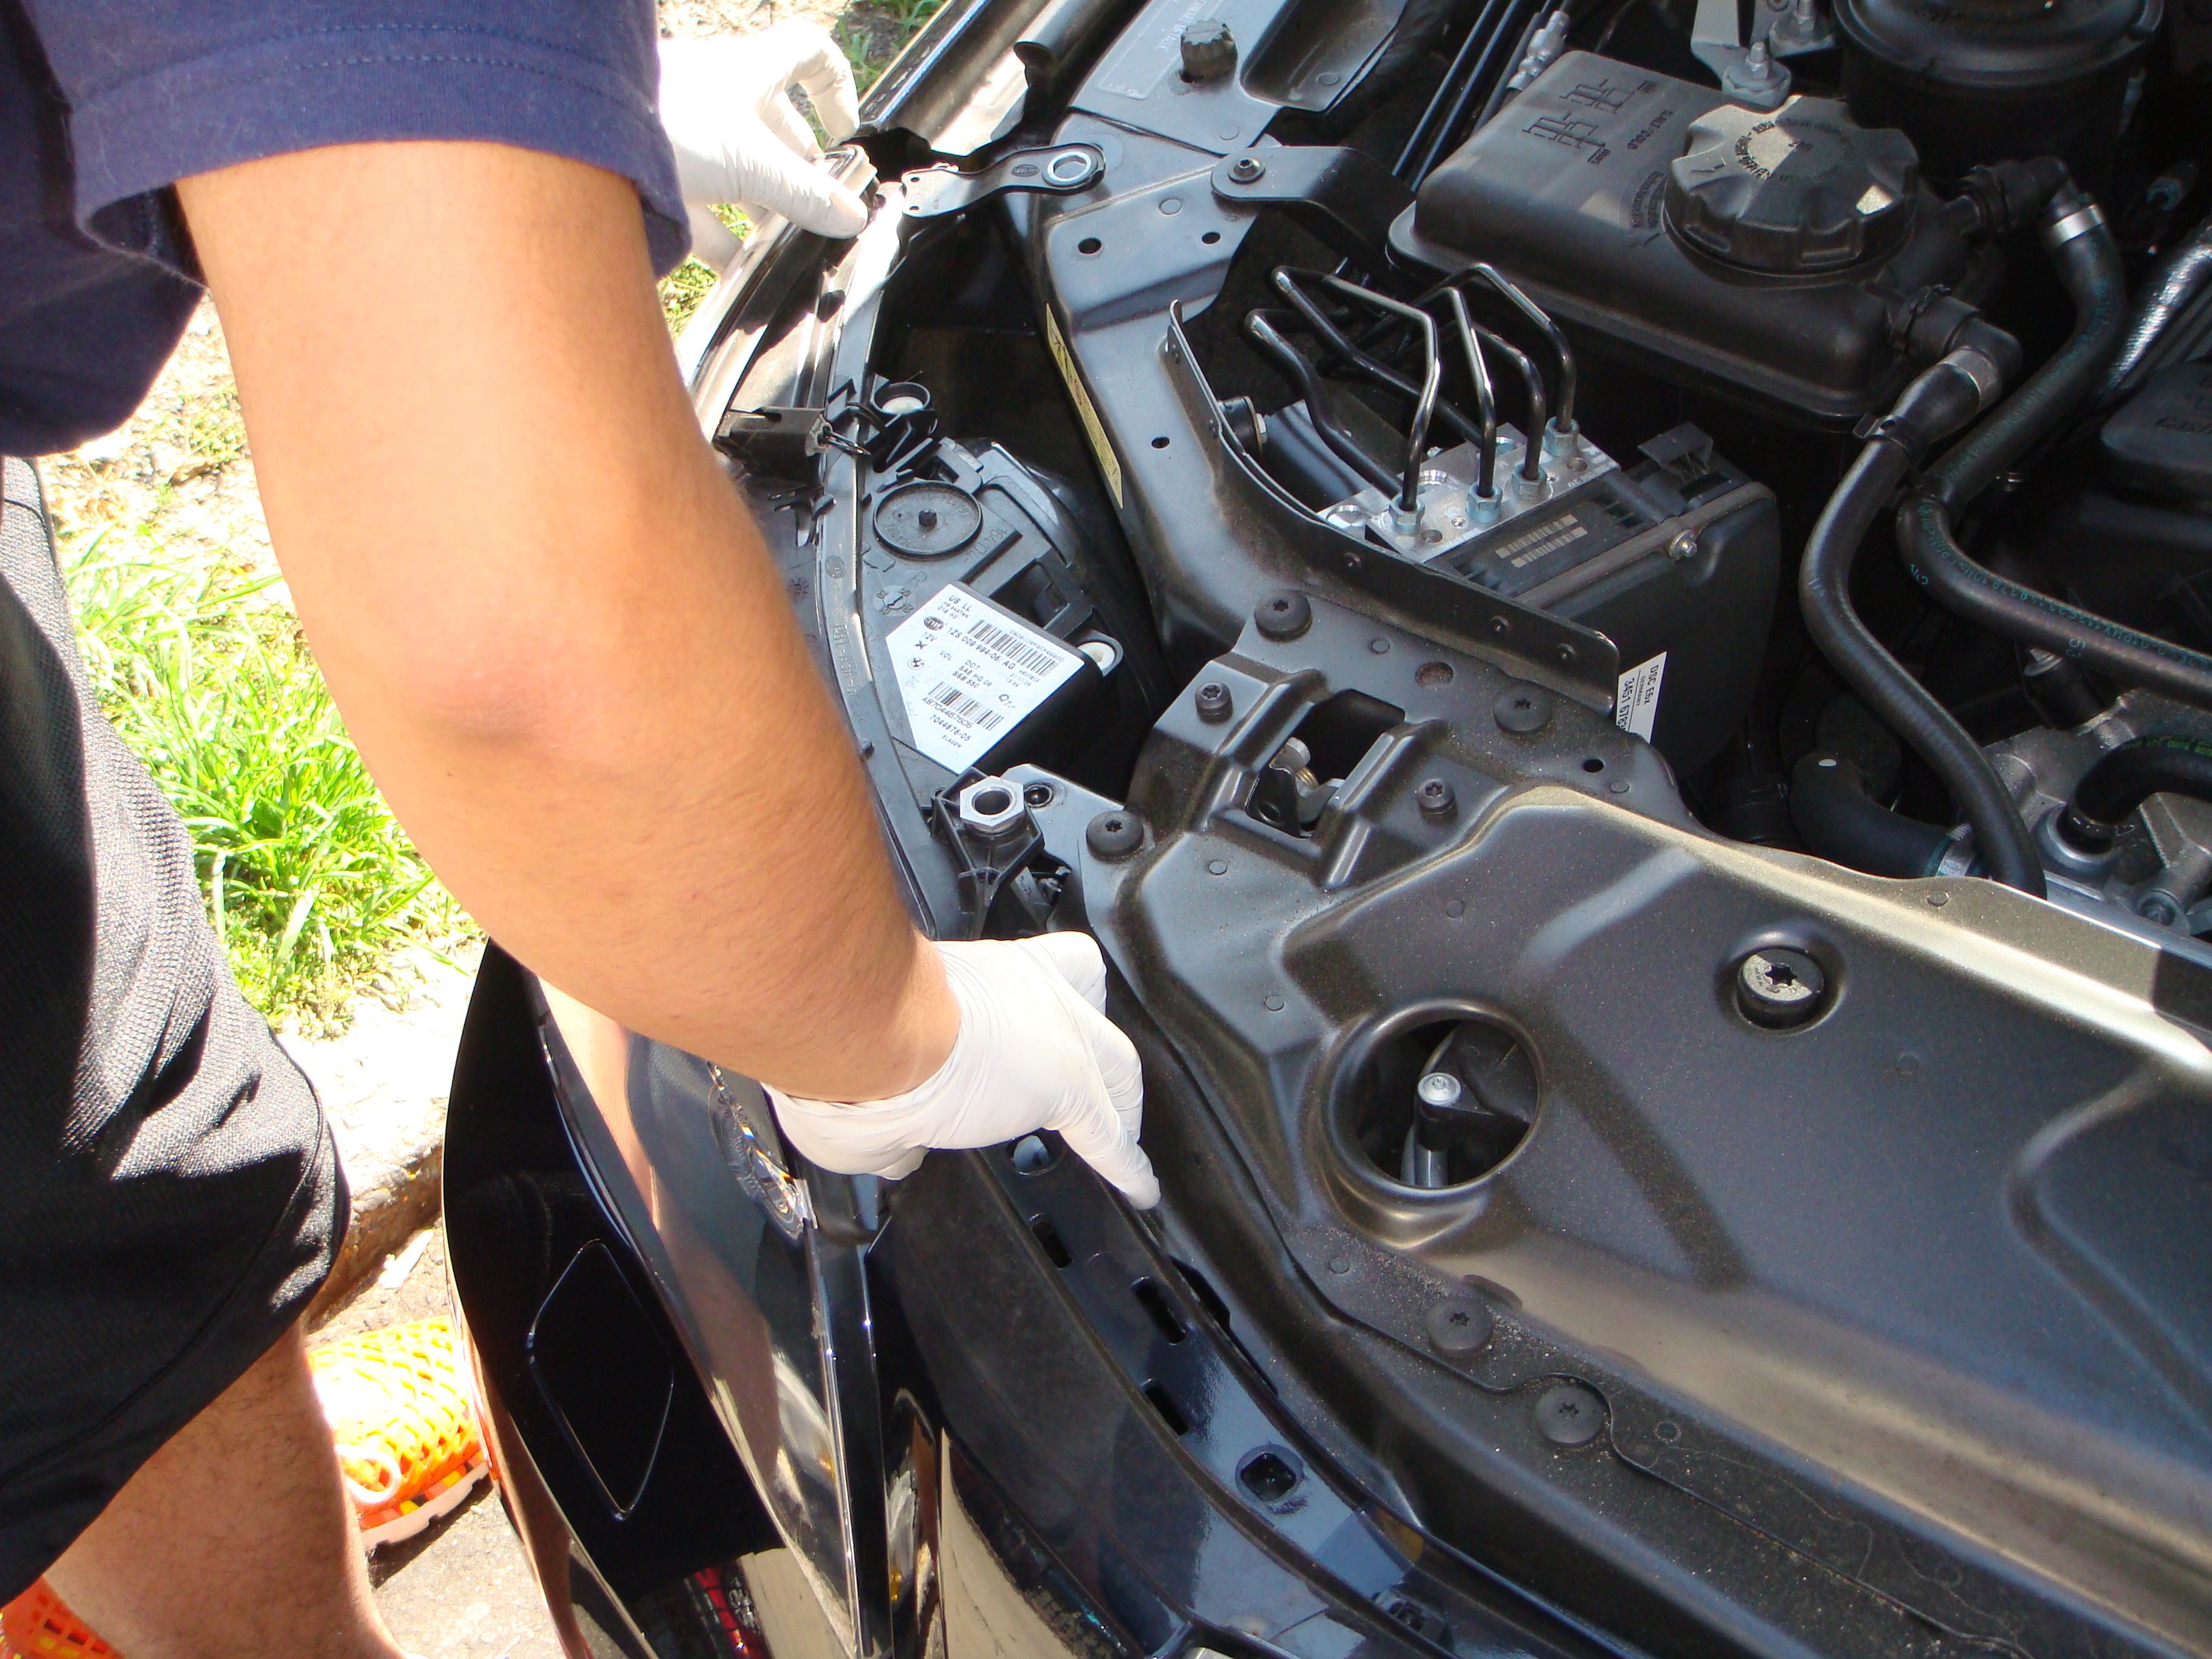
Now yank it out carefully so you dont scratch the paint. It should come with with EASE especially on MTECH bumpers.
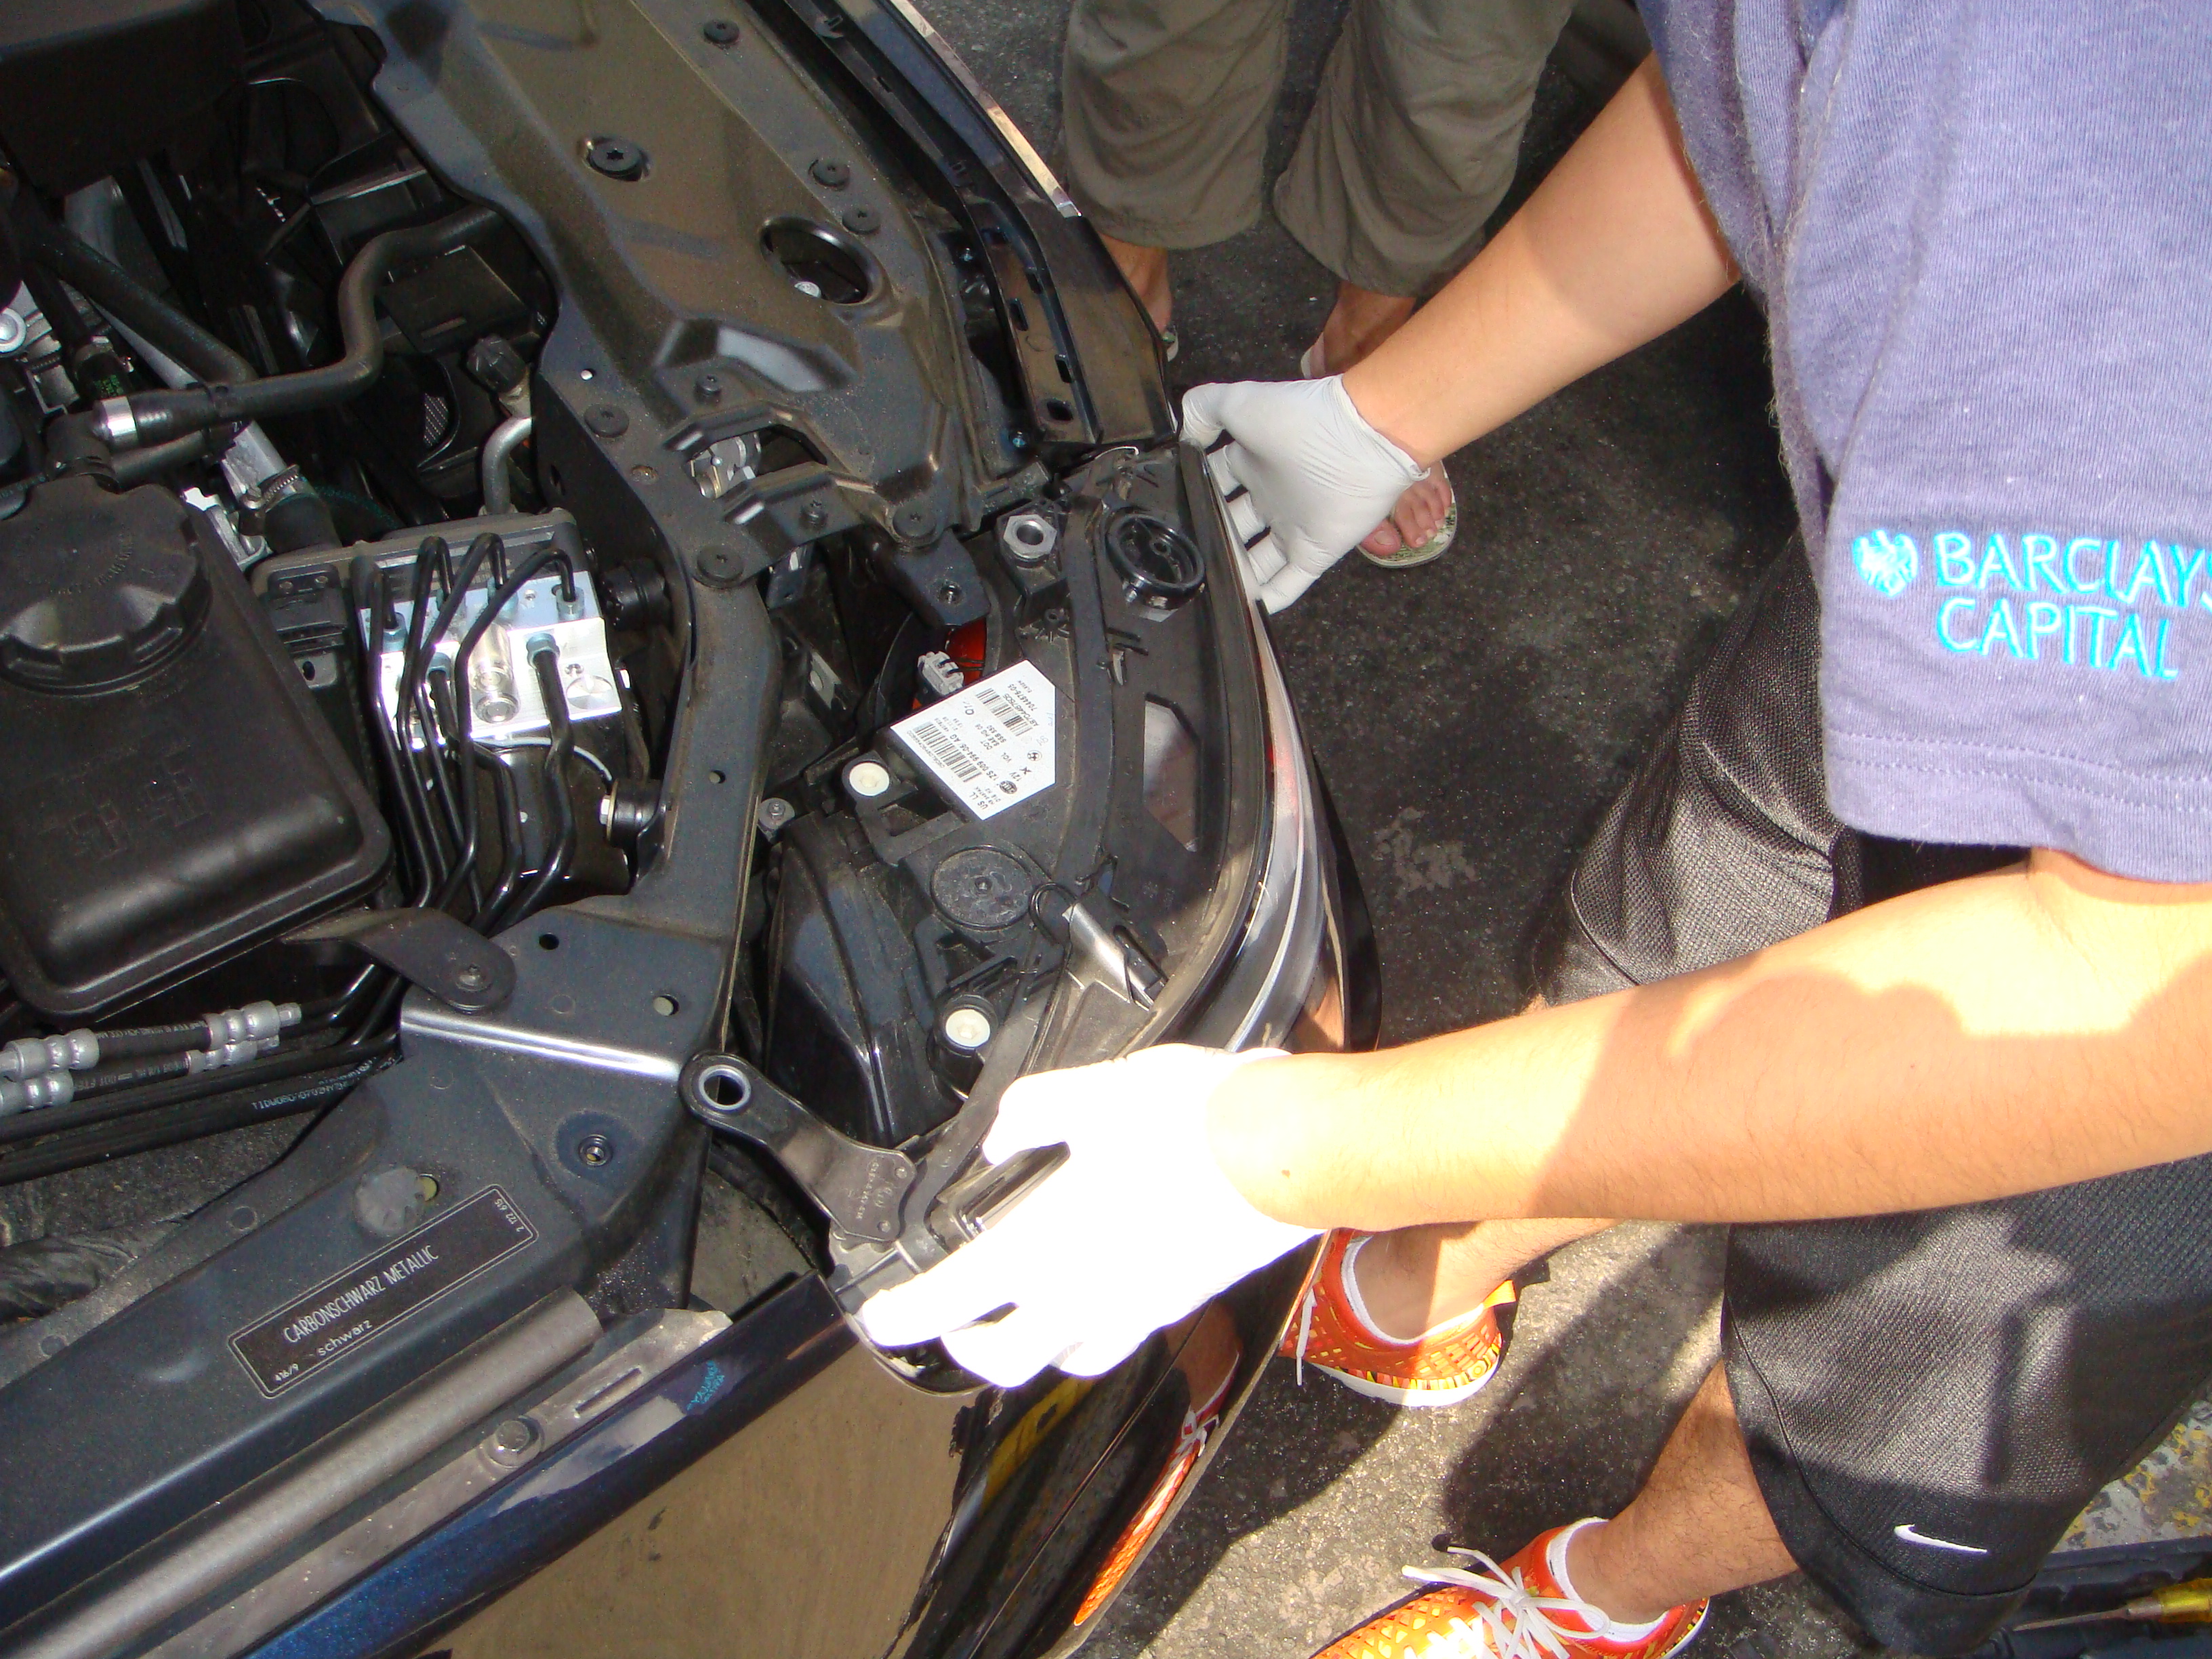
No need to unplug ANY cables. Don't risk of forgetting to plug it back.
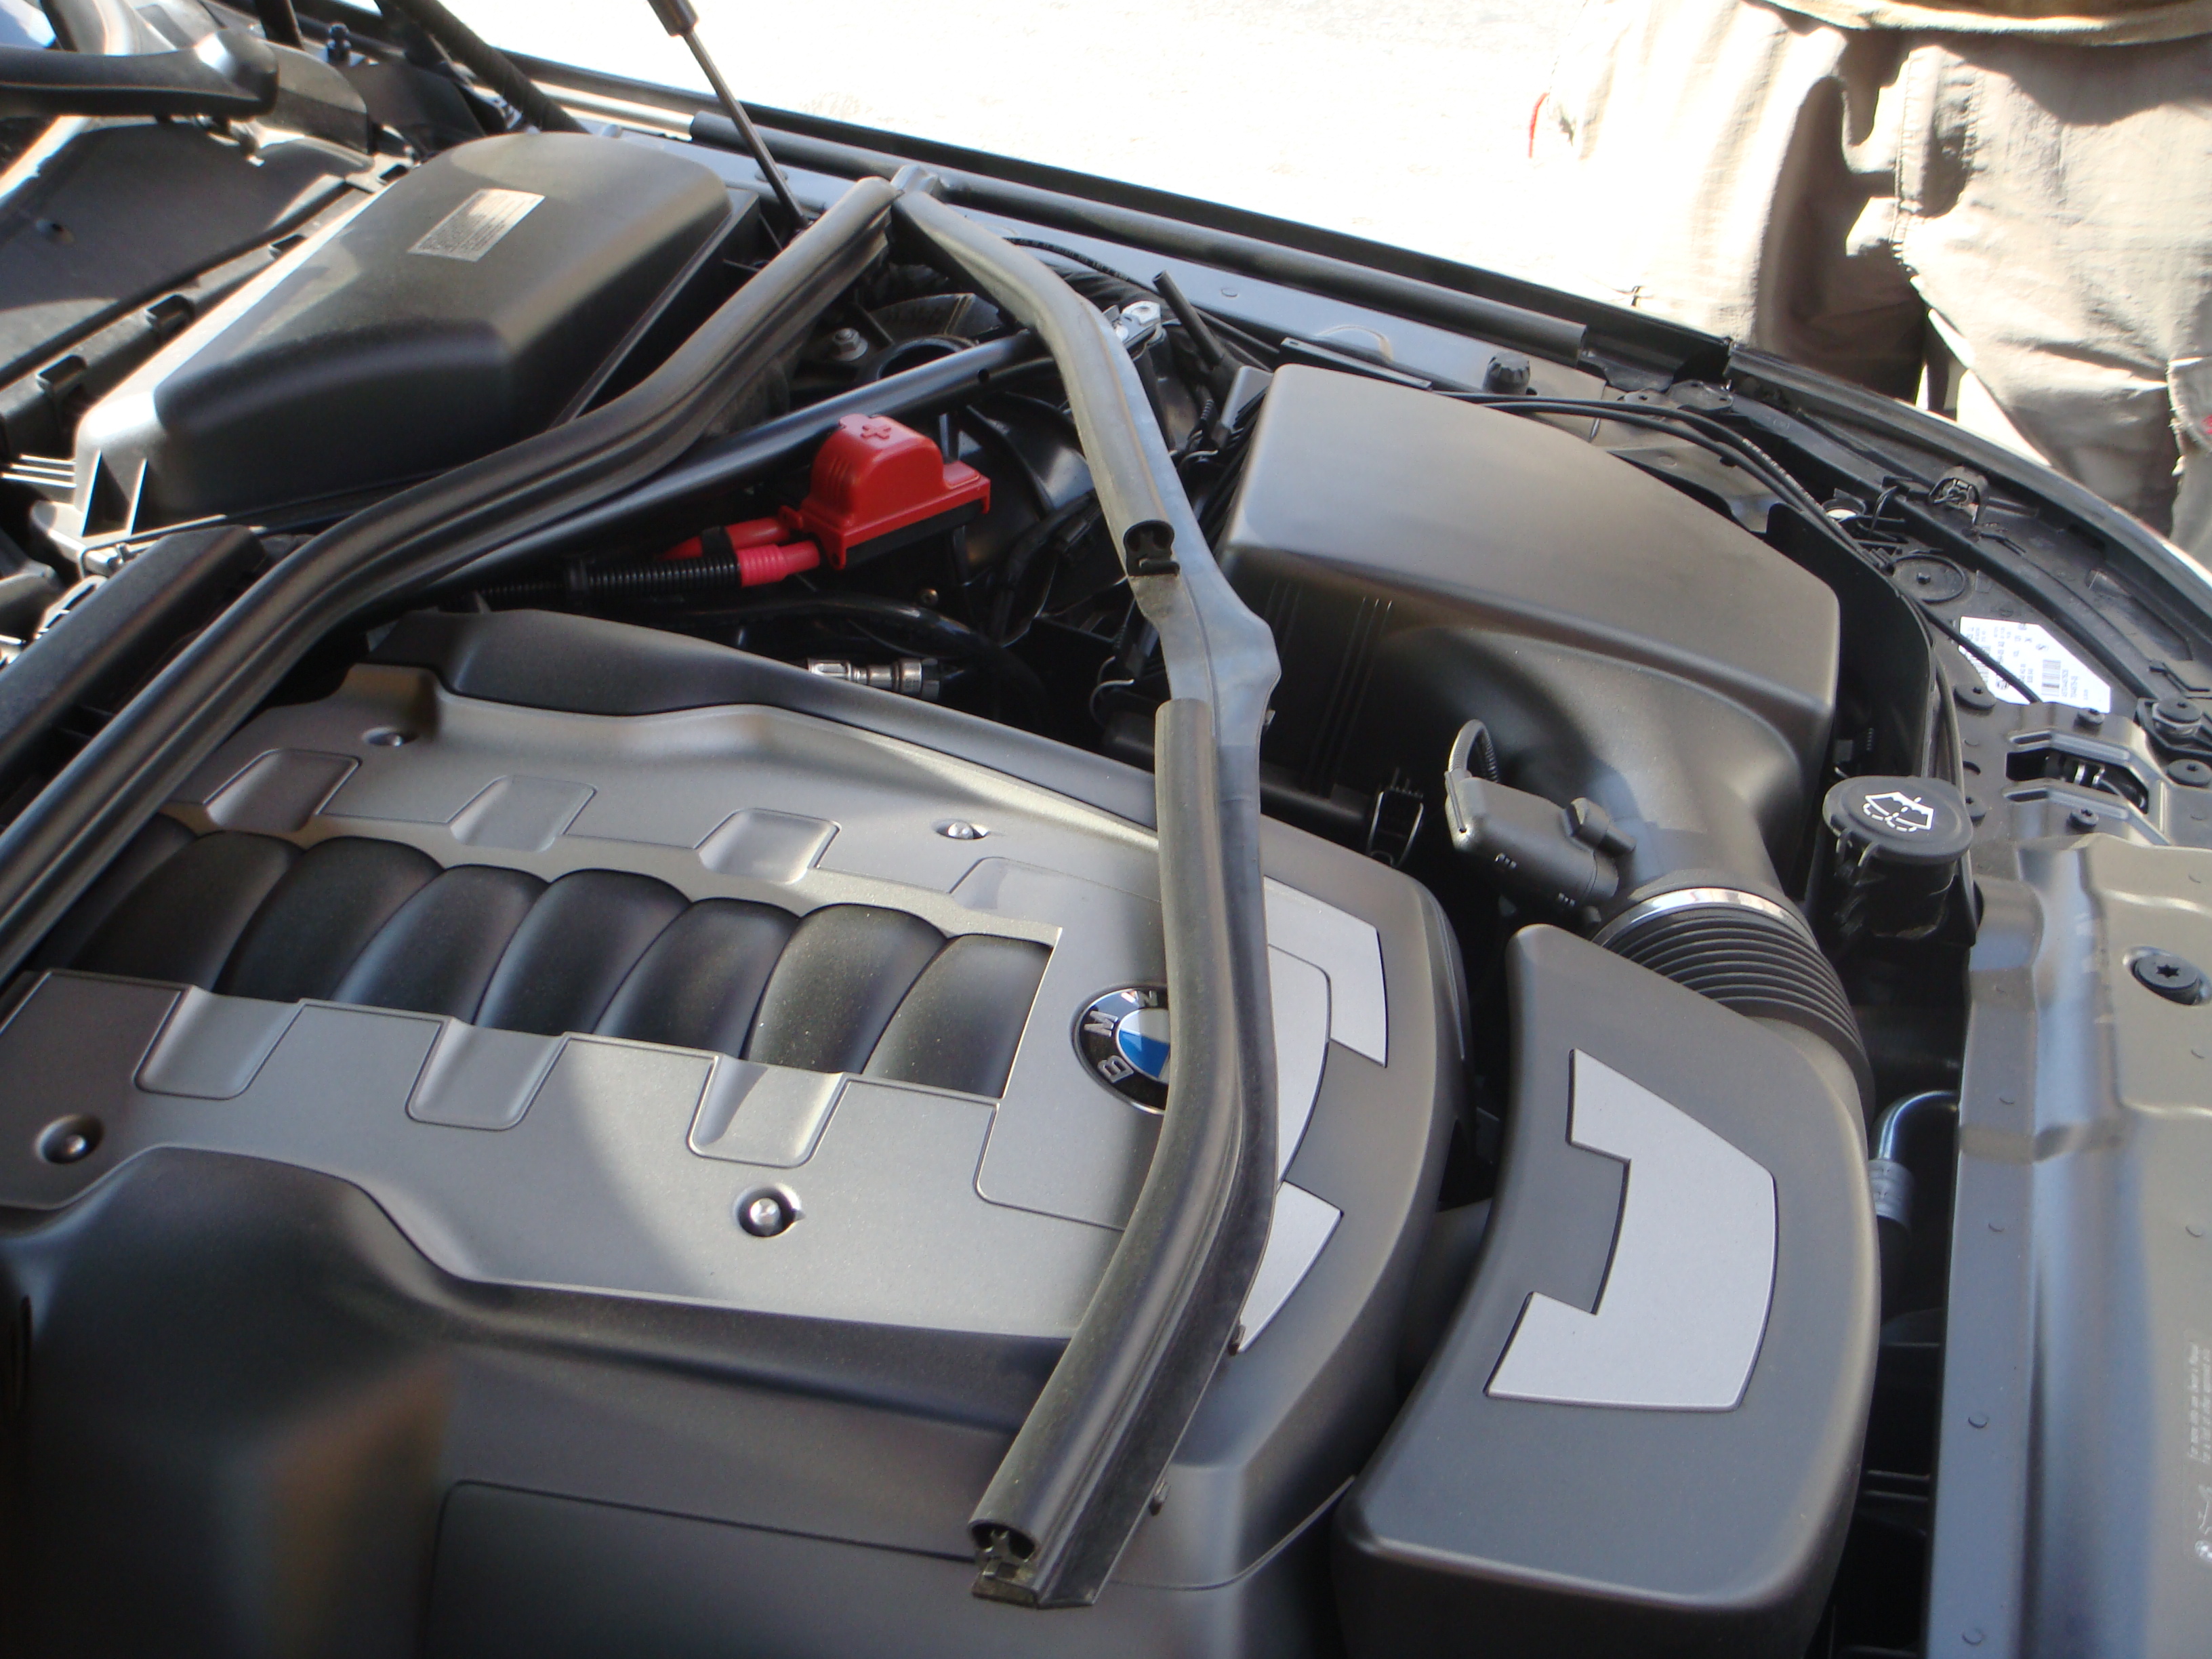
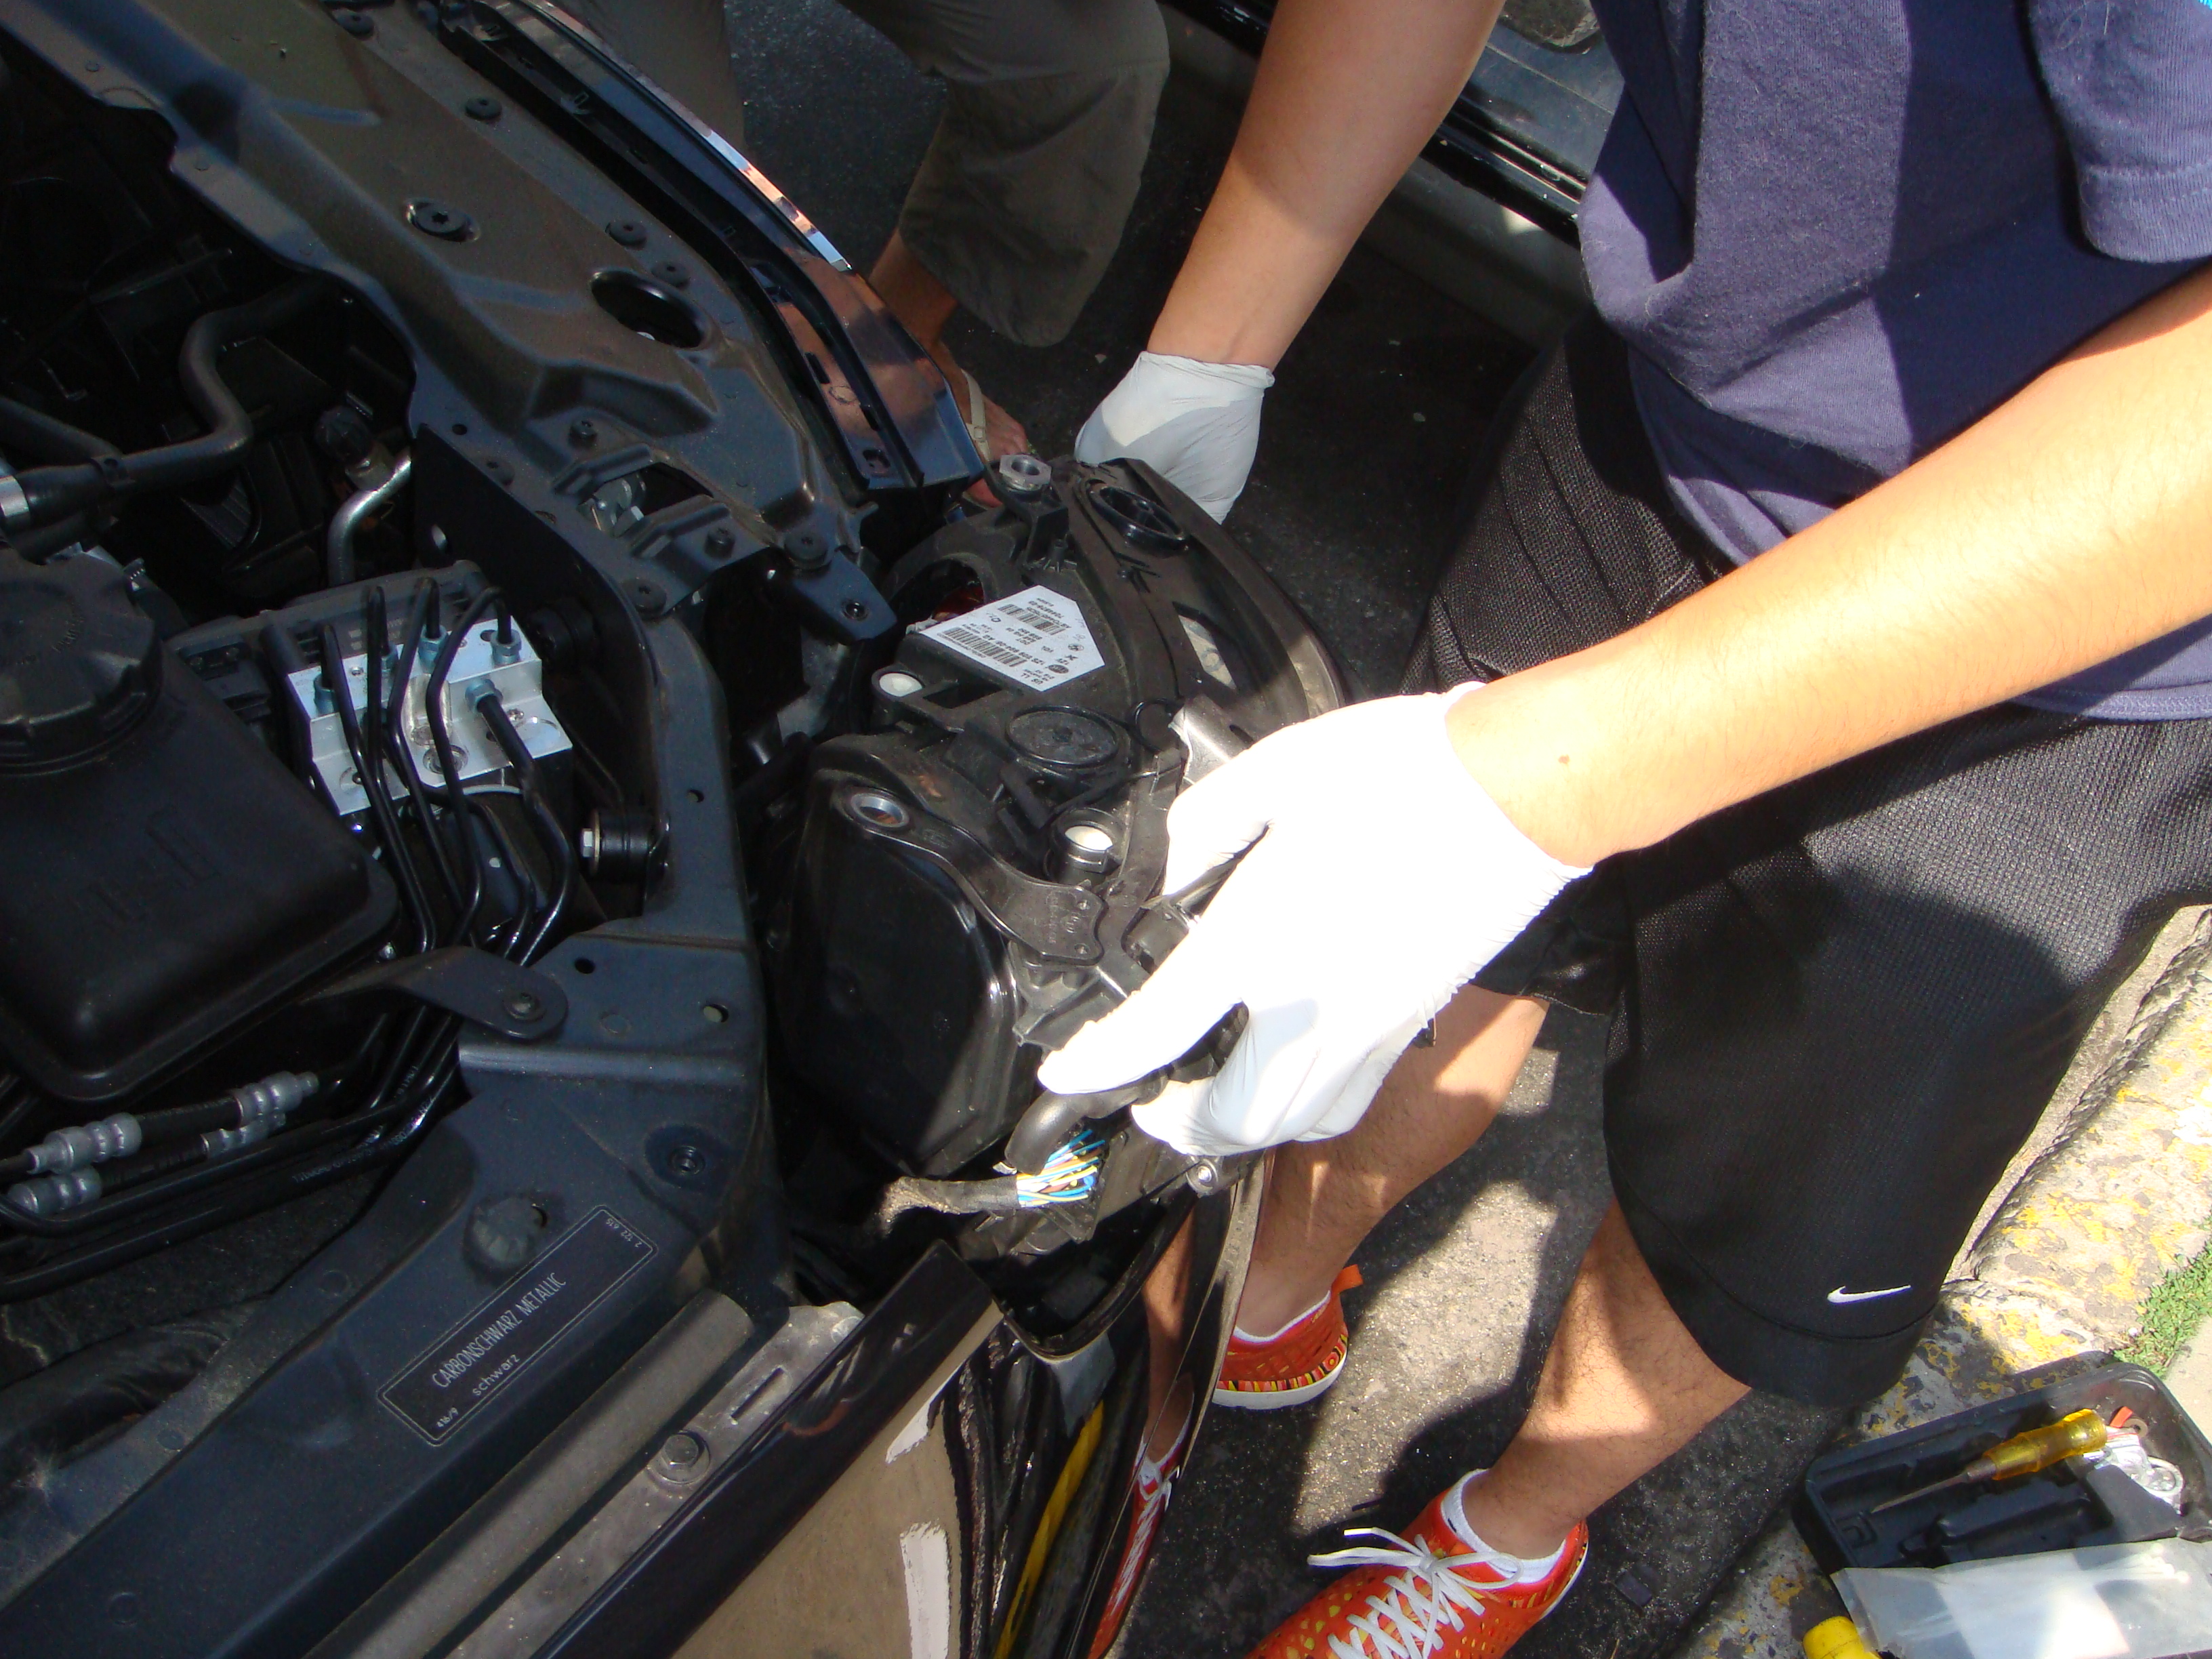
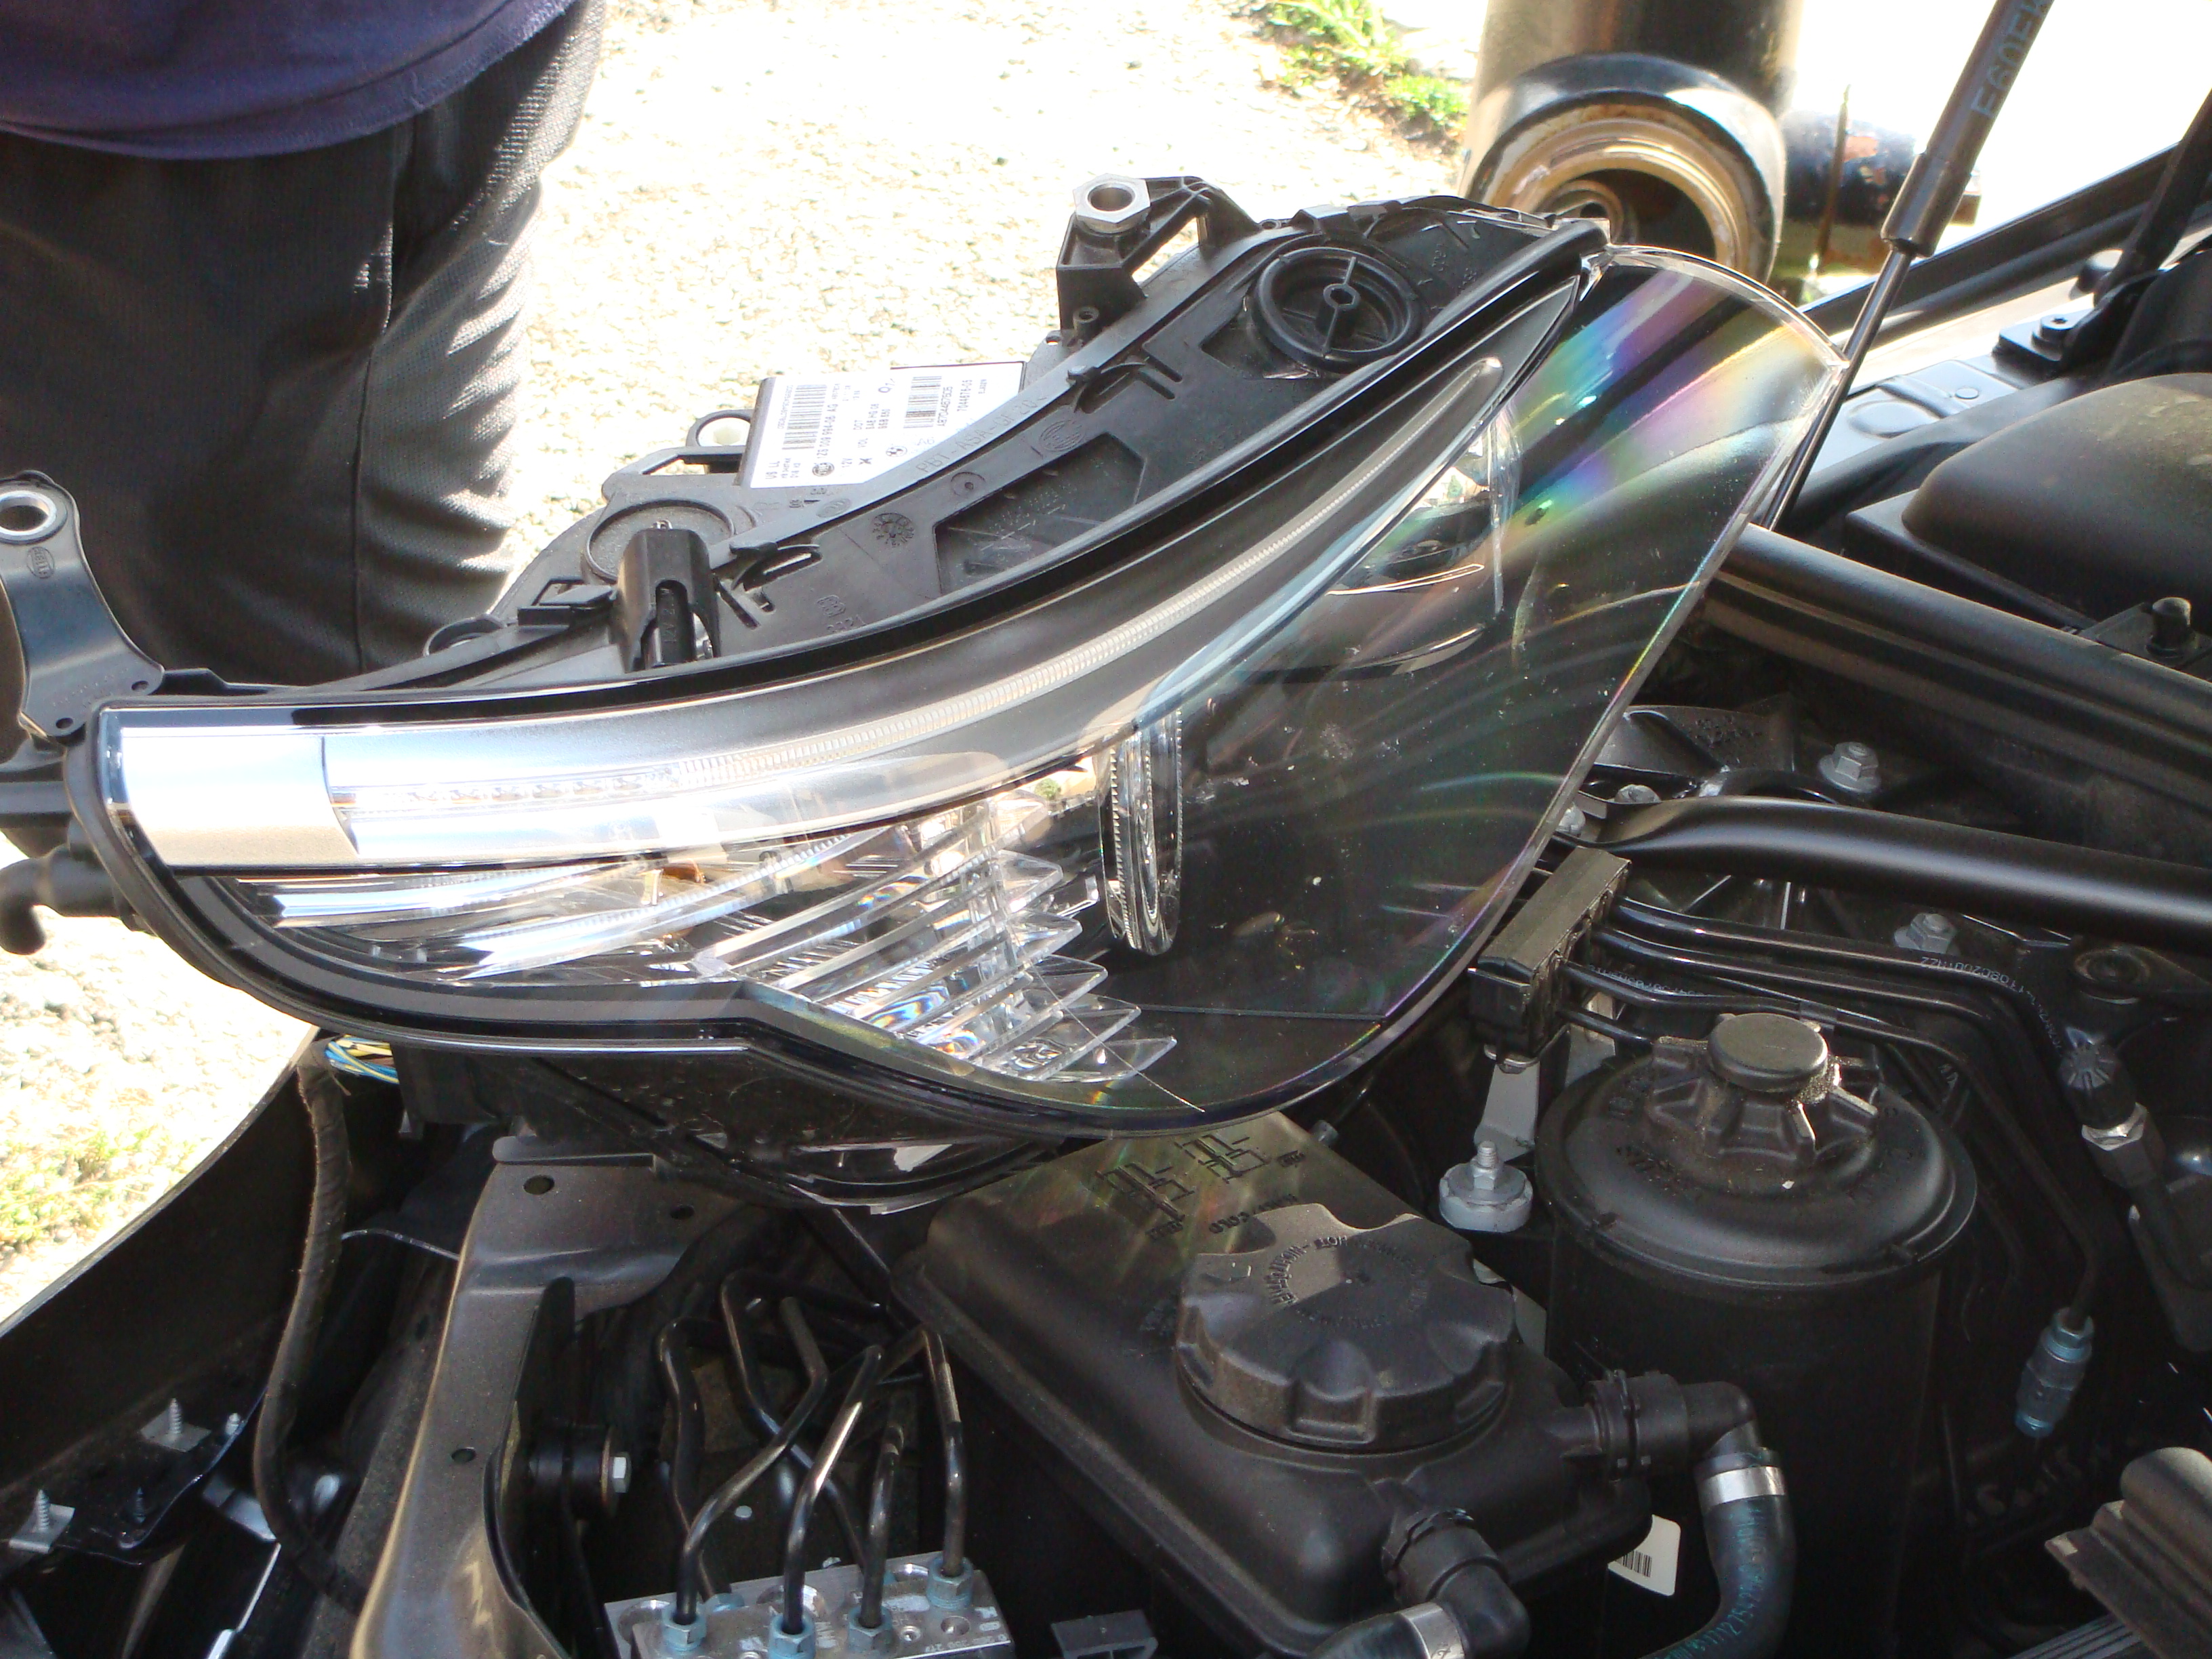
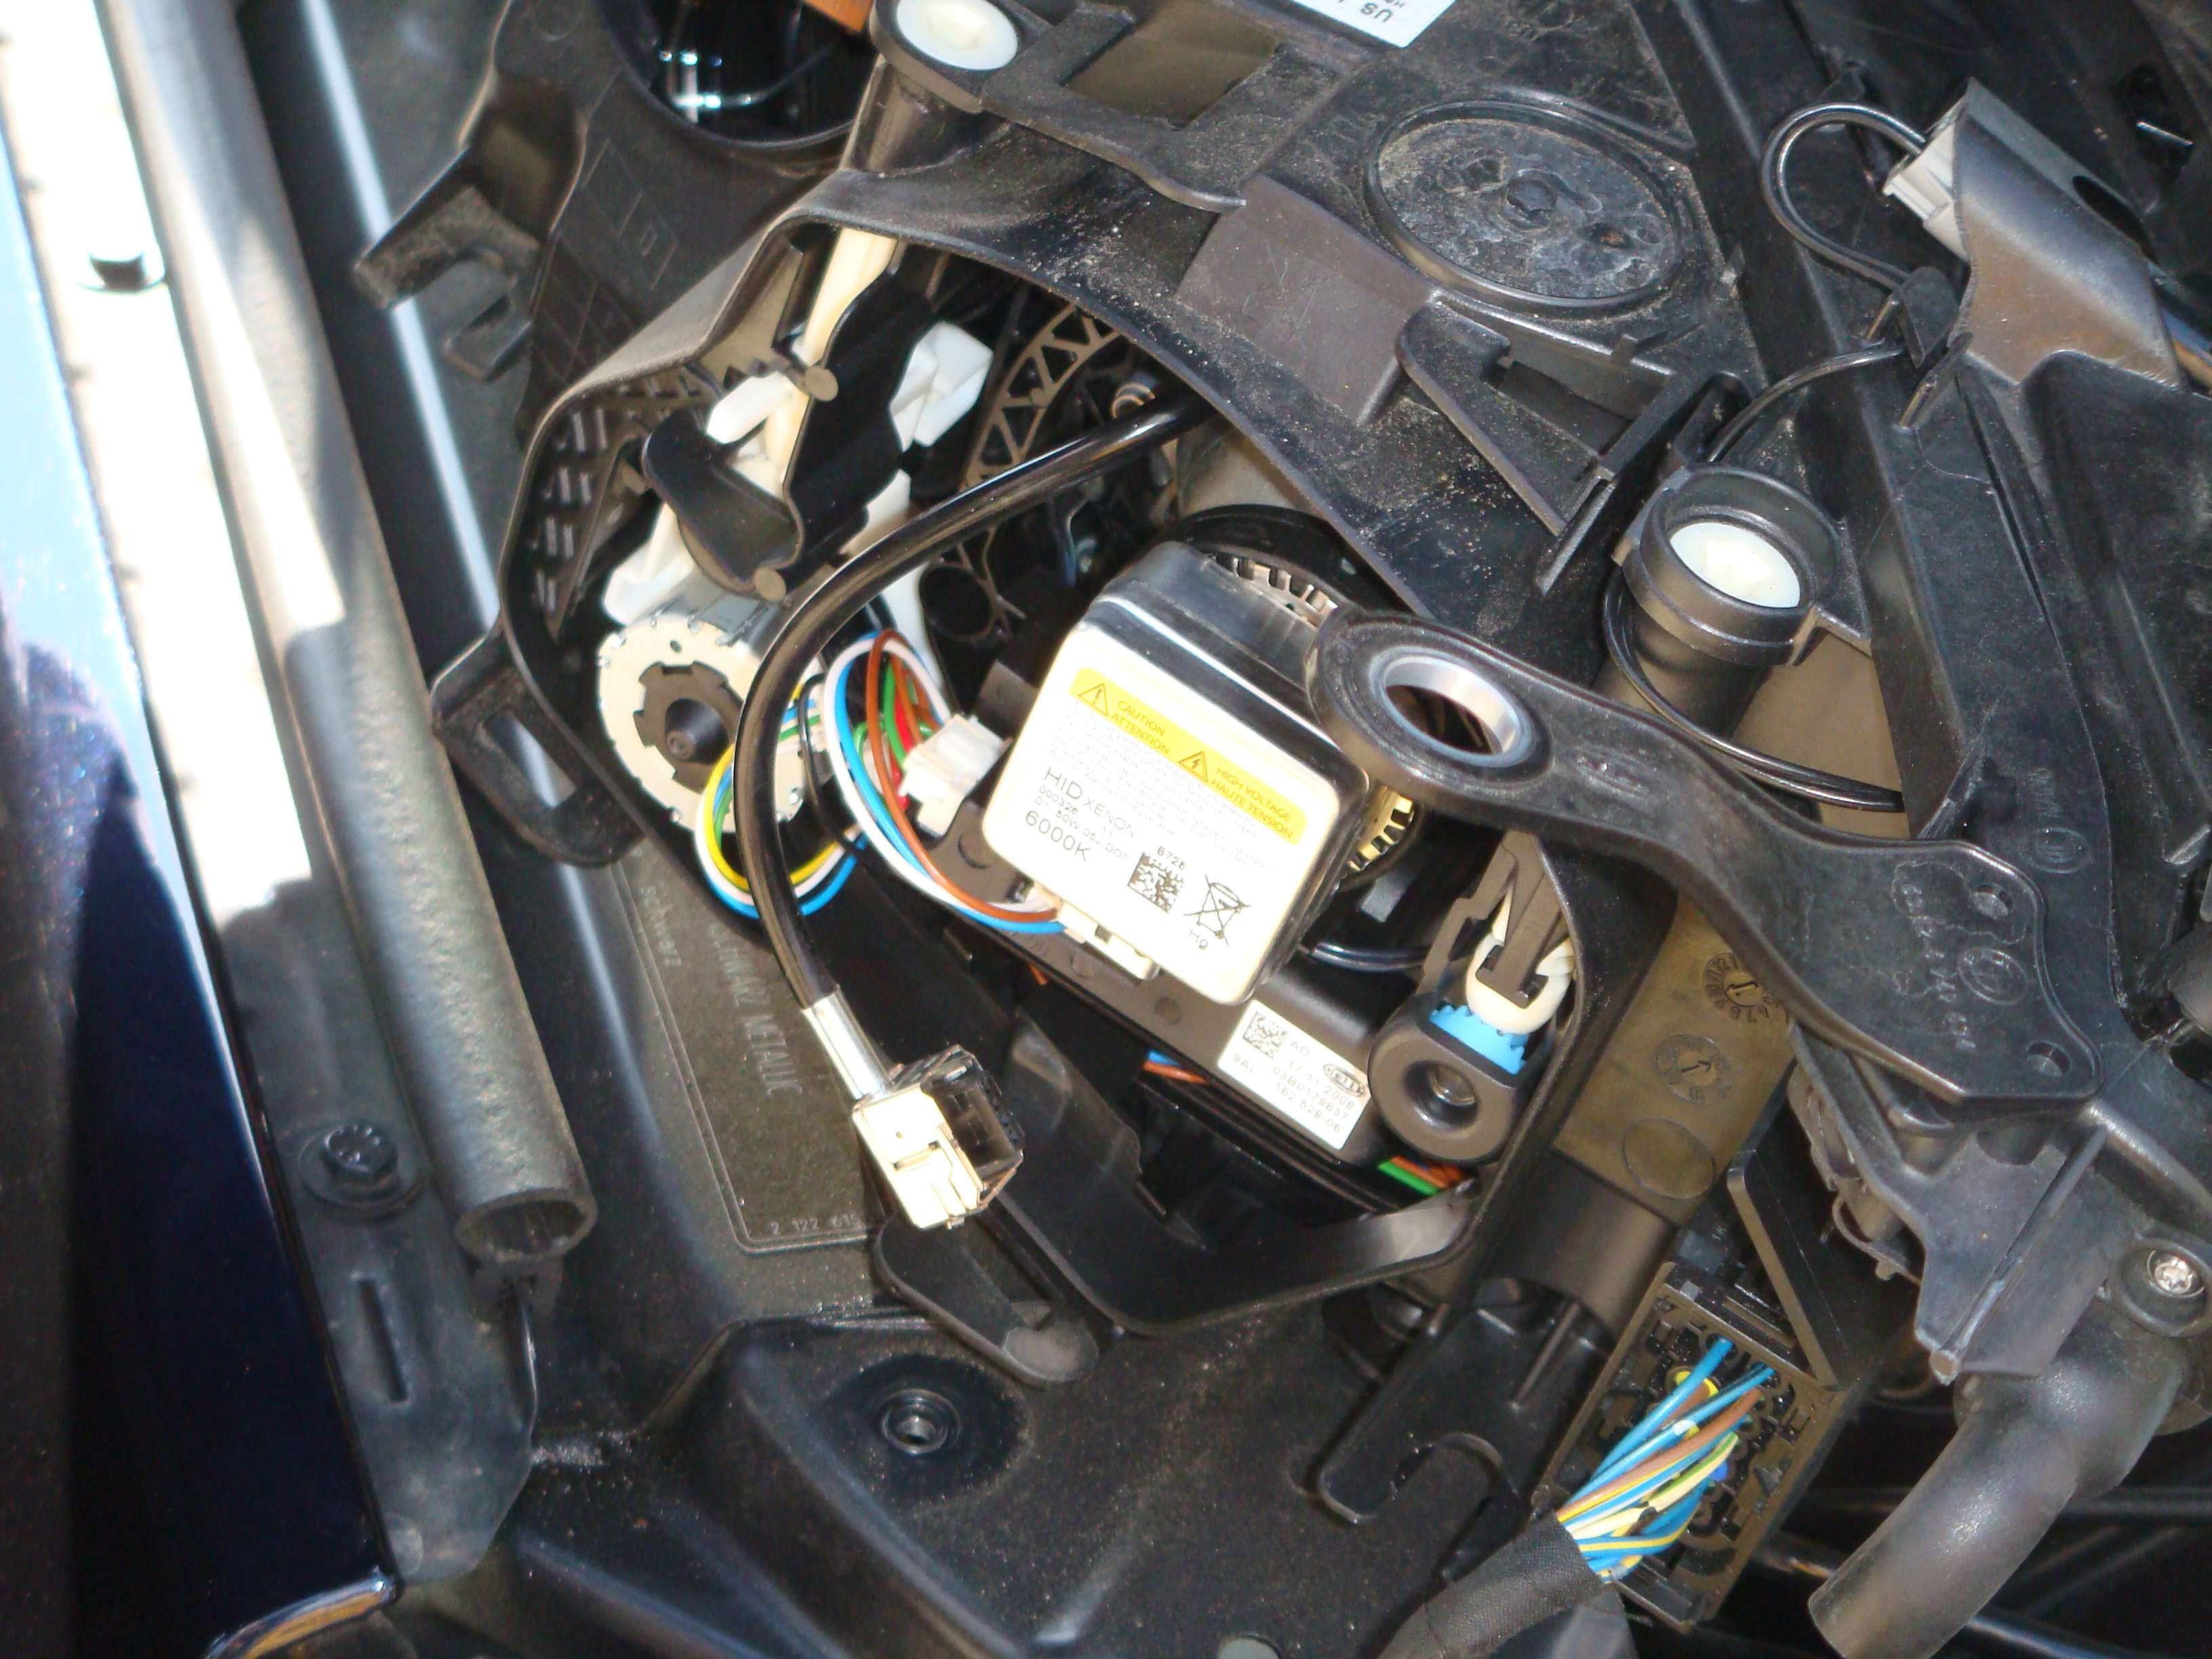
Rest it in the engine bay
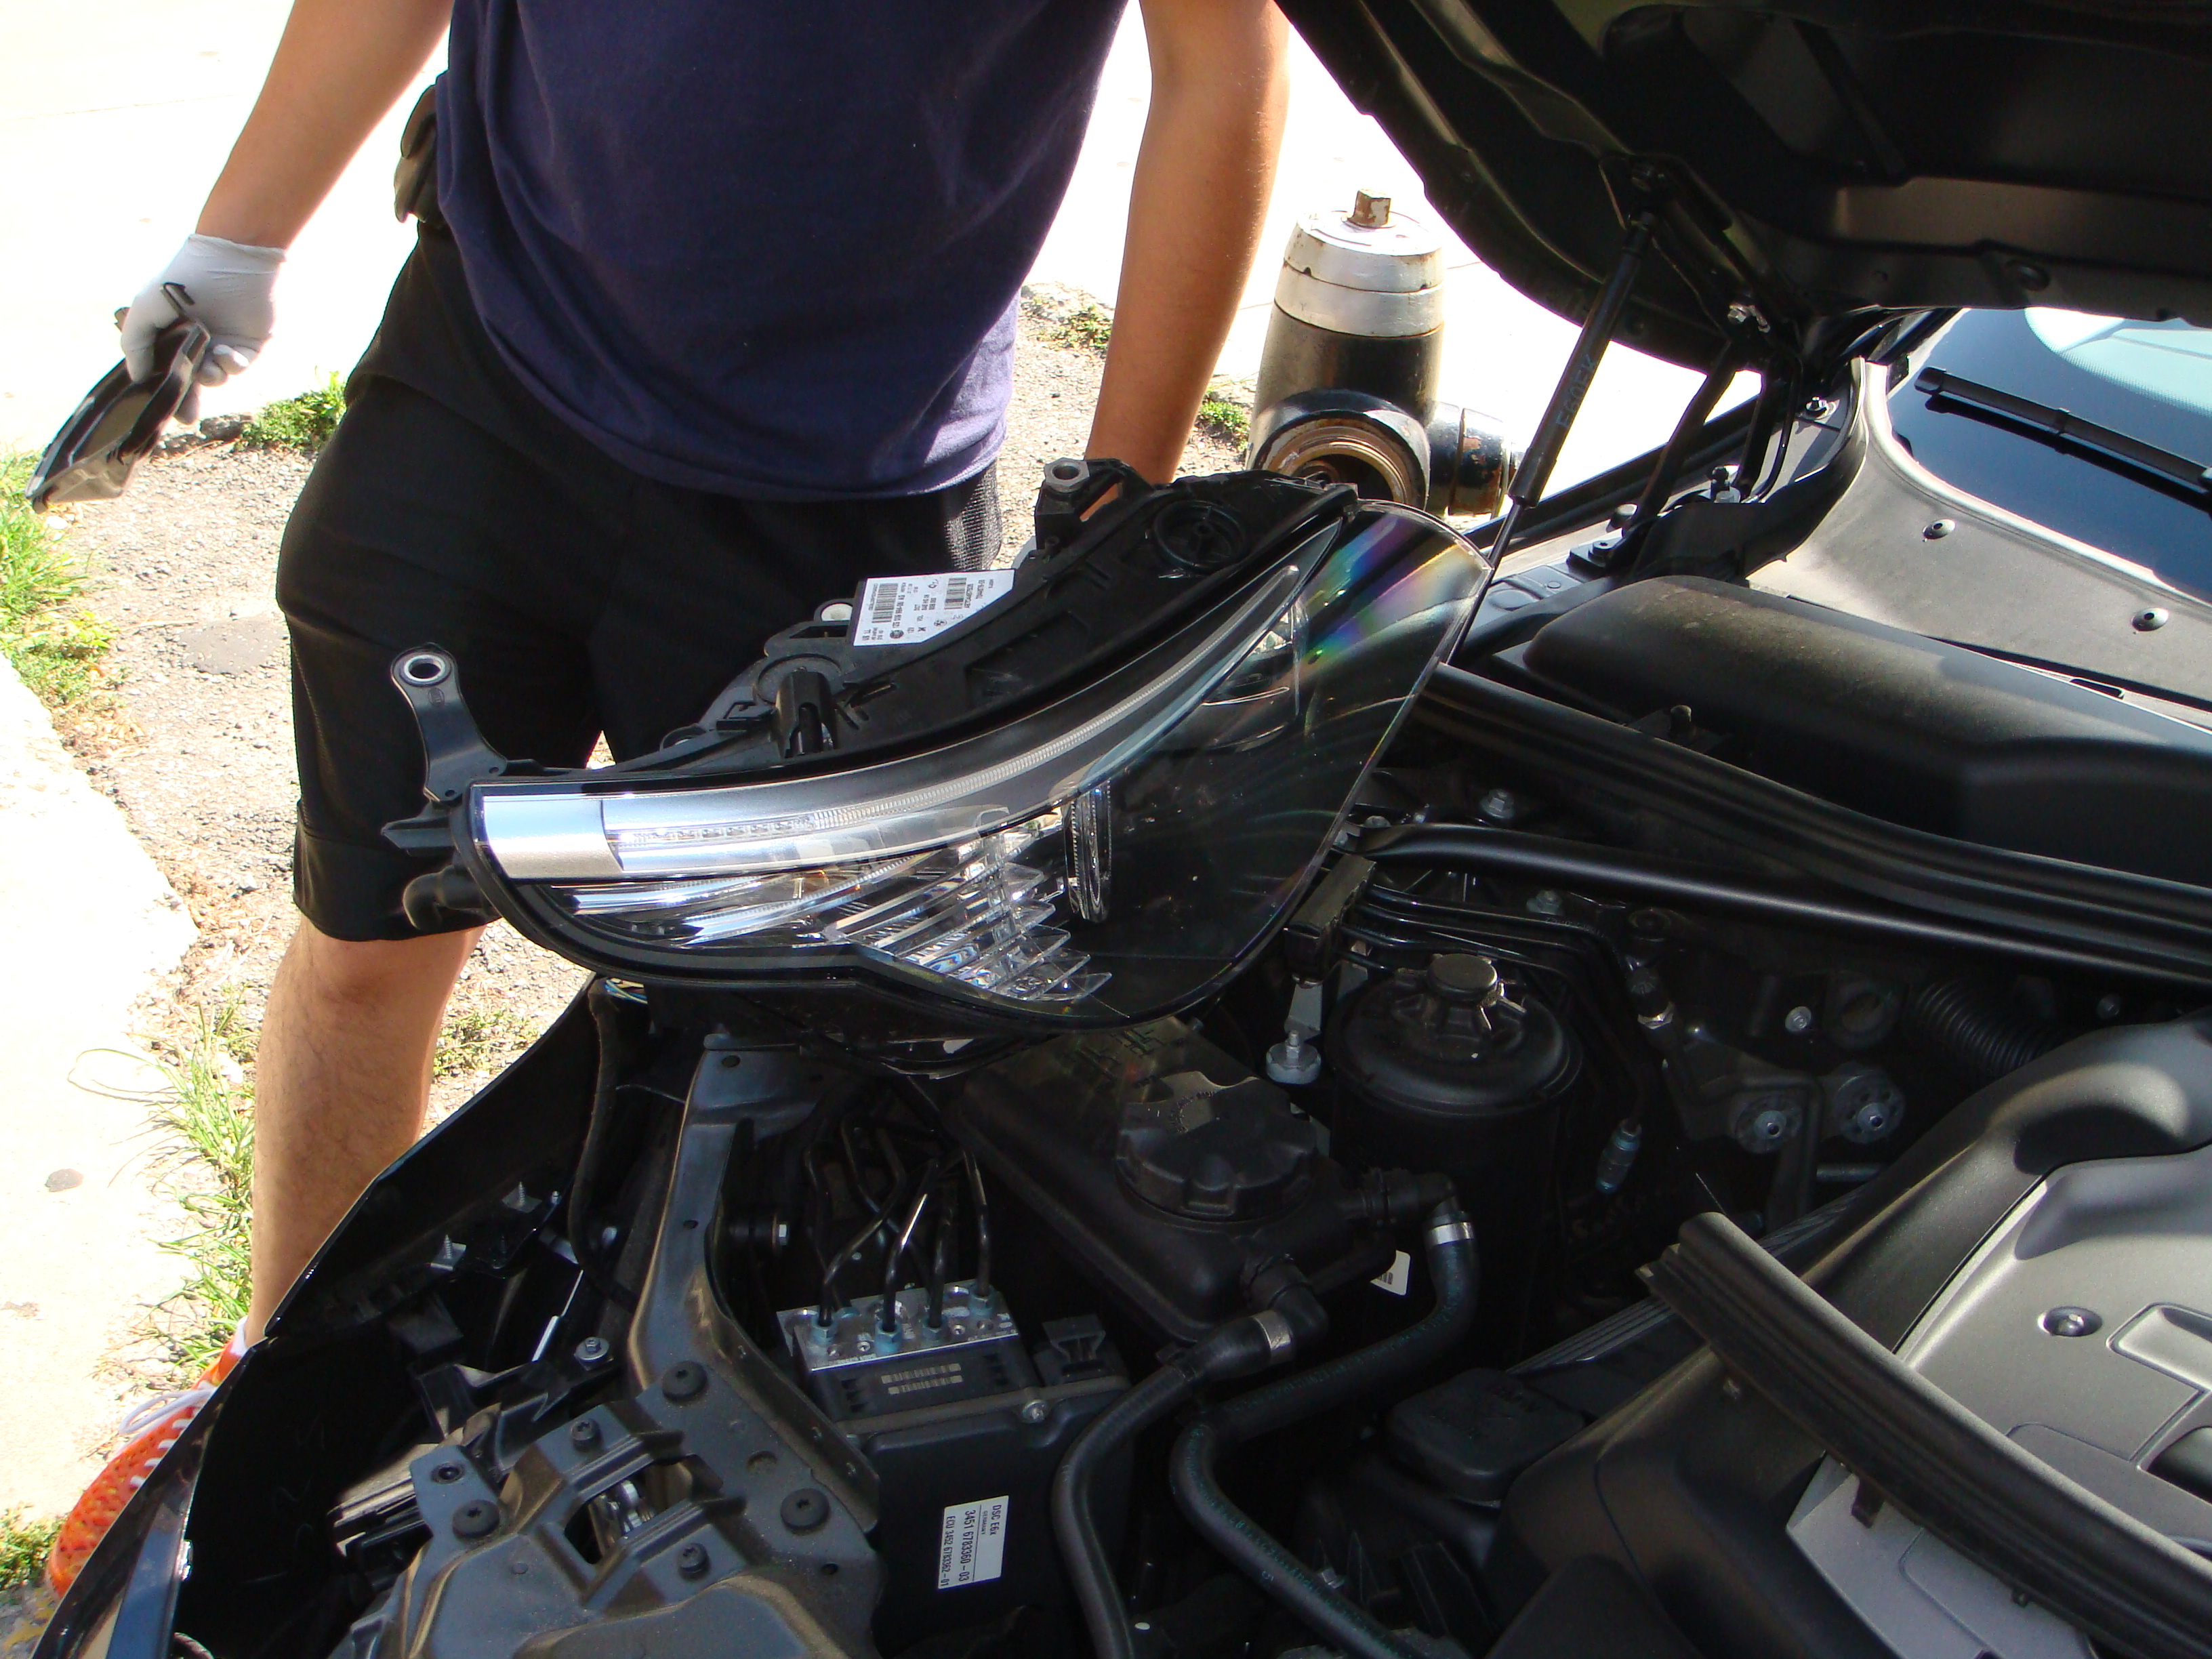
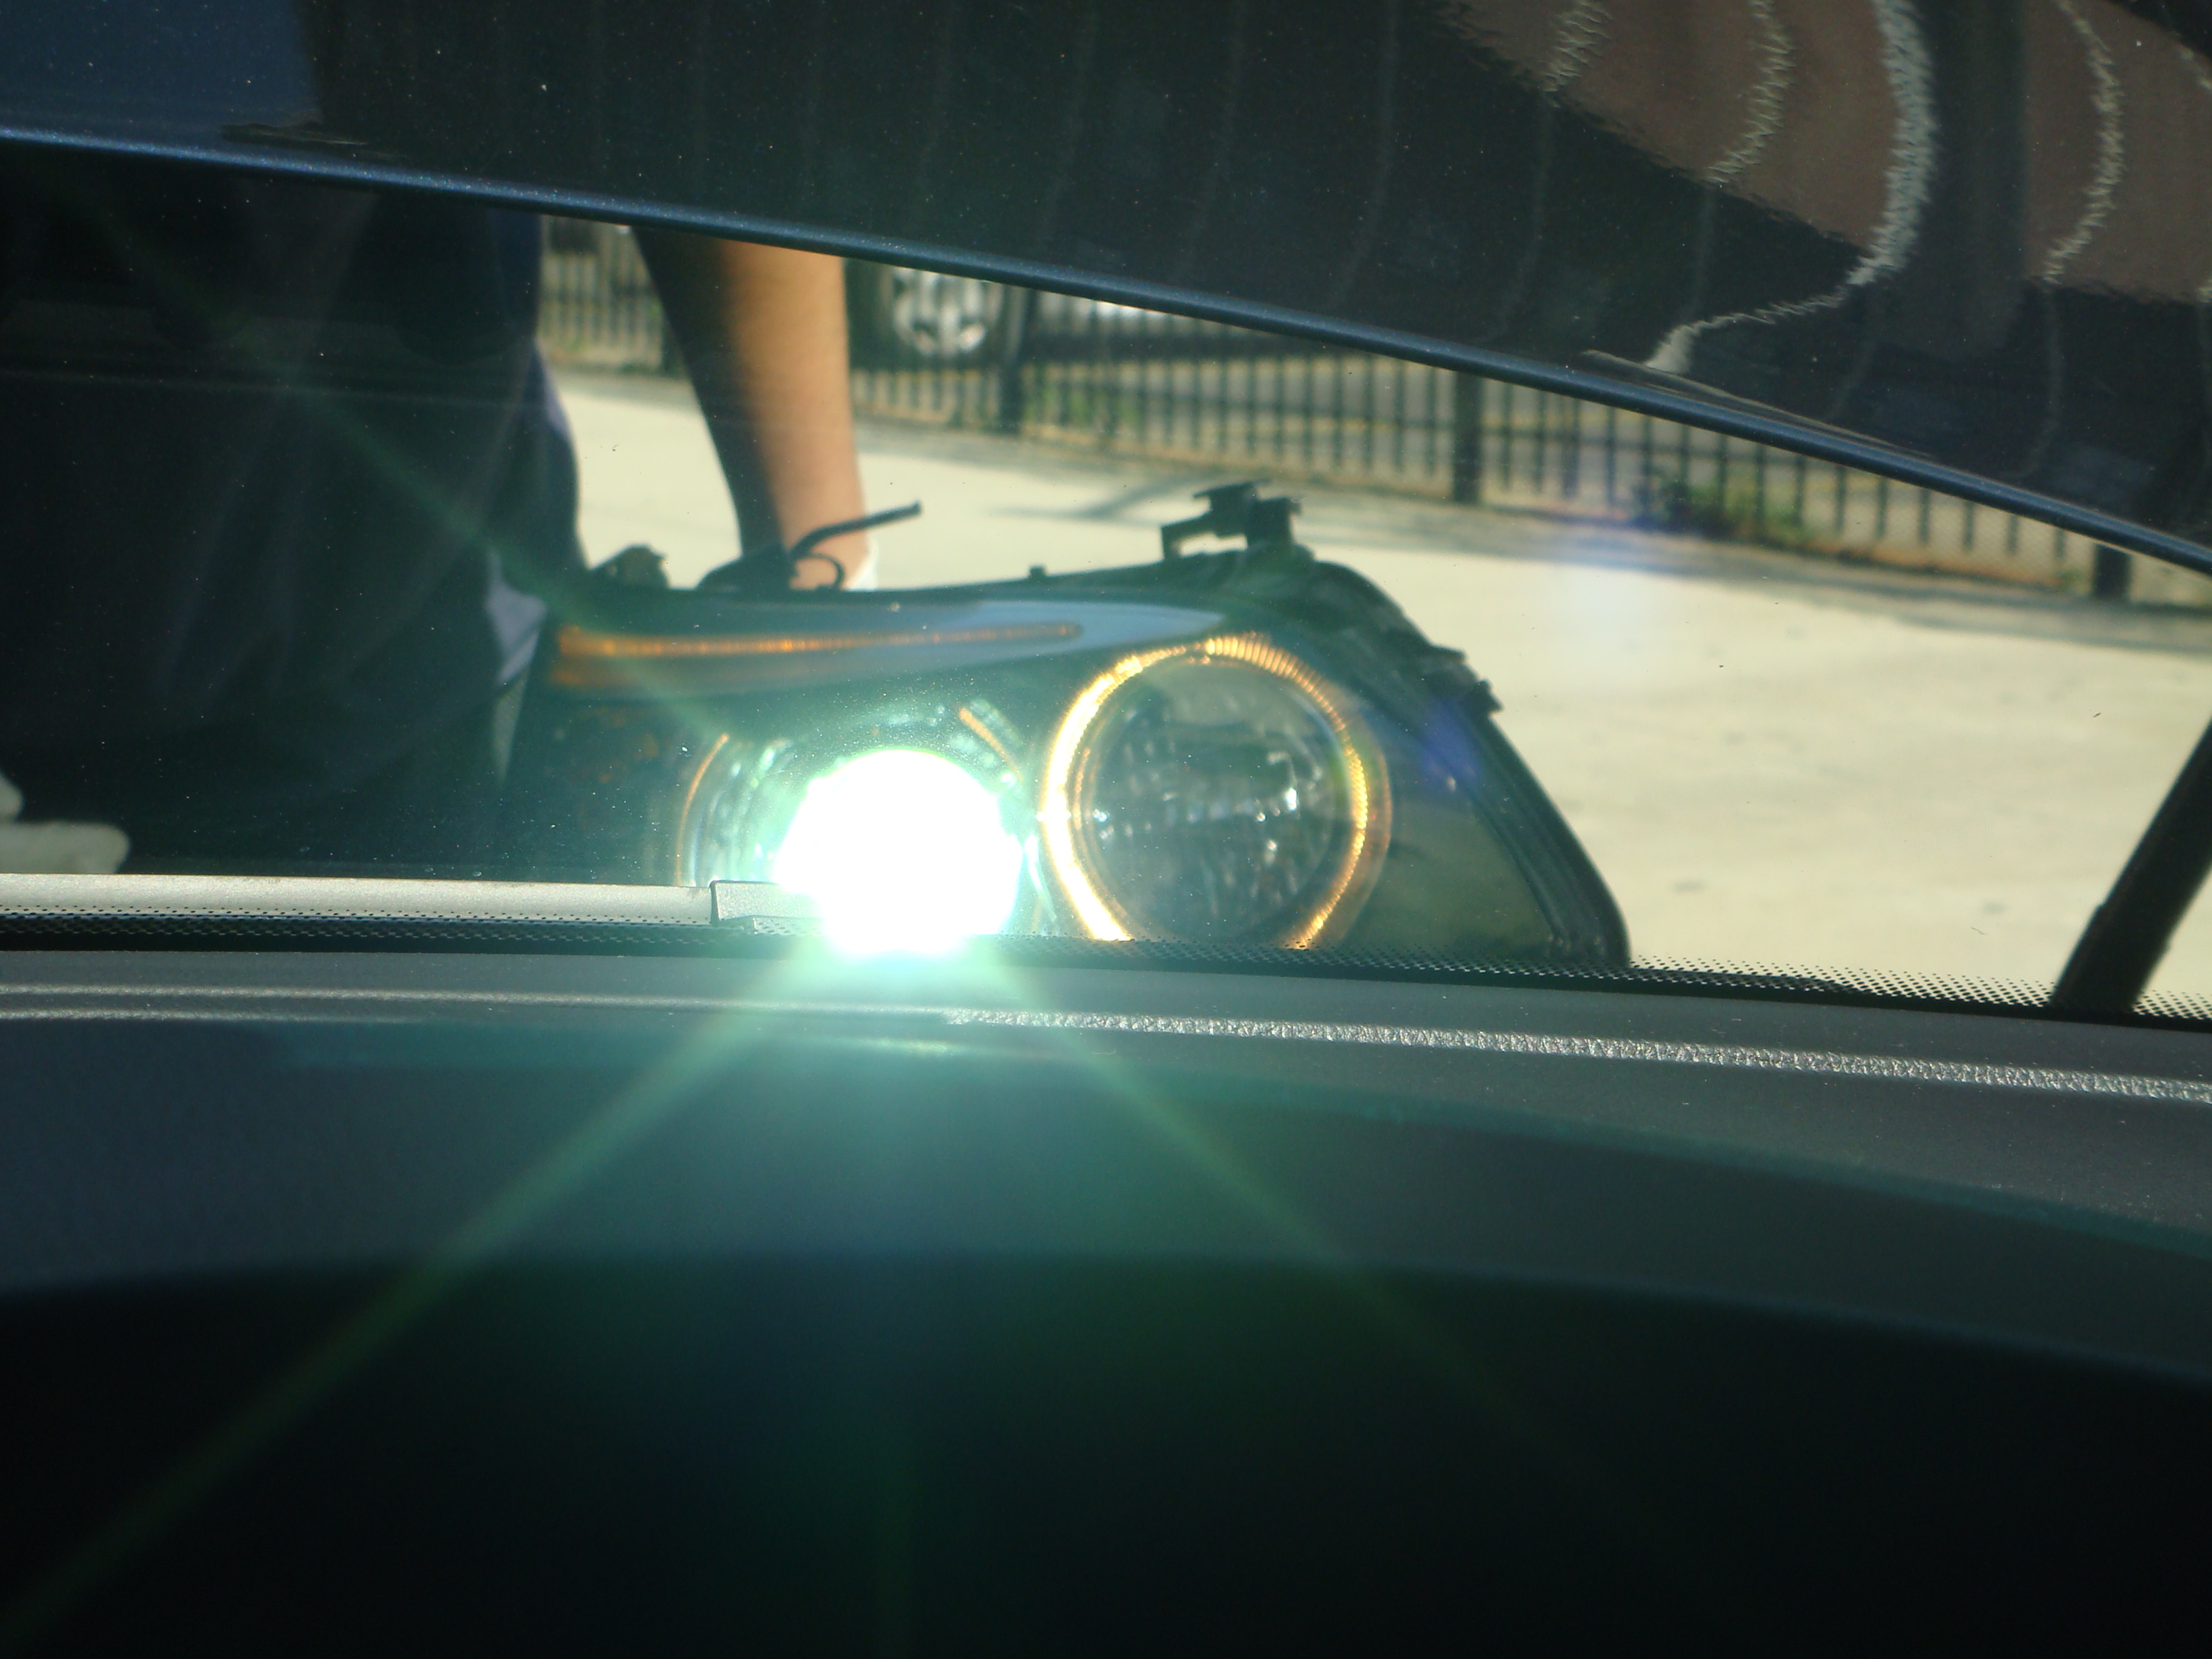
Arent these headlights beautiful!!!!
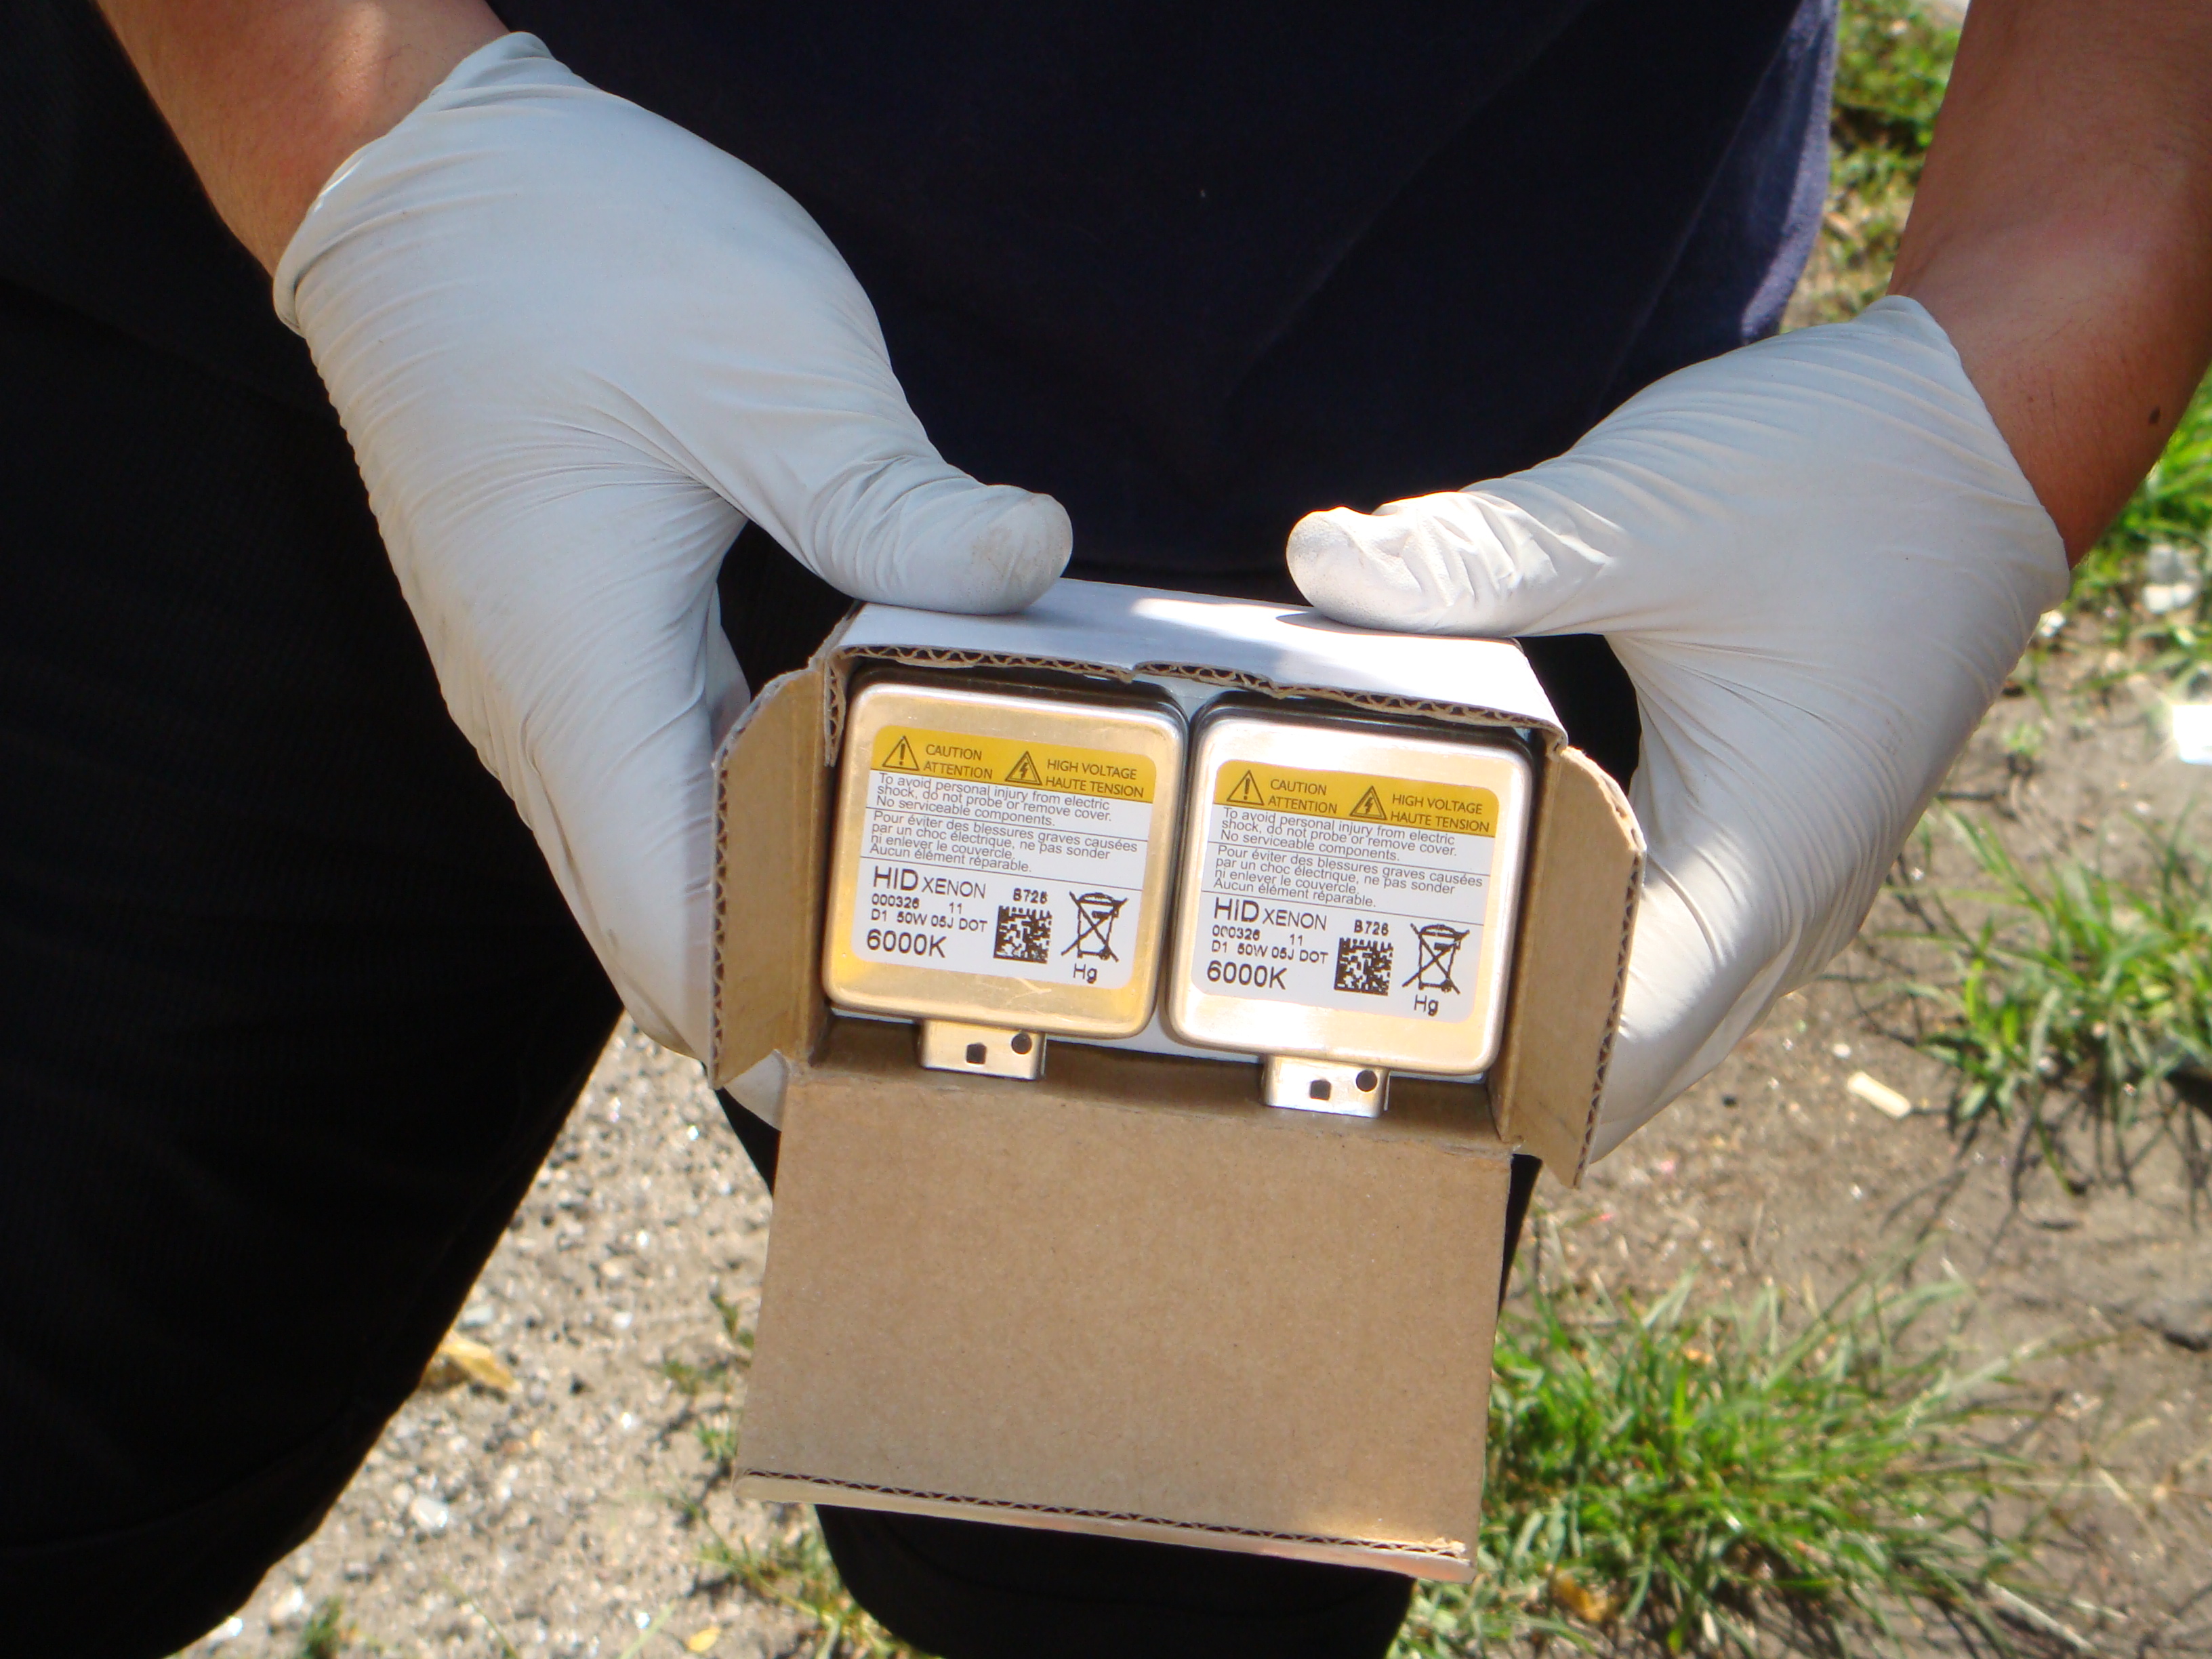
The brand new 6000K D1S bulbs fresh in the box!
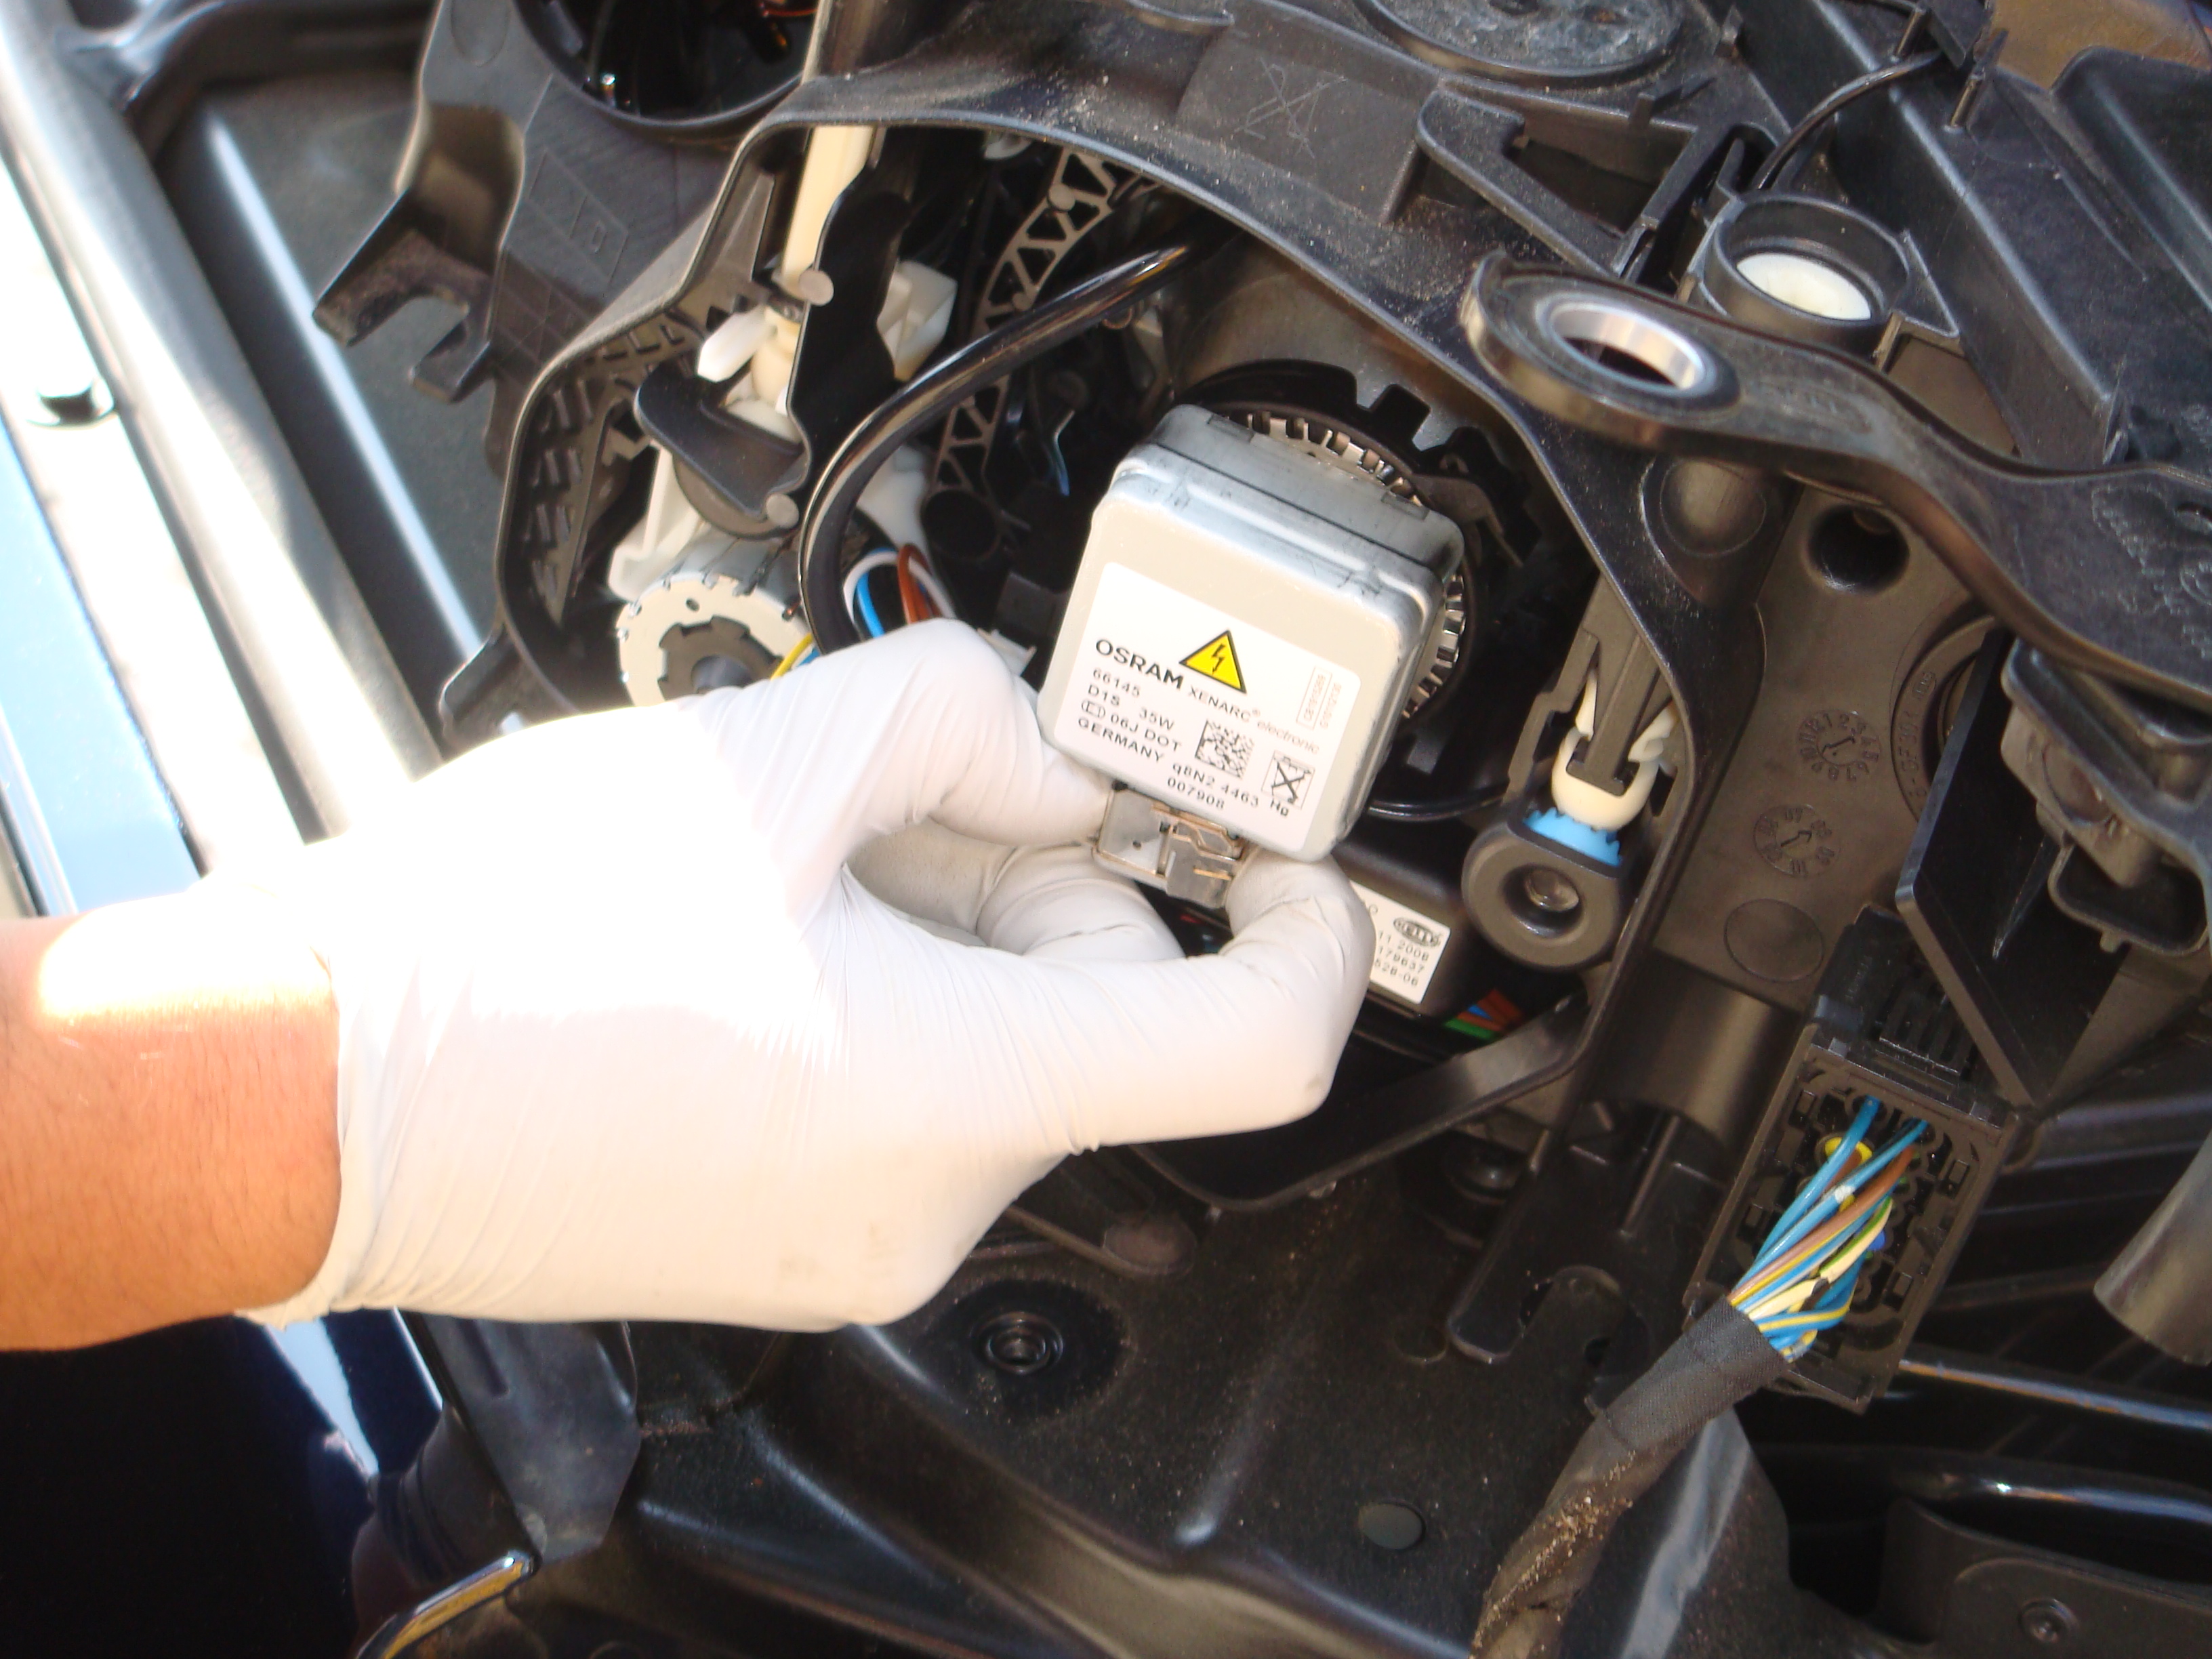
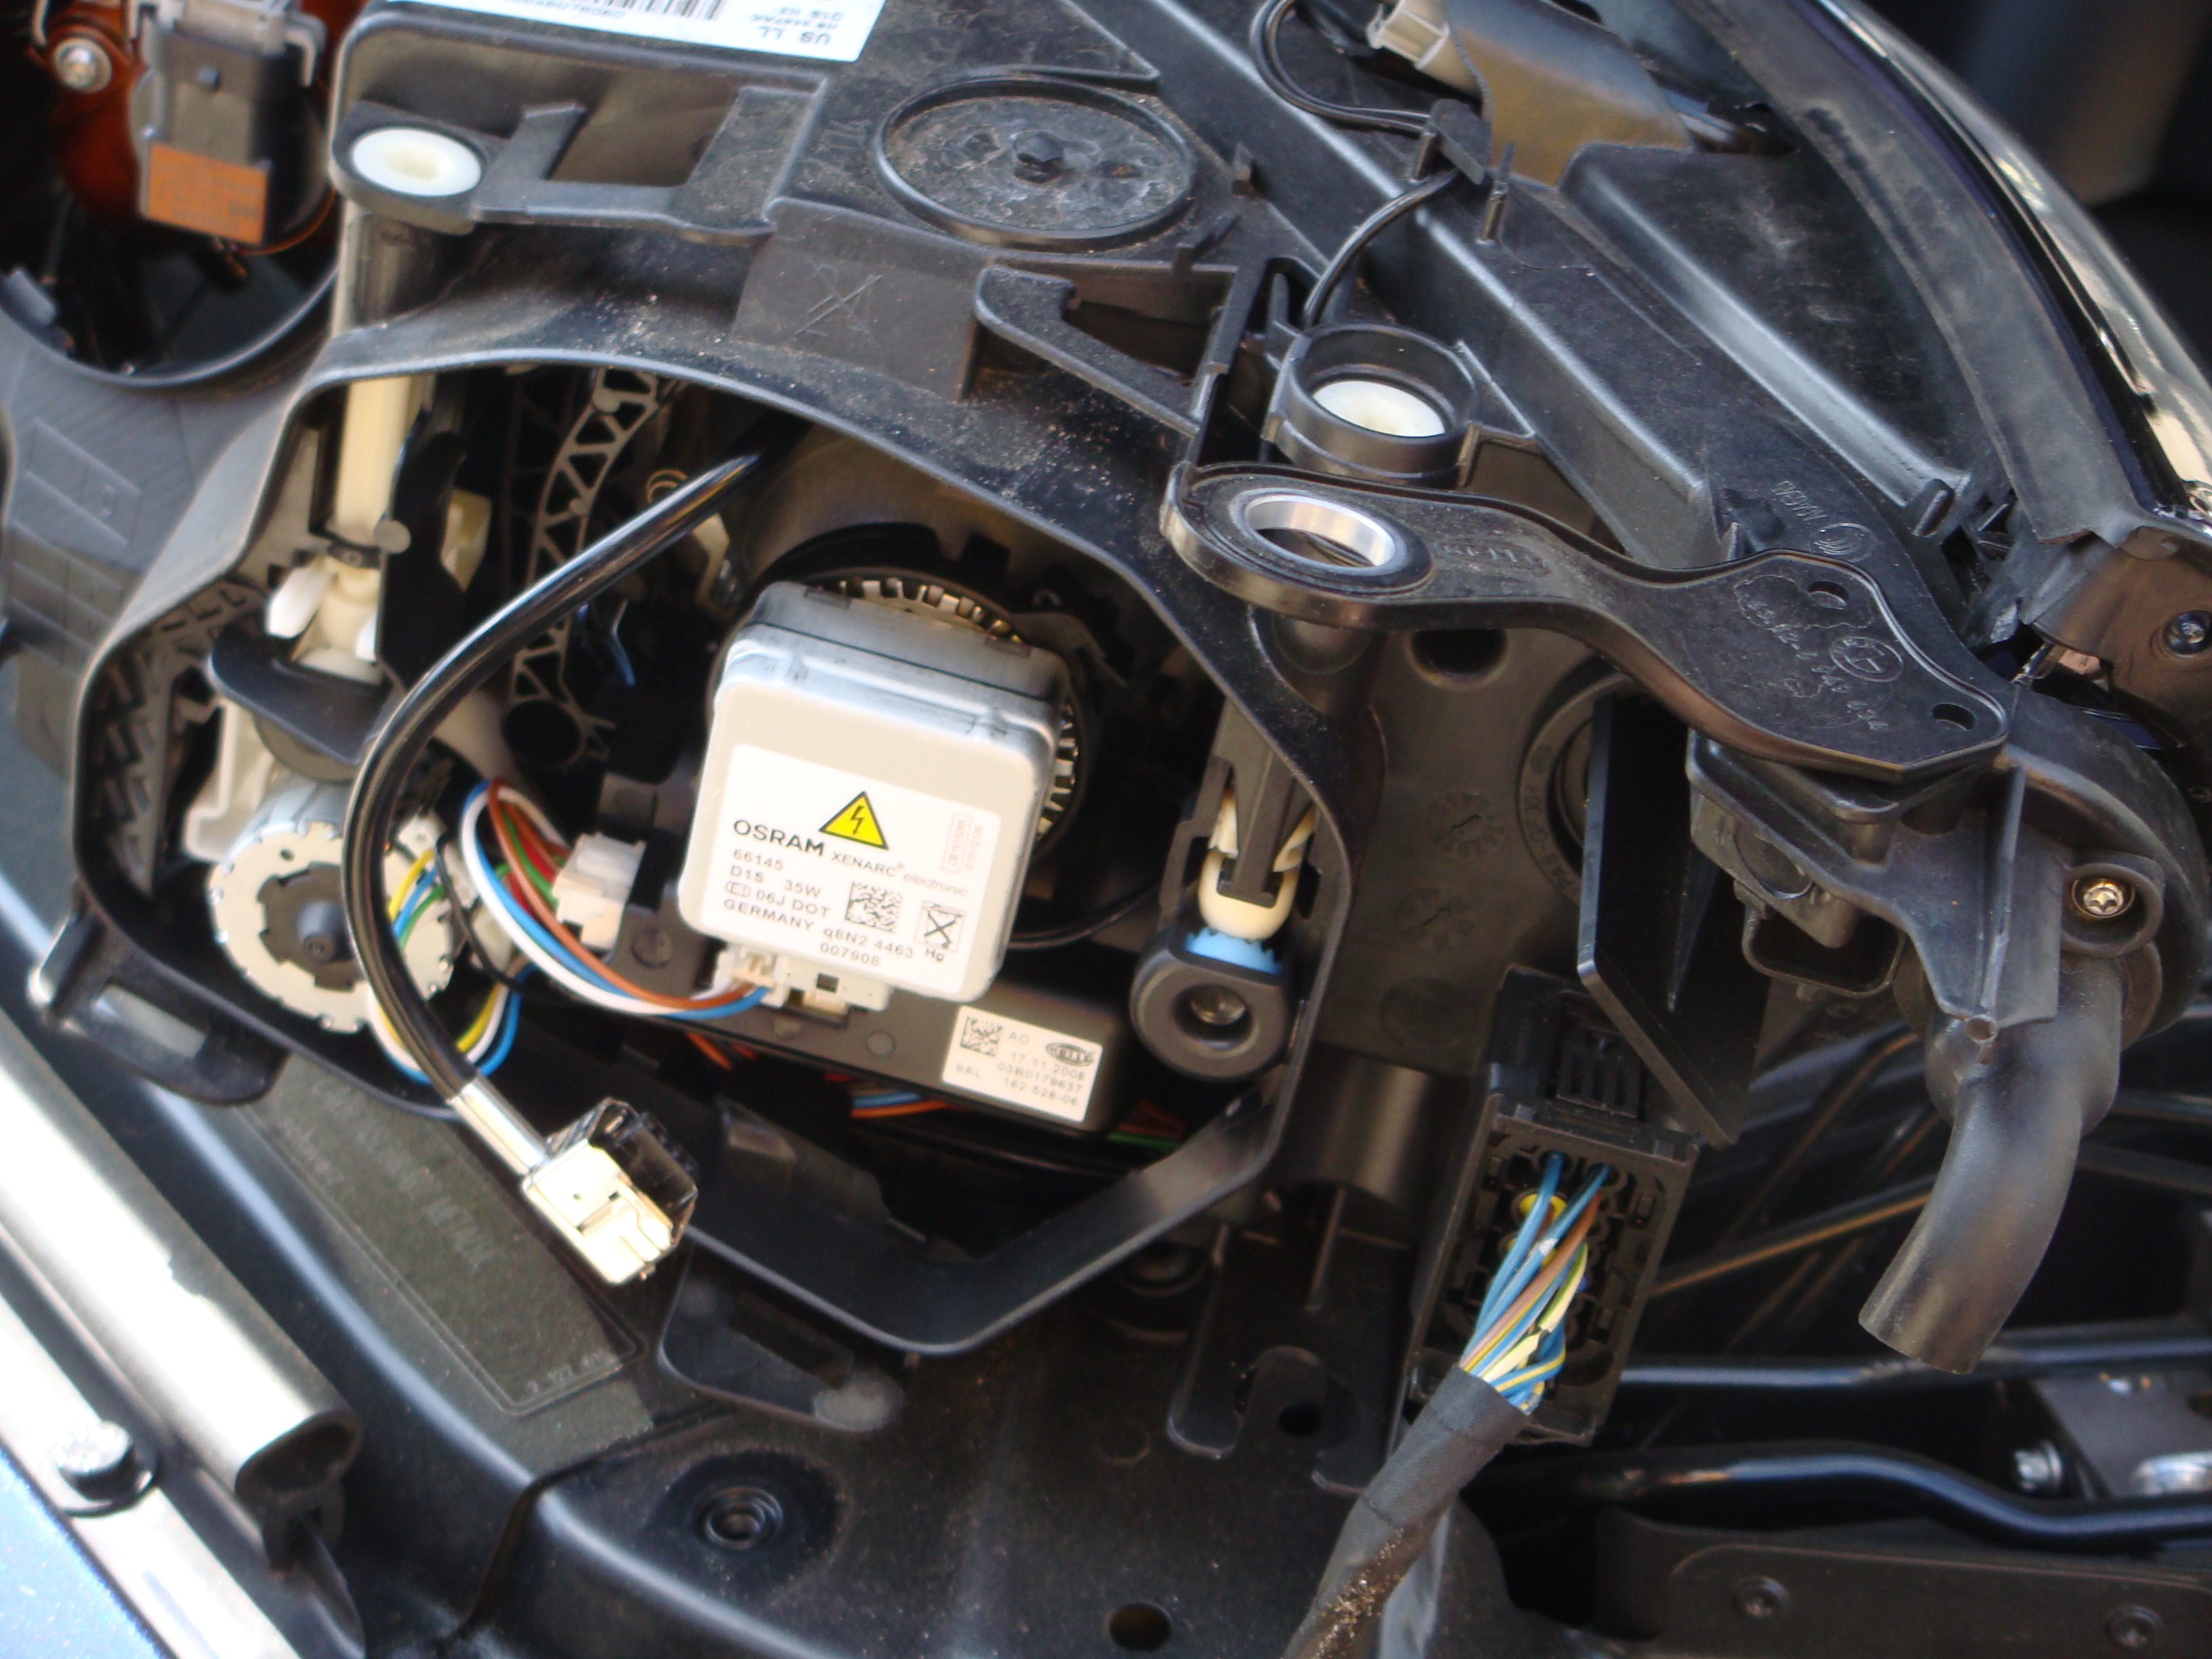
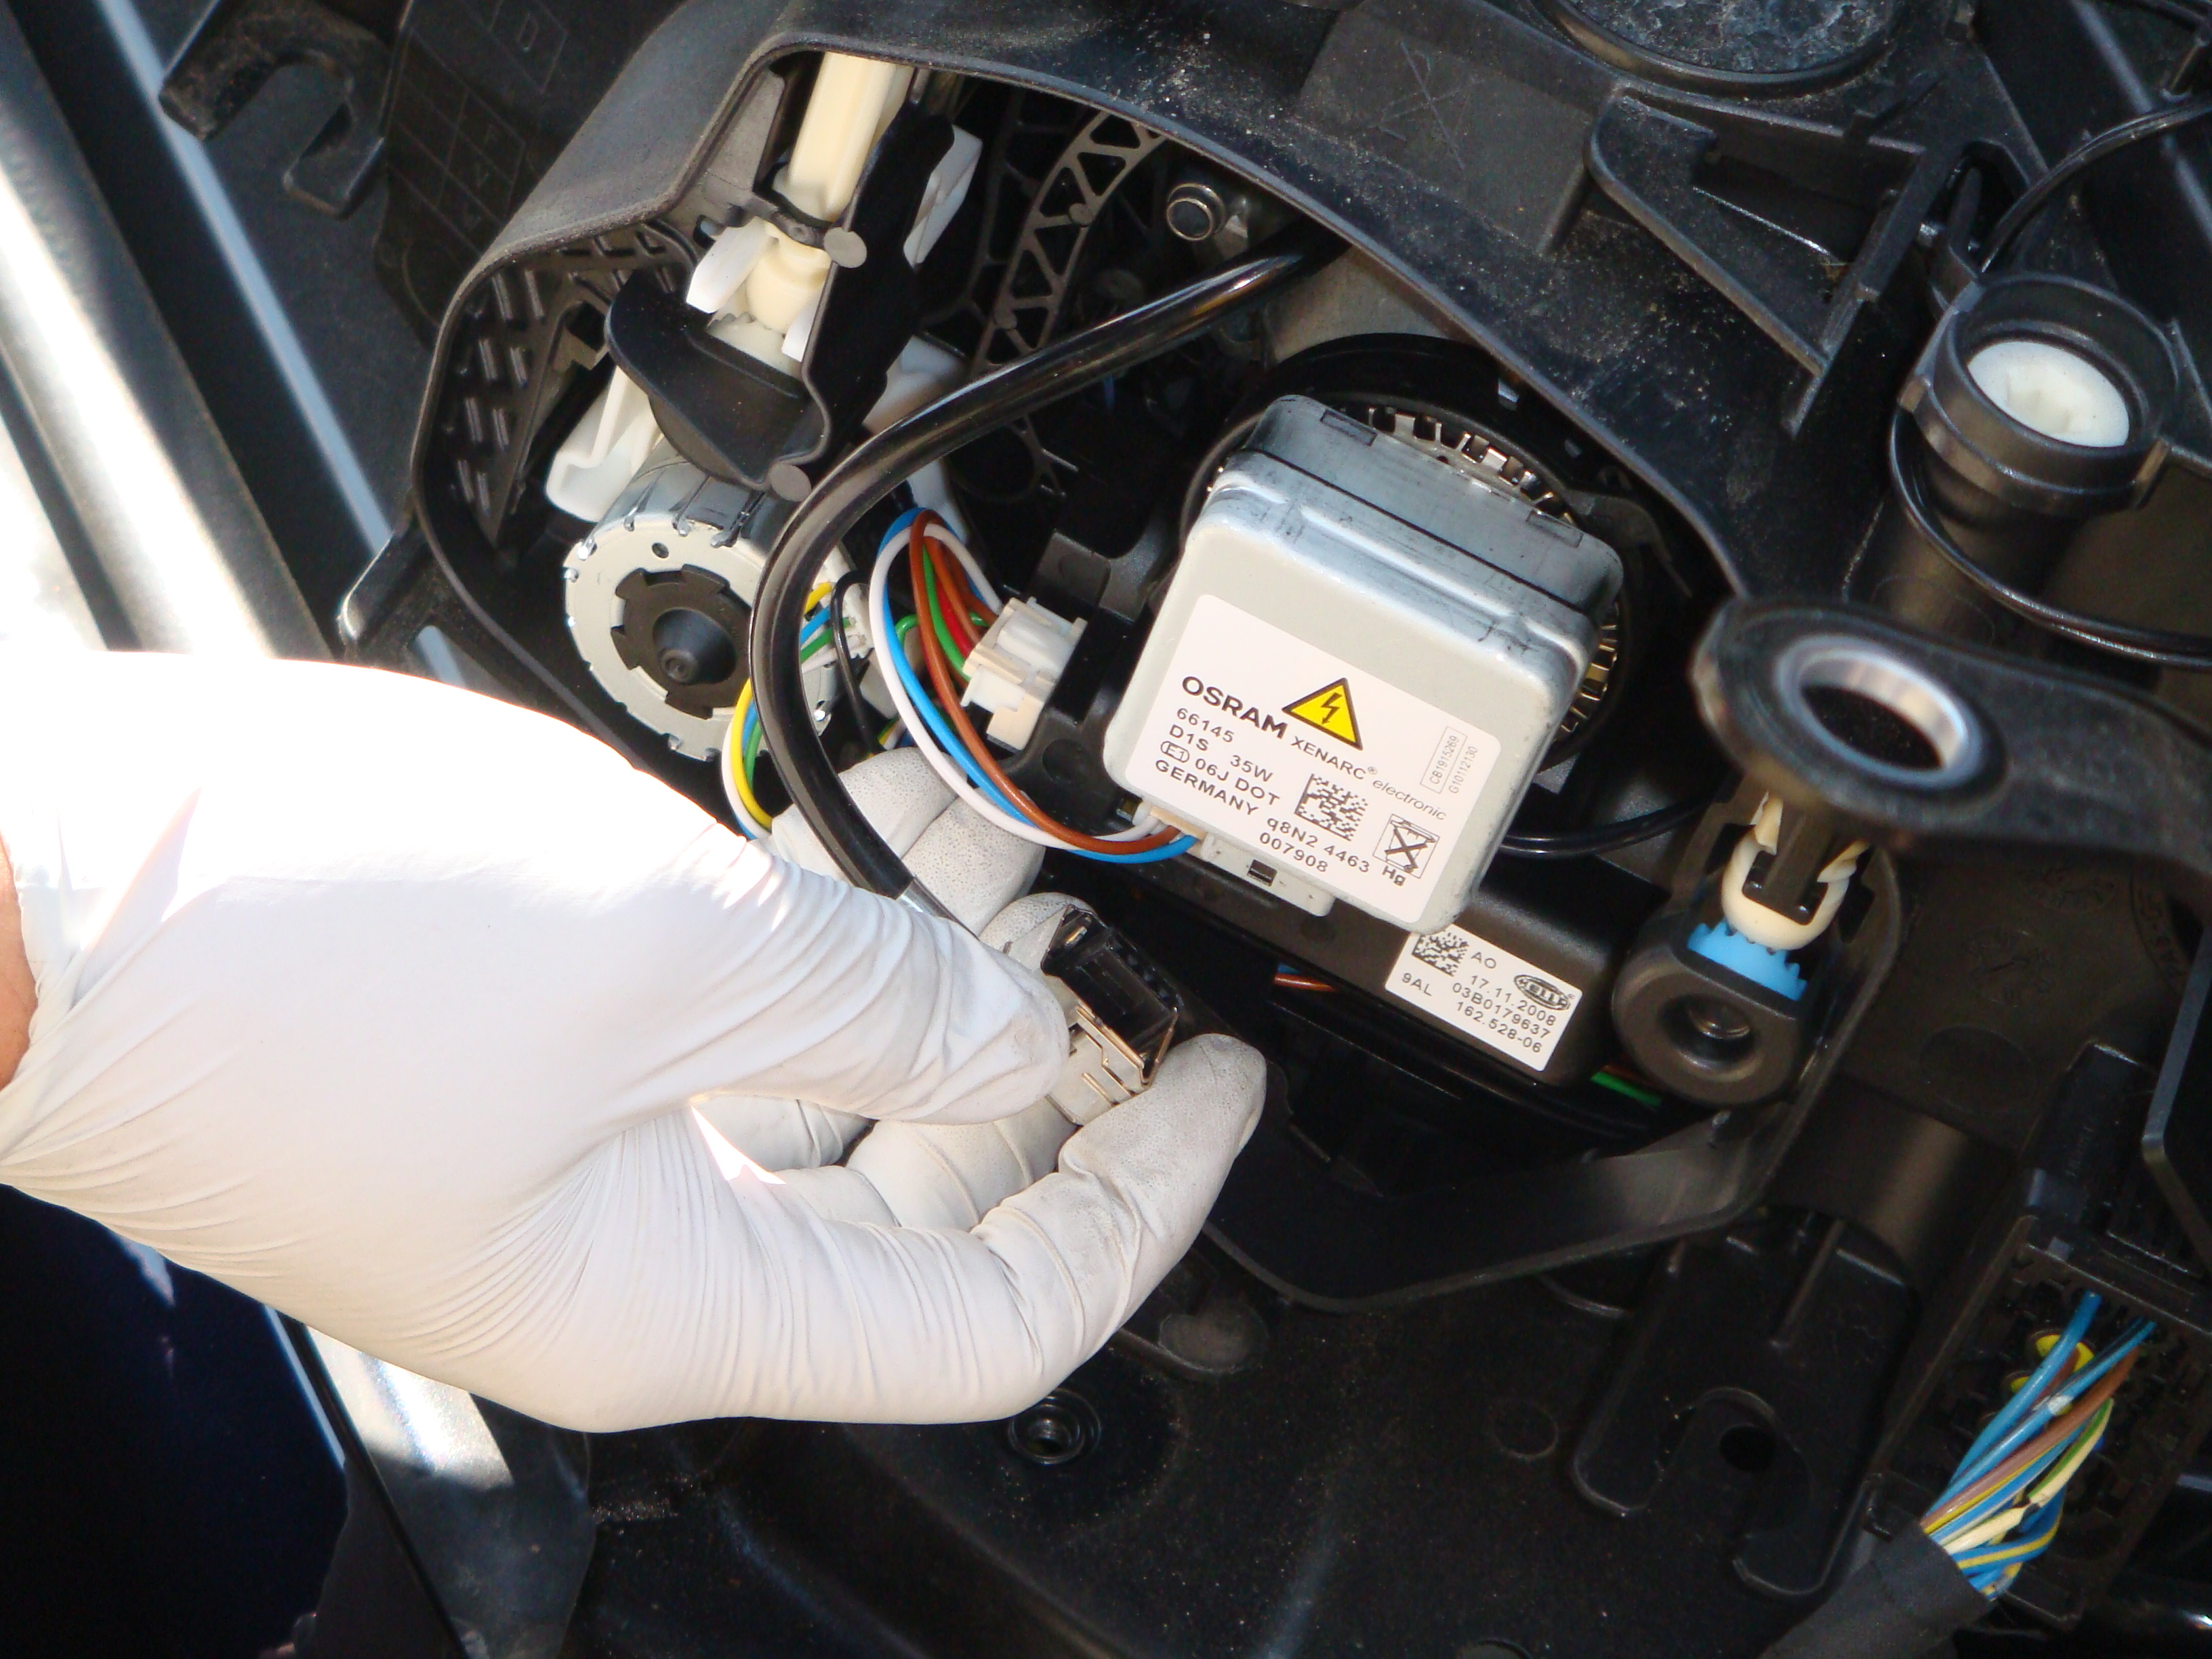
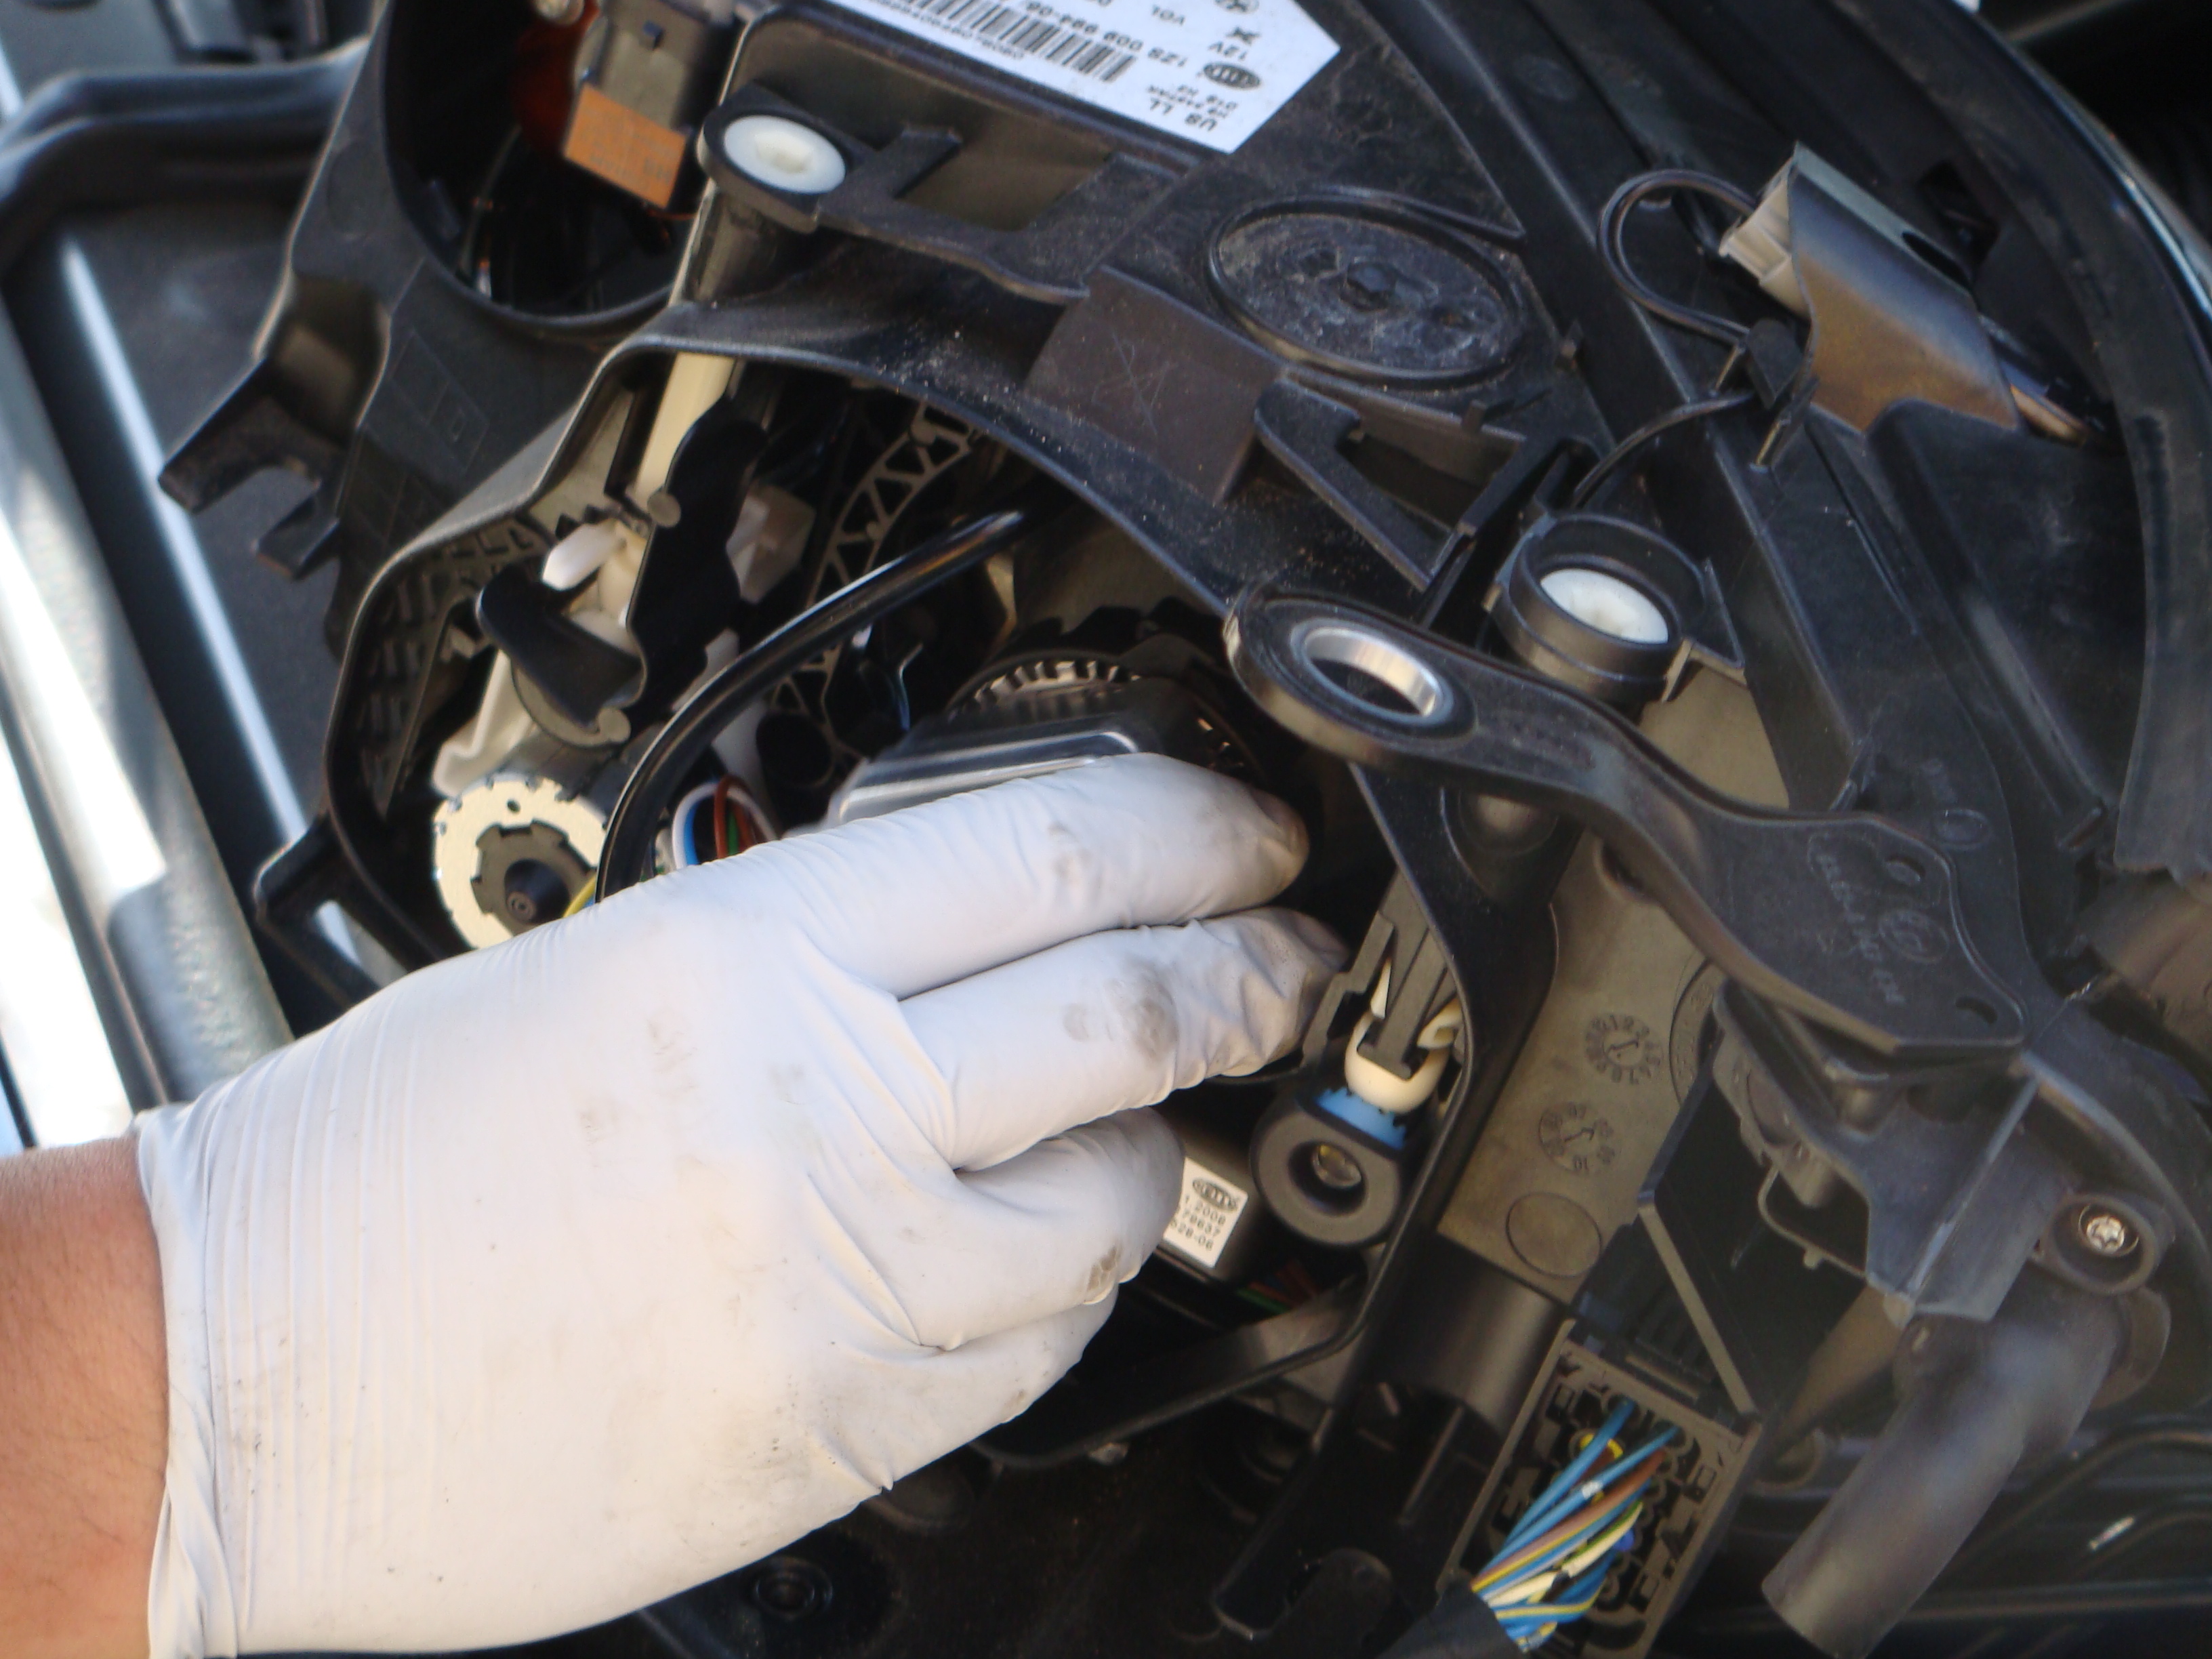
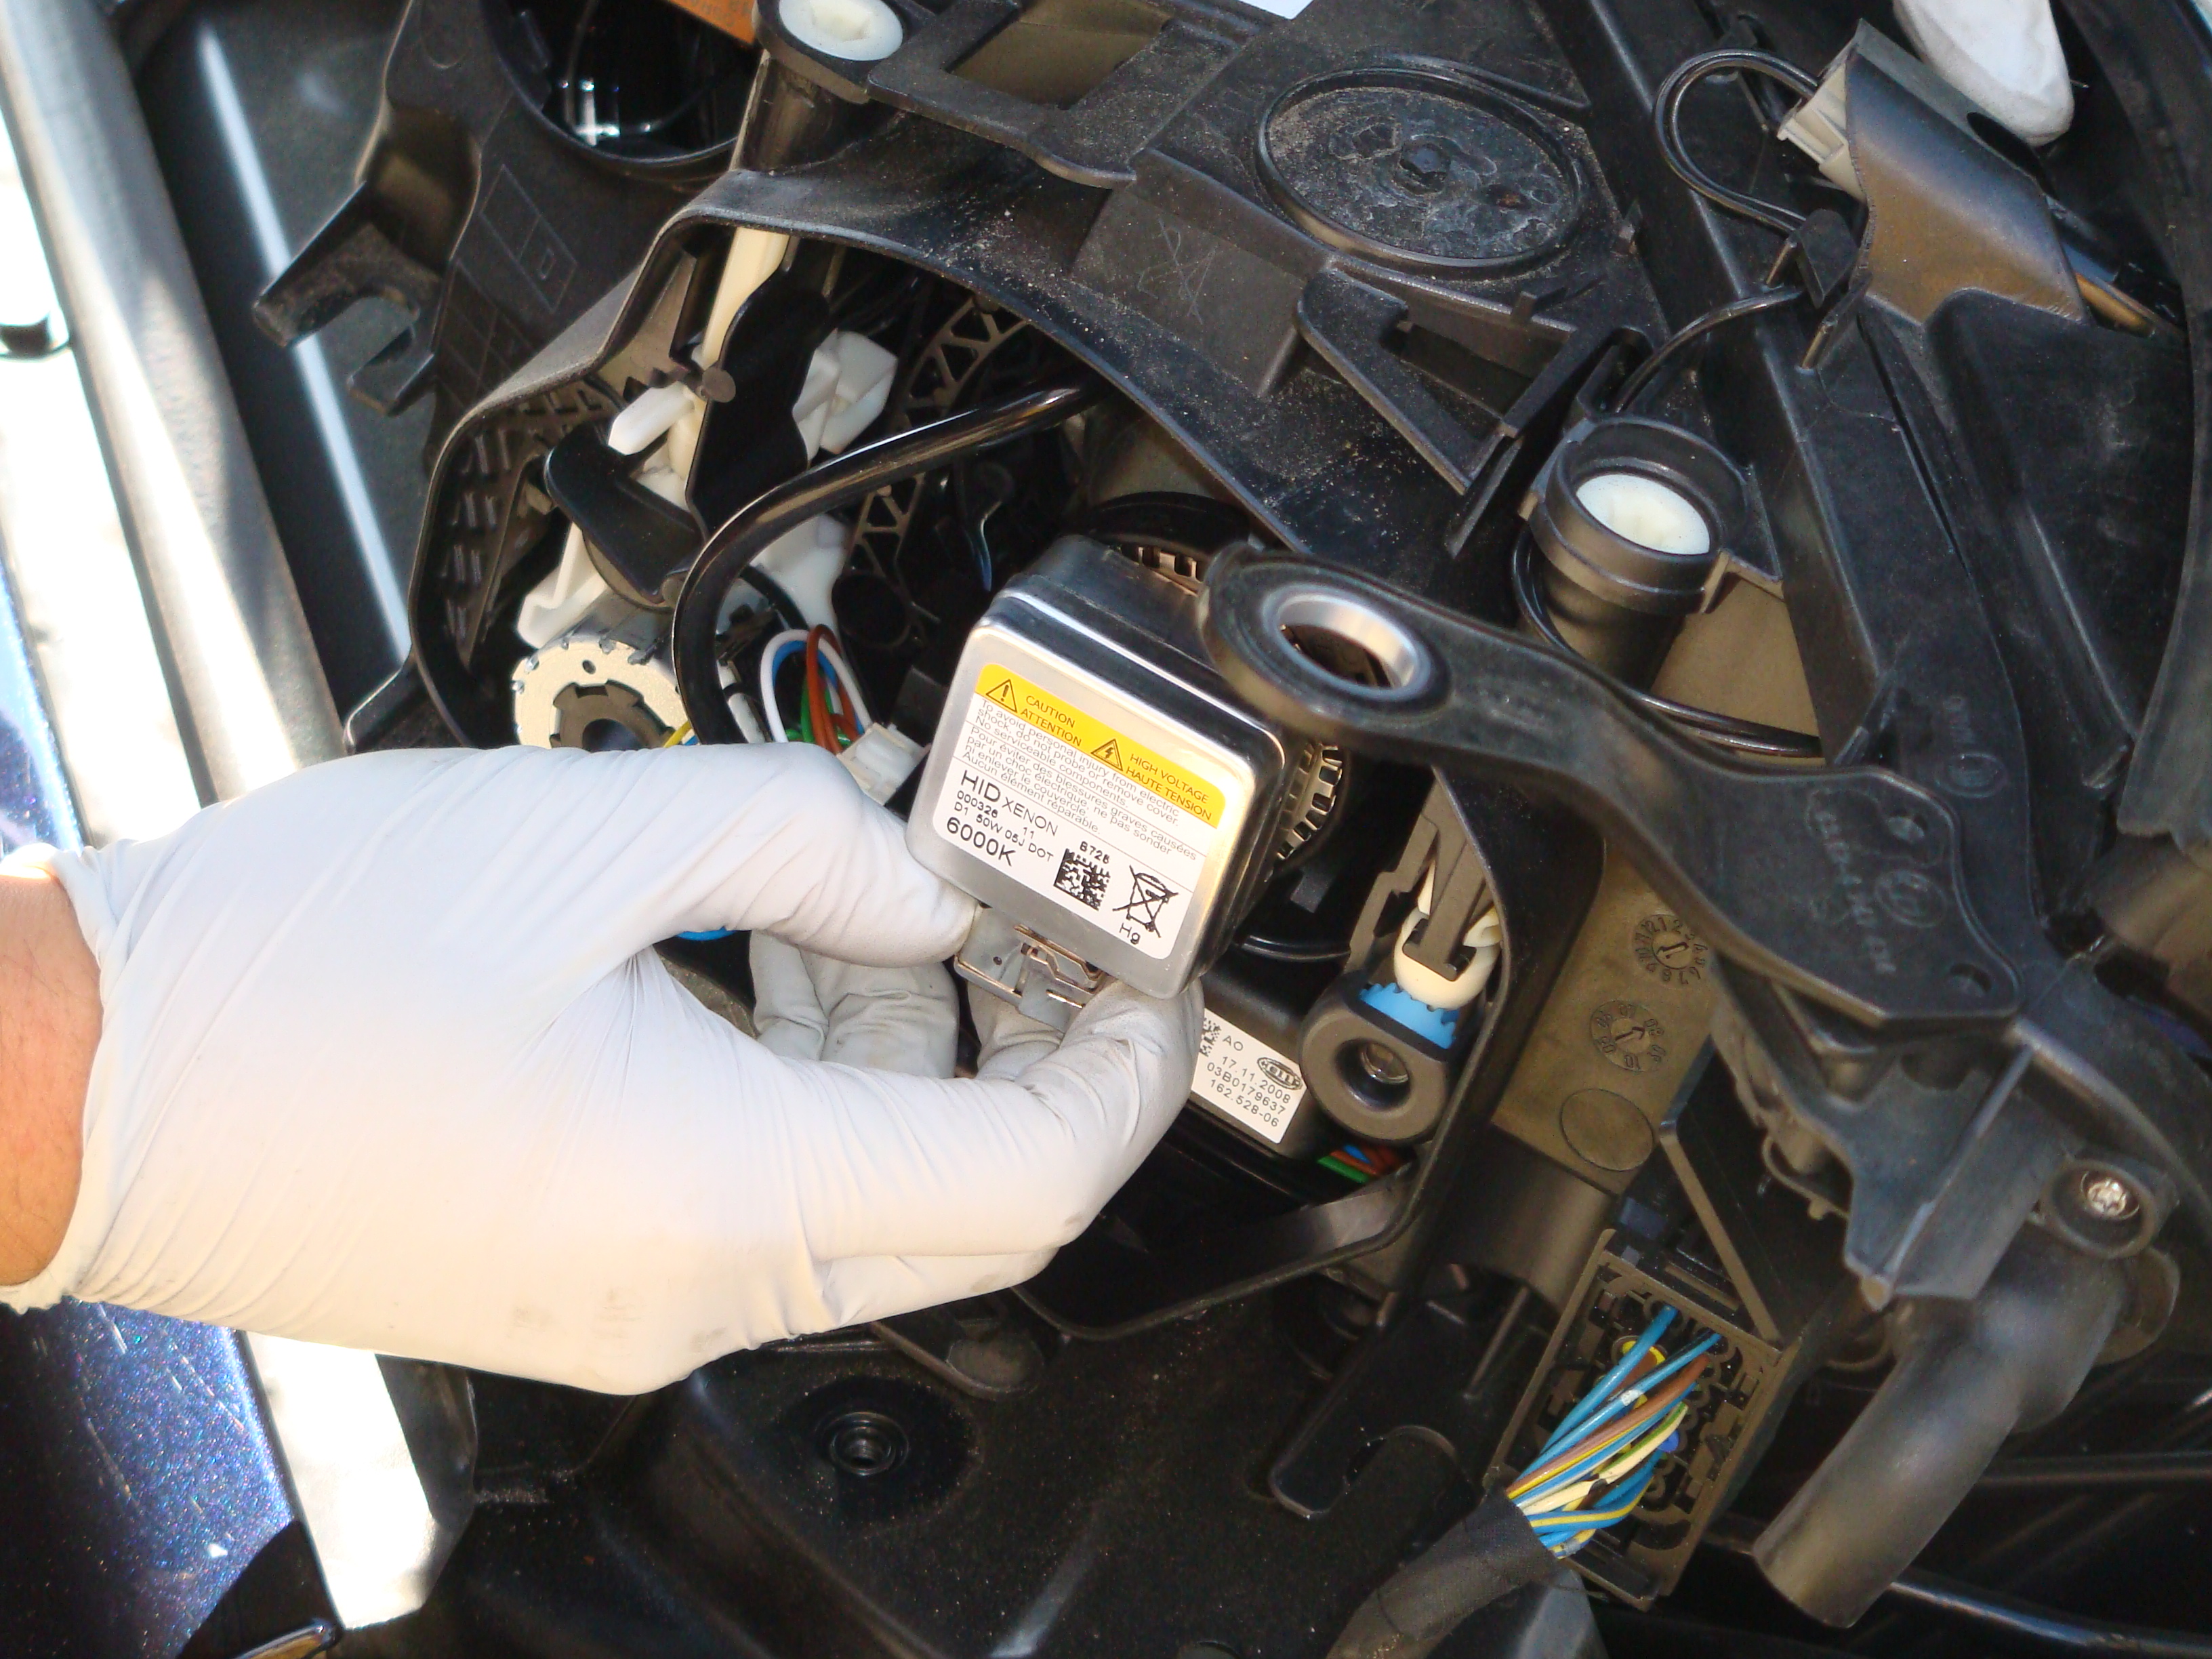
Unplug the cable that goes to the D1S bulb

Thread Starter
Banned
Joined: Jun 2008
Posts: 7,983
Likes: 1
From: Queens, NY
My Ride: A Car
Rotate the bulb counter clockwise

NOTES: For D1S bulbs and D2S bulbs, it's slightly different but once u get it out, it's simple. The D2S bulb just unplugs with a slight twist then you have to reinstall it. I've never installed a D2S yet.
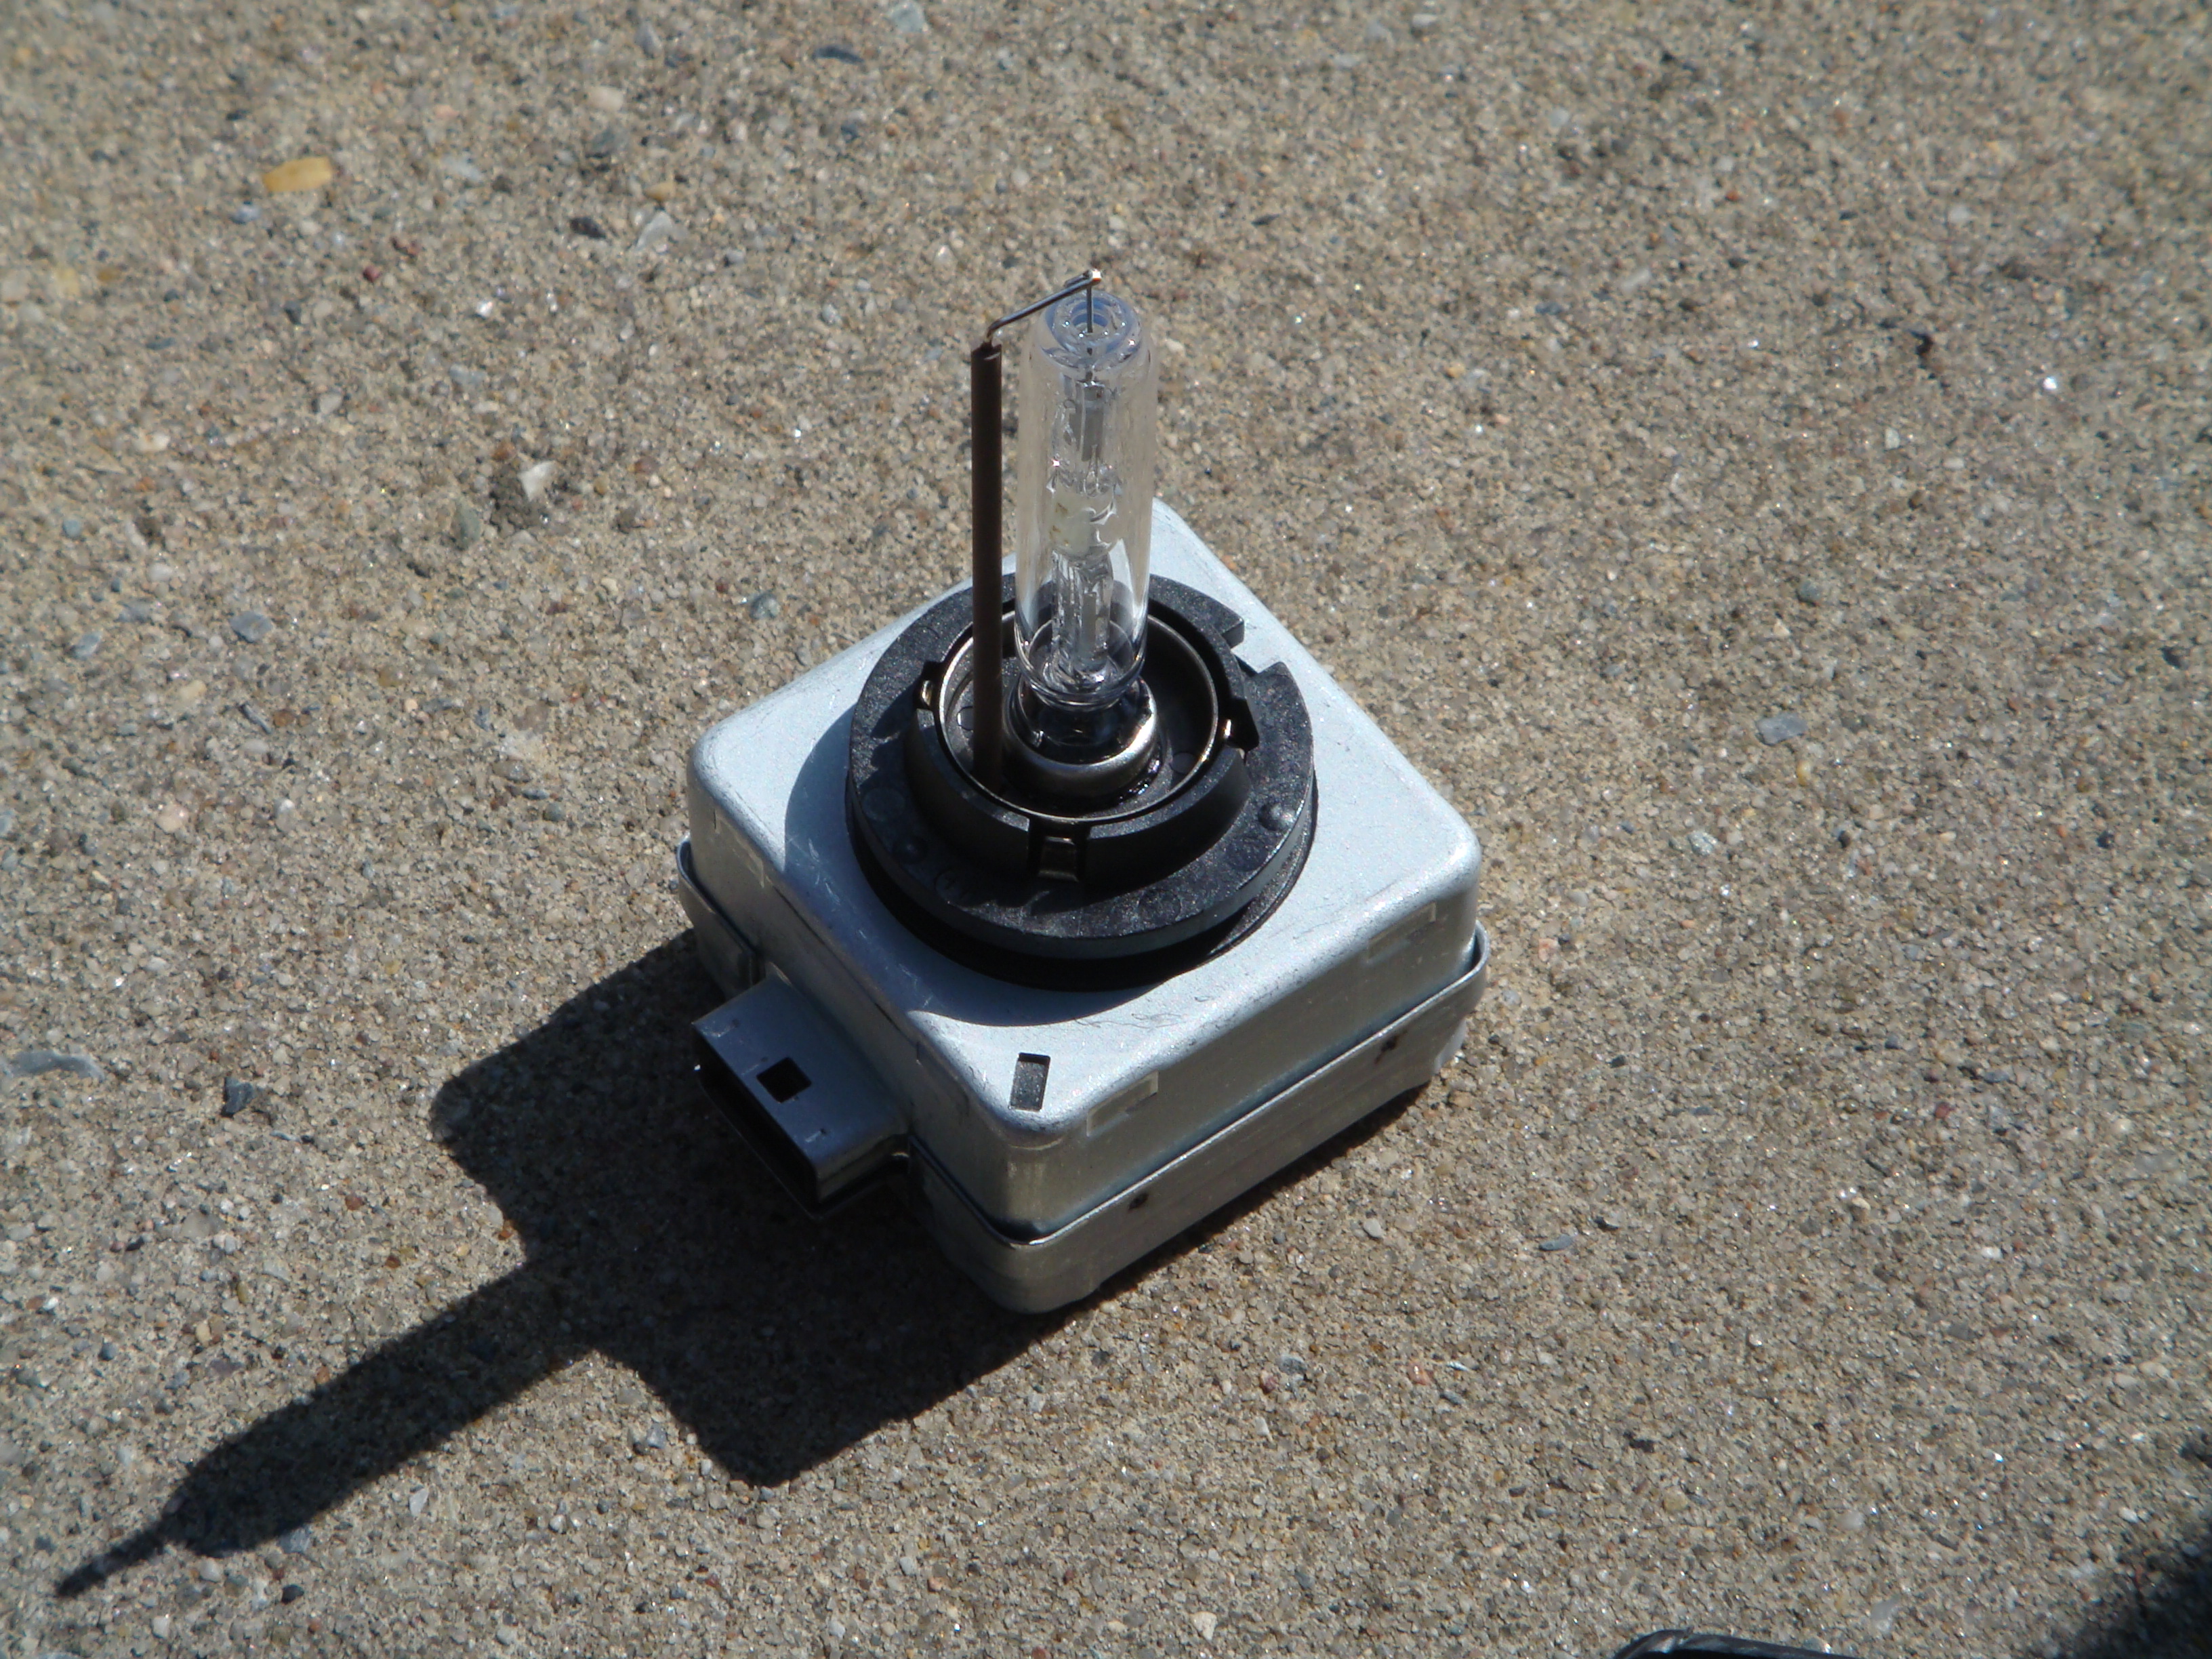
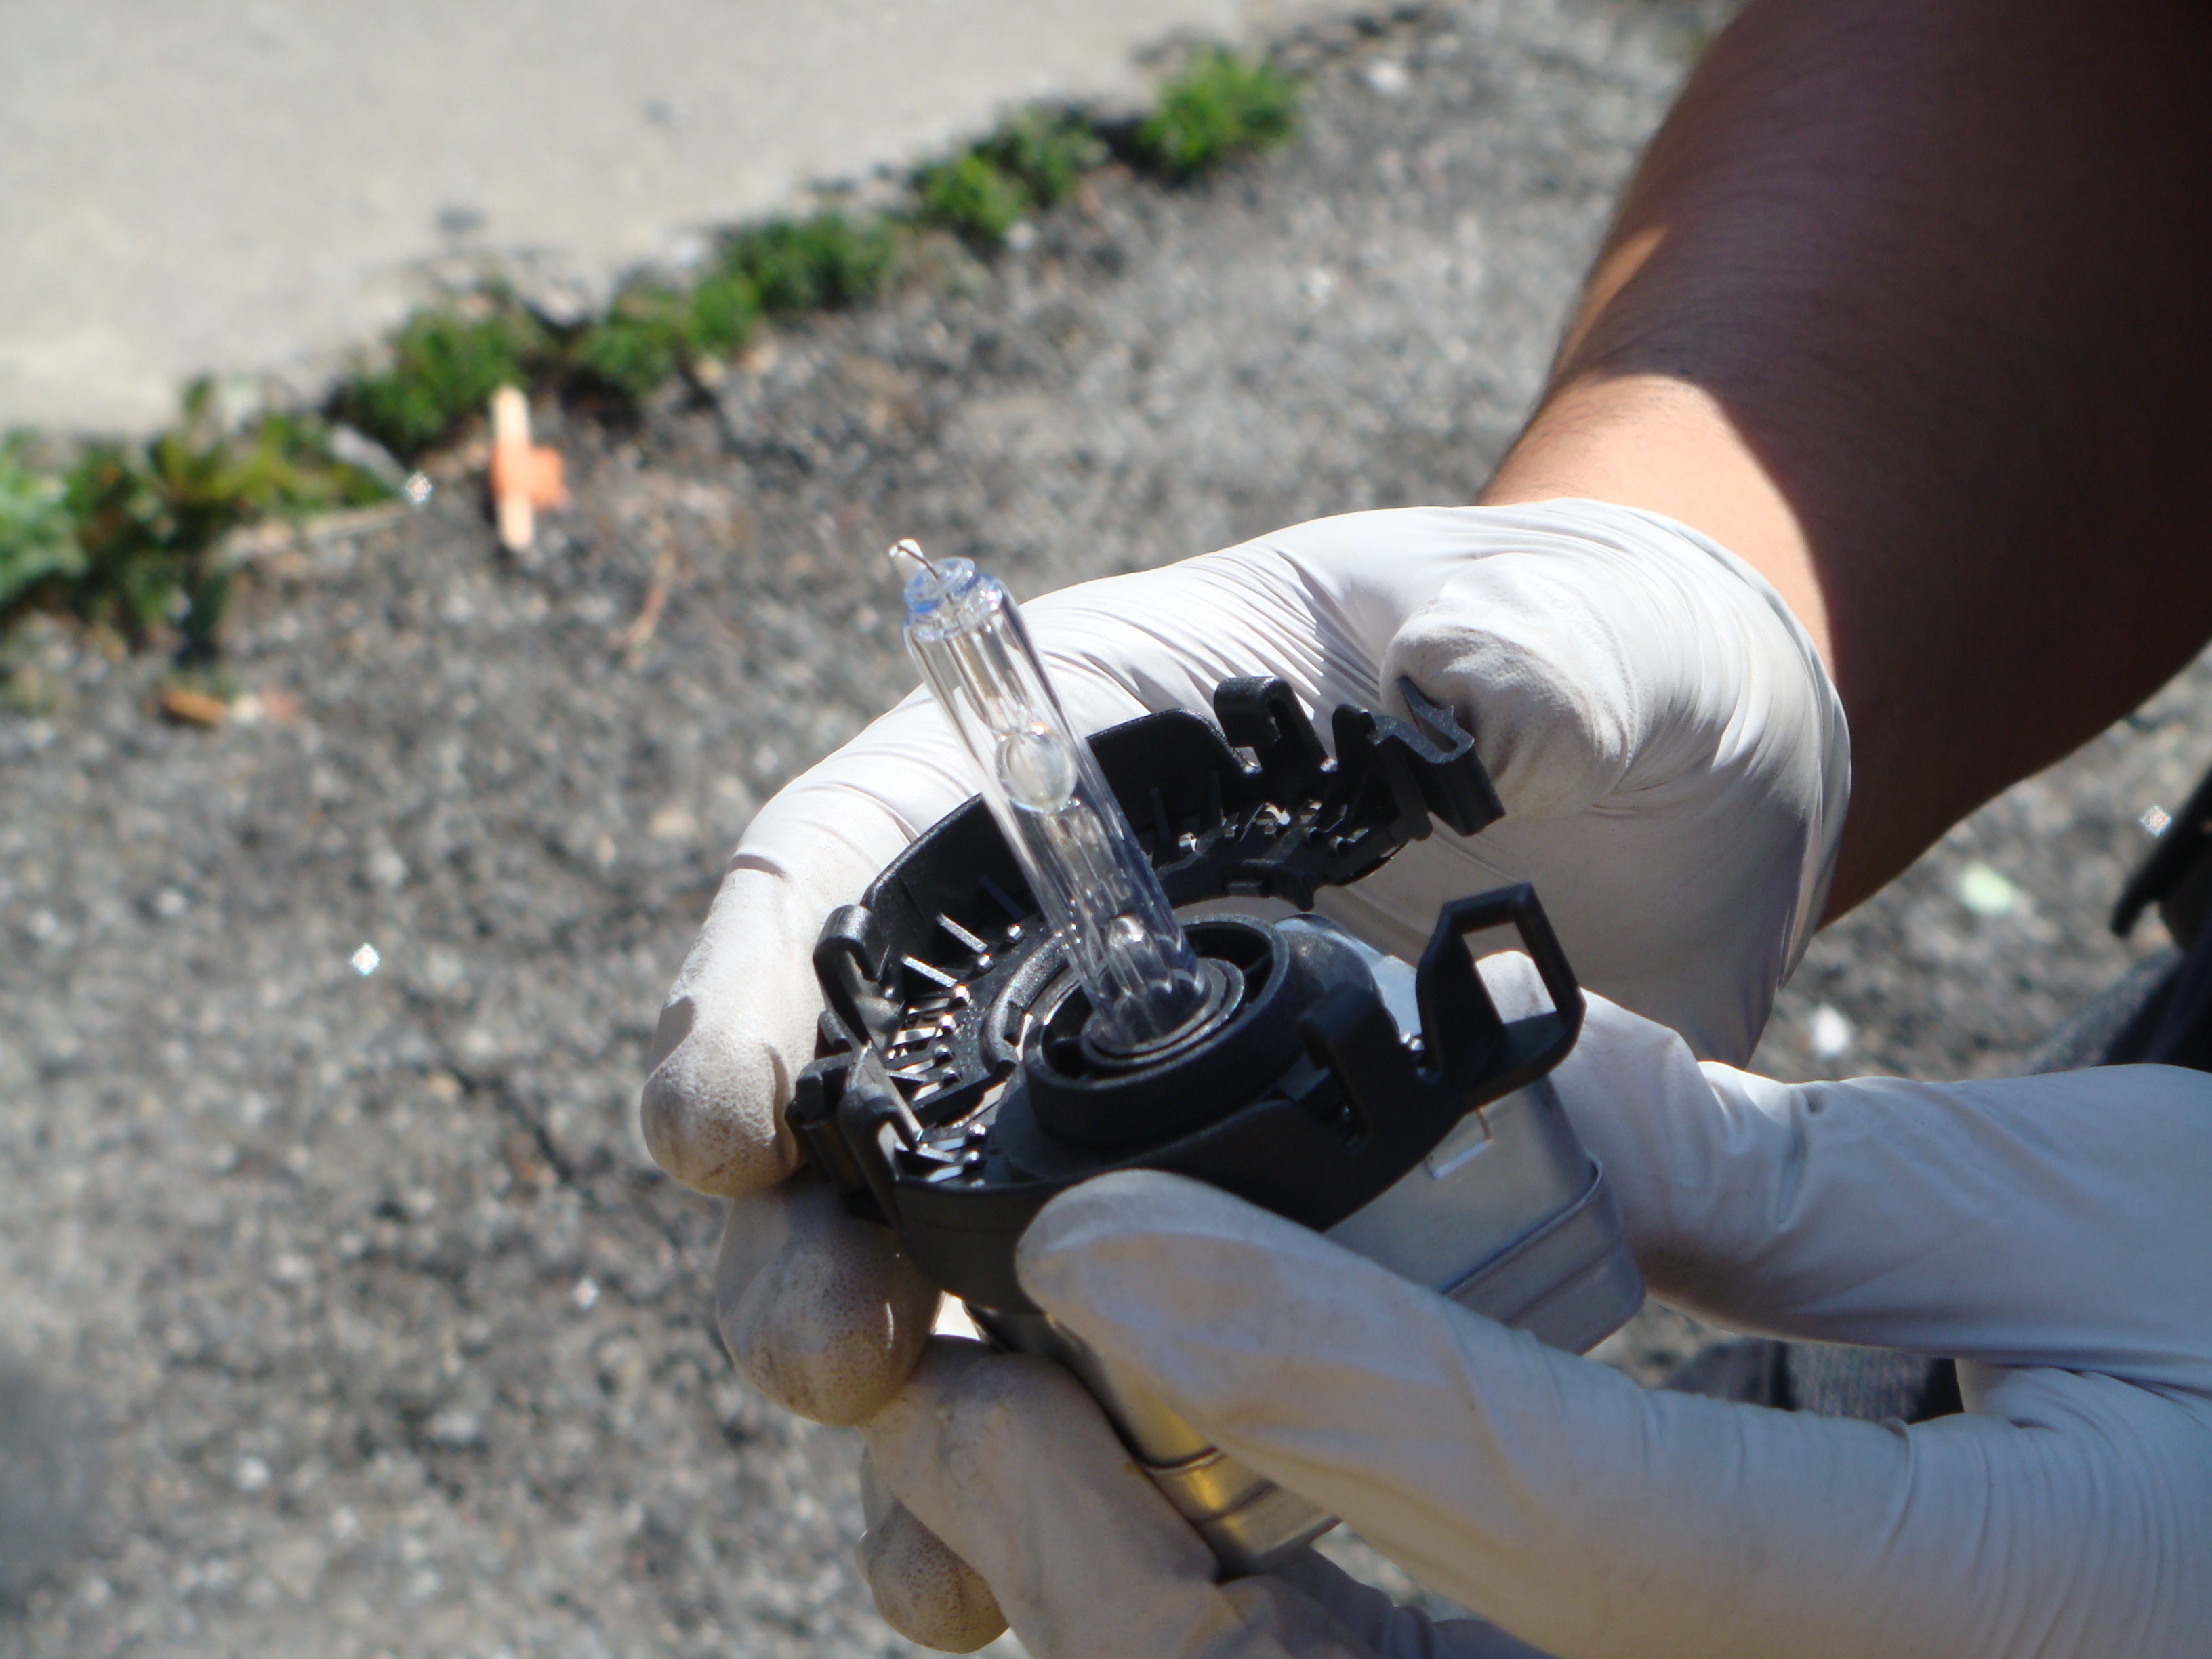
Now remember to take the retaining clip from the old bulb

Stock bulb with retaining clip removed. DO NOT TOUCH BULB. If you touch the bulb with ur hands, wipe it down with alcohol. V_therussian recommends to use vodka
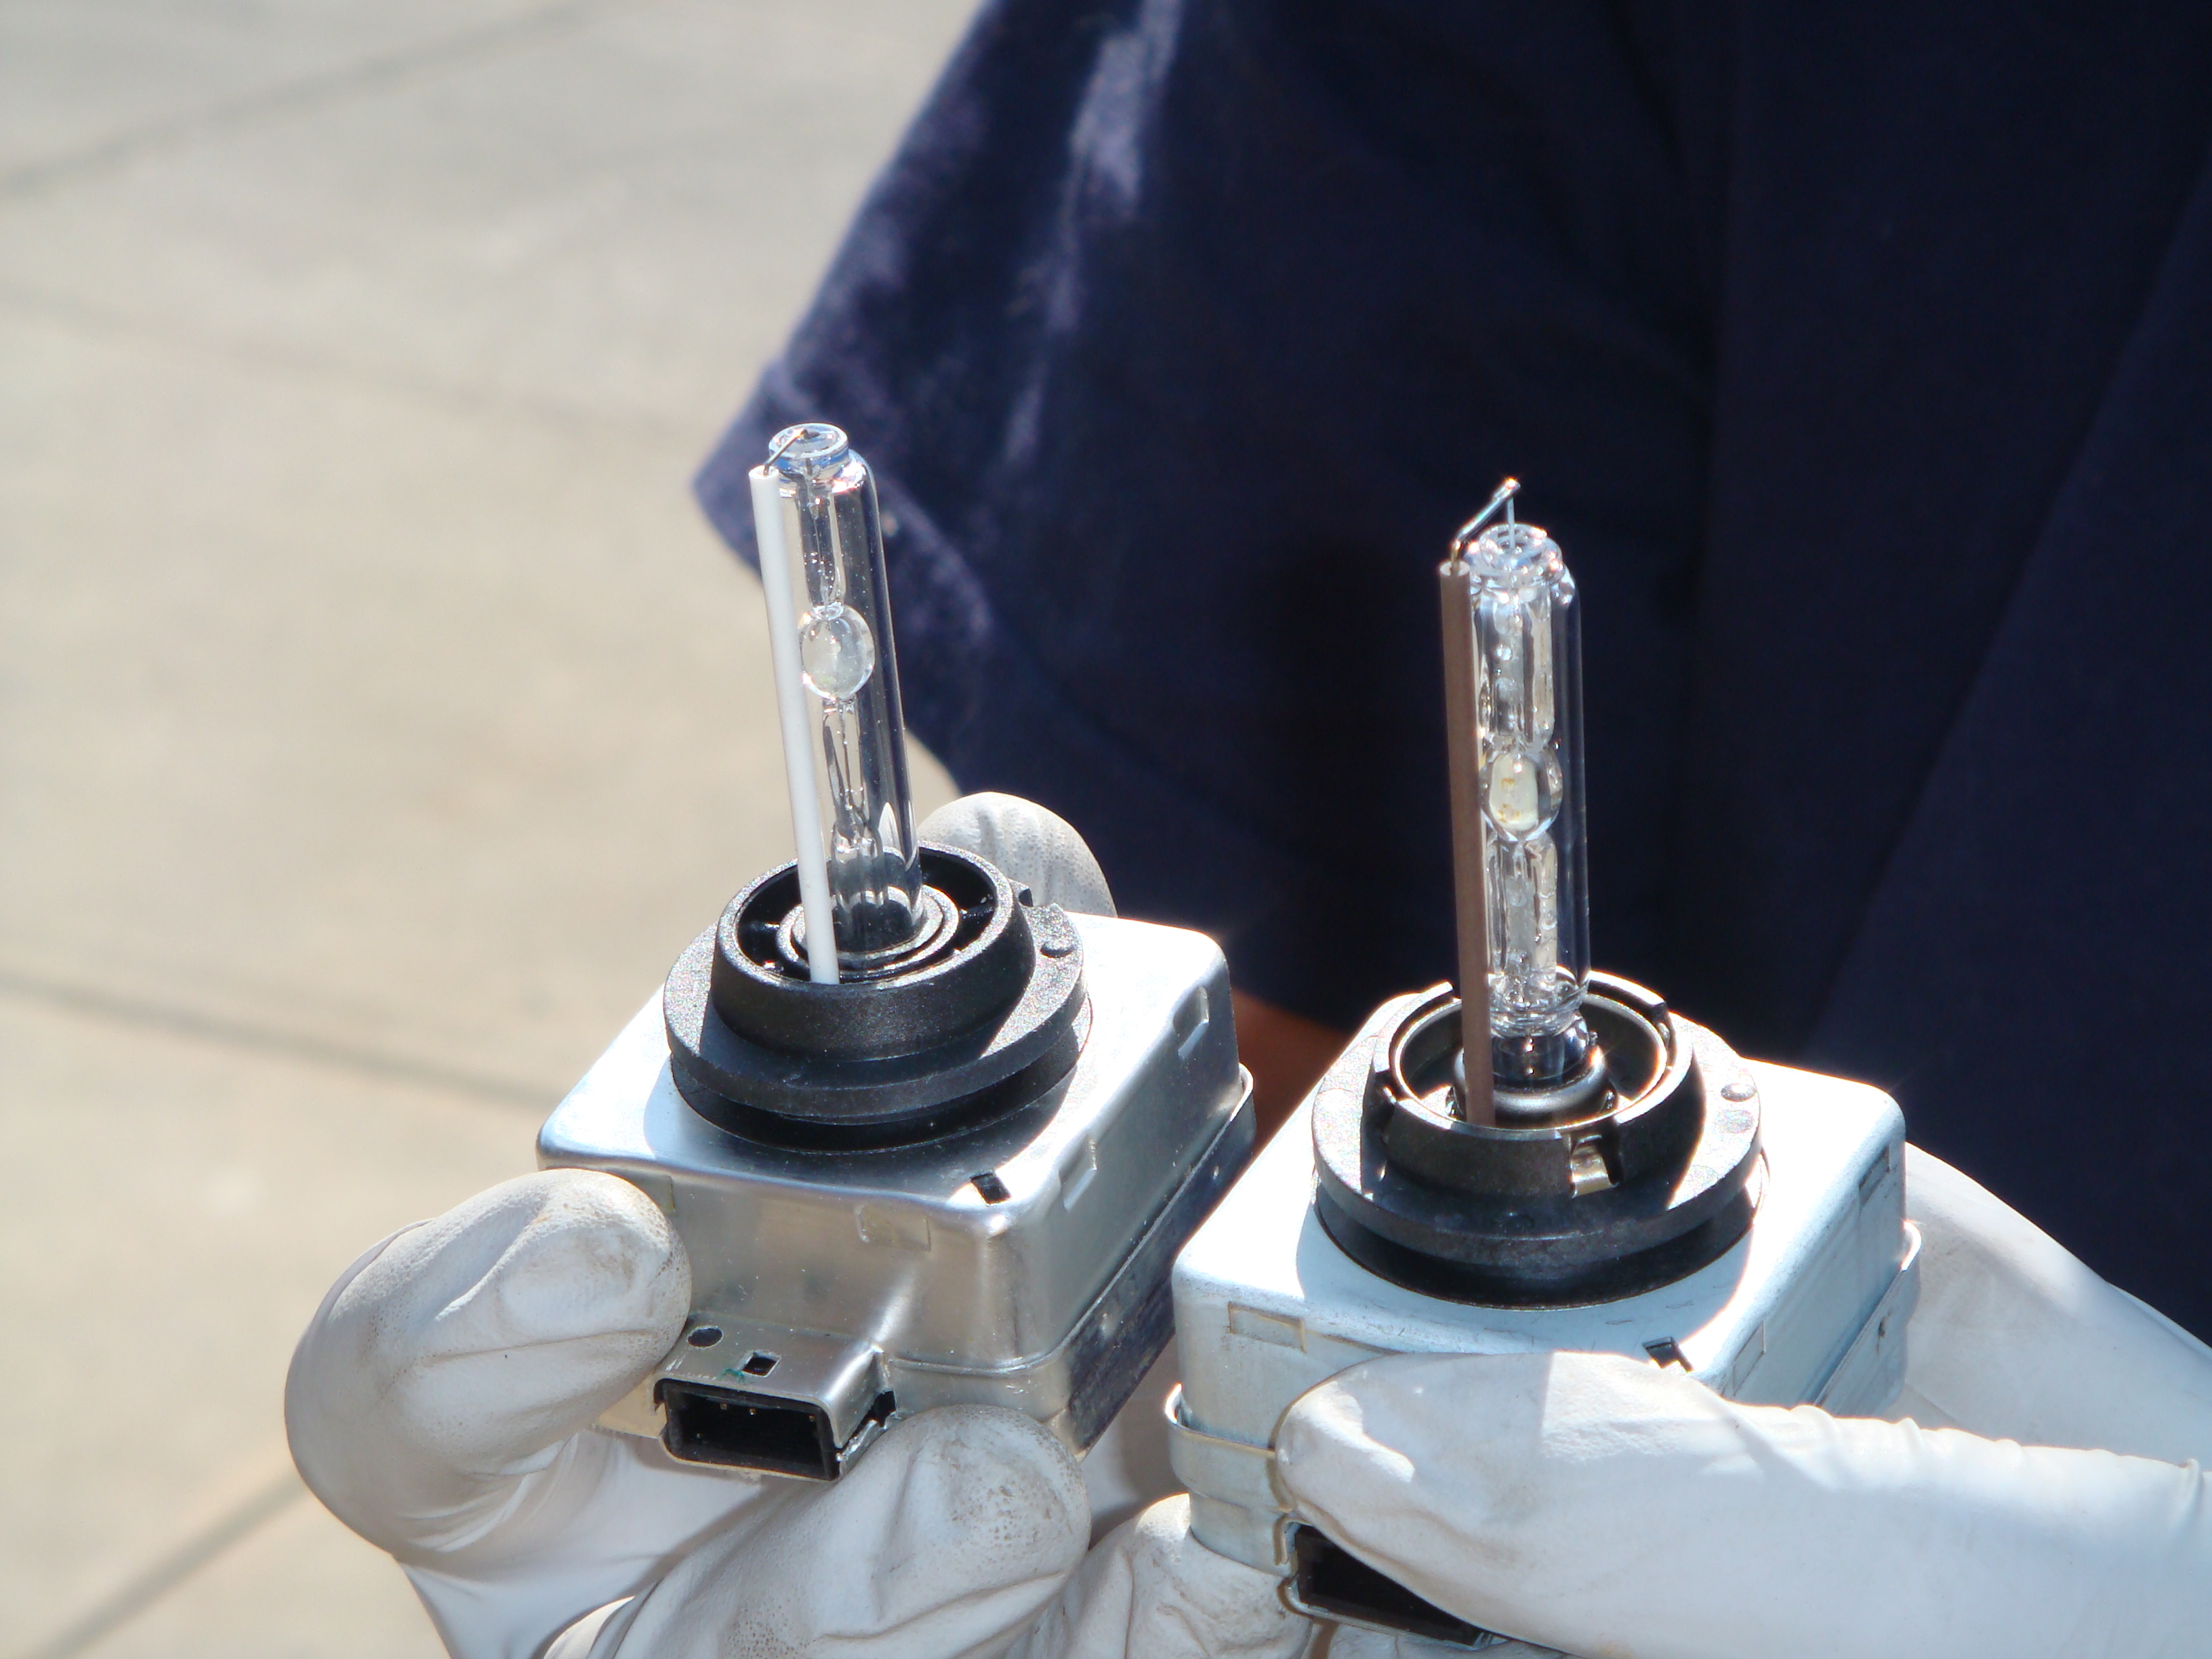
Comparison of the 6000K D1S bulb (left) and stock bulb (right)
Install the retaining clip on the new 6000K bulb
Install and twist it back into the headlamp via clockwise motion
It's IN! Ready to be plugged in
Now close the hood and drive!
NOTES: For D1S bulbs and D2S bulbs, it's slightly different but once u get it out, it's simple. The D2S bulb just unplugs with a slight twist then you have to reinstall it. I've never installed a D2S yet.
Now remember to take the retaining clip from the old bulb
Stock bulb with retaining clip removed. DO NOT TOUCH BULB. If you touch the bulb with ur hands, wipe it down with alcohol. V_therussian recommends to use vodka
Comparison of the 6000K D1S bulb (left) and stock bulb (right)
Install the retaining clip on the new 6000K bulb
Install and twist it back into the headlamp via clockwise motion
It's IN! Ready to be plugged in
Now close the hood and drive!
Thread Starter
Banned
Joined: Jun 2008
Posts: 7,983
Likes: 1
From: Queens, NY
My Ride: A Car
I'm just kidding. Dont close and drive. LOL. Turn on and off ur headlight a few times to make sure it works properly.
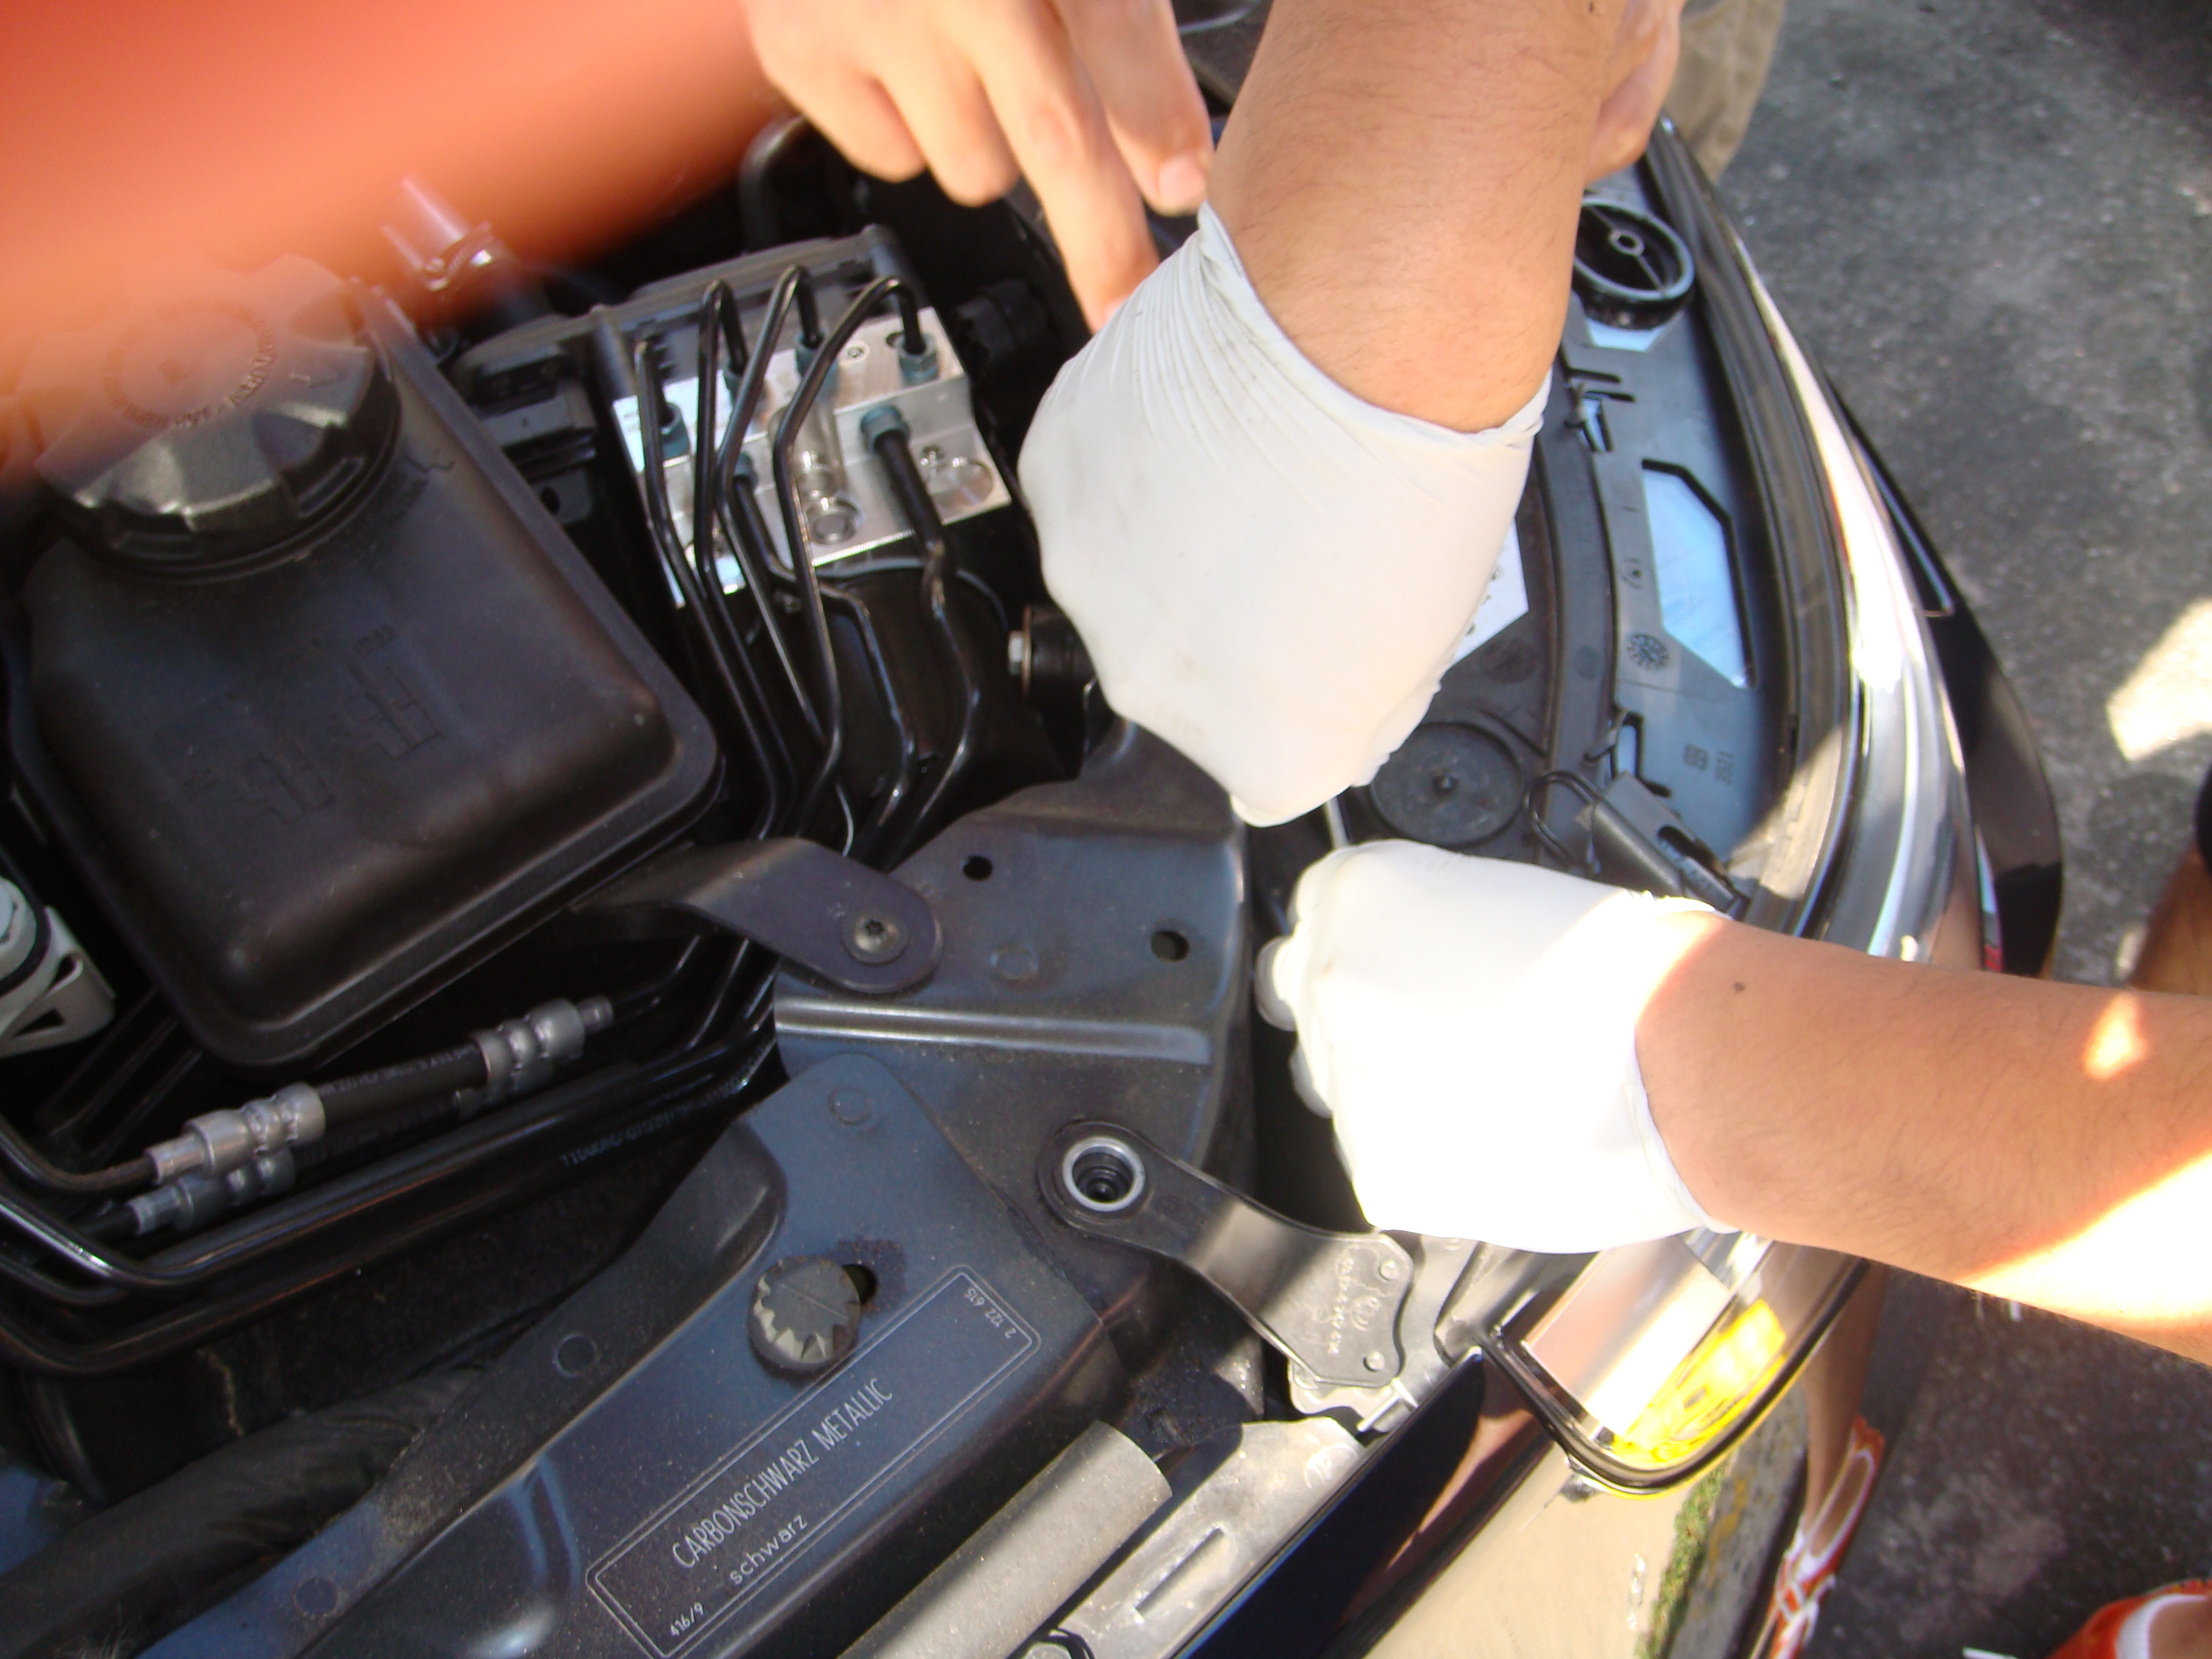
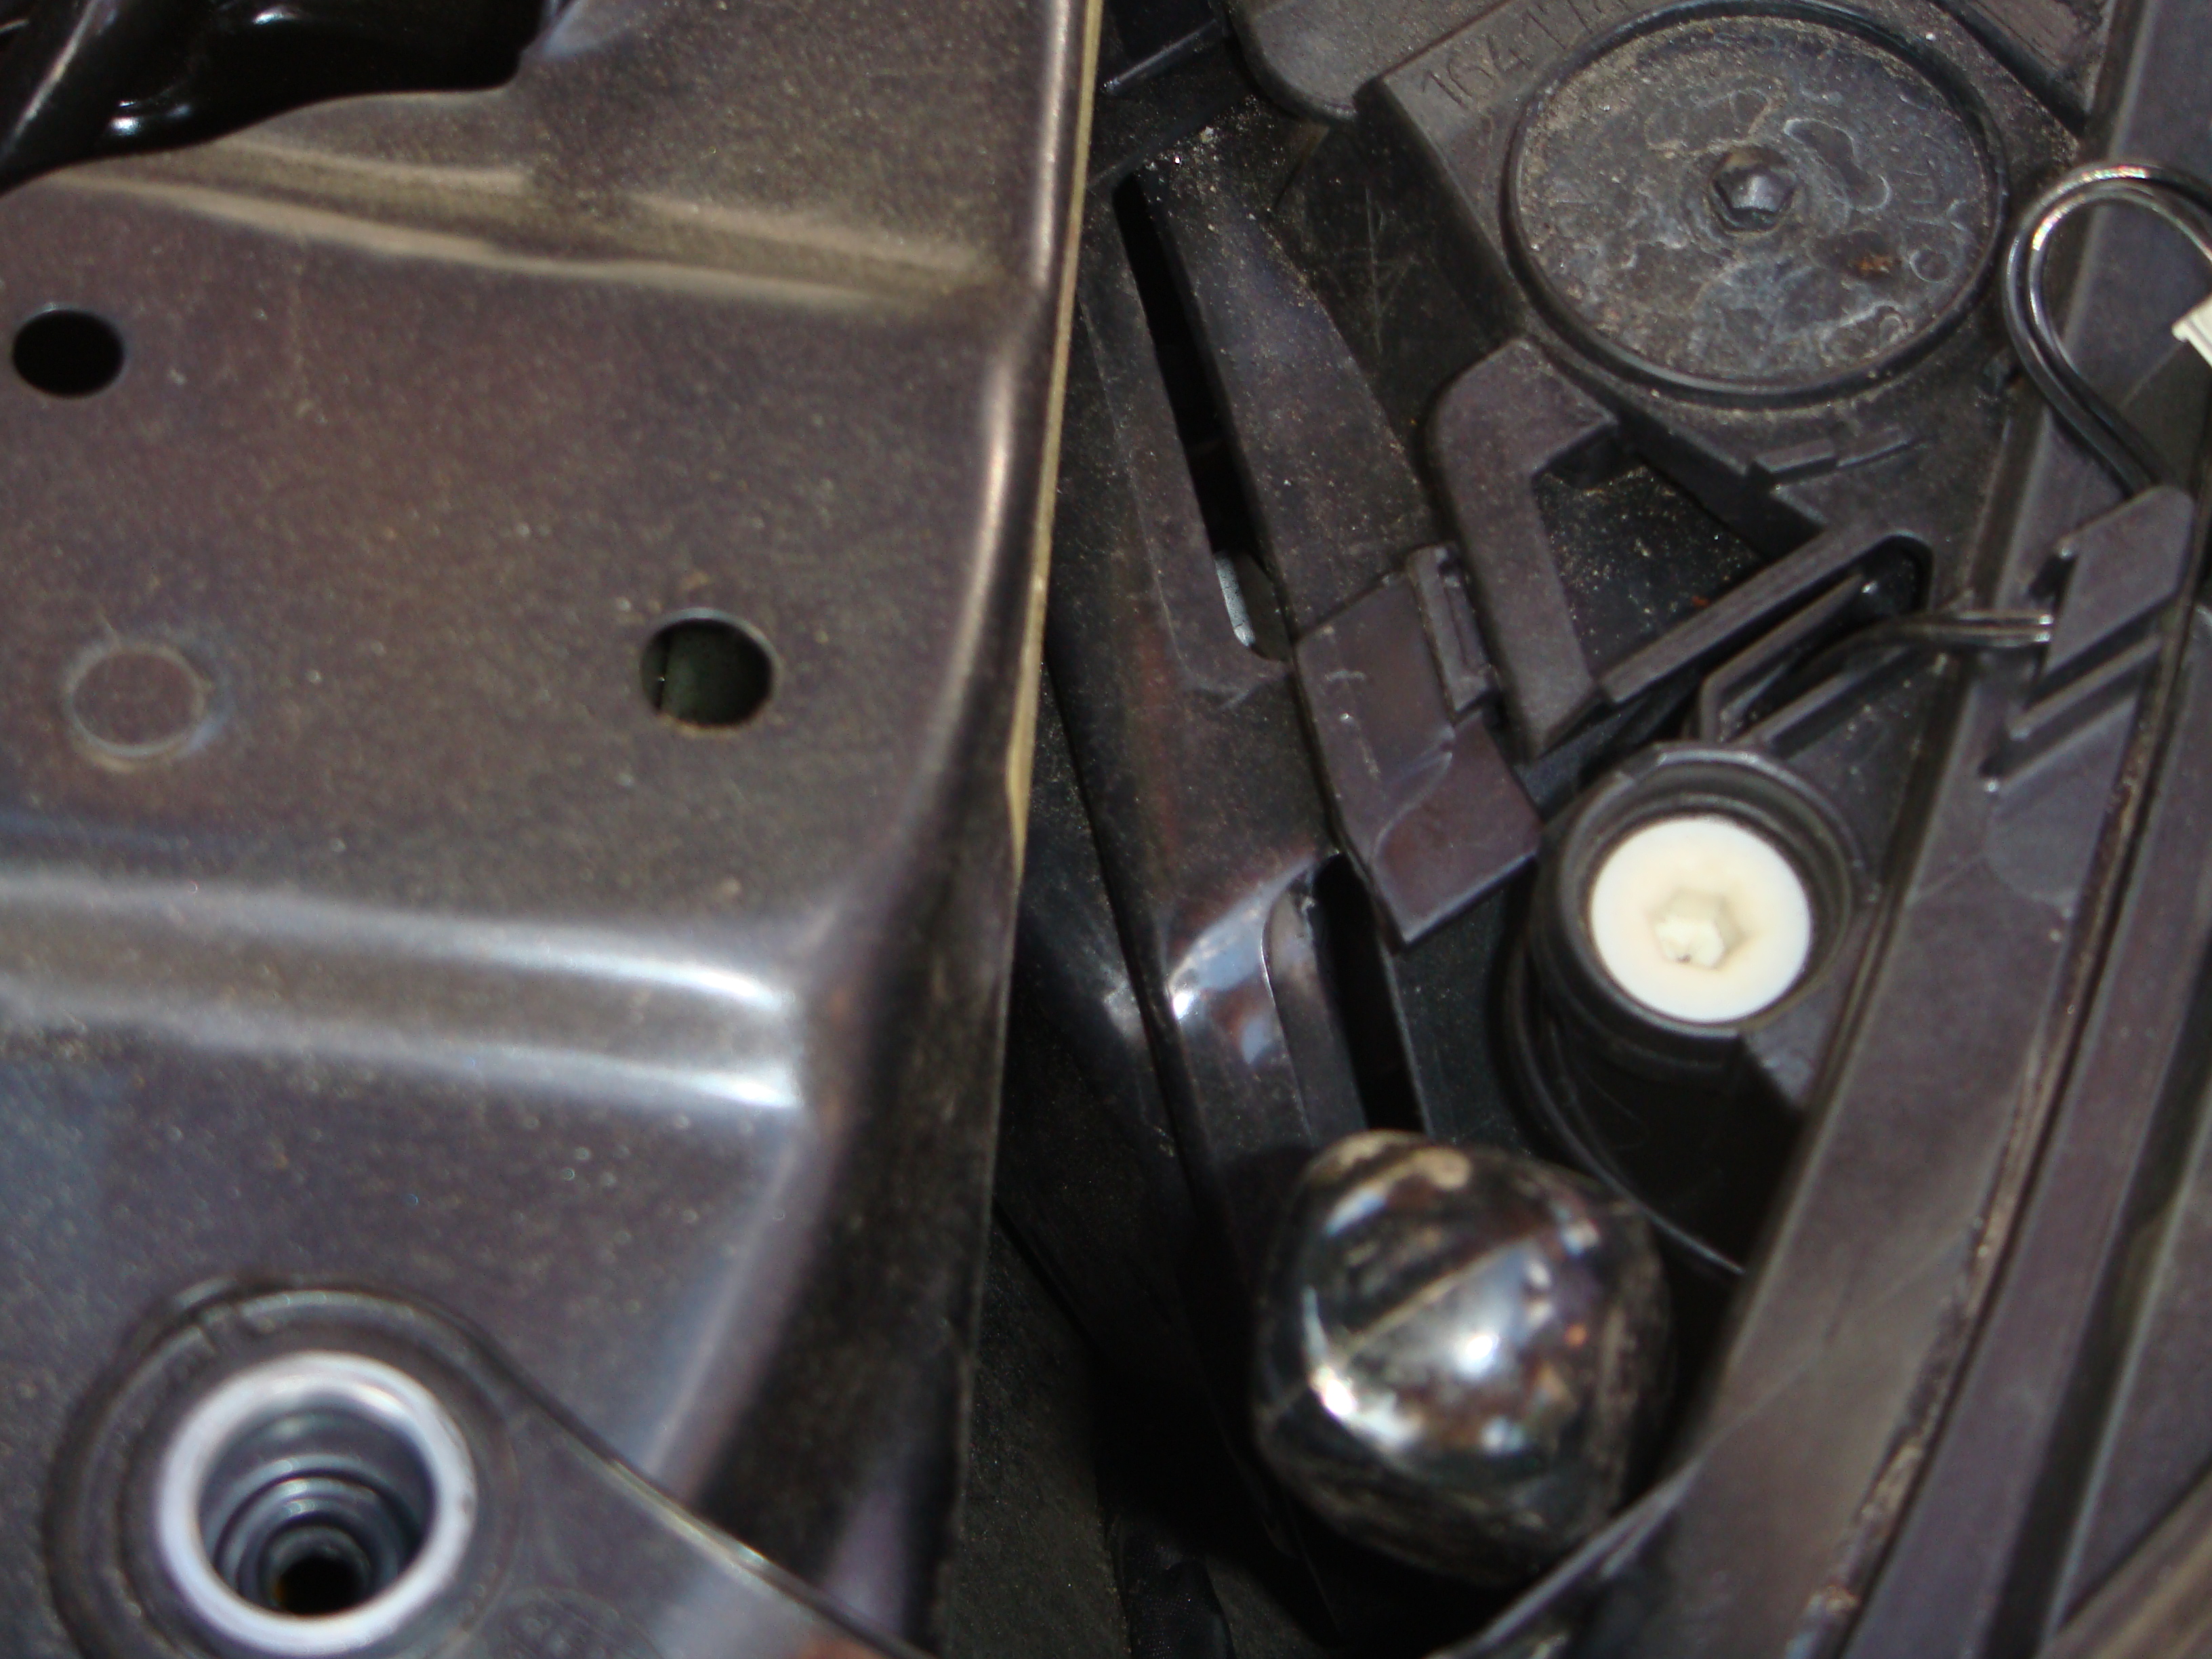
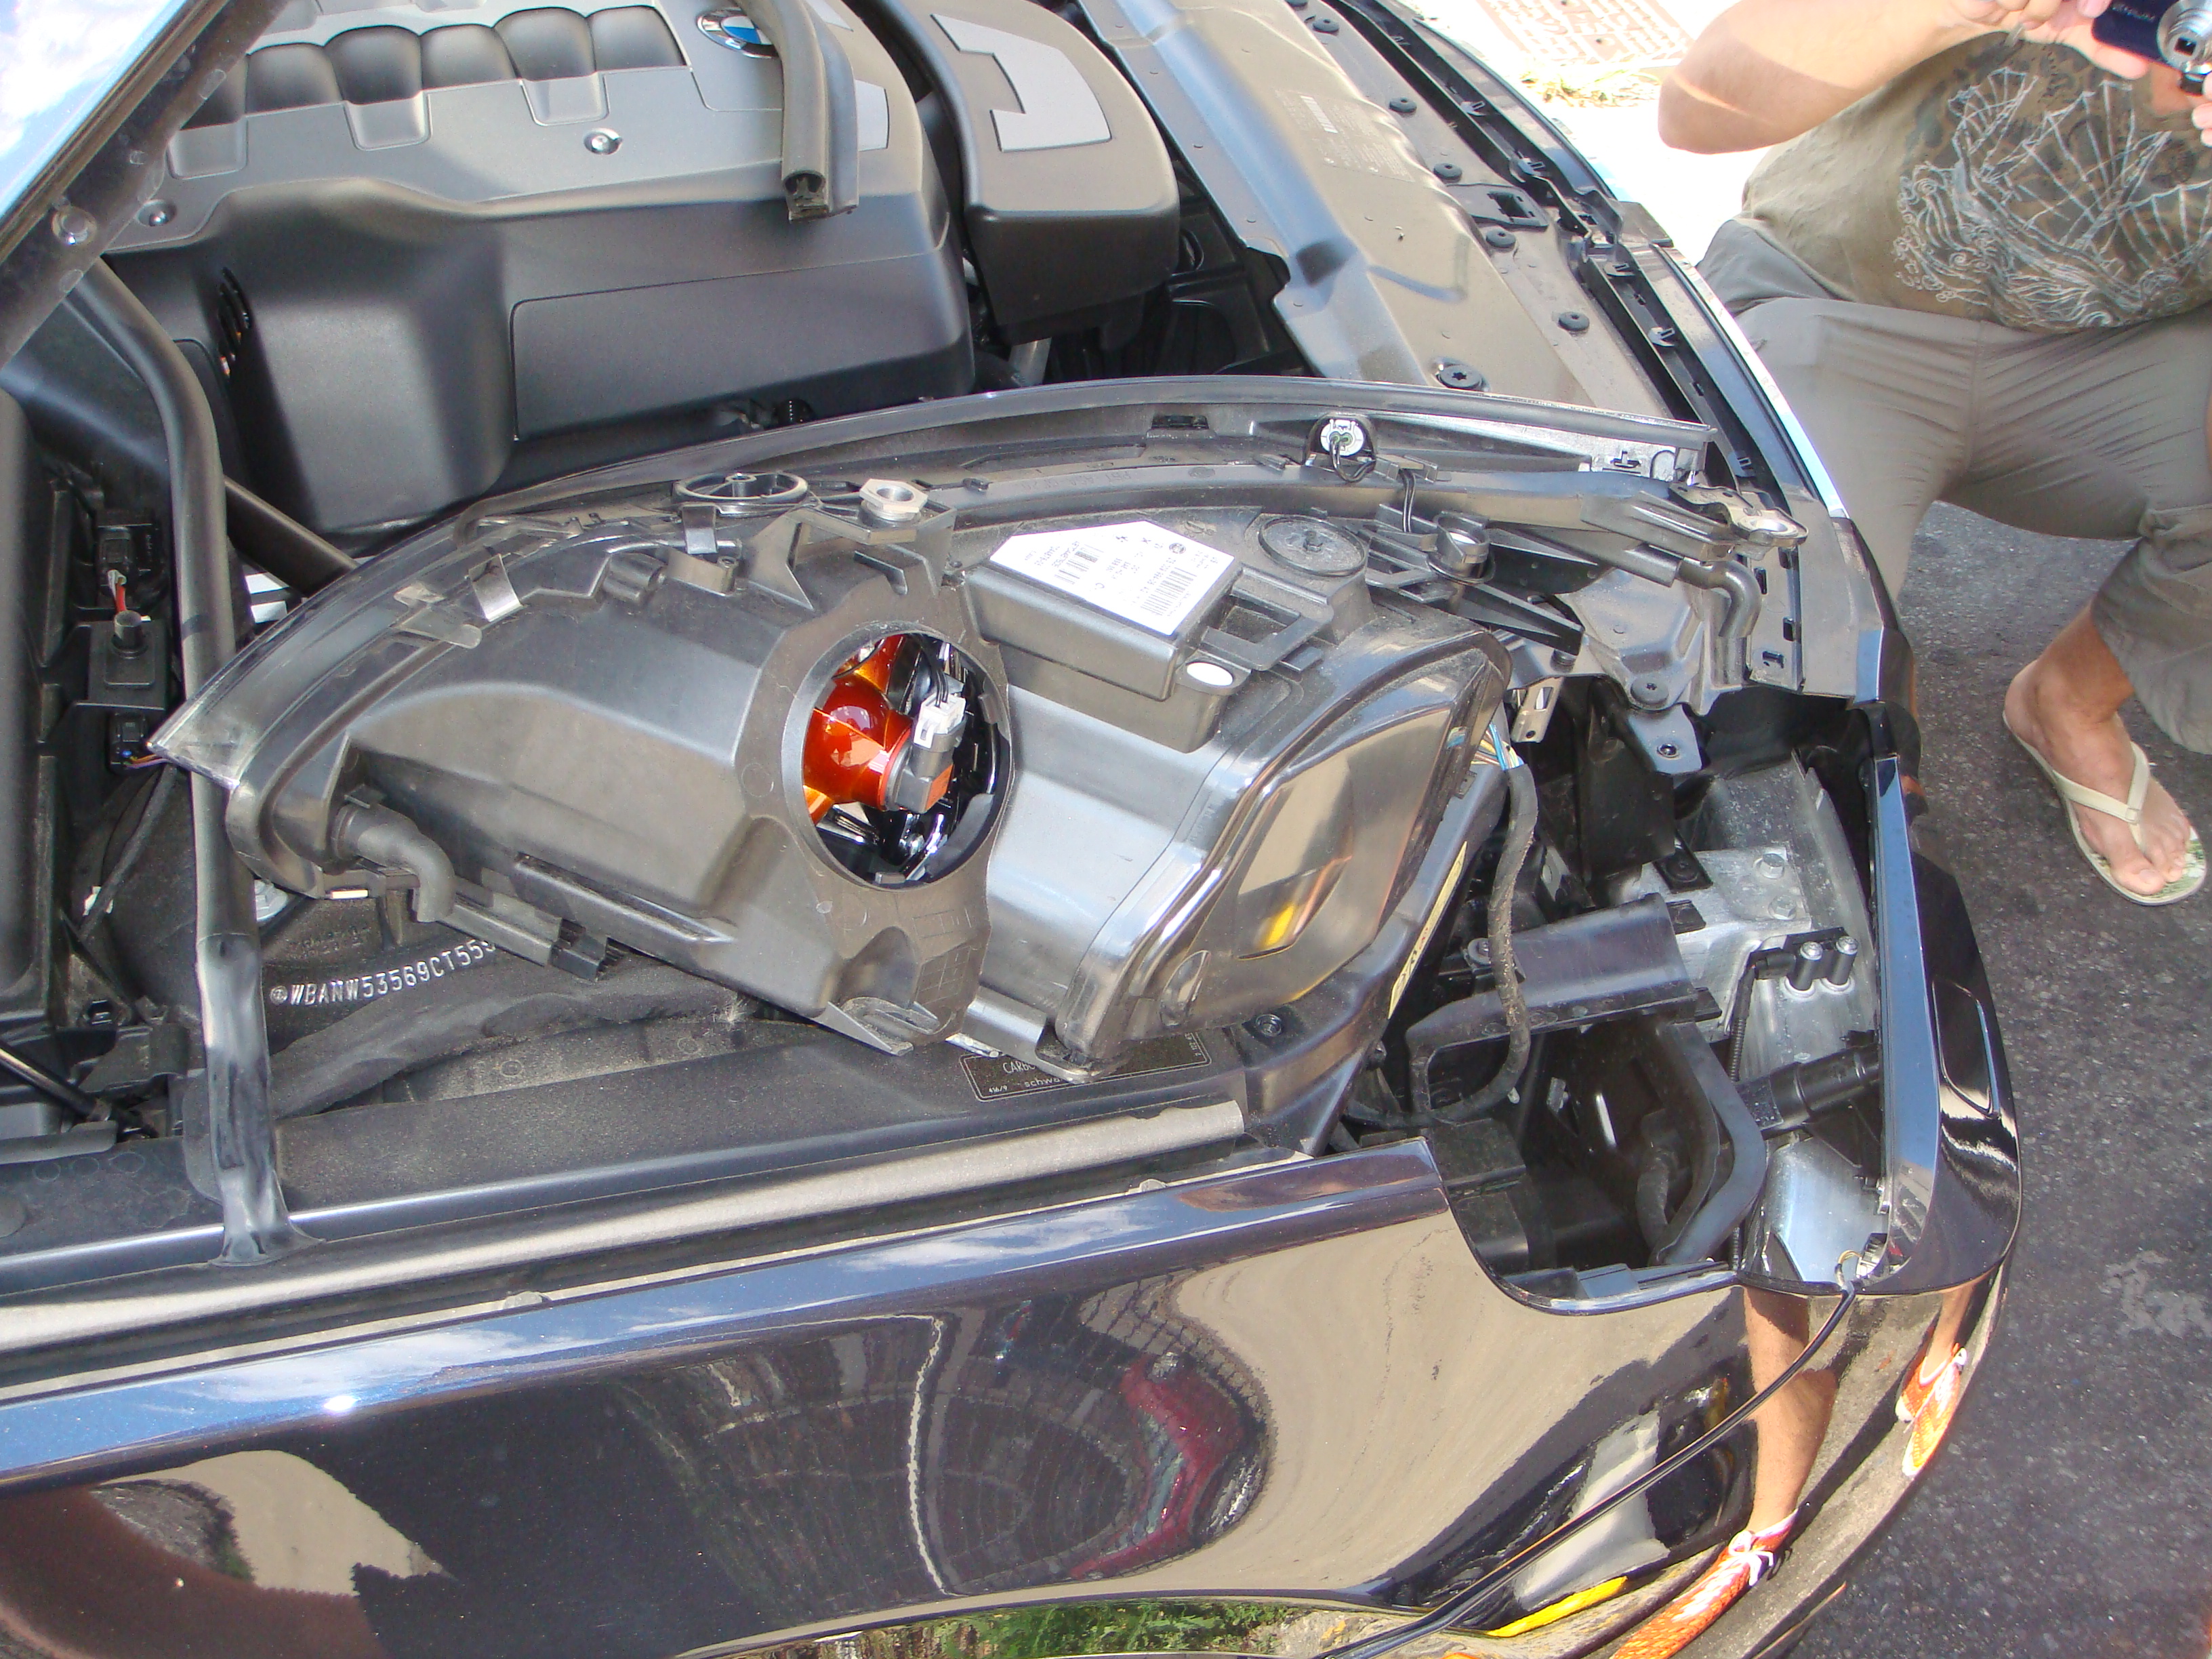
Now stuff the headlamp back CAREFULLY. Do not scratch the paint! You see how I angled it kind of at a 45 degree angle? It's the best way to slide it in easily. Remember to align it with the brackets on the bottom.
Headlamp is now placed back in the car
Try to align it first and then screw the bottom screws back on
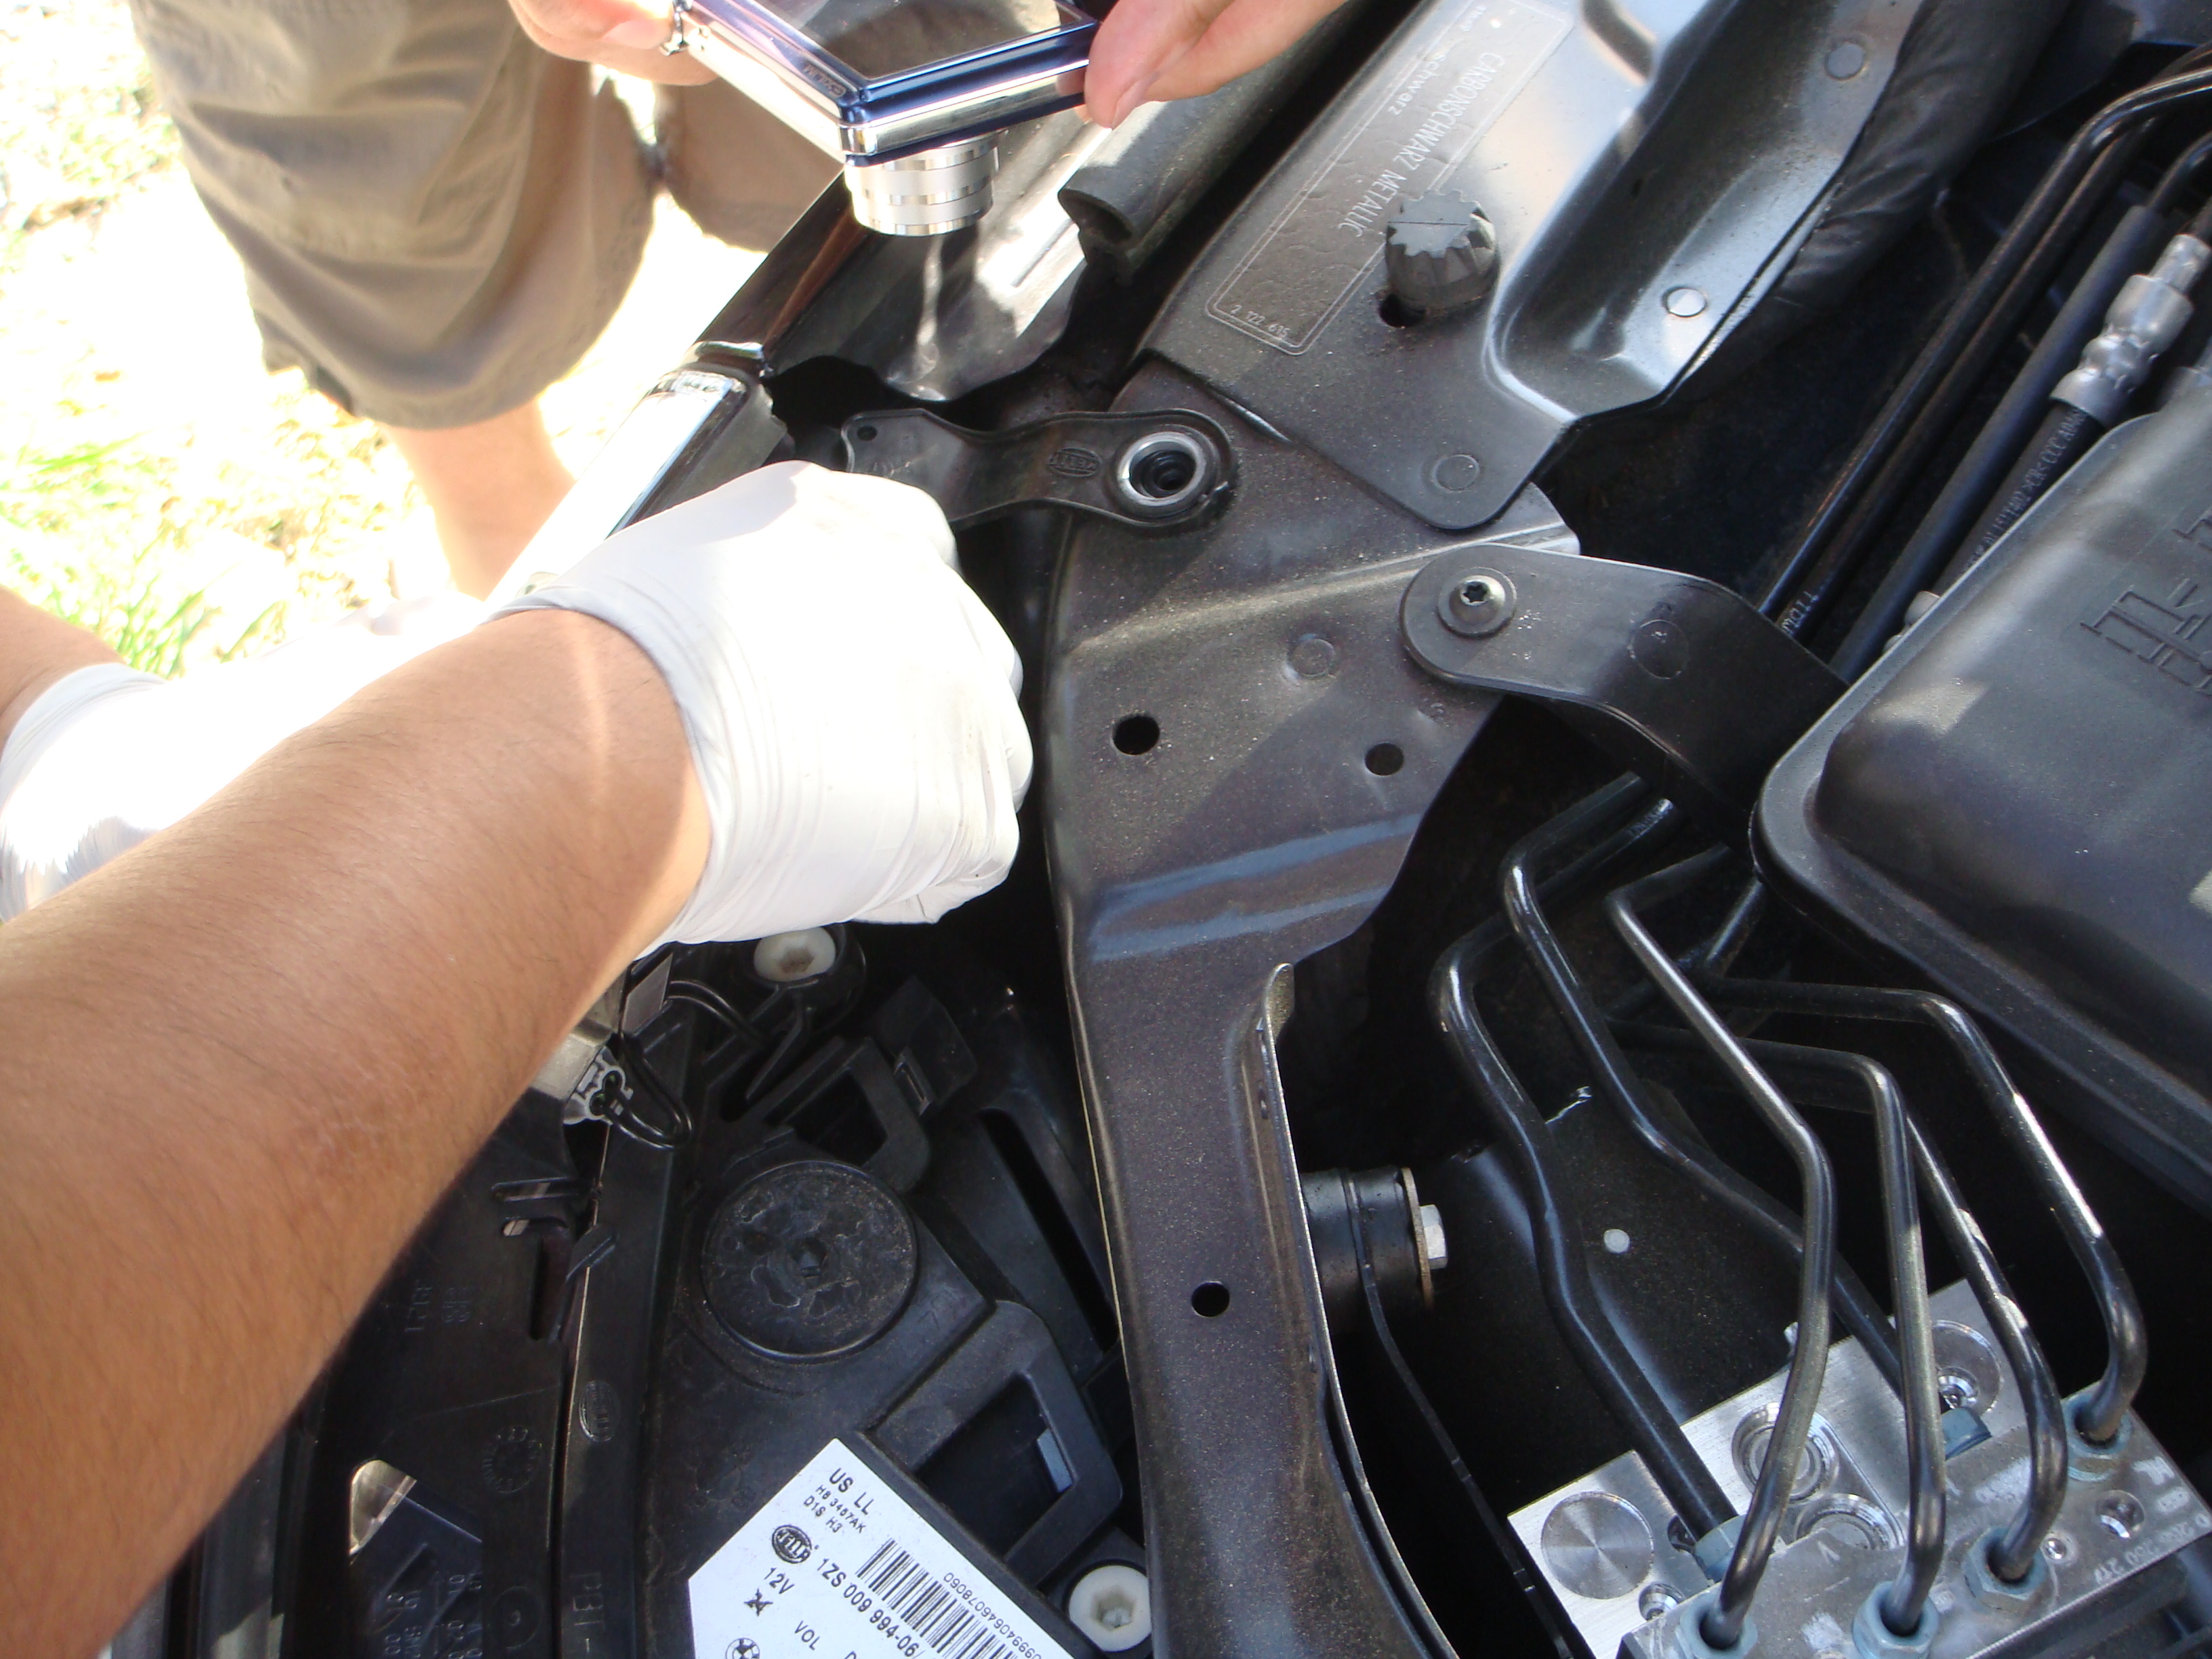
That's a picture of Vlad holding my camera in action!
Now stuff the headlamp back CAREFULLY. Do not scratch the paint! You see how I angled it kind of at a 45 degree angle? It's the best way to slide it in easily. Remember to align it with the brackets on the bottom.
Headlamp is now placed back in the car
Try to align it first and then screw the bottom screws back on
That's a picture of Vlad holding my camera in action!

Contributors
Joined: May 2009
Posts: 10,496
Likes: 2
From: SoCal
My Ride: 2008 550I LOADED, all options except HUD and NV
Any more detail and you'd be covering the glove install and removal, great job, any pics of the lights at night?
P.S. can you tell I'm trying to get to 2500?
P.S. can you tell I'm trying to get to 2500?