When you click on links to various merchants on this site and make a purchase, this can result in this site earning a commission. Affiliate programs and affiliations include, but are not limited to, the eBay Partner Network.
Indeed, I am not. Life, work, family, blah blah blah. I've been so lazy with this but I don't mind.
Quick updates in rapid secession: Sold truck for what I bought it for to Carmax at the height of the used car craze. Bought a busted S211 E320 "with a bad transmission" for a couple grand that I now daily. House foundation had issues. Foundation isn't covered under insurance. Foundation repair expensive. Finished basement is no longer finished. Great times had by all.
But time for E61 updates! Nearly nothing new! Sold more random parts, bringing down the cost ever so slightly. Going all in on the Volvo EPS vs GM power steering pump, so I grabbed some M14 and M16 to -6AN adapters to put on the pump and the rack. Now I just need to figure out the high pressure hose. Gonna keep the PS cooler as why not and it doesn't hurt, I just need to figure out a different route for it as for some reason, I can't put the engine mounts on with the return line I grabbed from the 530i I snagged most of these parts from. If the junkyard isn't too cold this weekend, I may hunt for some usable lines. Looking for minimal solid bends, but we'll see. I'll likely try to mount the EPS near where the current pump is or closer to where the airbox used to be.
If you're in the LSE90 group, then you know the E6x RWD engine mounts are now available! But no transmission mounts....but the assumption is that the E9x xDrive T56 mount he has will fit, so as of 5 minutes ago, I ordered both. It's fun being the test pig. I'll likely have to grab some ICT brackets for the alternator and idler pulley, but that's for down the road.
Also, very slowly learning Fusion 360 to make covers for the roof rail. It's getting there. I honestly just have no idea how to make the part that curves in and then down. Then it's figuring out how to make it securable and removable. If all else fails, bondo bondo bondo.
Engine and transmission mounts are in. Ordered AN adapters for the rack and the Volvo EPS, but ended up just...not using them. Trying to find lines was a pain and I sure as hell didn't feel like making any. Came across a guy on FB selling the accessory drive mount (alt and PS) for $200 shipped, which was $113 cheaper than buying new so...I did that. I was able to "force" the power steering line that goes behind the engine mount bushing to cooperate, so back to the stock PS it is.
Finished porting and cleaning up the heads, lapped the valves, etc. Plastic welded the bottom of the intake manifold as it's currently "good enough" for me. Also used JB Weld on the bottom just for a little more insurance. The inside could be better, but hopefully it's a slight improvement over stock.
Also bought a C6 LS3 over the radiator stock intake as I've always loved OTRs instead of large cone off to the side. It most likely won't fit without a lot of trimming, but we'll see. I paid $70 for it, so not a big deal if it doesn't work but sure would be sweet if it actually did. This is what it looks like:
The box on the passenger side is for noise reduction IIRC, so I can chop it off and plastic weld it. If all else fails and I still reaalllyyyy want an OTR, I can spend $400+ on one that goes literally over the radiator like a panel but that wouldn't be for awhile.
Up next is AC. I need it because the spring and summer here is a nightmare most of the time. A three year old post in the FB group showed that the e60 compressor fits in a 5.3 truck AC bracket. So I pulled one from the junkyard last weekend. It technically can if you only use the front two mounting points. And potentially trim the hell out of the bracket or use long spacers. And only if you do truck spacing, which no one almost ever does. After getting measurements and then realizing I have no idea what it is that I'm doing, I googled for multiple brackets. Most are for Sanden-style compressors (cheaper) and they're mounted differently. ICT, thank god, makes a bracket for the E46 guys to use their stock compressors. Looked at pictures of the E46 and E6x compressors and they're similar save for the electrical connection. Emailed ICT w/ the mounting distance CTC of the two fronts and the single rear to a front and they said it's just about the same, so that's on it's way this week. I hope this one actually fits as it was $200...
This is where I'd show a picture of the engine pretty much fully assembled, but for some reason it's not wanting to go beyond 90%. So pretend here is an LS with the engine mounts on. I'll try again later and hopefully it works.
EDIT: The site doesn't like my VPN. That was the issue.
DOUBLE EDIT: More pictures because I had time and wanted to see what it'd look like in the engine bay. Can't lie, I'm wanting this done as soon as possible now.
The oil pan clears with plenty of space. Currently have the engine as far back as it can go.
Last edited by FuzzyWuzzy; 05-15-2023 at 05:31 PM.
Progress continues with renewed interest. The AC bracket came in, so more test fitting follows!
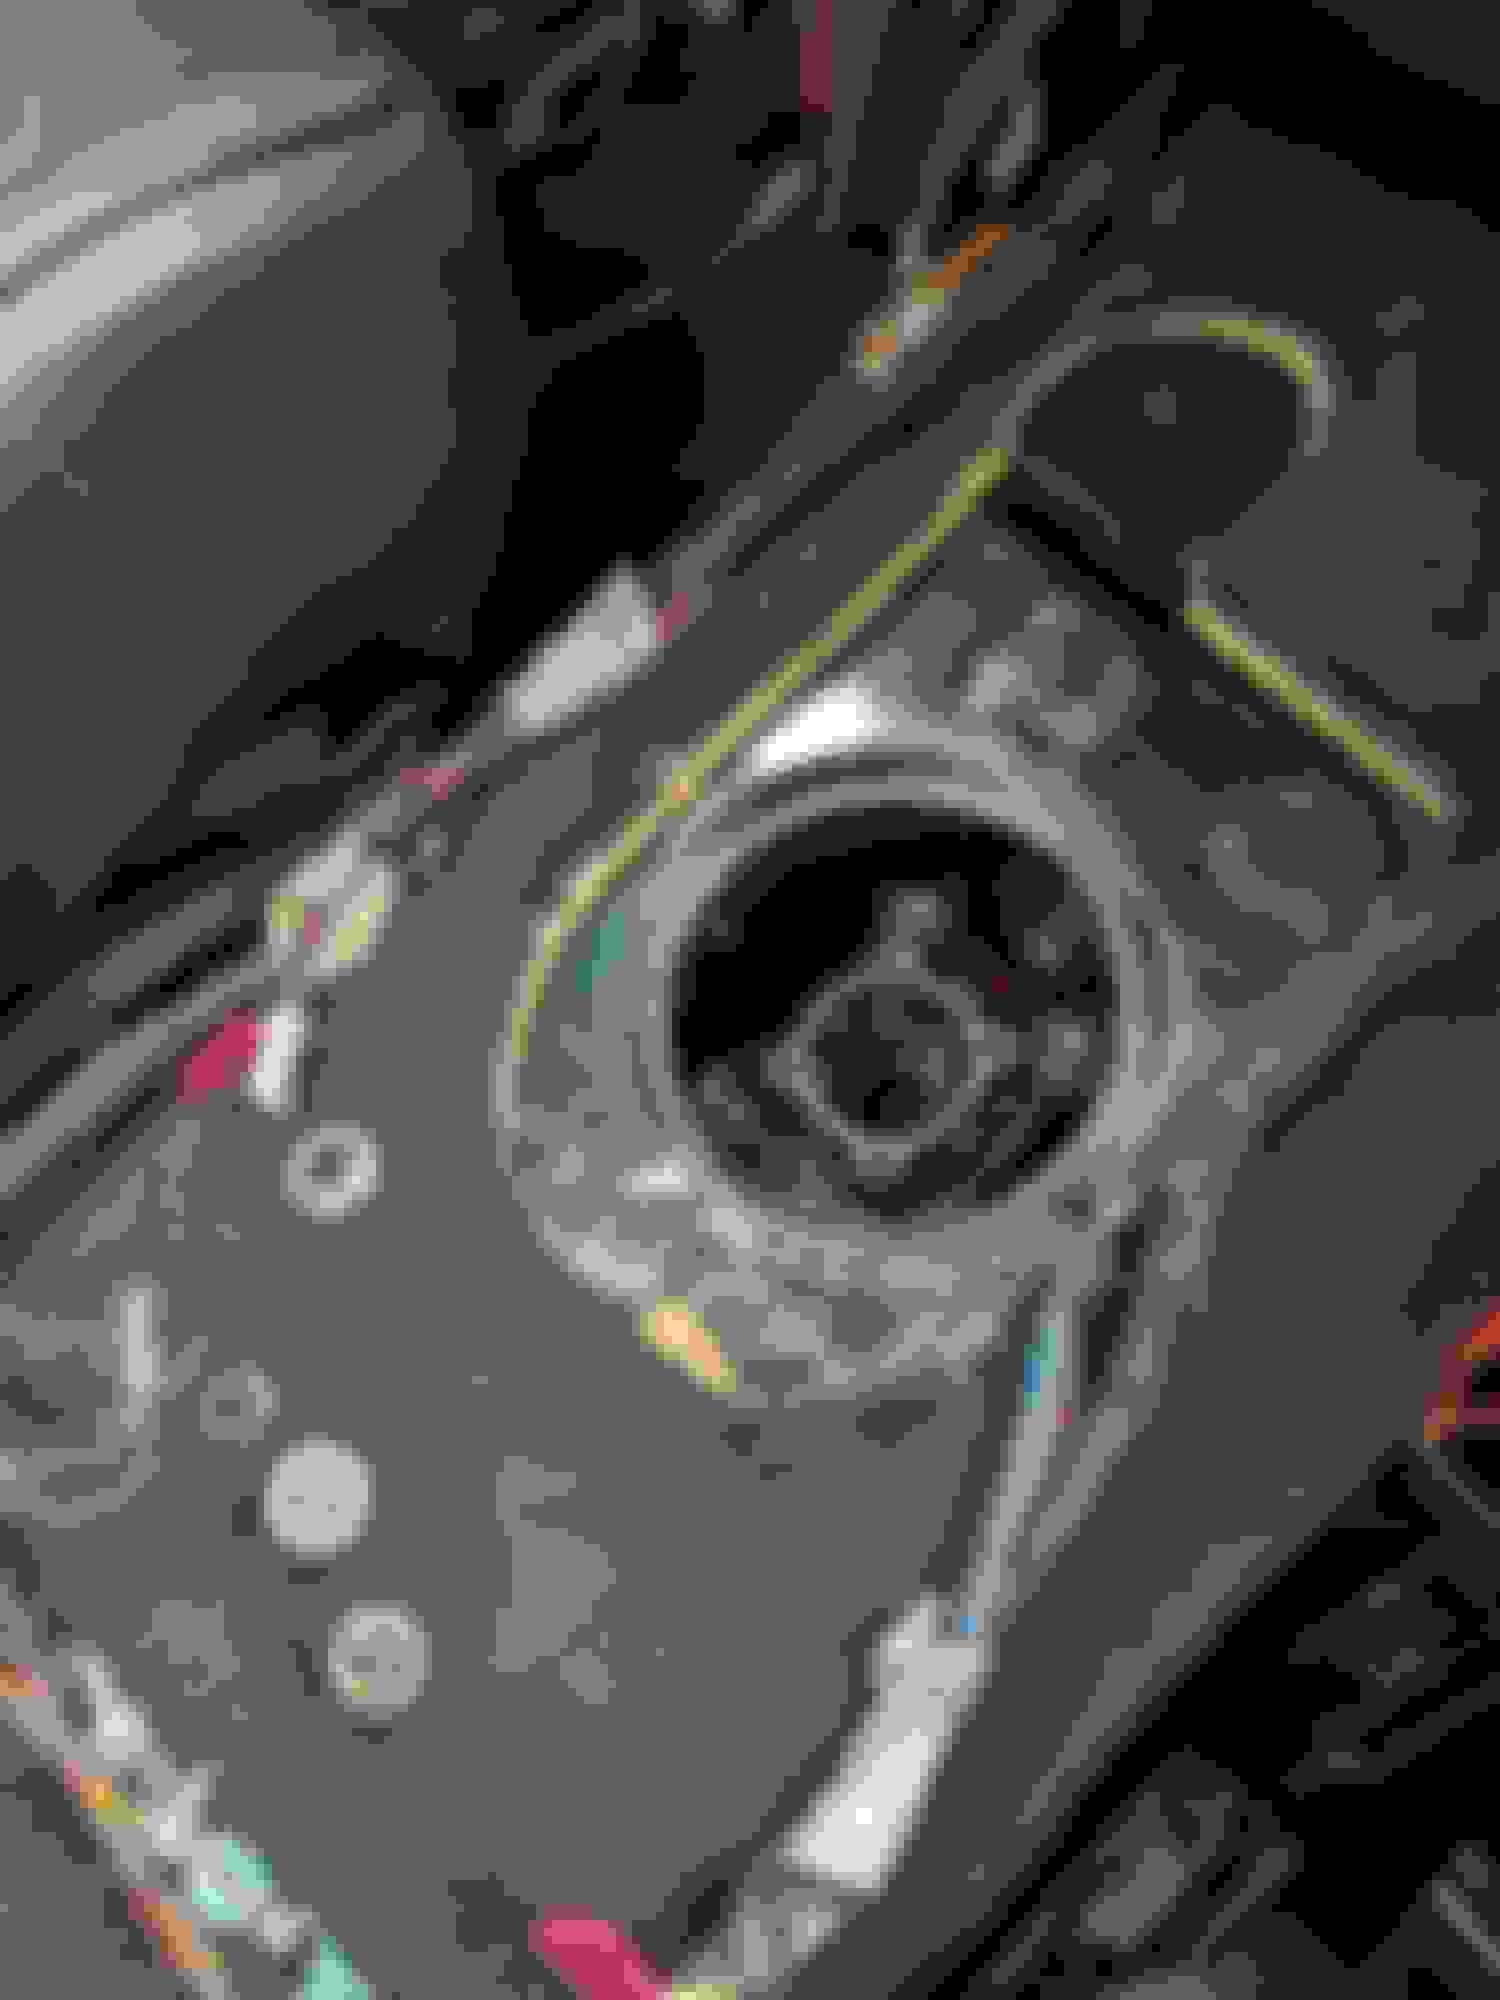
The ICT E46 AC bracket fits. This should be true for all E6x chassis:
The issue is where it lines up for the hardline:
This will likely require me bending the line a bit for it to come at a different angle. Or if need be, I go to an AC shop and see if they can bend it to fit.
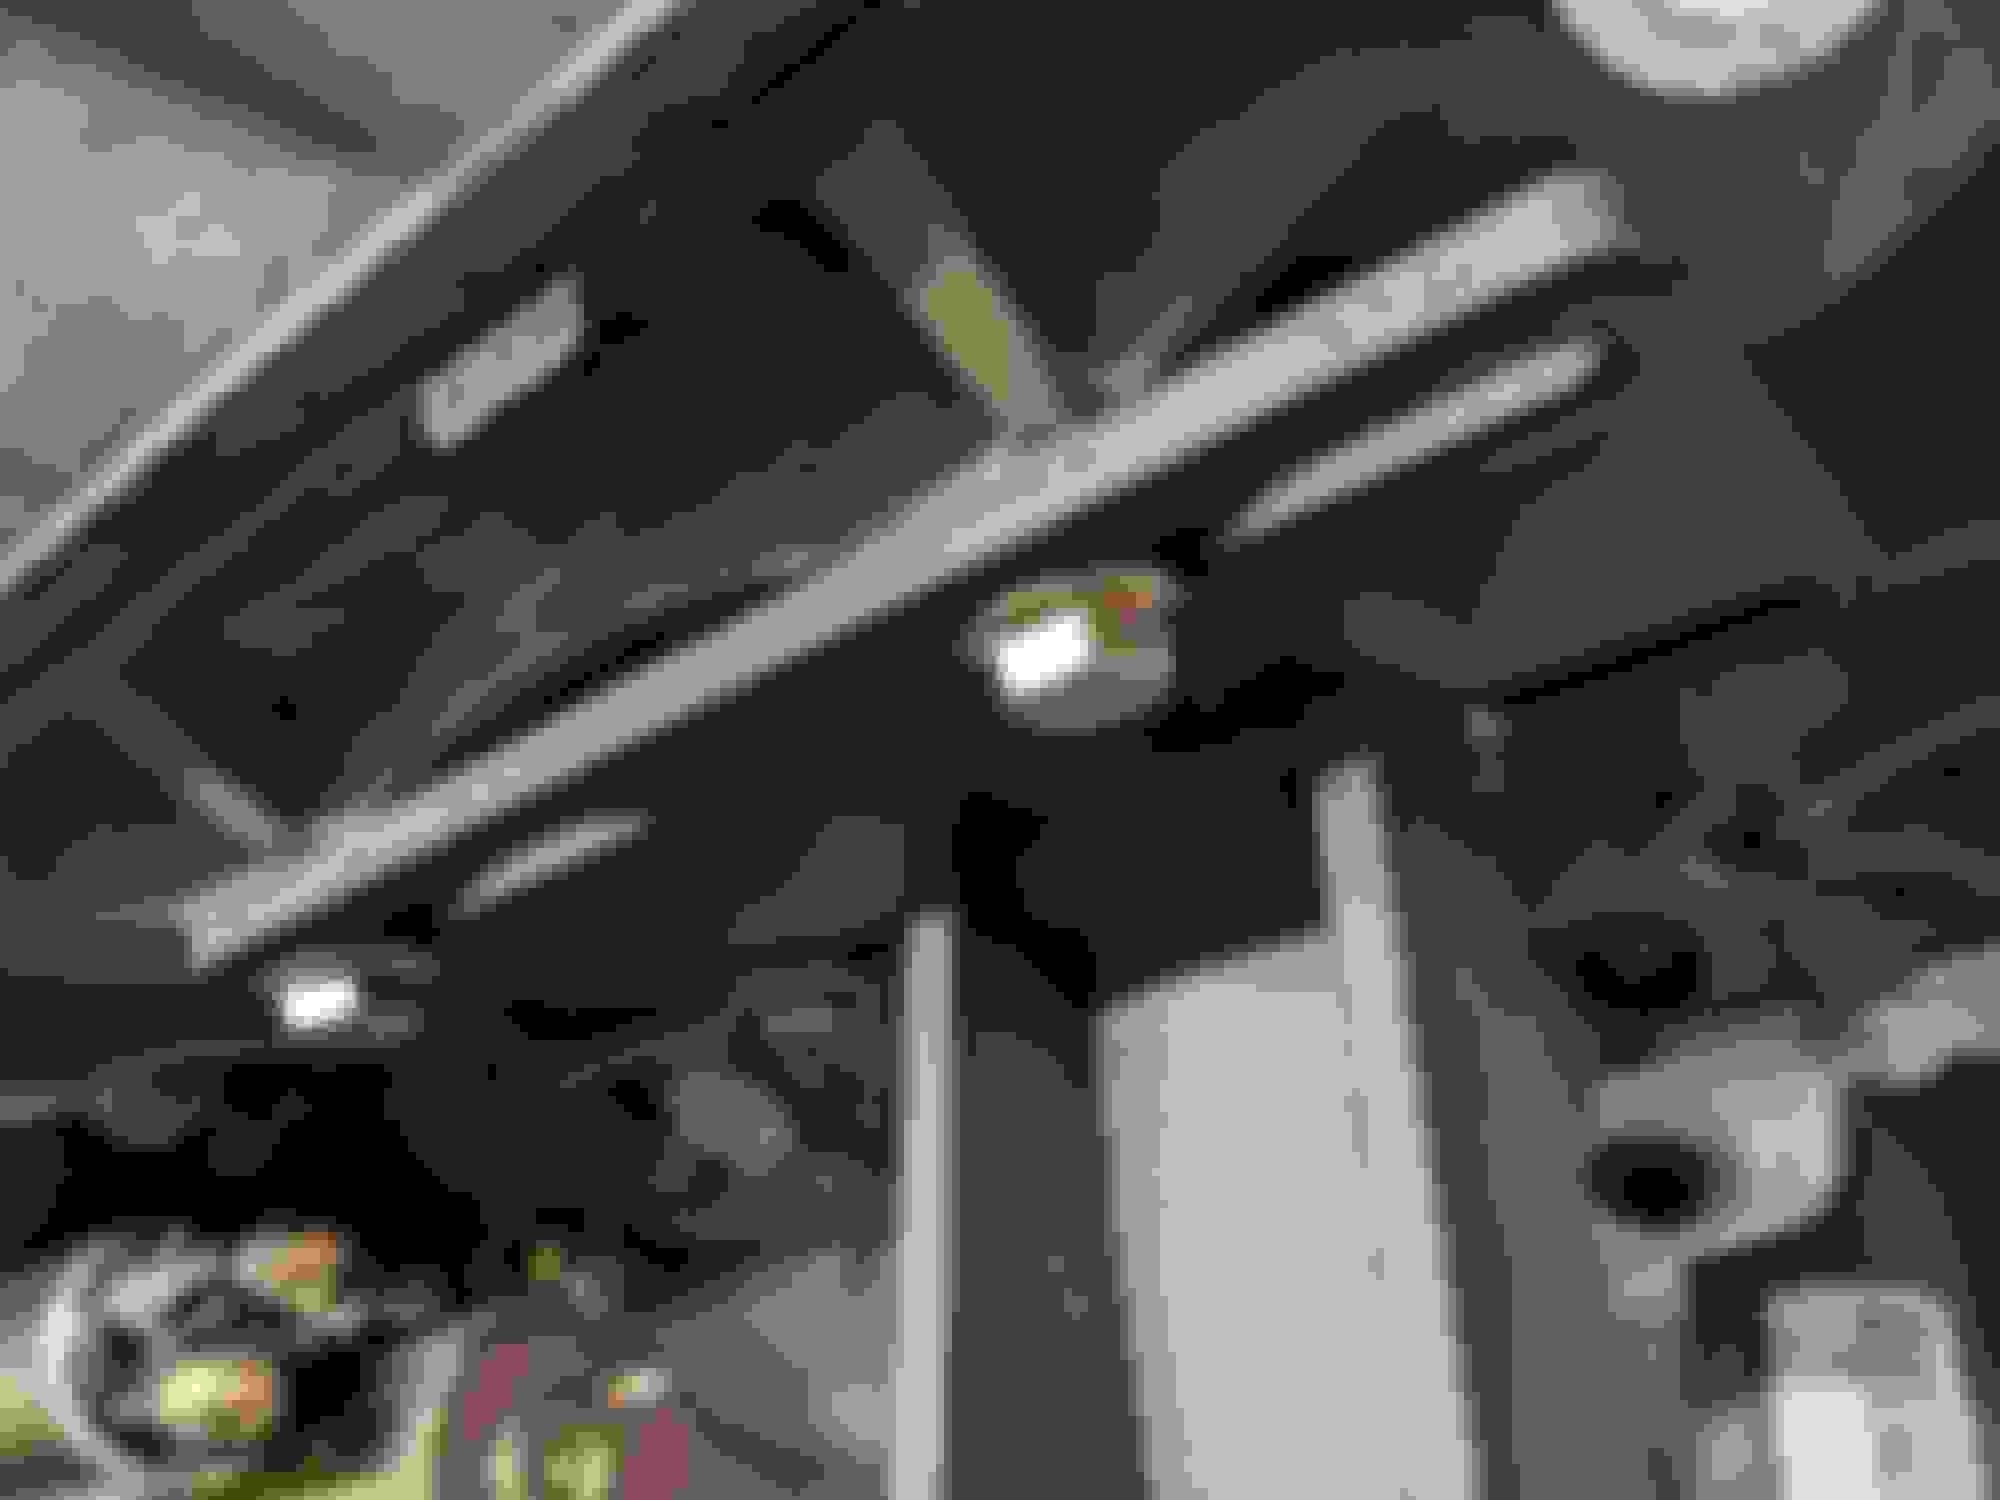
One other issue is that the alternator hit the washer fluid fill neck:
I removed the tube from where it currently snakes it's way through and it's now coiled up where the old air filter used to be. I can maybe do some type of mount over there at some point.
Three months later and I'll finally provide an update.
In my hunt and begging/pleading with junkyards to sell me this one specific part from their overpriced AR5s that have been sitting for months, if not years, and all of them refusing to do so, I hopped on a Solstice forum. One guy up in Michigan I believe actually sold me the housing, but didn't include the rubber boot. Insert another month or so of me lazily trying to 3d model this so I can print it or using some silicone hose and then a shorter printed piece, then I'd get sidetracked and what about silicone instead and then and then and then....
While I was completely lost in my own mind figuring that out, I decided to clean up my garage a little bit, get rid of things, get rid of a lawnmower I no longer needed etc etc. Found an old bucket that was on it's side, but I knew it was dirty and didn't really need it anymore. Wanna know what I found when I turned it over? The shifter housing with the rubber boot still attached to it. No idea why it was in there. Maybe it was leaking transmission oil or something and in the moment I threw it in the bucket to only forget all about it. Knew I didn't sell the damn thing!! But now I have a JZX110 housing and an extra Solstice housing if I ever do another damn swap.
So, what I failed to mention previously is that when I removed the transmission and engine back out of the wagon, I cracked the plastic powersteering pulley....so I ended up buying one of the "upgraded" pulleys....I also needed to find a new way to get the transmission mount bushing because the stock AR5 doesn't work with the swap mount. I bought a used one from Amazon that's for a T45; bolt location was perfect but the damn bushing-to-mount didn't work again as it was exactly like the AR5. Found an old FB post in the group and apparently the swap mount was made with a TR6060 Prothane or Energy Suspension bushing in mind so back again to Amazon to two-day it. It comes in and the bushing does indeed work for the mount but it's way too damn short the AR5 mounting points....bar stock, flux welder, and cheapo plasma cutter later and that problem has (hope to god) been fixed.
I'll be potentially test fitting it tonight/tomorrow and will continue on with the build.
Gonna have to get the title updated at some point because this is taking longer and costing much more than I would've imagined. Also would love to clean up the first post as well.
So anyways if you're in the E90 LS swap group, you're likely well aware by now that the mounts are great if you're going auto, not so much if you're going manual when it comes to the E6x chassis.
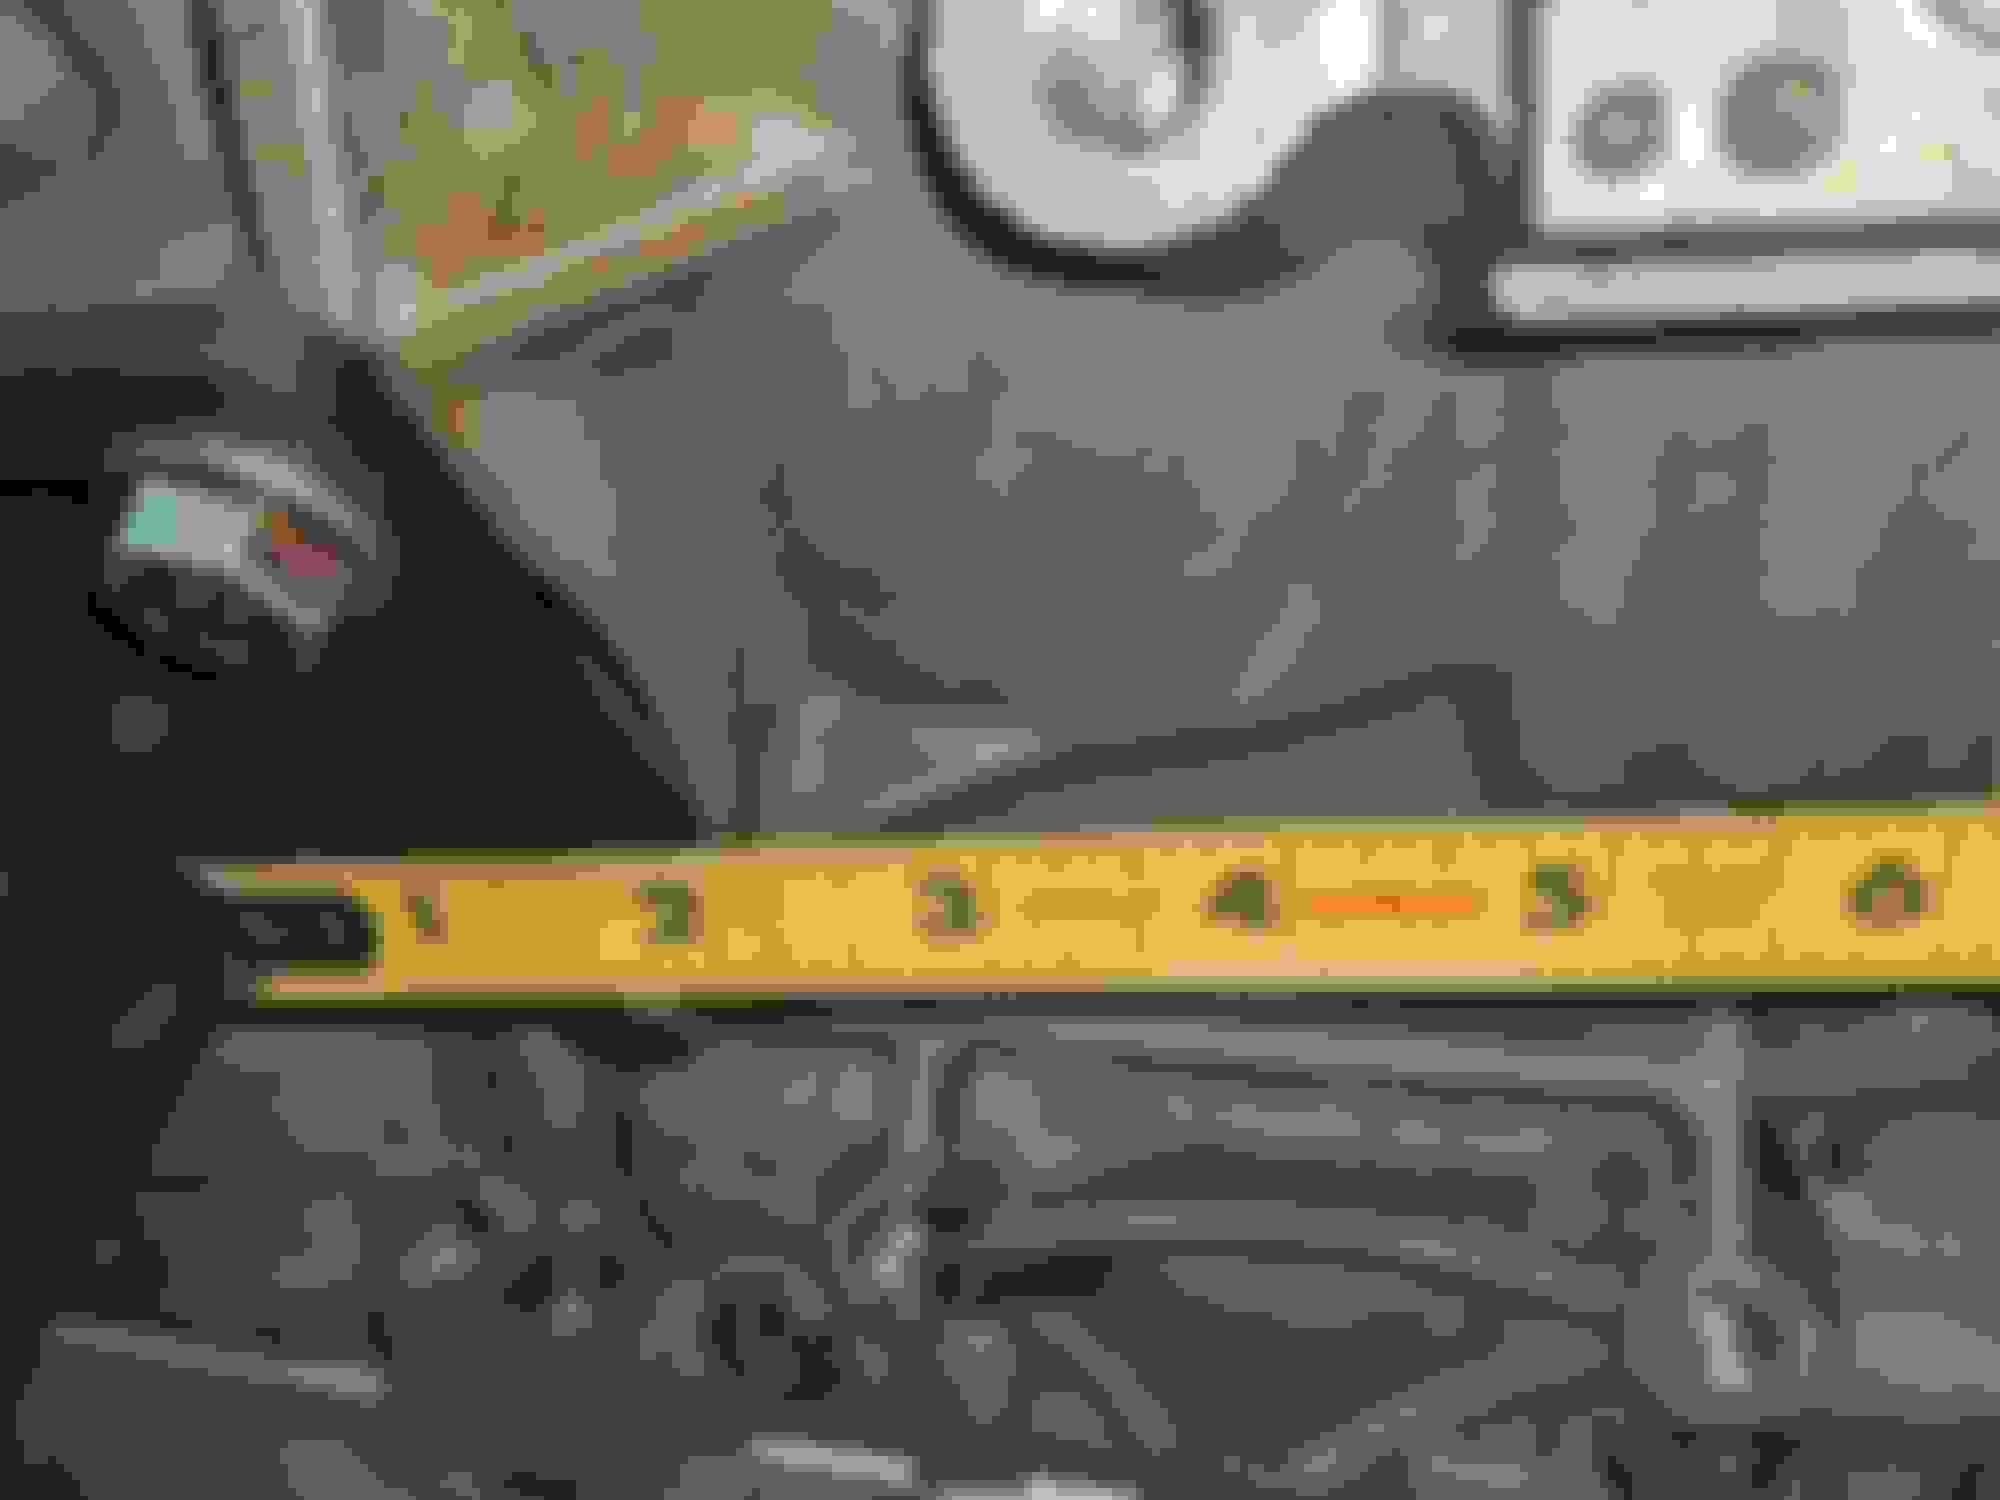
As mentioned previously, the typical 29.5" from bellhousing to shifter that you find on the majority of cars and manual transmissions doesn't apply to this swap. As the car currently sits, with engine mounts swapped to push it as far back as possible, is 37.5" to the center of the shifter hole. Problem is the Solstice AR5 only goes to 35". There's also the problem that the transmission mount is 27" from belhousing to mount but the cross member mounting location is 31.5".
So now I have a couple of options:
Option 1: Abandoned the swap, pretend it never happened, buy fast car. Debated a few times on this, can't lie. But being stubborn, I decided not.
Option 2: Buy CTS-V v2 TR6060. The bellhousing to shifter is 35", but there's plenty of $600+ shifter extensions. Trans mount is still 27", though. So $3500+ for the transmission, $600+ for the extension, still need to modify the cross member. I think the LS7 clutch I have fits. Maybe. Lol.
Option 3: Modify the mounts somehow to make it work.
Got passed around from local welding shop to shop which got annoying quickly, so here's my current idea. 1/4" steel is at the tippy top as to what my tiny flux core can handle. If need be, stick welder for $100 on Amazon. Picked up some 0.035 wire, tips, and a 1/4"x4"x12" plate for $13 from Menards. After watching some videos and reading comments, I should be good if I slightly bevel the two pieces prior to welding.
I'm going to add roughly 2" to the front of both of the engine mounts and take my trusty grinder to lengthen the slots. This should get the shifter fairly close to line up. If I can get away with adding another .5"-1", I'll do it but it'll like require some trimming. I'll attach pictures so it all makes sense.
I'll also likely have to weld another 3-4" (just for safety/strength) to the cross member mounting location to lengthen for the transmission mount that I had to modify, too. I'll likely even need to fill in some of the slots, but we'll see.
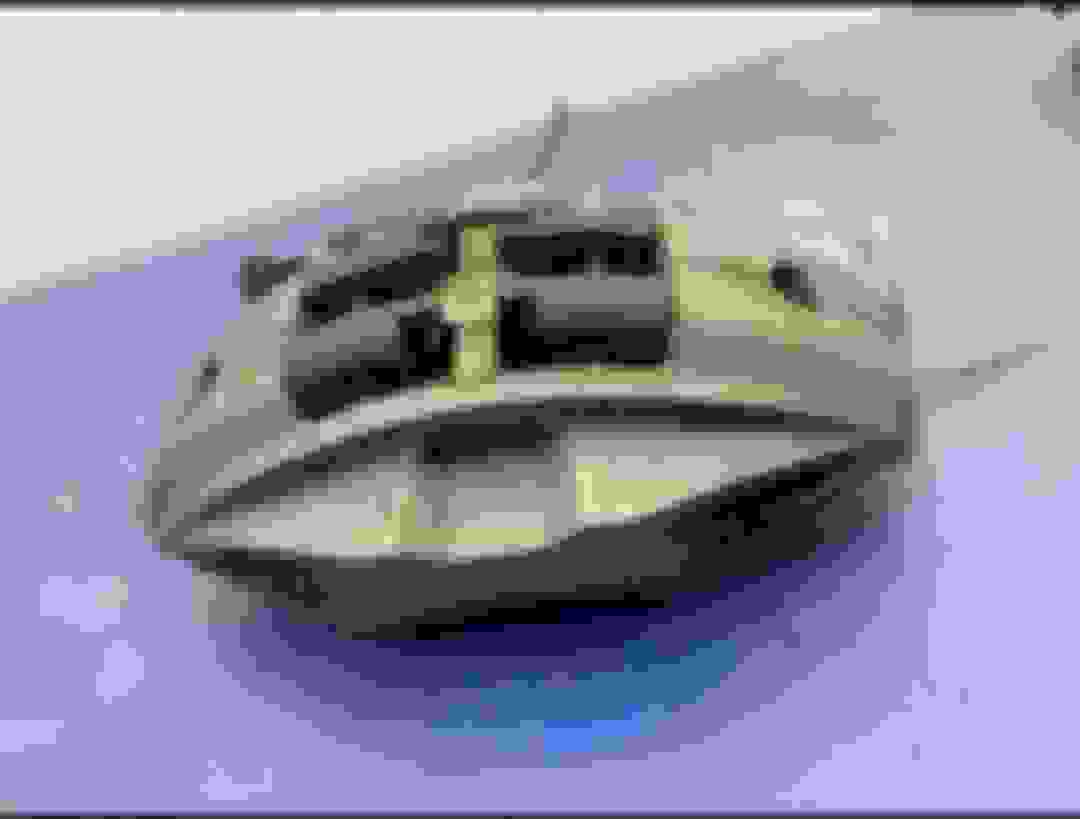
Sorry for nothing too exciting. Sucks being one of the first sometimes lol. I did end up buying G12/G30 "small" 4 pot Brembos for the front because I honestly got tired of trying to be as cheap as possible for this, too. Only requires 5mm spacers/washers to center on the rotor. Needs 348/30 and the pads fit perfect. The calipers can go to 348/36, but we never got that size in the States for the E6x so 30 it is. I'll be sure to weigh these compared to the rwd 530 calipers just out of curiosity. Came across a guy doing the swap on his E60 M5 over in the UK which is the reason why I even opted for this route.
The caliper. Not the basic G30 front caliper, but same mounting as the M-Sports/Performance/whatever. F80 rear two pots should fit, btw, but I'd likely have to swap out the rear for RWD bits.
Edit: While sitting in on one of my meetings, I wonder if adding another inch or so to the engine mounts and potentially just cutting off and moving the actual mount part over would be better....
Last edited by FuzzyWuzzy; 09-13-2023 at 10:28 AM.
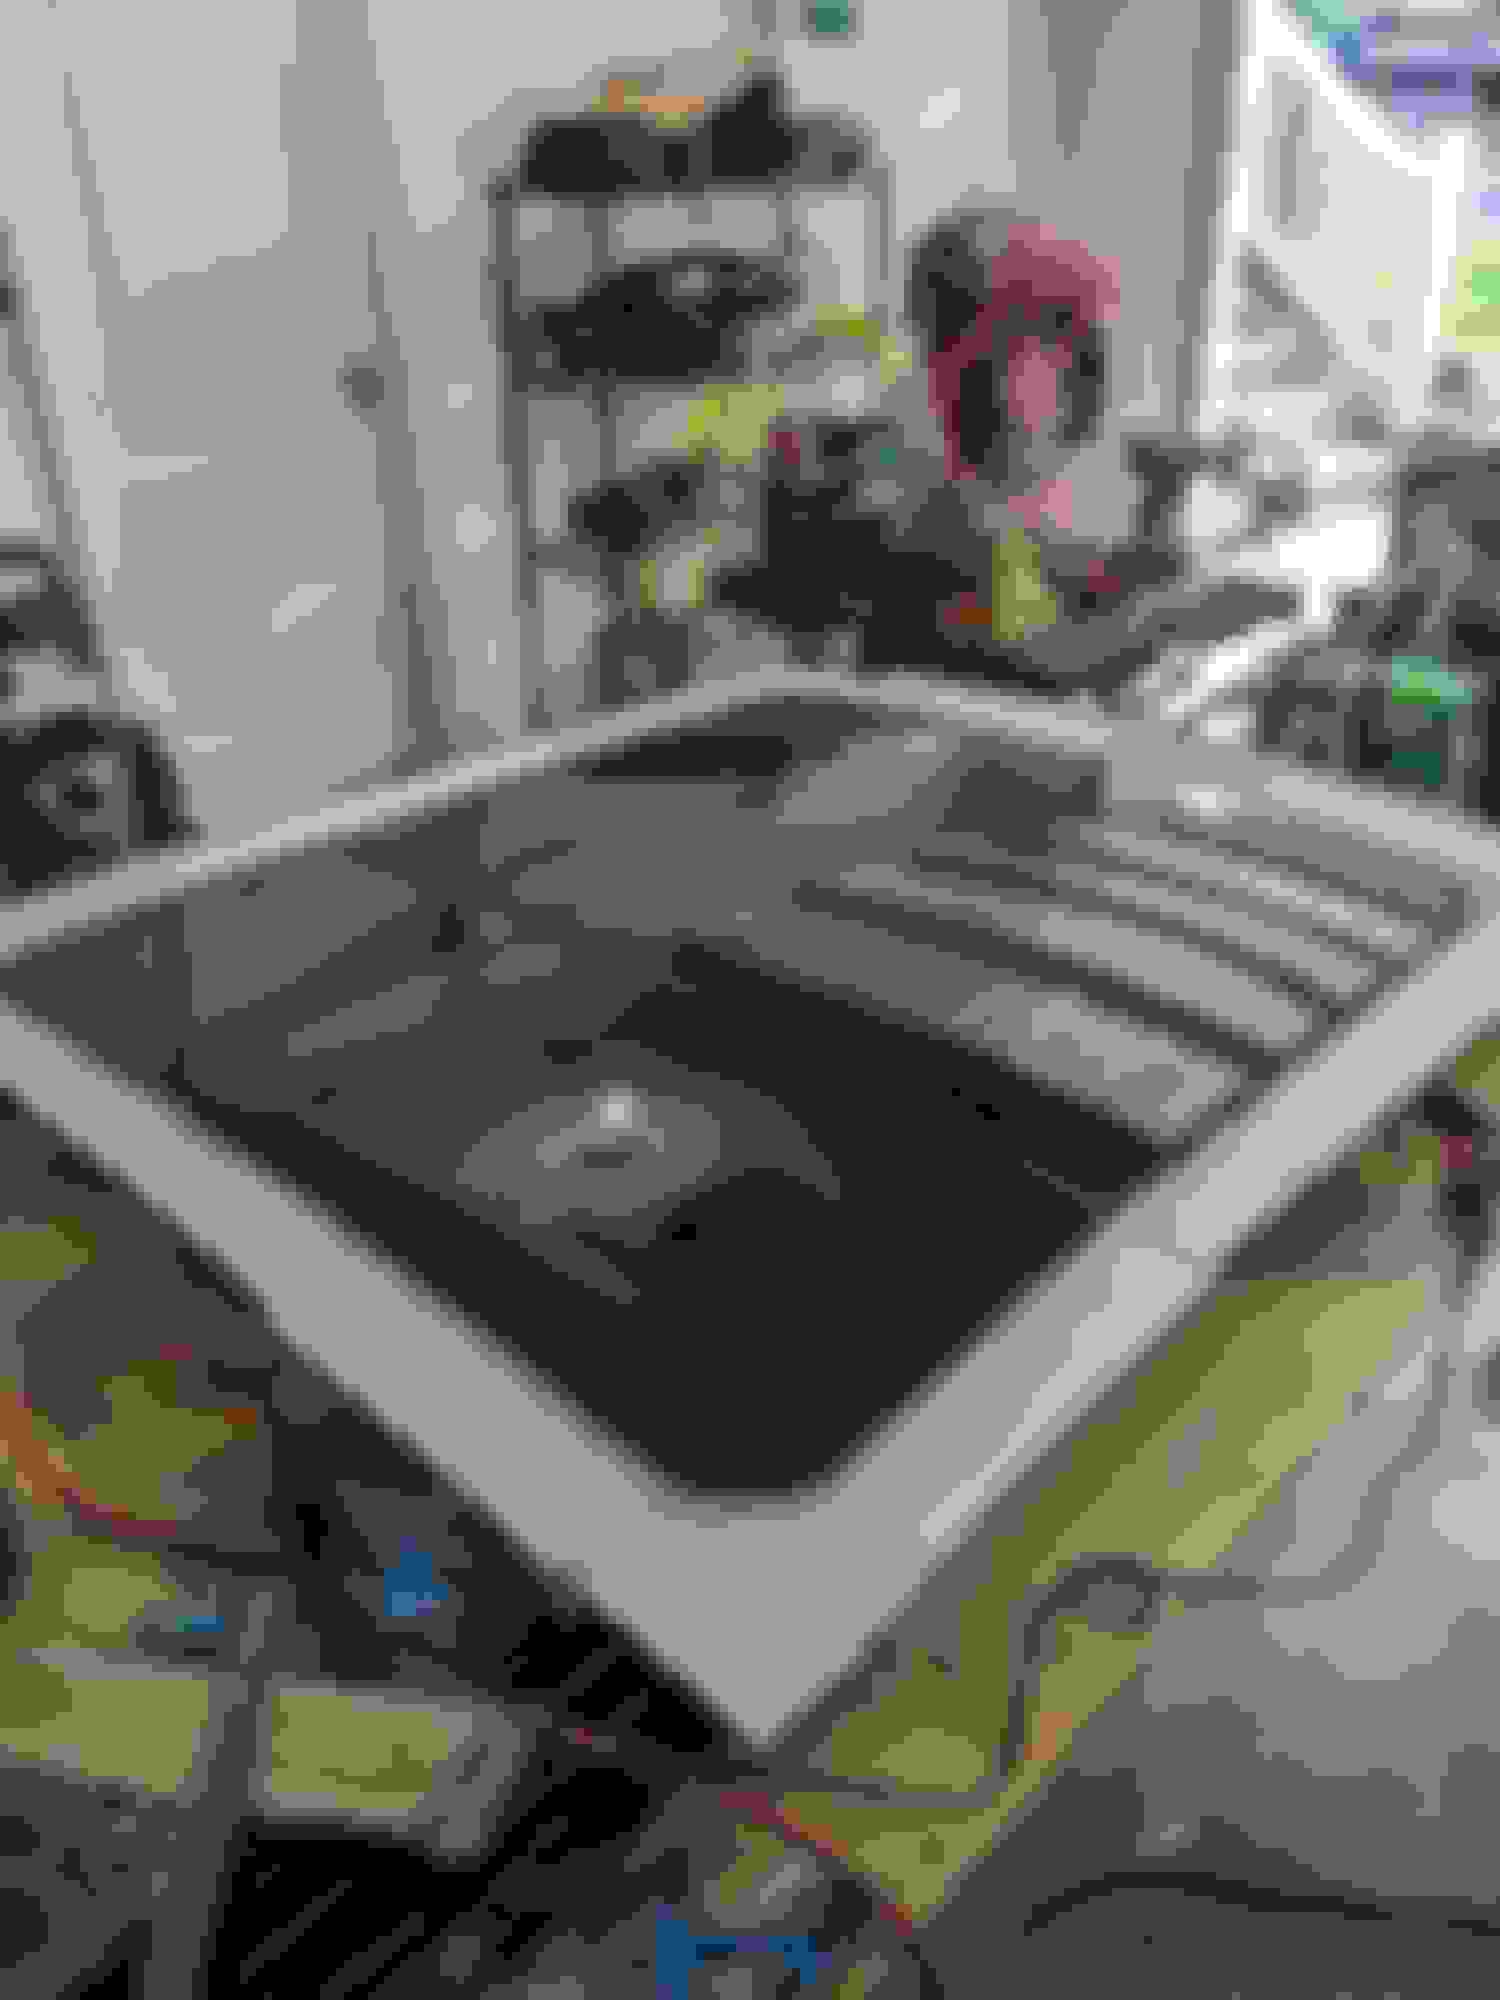
As some of you have seen in one of the boring E61 FB groups, I tried my hand again at doing a fiberglass panel for the panoramic sunroof but NOT trying to do the mounts as well. Watched a few more videos and looked some more stuff up, the typical window weld stuff everyone uses is pretty damn strong. Worse comes to worse, brackets everywhere.
Didn't come out too bad, but clearly bowing in the middle because this thing was extremely thin; single layer of cloth picked up from Walmart and a single layer of 0.75oz. Don't mind it being dirty as hell. It's honestly been one of the last things on my mind:
Next up are the mounts. I'm blonde. Very, very blonde. Therefore I can claim blonde moments such as not move the engine mounts the right way when I needed to move the engine as far back as possible:
Dead center for 35" from bellhousing to shifter. Just another thing to update the first post w/ now that this is confirmed. Solstice/Sky AR5, CTS-V v2 TR6060, and 04-06 T56 w/ extension are perfect for the E6x manual swap.
BUT the crossmember still needs a little extra either welded on or an extension plate bolted from the crossmember to the trans mount. Personally gonna do the weld just for peace of mind:
:
Either my wagon's chassis is weird or the bolt holes on the crossmember mount weren't drilled correctly. Either way, slots will get cut out to make that work at some point. The little Titanium 125 flux core from Harbor Freight CAN weld 1/4" pretty decently with 0.035 wire, btw! Only popped the breaker twice! But penetrates great when welding front and back. Still need to do some more to it before I'm done/happy enough.
Calipers came in. They're big. They look great. They weigh 13.2lbs including healthy pads and the brake hose. The RWD stock calipers weighed 12.4lbs with nearly shot pads and nothing else. The 348x30mm rotors are also heavy beasts vs what I'm typically used to. As much as I'd like to cut weight as much as possible....
Kinda hard to care at that point, ya know?
Did more fiberglass work. Went to order gelcoat from the place I've ordered from previously. To order 1 gallon of gelcoat (essentially what you need for one mold and one pull) was going to cost $100 shipped as the shipping cost is what really screws me over being in the middle of the country. That's a hefty price to me for something I know I'll likely mess up. Youtube to the rescue. Learned you can make your own gelcoat at home with polyester resin and and fumed silica powder. Can add another thing to make it more like tooling gelcoat but honestly didn't care too much. All 'n' all, $55 for a gallon of Bondo poly resin and $13 for a quart of fumed silica; all on Amazon. Can get the Bondo from your local Walmart for around the same price; everywhere else was about $10 to $30 more. Also grabbed some mica powder to add a little pizzaz to it, but bondo resin is a dark brown, so uh...don't use green.
At first I used some wax to act as a filler but once it dried overnight, it didn't work. Ended up using silicone caulk (saw it in a video and the dude did great work). As you can see, I ended up skipping mounting points as mentioned in older posts.
This reminds me of the gelcoat I've bought previously. I followed this one video and the guy was like, "Every 2 ounces of poly, you'll need about 1.5 tsp of silica" Yeah no not even close. If you ever try this, do tablespoons full. The resin is very fluid like, but you're trying to get it to be more...maple syrupy-ish. Watch a video of gelcoat to get an idea for it to make sense. If you can spray it, I highly suggest it.
I need to clean up the edges and likely take some bondo putty to a few spots, but I actually like how it came out. Much, much better than my first couple of tries. I'll never produce these and sell them, though. The resin has a horrible smell that lingers far too long for my liking. If I didn't have a kid or I had a dedicated workshop away from the house, sure, but not anytime soon.
But there we go for now. I need to buy a little more resin from walmart and I'll likely grab two things of cloth as the initial layer for when I go to actually do the pull and hope it all turns out well.
Found a pre-LCI xenon headlight at the junkyard...really wasn't in the mood figuring out the wiring to go from pre-LCI xenon with AHL to LCI halogens...so...
Two 270* rounds and a couple of small flatheads and voila. They're opened. Really wasn't that hard and as bad as everyone makes it out to be. Granted, removing the permaseal will be a pain in the ass and I'm not looking forward to it. Maybe more oven rounds.
I really like the LCI fins. Really, really do. Issue is is that it won't work with the AHL on the pre-LCI and even if I trimmed it a bit, the curved angle just doesn't work with the pre-LCI xenon trim.
And after Googling a bit more and coming across some of the beautiful headlights Evan's done in the past, I bought a cheap set of Nilight H1 projectors. Issue is the threaded part is a hair too big. I did also pick up some of the Rust-Oleum high heat matte black and will be painting all the chrome. If I can figure out how to remove the orange corner part of the lens, I'll reference one of Evan's thread and do the same. I think it makes the pre-LCI headlight actually look pretty good at that point and tolerable.
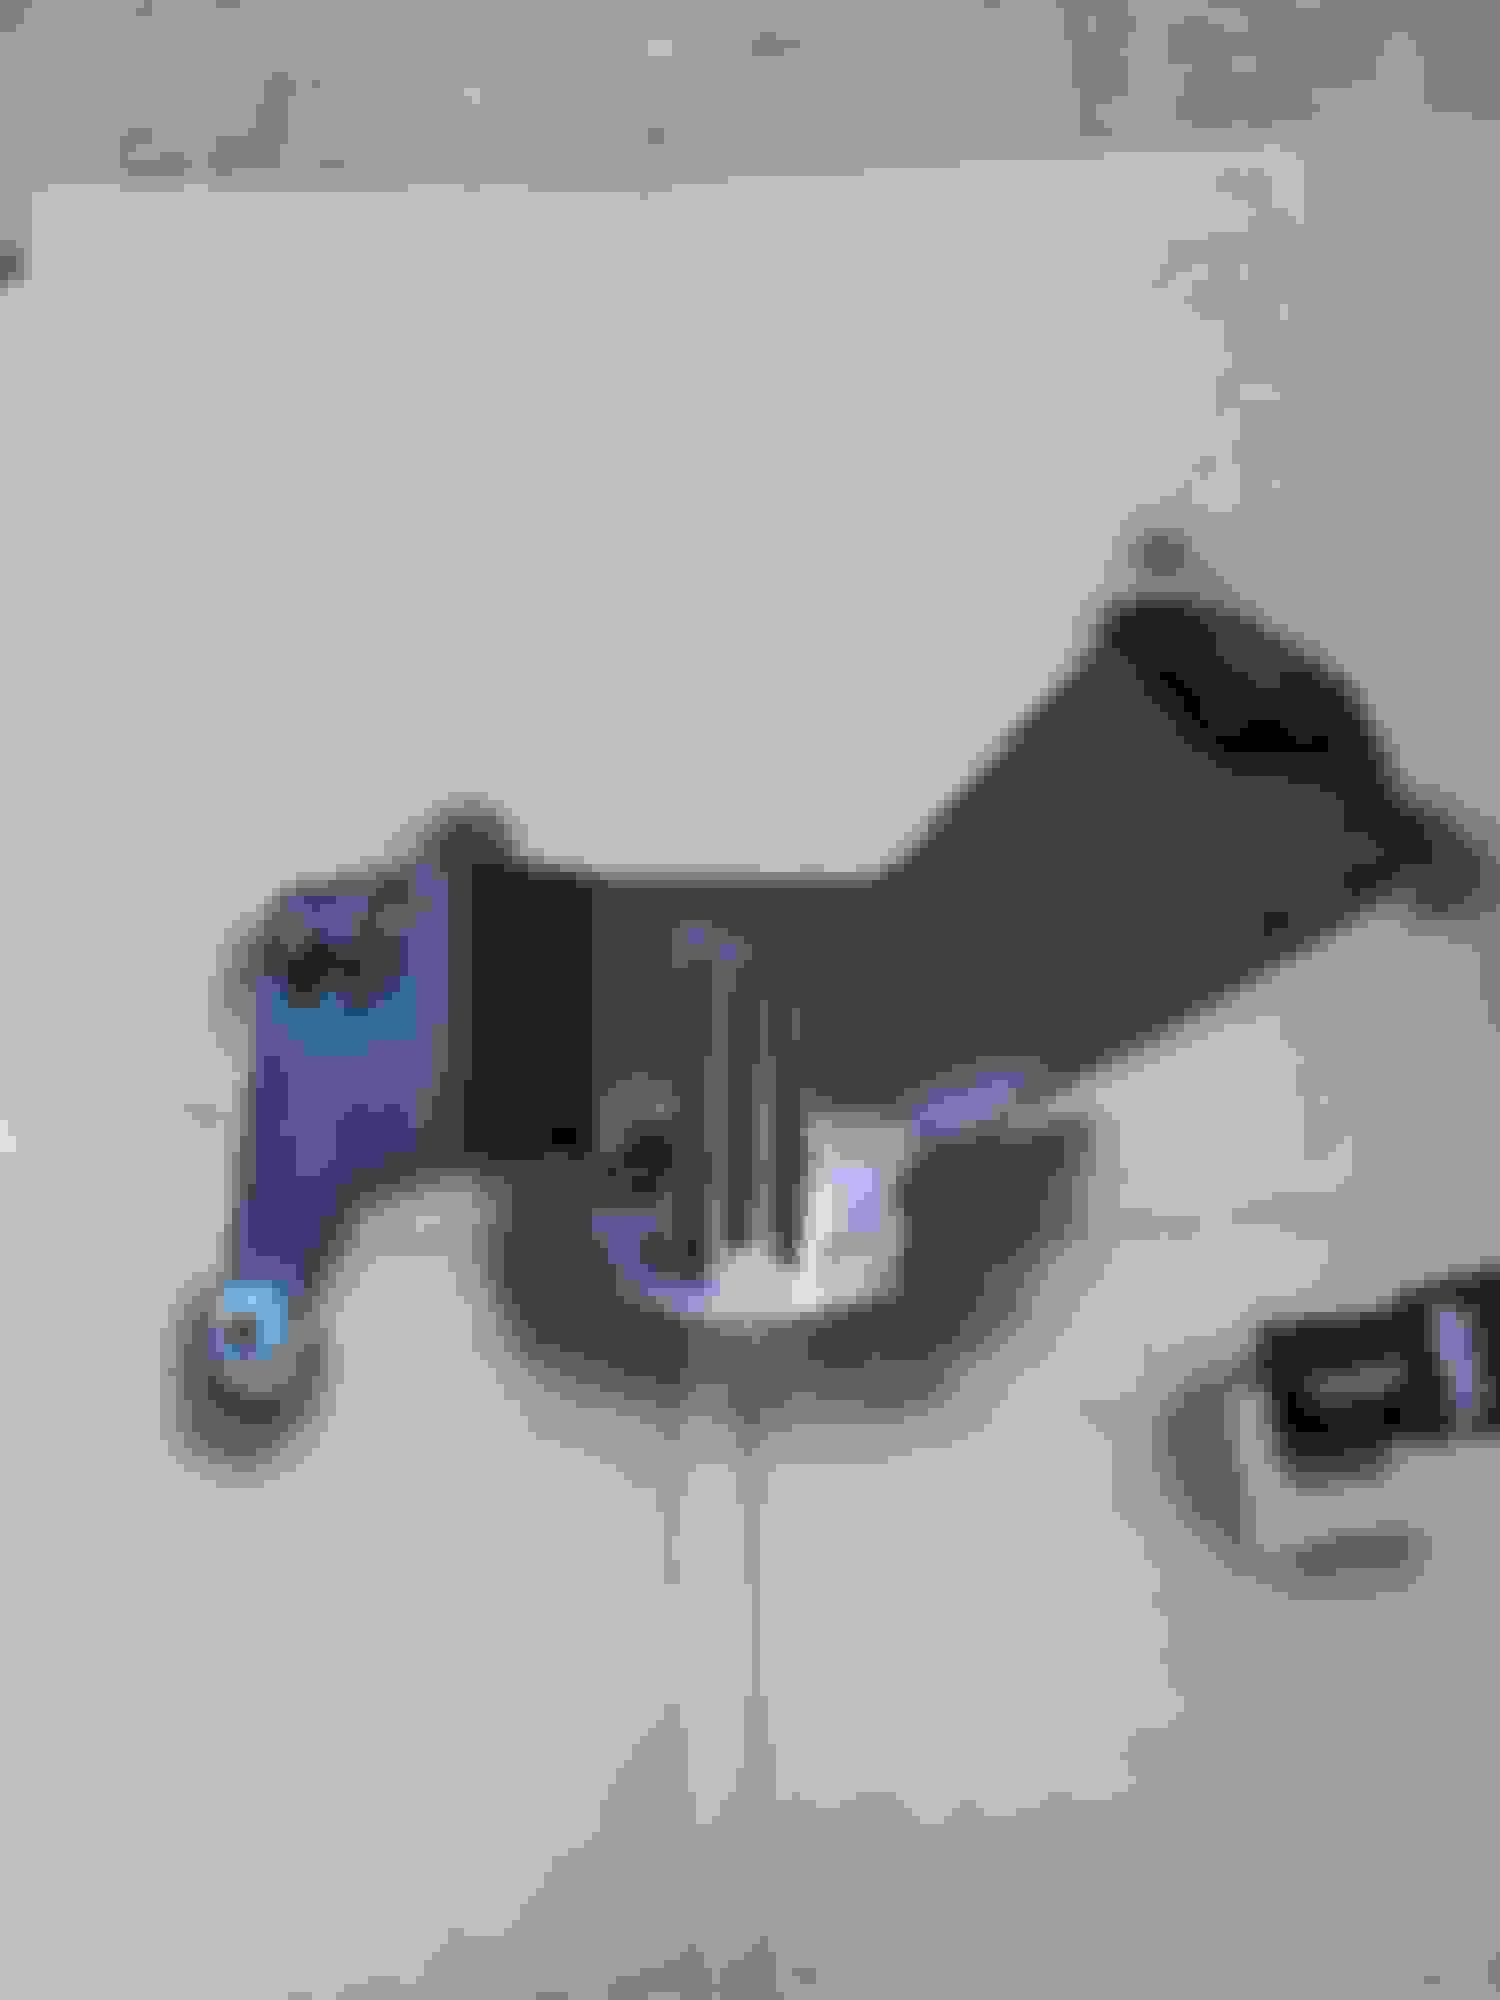
Lastly, finishing up the crossmember tonight for the most part. Once I finish it, I can do the driveshaft measurement and start wiring up everything. Had to widen the added part's slots due to the mounts bolts being some weird size and not metric like everything else. Also opened up a couple of holes because of the issues mentioned earlier. Once it fits how it should, I'll throw some paint on those parts and bolt it all down.
Trimmed and painted. Looks slightly better
Last edited by FuzzyWuzzy; 10-17-2023 at 05:33 PM.
You previously mentioned having trouble with plugging the roof rail trim. I found a kit for the E46 that may work, and at $35 worth a test. Still need to plug the hole into the cabin but the kit looks good.
 03-10-2023, 02:06 PM