
M5 Mirrors! Happy delivery from Thailand


Thread Starter
Contributors
Joined: Jul 2008
Posts: 4,410
Likes: 0
From: Chicago
I can transfer all internal components from one mirror to the other. The motor housing attaches to the mirror so there is no reason that I won't have right side auto-dip when reversing. Nothing in the mirror housing from the replica prevents that. What I will not have is auto-dim and puddle lights, thats it. 
Super Moderator
Joined: Jan 2008
Posts: 17,508
Likes: 3
From: So. Cal (SFV)
My Ride: 2011.5 Alpine White E90 M3 | Black Novillo Leather | Carbon Fiber Leather Trim | ZCP | ZP2 | M-DCT | Navigation | Moonroof | 6FL Mods: TMS 12.5mm spacers all around l Hawk HPS Brake Pads l OEM M3 Edition Grills l Paint Matched Side Gills l Key Hole D
Contributors
Joined: Apr 2008
Posts: 3,573
Likes: 0
From: Houston,TX
My Ride: Original E60 Spec:
530i - Silver Grey Out, Black Dakota Leather In, Navigation Pro, Voice Command, HiFi Audio, Sports Package, Premium Package, Cold Weather Package w/ Heated Seats, Style# 123 Alloy Track Wheels, Auto AC, Power Front Seats, Active Turn Xennon Headlights,
Mods:
OEM M-Tech Front Bumper, OEM M Side Skirts, OEM M5 Rear Bumper, M5 Trunk Lid Finisher, M5 Style Mirrors, Custom Hamann Style Splitter, Custom Hartge Style Diffuser, RD Sport Boot Spoiler, LCI Taillights, Bruce Miranda's V4 LCI Retro Cables, 6000K Xenon light Bulbs, Xenon White LED License Plate Lights, 8000K HID 9006 Fog Lights, Akalius� Front Headlight Euro Overlays, Matte Black Kidney Grilles, E60.Net Clings, Debadged, Llumar Tinting "Micro Edged, 15% Rear 35% Sides,
Engine Mods:
Custom Magnaflow Quad Exhaust w/ Eisenmann Stamped 3� Tips, RPI Scoop (Red)
Added Electronics:
V1 Equipped (Hardwired), OEM Alpine CD Changer Retrofit,
Shoes:
SOLD-20" Staggered Vertini Hennesey Rims, Falcon 452's Tires-SOLD
New Shoes:
19" VMR 710 Hyper Silver, General Exclaim UHP 245/35/19 Front-275/30/19 Rear, Gloss Silver Caliper Paint Job DIY
^_____________
Retired
______________
Took Delivery 10/26/2009: LOADED! E60 M5 Silverstone II/Black, Active Seats, Comfort Ventilated/Heated Seats, HUD, Brushed Aluminum Trim,
I posted this in Pingu's thread on accident, but it was meant for your thread How.
How, when you mount the mirror glass, make sure you have the passenger side housing mounted in place before attaching the glass for that side. As I did not do this and when adjusting the glass for use. It did not have room to be in the proper position and the spacing was a little off around the glass' edge.( The passenger side glass is usually angled in more then the driver side.)
Pm me if you have any questions.
Thread Starter
Contributors
Joined: Jul 2008
Posts: 4,410
Likes: 0
From: Chicago
UPDATE
As expected, my body shop is having one hell of a hard time installing these mirrors. I dropped the car off at 8:30AM, they started work at 2pm. Sure enough at 2:15pm I get a call saying "wow, we didn't realize how much of a pain in the ass this was". "Well duh, get it done by 5 or a swift death will ensue", I said.
I'll keep you posted.
Contributors
Joined: Apr 2008
Posts: 3,573
Likes: 0
From: Houston,TX
My Ride: Original E60 Spec:
530i - Silver Grey Out, Black Dakota Leather In, Navigation Pro, Voice Command, HiFi Audio, Sports Package, Premium Package, Cold Weather Package w/ Heated Seats, Style# 123 Alloy Track Wheels, Auto AC, Power Front Seats, Active Turn Xennon Headlights,
Mods:
OEM M-Tech Front Bumper, OEM M Side Skirts, OEM M5 Rear Bumper, M5 Trunk Lid Finisher, M5 Style Mirrors, Custom Hamann Style Splitter, Custom Hartge Style Diffuser, RD Sport Boot Spoiler, LCI Taillights, Bruce Miranda's V4 LCI Retro Cables, 6000K Xenon light Bulbs, Xenon White LED License Plate Lights, 8000K HID 9006 Fog Lights, Akalius� Front Headlight Euro Overlays, Matte Black Kidney Grilles, E60.Net Clings, Debadged, Llumar Tinting "Micro Edged, 15% Rear 35% Sides,
Engine Mods:
Custom Magnaflow Quad Exhaust w/ Eisenmann Stamped 3� Tips, RPI Scoop (Red)
Added Electronics:
V1 Equipped (Hardwired), OEM Alpine CD Changer Retrofit,
Shoes:
SOLD-20" Staggered Vertini Hennesey Rims, Falcon 452's Tires-SOLD
New Shoes:
19" VMR 710 Hyper Silver, General Exclaim UHP 245/35/19 Front-275/30/19 Rear, Gloss Silver Caliper Paint Job DIY
^_____________
Retired
______________
Took Delivery 10/26/2009: LOADED! E60 M5 Silverstone II/Black, Active Seats, Comfort Ventilated/Heated Seats, HUD, Brushed Aluminum Trim,
It's not that hard, just tedious. Actually, very tedious. The wiring is what took the longest. Make sure you tell them to keep the unused wires, as you may need them later when you return back to stock.
Contributors
Joined: Jan 2007
Posts: 2,661
Likes: 2
From: (Sonoma County)Santa Rosa, CA
UPDATE
As expected, my body shop is having one hell of a hard time installing these mirrors. I dropped the car off at 8:30AM, they started work at 2pm. Sure enough at 2:15pm I get a call saying "wow, we didn't realize how much of a pain in the ass this was". "Well duh, get it done by 5 or a swift death will ensue", I said.
I'll keep you posted.
As expected, my body shop is having one hell of a hard time installing these mirrors. I dropped the car off at 8:30AM, they started work at 2pm. Sure enough at 2:15pm I get a call saying "wow, we didn't realize how much of a pain in the ass this was". "Well duh, get it done by 5 or a swift death will ensue", I said.
I'll keep you posted.
It took MY530I (fred) to install mine M5 mirrors with internal motor swap in 45mins or less.
Thread Starter
Contributors
Joined: Jul 2008
Posts: 4,410
Likes: 0
From: Chicago
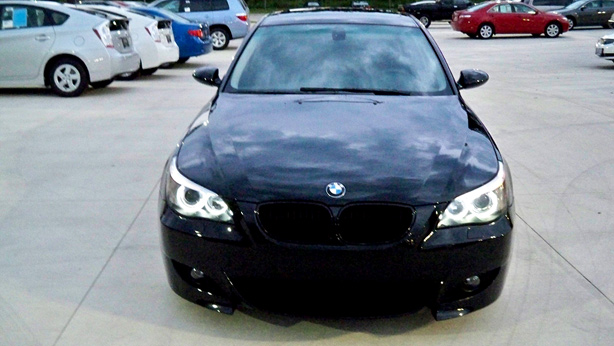
I just want to say this would have not been possible without the skill and patience of Val at A&L Auto Body in Palatine and Anthony at iND. You guys ROCK!
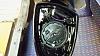
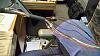
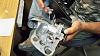
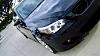
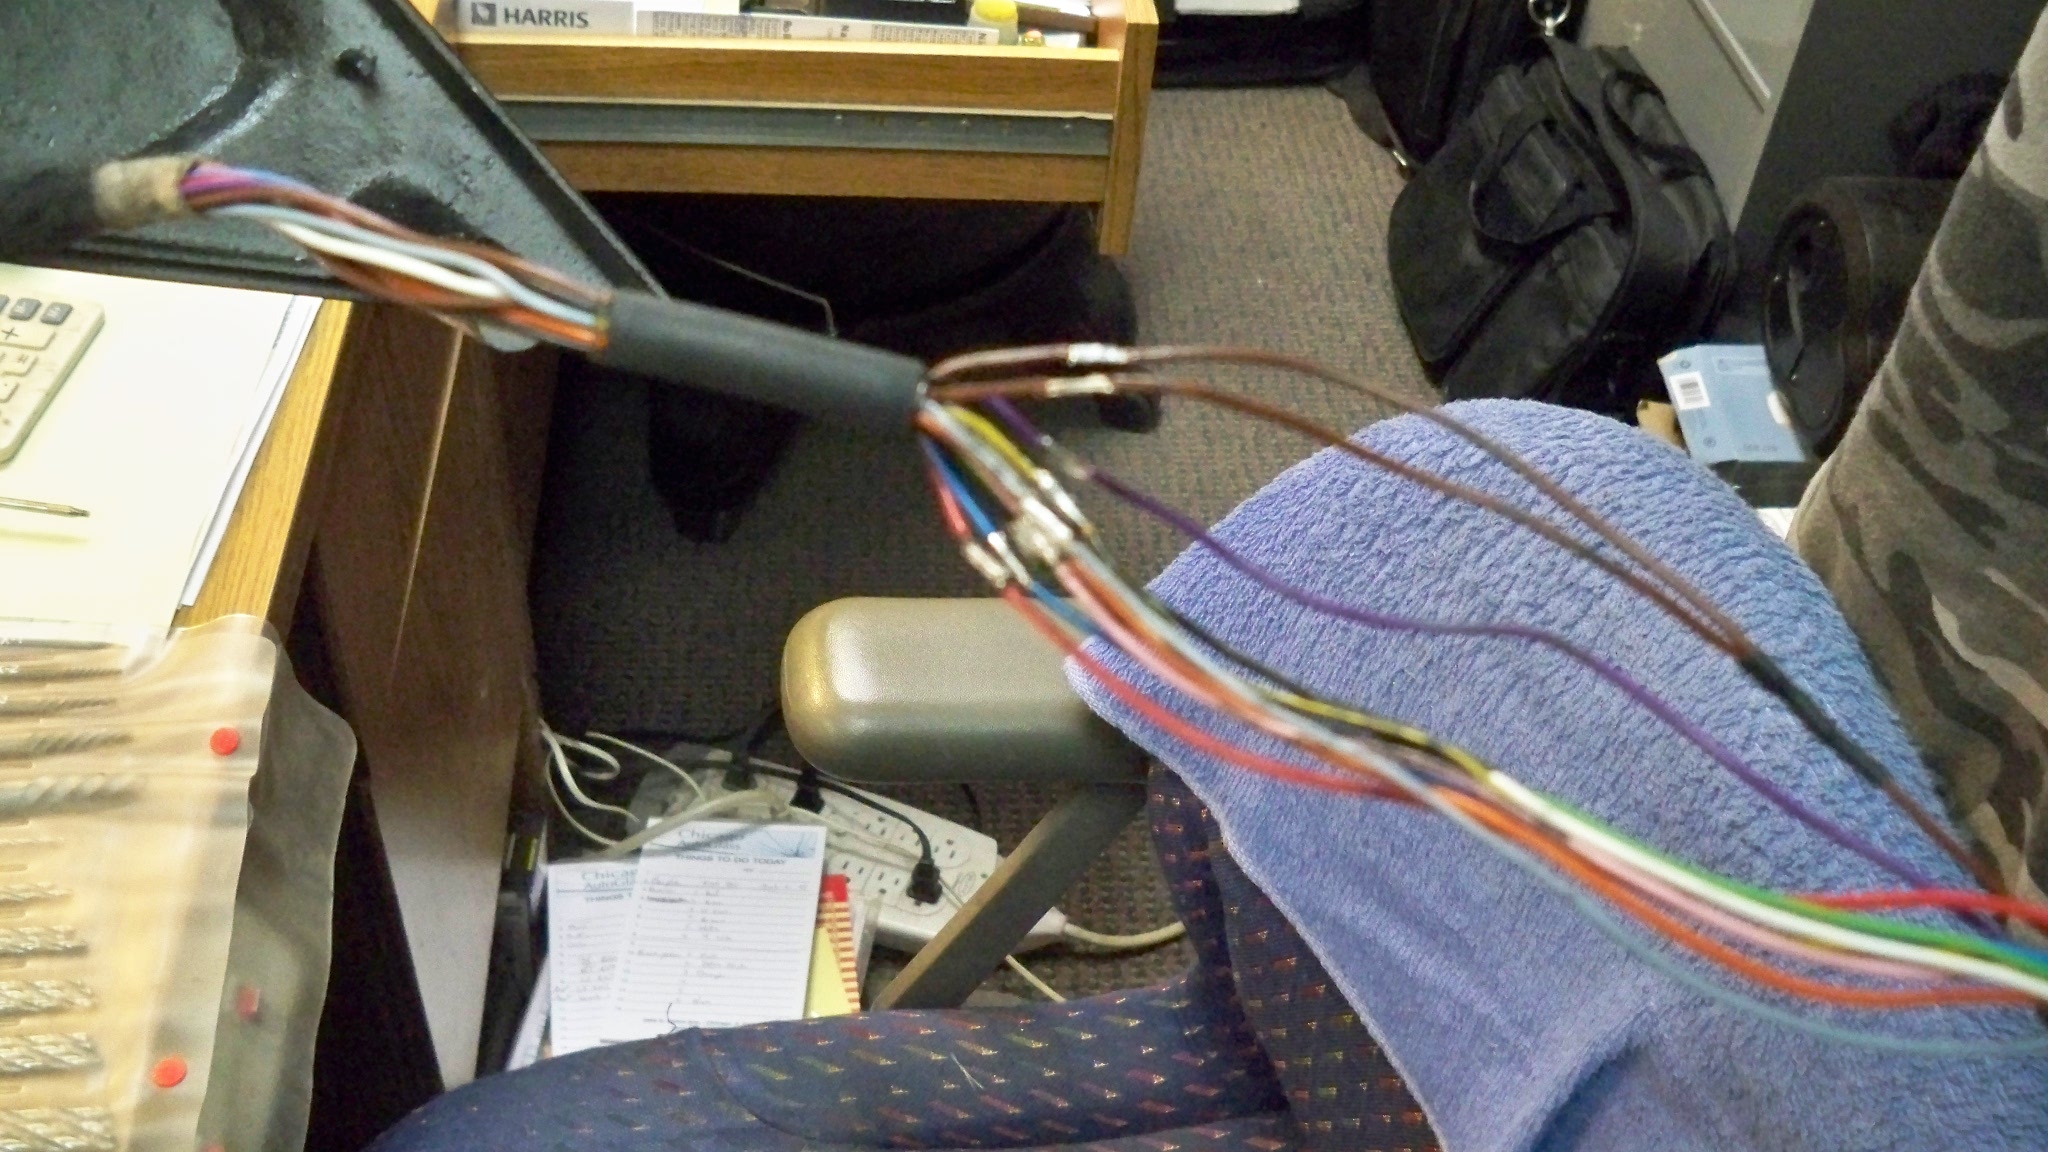
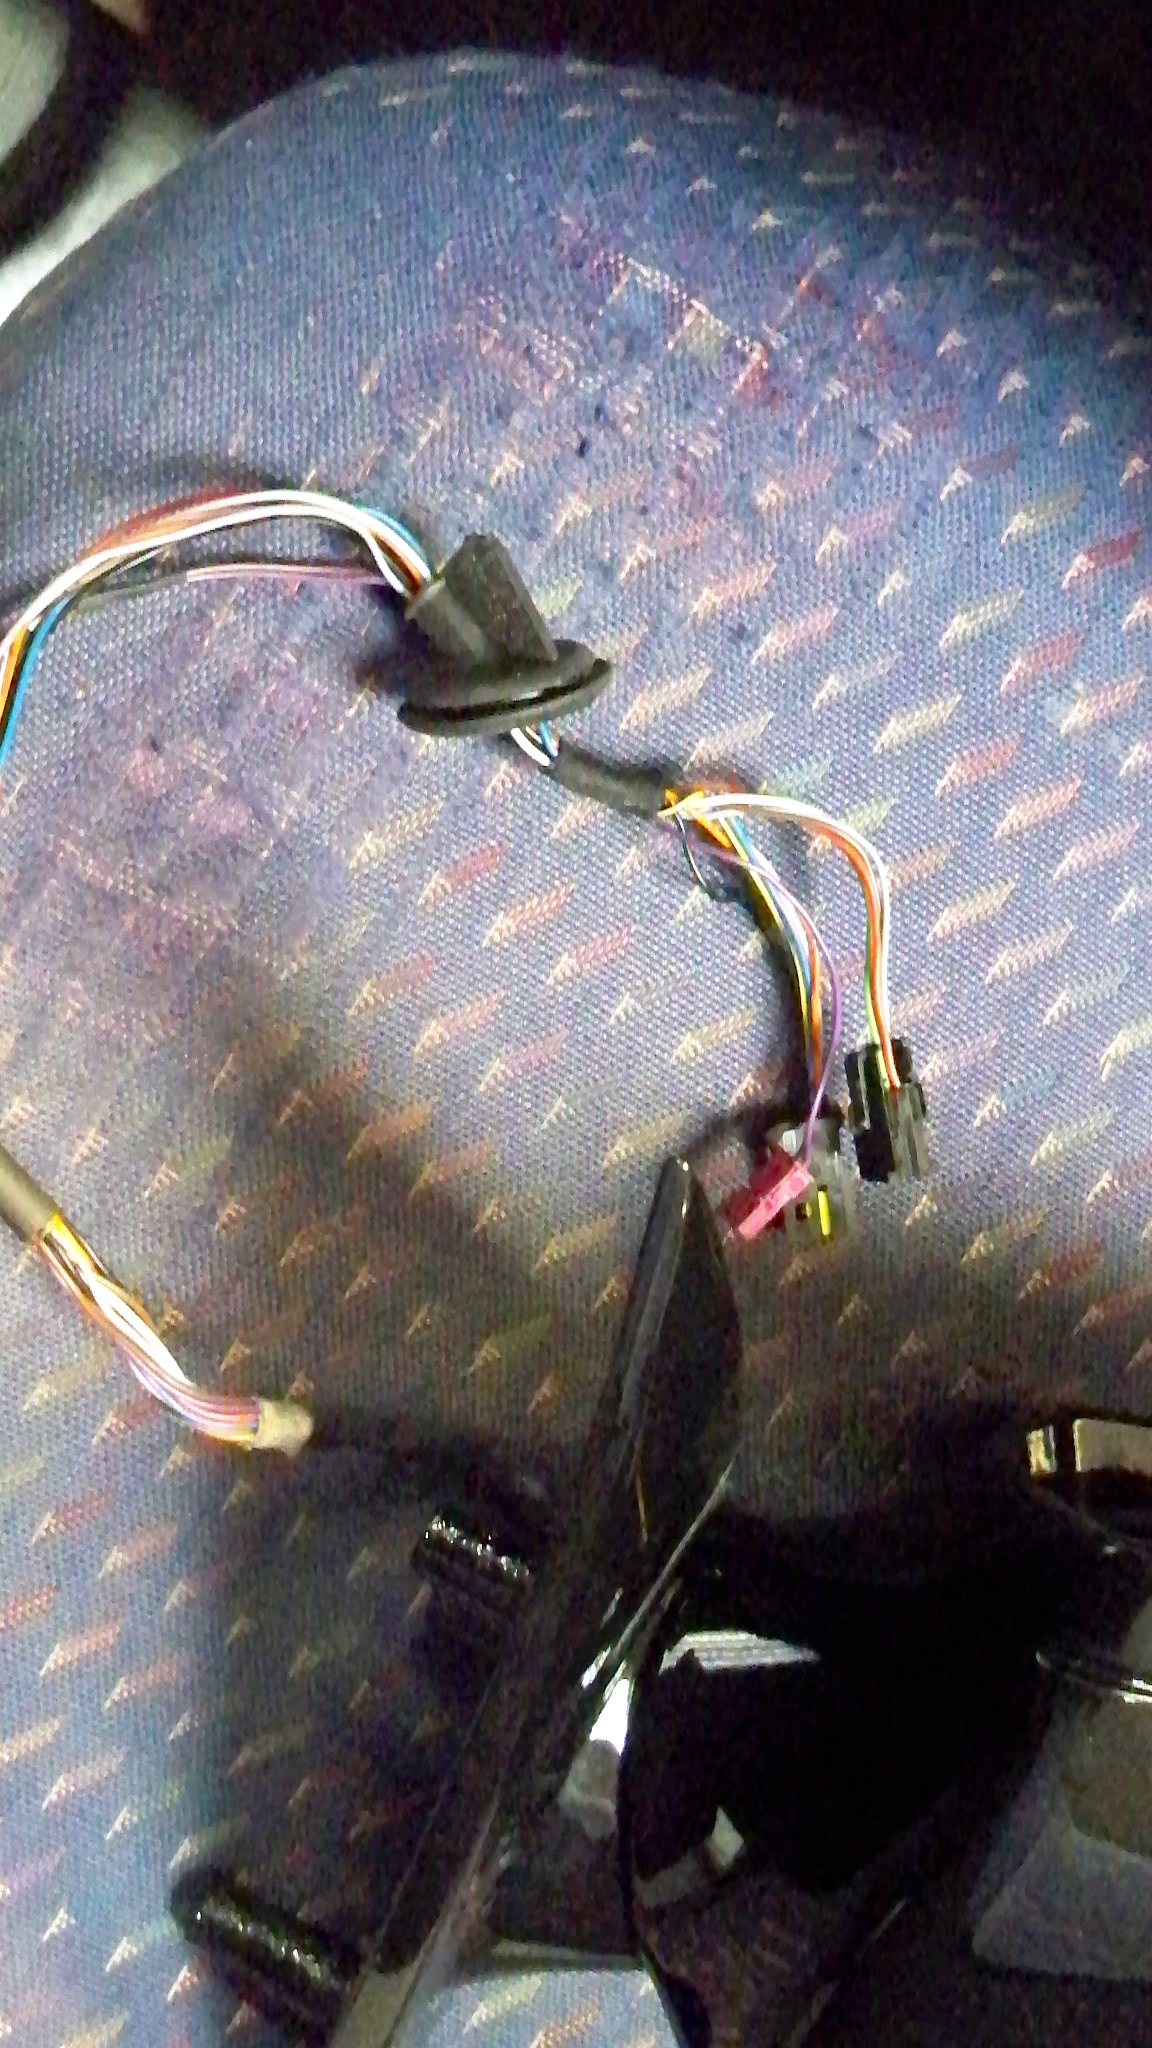
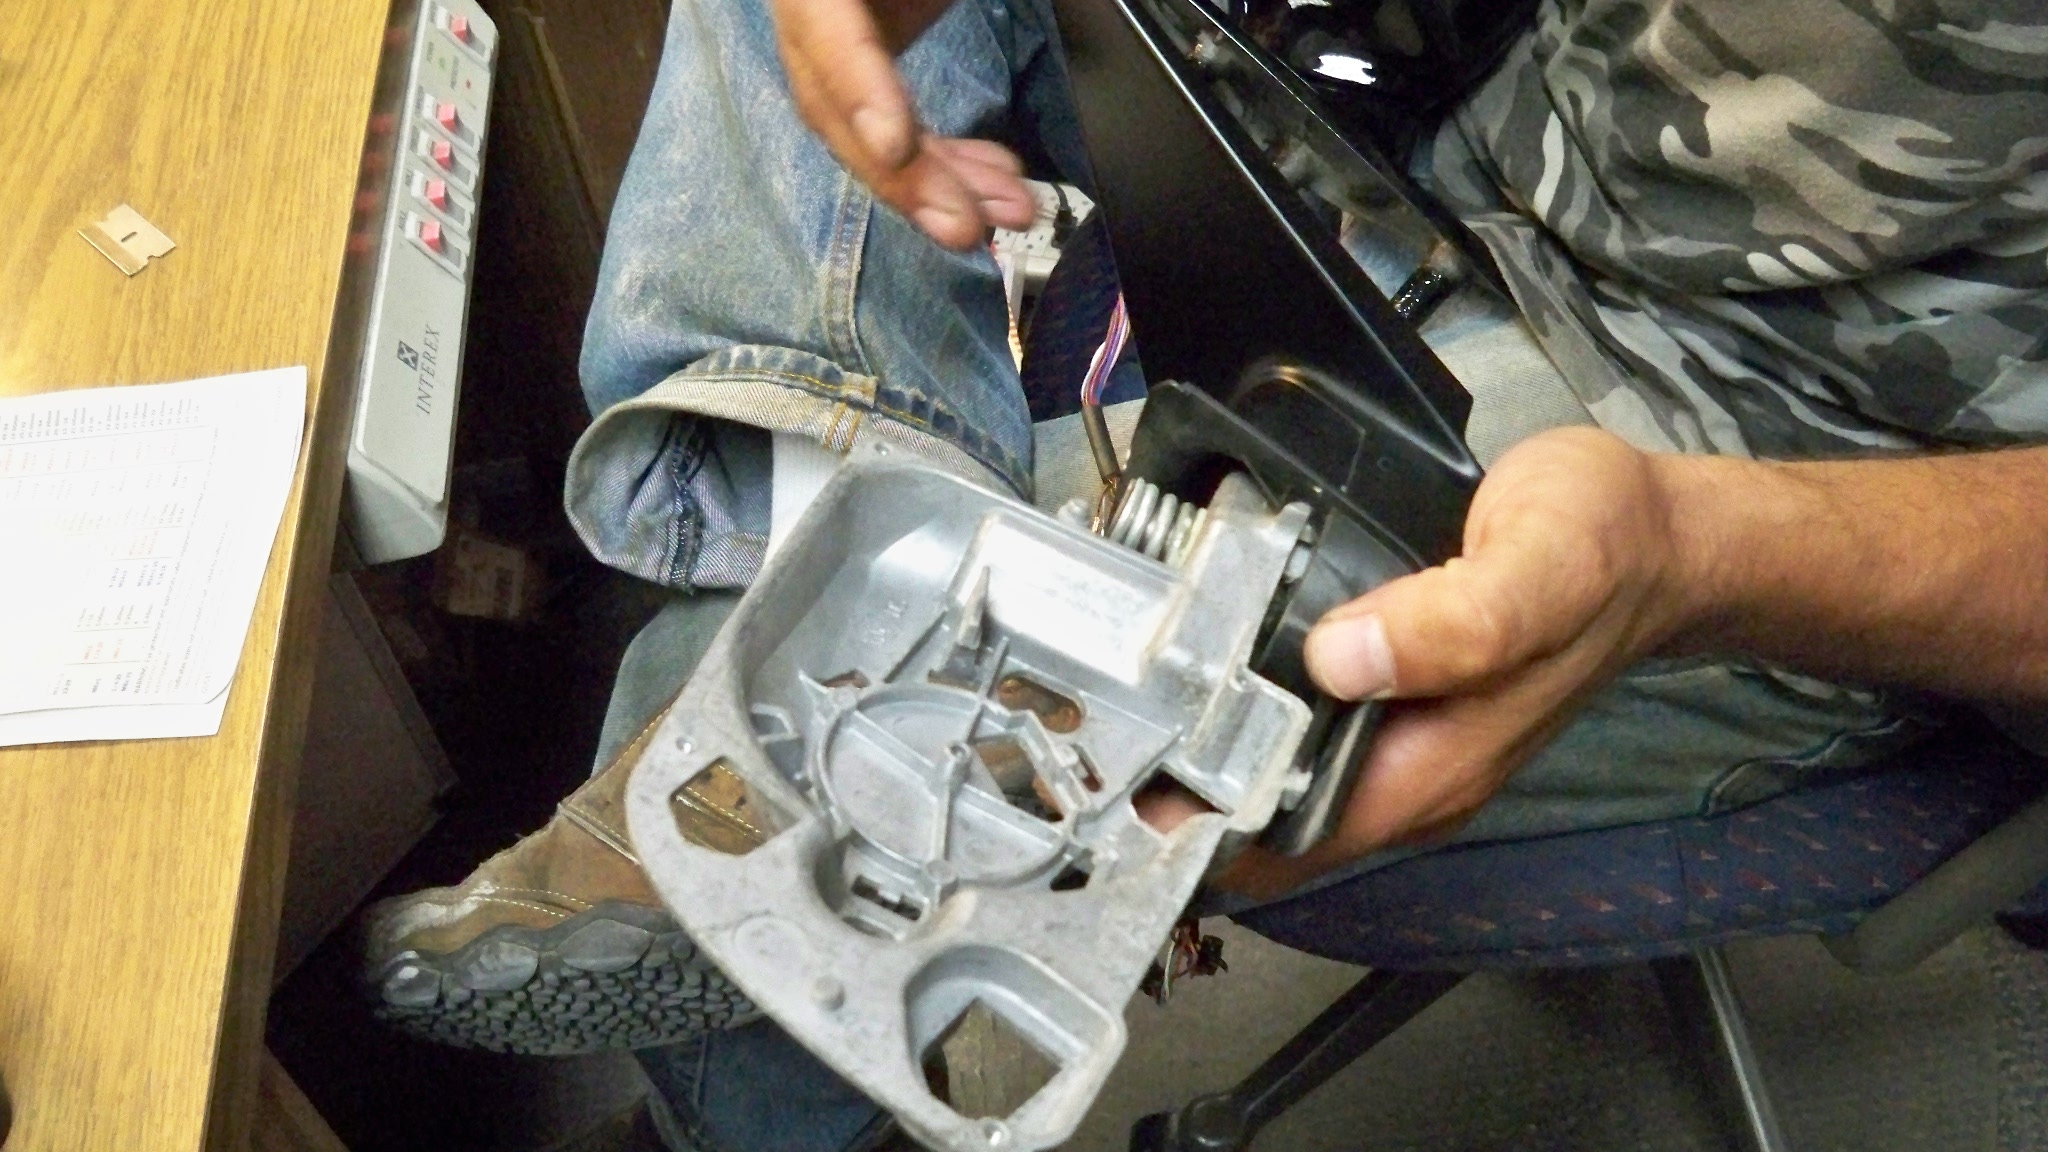
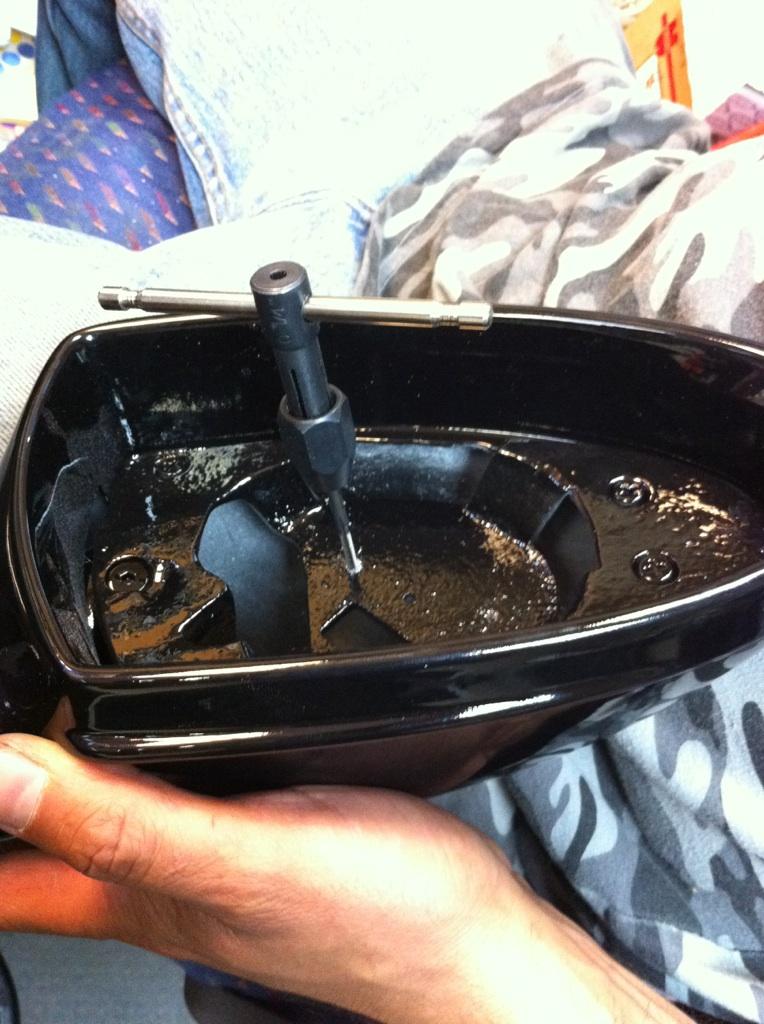
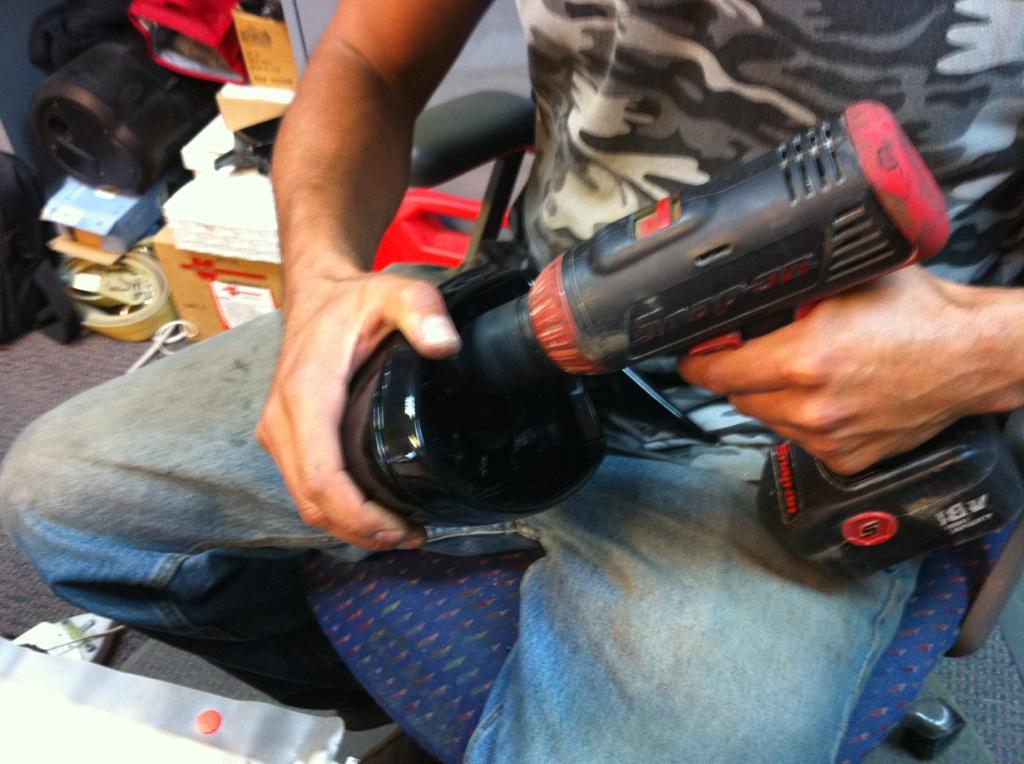
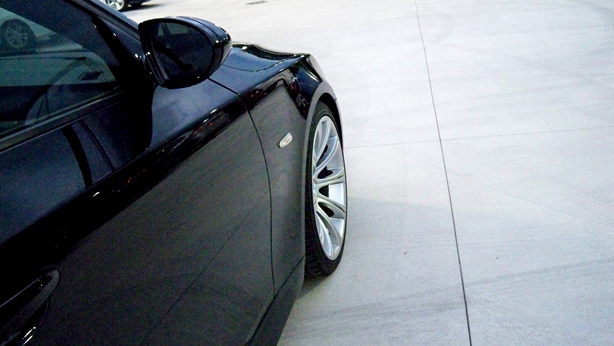
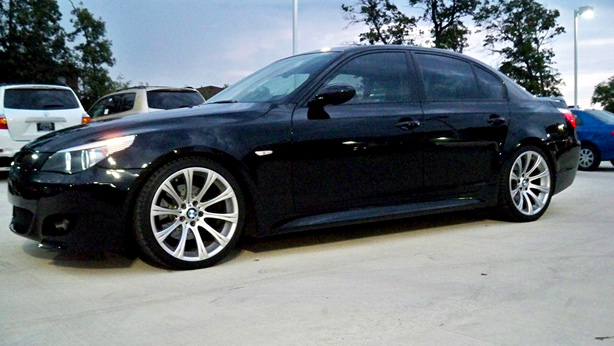
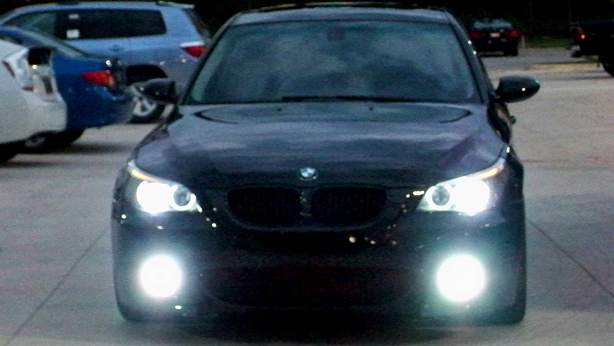
Well here they are. Crappy pics but taken with my phone so I'll put up better ones another day. The install really WAS a PITA, big time. I went to the shop and they even took photos to explain to me what they had to do to make this work. The hole for the cables to come out from the housing back into the car is the size of a sharpie marker, OEM is the size of about 2 of them. So right there that caused a major problem because the wrap around the OEM wiring had to be removed to snake it through the replica mirror. Second problem was the OEM wire harness is not long enough to reach to the new mirror mounting point. The shop had to cut / splice all the wires and re-solder every single one of them, one by one. Once this was all done they had to properly tape each one, put a waterproof rubber around it, etc. Third problem that was faced was the passenger side mirror mount for the motor did not have pre-drilled holes. It needed three and only 1 was made so the shop had to get a dremmel and make drill holes for the other 2 screw points. Fourth problem was they literally had to take apart the entire OEM mirror assembly to take out all the components.
Overall it was a really amazing job they did and it took them 4 hours. Unfortunately, you get what you pay for and that is why it was such a pain to do it.
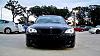
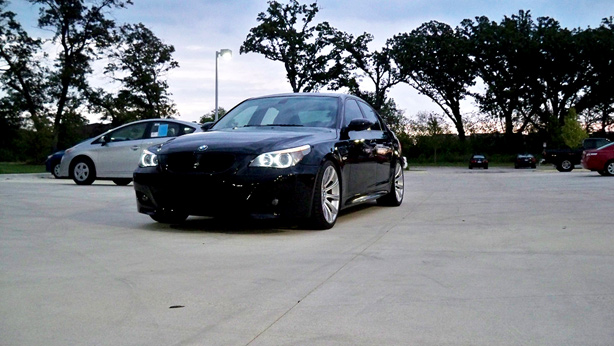
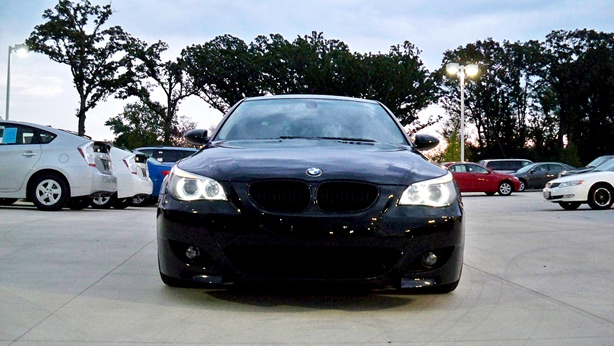
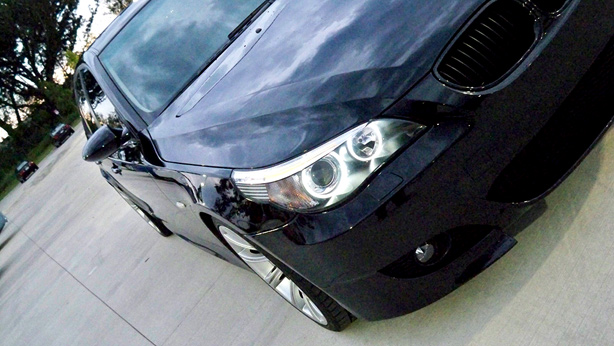
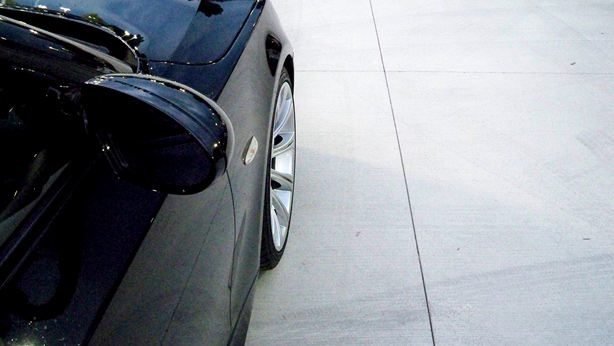
The mirrors look fantastic, the auto-dip function works correctly, the mirrors are heated, and they look goddam SICK!!!!! I don't have puddle lights anymore and I got no errors on my dash for not having that plugged in. I was at a Toyota dealership in Palatine taking these photos and one of the sales guys jokingly told me I should move along because I'm making the cars they're trying to sell look boring! haha.
Here are some photos of the pre-install:
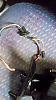


And after:


 [attachment=140195:100_2366.jpg]

 [attachment=140199:100_2370.jpg]
Well here they are. Crappy pics but taken with my phone so I'll put up better ones another day. The install really WAS a PITA, big time. I went to the shop and they even took photos to explain to me what they had to do to make this work. The hole for the cables to come out from the housing back into the car is the size of a sharpie marker, OEM is the size of about 2 of them. So right there that caused a major problem because the wrap around the OEM wiring had to be removed to snake it through the replica mirror. Second problem was the OEM wire harness is not long enough to reach to the new mirror mounting point. The shop had to cut / splice all the wires and re-solder every single one of them, one by one. Once this was all done they had to properly tape each one, put a waterproof rubber around it, etc. Third problem that was faced was the passenger side mirror mount for the motor did not have pre-drilled holes. It needed three and only 1 was made so the shop had to get a dremmel and make drill holes for the other 2 screw points. Fourth problem was they literally had to take apart the entire OEM mirror assembly to take out all the components.
Overall it was a really amazing job they did and it took them 4 hours. Unfortunately, you get what you pay for and that is why it was such a pain to do it.
The mirrors look fantastic, the auto-dip function works correctly, the mirrors are heated, and they look goddam SICK!!!!! I don't have puddle lights anymore and I got no errors on my dash for not having that plugged in. I was at a Toyota dealership in Palatine taking these photos and one of the sales guys jokingly told me I should move along because I'm making the cars they're trying to sell look boring! haha.
Here are some photos of the pre-install:


And after:
 [attachment=140195:100_2366.jpg]
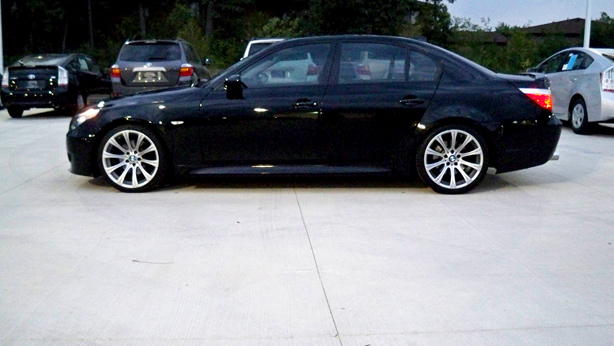
 [attachment=140199:100_2370.jpg]