Balbs' CIC Retrofit w\Combox +6NR, PnP
 07-02-2012, 02:29 PM
#41
Contributors
Thread Starter

Join Date: Mar 2010
Location: Los Angeles, CA
Posts: 3,098
Likes: 0
Received 4 Likes
on
4 Posts
My Ride: BMW
Model Year: 2006
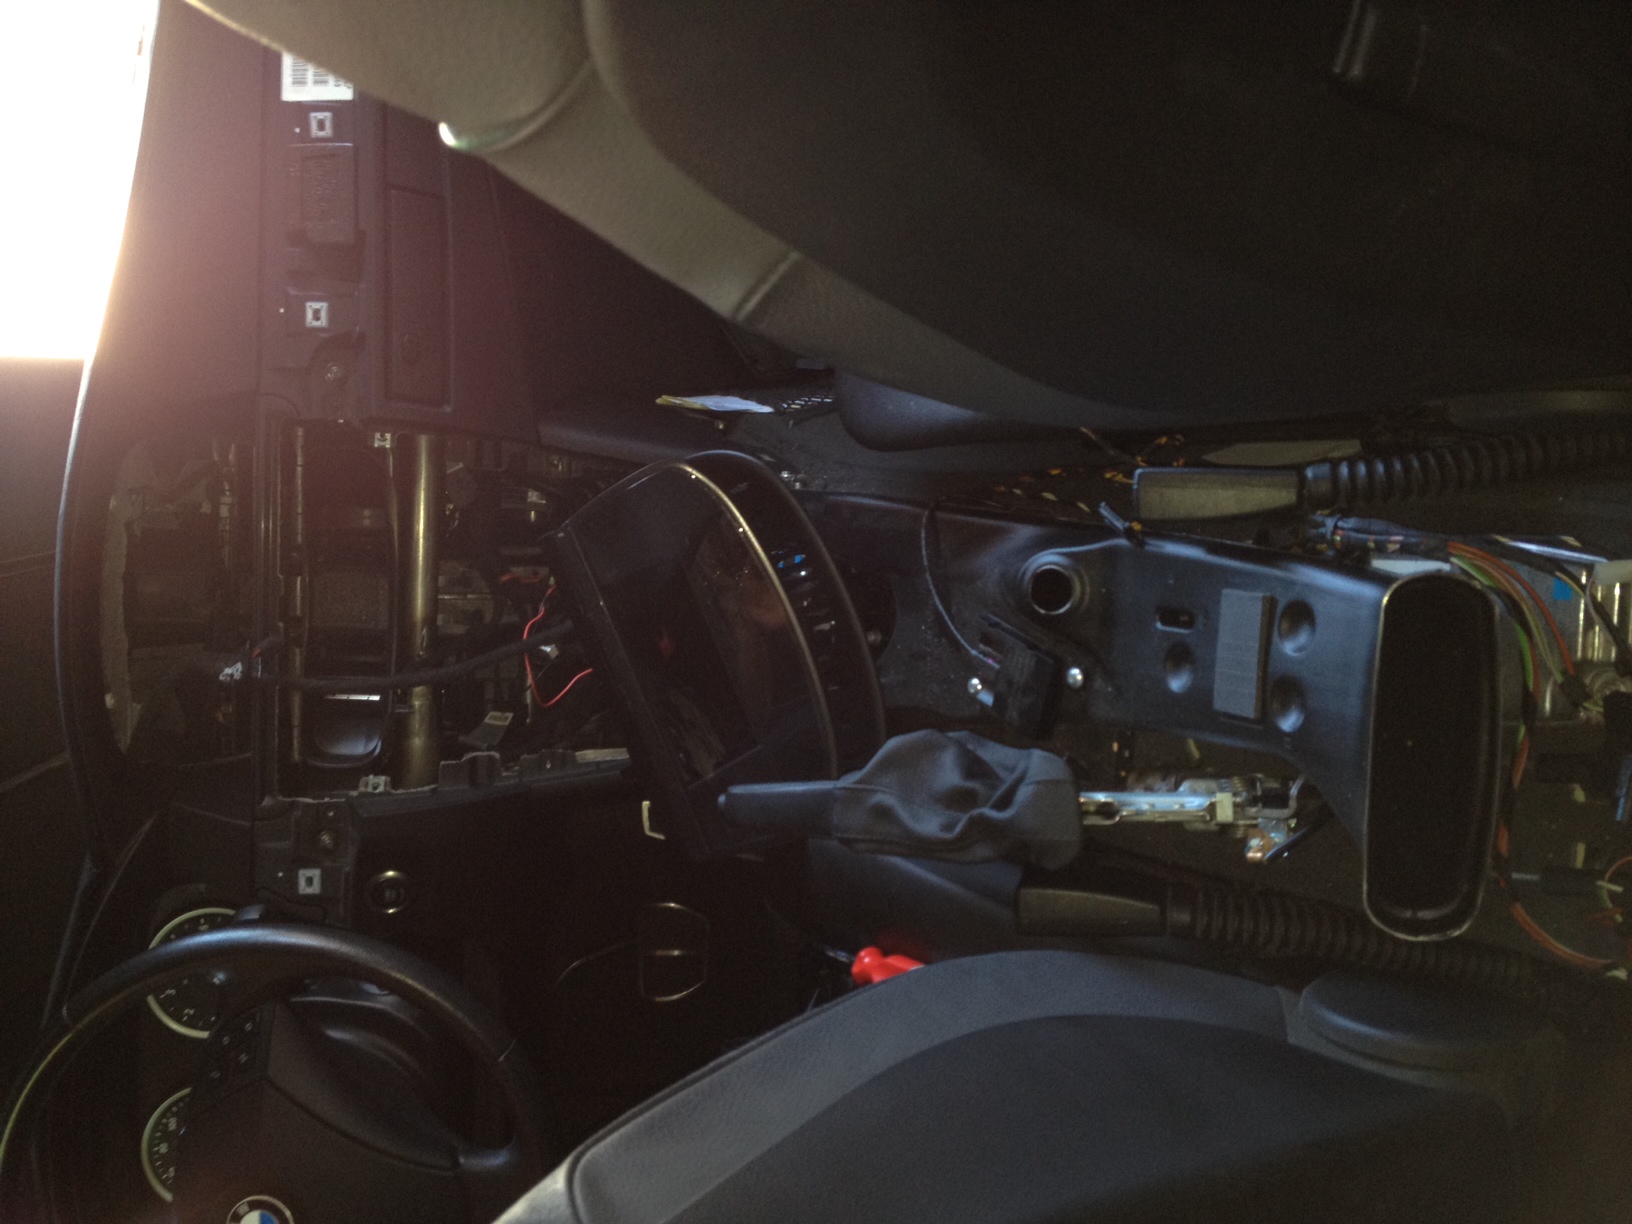
Got the front and center taken apart.

I used this dash trim removal guide to take the front out:
https://5series.net/forums/topic/943...-change-guide/
Then used pclausen's guide to removing the center console:
https://5series.net/forums/topic/994...5#entry1207895
I used this dash trim removal guide to take the front out:
https://5series.net/forums/topic/943...-change-guide/
Then used pclausen's guide to removing the center console:
https://5series.net/forums/topic/994...5#entry1207895
 07-02-2012, 02:33 PM
#42
Contributors
Thread Starter
Join Date: Mar 2010
Location: Los Angeles, CA
Posts: 3,098
Likes: 0
Received 4 Likes
on
4 Posts
My Ride: BMW
Model Year: 2006
Once the center console is out, I took the original iDrive controller out and marked the cut line from the bottom. Notice that I preserved the mounting screw points so that i can always go back to stock.
I used a portable hand saw to cut the hole out and then trimmed the hole little by little until the whole center trim with new the iDrive controller fit in nicely.
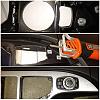
I used a portable hand saw to cut the hole out and then trimmed the hole little by little until the whole center trim with new the iDrive controller fit in nicely.
 07-02-2012, 02:36 PM
#43
Contributors
Thread Starter
Join Date: Mar 2010
Location: Los Angeles, CA
Posts: 3,098
Likes: 0
Received 4 Likes
on
4 Posts
My Ride: BMW
Model Year: 2006
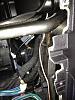
I then went and did the Pin 21 mod to accomodate the new LCI Climate controller. I used pclausen's method as a guide:
https://5series.net/forums/topic/994.../page__st__345
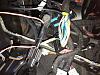
https://5series.net/forums/topic/994.../page__st__345
 07-02-2012, 02:42 PM
#44
Contributors
Thread Starter
Join Date: Mar 2010
Location: Los Angeles, CA
Posts: 3,098
Likes: 0
Received 4 Likes
on
4 Posts
My Ride: BMW
Model Year: 2006
Although I'm not doing any stereo update yet, I figure I might as well install a center speaker and run it's wiring so that I don't have to take everything apart again and run another set of wires.
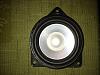
The center speaker hole can easily be pryed open using a trim tool and drop the speaker in. I first ran the speaker wire in the little hole after the display was taken out (bottom of pic). Then connected the wire to the speaker and dropped it in. I didn't have a harness for the speaker, so I just soldered the speaker wire directly to the speaker. Sorry I don't have a pic of that.
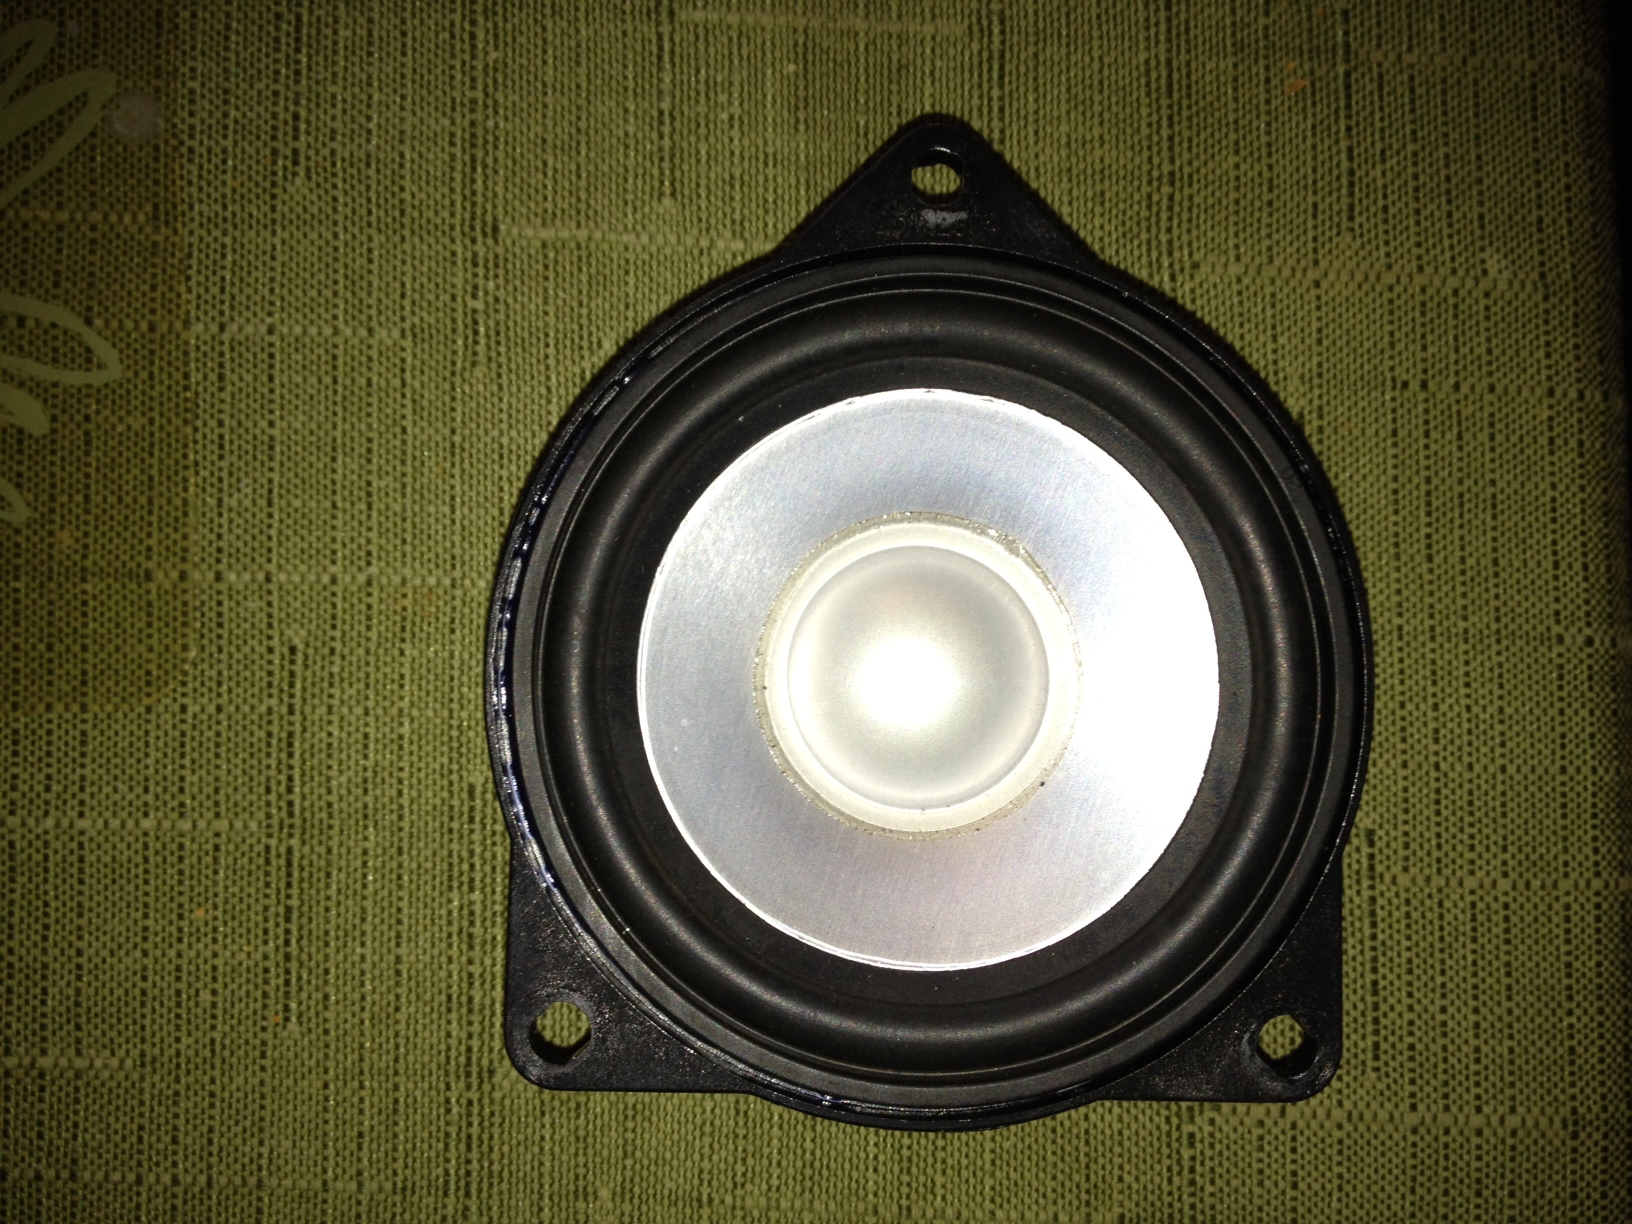
The center speaker hole can easily be pryed open using a trim tool and drop the speaker in. I first ran the speaker wire in the little hole after the display was taken out (bottom of pic). Then connected the wire to the speaker and dropped it in. I didn't have a harness for the speaker, so I just soldered the speaker wire directly to the speaker. Sorry I don't have a pic of that.
 07-02-2012, 03:05 PM
#45
Contributors
Thread Starter
Join Date: Mar 2010
Location: Los Angeles, CA
Posts: 3,098
Likes: 0
Received 4 Likes
on
4 Posts
My Ride: BMW
Model Year: 2006
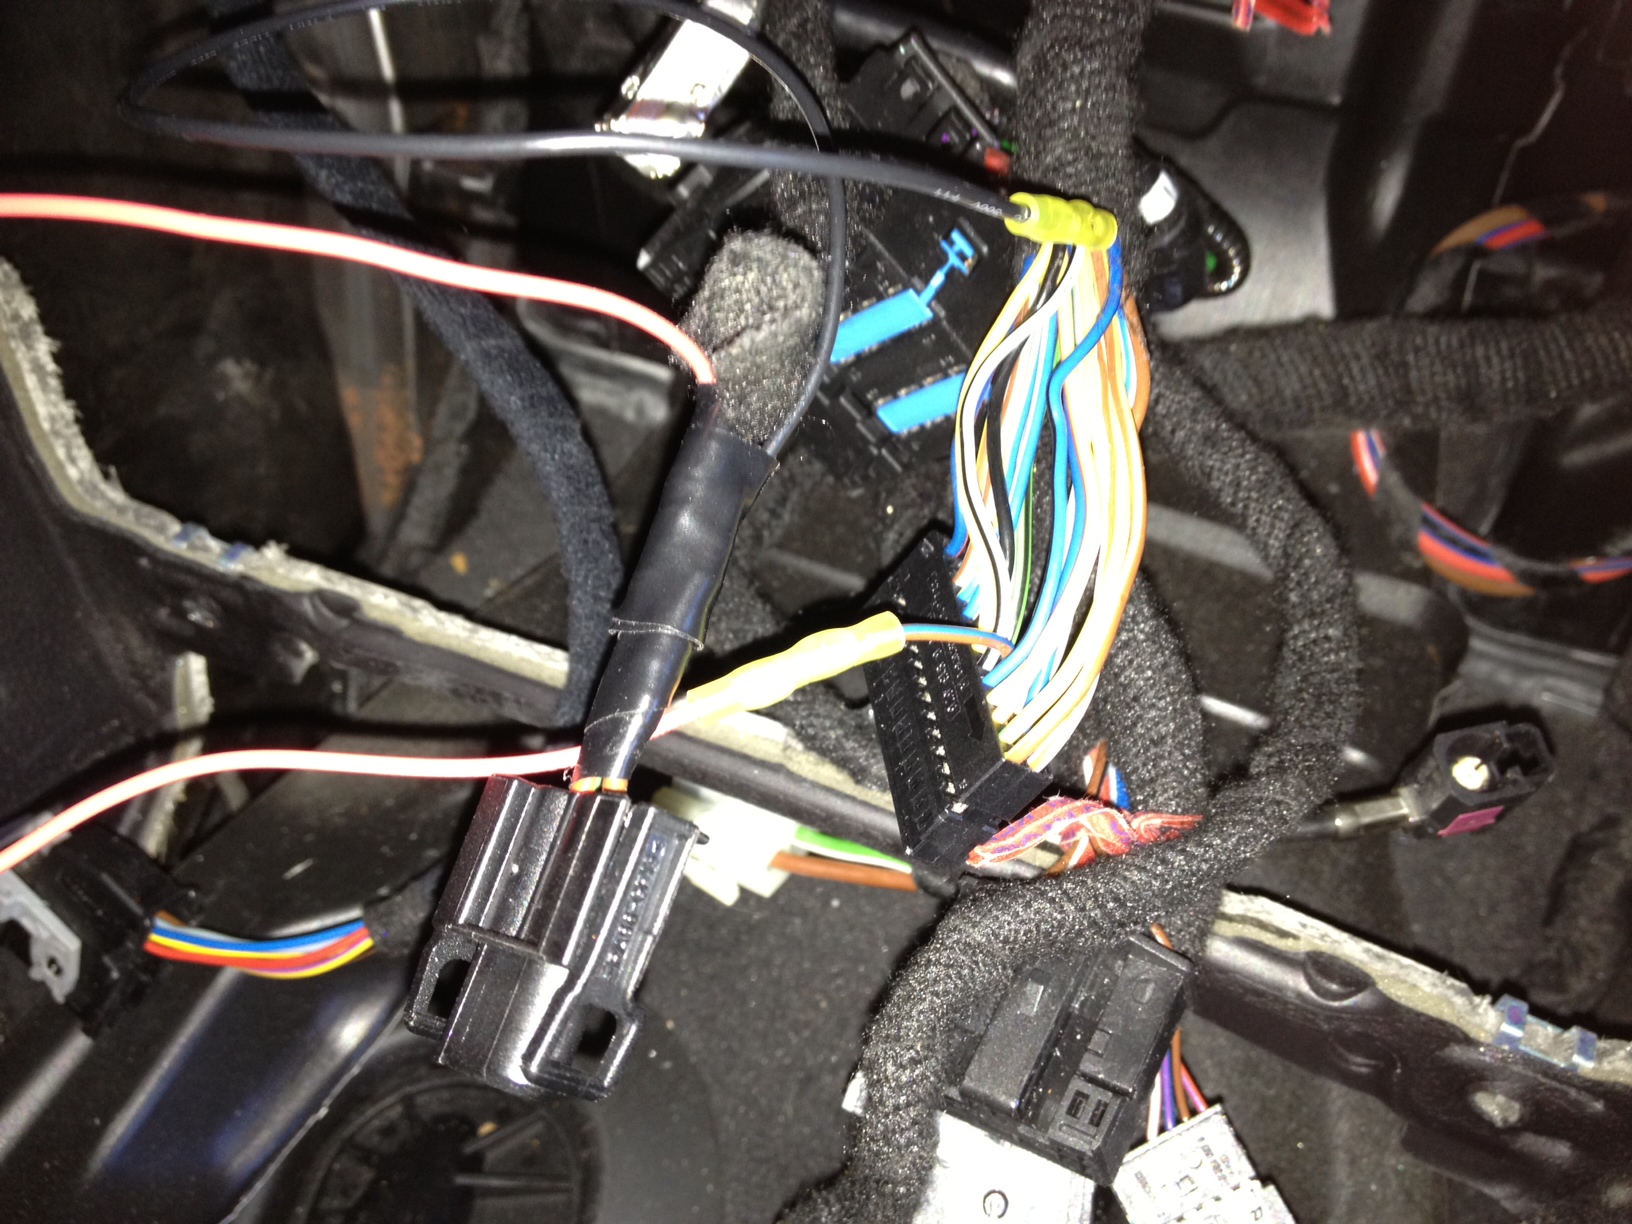
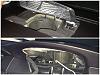
USB routing to the glove box.
This took me awhile to figure out. While there are pics showing the USB port inside the glove box, I haven't seen how it's routed to the CIC. Anyway, here's what I did:
This pic shows the USB port in the glove box. I first removed the black panel in the back of the glove box. Notice how the cable is routed and where it went.
You have to wiggle it around from the glove box, but you can see that the end eventually popped up in the display area. Notice that it's next to the center speaker wire which goes down to the final CIC area.

I then followed the center speaker wire down to the CIC area.
There's probably a more efficient way of doing this. When I put the real panel back in the glove box, the whole thing felt tight. The USB noise filter was keeping the glove box from openning all the way. I'll fix that later and try to figure out a place for the USB port that will allow the glove box to open and close freely.
This took me awhile to figure out. While there are pics showing the USB port inside the glove box, I haven't seen how it's routed to the CIC. Anyway, here's what I did:
This pic shows the USB port in the glove box. I first removed the black panel in the back of the glove box. Notice how the cable is routed and where it went.

You have to wiggle it around from the glove box, but you can see that the end eventually popped up in the display area. Notice that it's next to the center speaker wire which goes down to the final CIC area.
I then followed the center speaker wire down to the CIC area.

There's probably a more efficient way of doing this. When I put the real panel back in the glove box, the whole thing felt tight. The USB noise filter was keeping the glove box from openning all the way. I'll fix that later and try to figure out a place for the USB port that will allow the glove box to open and close freely.
07-03-2012, 02:55 AM
#46
Senior Members
Join Date: May 2011
Location: nyc
Posts: 807
Likes: 0
Received 0 Likes
on
0 Posts
Nice work, ive taken apart my center console and radio like 5 times now it becomes second nature after a while I'm doing the ms 8 mod and the controller mod too this will be helpful for me even though I already knew what was involved, if i run into problems I reference you. I also have a pnp harness already behind the radio for my mod my nav so I guess I'm gonna have to merge it with technics harness too because there is no space back there. My advice balbs don't rush putting every thing back together make sure your wires are properly ran nice and neat slide those relays and harness' around the back away from that empty space so your cic can fit in without squishing any thing.
07-05-2012, 10:24 PM
#47
Contributors
Thread Starter
Join Date: Mar 2010
Location: Los Angeles, CA
Posts: 3,098
Likes: 0
Received 4 Likes
on
4 Posts
My Ride: BMW
Model Year: 2006
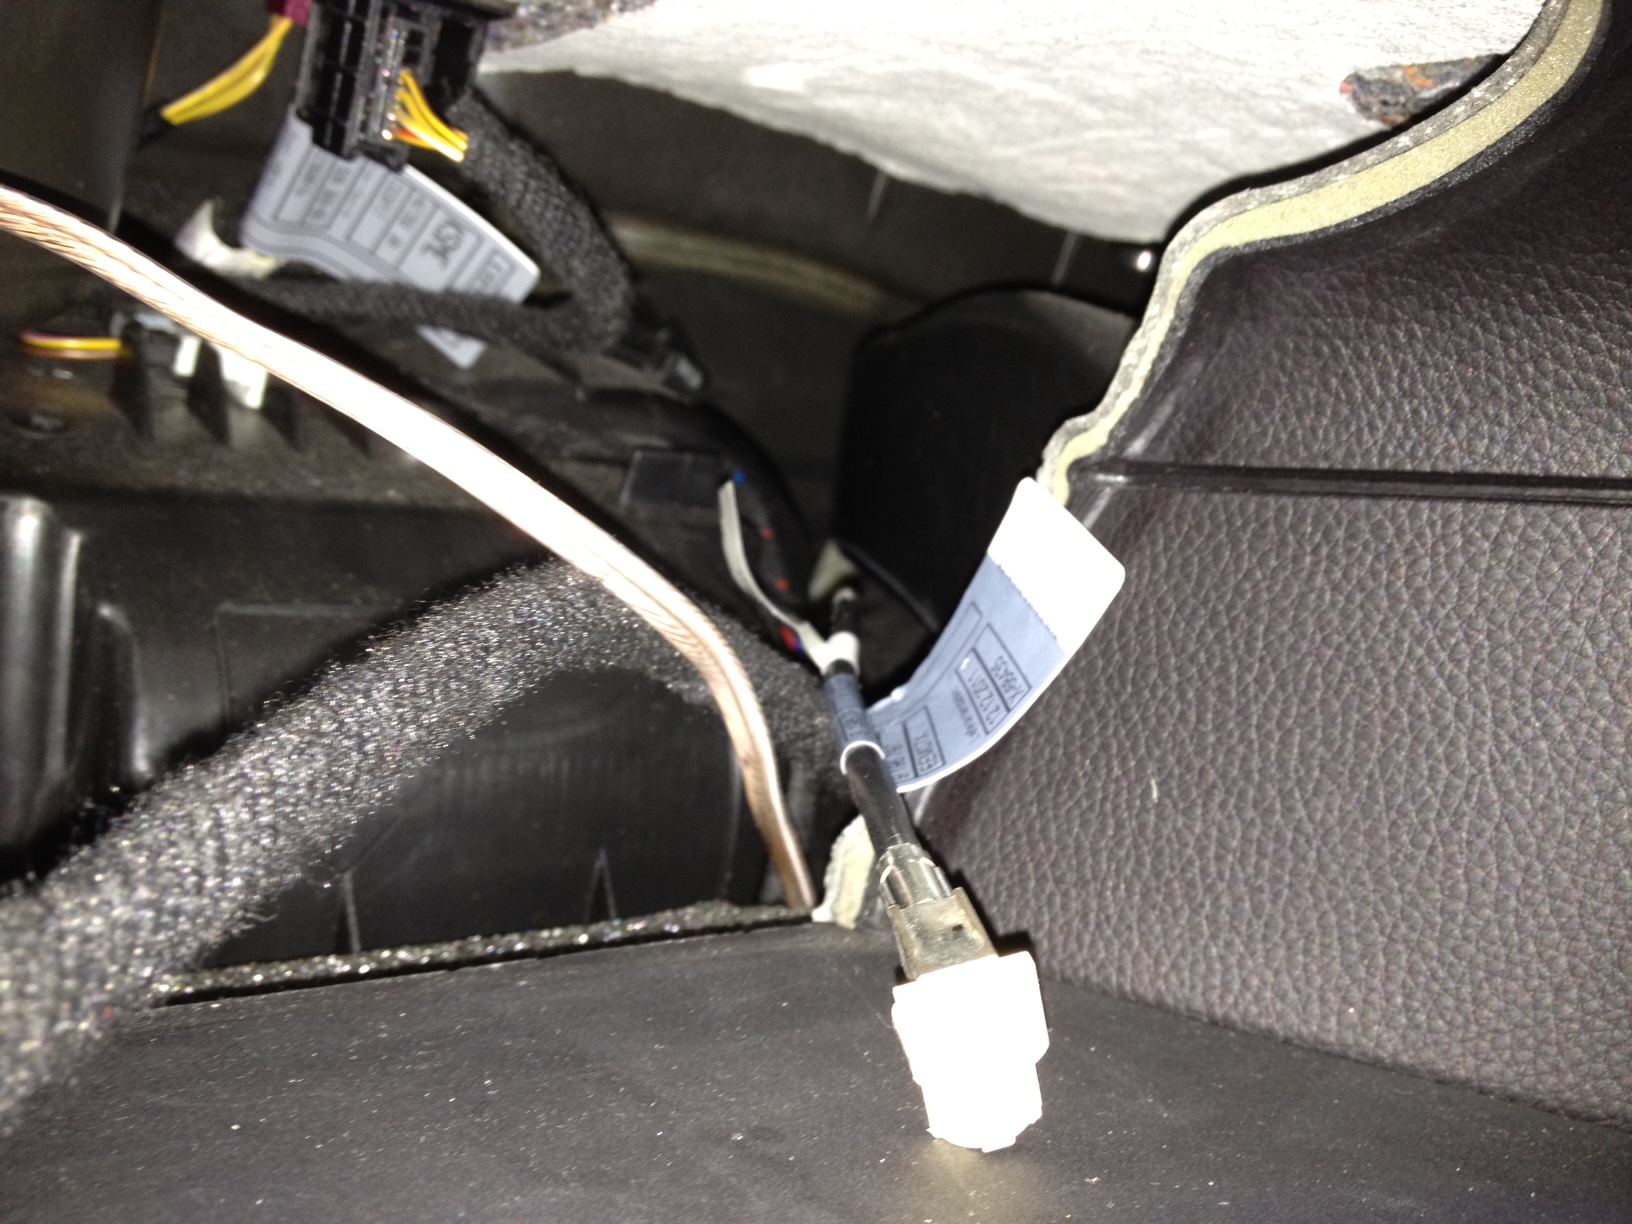
I actually finished the retrofit! I'm still sorting out the pictures I took and will post them soon! I forgot about posting this. I took the 80GB IDE Toshiba Hard Drive out and made a cloned image of it so that I can have a backup should I encounter a hard drive failure. That way, at least I can get a replacement hard drive and write the backed up image back to the new drive and be up again in no time. However, after the install, coding, etc., I figure I should make another backup since there's new information on the hard drive now such as new coding parameters and such. I used a 3-in-one USB 2.5" IDE, 3.5" IDE, SATA adapter and Acronis True Image to create the cloned image.
One thing I'll probably do is find an IDE SSD instead of the current slow mechanical drive. It's hard to find one 80GB or more though. The only ones I've seen use the SATA interface.
One thing I'll probably do is find an IDE SSD instead of the current slow mechanical drive. It's hard to find one 80GB or more though. The only ones I've seen use the SATA interface.
 07-06-2012, 09:56 PM
#48
Contributors
Thread Starter
Join Date: Mar 2010
Location: Los Angeles, CA
Posts: 3,098
Likes: 0
Received 4 Likes
on
4 Posts
My Ride: BMW
Model Year: 2006
Combox hookup based on my configuration:
Top-left pic shows the original TCU. The white plug is the antenna plug. The 2nd blue plug is the shark fin GPS antenna
Top-right pic shows the internal plug being pulled out of the original TCU harness.
Bottom-left pic shows the PnP harness in place on the new combox
Bottom-right pic shows the final connection (at least my configuration). The Original blue GPS plug connects to the GPS cable (supplied by Patryk) that runs to the GPS plug on the back of the CIC unit. The USB cable from the armrest plugs into the blue connector on the new combox unit.
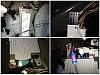
The original champagne and black plugs are not used. The black connector on the combox is not used.
BTW, the GPS extension cable I ordered from rfsupplier.com worked perfectly. The length I ordered is 5FT. I used it to extend the extension provided in the kit.
07-14-2012, 06:57 PM
#49
Contributors
Thread Starter
Join Date: Mar 2010
Location: Los Angeles, CA
Posts: 3,098
Likes: 0
Received 4 Likes
on
4 Posts
My Ride: BMW
Model Year: 2006
I finally finished the JBL MS-8. I followed Technic's guide here:
https://5series.net/forums/topic/124...-ms-8-install/
I was able to configure the speaker outputs as well as setup all the seating positions. However, for some reason I can't get the input setup configured. I keep getting a signal none, signal noisy, or level low. I'm wondering if some further coding has to be performed to make the MS-8 see the proper signal levels. Maybe the CIC has to be coded for proper output. The weired thing is that I'm still able to listen to the radio and everything else so it must be getting it's input somehow...I posted in other threads regarding this issue. Hopefully someone can chime in and shed some light into it for me.