550i Project Journal

 11-25-2013, 12:26 AM
#152
Senior Members
Thread Starter

Hi 545iMike. Yeah, car is up for sale if anyone wants it. The auto-manual swap has 400 or so miles on it already since the swap. Feels and sounds great but was running with reduced power due to the electronics. We re-coded the car and ESS has the DME now because we overwrote the ESS tune with the BMW one when we re-coded the car for manual. Hoping to see a turnaround on the DME soon so I can drive it. Anyone have any idea how long this process usually takes to get the DME back from ESS?
12-05-2013, 04:40 PM
#154
Senior Members
Thread Starter
One of the authorized BMW shops in the area had an Autologic. Didn't cost too much but the coding process took about 7 hours. The shop technician can usually go work on other projects when the car is being coded but there is some labor involved in getting it all set up.
12-06-2013, 01:53 PM
#155
Members
Senior Members

Join Date: Oct 2011
Location: Wpg, Canada
Posts: 379
Likes: 0
Received 0 Likes
on
0 Posts
My Ride: 545i
Yeah, I had a vehicle update that took around the same time. If you have the time, could you put together a complete shopping list of your manual swap?
Last edited by 545iMike; 12-07-2013 at 02:47 PM.
02-28-2014, 01:03 AM
#156
Senior Members
Thread Starter
Update:
Car appears to be running healthy and strong. Ended up yanking the transmission electronics from the automatic transmission and fitting them to the electrical harness. The EGS code went away and the car came out of limp mode. It is unbelievable how responsive the motor is when blipping the throttle. Either it's been a long time since I've sat in the drivers seat when things worked like they should, or the lightened flywheel and other goodies made a huge difference.
Decided to gut the car. Have a bunch of interior pieces available for local purchase/pickup if anyone is looking for parts. Also willing to trade.
Last edited by west; 02-28-2014 at 01:07 AM.
The following users liked this post:
David Hutson (04-17-2021)
03-07-2014, 05:12 PM
#157
Senior Members
Thread Starter
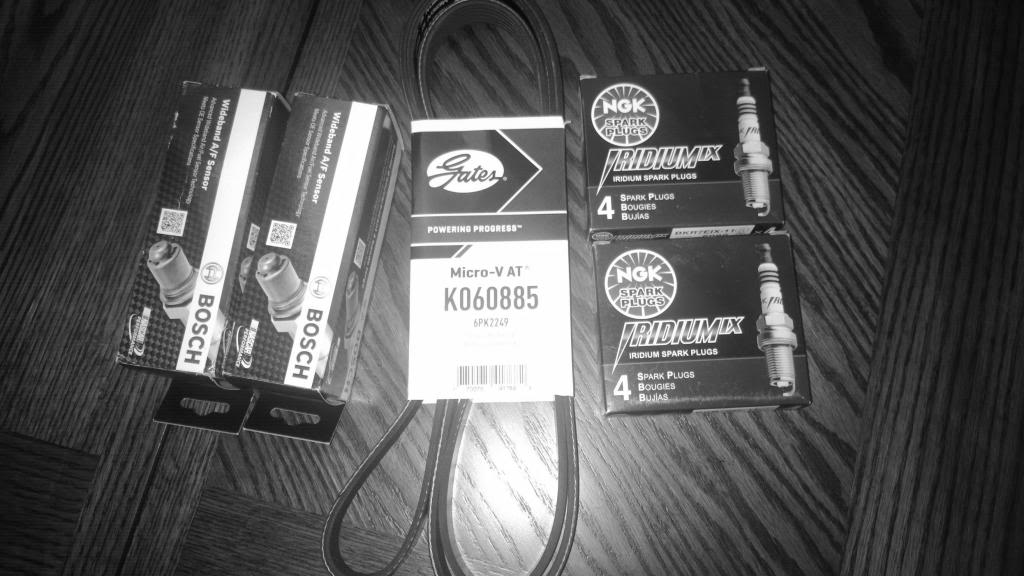
Things were running a bit rich with the old o2 sensors so replacing them with new ones, along with new plugs and a serpentine. The plugs are BKR7EIX-11, one temperature grade cooler than the plugs that came from the factory:
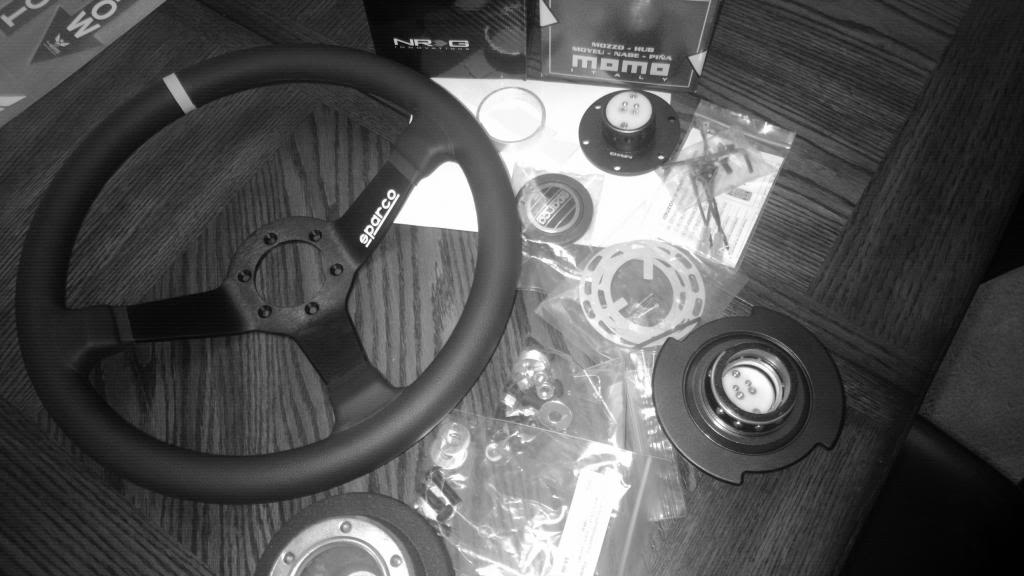
Going to give this steering wheel a shot:
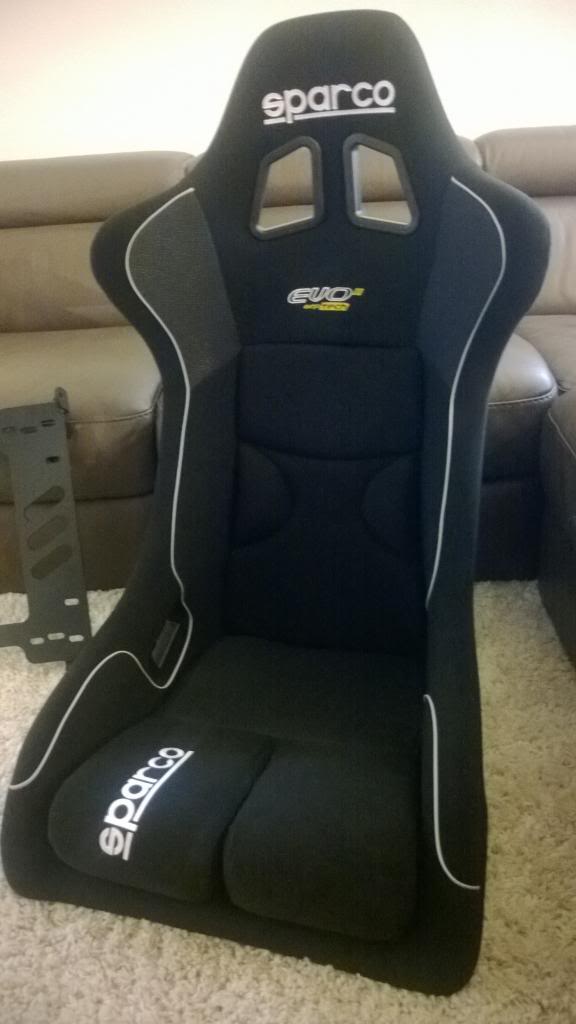
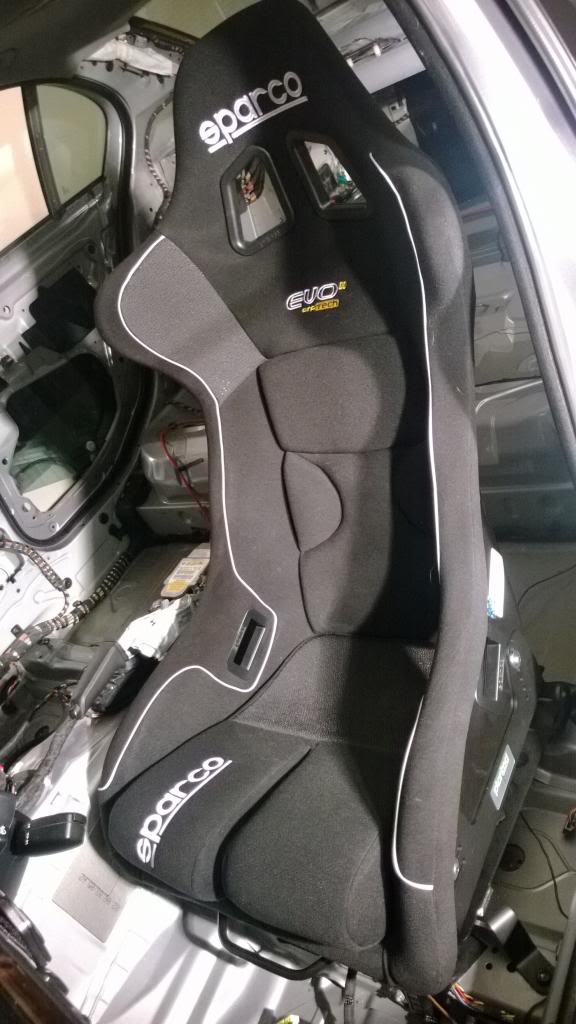
Different seats seemed appropriate:
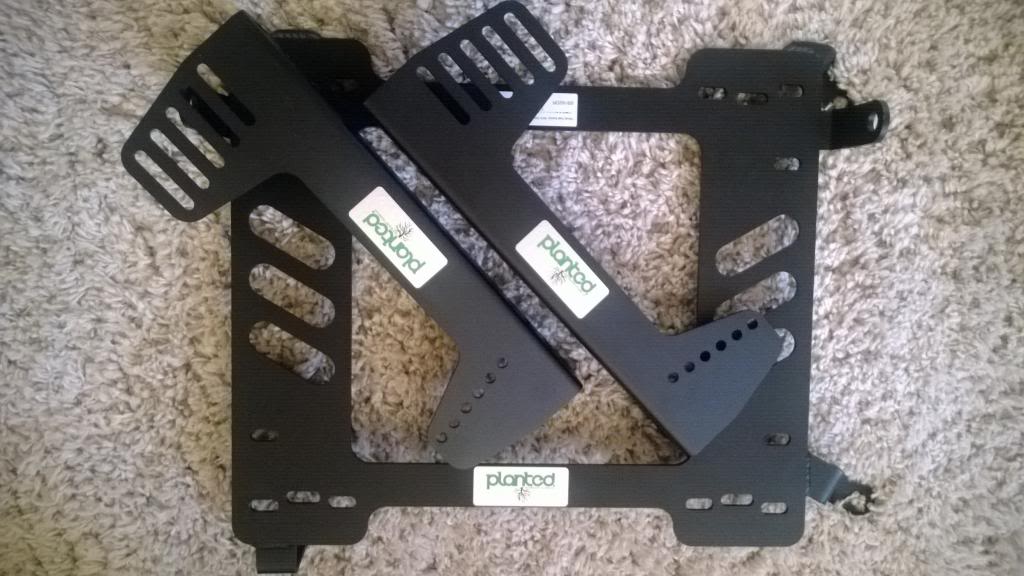
Bottom and side brackets as well as tracks for seats:
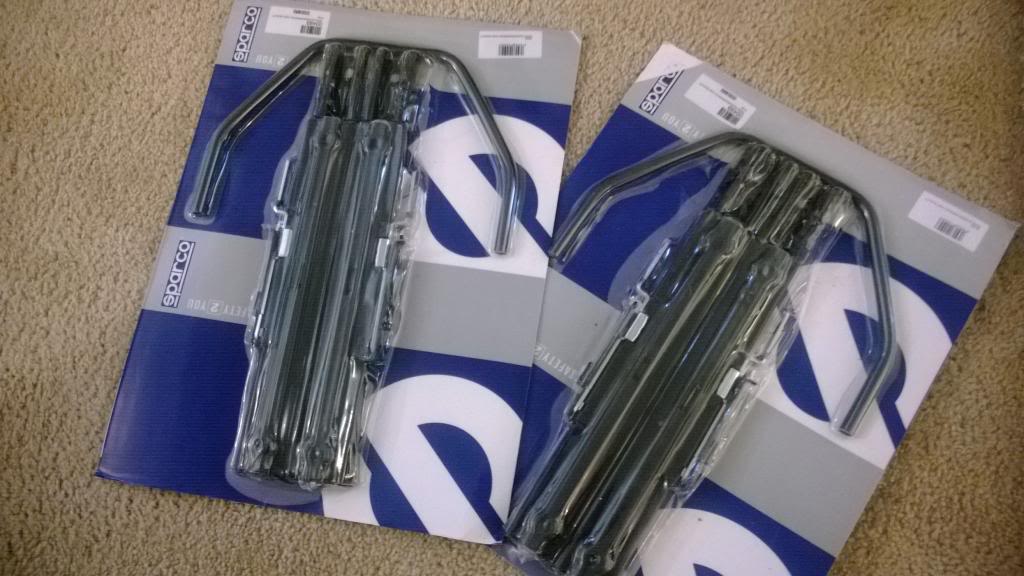
Did some research and basically learned that 'planted' makes seat brackets for the e60. Didn't look like Sparco, OMP, and Recaro had e60 seat brackets for the e60 chassis. If you are installing aftermarket seats in your e60 and want the 'planted' seat brackets, look for part number SB182DR (driver side) and SB182PA (passenger side). I haven't tried test fitting them yet but I'm assuming they'll work fine:
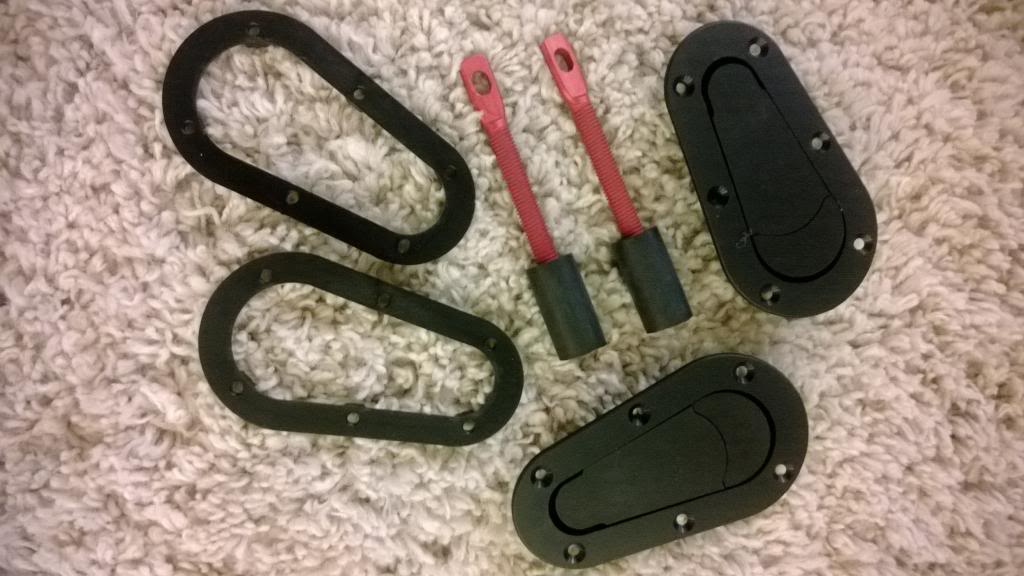
Broke my hood latch and instead of replacing it with original parts figured it would be fun to use these:
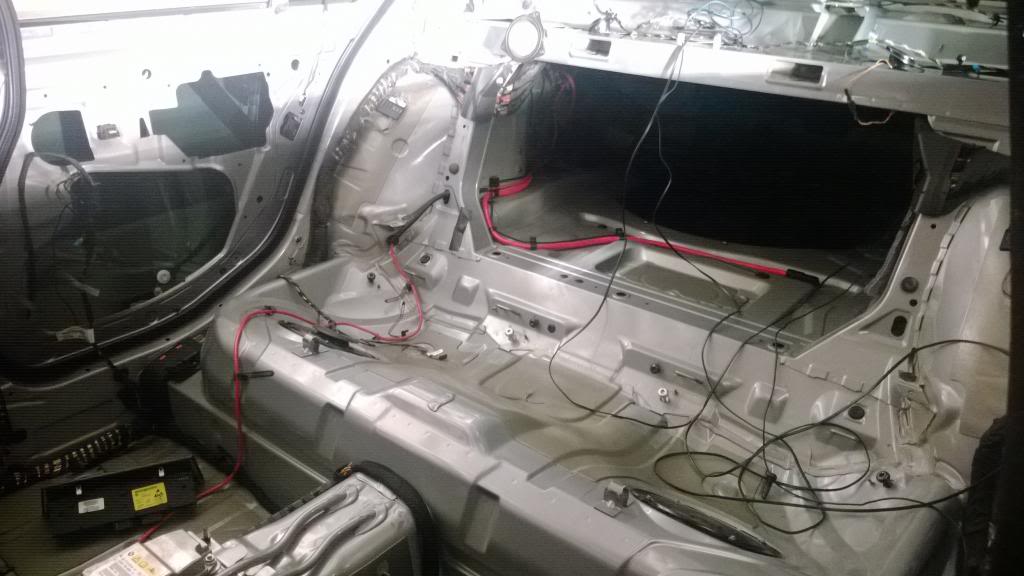
Some real work ahead. Taking the inside out of an e60 is time consuming. Lots of layers and wires and stuff.
Going to give this steering wheel a shot:
Different seats seemed appropriate:
Bottom and side brackets as well as tracks for seats:
Did some research and basically learned that 'planted' makes seat brackets for the e60. Didn't look like Sparco, OMP, and Recaro had e60 seat brackets for the e60 chassis. If you are installing aftermarket seats in your e60 and want the 'planted' seat brackets, look for part number SB182DR (driver side) and SB182PA (passenger side). I haven't tried test fitting them yet but I'm assuming they'll work fine:
Broke my hood latch and instead of replacing it with original parts figured it would be fun to use these:
Some real work ahead. Taking the inside out of an e60 is time consuming. Lots of layers and wires and stuff.
Last edited by west; 03-07-2014 at 05:16 PM.
 03-08-2014, 12:56 PM
#159
Senior Members
Thread Starter
03-09-2014, 08:23 PM
#160
Senior Members
Thread Starter
Here's what the car looks like with most of the interior pieces removed. 

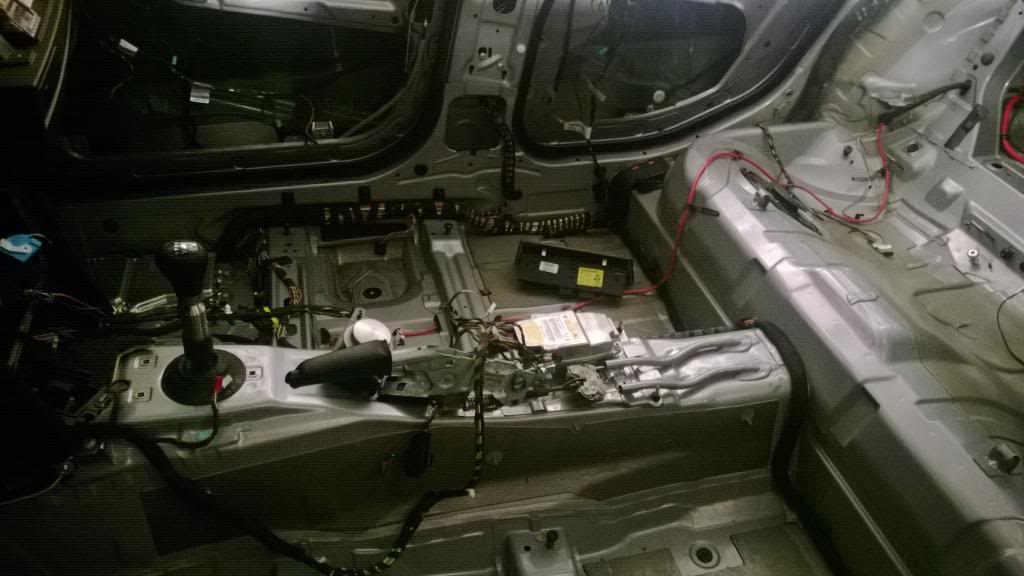
Here is a shot of the test fit:
Discovered that the underside of the 'planted' side mounts do not extend far enough towards the center of the seat on the underside of the seat. Because of this only the rear bolt holes were used to attach the bottom part of the side mount to the sparco slider rails (seat is wider at the front of the seat than the rear of the seat). Going to fab up a steel flat piece to bolt between the 'planted' side mounts on the front side of the side mount and then mount the slider rails to that.
Last edited by west; 03-09-2014 at 08:31 PM.