
Wes_R x F430 (72 pics)


Thread Starter
Members
Joined: Feb 2009
Posts: 98
Likes: 0
From: Toronto
Hey 5Seriesers,
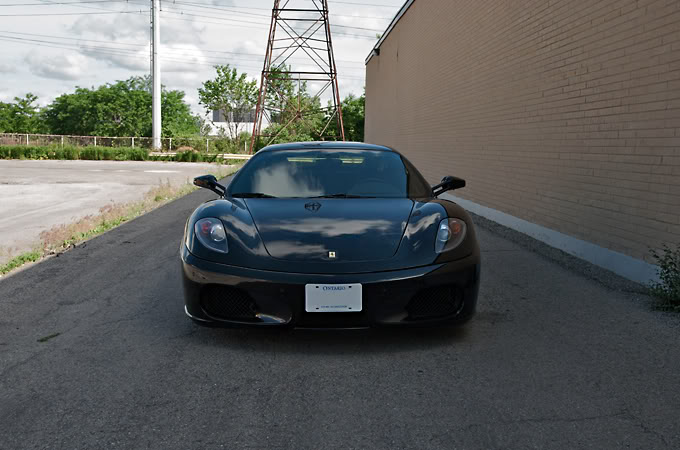
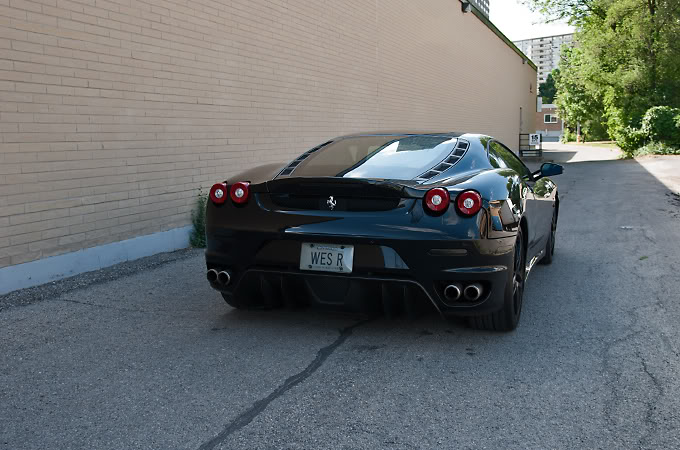
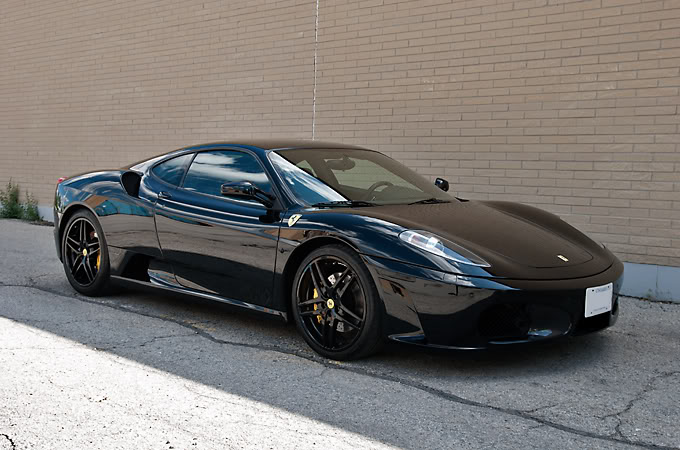
Here is a new write up on a black on black on black F430 lol. A long time e46 M3 client referred this gentleman to me and after exchanging a few emails back and forth and a phone call we finally got the Ferrari in the shop.
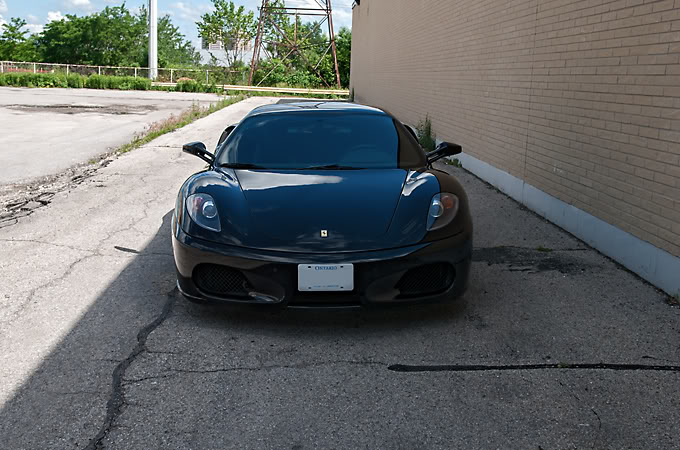
Here is the Prancing Horse on arrival
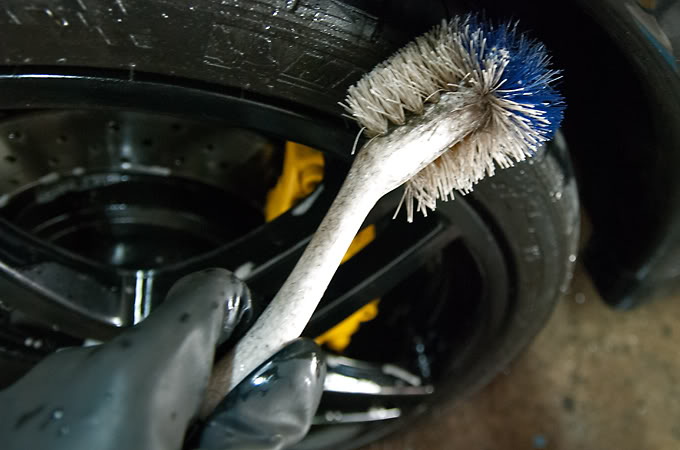
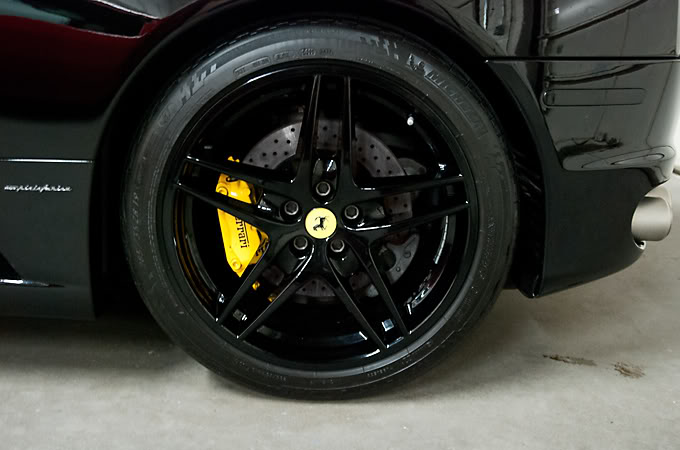
Starting with the wheels was the usual prep routine
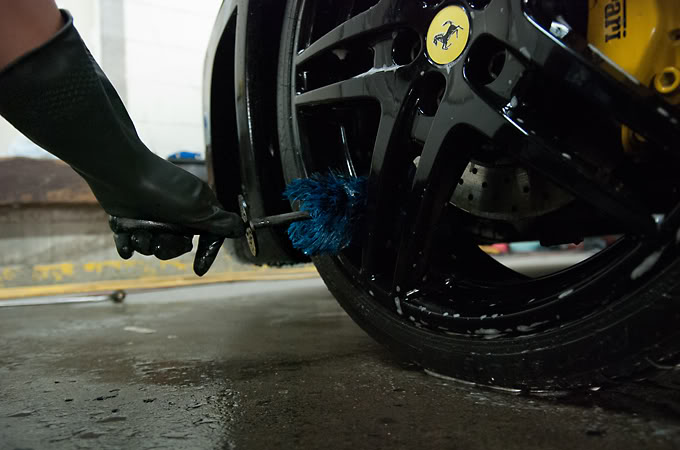
We used our angle brush to reach into the wheel well
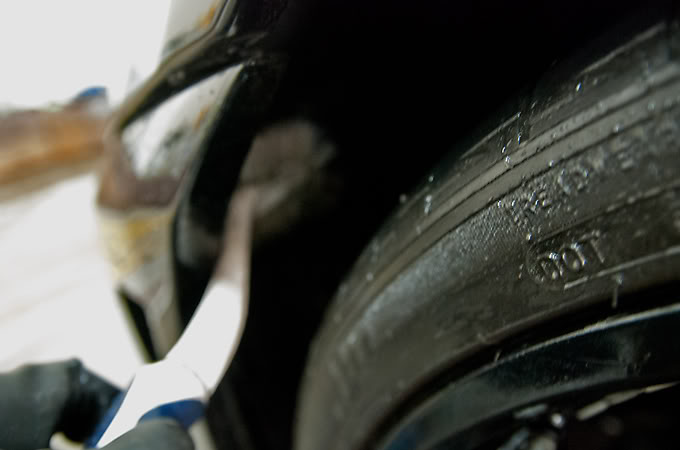
And clean the tire wall
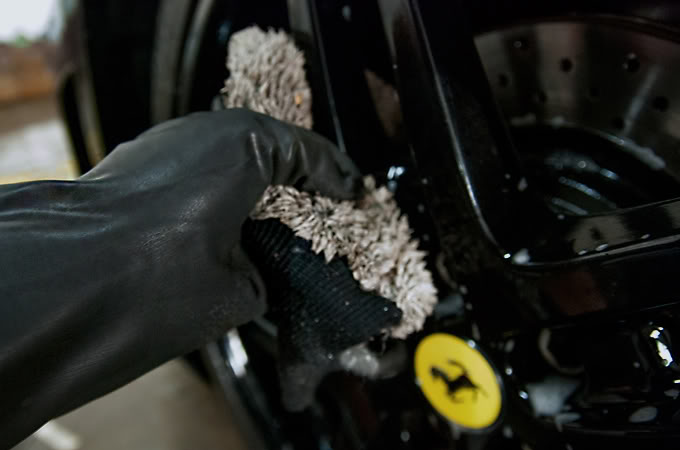
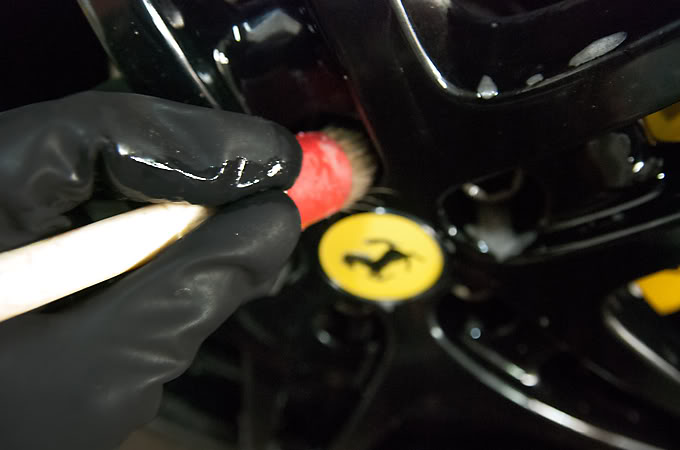
Cleaning inside the lugnut area
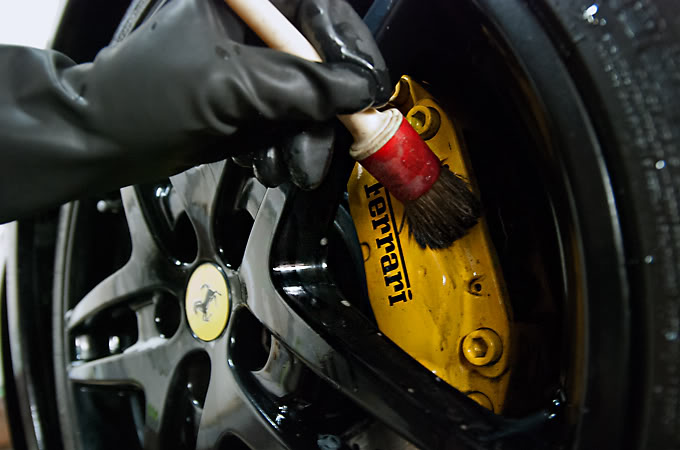
The calipers
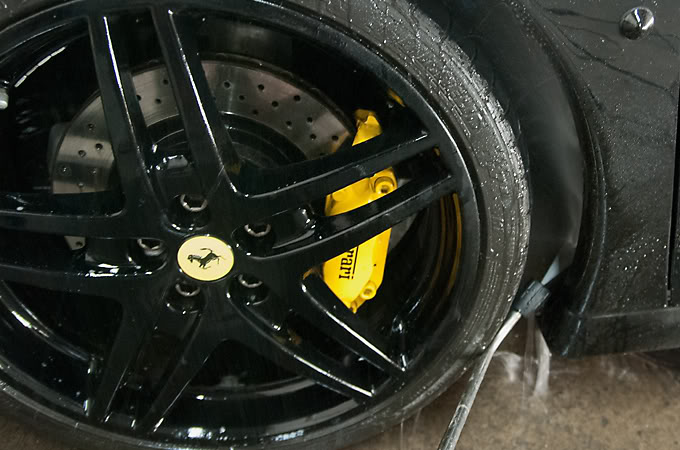
And finally rinsing everything off with our angled power washer extension
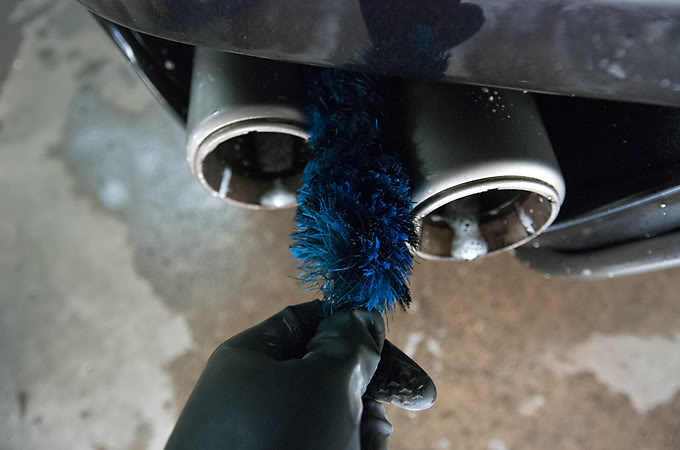
The exhaust was cleaned as well
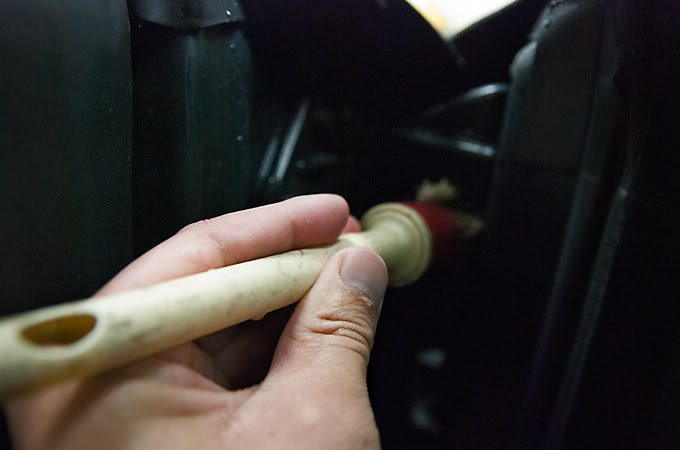
First outside the pipe with our Mini Ez Brush
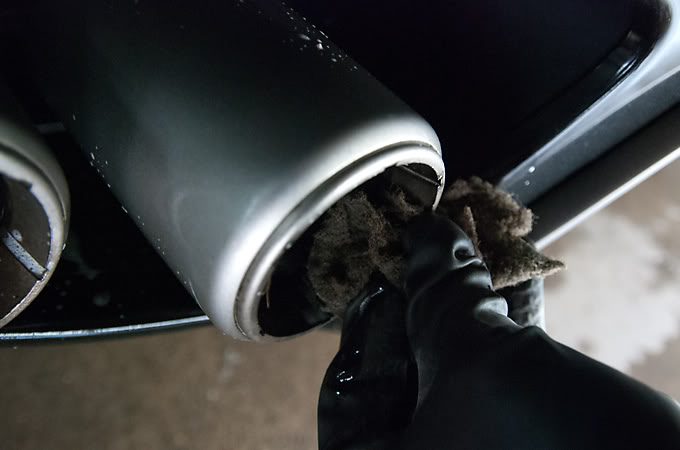
Then inside with 0000 steel wool
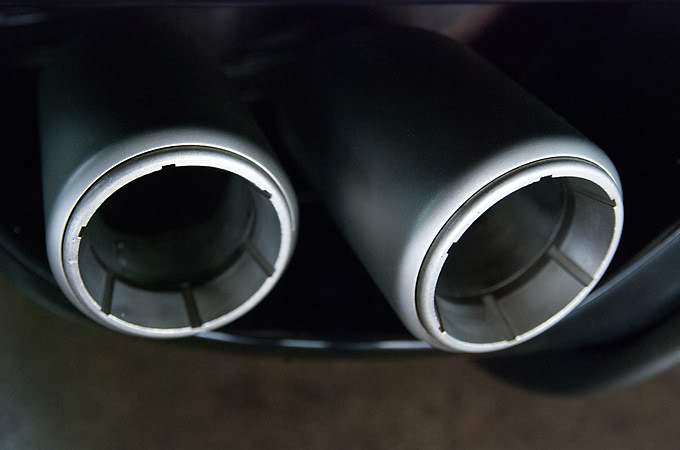
Here is a before and after shot
Before
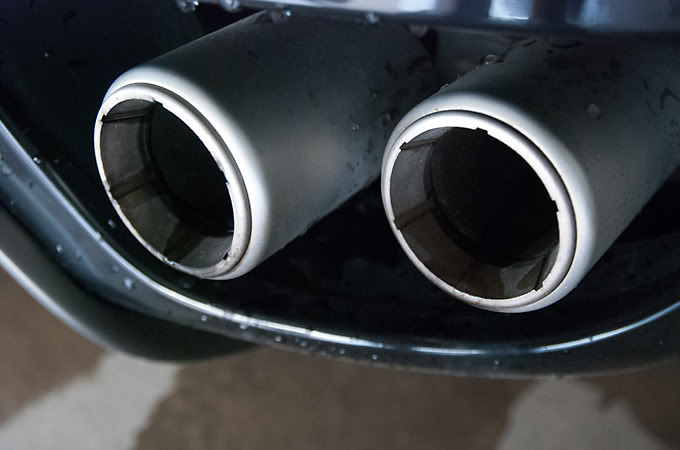
After
Finally we can wash the car
Starting with a rinse

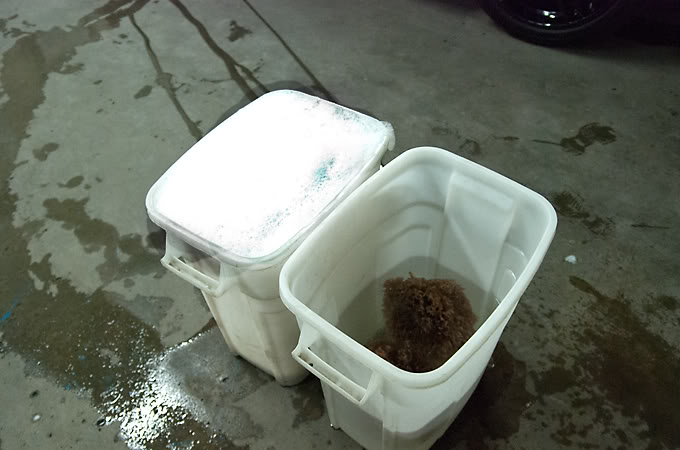
Two bucket method always used
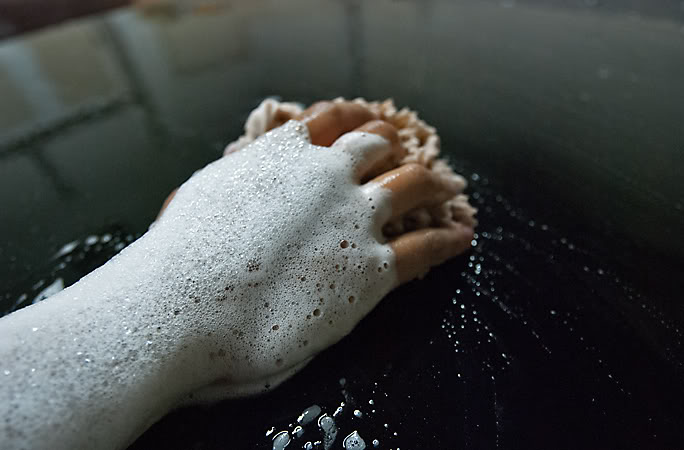
Washing with a natural sea sponge
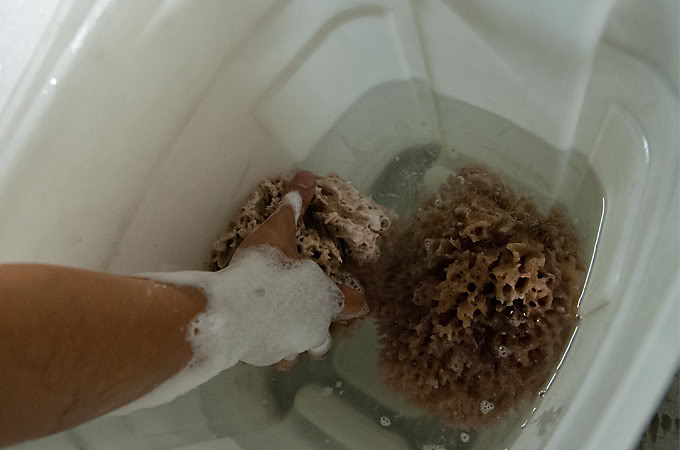
Rinsing off the dirt in the water only bucket before putting it back in the soap bucket
Taking care of the little details
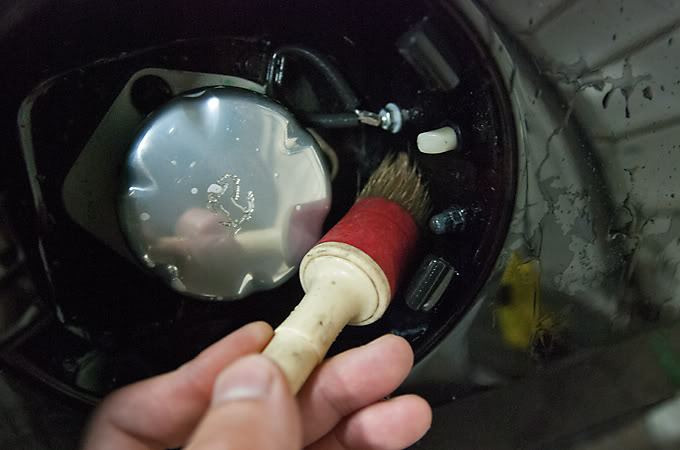
Door jambs
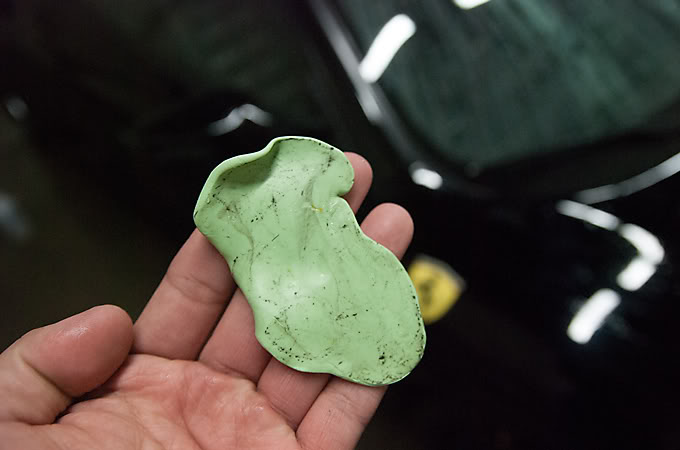
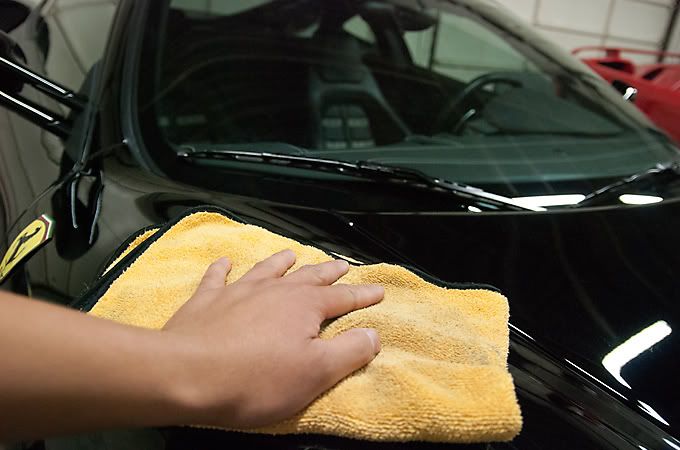
And before drying off the paint was clayed to remove embedded dirt in the clearcoat
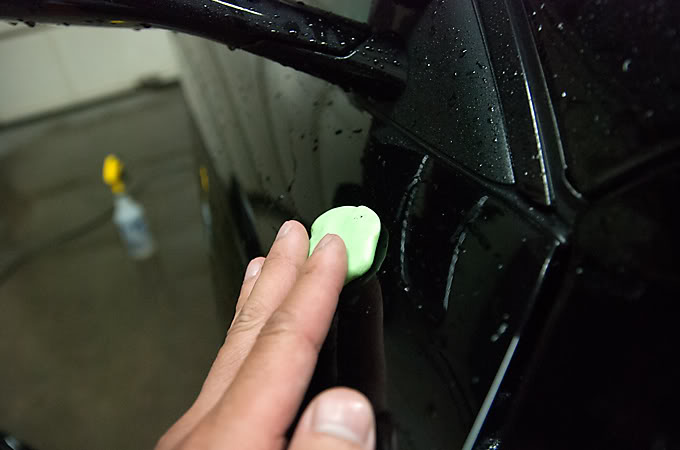
Pretty dirty
After drying measurements of the paint thickness were taken to ensure we had healthy levels to work with
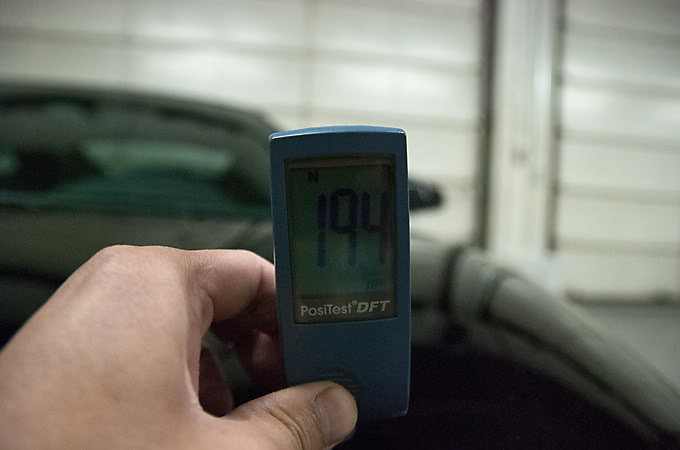
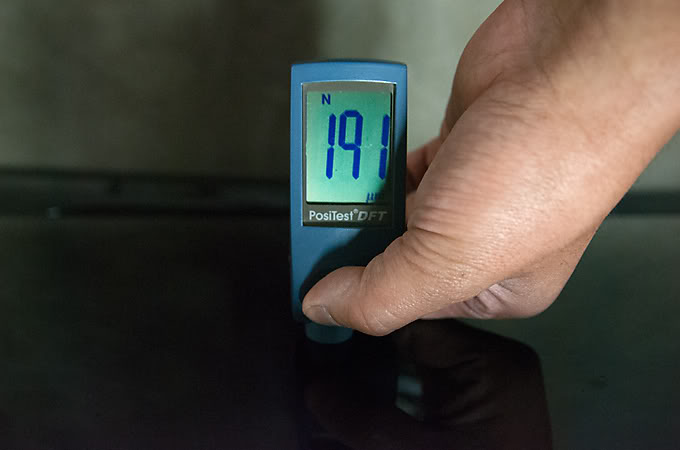
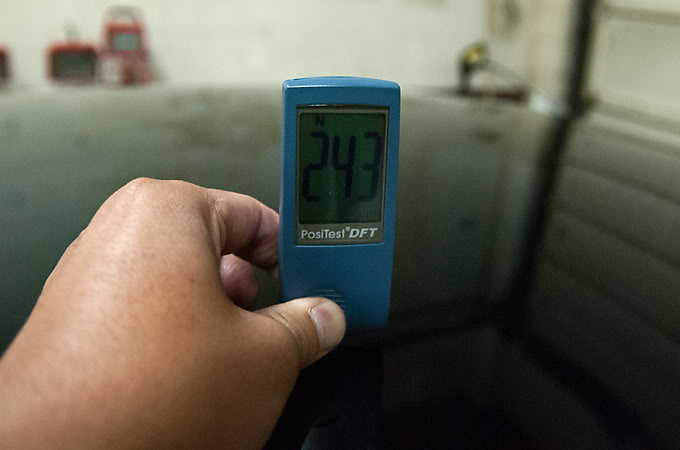
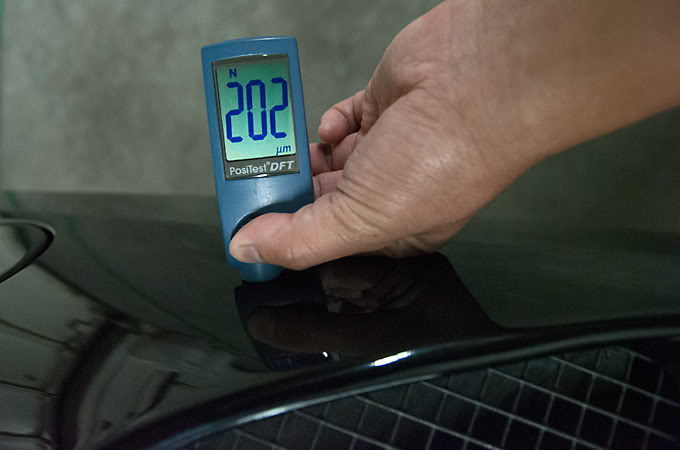
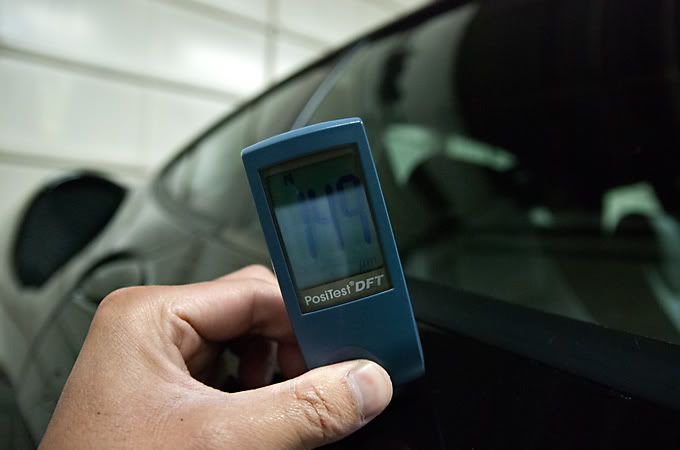
Everything was looking good and there were no signs of repaint
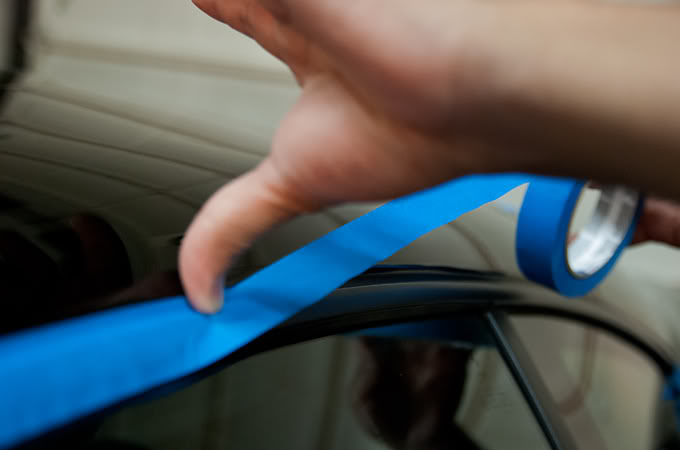
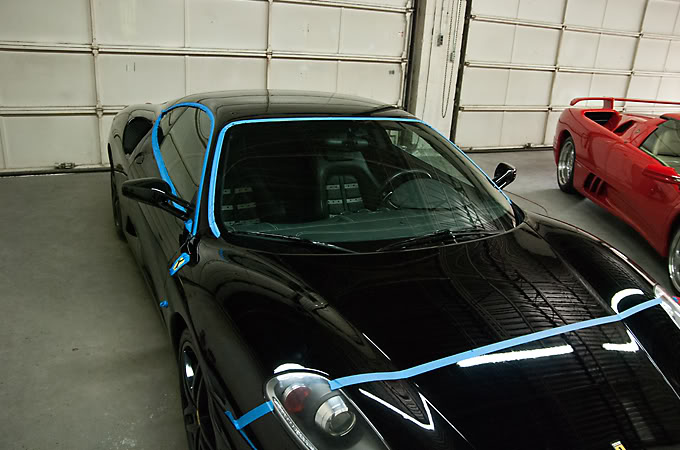
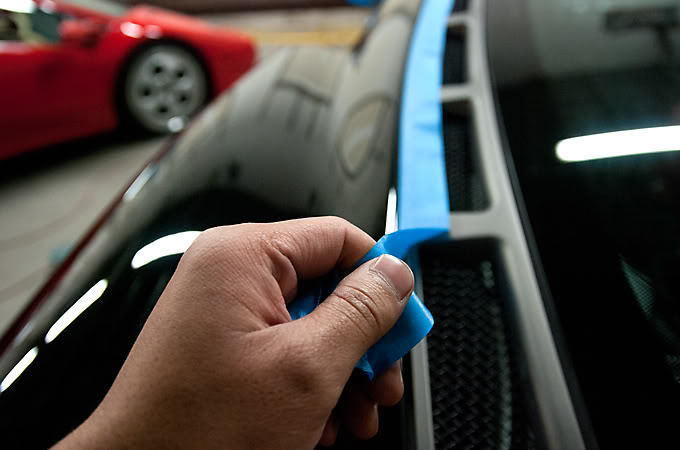
Next was to mask off the rubber trim to protect it from staining or being burnt by our buffer
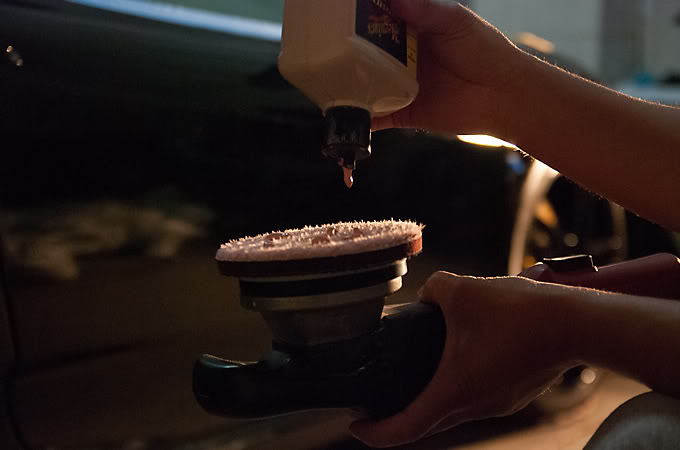
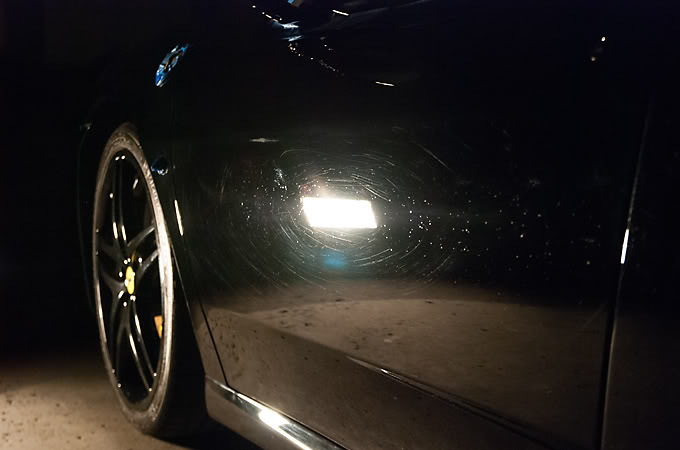
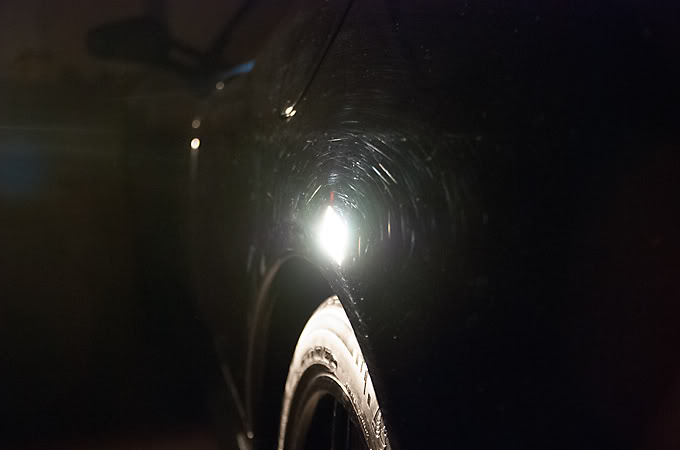
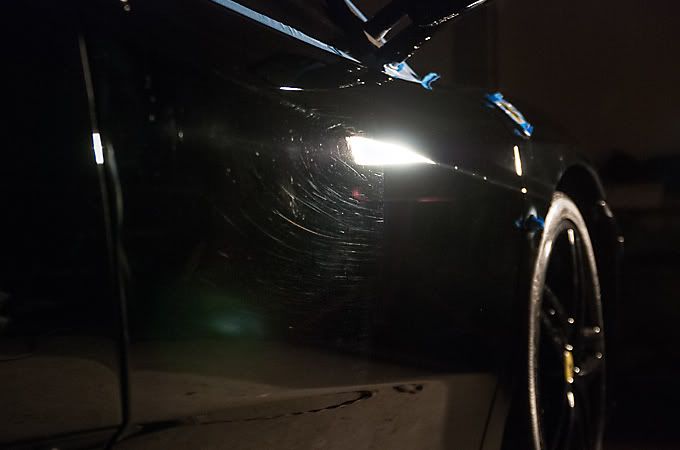
The paint was in fairly rough condition and after a few test sections I decided to go with Meguiars Microfiber cutting pad and compound
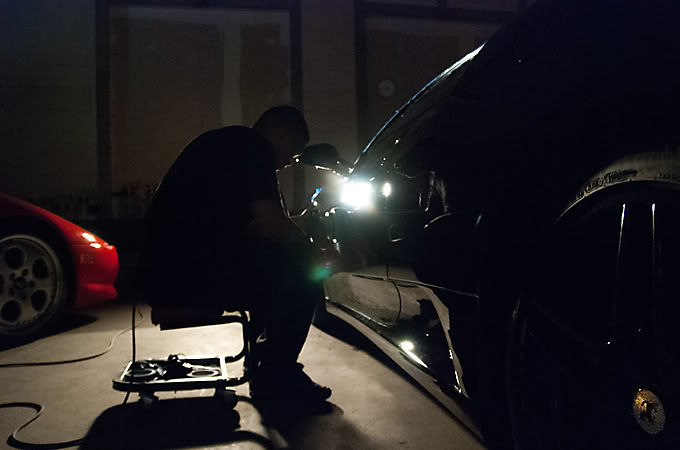
Here is a shot of me polishing
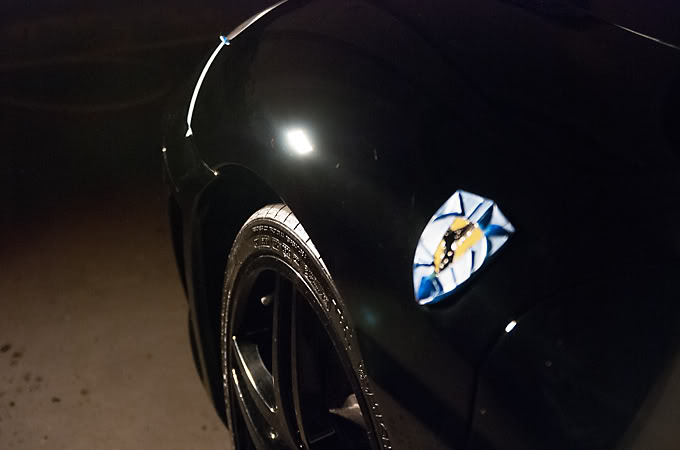
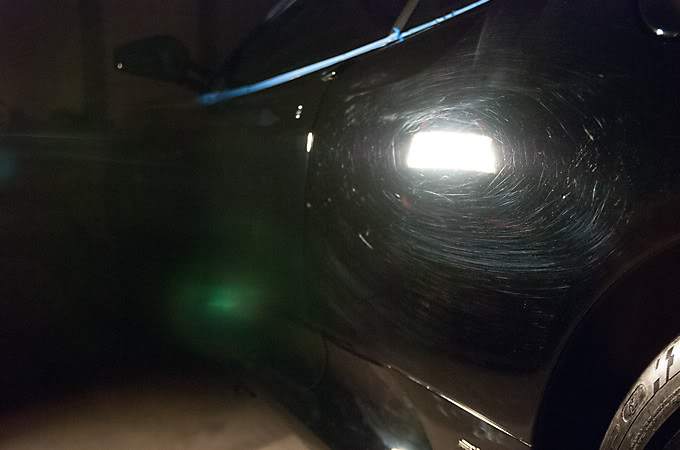
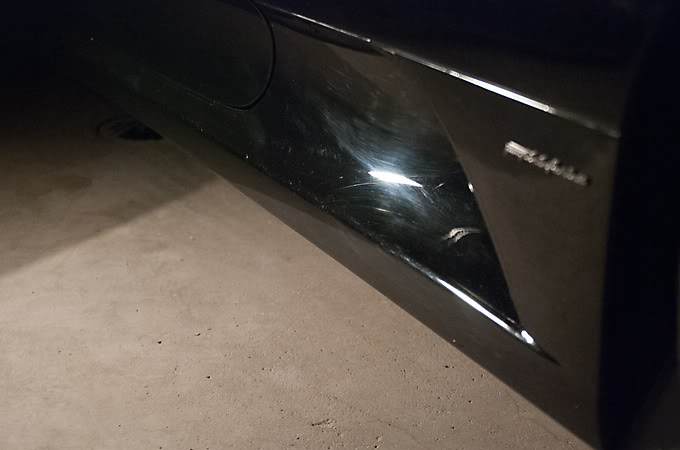
And the befores and afters
Before
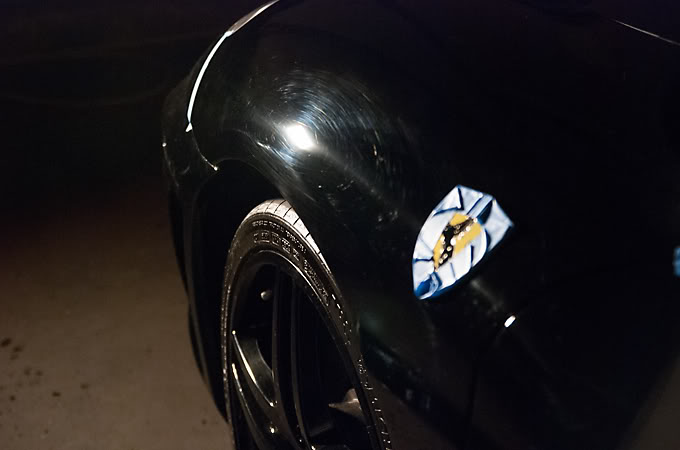
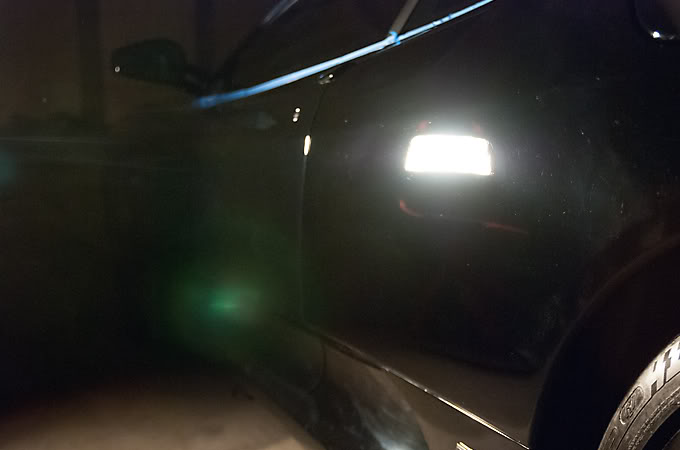
After
Before
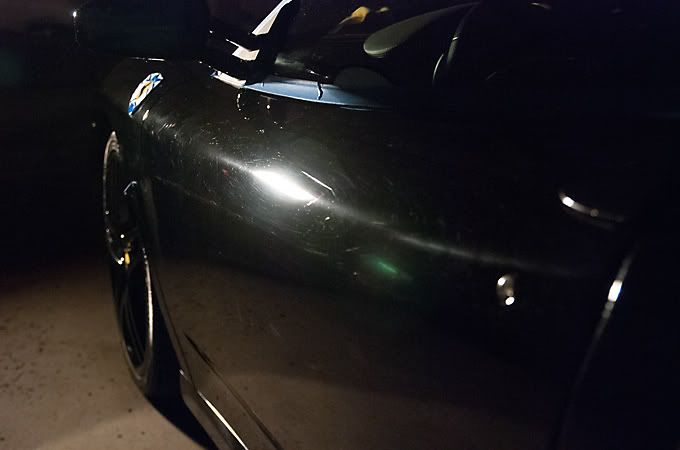
After
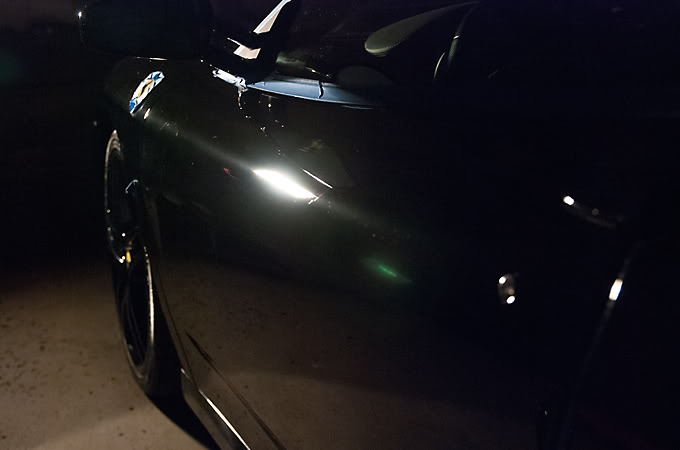
Before
After

Before
After
Before
After
Before
After
Here is a quick 50/50 on the passenger's door with the right polished and the left side untouched
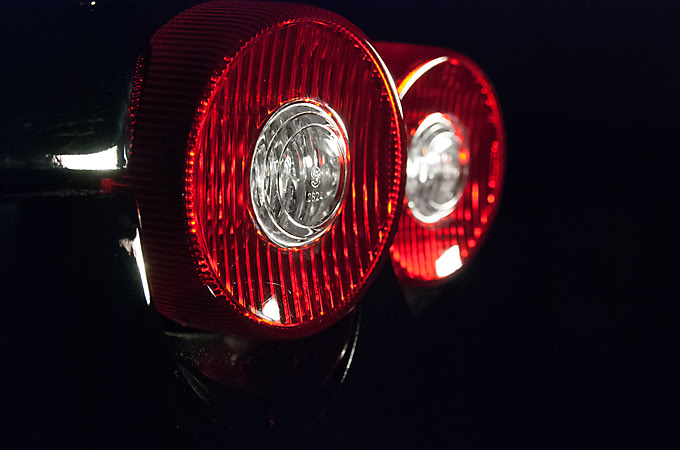
Also the taillights were polished as well
Before
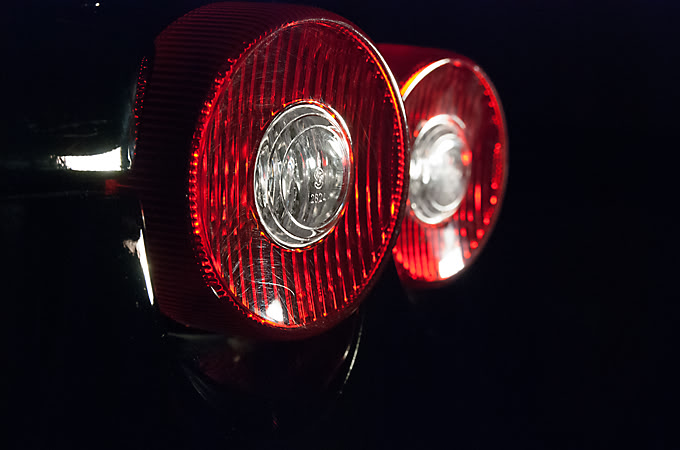
After
The 2nd stage was carried out with a light cutting pad and polish and the whole car was polished again for the 2nd stage to refine the finish and bring out the deep gloss
After the 2 stages of polishing were completed the masking tape was removed
And the paint alcohol wiped to remove the polishing oils
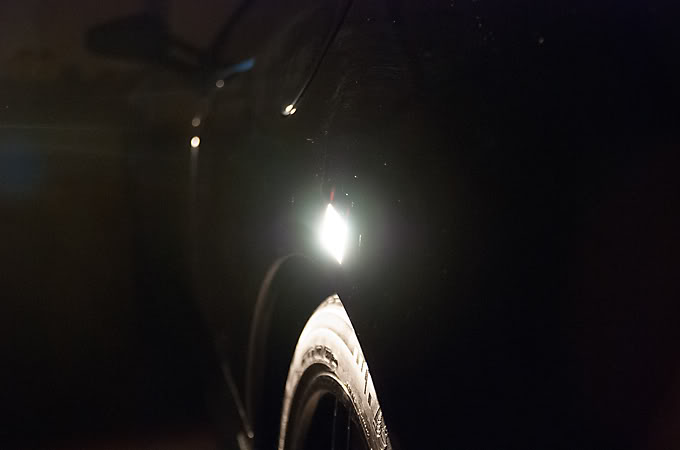
I double checked the paint with my Infratech which produces the same color light as the sun
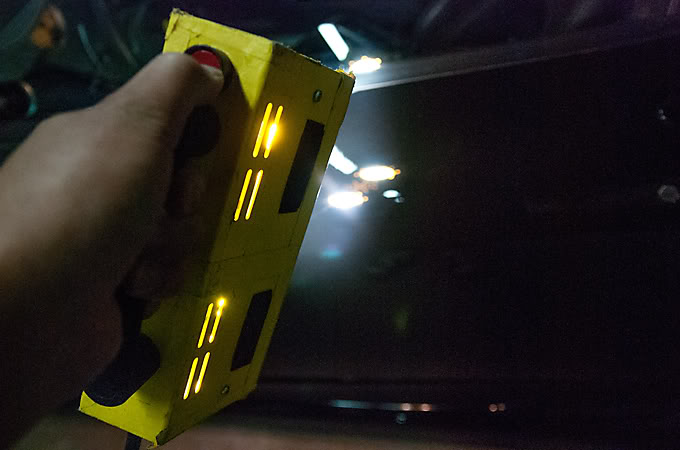
No more swirls

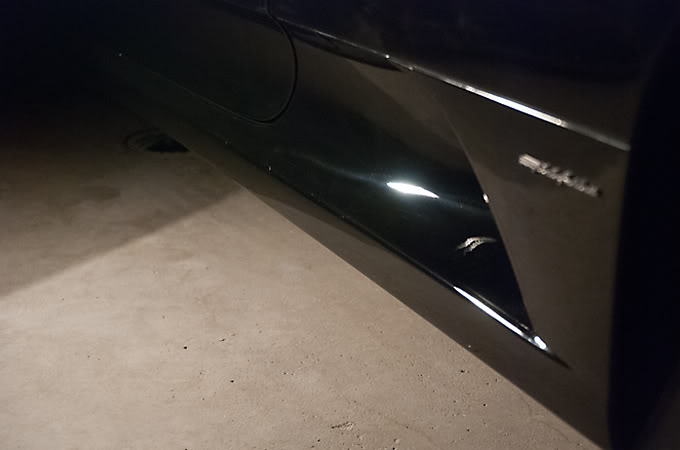
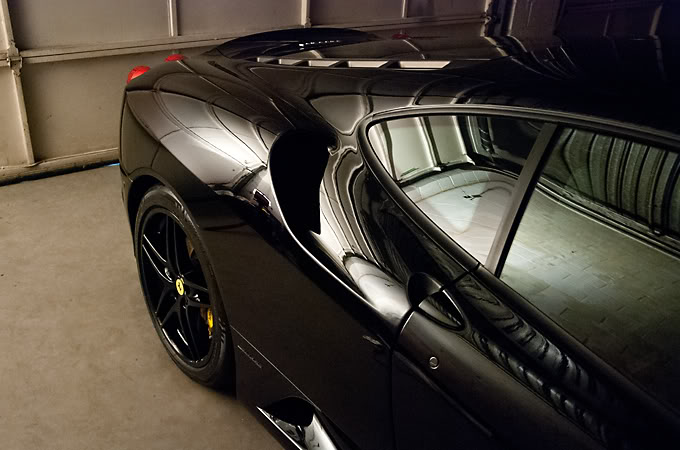
Here is a teaser of the shine achieved
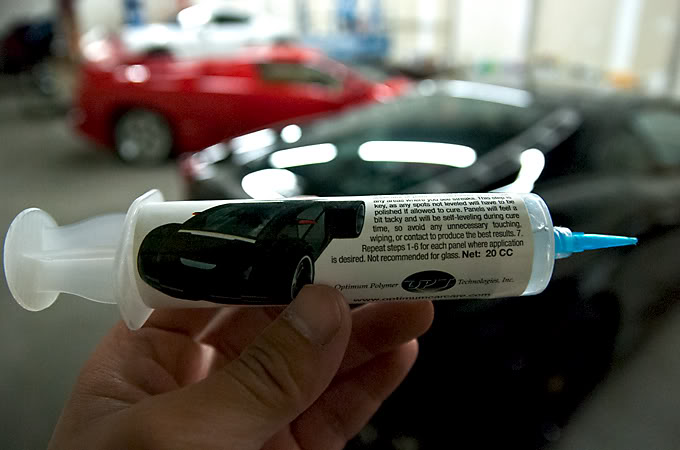
Opti Coat was used to protect the paint. If you are not familiar with Opti Coat, it is something different from a wax or sealant. It is actually a coating and to be more exact a resin based coating that behaves like a wax and is permanent. What's great about the protection that it offers is, it is chemical resistant which means things like bird droppings will no longer burn into your paint and leave that nasty staining. Also it is very hard, on the pencil hardness scale it is 9H which doesn't mean it is invincible but if you maintain your car properly you can keep it swirl free for life!
There are many other great features about Opti Coat but those are the main selling points. If you google it and do a little research you will see quite a few extensive test on Youtube and other forums.
The Diablo in the background was just Opti Coated as well.
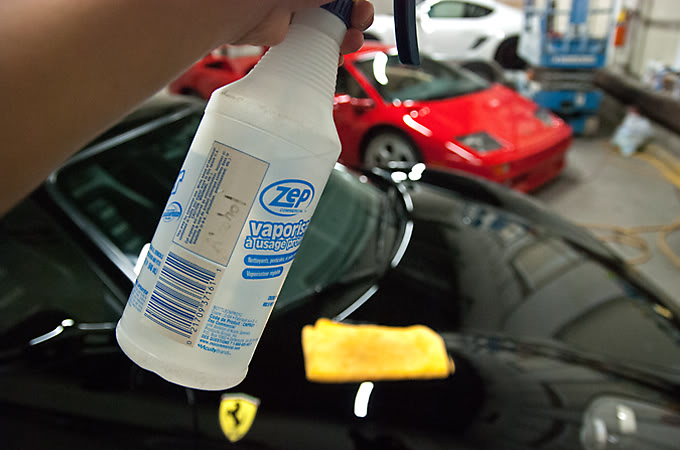
While the Opti Coat was curing other areas were attended too
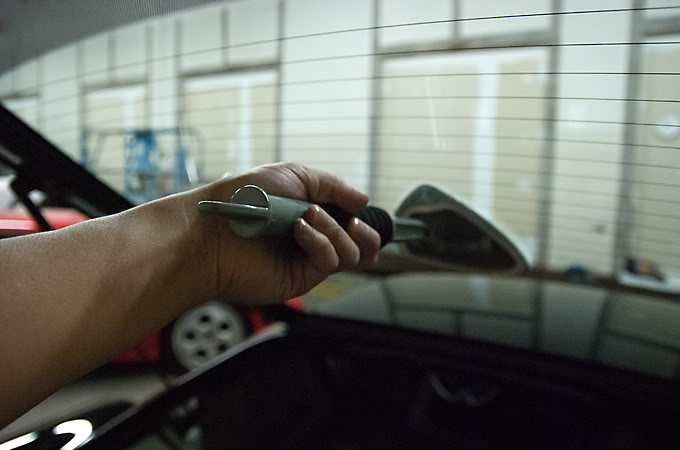
Like the windows
And dressing the tires
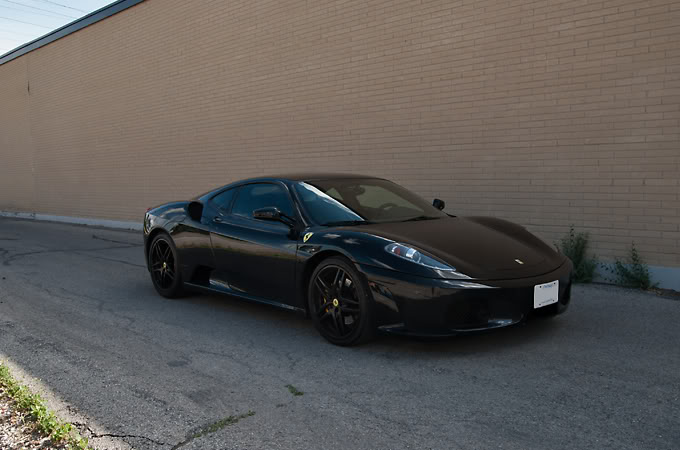
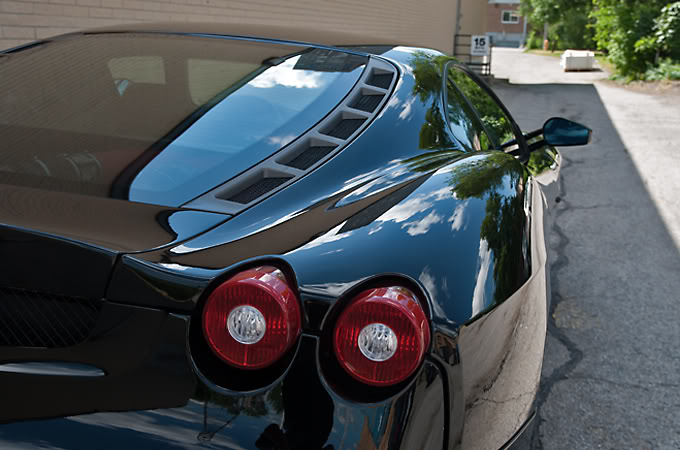
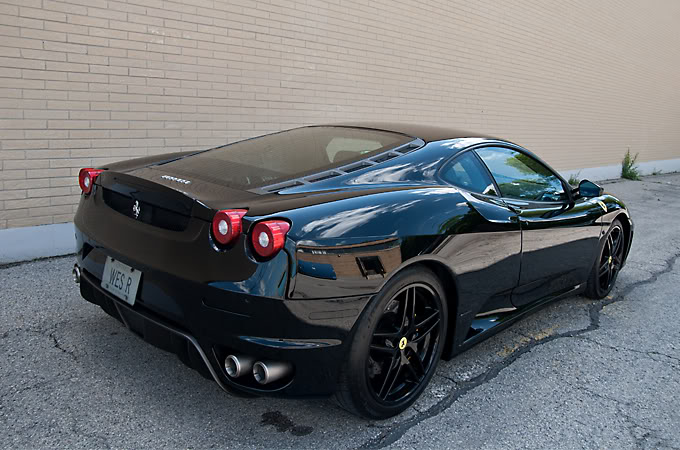
Finally with everything completed, the finished pictures.
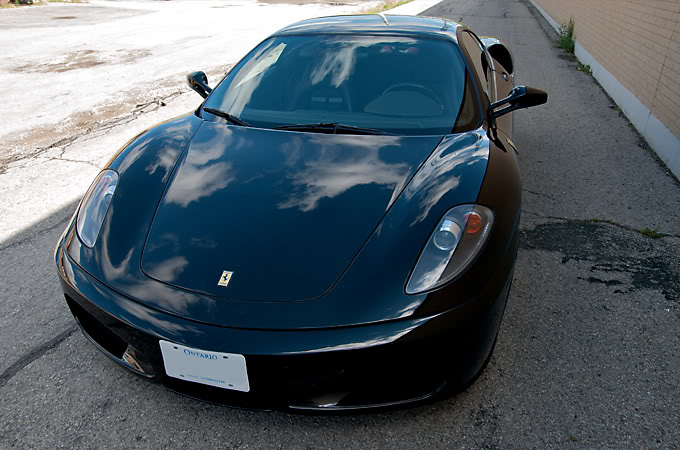
First off a shot in the sun to show no swirls in the paint.
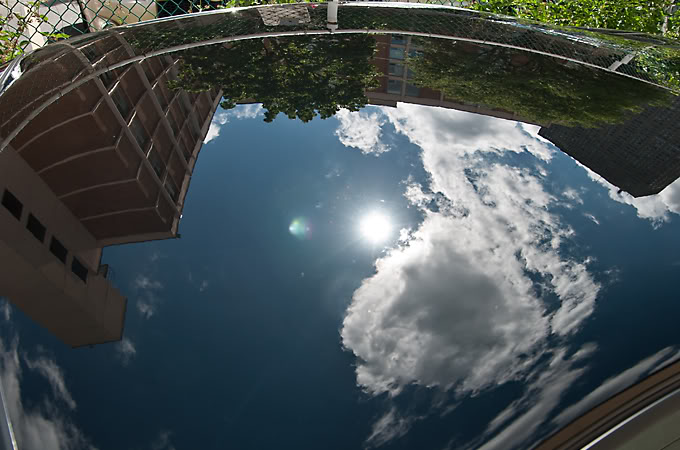
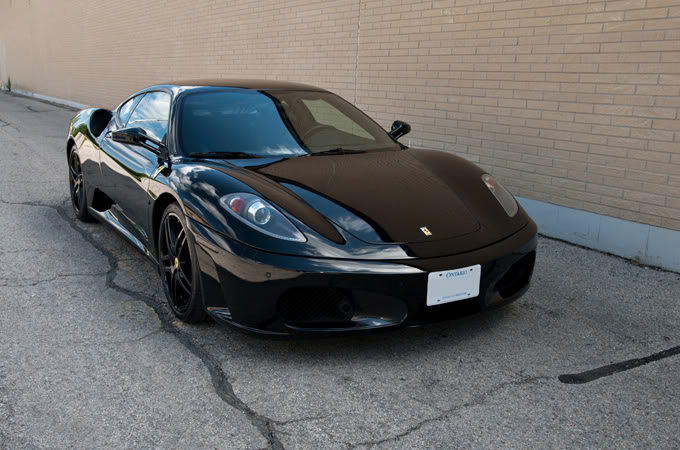
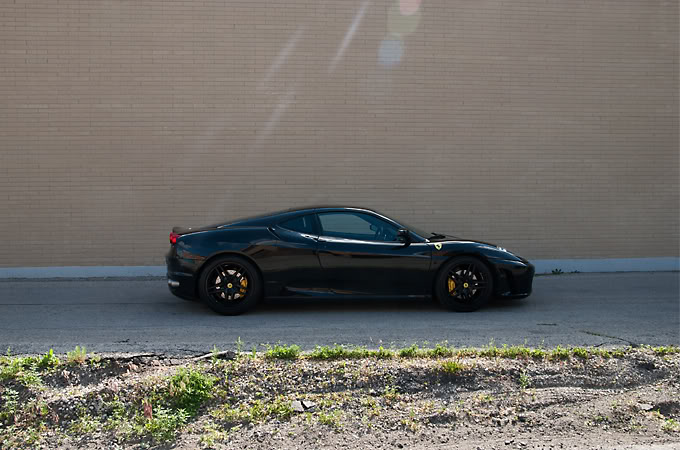
A little sun flare in this shot
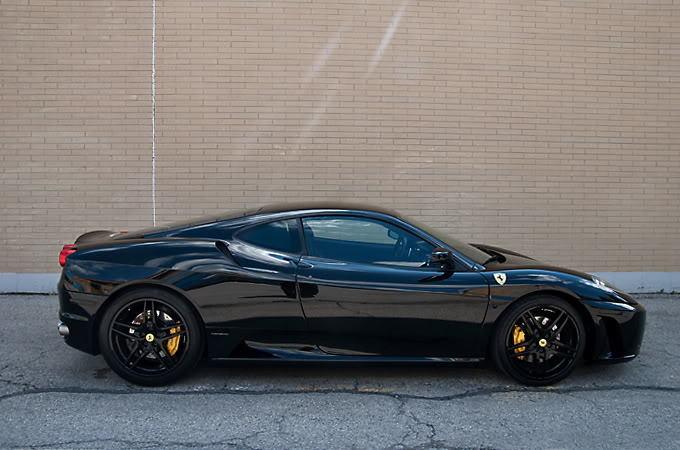
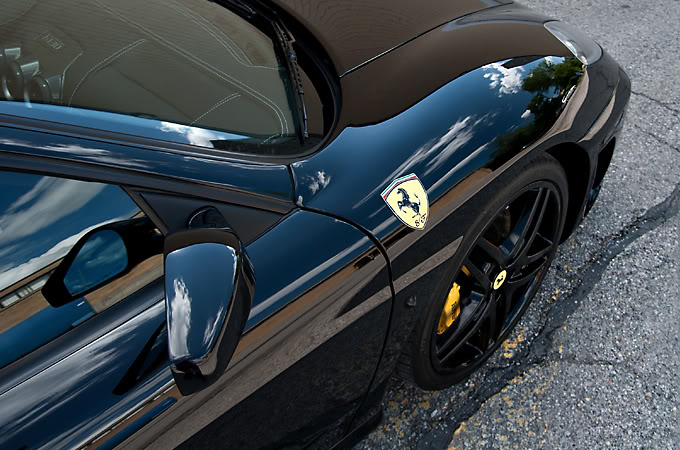
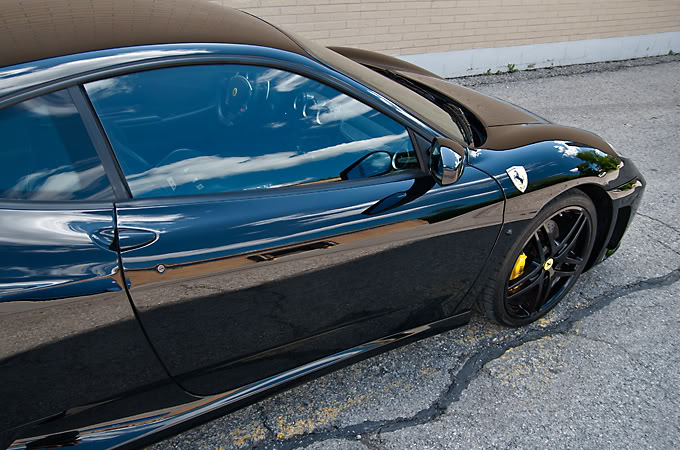
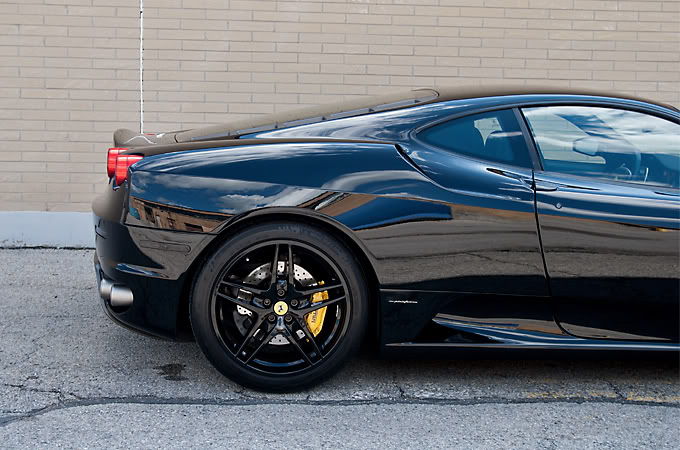
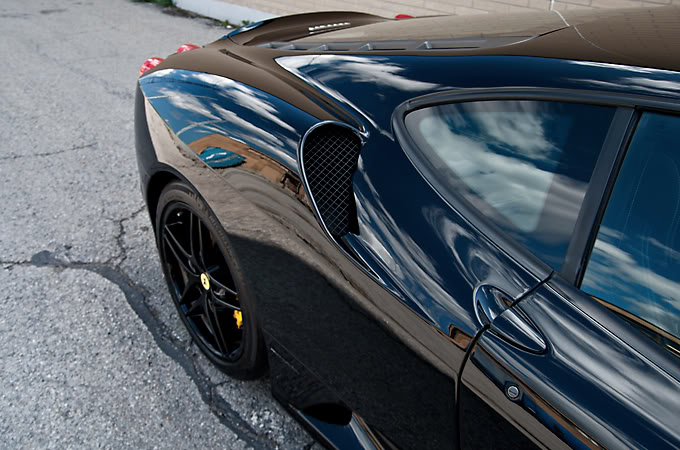
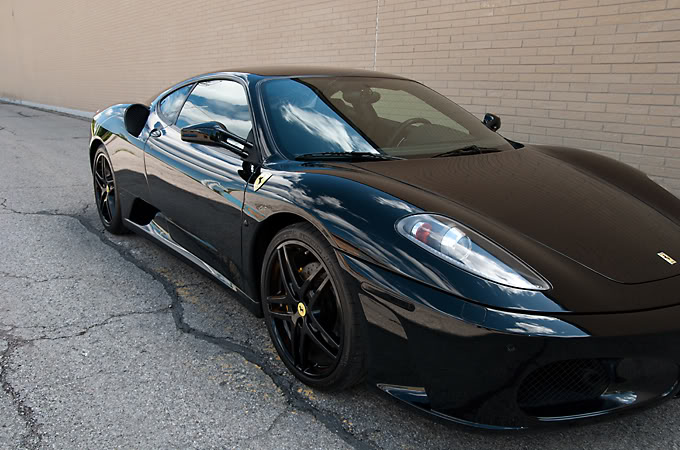
I love the reflections in this pic

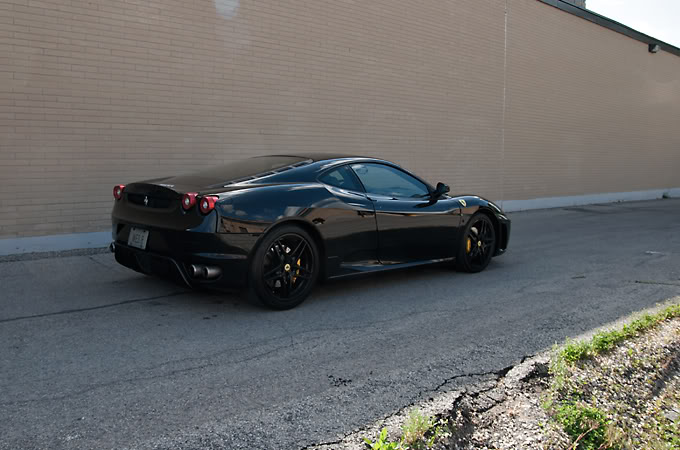
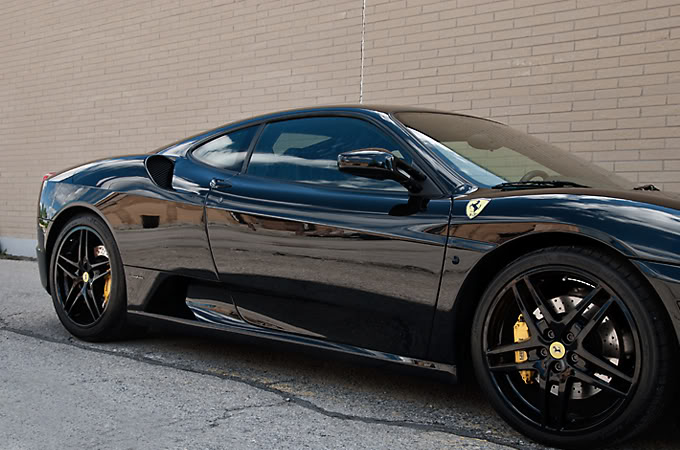
And finally the last pic of the walkaround
I hope you guys enjoyed reading through the documentation as much as I enjoyed working on this Prancing Horse.
*wave*
Here is a new write up on a black on black on black F430 lol. A long time e46 M3 client referred this gentleman to me and after exchanging a few emails back and forth and a phone call we finally got the Ferrari in the shop.
Here is the Prancing Horse on arrival
Starting with the wheels was the usual prep routine
We used our angle brush to reach into the wheel well
And clean the tire wall
Cleaning inside the lugnut area
The calipers
And finally rinsing everything off with our angled power washer extension
The exhaust was cleaned as well
First outside the pipe with our Mini Ez Brush
Then inside with 0000 steel wool
Here is a before and after shot
Before
After
Finally we can wash the car
Starting with a rinse
Two bucket method always used
Washing with a natural sea sponge
Rinsing off the dirt in the water only bucket before putting it back in the soap bucket
Taking care of the little details
Door jambs
And before drying off the paint was clayed to remove embedded dirt in the clearcoat
Pretty dirty
After drying measurements of the paint thickness were taken to ensure we had healthy levels to work with
Everything was looking good and there were no signs of repaint
Next was to mask off the rubber trim to protect it from staining or being burnt by our buffer
The paint was in fairly rough condition and after a few test sections I decided to go with Meguiars Microfiber cutting pad and compound
Here is a shot of me polishing
And the befores and afters
Before
After
Before
After
Before
After
Before
After
Before
After
Before
After
Here is a quick 50/50 on the passenger's door with the right polished and the left side untouched
Also the taillights were polished as well
Before
After
The 2nd stage was carried out with a light cutting pad and polish and the whole car was polished again for the 2nd stage to refine the finish and bring out the deep gloss
After the 2 stages of polishing were completed the masking tape was removed
And the paint alcohol wiped to remove the polishing oils
I double checked the paint with my Infratech which produces the same color light as the sun
No more swirls
Here is a teaser of the shine achieved
Opti Coat was used to protect the paint. If you are not familiar with Opti Coat, it is something different from a wax or sealant. It is actually a coating and to be more exact a resin based coating that behaves like a wax and is permanent. What's great about the protection that it offers is, it is chemical resistant which means things like bird droppings will no longer burn into your paint and leave that nasty staining. Also it is very hard, on the pencil hardness scale it is 9H which doesn't mean it is invincible but if you maintain your car properly you can keep it swirl free for life!
There are many other great features about Opti Coat but those are the main selling points. If you google it and do a little research you will see quite a few extensive test on Youtube and other forums.
The Diablo in the background was just Opti Coated as well.
While the Opti Coat was curing other areas were attended too
Like the windows
And dressing the tires
Finally with everything completed, the finished pictures.
First off a shot in the sun to show no swirls in the paint.
A little sun flare in this shot
I love the reflections in this pic
And finally the last pic of the walkaround
I hope you guys enjoyed reading through the documentation as much as I enjoyed working on this Prancing Horse.
*wave*


Thread
Thread Starter
Forum
Replies
Last Post
PelicanParts.com
Meet & Greet Discussion
2
Oct 16, 2015 03:07 PM
ucsbwsr
E60, E61 Parts, Accessories and Mods
4
Sep 19, 2015 10:58 AM
umichchris
Private Member Classifieds
1
Sep 10, 2015 12:54 PM