SMD LED Turn Signals (Amber, White, Blue)
 02-28-2010, 10:50 AM
#21
Banned
Thread Starter

Join Date: Jun 2008
Location: Queens, NY
Posts: 7,983
Likes: 0
Received 1 Like
on
1 Post
My Ride: A Car
https://5series.net/forums/topic/946...&#entry1119909
Not much drilling. Very little. Lemme see if Phi can shed some light on this
Not much drilling. Very little. Lemme see if Phi can shed some light on this
 02-28-2010, 04:33 PM
#22
Contributors
Join Date: Apr 2008
Location: Houston,TX
Posts: 3,573
Likes: 0
Received 0 Likes
on
0 Posts
My Ride: Original E60 Spec:
530i - Silver Grey Out, Black Dakota Leather In, Navigation Pro, Voice Command, HiFi Audio, Sports Package, Premium Package, Cold Weather Package w/ Heated Seats, Style# 123 Alloy Track Wheels, Auto AC, Power Front Seats, Active Turn Xennon Headlights,
Mods:
OEM M-Tech Front Bumper, OEM M Side Skirts, OEM M5 Rear Bumper, M5 Trunk Lid Finisher, M5 Style Mirrors, Custom Hamann Style Splitter, Custom Hartge Style Diffuser, RD Sport Boot Spoiler, LCI Taillights, Bruce Miranda's V4 LCI Retro Cables, 6000K Xenon light Bulbs, Xenon White LED License Plate Lights, 8000K HID 9006 Fog Lights, Akalius� Front Headlight Euro Overlays, Matte Black Kidney Grilles, E60.Net Clings, Debadged, Llumar Tinting "Micro Edged, 15% Rear 35% Sides,
Engine Mods:
Custom Magnaflow Quad Exhaust w/ Eisenmann Stamped 3� Tips, RPI Scoop (Red)
Added Electronics:
V1 Equipped (Hardwired), OEM Alpine CD Changer Retrofit,
Shoes:
SOLD-20" Staggered Vertini Hennesey Rims, Falcon 452's Tires-SOLD
New Shoes:
19" VMR 710 Hyper Silver, General Exclaim UHP 245/35/19 Front-275/30/19 Rear, Gloss Silver Caliper Paint Job DIY
^_____________
Retired
______________
Took Delivery 10/26/2009: LOADED! E60 M5 Silverstone II/Black, Active Seats, Comfort Ventilated/Heated Seats, HUD, Brushed Aluminum Trim,
For those interested in installing these. There is no need to drill anything. I just wrapped the ends of the resistor wires to the two conductive points in the bulb housing. After wrapping the resistor wires to the two points, I pushed in the wedged bulb in to keep the resistor wires in place and to keep the resistor wires from coming loose.
03-01-2010, 05:37 PM
#23
Members

Join Date: Dec 2009
Location: Fairfield, CA
Posts: 176
Likes: 0
Received 0 Likes
on
0 Posts
My Ride: 545
03-01-2010, 06:35 PM
#24
Contributors
Join Date: Apr 2008
Location: Houston,TX
Posts: 3,573
Likes: 0
Received 0 Likes
on
0 Posts
My Ride: Original E60 Spec:
530i - Silver Grey Out, Black Dakota Leather In, Navigation Pro, Voice Command, HiFi Audio, Sports Package, Premium Package, Cold Weather Package w/ Heated Seats, Style# 123 Alloy Track Wheels, Auto AC, Power Front Seats, Active Turn Xennon Headlights,
Mods:
OEM M-Tech Front Bumper, OEM M Side Skirts, OEM M5 Rear Bumper, M5 Trunk Lid Finisher, M5 Style Mirrors, Custom Hamann Style Splitter, Custom Hartge Style Diffuser, RD Sport Boot Spoiler, LCI Taillights, Bruce Miranda's V4 LCI Retro Cables, 6000K Xenon light Bulbs, Xenon White LED License Plate Lights, 8000K HID 9006 Fog Lights, Akalius� Front Headlight Euro Overlays, Matte Black Kidney Grilles, E60.Net Clings, Debadged, Llumar Tinting "Micro Edged, 15% Rear 35% Sides,
Engine Mods:
Custom Magnaflow Quad Exhaust w/ Eisenmann Stamped 3� Tips, RPI Scoop (Red)
Added Electronics:
V1 Equipped (Hardwired), OEM Alpine CD Changer Retrofit,
Shoes:
SOLD-20" Staggered Vertini Hennesey Rims, Falcon 452's Tires-SOLD
New Shoes:
19" VMR 710 Hyper Silver, General Exclaim UHP 245/35/19 Front-275/30/19 Rear, Gloss Silver Caliper Paint Job DIY
^_____________
Retired
______________
Took Delivery 10/26/2009: LOADED! E60 M5 Silverstone II/Black, Active Seats, Comfort Ventilated/Heated Seats, HUD, Brushed Aluminum Trim,
03-08-2010, 10:25 PM
#26
Contributors
Join Date: Jun 2009
Location: CA
Posts: 5,781
Likes: 0
Received 2 Likes
on
2 Posts
My Ride: BMW E60
Model Year: 2016
Got mine and installed it this evening.
Wow, super clean! I will have to try to post pics or vid of it or something.
Now I think my lighting needs are finally done! (well... maybe the reverse light... we'll see)
Anyway, I have to say though, maybe I am stupid at changing this out, but this was actually a lot of work for me. Took me about an hour because I couldn't get the damn thing to go back in correctly. At one point, when I did, the resistor wiring fell out, and I had to redo. But man, it is worth it though, lol.
Also, I note that there is not much heat dissipated by the resistor at all. So no worries about it dangling and melting anything, correct? (as opposed to the custom led angel eyes from before, those were HOT)
03-08-2010, 10:51 PM
#28
Banned
Thread Starter
Join Date: Jun 2008
Location: Queens, NY
Posts: 7,983
Likes: 0
Received 1 Like
on
1 Post
My Ride: A Car
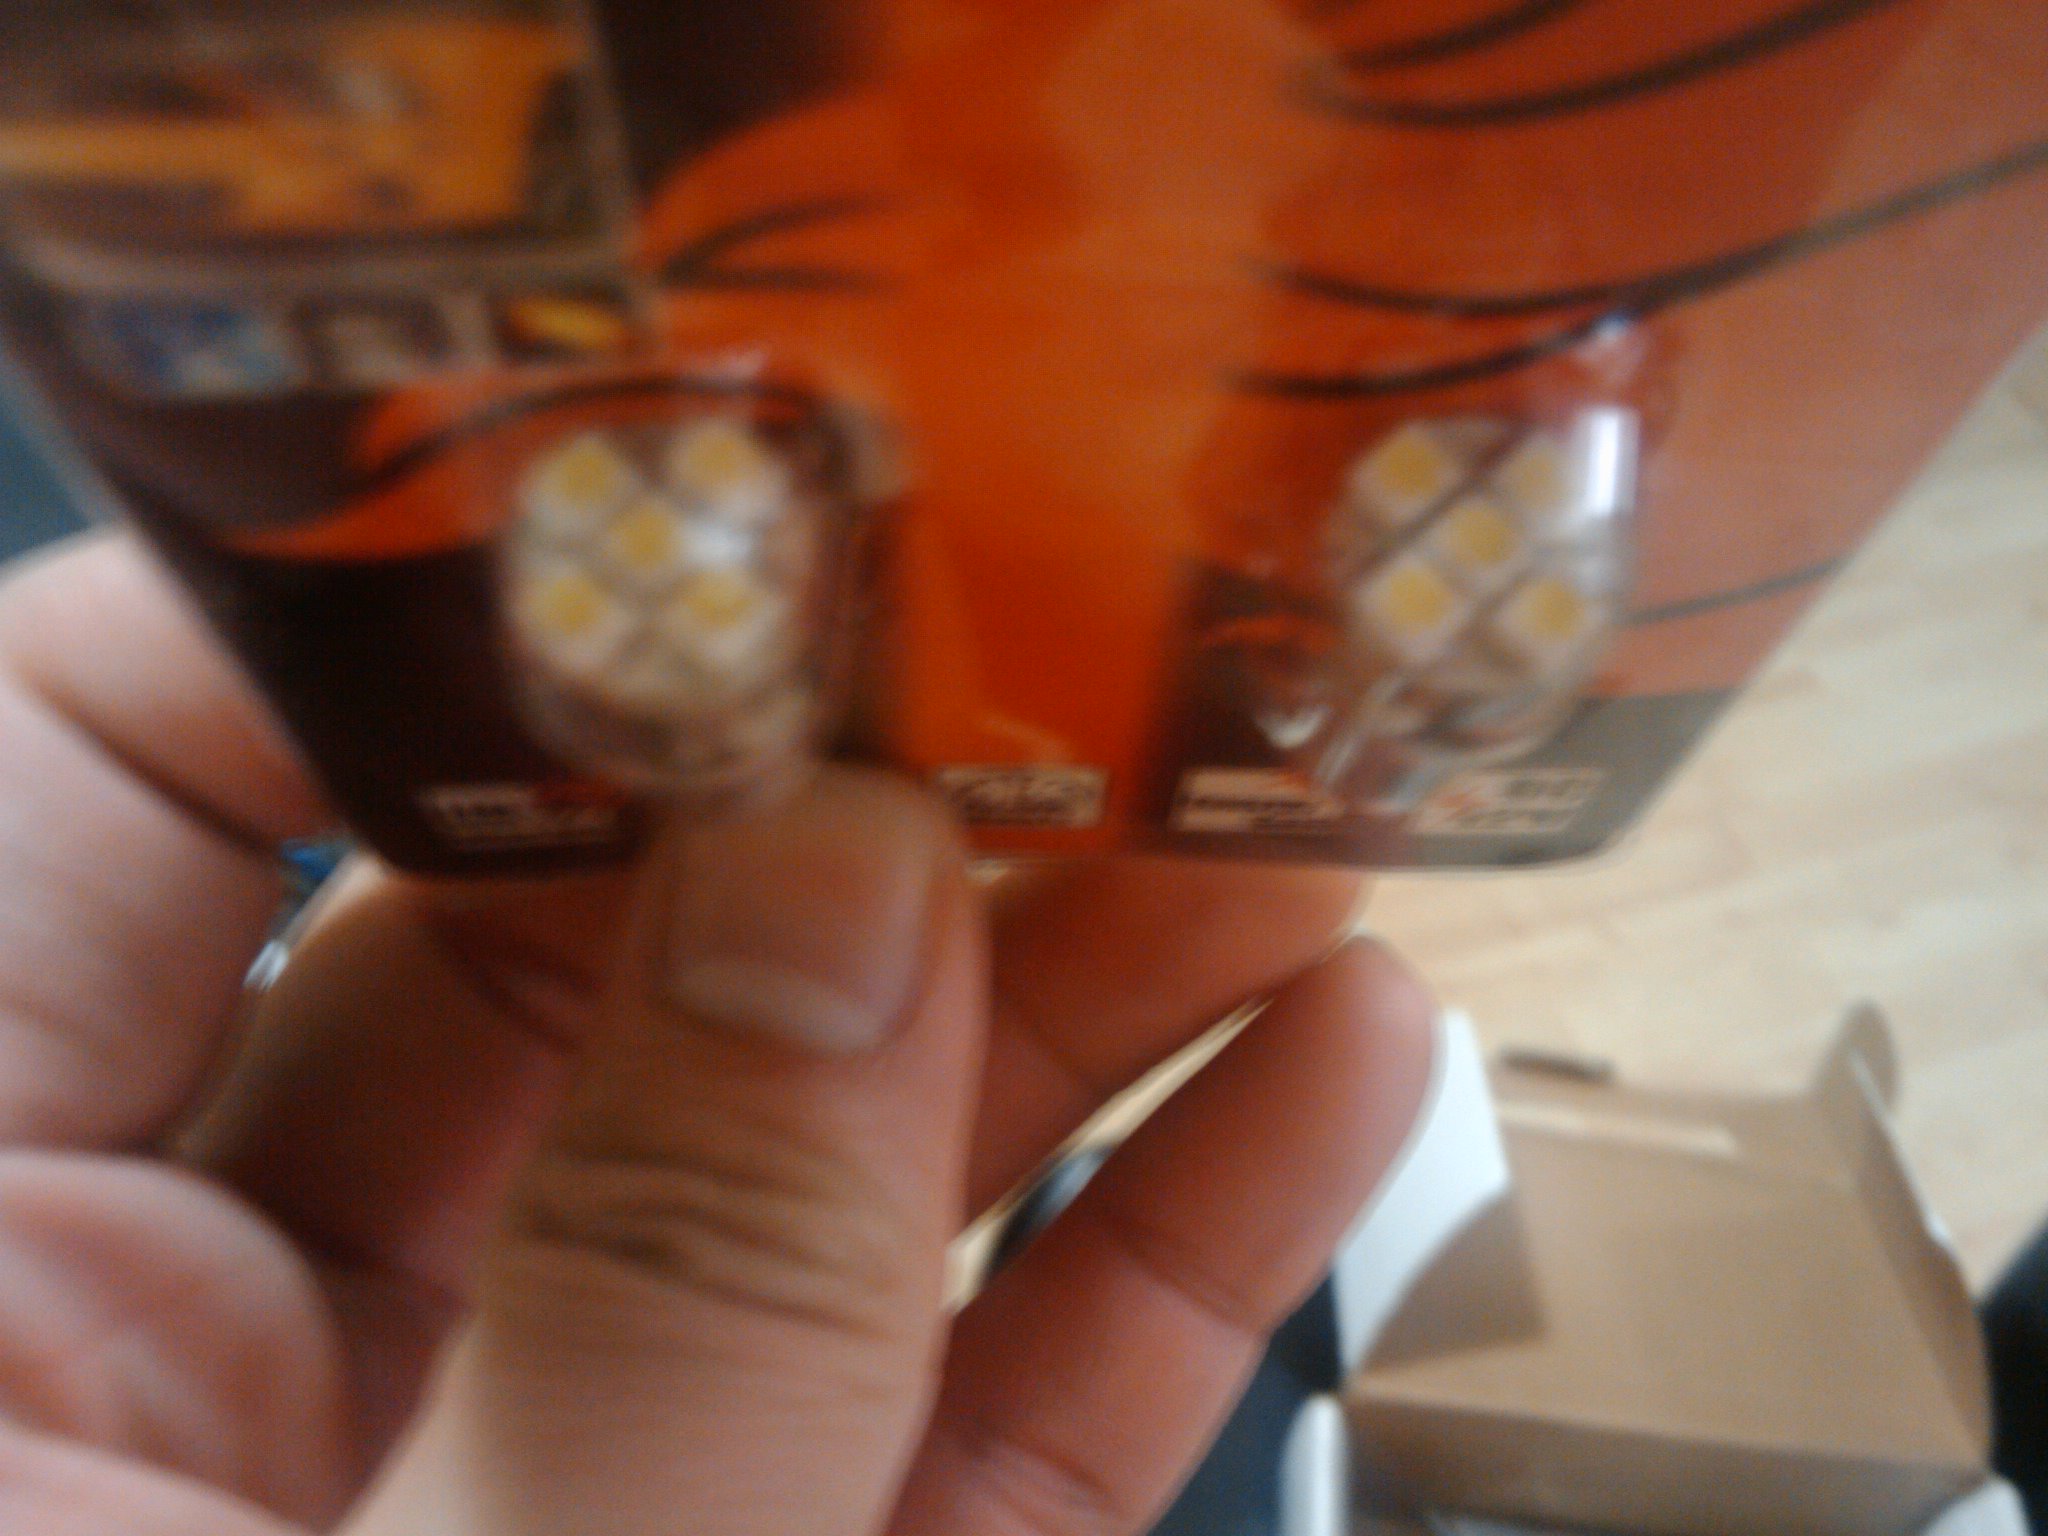
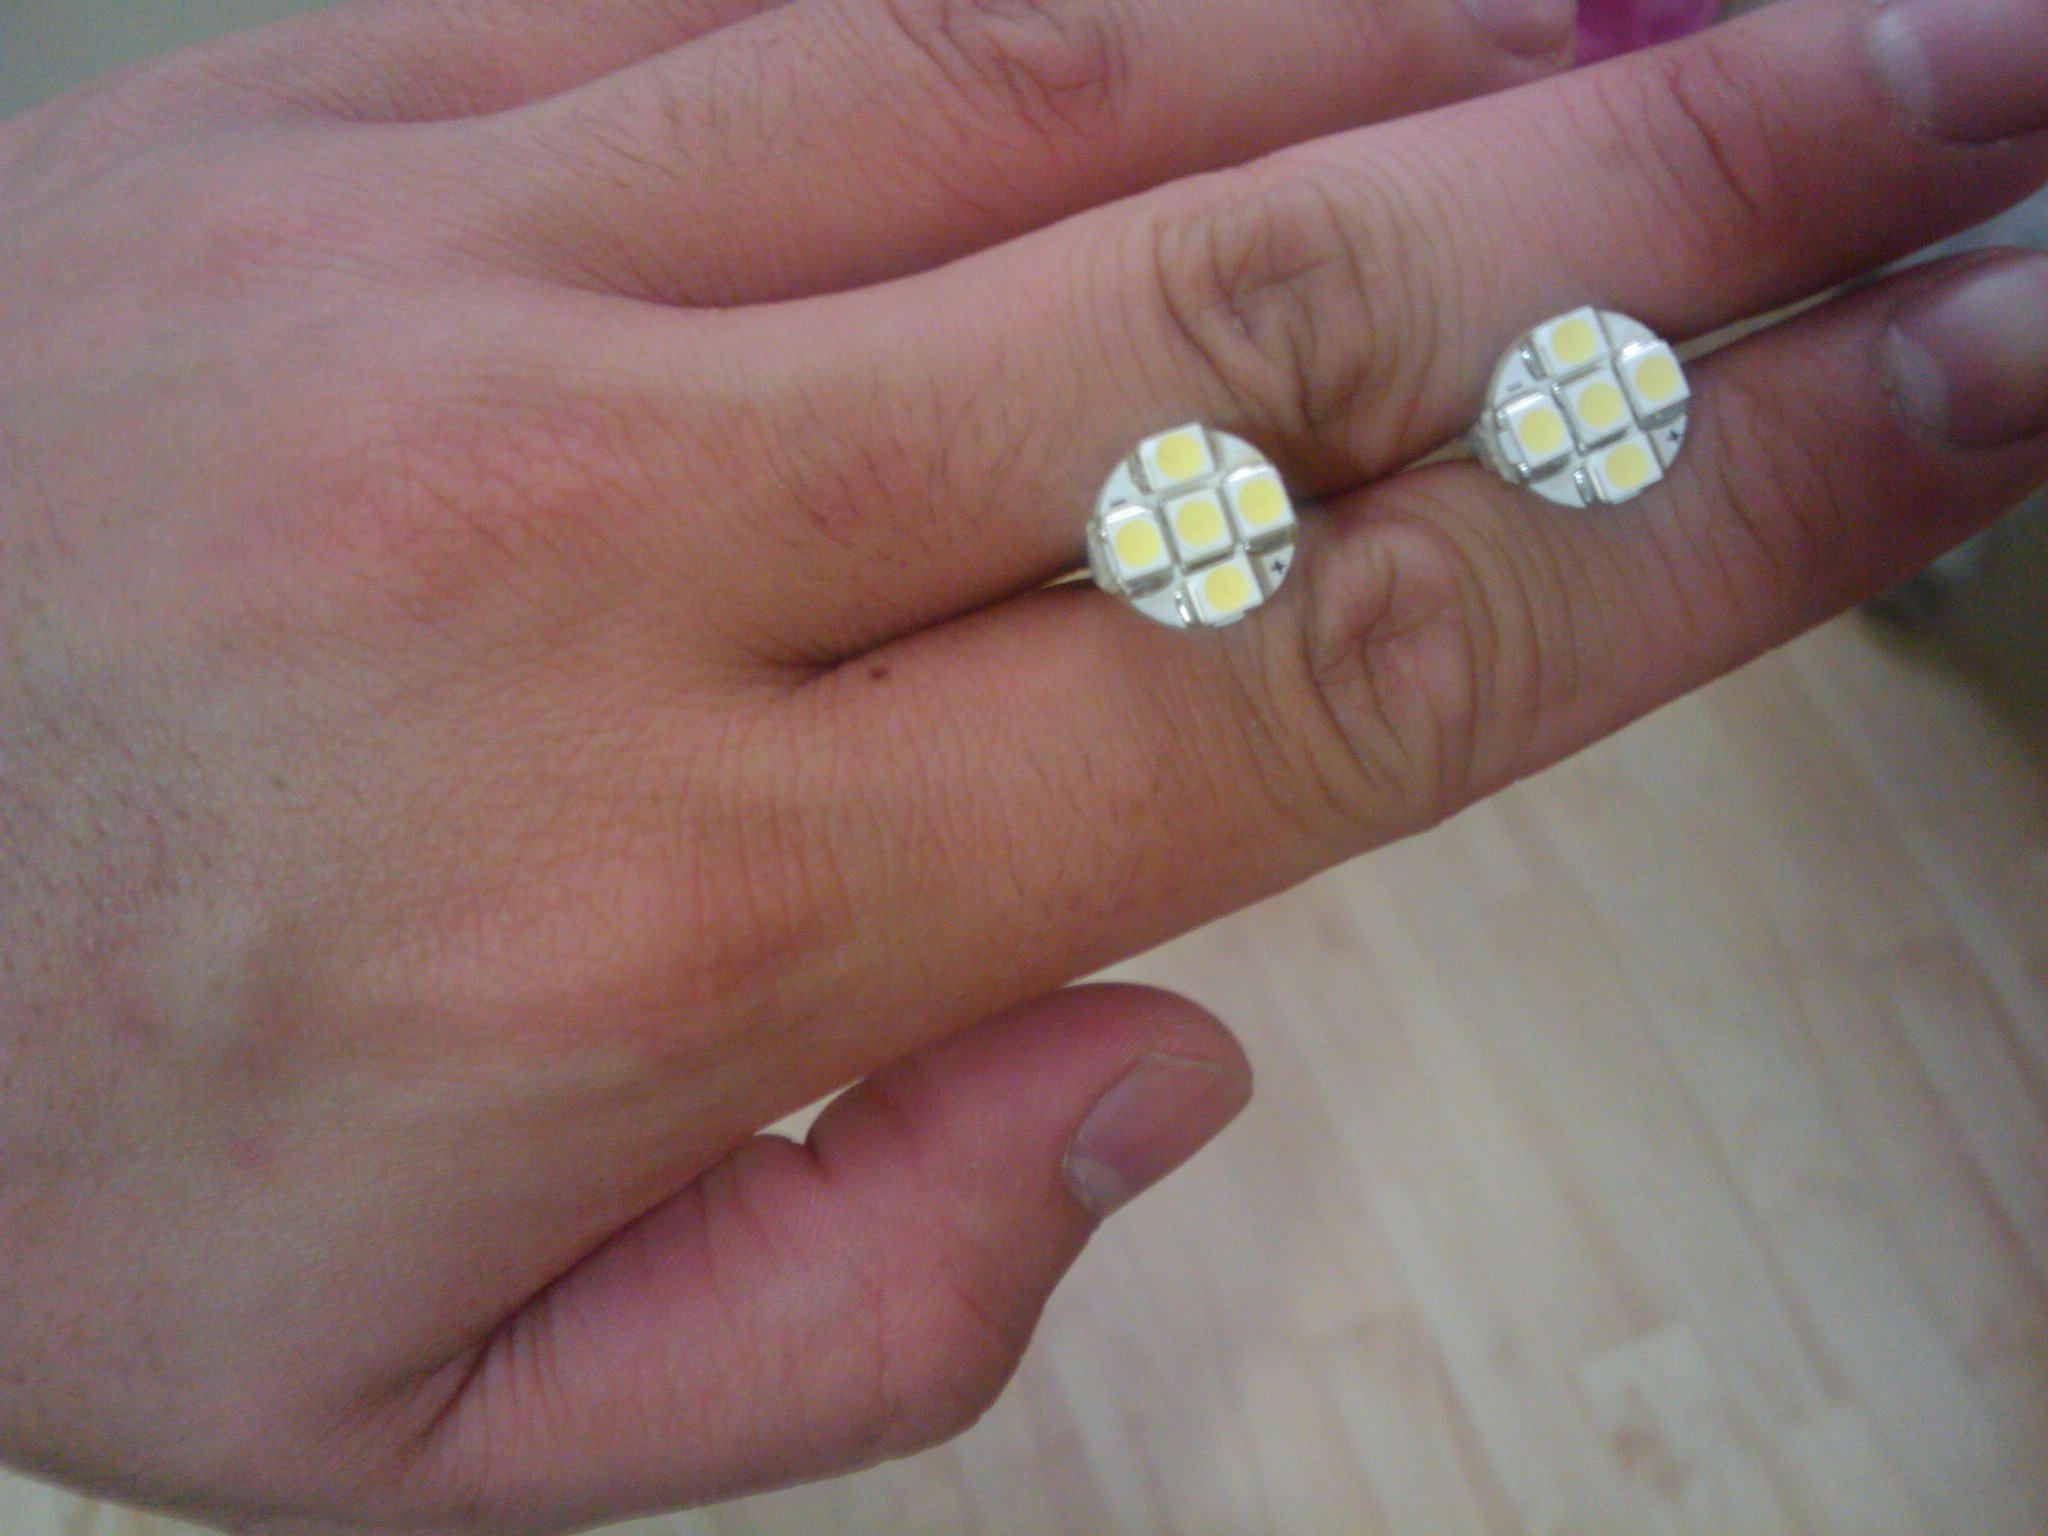
wut kind of pix? Just the bulb? I may use different versions depending on what I have stock. I may use a ONE SMD LED bulb which has 6 chips which equals to 6 LED brightness or a 5 SMD LED.
Here ya go:
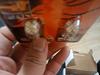

Here ya go:
 03-09-2010, 01:56 AM
#29
Contributors
Join Date: Jun 2008
Location: FT. Bliss Texas
Posts: 2,674
Likes: 0
Received 0 Likes
on
0 Posts
My Ride: 2008 528i, Space Grey, Nav, PDC, Premium, Sports, Grey Leather, Xenon, Cornering...
Sweet, thanks bro! I am still debating whether I should change my amber LEDs...
Killer deal everyone!
Killer deal everyone!
03-09-2010, 04:19 AM
#30
Contributors

Join Date: Mar 2007
Location: NYC, Rego Park, Queens
Posts: 5,434
Likes: 0
Received 0 Likes
on
0 Posts
My Ride: 2004 E60 530i, 2012 E70 X5 35i
Model Year: 2004
Got mine and installed it this evening.
Wow, super clean! I will have to try to post pics or vid of it or something.
Now I think my lighting needs are finally done! (well... maybe the reverse light... we'll see)
Anyway, I have to say though, maybe I am stupid at changing this out, but this was actually a lot of work for me. Took me about an hour because I couldn't get the damn thing to go back in correctly. At one point, when I did, the resistor wiring fell out, and I had to redo. But man, it is worth it though, lol.
Also, I note that there is not much heat dissipated by the resistor at all. So no worries about it dangling and melting anything, correct? (as opposed to the custom led angel eyes from before, those were HOT)
Wow, super clean! I will have to try to post pics or vid of it or something.
Now I think my lighting needs are finally done! (well... maybe the reverse light... we'll see)
Anyway, I have to say though, maybe I am stupid at changing this out, but this was actually a lot of work for me. Took me about an hour because I couldn't get the damn thing to go back in correctly. At one point, when I did, the resistor wiring fell out, and I had to redo. But man, it is worth it though, lol.
Also, I note that there is not much heat dissipated by the resistor at all. So no worries about it dangling and melting anything, correct? (as opposed to the custom led angel eyes from before, those were HOT)
Also, the resistor will get hot if you have the hazards on for long for leave the signal on for long. What I did was use a thick 16-14 gauge wire to mount it onto the turn signal tab. So it floats only on the wire and not on the plastic or the housing. Do you remember my DIY pics? very similar to that, but I've upgraded my resistor to something bigger since.
