
DIY Headlight Lens Restoration! Remove all Grim, Sun & Rock Da


Thread Starter
Contributors
Joined: Apr 2008
Posts: 891
Likes: 0
From: Miami, FL
My Ride: 2005 BMW 525i Black Sapphire Metalic/Auburn Interior, Sports Package, Premium Package, Side and Rear Sun Blinds, Bluetooth with IPhone connected.
Okay here it is guys... how to get to brand new headlights without spending over $2000! Here is a diy step by step how to get your headlights to brand new condition. I picked up this diy on the internet and modified it a bit for bmw headlights and added pictures. I give full credit for the person that made it. Okay, I changed up the grid of the wetsand paper to only using 1500 & 2000 grid. I felt like i really didnt need 1000 grid, only the damage on the top part of my headlights were in need to use 1000 grid wetsand, but instead i decide to just focus a bit more on the on top while wet sanding with the 1500 and 2000 grid not to over do it with the 1000. It did the job for me well!!! I am so happy now 
 i hated my head lights before and now they look amazing!!! Okay here it goes....
Heres the materials:
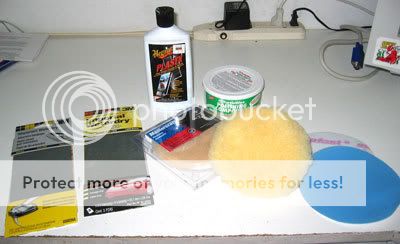
- 1000 Grit Sandpaper WetorDry (Opitional dont really recommend)
- 1500 Grit Sandpaper WetorDry
- 2000 Grit Sandpaper WetorDry
- Turtle wax polishing compound "and scratch remover"
- Meguiar's Plastx Clear Plastic Cleaner & Polish
- 2 Polishing/Buffer Pads with drill (or electric polisher if you have one)
- Clean rags
- Masking Tape
- Water (bottled)
Besides those items, you just need patience and time as it is about a 2 hr job.
Step 1. "Tape Up"
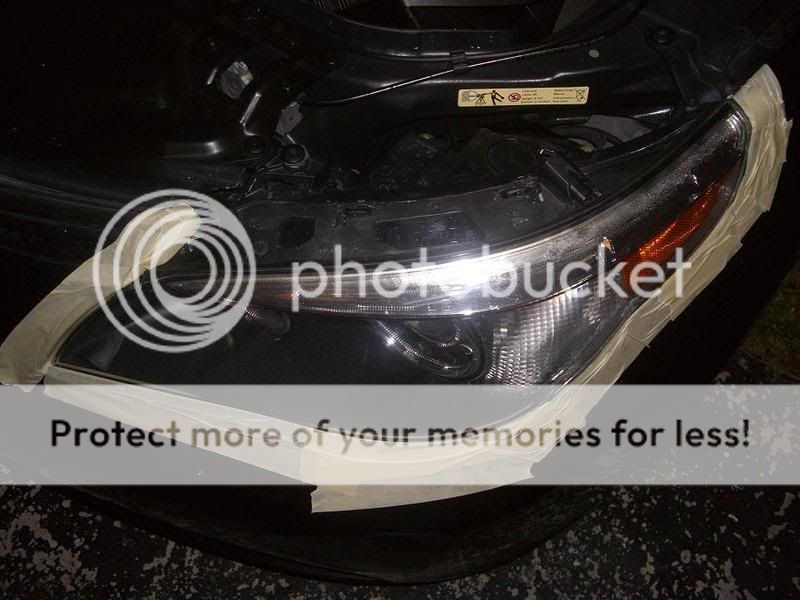
Get any kind of masking tape, and tape all around the headlights with the hood up so you won't accidentally scratch the paint finish.
Step 2. "Wet sand with 1000 grit sandpaper" (Opitional: take same steps But skip to 1500 grid)
Wet the sand paper (don't spare the water) and pure some water over the headlight and start sanding with a bit of force. Why i choose WET sanding is because its less abrasive and you can see results when the headlights are wet. I used side to side strokes instead of circles. Use lots of water, make sure the sandpaper is always wet. I spent probally 10 minutes per headlight. You will noticed that the headlights might of look worse then you started, but thats OK. because we want an EVEN sand, you will get a chalky paste as you sand. Once you get both headlights evenly sanded , proceed to step 3.
Step 3. 'Wet sand at 1500 grit"
First thing is to wet the headlights and wipe of any "chalky paste" from the the first sanding. to be honest, I may of spent 10 minutes on each headlight during this step. Thats because the real time to be spent is the 2000 grit. I used 1500 to speed the process up. So wet the sandpaper and headlight and once again, do side to side strokes . Keep the sandpaper wet at all times. I used 2 pieces of sandpaper per headlight. Sand until you can start to see the inside of the headlight better and less cloudy. After sanding to this point. Once it drys it will turn to a milky color. Don't worry its normal at this point.
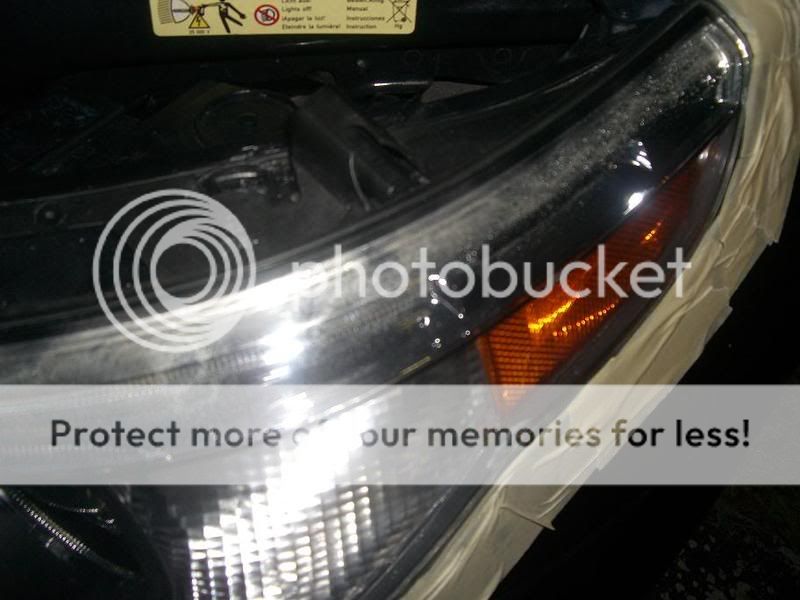
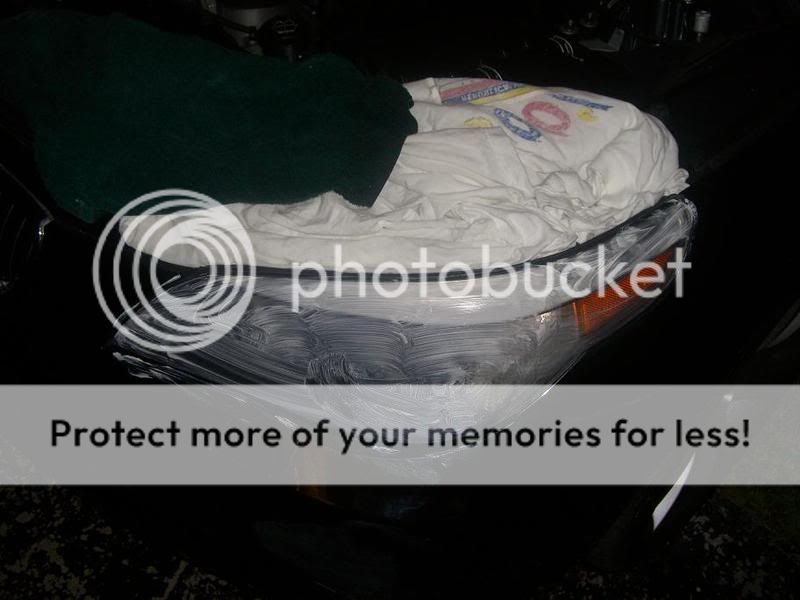
Step 4. "Wet sand at 2000 grit"
Once again, wet down the headlight , use a NEW clean rag and wipe the headlights clean. This is a very crucial and time consuming step. Approx 15-20. You may want to take a break first. You pretty much do the same side to side strokes with LOTS of water as you did in the last 2 steps. The difference here is, that you continue to sand until the headlights become almost new looking or at least close to your desired look (with water applied, it will still be cloudy dry). You know when you done when the lights look pretty clear when theres water on them.
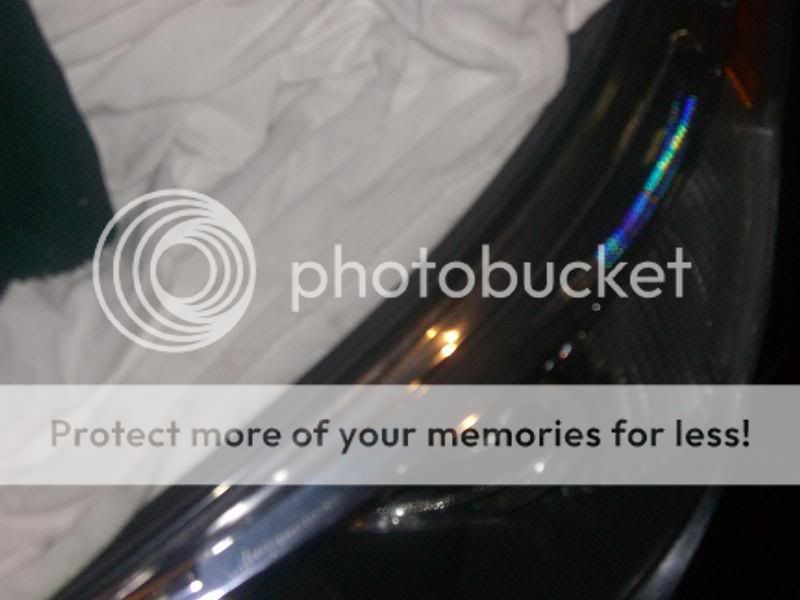
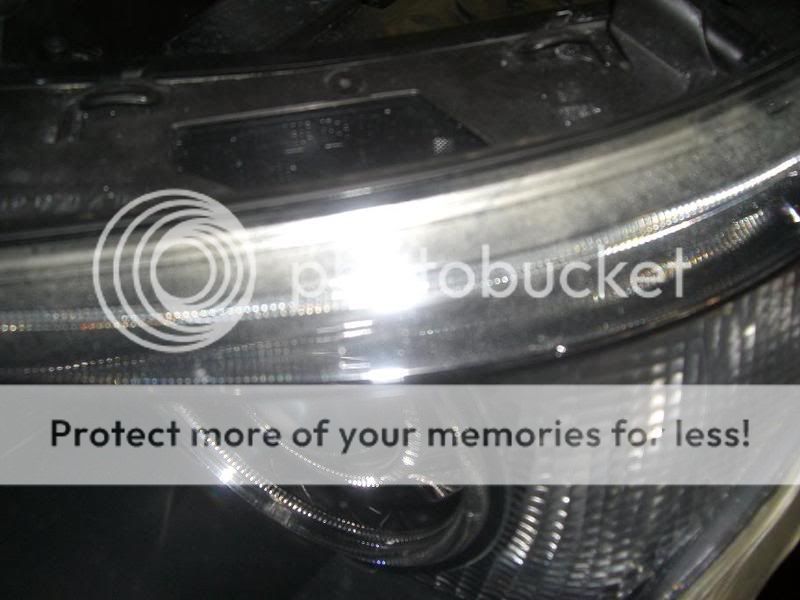
Heres a pic of when i was done sanding. (pretty cloudy looking)

Step 5. "Rubbing Compound and Polish"
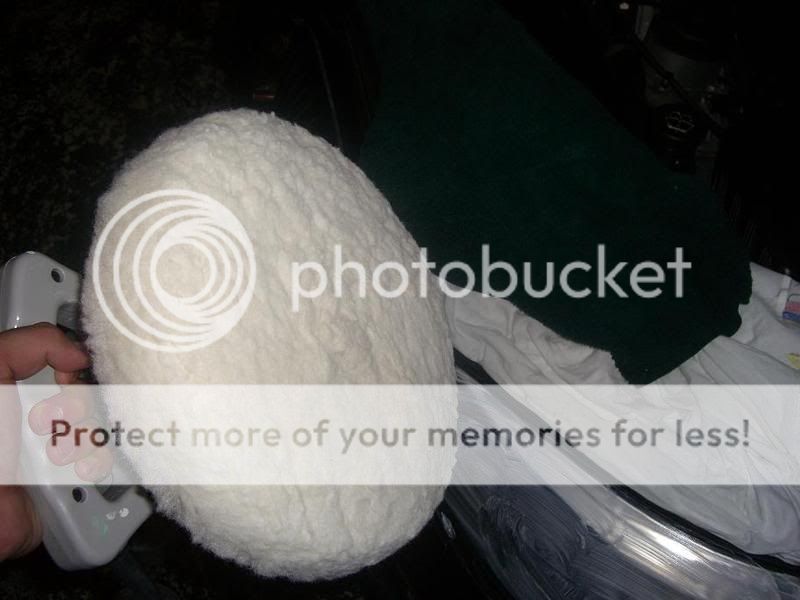
This is where the real magic happens. This is where your discouragement fades away like mine did. Even after the 2000 grit sanding drys theres still a cloudly look. Thats because theres millions of fine scratches that even the finest sandpaper can't get rid of. Thats where the "Turtlewax" polishing compound "and scratch remover" come in. This white paste will literlly remove the final scratches. If you have an actual polisher buffer then use that if not you can use a regular drill and buffering pad. I used buffer. After wiping the headlights clean again , I put a bit of the paste on a rag and apply it in circular motions on the headlight until its completely covered with a thin layer of the paste. I then start buffering the headlight until you start seeing the amazing clearity come through. I re-applied if about onces on each light. It will amaze you. Can can spend as much time on this as you want. I spent 10 minutes on each headlight. Some things to take note is if you stay in one too long it can scratch from the paste itself (just takes longer to buffer it out) and keep cleaning of the buffering pad to get rid of little chunks of paste buildup.
Step 6. "Final Polish"
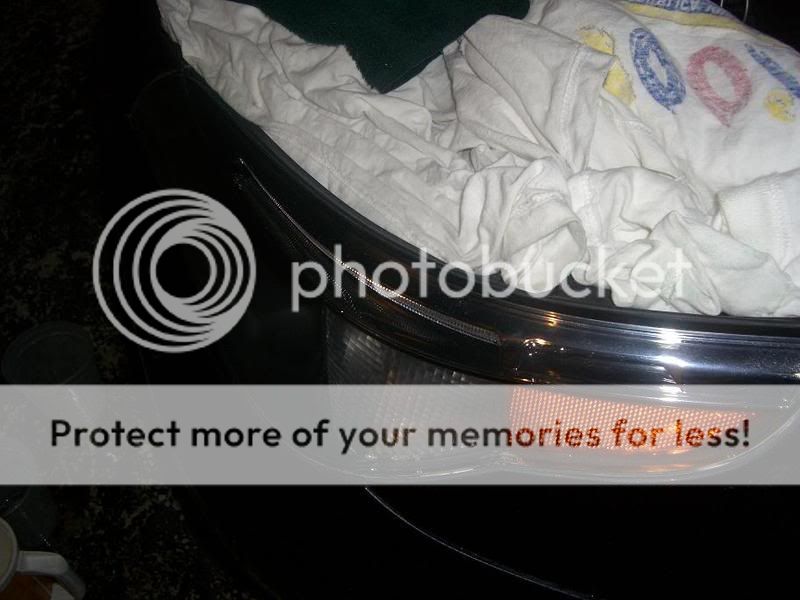
This is the final step before tape removal and wipe down. You may not find it neccessary but I wanted to get a final "polish" done with PlastX by Meguiar. I heard wonders so i wanted to finish off with this. I changed the buffering pad (you probally could of cleaned the other but I had 2 anyways) . I followed the same steps as Step 5 (about 10 minutes each) and volla. Its finished. You then remove the tape and wipe down the bumper if you haven't covered it up. My end result was this
i hated my head lights before and now they look amazing!!! Okay here it goes....Heres the materials:
- 1000 Grit Sandpaper WetorDry (Opitional dont really recommend)
- 1500 Grit Sandpaper WetorDry
- 2000 Grit Sandpaper WetorDry
- Turtle wax polishing compound "and scratch remover"
- Meguiar's Plastx Clear Plastic Cleaner & Polish
- 2 Polishing/Buffer Pads with drill (or electric polisher if you have one)
- Clean rags
- Masking Tape
- Water (bottled)
Besides those items, you just need patience and time as it is about a 2 hr job.
Step 1. "Tape Up"
Get any kind of masking tape, and tape all around the headlights with the hood up so you won't accidentally scratch the paint finish.
Step 2. "Wet sand with 1000 grit sandpaper" (Opitional: take same steps But skip to 1500 grid)
Wet the sand paper (don't spare the water) and pure some water over the headlight and start sanding with a bit of force. Why i choose WET sanding is because its less abrasive and you can see results when the headlights are wet. I used side to side strokes instead of circles. Use lots of water, make sure the sandpaper is always wet. I spent probally 10 minutes per headlight. You will noticed that the headlights might of look worse then you started, but thats OK. because we want an EVEN sand, you will get a chalky paste as you sand. Once you get both headlights evenly sanded , proceed to step 3.
Step 3. 'Wet sand at 1500 grit"
First thing is to wet the headlights and wipe of any "chalky paste" from the the first sanding. to be honest, I may of spent 10 minutes on each headlight during this step. Thats because the real time to be spent is the 2000 grit. I used 1500 to speed the process up. So wet the sandpaper and headlight and once again, do side to side strokes . Keep the sandpaper wet at all times. I used 2 pieces of sandpaper per headlight. Sand until you can start to see the inside of the headlight better and less cloudy. After sanding to this point. Once it drys it will turn to a milky color. Don't worry its normal at this point.
Step 4. "Wet sand at 2000 grit"
Once again, wet down the headlight , use a NEW clean rag and wipe the headlights clean. This is a very crucial and time consuming step. Approx 15-20. You may want to take a break first. You pretty much do the same side to side strokes with LOTS of water as you did in the last 2 steps. The difference here is, that you continue to sand until the headlights become almost new looking or at least close to your desired look (with water applied, it will still be cloudy dry). You know when you done when the lights look pretty clear when theres water on them.
Heres a pic of when i was done sanding. (pretty cloudy looking)
Step 5. "Rubbing Compound and Polish"
This is where the real magic happens. This is where your discouragement fades away like mine did. Even after the 2000 grit sanding drys theres still a cloudly look. Thats because theres millions of fine scratches that even the finest sandpaper can't get rid of. Thats where the "Turtlewax" polishing compound "and scratch remover" come in. This white paste will literlly remove the final scratches. If you have an actual polisher buffer then use that if not you can use a regular drill and buffering pad. I used buffer. After wiping the headlights clean again , I put a bit of the paste on a rag and apply it in circular motions on the headlight until its completely covered with a thin layer of the paste. I then start buffering the headlight until you start seeing the amazing clearity come through. I re-applied if about onces on each light. It will amaze you. Can can spend as much time on this as you want. I spent 10 minutes on each headlight. Some things to take note is if you stay in one too long it can scratch from the paste itself (just takes longer to buffer it out) and keep cleaning of the buffering pad to get rid of little chunks of paste buildup.
Step 6. "Final Polish"
This is the final step before tape removal and wipe down. You may not find it neccessary but I wanted to get a final "polish" done with PlastX by Meguiar. I heard wonders so i wanted to finish off with this. I changed the buffering pad (you probally could of cleaned the other but I had 2 anyways) . I followed the same steps as Step 5 (about 10 minutes each) and volla. Its finished. You then remove the tape and wipe down the bumper if you haven't covered it up. My end result was this
Thread Starter
Contributors
Joined: Apr 2008
Posts: 891
Likes: 0
From: Miami, FL
My Ride: 2005 BMW 525i Black Sapphire Metalic/Auburn Interior, Sports Package, Premium Package, Side and Rear Sun Blinds, Bluetooth with IPhone connected.
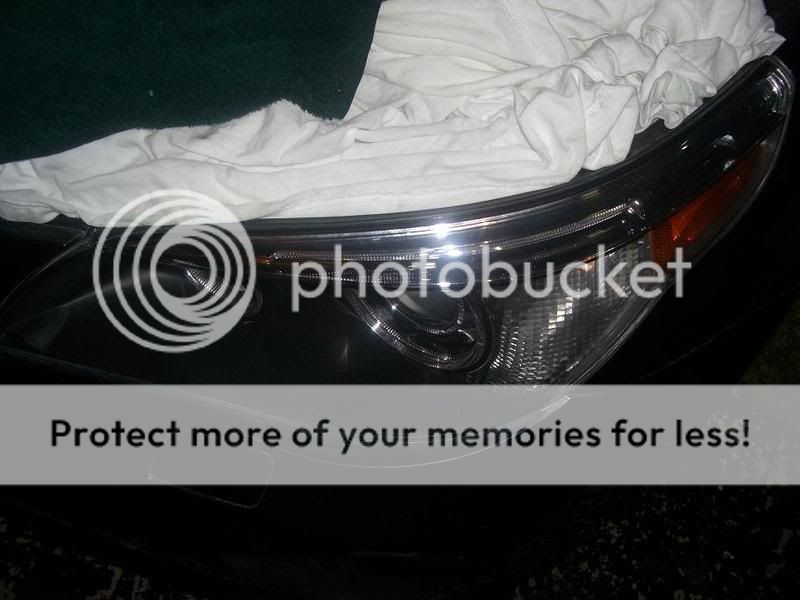
HERE'S ARE SOME BEFORE AND AFTER PICTURES.
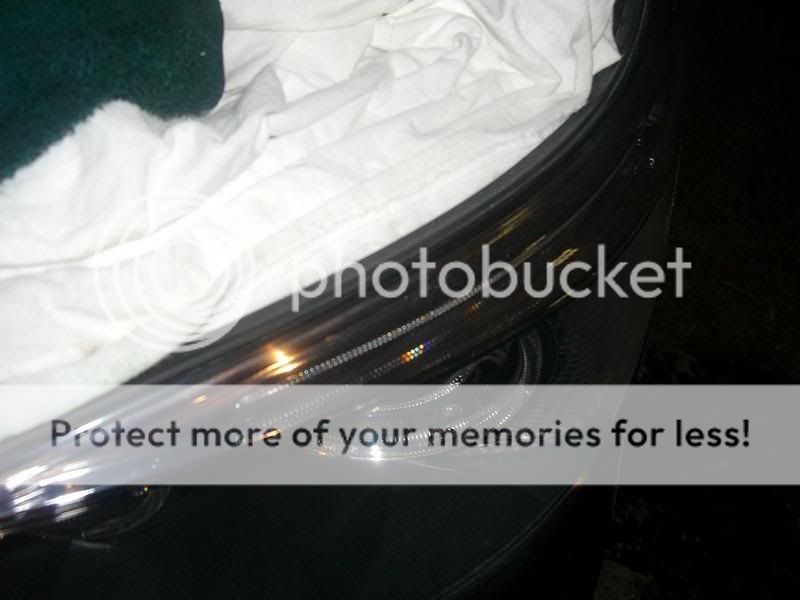
BEFORE:
AFTER:
BEFORE:
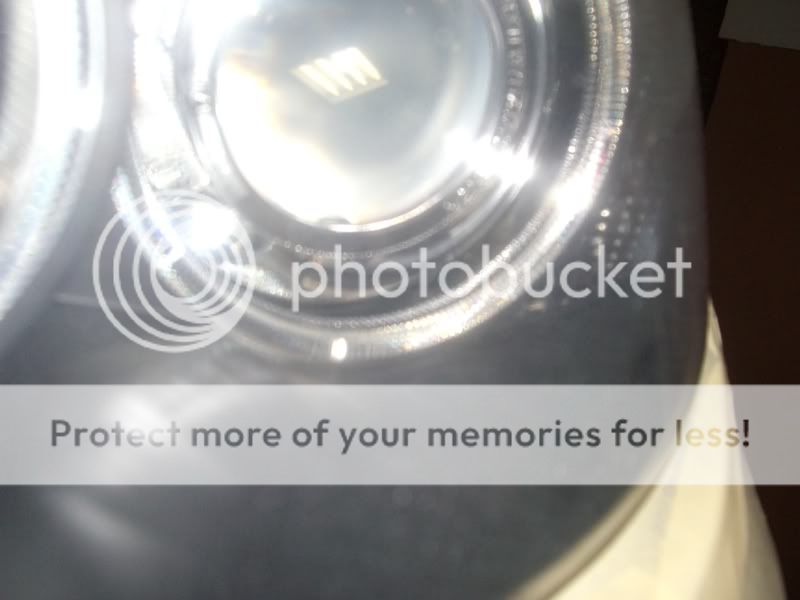
AFTER:
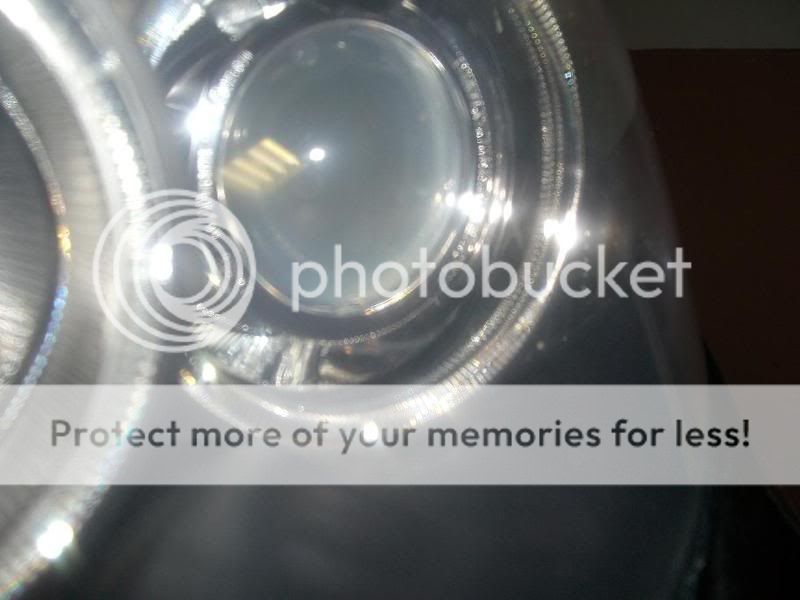
BEFORE:
AFTER:
BEFORE:
AFTER:

Contributors
Joined: Apr 2008
Posts: 2,596
Likes: 0
From: New Jersey
My Ride: '05 545 Titanium Silver, Black Leather - Nav, Logic 7, Cold weather.
Mods:
Carbon filter removed.
M5 iDrive knob.
Umnitza license plate LEDs.
MP3
40% 3M tint
ACS Anti-Roll(sway) bars
RPI Scoop
G-tech Pro RR
CF Roundels
CF Wheel caps
Yeah nice write up! Did you have any stone chip damage on those or was it just grime? I was thinking of doing this to mine but worry that I'll just see the chips a little clearer!
Thread Starter
Contributors
Joined: Apr 2008
Posts: 891
Likes: 0
From: Miami, FL
My Ride: 2005 BMW 525i Black Sapphire Metalic/Auburn Interior, Sports Package, Premium Package, Side and Rear Sun Blinds, Bluetooth with IPhone connected.
Originally Posted by Brit_in_NJ' post='610635' date='Jun 26 2008, 01:57 PM
Yeah nice write up! Did you have any stone chip damage on those or was it just grime? I was thinking of doing this to mine but worry that I'll just see the chips a little clearer!

Thread Starter
Contributors
Joined: Apr 2008
Posts: 891
Likes: 0
From: Miami, FL
My Ride: 2005 BMW 525i Black Sapphire Metalic/Auburn Interior, Sports Package, Premium Package, Side and Rear Sun Blinds, Bluetooth with IPhone connected.
Originally Posted by bteljuice1' post='610659' date='Jun 26 2008, 02:21 PM
thx elite. tomrrow going to the local store and buying everything. How much did u pay total.like 50$?
- 1000 Grit Sandpaper WetorDry (Opitional dont really recommend)
- 1500 Grit Sandpaper WetorDry $4
- 2000 Grit Sandpaper WetorDry $4
- Turtle wax polishing compound "and scratch remover" $3.50
- Meguiar's Plastx Clear Plastic Cleaner & Polish $6.50
- 2 Polishing/Buffer Pads with drill (or electric polisher if you have one) $5
- Clean rags... HAD
- Masking Tape...HAD
- Water (bottled)...HAD
TOTAL ABOUT $23
Contributors
Joined: Jan 2008
Posts: 1,870
Likes: 0
From: Vancouver, Canada/ Beirut, Lebanon
Clean rags... HAD
- Masking Tape...HAD
- Water (bottled)...HAD
hahahaha
wow, i expected to get 50$
pretty cheap detailling i might say.i dont have chips on my lens,so im only buying the Meguiar's Plastx Clear Plastic Cleaner & Polish $6.50
no need for sandpaper
- Masking Tape...HAD
- Water (bottled)...HAD
hahahaha
wow, i expected to get 50$
pretty cheap detailling i might say.i dont have chips on my lens,so im only buying the Meguiar's Plastx Clear Plastic Cleaner & Polish $6.50
no need for sandpaper