
Headlight Restoration with homemade UV sealant.

Thread Starter
Members
Joined: Nov 2010
Posts: 20
Likes: 0
From: Rochester, NY
My Ride: 2004 545i, 6-speed manual, Sport/Premium/CW packages, HUD, Sunshade, Active Steering, Logic7
Hey Guys,
After reading numerous threads here about headlight restorations and the responses by members of yellowing occurring soon after, or warnings that it will. I decided to try and find a UV sealant. I've known about Lamin-x and other protective films, but wanted to try and see if a diy (and possibly homemade) clearcoat solution was still a possibility.
So, I found this link:
http://www.autogeekonline.net/forum/...lant-idea.html
And they are reporting that this method has lasted over a year and a half (with pics) and people are reporting 2 years or more. That was enough to get me interested.
Just wanted to share with you the results of my experiment in trying out this homemade UV sealant after restoring my headlights. (Yea, probably wasn't the best idea to be doing this for the first time on my 545, but I'm glad it worked out.)
Restoration:
Sanding Block
600 grit sandpaper
1000 grit sandpaper
1500 grit sandpaper
2000 grit sandpaper
Meguiars PlastX
6" Orbital Polisher
Blue shop paper towels
UV Coating:
Helmsman Spar Urethane(Indoor/Outdoor)Clear Gloss
Kleen Strip Odorless Mineral Spirits
I removed the headlights completely for this, which made it a lot easier.
I began hand sanding for about 15 mins (I read a thread where a guy restored his e90 headlights to like new, and he recommended to hand sand each step for at least 20 mins).
- I realized that I still had some pitting that was going to take a while if I kept up with the 600, luckily I had some 400 sitting around so I switched to that.
After going thru all the sanding steps for about 15-20 mins each, I applied the PlastX with the polisher, cleaned it, then buffed with the wool attachement.
Now for the fun part, as per the instructions in the other thread, and somewhere the OP recommended to first wipe the lens down with the mineral spirits.
I then mixed 1 part urethane, and 1 part mineral spirits and dipped a blue shop towel in the mixture, then using horizontal strokes, starting at the top, I applied a coat with the shop towel.
After about 5-10 mins the streaks had blended in and everything looked pretty sweet.
Then a giant grain of dust settled right in the middle, so after a long 4 letter rant, I simply wiped the urethane mixture off with the mineral spirits, and then reapplied. Easy enough.
If you wait too long and the urethane has already cured, you'll have to sand it off and start all over.
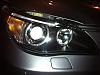
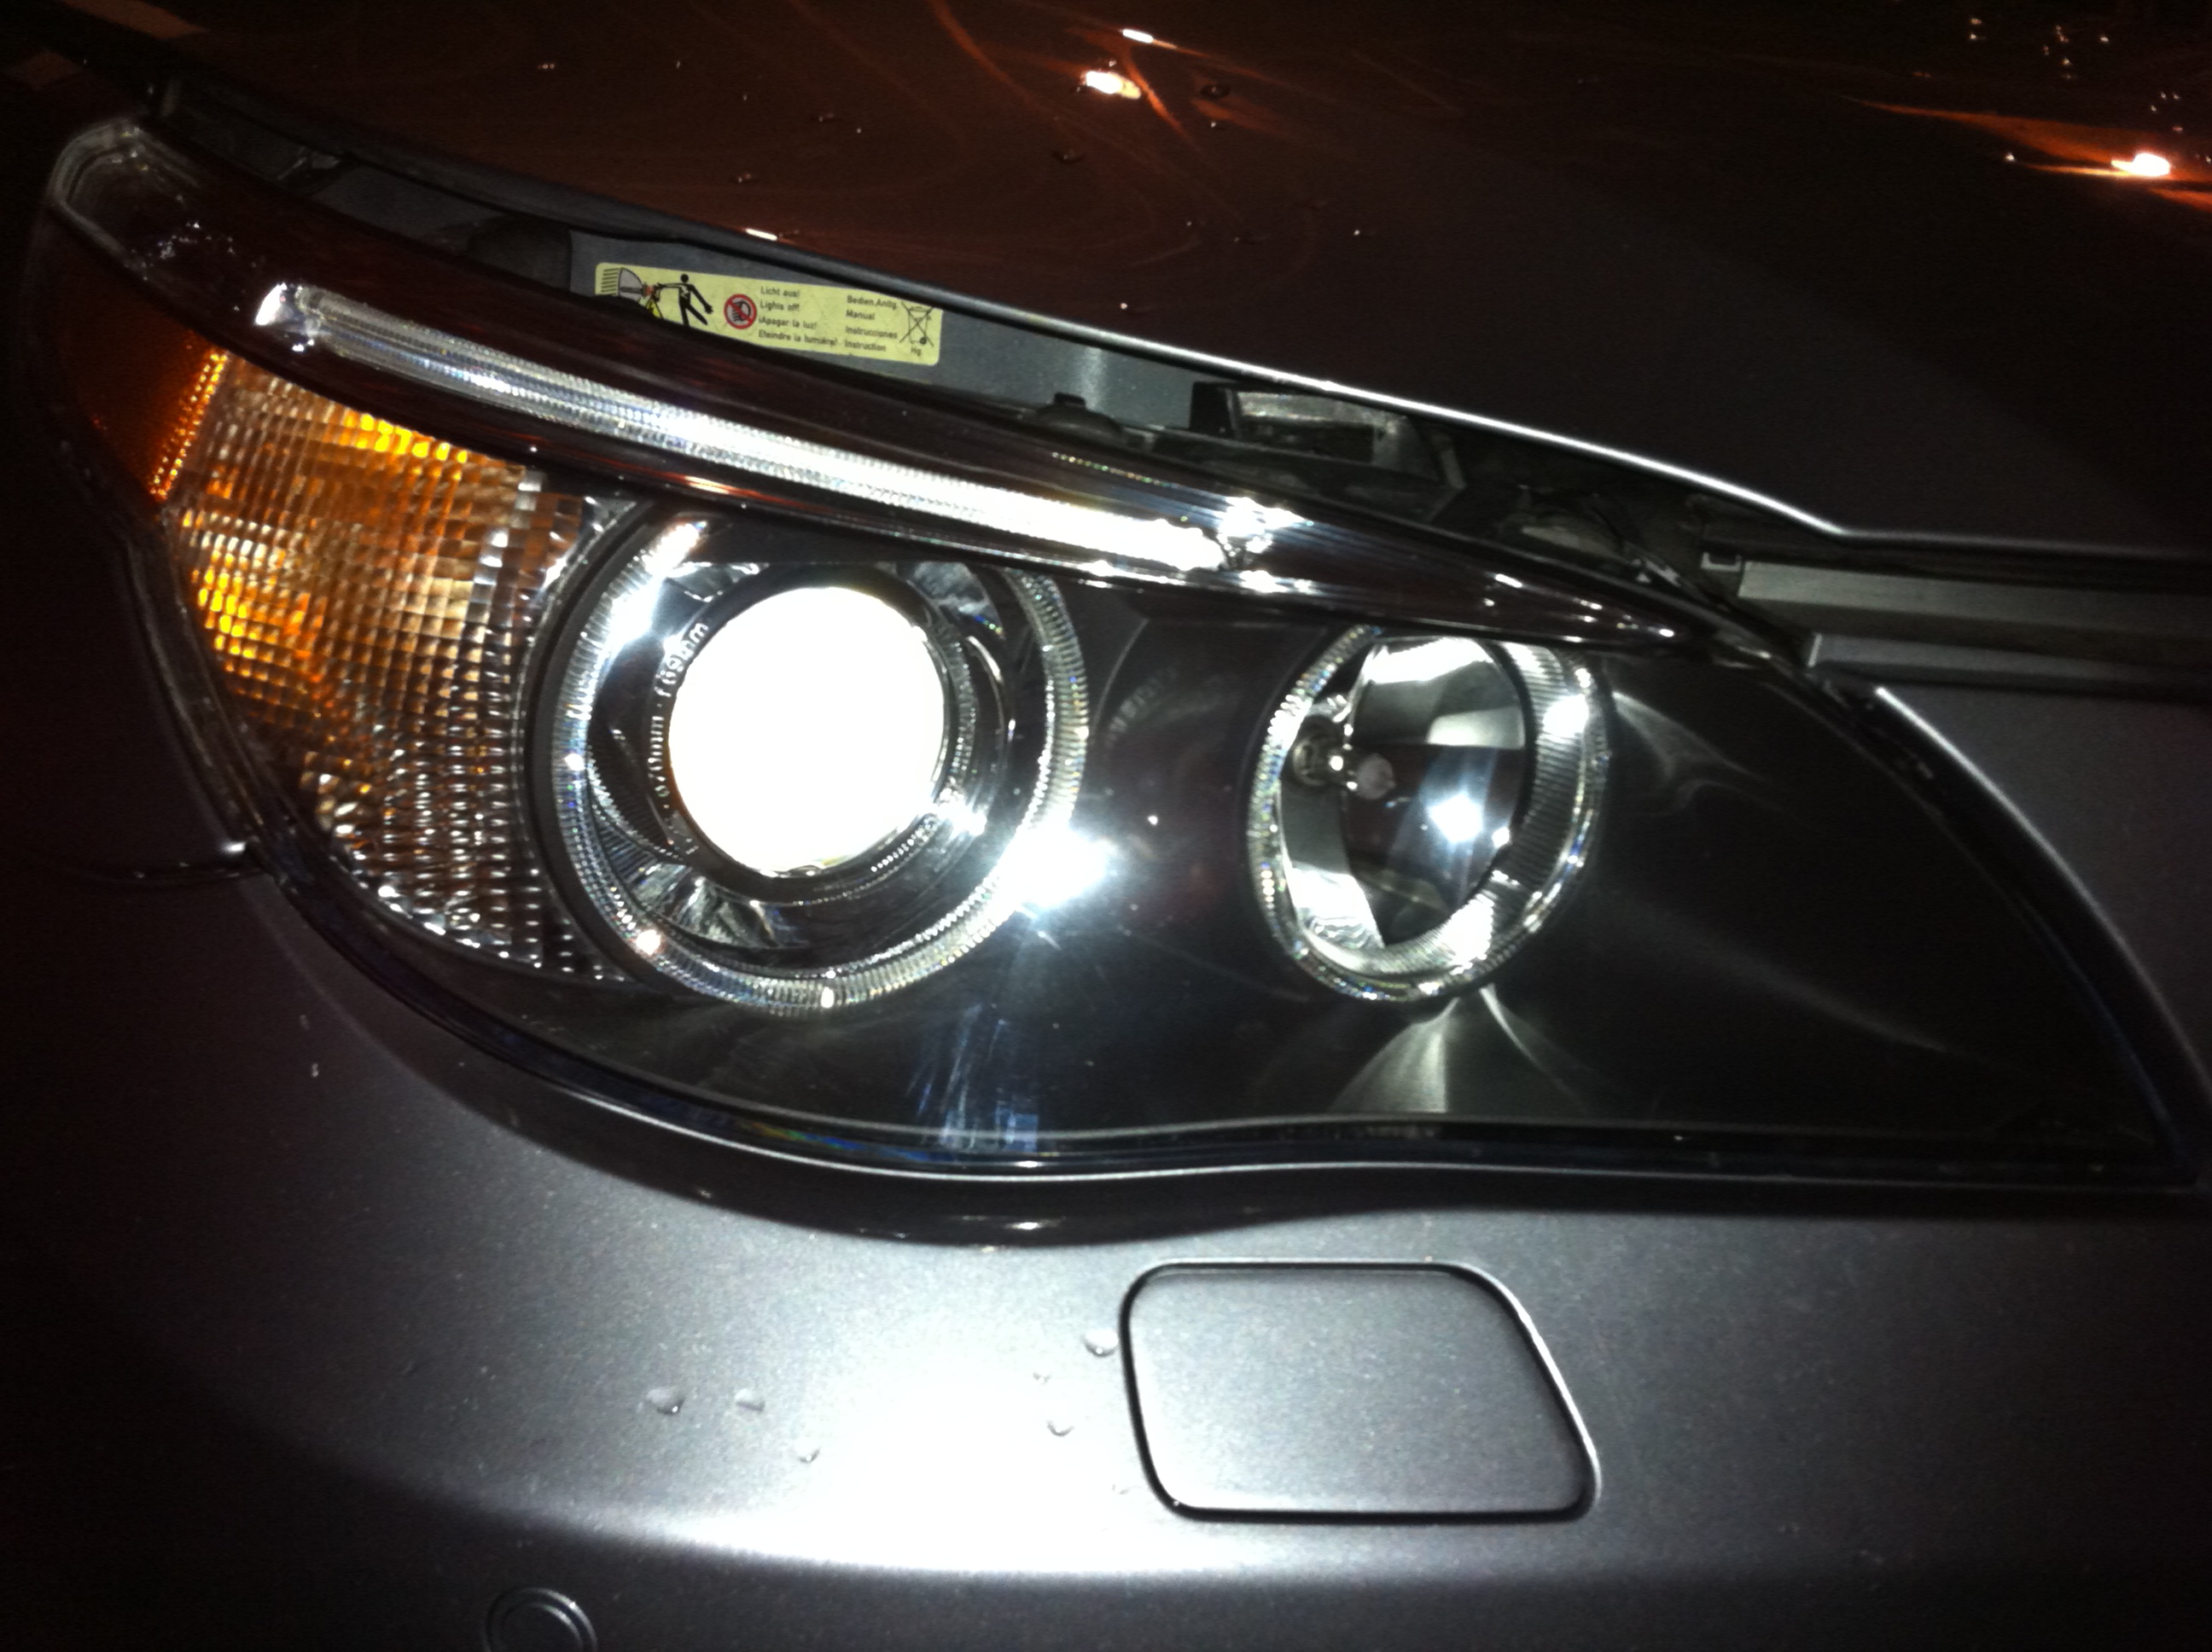
But anyway, the results speak for themselves and the best part, I think, is that the lens appears now to have a high gloss finish.
I apologize, I did not take before or step by step pics.
I think it turned out pretty well. I will say that this was a very arduous diy, taking over a couple hours, plus another couple while I waited for the urethane to cure. You probably could speed up the process if you didn't remove the lights and just turn your high beams on for a little while.
Let me know what you guys think. I'll update this thread in 6 months or so, to let you know how this UV sealant is holding up.
After reading numerous threads here about headlight restorations and the responses by members of yellowing occurring soon after, or warnings that it will. I decided to try and find a UV sealant. I've known about Lamin-x and other protective films, but wanted to try and see if a diy (and possibly homemade) clearcoat solution was still a possibility.
So, I found this link:
http://www.autogeekonline.net/forum/...lant-idea.html
And they are reporting that this method has lasted over a year and a half (with pics) and people are reporting 2 years or more. That was enough to get me interested.
Just wanted to share with you the results of my experiment in trying out this homemade UV sealant after restoring my headlights. (Yea, probably wasn't the best idea to be doing this for the first time on my 545, but I'm glad it worked out.)
Restoration:
Sanding Block
600 grit sandpaper
1000 grit sandpaper
1500 grit sandpaper
2000 grit sandpaper
Meguiars PlastX
6" Orbital Polisher
Blue shop paper towels
UV Coating:
Helmsman Spar Urethane(Indoor/Outdoor)Clear Gloss
Kleen Strip Odorless Mineral Spirits
I removed the headlights completely for this, which made it a lot easier.
I began hand sanding for about 15 mins (I read a thread where a guy restored his e90 headlights to like new, and he recommended to hand sand each step for at least 20 mins).
- I realized that I still had some pitting that was going to take a while if I kept up with the 600, luckily I had some 400 sitting around so I switched to that.
After going thru all the sanding steps for about 15-20 mins each, I applied the PlastX with the polisher, cleaned it, then buffed with the wool attachement.
Now for the fun part, as per the instructions in the other thread, and somewhere the OP recommended to first wipe the lens down with the mineral spirits.
I then mixed 1 part urethane, and 1 part mineral spirits and dipped a blue shop towel in the mixture, then using horizontal strokes, starting at the top, I applied a coat with the shop towel.
After about 5-10 mins the streaks had blended in and everything looked pretty sweet.
Then a giant grain of dust settled right in the middle, so after a long 4 letter rant, I simply wiped the urethane mixture off with the mineral spirits, and then reapplied. Easy enough.
If you wait too long and the urethane has already cured, you'll have to sand it off and start all over.
But anyway, the results speak for themselves and the best part, I think, is that the lens appears now to have a high gloss finish.
I apologize, I did not take before or step by step pics.

I think it turned out pretty well. I will say that this was a very arduous diy, taking over a couple hours, plus another couple while I waited for the urethane to cure. You probably could speed up the process if you didn't remove the lights and just turn your high beams on for a little while.
Let me know what you guys think. I'll update this thread in 6 months or so, to let you know how this UV sealant is holding up.
 well done !!!
Thread Starter
Members
Joined: Nov 2010
Posts: 20
Likes: 0
From: Rochester, NY
My Ride: 2004 545i, 6-speed manual, Sport/Premium/CW packages, HUD, Sunshade, Active Steering, Logic7
Thanks for the compliments guys. Most appreciated.
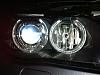
Does anyone know how to remove the fog light lens? I'm looking to do the same restoration on those 2.
Does anyone know how to remove the fog light lens? I'm looking to do the same restoration on those 2.
Contributors
Joined: Jan 2007
Posts: 2,661
Likes: 2
From: (Sonoma County)Santa Rosa, CA

Members
Senior Members
Joined: May 2011
Posts: 551
Likes: 0
From: Long Island, NY
My Ride: 2005 E60 545i Manual, Sport, L7
Model Year: 2005
I tried this just for side markers and the results where much bettter than buffing. But I did not buff it at all used 3000 sandpaper for last and applied the mixture directly as I read more about it the mixture has to hold on something. I am going to do it on my headlights

