BMW E60 under-seat Sub Spacers
 11-11-2010 | 01:26 PM
#1

Thread Starter
Members
Joined: Sep 2010
Posts: 79
Likes: 0
From: Isle of man
Hi Everyone,
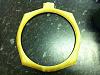
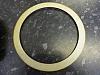
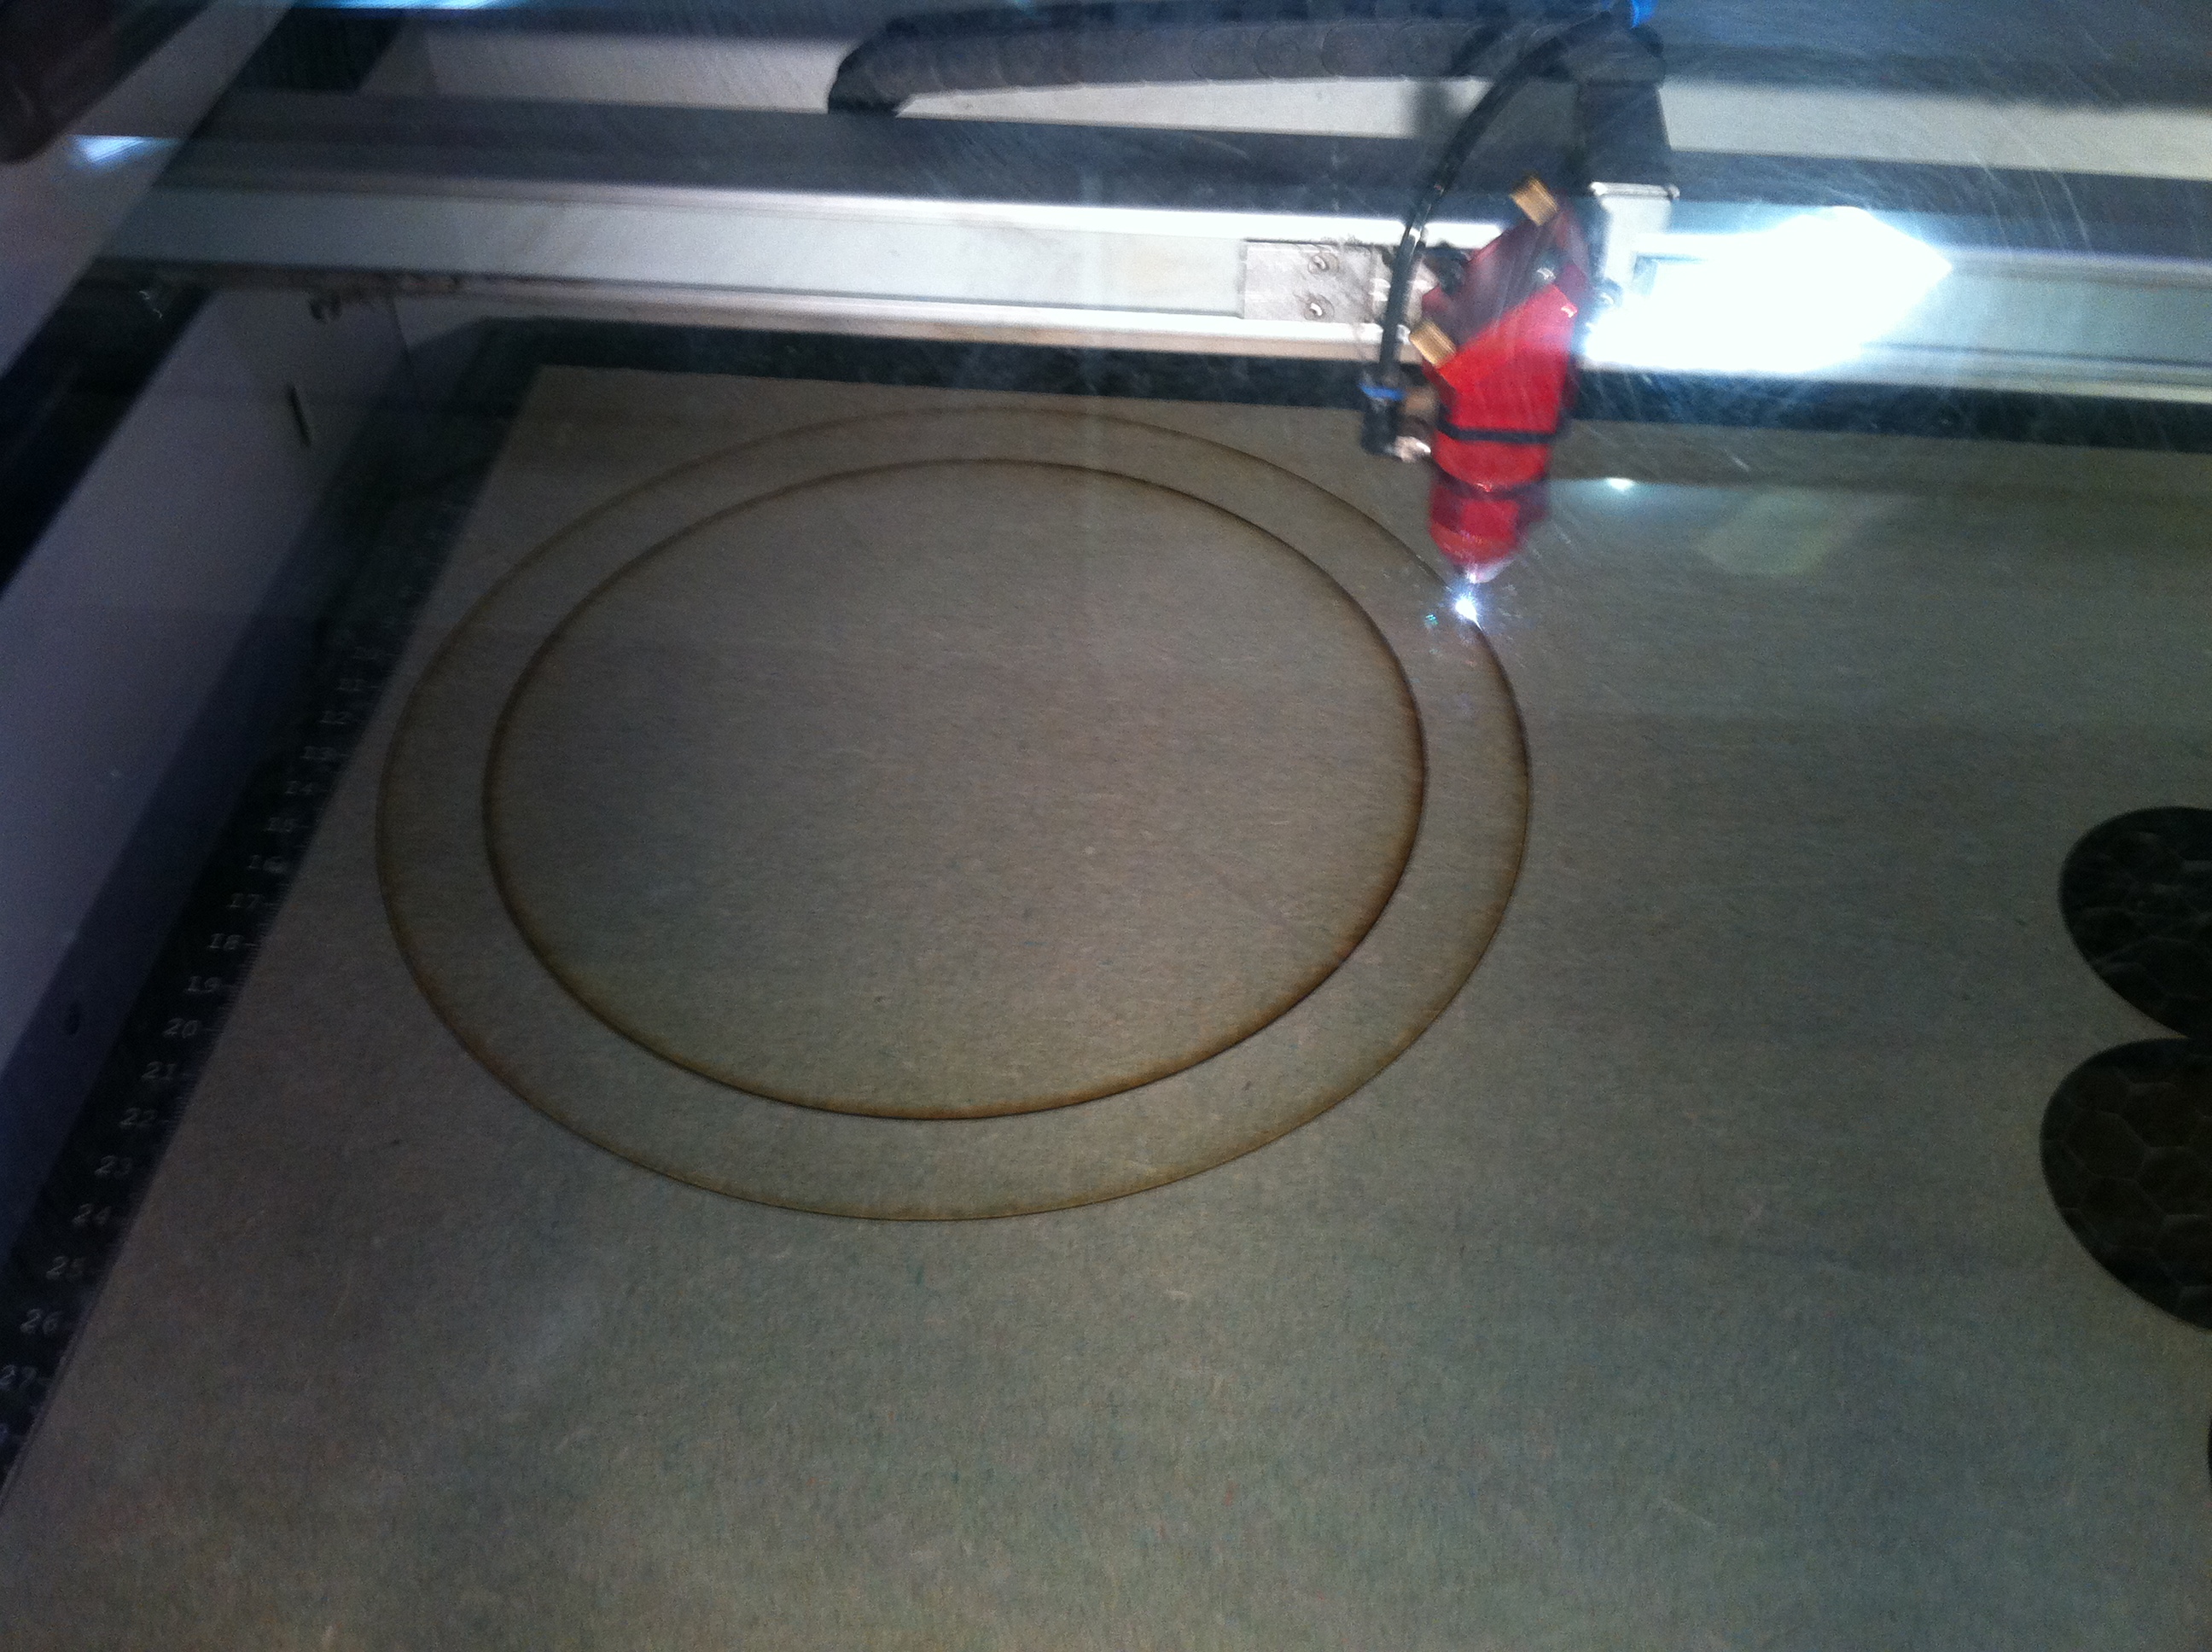
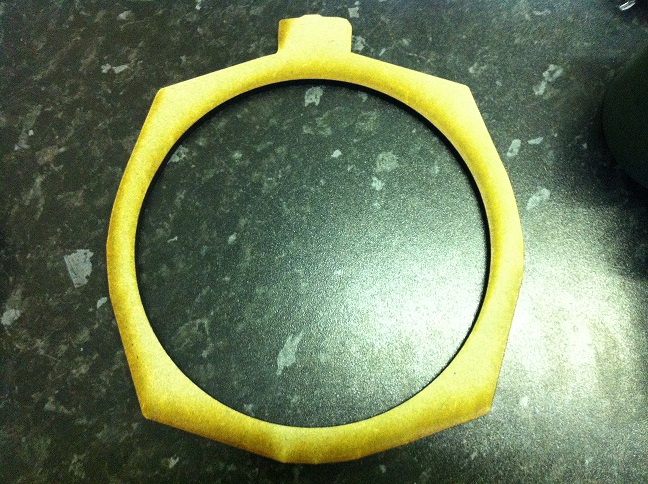
I've created a template on 2D Design, to create spacers as well as 8" Rings for my under-seat Sub-woofer project which I fitting 2 x Pioneers TS-SW841D Shallow Type SubWoofer.
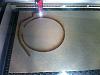

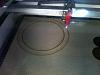
I can make these spacers in MDF 6mm Thick on a Laser Cutter from the template.
Is anyone interested in a set for there earthquake SW-8 or even Pioneer? PM for price and request on with you need
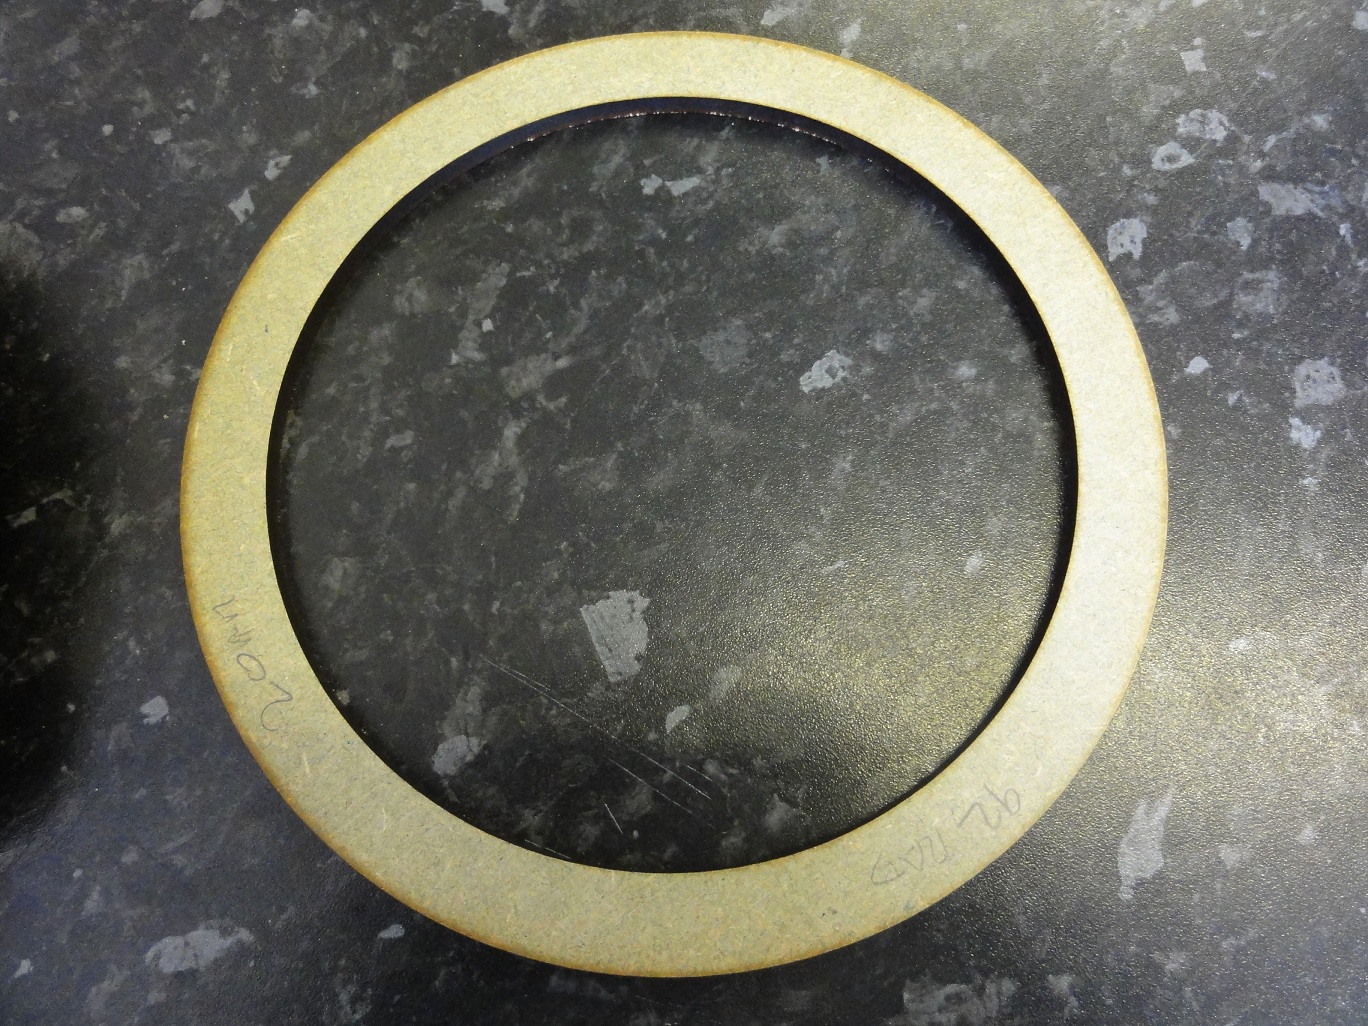
I've used two Spacers together + 1 8" Ring to give the Pioneer sub the right height required for the BMW enclosure ( E60 ), i'll post further pics off them together tomorrow installed in the enclosure
I've created a template on 2D Design, to create spacers as well as 8" Rings for my under-seat Sub-woofer project which I fitting 2 x Pioneers TS-SW841D Shallow Type SubWoofer.
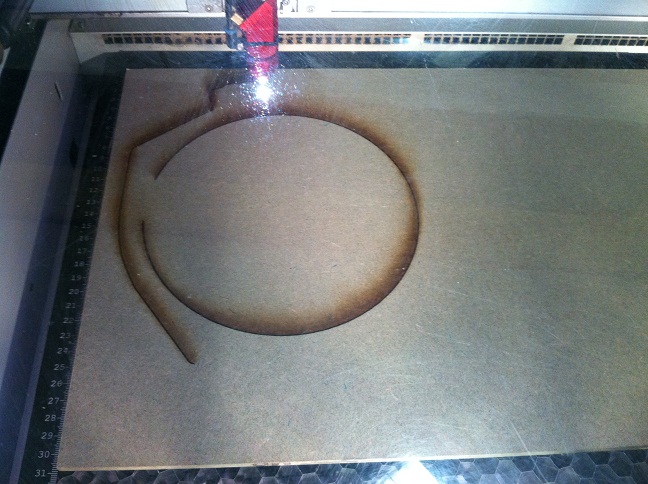
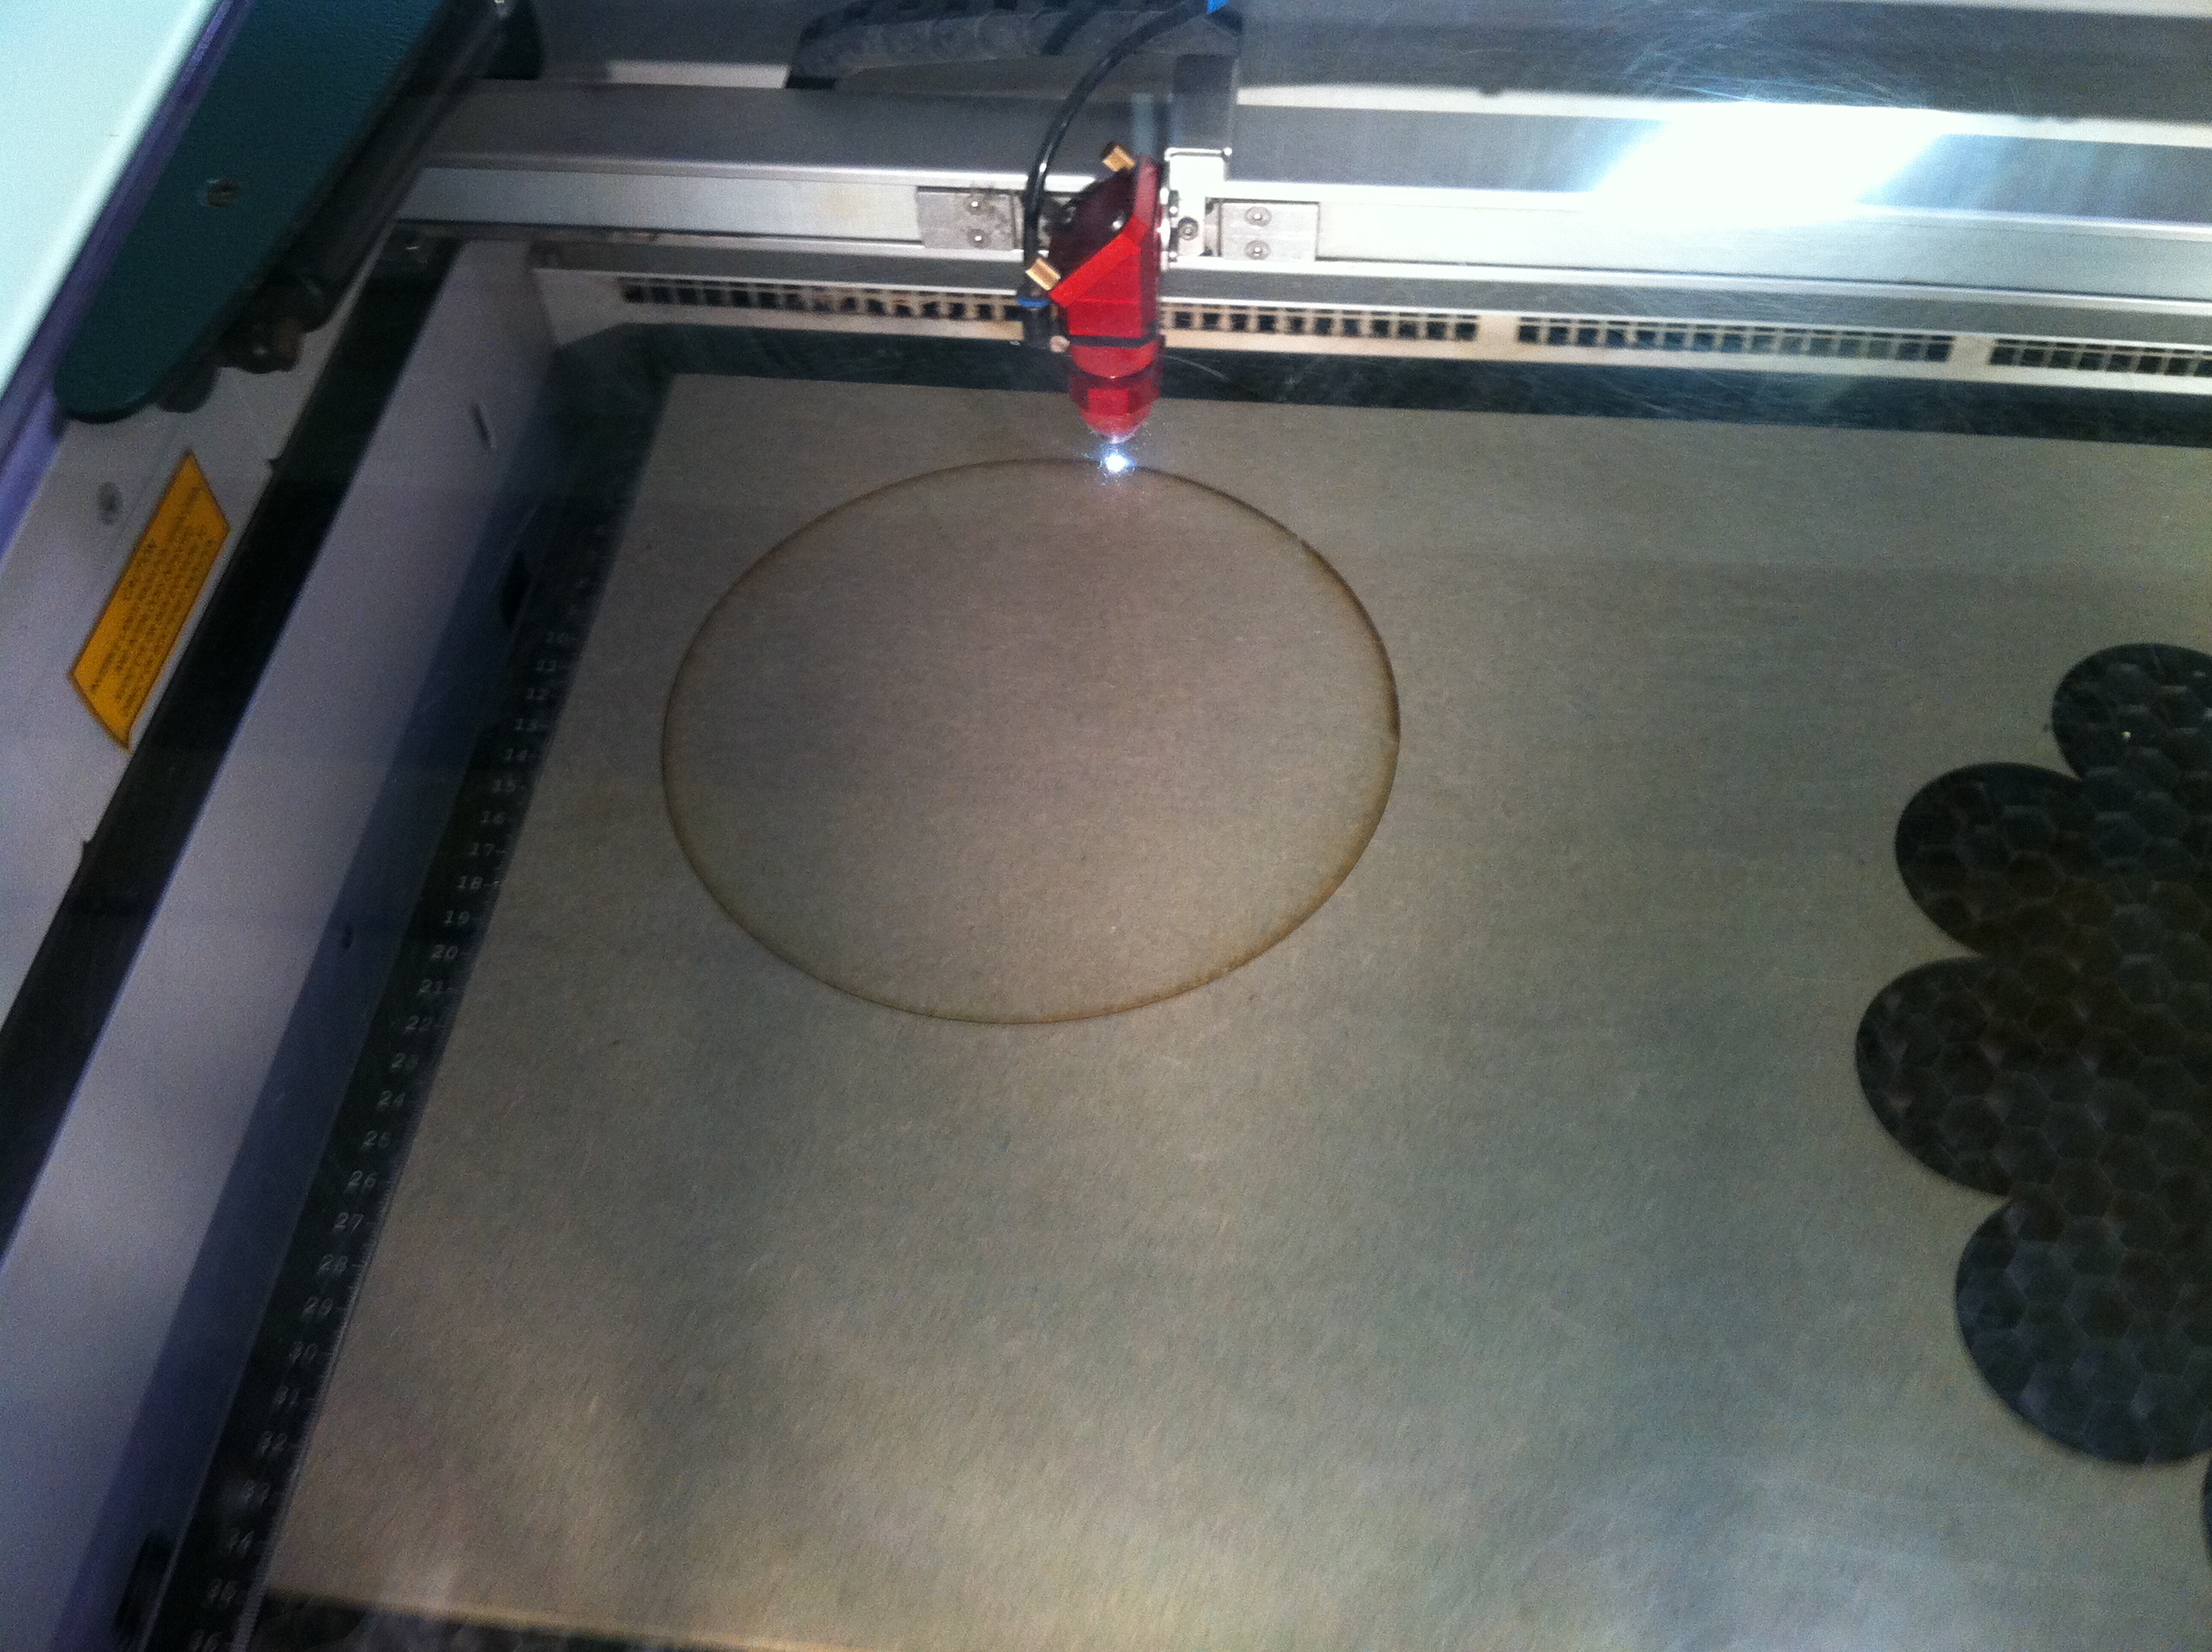
I can make these spacers in MDF 6mm Thick on a Laser Cutter from the template.
Is anyone interested in a set for there earthquake SW-8 or even Pioneer? PM for price and request on with you need
I've used two Spacers together + 1 8" Ring to give the Pioneer sub the right height required for the BMW enclosure ( E60 ), i'll post further pics off them together tomorrow installed in the enclosure
 , do you have the thread on installing the Pioneer's again? Also have an issue since then?
11-11-2010 | 02:41 PM
, do you have the thread on installing the Pioneer's again? Also have an issue since then?
11-11-2010 | 02:41 PM
#4
Thread Starter
Members
Joined: Sep 2010
Posts: 79
Likes: 0
From: Isle of man
I'm in the process of doing the passenger side Sub, the drivers is still in the car...
I've been doing a small a bit almost every day at work ( usually at the end of the day if i have time )
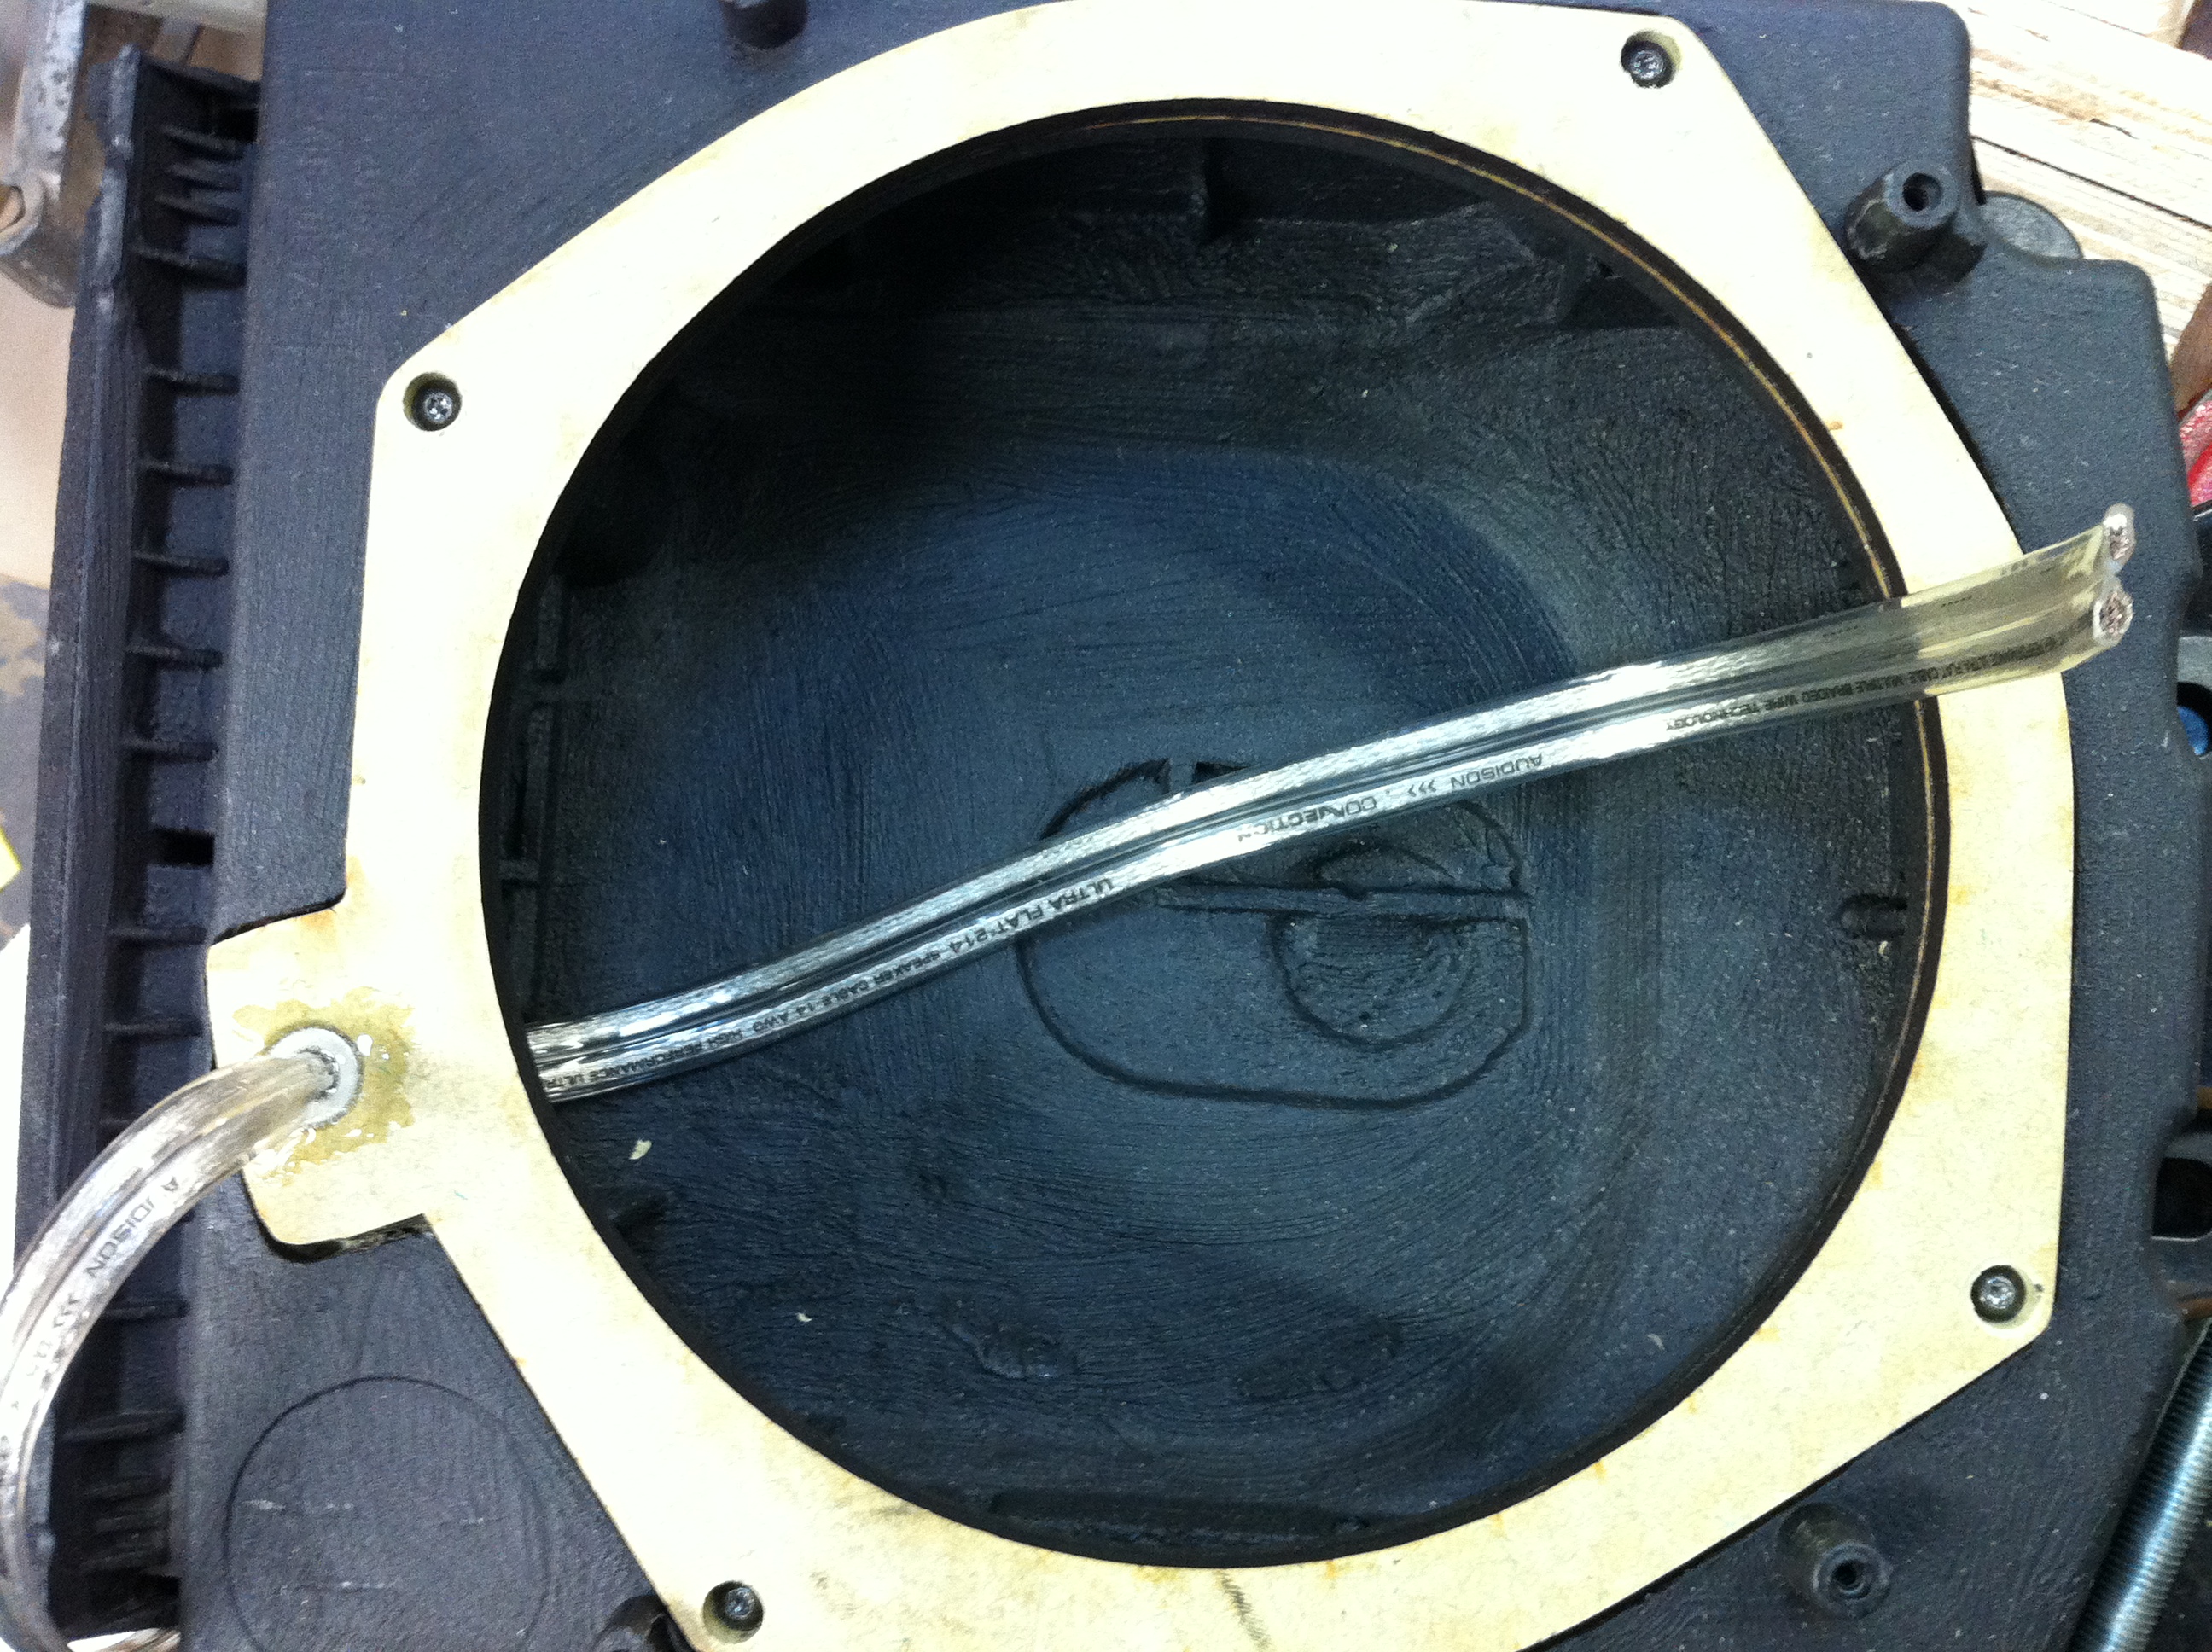
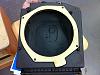
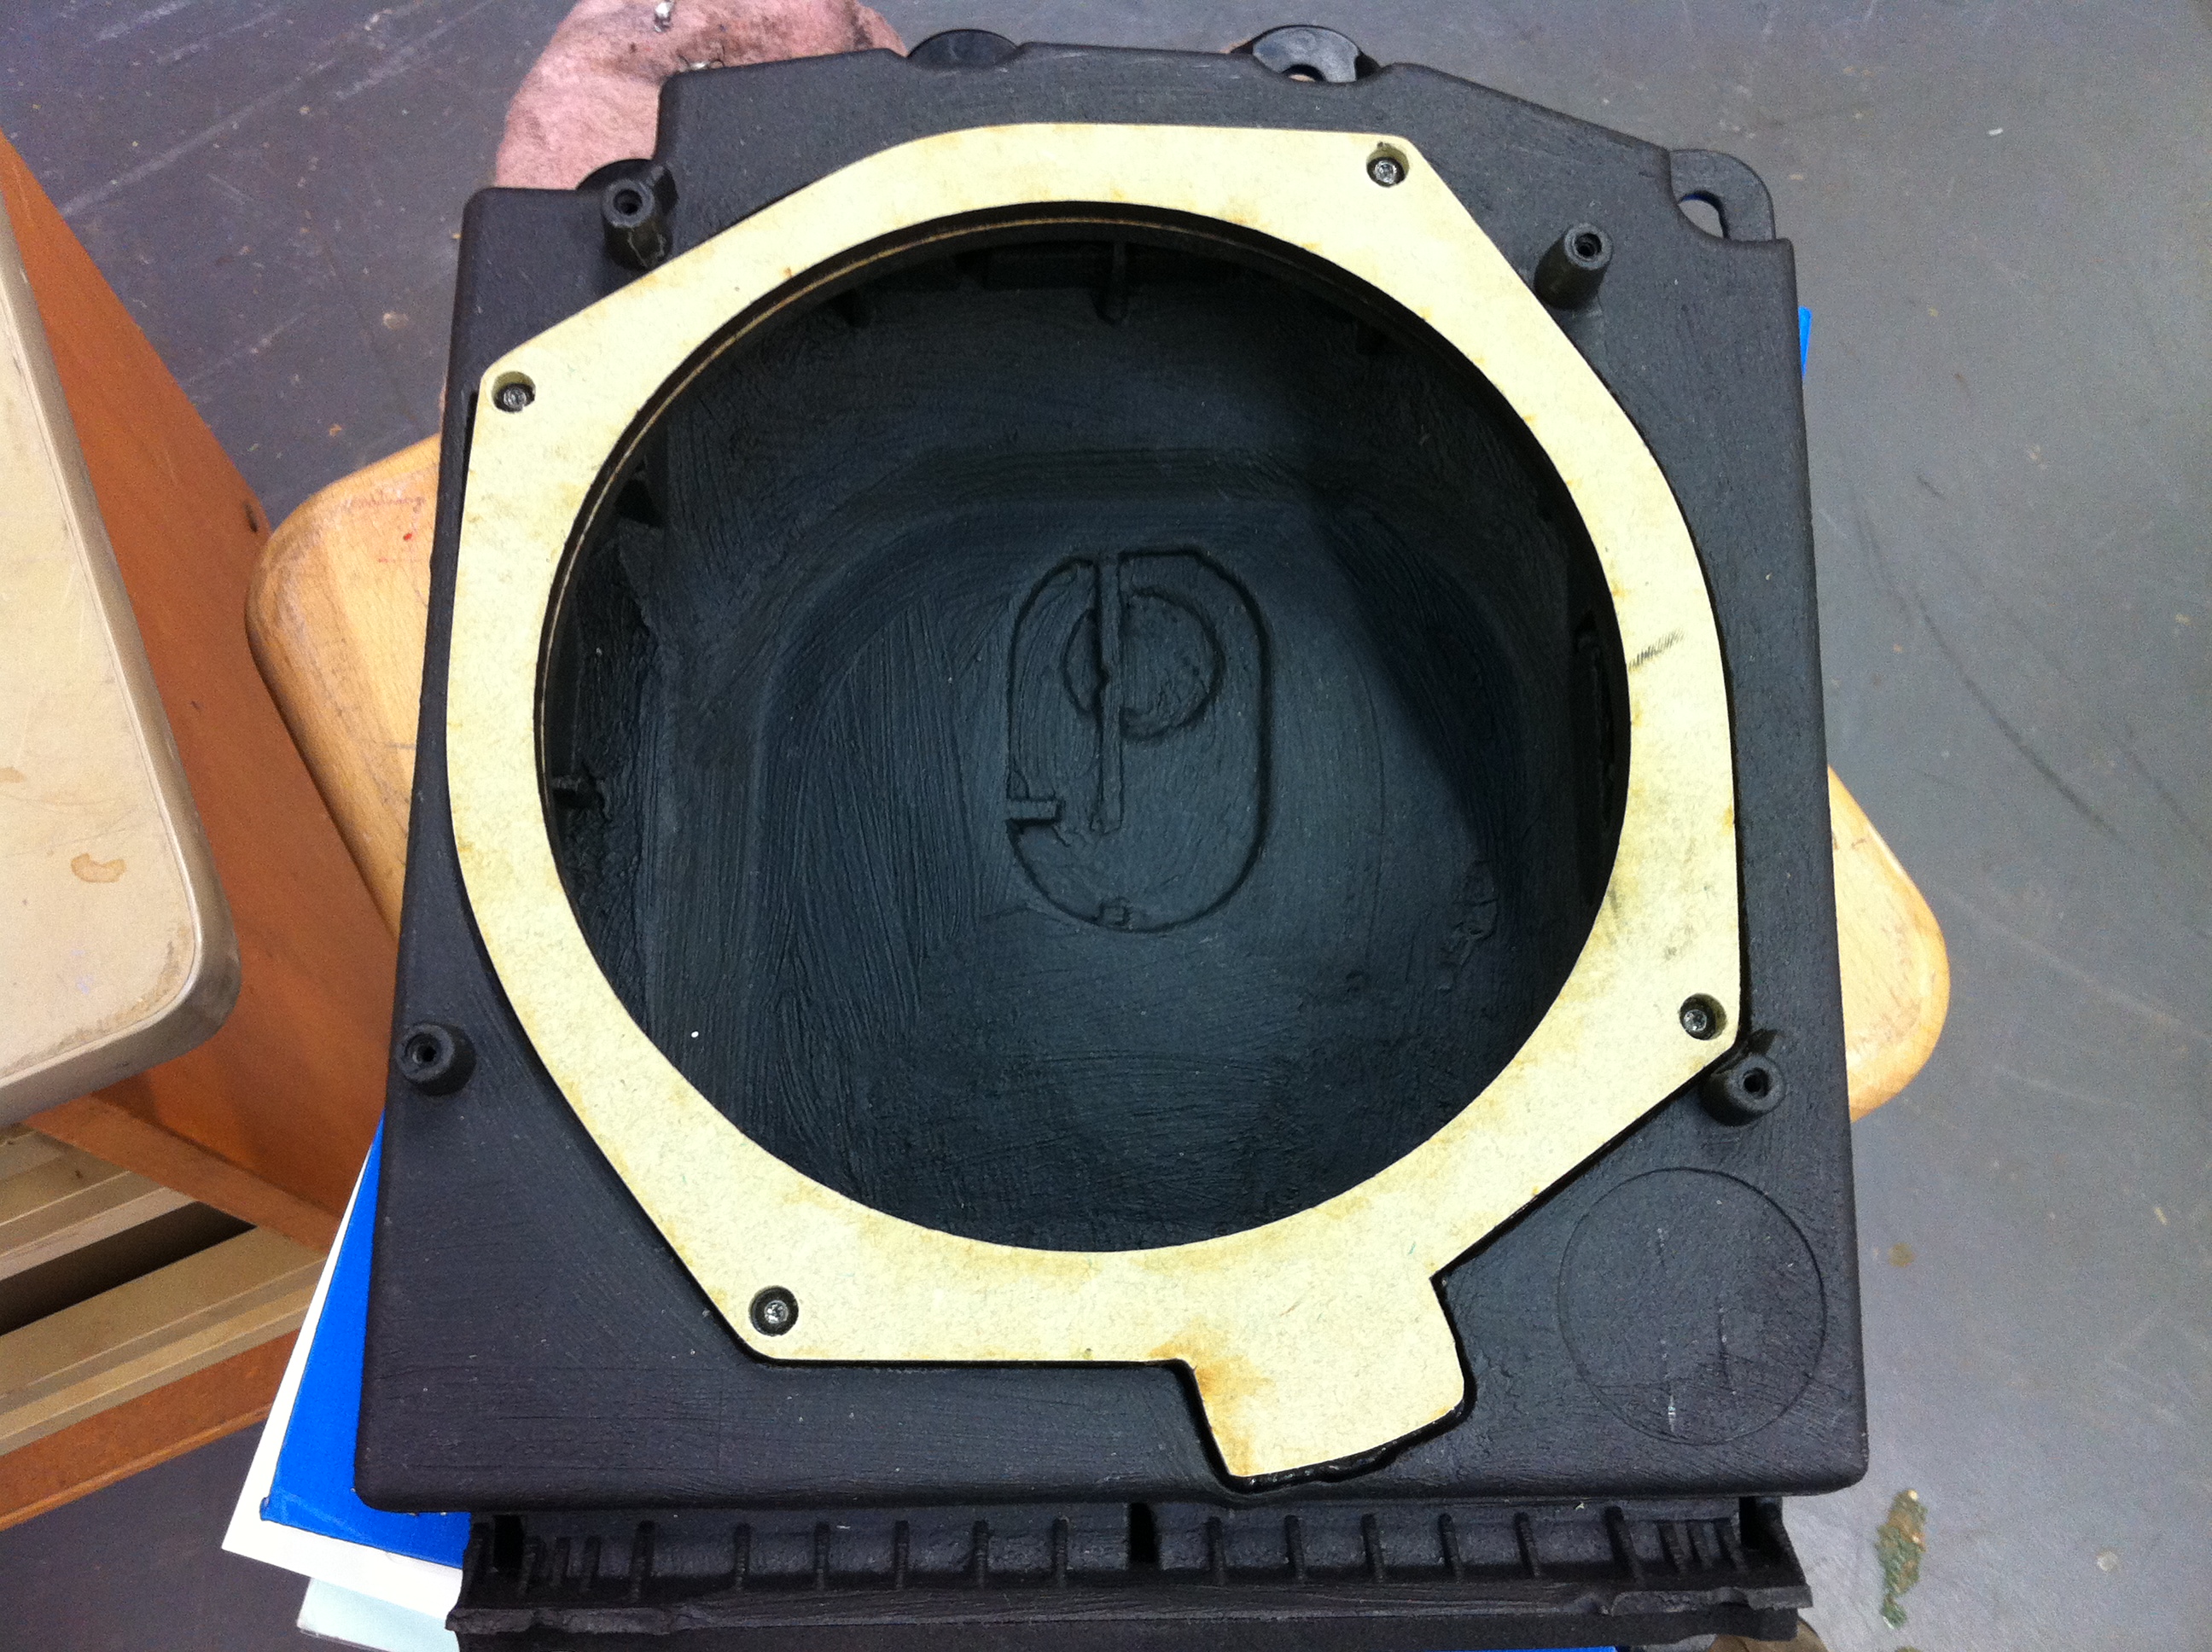
I've got some second skin paint on stuff that I'm using , i've panted the inside of the enclosure and top of the enclosure , mounted the spacers ( 2 of them after they where sandwiched together with high industrial wood glue so the spacer is 12mm thick ) onto the enclosure after lining the rim end and sill with black silicone gasket material , screw in the original screws into the four holes pre-made on the spacers that had flush mounted holes for the screw head...
Thats as far as i've gotten but i've checked sizes etc and fits
I'm still figuring best approach for the subwoofer cable to enter the box method to ensure it doesn't allow loss of sound pressure ( i'm wanting to do this once only and not have to redo it do to some thing going wrong, another reason why i've taken my time with it in stages )
I've been doing a small a bit almost every day at work ( usually at the end of the day if i have time )
I've got some second skin paint on stuff that I'm using , i've panted the inside of the enclosure and top of the enclosure , mounted the spacers ( 2 of them after they where sandwiched together with high industrial wood glue so the spacer is 12mm thick ) onto the enclosure after lining the rim end and sill with black silicone gasket material , screw in the original screws into the four holes pre-made on the spacers that had flush mounted holes for the screw head...
Thats as far as i've gotten but i've checked sizes etc and fits
I'm still figuring best approach for the subwoofer cable to enter the box method to ensure it doesn't allow loss of sound pressure ( i'm wanting to do this once only and not have to redo it do to some thing going wrong, another reason why i've taken my time with it in stages )
11-11-2010 | 11:29 PM
#5

Contributors
Joined: Nov 2005
Posts: 4,719
Likes: 3
From: London, UK
My Ride: BMW E60 520d SE Saloon M47 2.0dTitanium Grey II, Grey−Dakota Leather, Visibility Package, Media Package, Through Load System, Lumbar support − fr seats, Automatic Air Conditioning−Advanced, High beam assistant, Hi−Fi Loudspeak
Model Year: 2006
The best way to get the cable in is probably in that bit that comes out. Make a hole for the wire and then seal the gap with silicon.
11-12-2010 | 12:37 AM
#6
Thread Starter
Members
Joined: Sep 2010
Posts: 79
Likes: 0
From: Isle of man
Yip I know that 1 , I'm thinking of a better tighter solution
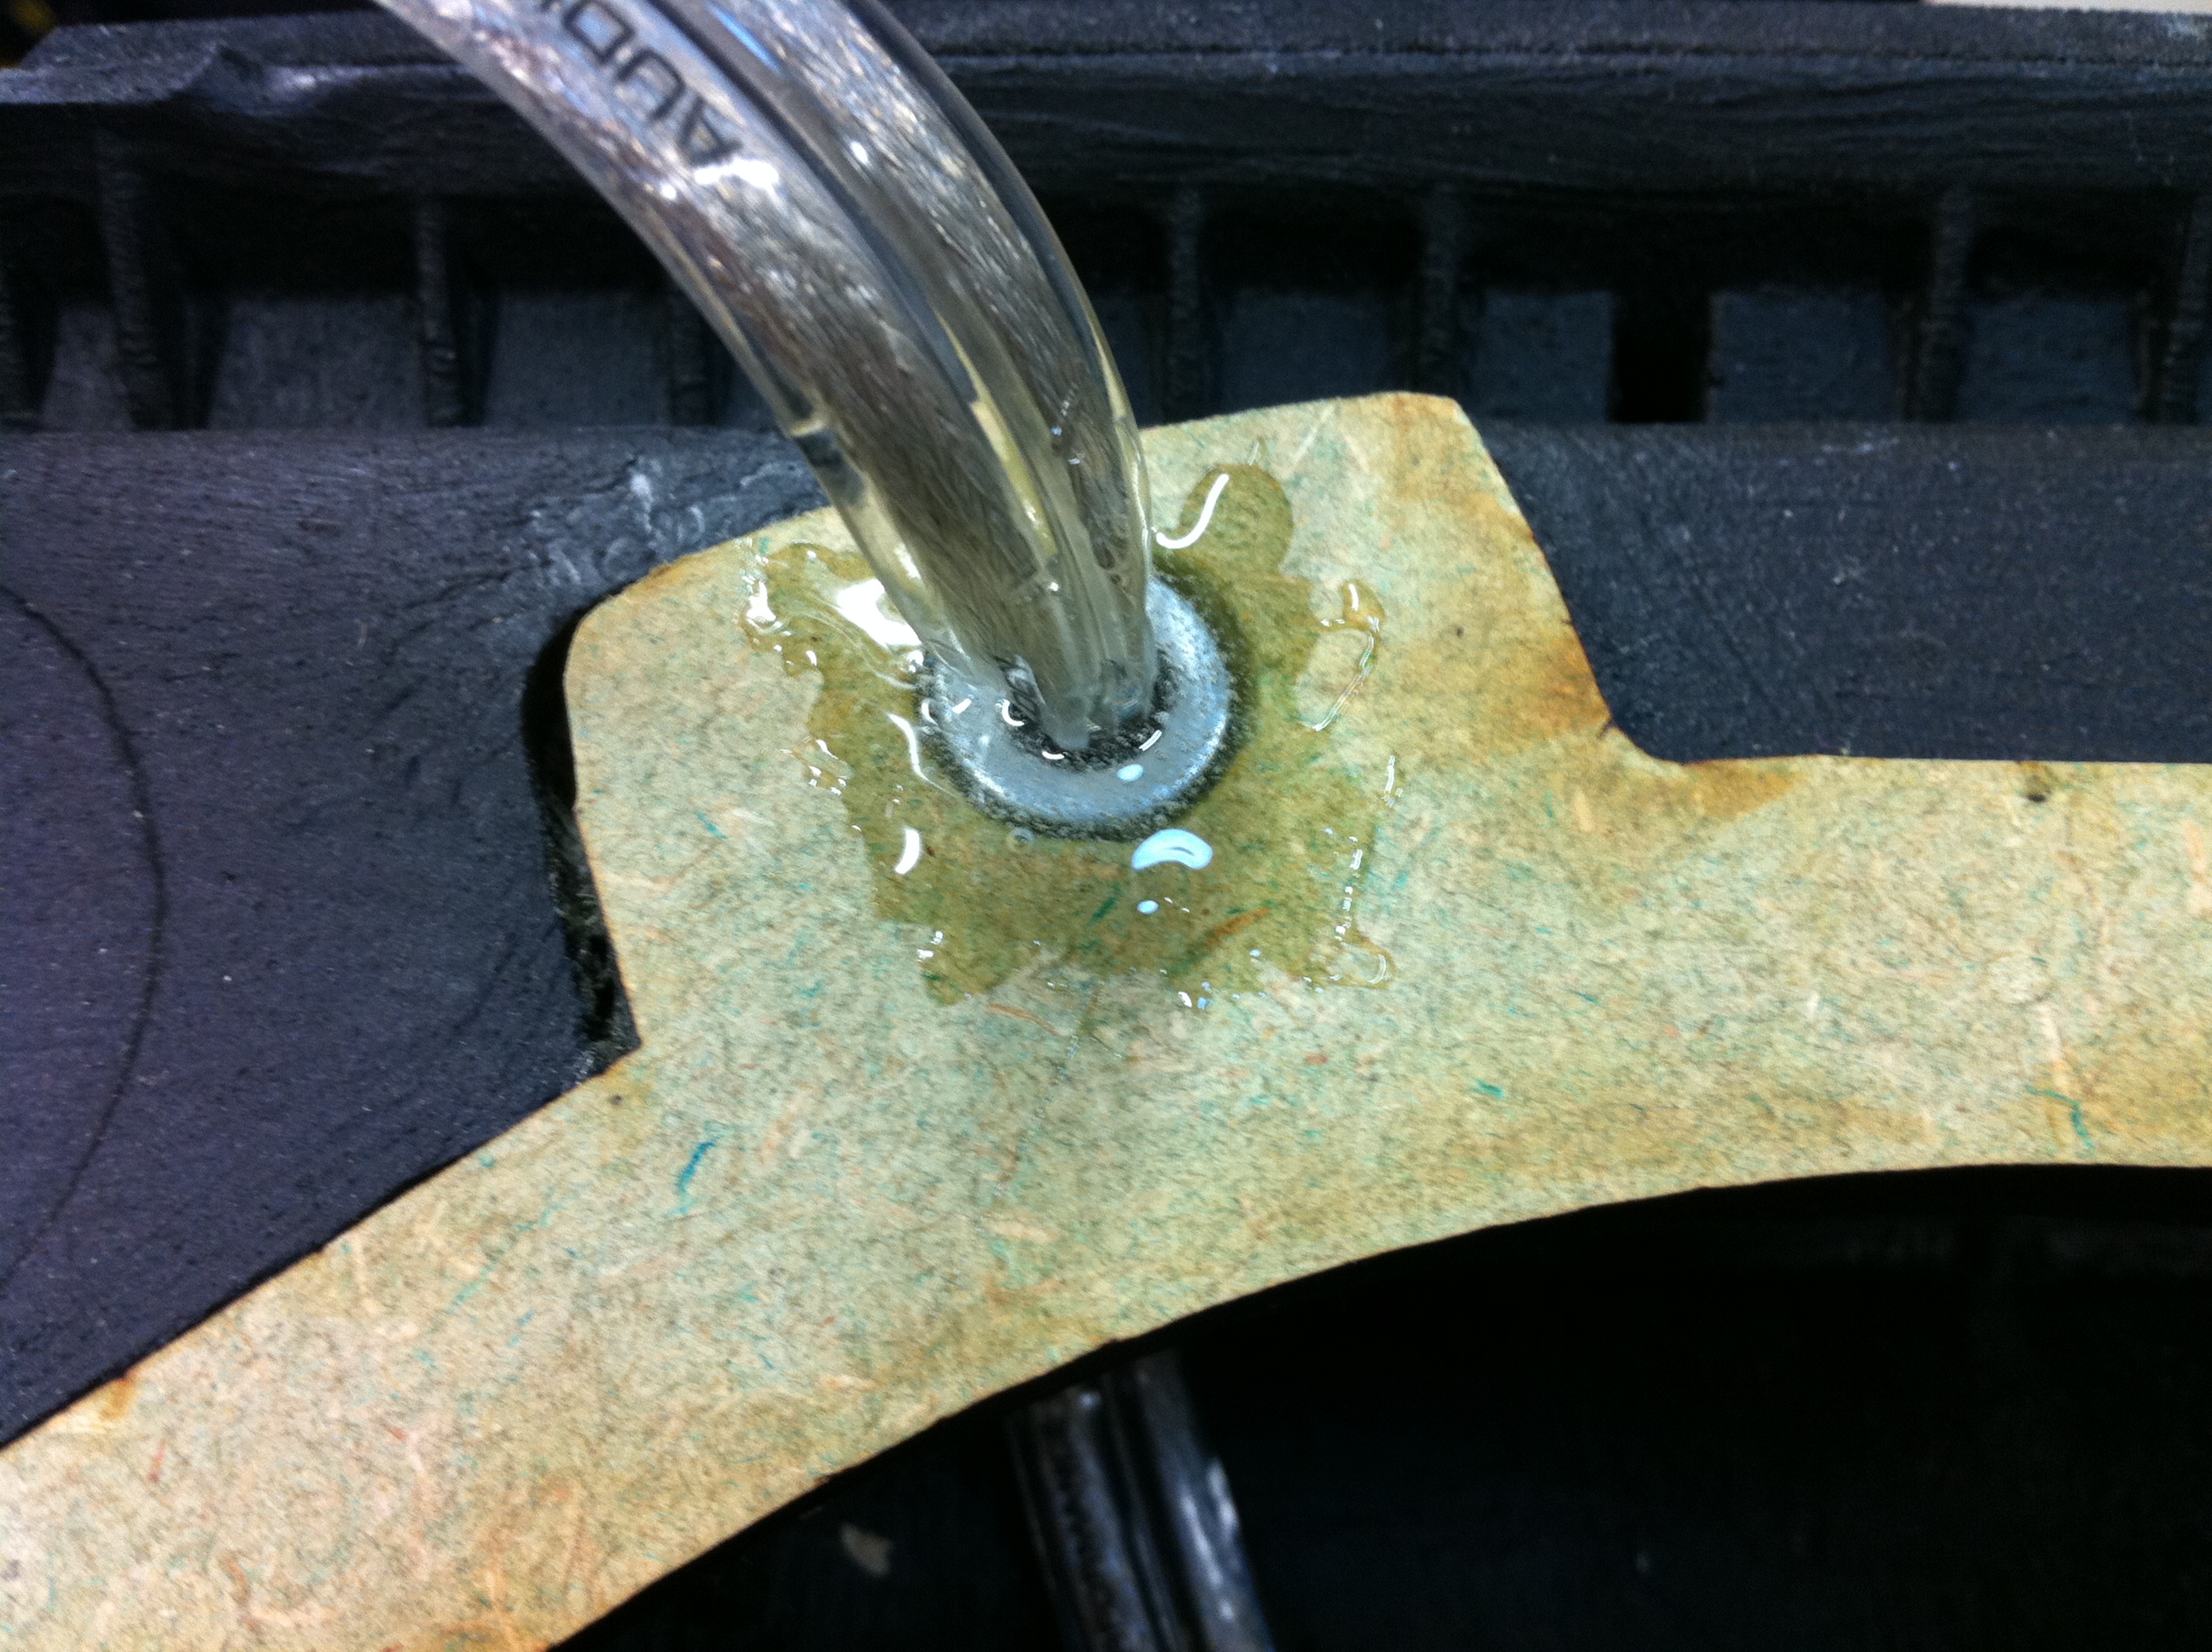
Which I came up with utilizing a counter sunk hole to fill with hardened glue and cover with a washer to ensure the Pressure of the enclosure stays good
Which I came up with utilizing a counter sunk hole to fill with hardened glue and cover with a washer to ensure the Pressure of the enclosure stays good
 11-13-2010 | 04:01 AM
#8
Contributors
Joined: Oct 2008
Posts: 766
Likes: 0
From: Elizabeth, NJ
My Ride: 2006 530xi (Titanium Grey/ Black interior) Debaged, L.e.d. light upgrade throughout. ACS roof spoiler. H&R sport sprigs, Angel eye upgrade, euro sticker, ,matte black grills.
How does the pioneer sound in comparison to the oem sub?
11-13-2010 | 07:23 AM
#9
Members
Joined: Mar 2009
Posts: 176
Likes: 0
From: Fredericksburg, VA