My Plasti Dip Log: Updates, Pictres, and Evaluation
#1
Thread Starter
Members
Senior Members
Joined: Feb 2008
Posts: 899
Likes: 13
From: San Diego
My Ride: E61 with all the mods
Model Year: 2008
Engine: N54
3/14/15 UPDATE: Post #42
Hey guys,
Since I have done a few Plasti Dip projects and plan to do a few more, I wanted to pool the pictures together into one thread.
The more info out there about Plasti Dip, the better in my opinion. This stuff is pretty awesome and it has really developed in the past couple years, especially in the automotive market. Along with an expanding color selection there are different finishes: glossifiers, metalizers, pearlizers, etc. I love it because people can really get creative with different combinations and even if it looks terrible, just peel it off.
Plasti Dip gets a bad wrap from some people but it is hard to argue against the practicality of the product. Just like paint and vinyl wrapping, the final outcome won't look good if the installer does a poor job applying the product and since so many people are inclined to use this product there are quiet a few ugly outcomes.
So far I have Plasti Dipped:
- Shark Fin Antenna
- Spare Tire Belly (to match diffuser)
- Lower Interior Door Trim
- Interior Driverside Door Handle
Next week I will be Dipping my wooden interior trim aluminum and my Forgestars Copper!
I will add photos of the other projects and also update my experiences with the product regarding looks and durability. So far I have nothing bad to say, the shark antenna is about a year old and going strong!
The original owner of this wagon ordered it with tan everything for the interior, it drives me crazy but I got a great deal on the car and slowly over time I have been swapping interior bits from tan to black. The filthy tan carpets were swapped with some black all-season units, the tan center console was chewed up so I snagged a black one from a salvage car.
The interior door handle was in rough shape, when you look at the leather around it the wear is noticeable, on the handle it was very noticeable. The lower trim sees a lot of traffic and frequently is scuffed from shoes and other objects, these will take a beating and I am looking forward to see how the Plast Dip performs.
Lastly, you can find great tutorials on YouTube, check out "DipYourCar."
Evan


Hey guys,
Since I have done a few Plasti Dip projects and plan to do a few more, I wanted to pool the pictures together into one thread.
The more info out there about Plasti Dip, the better in my opinion. This stuff is pretty awesome and it has really developed in the past couple years, especially in the automotive market. Along with an expanding color selection there are different finishes: glossifiers, metalizers, pearlizers, etc. I love it because people can really get creative with different combinations and even if it looks terrible, just peel it off.
Plasti Dip gets a bad wrap from some people but it is hard to argue against the practicality of the product. Just like paint and vinyl wrapping, the final outcome won't look good if the installer does a poor job applying the product and since so many people are inclined to use this product there are quiet a few ugly outcomes.
So far I have Plasti Dipped:
- Shark Fin Antenna
- Spare Tire Belly (to match diffuser)
- Lower Interior Door Trim
- Interior Driverside Door Handle
Next week I will be Dipping my wooden interior trim aluminum and my Forgestars Copper!

I will add photos of the other projects and also update my experiences with the product regarding looks and durability. So far I have nothing bad to say, the shark antenna is about a year old and going strong!
The original owner of this wagon ordered it with tan everything for the interior, it drives me crazy but I got a great deal on the car and slowly over time I have been swapping interior bits from tan to black. The filthy tan carpets were swapped with some black all-season units, the tan center console was chewed up so I snagged a black one from a salvage car.
The interior door handle was in rough shape, when you look at the leather around it the wear is noticeable, on the handle it was very noticeable. The lower trim sees a lot of traffic and frequently is scuffed from shoes and other objects, these will take a beating and I am looking forward to see how the Plast Dip performs.
Lastly, you can find great tutorials on YouTube, check out "DipYourCar."
Evan
Last edited by ucsbwsr; 03-14-2015 at 09:19 AM.
#3
Thread Starter
Members
Senior Members
Joined: Feb 2008
Posts: 899
Likes: 13
From: San Diego
My Ride: E61 with all the mods
Model Year: 2008
Engine: N54
UPDATE
- I decided to lay a base coat of gunmetal on my interior trim (minus door trim) as a foundation for the aluminum finish I will use as a top coat next week, the door trim will be aluminum as well but I didn't feel like removing all door panels and trim x2 so they will wait. If anyone is considering a matte gunmetal finish for their trim, this is what it looks like.
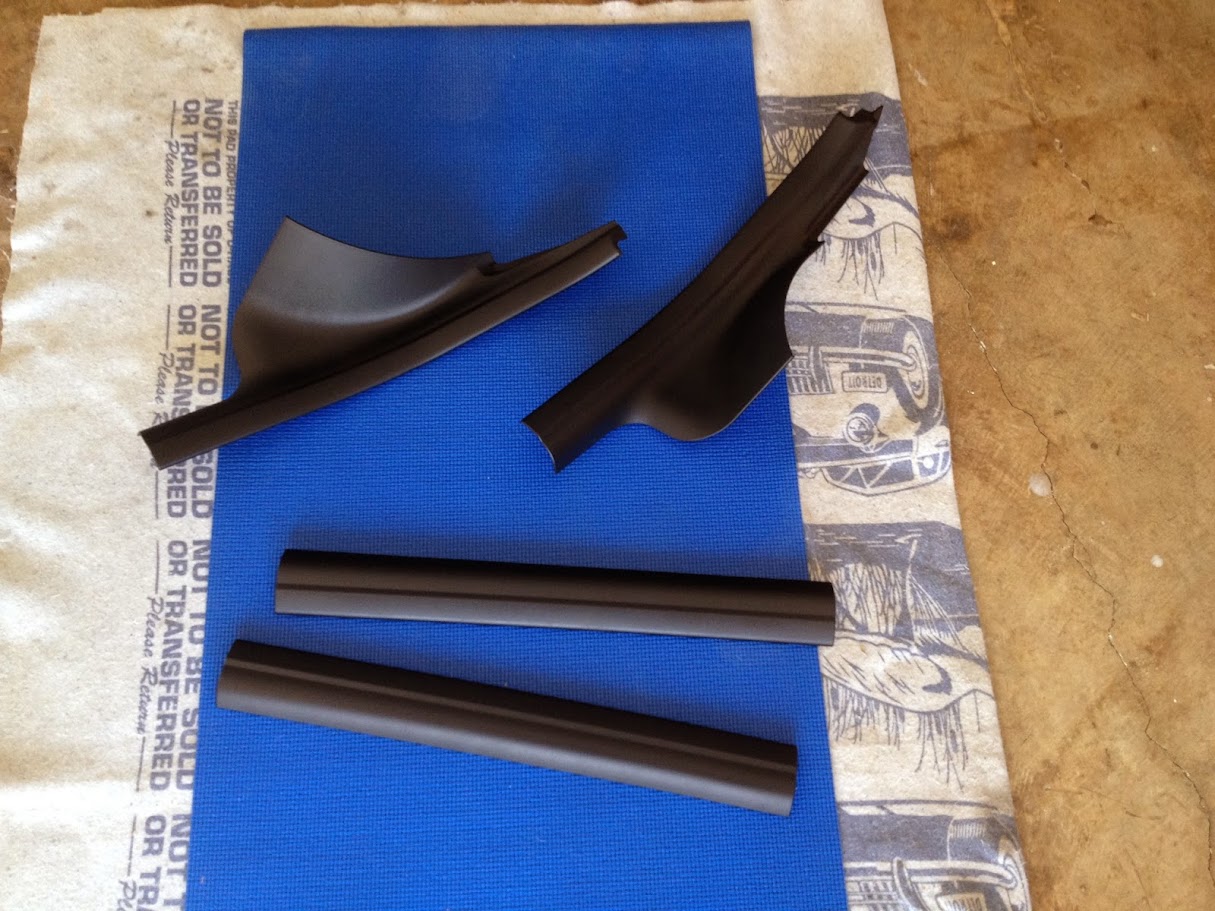
- I also removed the trim covering the lower part of the seats and seat rails along with the lower trim on the pillars. With all these small.minute pieces black they collectively really change the look of the interior.
- Lastly I removed my rear wiper and "reconditioned" it to black, again: subtle but looks better!
I am looking forward to dipping the wheels, all this practice on the trim is improving my application skills.
Evan
Seat trim before
Seat trim after
Pillar trim
Pillar trim before
Pillar trim after
Trim after
Trim detail
If you know how the product works and apply it properly, the results can be awesome. For this piece, nothing was taped, I simplye peeled the dip off the buttons and black border. I left the plastic between the buttons grey for contrast.
I decided to incorporate the steering wheel trim. Aluminum foil works well as a masking material.
Trim before
Trim after
Trim before
Trim after
#4
Members
Senior Members
Joined: May 2012
Posts: 2,539
Likes: 10
From: Tampa Bay, FL
My Ride: 530i
Model Year: 2004
Engine: M54
How does it stand up durability wise compared to the factory 'soft paint' finish? The factory stuff scratches off sooooo easily. is plasti-dip any better?
#7
Keep us updated on the durability of this over time. I've been hesitant on doing this because I would imagine it scratching off or peeling from things rubbing on the center console area mostly as KyleB asked similar to the factory finish.
Looks good, more "sporty" IMO
Looks good, more "sporty" IMO
#8
Thread Starter
Members
Senior Members
Joined: Feb 2008
Posts: 899
Likes: 13
From: San Diego
My Ride: E61 with all the mods
Model Year: 2008
Engine: N54
528canyonrot and devildawg712: Thanks!
I think so, I will be able to confirm after I log substantial with all the trim dipped. People run front bumpers, badges, wheels, and their exterior body panels for long periods of time with great results, it is impact resistant and durable but like everything has a limit, I noticed one of my pillars got scraped by another trim piece during installation thankfully it is covered by another piece.
The driverside pillar will be a great test due to the location of my chair being so far back, every time I slide in I make contact and rub against the frontside of the pillar, so much so that the texture of plastic was worn down to a smooth finish at the edge.
To answer your question I think it will be more durable than oem paint but when the dip fails, like in my situation, it will look very poor as the tan color will be exposed underneath the black. But all I have to do it remove the damaged dip and respray the panel!
Thanks, the sporty look was a main motivator along with hiding dirt and also covering up the previous damage on the plastics.
Are you referring to the dipped wood trim on the console? The actual console itself is an black oem unit I took from a salvage car and only the wooden trim on the console is dipped. If you were in fact inquiring about the wooden trim, I think it will remain flawless for the whole time it is dipped. But we will see!
Evan
The driverside pillar will be a great test due to the location of my chair being so far back, every time I slide in I make contact and rub against the frontside of the pillar, so much so that the texture of plastic was worn down to a smooth finish at the edge.
To answer your question I think it will be more durable than oem paint but when the dip fails, like in my situation, it will look very poor as the tan color will be exposed underneath the black. But all I have to do it remove the damaged dip and respray the panel!
Keep us updated on the durability of this over time. I've been hesitant on doing this because I would imagine it scratching off or peeling from things rubbing on the center console area mostly as KyleB asked similar to the factory finish.
Looks good, more "sporty" IMO
Looks good, more "sporty" IMO
Are you referring to the dipped wood trim on the console? The actual console itself is an black oem unit I took from a salvage car and only the wooden trim on the console is dipped. If you were in fact inquiring about the wooden trim, I think it will remain flawless for the whole time it is dipped. But we will see!
Evan
#9
Looks great!
I have a few pieces I was thinking of covering, and in particular the plate covering the drivers window switches which is badly worn /ugly.
I wasn't sure whether to wrap or dip due to the potential wear to this panel, but maybe dip is the way to go.
I have a few pieces I was thinking of covering, and in particular the plate covering the drivers window switches which is badly worn /ugly.
I wasn't sure whether to wrap or dip due to the potential wear to this panel, but maybe dip is the way to go.
#10
Senior Members
Joined: May 2011
Posts: 1,169
Likes: 0
From: Canada
My Ride: 2010 535 xi - M Sport Pkg & other goodies
Nicely done!
How many coats did you do?
Also, do you have a Bentley manual or something to help you figure out how to remove the trim pieces? The ones in the center console and dash around the radio look a lot tougher than on my 3, where I could just yank them up and they'd come off...
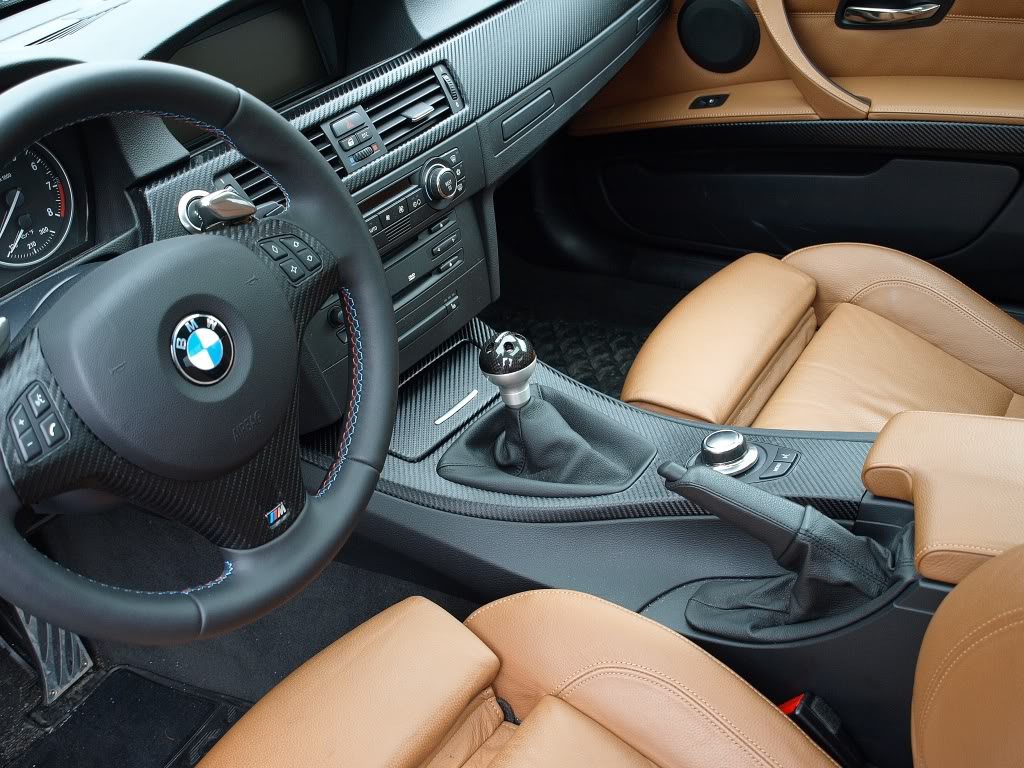
I've wrapped my trim pieces in my 3 series a few years ago in CF (below is a pic from a similar car to mine), but this looks pretty good too.


