And the M5 project starts....
 09-27-2012, 01:12 PM
#11
Senior Members
Join Date: Mar 2011
Location: San Diego
Posts: 601
Likes: 0
Received 0 Likes
on
0 Posts
My Ride: 2007 ★ Alpine White

 09-30-2012, 07:34 AM
#16
Senior Members
Thread Starter

Join Date: Jun 2008
Location: Chino Hills
Posts: 1,017
Likes: 0
Received 2 Likes
on
2 Posts
My Ride: 545I SMG
Hey buddy, been so long since we last met. Need to get back in the swing of things. After selling my 545 I realized how many cool features you unlocked on that car, definitely need your skills for the M5.
09-30-2012, 09:40 AM
#17
Senior Members
Thread Starter
Join Date: Jun 2008
Location: Chino Hills
Posts: 1,017
Likes: 0
Received 2 Likes
on
2 Posts
My Ride: 545I SMG
Spark Plug Replacement
At first this seemed pretty straight forward but I quickly realized how difficult it was going to be removing the coils which required a good amount of force. After fiddling with a couple I decided I needed to come up with a solution. I ended up using a rubber coated metal tie to pull the coils out and this made the job so much easier. As for the rear plugs, I just used a set of pliers on top of the cover mount and a big screw driver as leverage and they popped right out. Very easy.
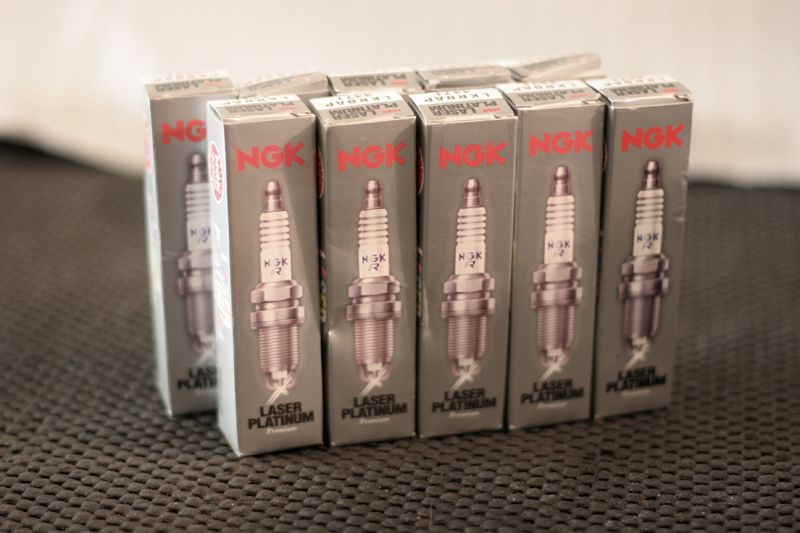
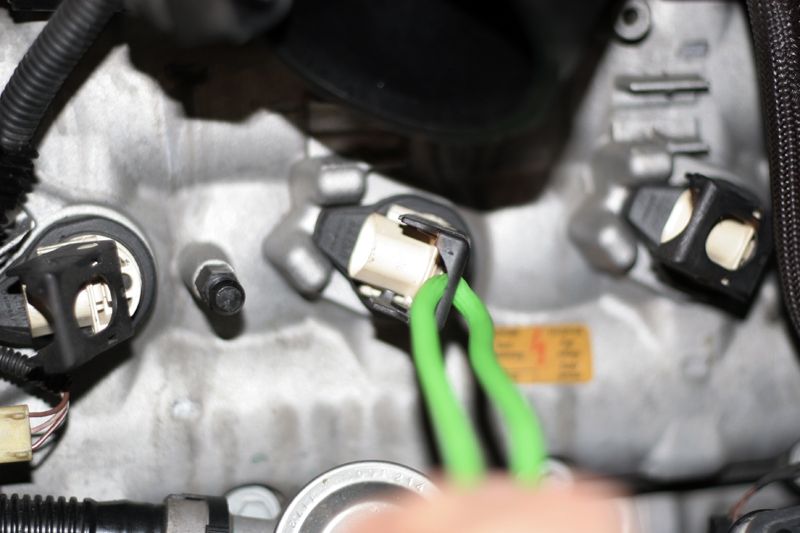
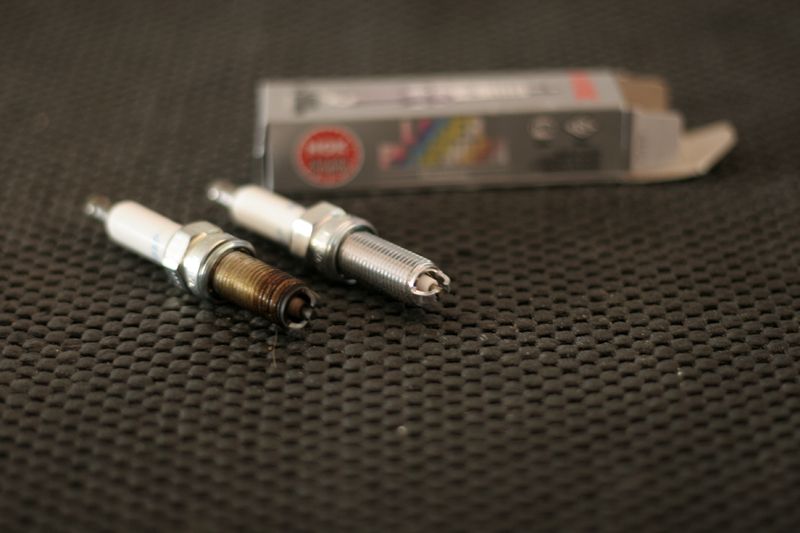
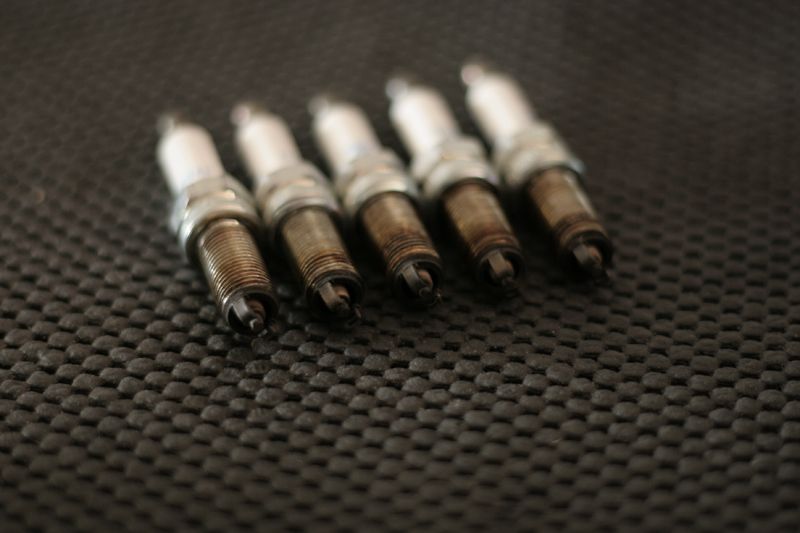
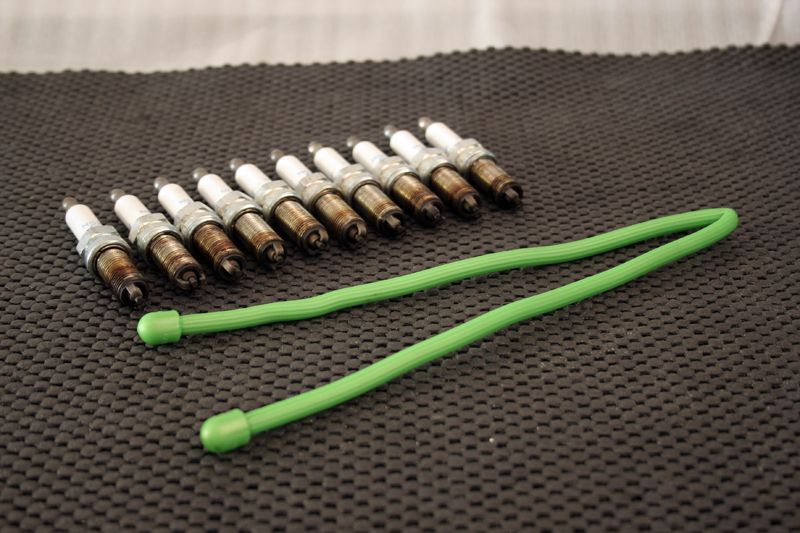
At first this seemed pretty straight forward but I quickly realized how difficult it was going to be removing the coils which required a good amount of force. After fiddling with a couple I decided I needed to come up with a solution. I ended up using a rubber coated metal tie to pull the coils out and this made the job so much easier. As for the rear plugs, I just used a set of pliers on top of the cover mount and a big screw driver as leverage and they popped right out. Very easy.
10-10-2012, 05:23 PM
#18
Senior Members
Thread Starter
Join Date: Jun 2008
Location: Chino Hills
Posts: 1,017
Likes: 0
Received 2 Likes
on
2 Posts
My Ride: 545I SMG
Made some serious progress this weekend with the car. Updates below:
Rear Diff Fluid Change
Pretty straight forward procedure but was a little messy without a lift.
Things needed.
- Jack and Stands
- Oil drain container
- 14mm Allen w/ ratchet
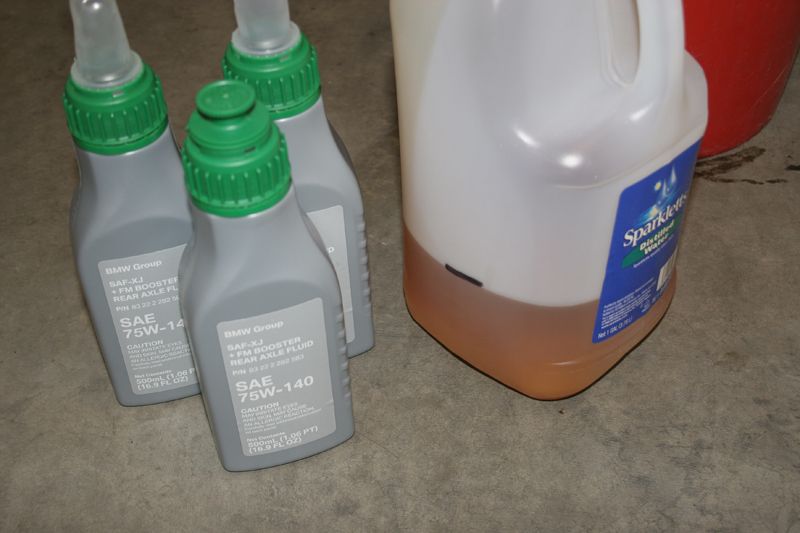
- Two new Drain Plugs prt# 33117525064
- Syphon pump (recommended)
- (3) .5L BMW Motorsport Gear Oil w/ Booster Prt# 83222282583
1) Jack up the front of the car then the rear. I raised the left rear a little more to have the fluid drain easier
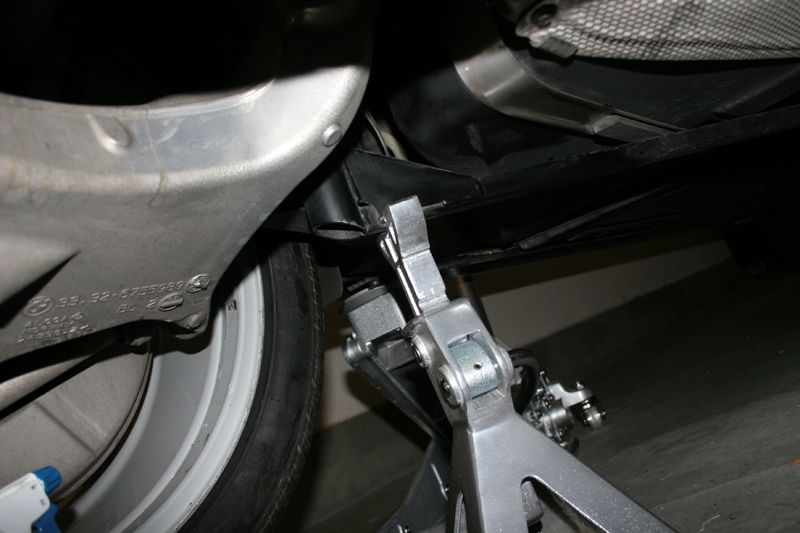
2) Here are the two drain plugs located on the right side of the diff. Remove the top first (some fluid may come out if the car is not completely level)
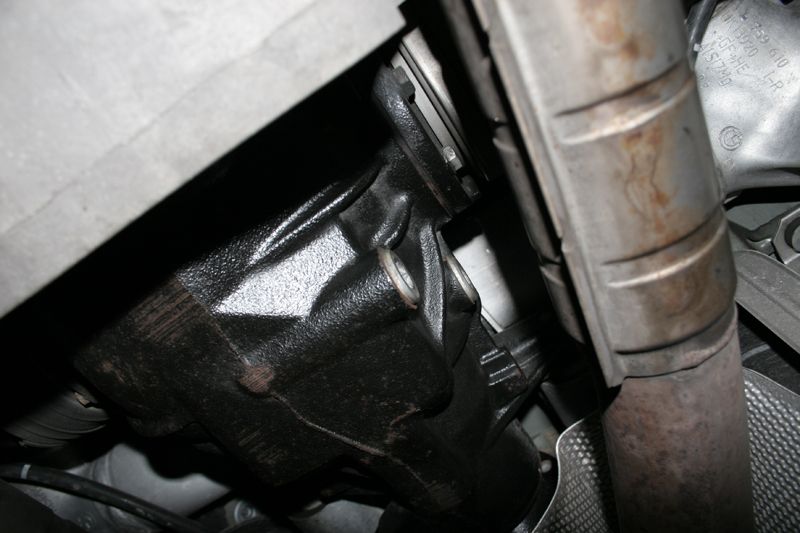
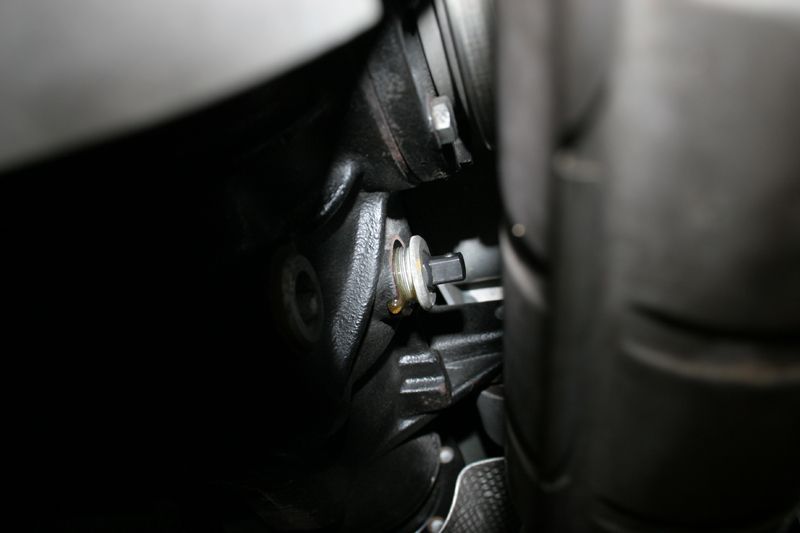
3) Remove bottom drain plug. Remember to have a catch can ready as there will be about 1.2L of fluid.
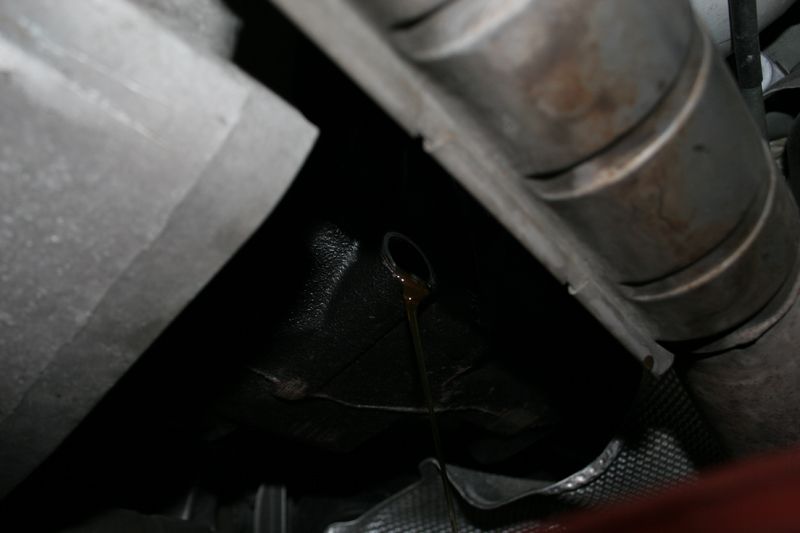
4) After the diff has drained install a new drain plug on the bottom. At this point you are ready to add the new fluid. Before doing this I drained all of the old fluid into a container and made a measurement mark, then disposed of the old fluid. Using the same container I filled it up with the new fluid to ensure I had the exact amount going back in. As you can see in the pics there is a distinctive difference in color between new and old.

5) Add new diff fluid. I used a hand pump/syphon from my measured container to the diff only because it was much easier than trying to use the bottles. Remember to have your car level at this point.
6) Install new upper drain plug and perform break-in procedure as outlined below:
"With the vehicle at operating temperature, drive in tight circles (20 in each direction), allowing the special oil to coat the locking clutch discs.The grinding noise will decrease when the locking clutch discs are sufficiently coated. Some slight noises may be heard after driving in tight circles. It may take up to 600 miles before all noises are eliminated"
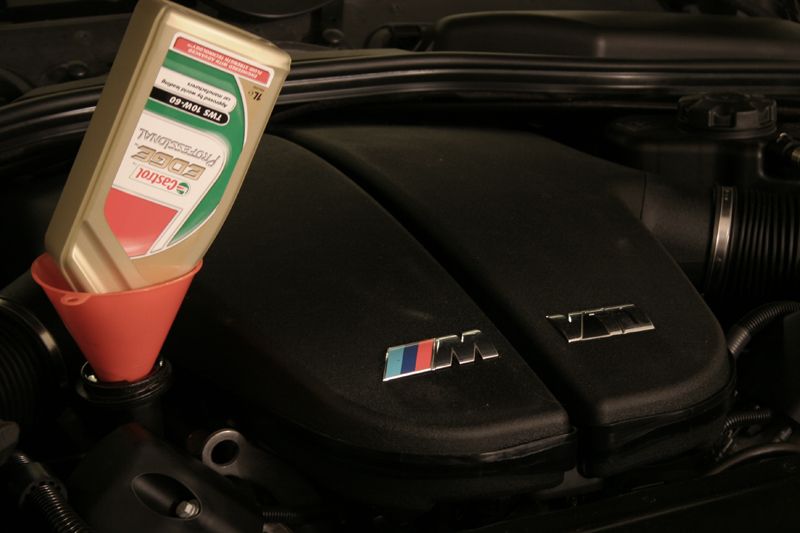
Oil Change
Performed an oil change even though I was "told" it was done 6k miles ago. Pretty easy, don't think I need to explain.
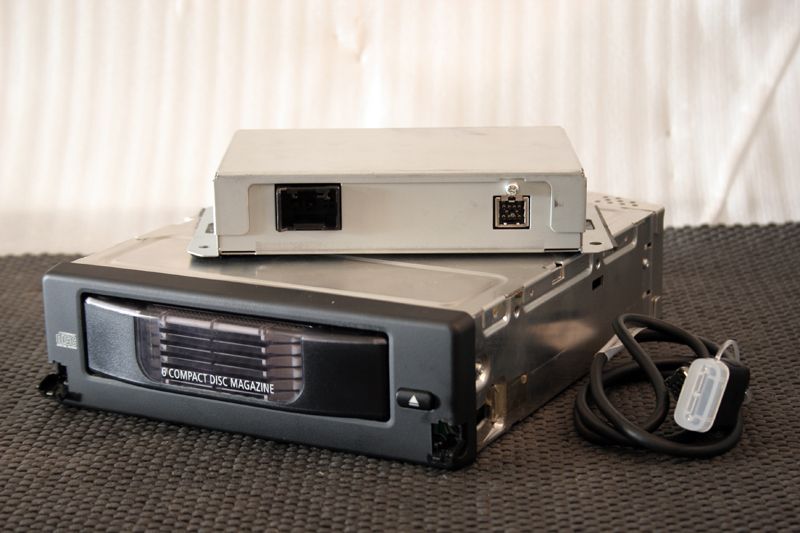
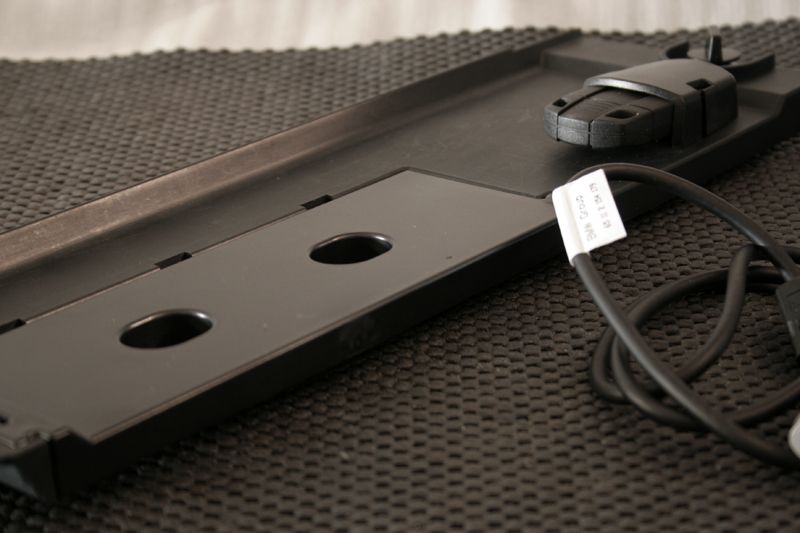
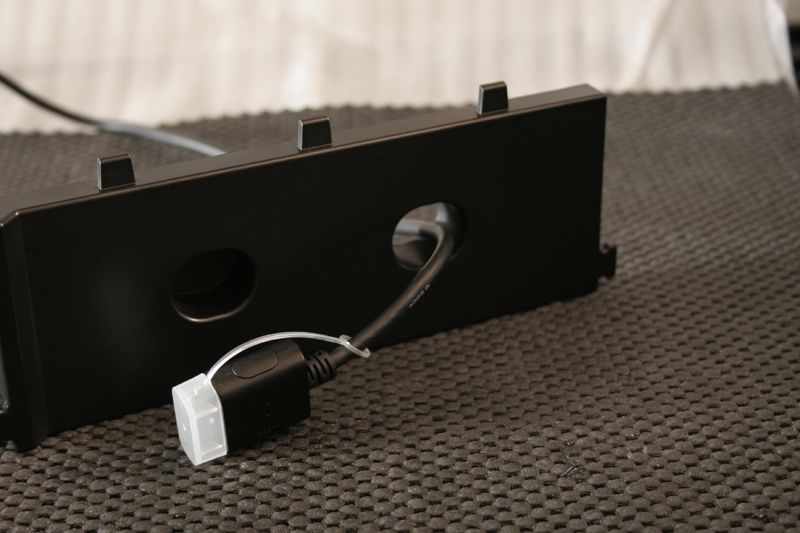
iPod Interface Install
First off let me say that what BMW supplies in the kit for mounting is not needed. I have found that two strips of 3M sticky-back tape works perfectly. Also, you will want to pick up the panel cover that fills the hole of where the old cd changer used to be. I decided to dremel out a hole in this panel to fit the cable through.
The old and the new...
Test fitting new panel
Drill the dremel out a hole in the panel

Complete and ready for install
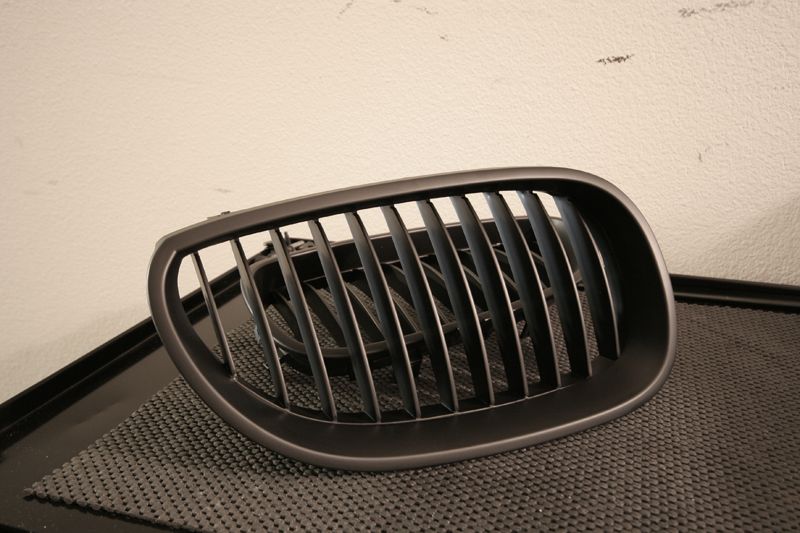
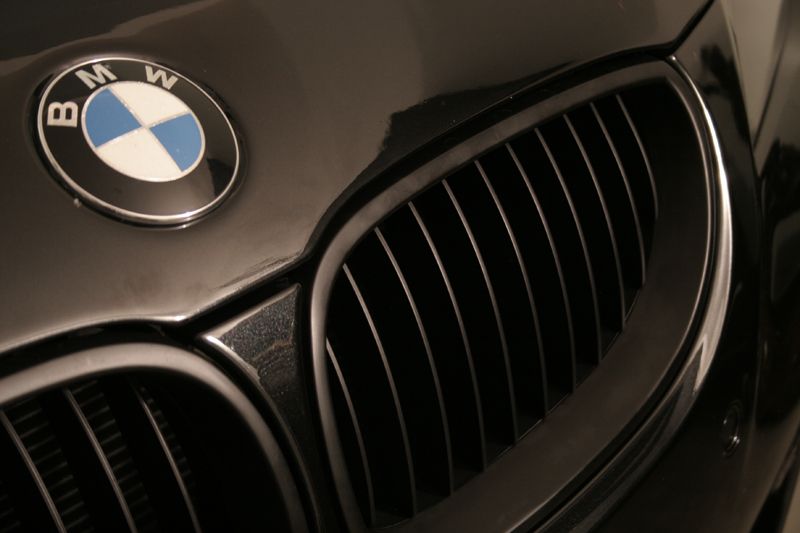
Install Matte Kidney Grills
What can I say, I don't like chrome
New grills
Installed
Rear Diff Fluid Change
Pretty straight forward procedure but was a little messy without a lift.
Things needed.
- Jack and Stands
- Oil drain container
- 14mm Allen w/ ratchet
- Two new Drain Plugs prt# 33117525064
- Syphon pump (recommended)
- (3) .5L BMW Motorsport Gear Oil w/ Booster Prt# 83222282583
1) Jack up the front of the car then the rear. I raised the left rear a little more to have the fluid drain easier
2) Here are the two drain plugs located on the right side of the diff. Remove the top first (some fluid may come out if the car is not completely level)
3) Remove bottom drain plug. Remember to have a catch can ready as there will be about 1.2L of fluid.
4) After the diff has drained install a new drain plug on the bottom. At this point you are ready to add the new fluid. Before doing this I drained all of the old fluid into a container and made a measurement mark, then disposed of the old fluid. Using the same container I filled it up with the new fluid to ensure I had the exact amount going back in. As you can see in the pics there is a distinctive difference in color between new and old.
5) Add new diff fluid. I used a hand pump/syphon from my measured container to the diff only because it was much easier than trying to use the bottles. Remember to have your car level at this point.
6) Install new upper drain plug and perform break-in procedure as outlined below:
"With the vehicle at operating temperature, drive in tight circles (20 in each direction), allowing the special oil to coat the locking clutch discs.The grinding noise will decrease when the locking clutch discs are sufficiently coated. Some slight noises may be heard after driving in tight circles. It may take up to 600 miles before all noises are eliminated"
Oil Change
Performed an oil change even though I was "told" it was done 6k miles ago. Pretty easy, don't think I need to explain.
iPod Interface Install
First off let me say that what BMW supplies in the kit for mounting is not needed. I have found that two strips of 3M sticky-back tape works perfectly. Also, you will want to pick up the panel cover that fills the hole of where the old cd changer used to be. I decided to dremel out a hole in this panel to fit the cable through.
The old and the new...
Test fitting new panel
Drill the dremel out a hole in the panel
Complete and ready for install
Install Matte Kidney Grills
What can I say, I don't like chrome
New grills
Installed
10-10-2012, 07:54 PM
#19
Senior Members
Thread Starter
Join Date: Jun 2008
Location: Chino Hills
Posts: 1,017
Likes: 0
Received 2 Likes
on
2 Posts
My Ride: 545I SMG
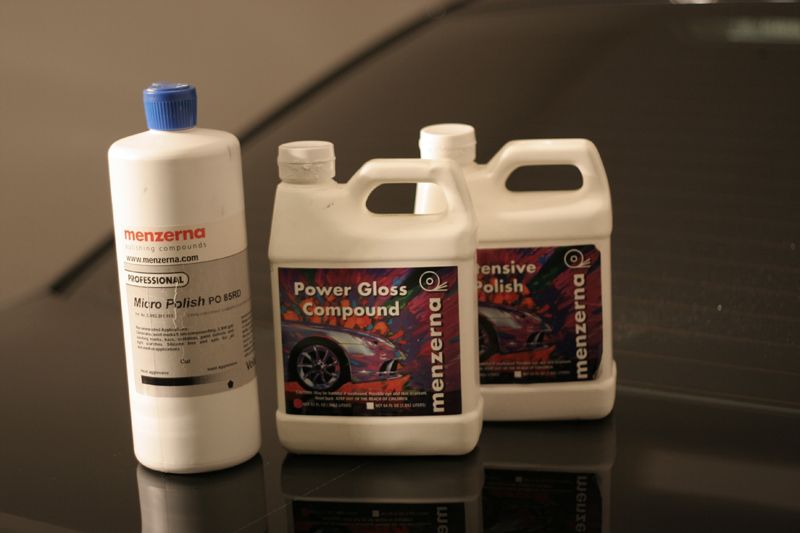
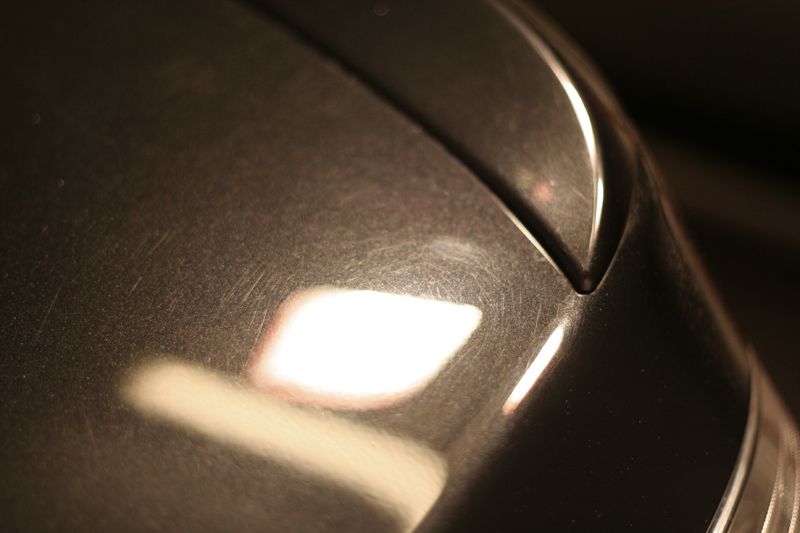
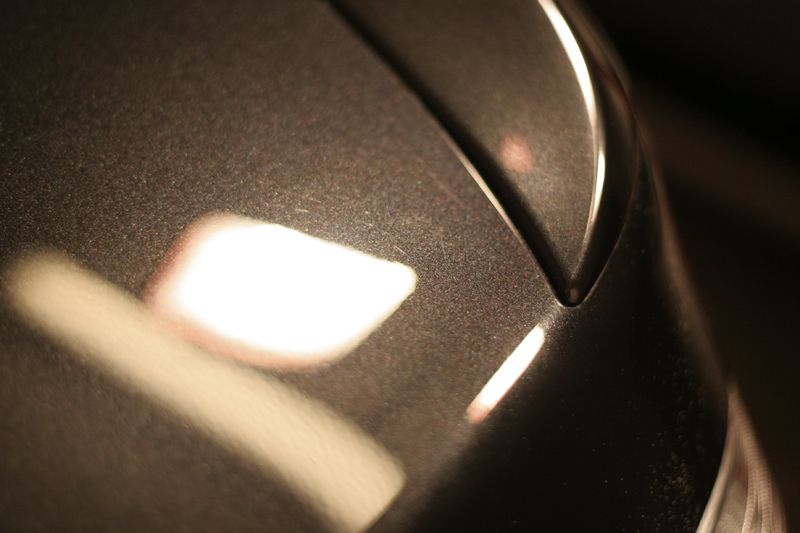
Time to Polish out the Details
The compounds:
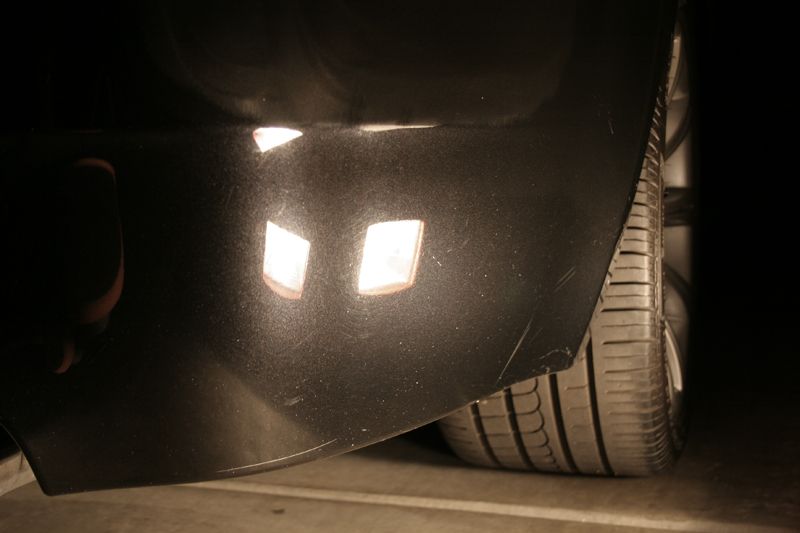
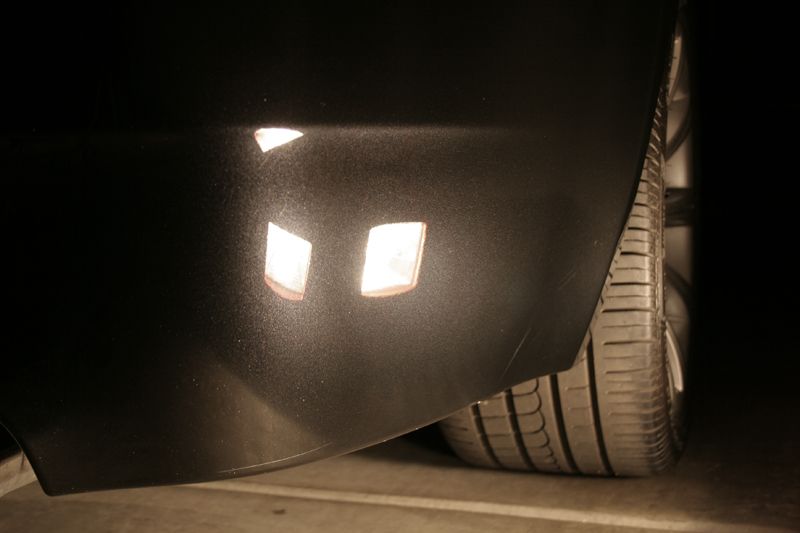
Rear bumper getting cleaned up. Car was littered with white paint spots which must have been picked up front the road. Take a look at the difference!
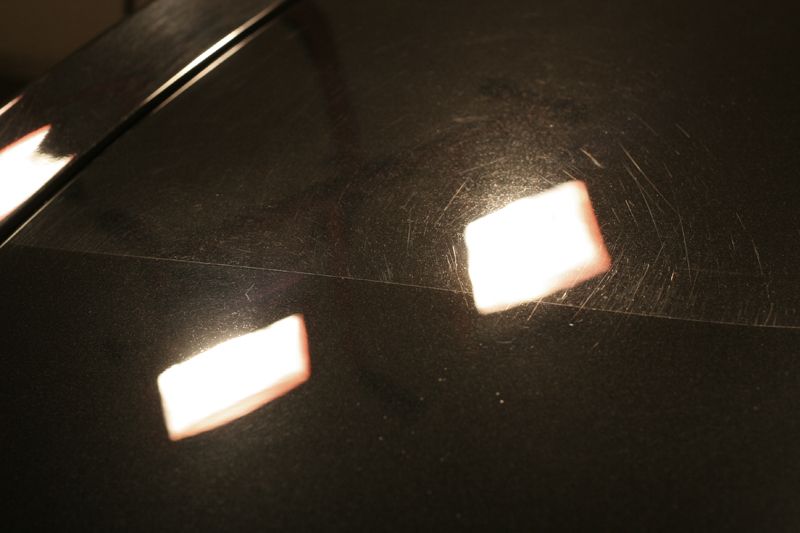
Some shots of improvement on the trunk
The compounds:
Rear bumper getting cleaned up. Car was littered with white paint spots which must have been picked up front the road. Take a look at the difference!
Some shots of improvement on the trunk