
Installed H&R Sport Springs

Contributors
Joined: Jan 2007
Posts: 2,661
Likes: 2
From: (Sonoma County)Santa Rosa, CA

 Thanks. I've removed the lower control arm and the sway bar bolts, but no budge on the knuckle and the shocks were stuck in there not moving so I gave up after 3hrs later.

Members
Joined: Jan 2011
Posts: 217
Likes: 0
From: Fort Worth, TX
My Ride: 2004 525i Alpine White / Tan
as much as I am impatient and like to just "get stuff done" I will try to take pics and note procedure next time I do mine (probly this coming weekend if moving into the new house doesnt hold me up). With any kind of job, HAVING THE RIGHT TOOLS MAKES IT 1,000,000,000,000,000 times easerier. I have found this out the hard way many times over the years. Here is a tip/trick for the front:
1. Obviously jack up and remove wheel.
2. Take brake lines/wiring stuff out of plastic clip attached to fender well
3. Loosen 3 top hat nuts through engine bay
4. Undo 2 lower bolts. One small one bolting sway brace arm thing (<-scientific name) and the other one going through with nut and bolt
5. Place jack under arm knuckle to support while completely undoing the 3 top hat bolts. Lower the jack completely so the strut/coil assembly is just loose in the wheel well.
MOST OF YOU HAVE GOTTEN THIS FAR AND THEN GO " HOW THE F DO I GET THIS THING OUT OF THE WHEEL WELL'
Here is where the know-how/right tools come into play
6. You need an impact or cordless impact (I have a cordless dewalt 3/8 impact <- best tool EVER purchased) a 3/8" extension about 10", a 3/8" swivel socket and the correct socket needed for the spring compressor you are using. Attach spring compressor in the wheel well with the "nut" end up and the threads pointing down. THROUGH THE HOOD SIDE put the socket/swivel socket/extension though the hole at the top hat mount down in the wheel well and attach it to the spring compressor. Use the impact from under the hood connected to the extension and tighten that bad boy down. Compressing the coil and making the whole assembly slide right out from under the fender lip.
I know this will all probly sound like a foreign language and a picture is worth a thousand words so HOPEFULLY I can get some pics for you guys to better clarify this trick.

Members
Joined: Jan 2011
Posts: 217
Likes: 0
From: Fort Worth, TX
My Ride: 2004 525i Alpine White / Tan
Contributors
Joined: Jan 2007
Posts: 2,661
Likes: 2
From: (Sonoma County)Santa Rosa, CA
as much as I am impatient and like to just "get stuff done" I will try to take pics and note procedure next time I do mine (probly this coming weekend if moving into the new house doesnt hold me up). With any kind of job, HAVING THE RIGHT TOOLS MAKES IT 1,000,000,000,000,000 times easerier. I have found this out the hard way many times over the years. Here is a tip/trick for the front:
1. Obviously jack up and remove wheel.
2. Take brake lines/wiring stuff out of plastic clip attached to fender well
3. Loosen 3 top hat nuts through engine bay
4. Undo 2 lower bolts. One small one bolting sway brace arm thing (<-scientific name) and the other one going through with nut and bolt
5. Place jack under arm knuckle to support while completely undoing the 3 top hat bolts. Lower the jack completely so the strut/coil assembly is just loose in the wheel well.
MOST OF YOU HAVE GOTTEN THIS FAR AND THEN GO " HOW THE F DO I GET THIS THING OUT OF THE WHEEL WELL'
Here is where the know-how/right tools come into play
6. You need an impact or cordless impact (I have a cordless dewalt 3/8 impact <- best tool EVER purchased) a 3/8" extension about 10", a 3/8" swivel socket and the correct socket needed for the spring compressor you are using. Attach spring compressor in the wheel well with the "nut" end up and the threads pointing down. THROUGH THE HOOD SIDE put the socket/swivel socket/extension though the hole at the top hat mount down in the wheel well and attach it to the spring compressor. Use the impact from under the hood connected to the extension and tighten that bad boy down. Compressing the coil and making the whole assembly slide right out from under the fender lip.
I know this will all probly sound like a foreign language and a picture is worth a thousand words so HOPEFULLY I can get some pics for you guys to better clarify this trick.
1. Obviously jack up and remove wheel.
2. Take brake lines/wiring stuff out of plastic clip attached to fender well
3. Loosen 3 top hat nuts through engine bay
4. Undo 2 lower bolts. One small one bolting sway brace arm thing (<-scientific name) and the other one going through with nut and bolt
5. Place jack under arm knuckle to support while completely undoing the 3 top hat bolts. Lower the jack completely so the strut/coil assembly is just loose in the wheel well.
MOST OF YOU HAVE GOTTEN THIS FAR AND THEN GO " HOW THE F DO I GET THIS THING OUT OF THE WHEEL WELL'
Here is where the know-how/right tools come into play
6. You need an impact or cordless impact (I have a cordless dewalt 3/8 impact <- best tool EVER purchased) a 3/8" extension about 10", a 3/8" swivel socket and the correct socket needed for the spring compressor you are using. Attach spring compressor in the wheel well with the "nut" end up and the threads pointing down. THROUGH THE HOOD SIDE put the socket/swivel socket/extension though the hole at the top hat mount down in the wheel well and attach it to the spring compressor. Use the impact from under the hood connected to the extension and tighten that bad boy down. Compressing the coil and making the whole assembly slide right out from under the fender lip.
I know this will all probly sound like a foreign language and a picture is worth a thousand words so HOPEFULLY I can get some pics for you guys to better clarify this trick.
 Sweet baggedlvintegra thanks for the tip.
Members
Joined: Jan 2011
Posts: 217
Likes: 0
From: Fort Worth, TX
My Ride: 2004 525i Alpine White / Tan
without this I would have quit like you initially did...and in my case I only used 1 spring compressor and tightened it all the way down and it was enough to get the assembly out from under the fender, getting 2 on there and tightened in that little space can be difficult, just another little FYI
Contributors
Joined: Jan 2007
Posts: 2,661
Likes: 2
From: (Sonoma County)Santa Rosa, CA
without this I would have quit like you initially did...and in my case I only used 1 spring compressor and tightened it all the way down and it was enough to get the assembly out from under the fender, getting 2 on there and tightened in that little space can be difficult, just another little FYI


Thread Starter
Contributors
Joined: Jul 2007
Posts: 739
Likes: 0
From: Nashville
My Ride: 2007 530i Alpine White with Navi and Premium PackageIn progress: OEM Mtech kit, H&R Sport Springs, and 19
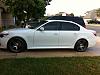
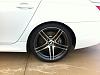
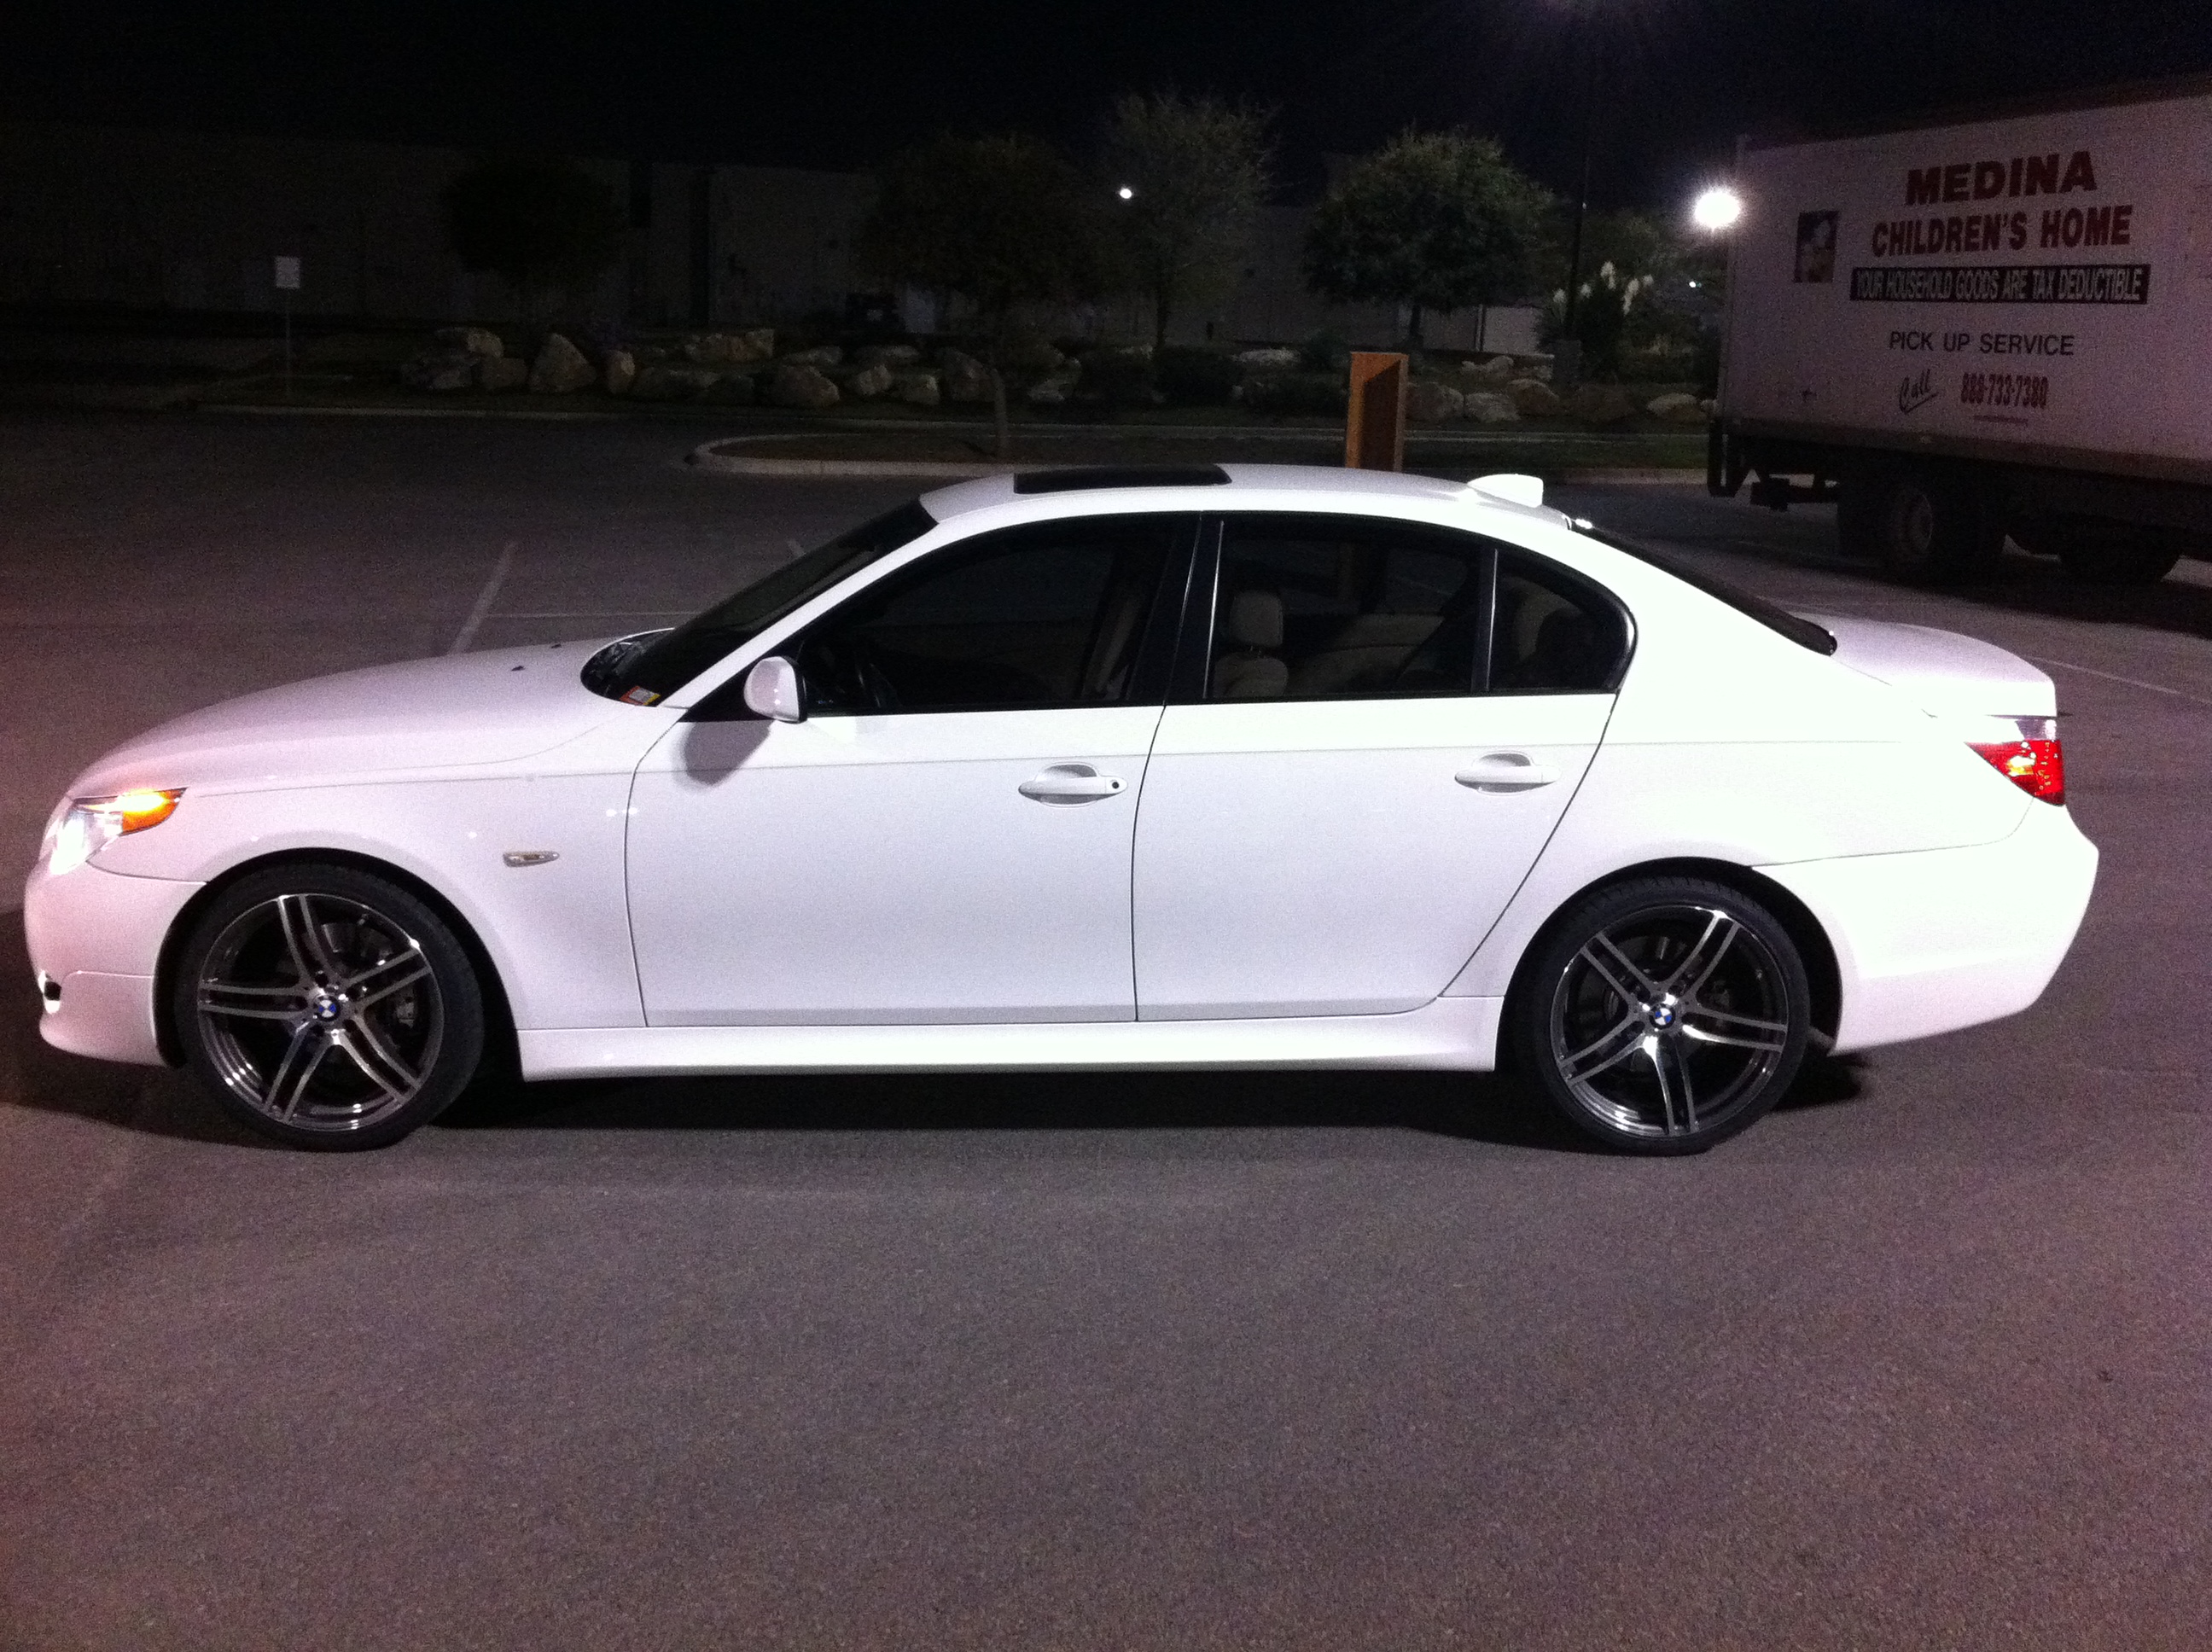
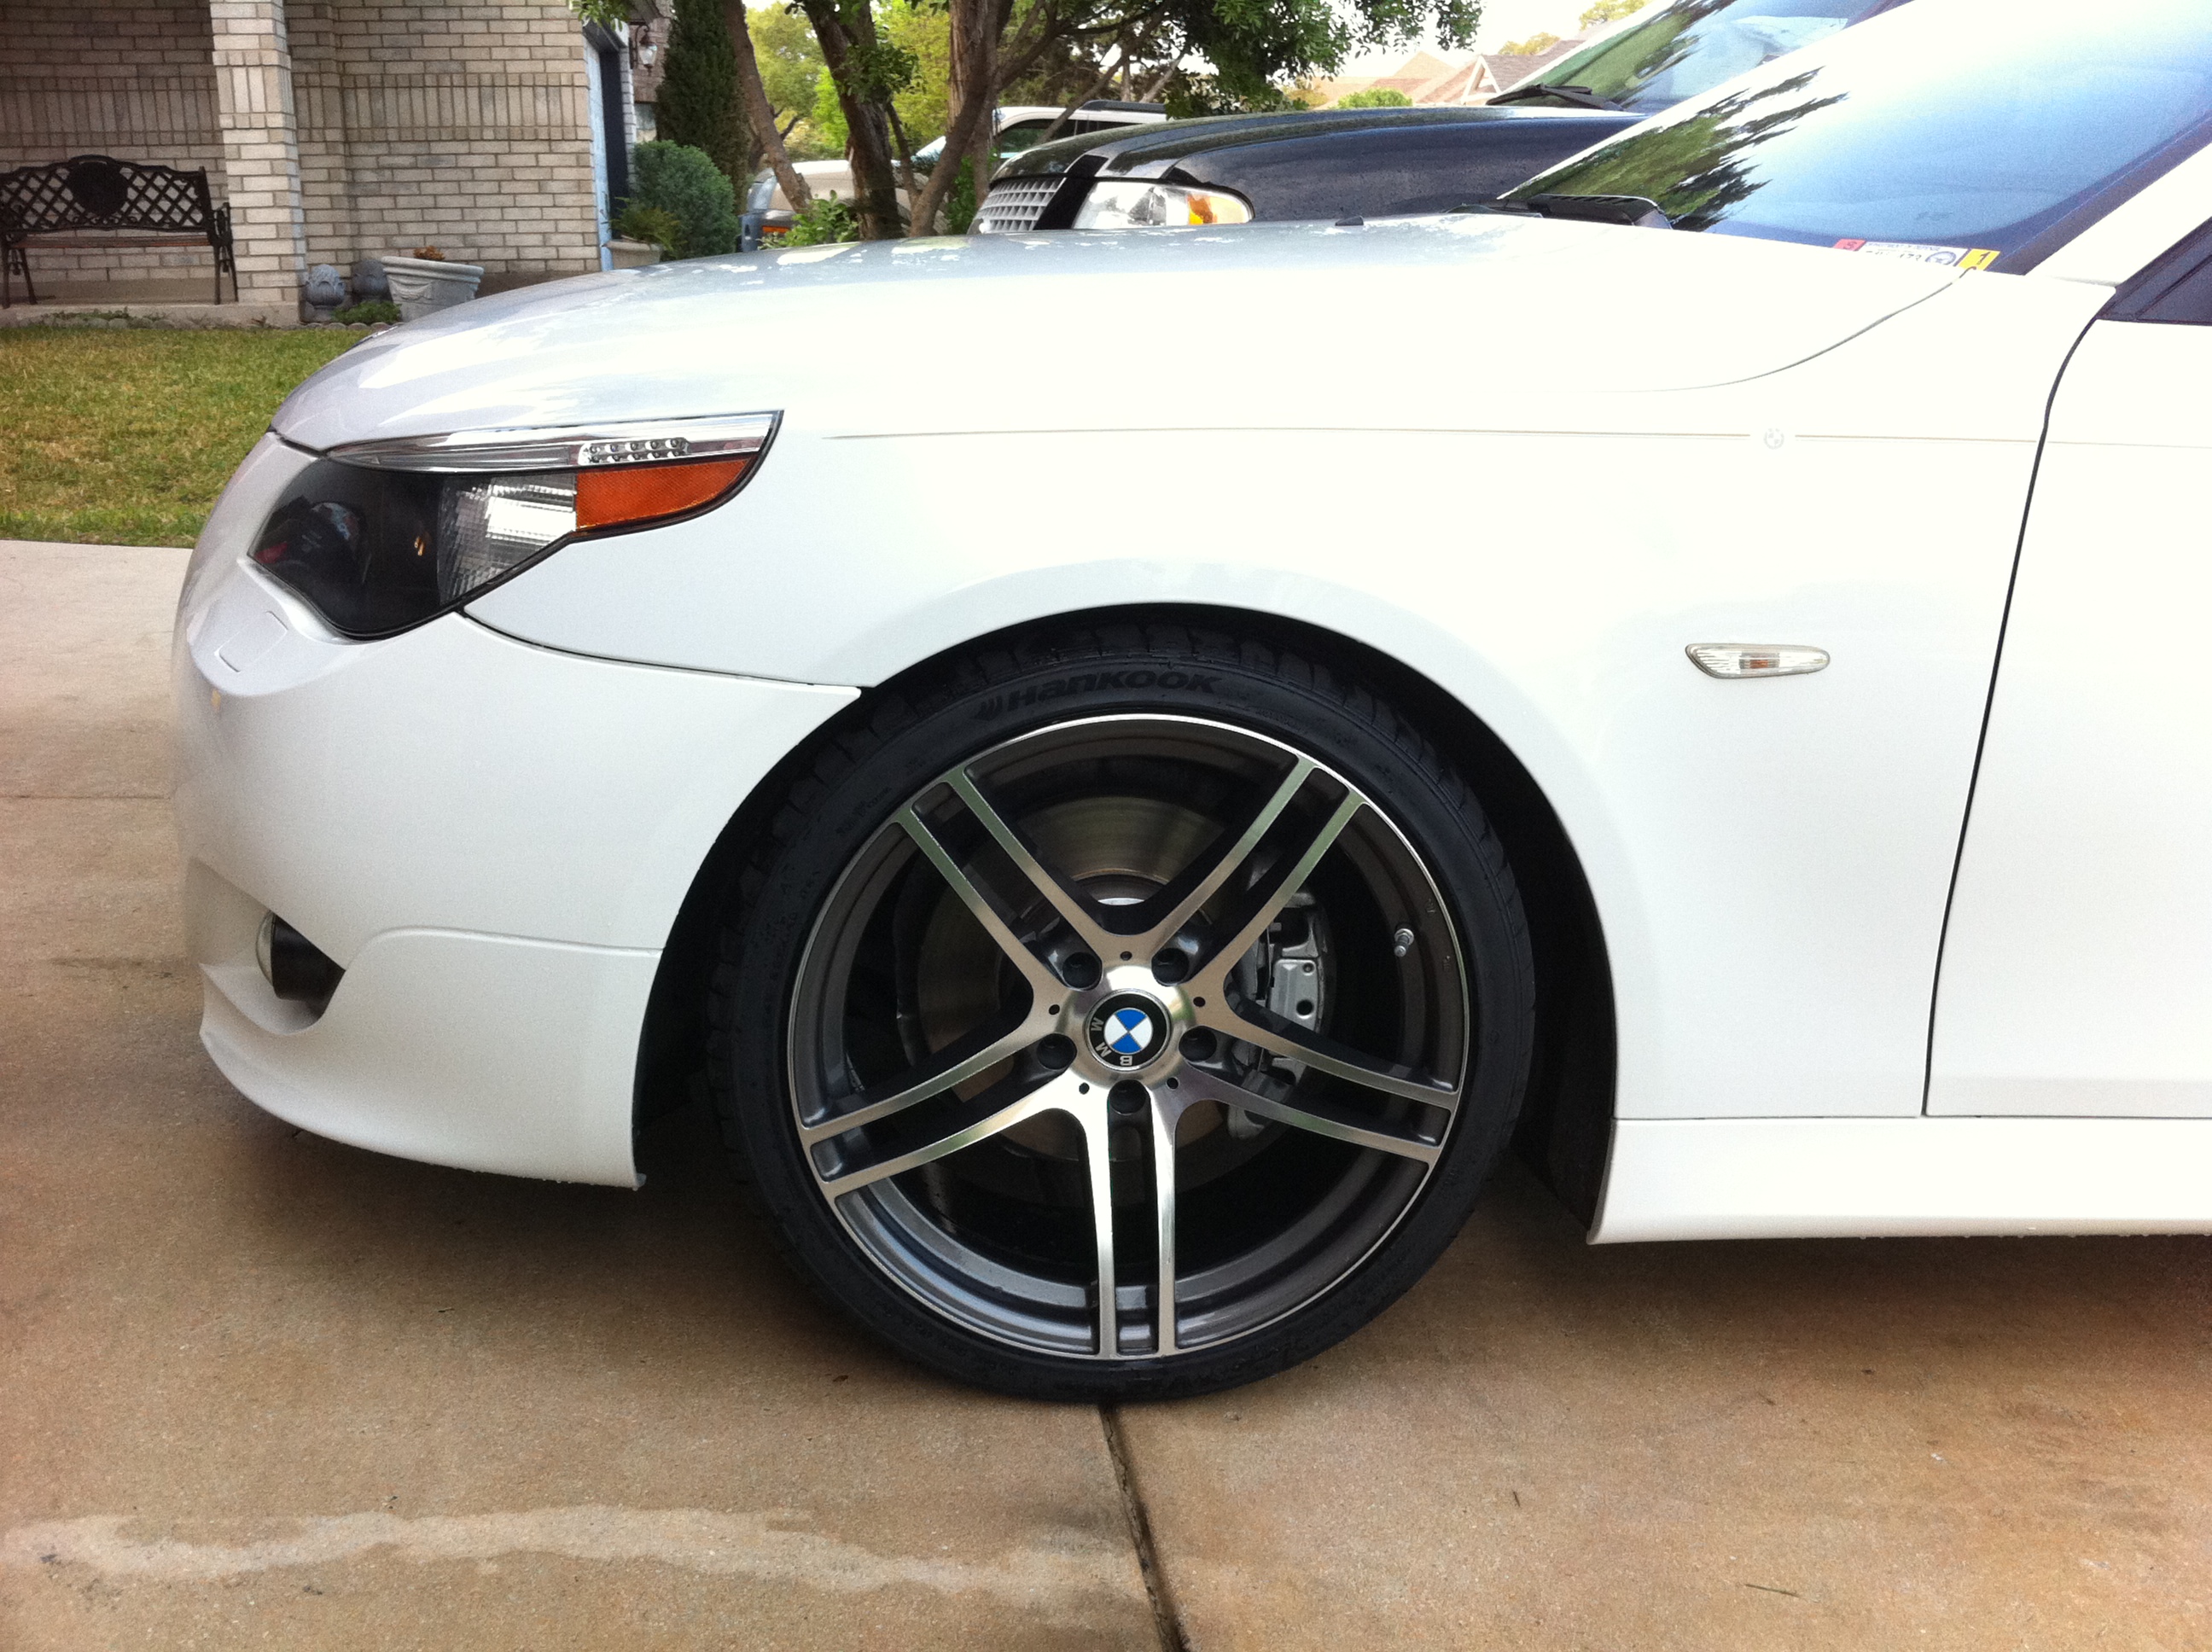
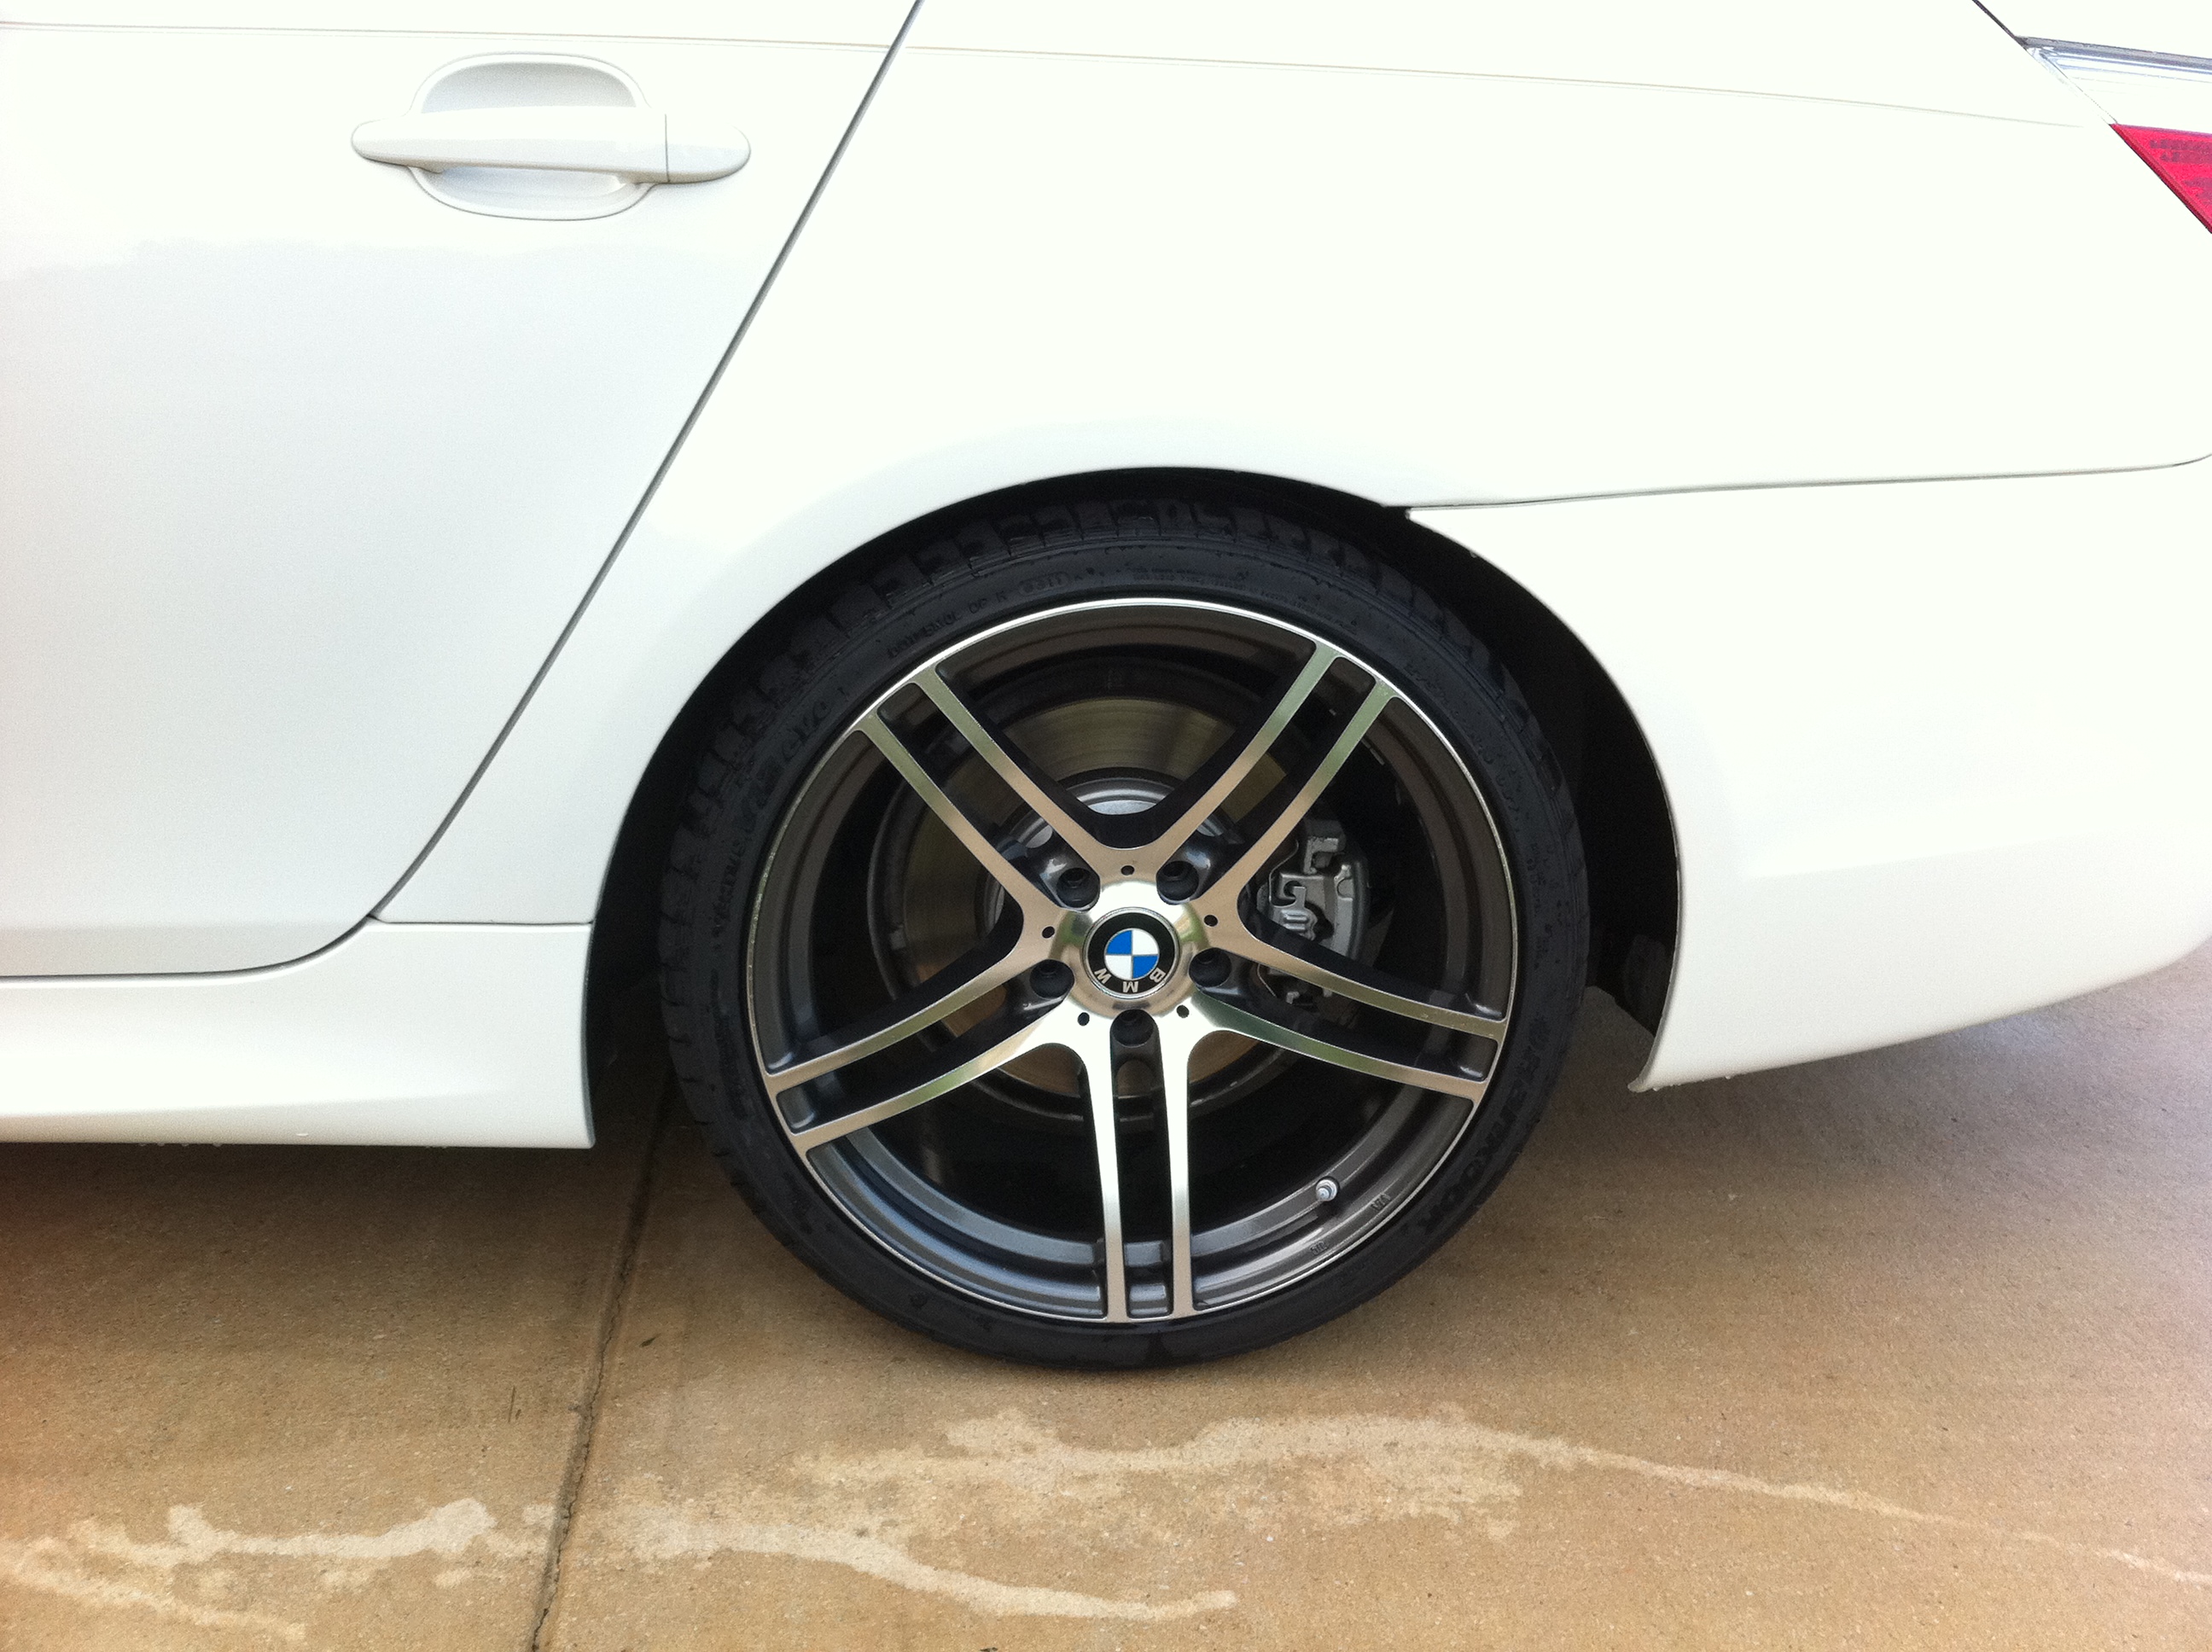
Got some pics of the car before drop... (Sorry pics suck)
The before pics dont do any justice.
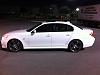
after the drop...

Oh and please dont remind me about the paint, it will be repainted this week!
The before pics dont do any justice.
after the drop...

Oh and please dont remind me about the paint, it will be repainted this week!
Contributors
Joined: Jan 2007
Posts: 2,661
Likes: 2
From: (Sonoma County)Santa Rosa, CA
Got some pics of the car before drop... (Sorry pics suck)
The before pics dont do any justice.
Attachment 119087
after the drop...
Attachment 119084
Attachment 119085
Attachment 119086
Oh and please dont remind me about the paint, it will be repainted this week!
The before pics dont do any justice.
Attachment 119087
after the drop...
Attachment 119084
Attachment 119085
Attachment 119086
Oh and please dont remind me about the paint, it will be repainted this week!