
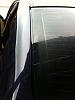
Rear glass rubber wearing out


Thread Starter
Members
Senior Members
Joined: Aug 2010
Posts: 270
Likes: 0
From: USA-NJ
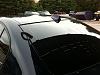
I finished replacing my back window rubber.. I wish i knew about it before.. This is what i used:
1. 3in1 caulk tool _ Home depot paint section had a small plastic scraper- it came hand but could done it without it..
2.Purple Power cleaning degreaser- I used to clean after I removed the rubber
3. 3in1 I used it as a lubricant to install the new one. This was a bit slippery didn't like it much..
The rubber came in a huge box I could fit the entire glass and the rubber
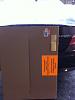
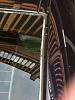
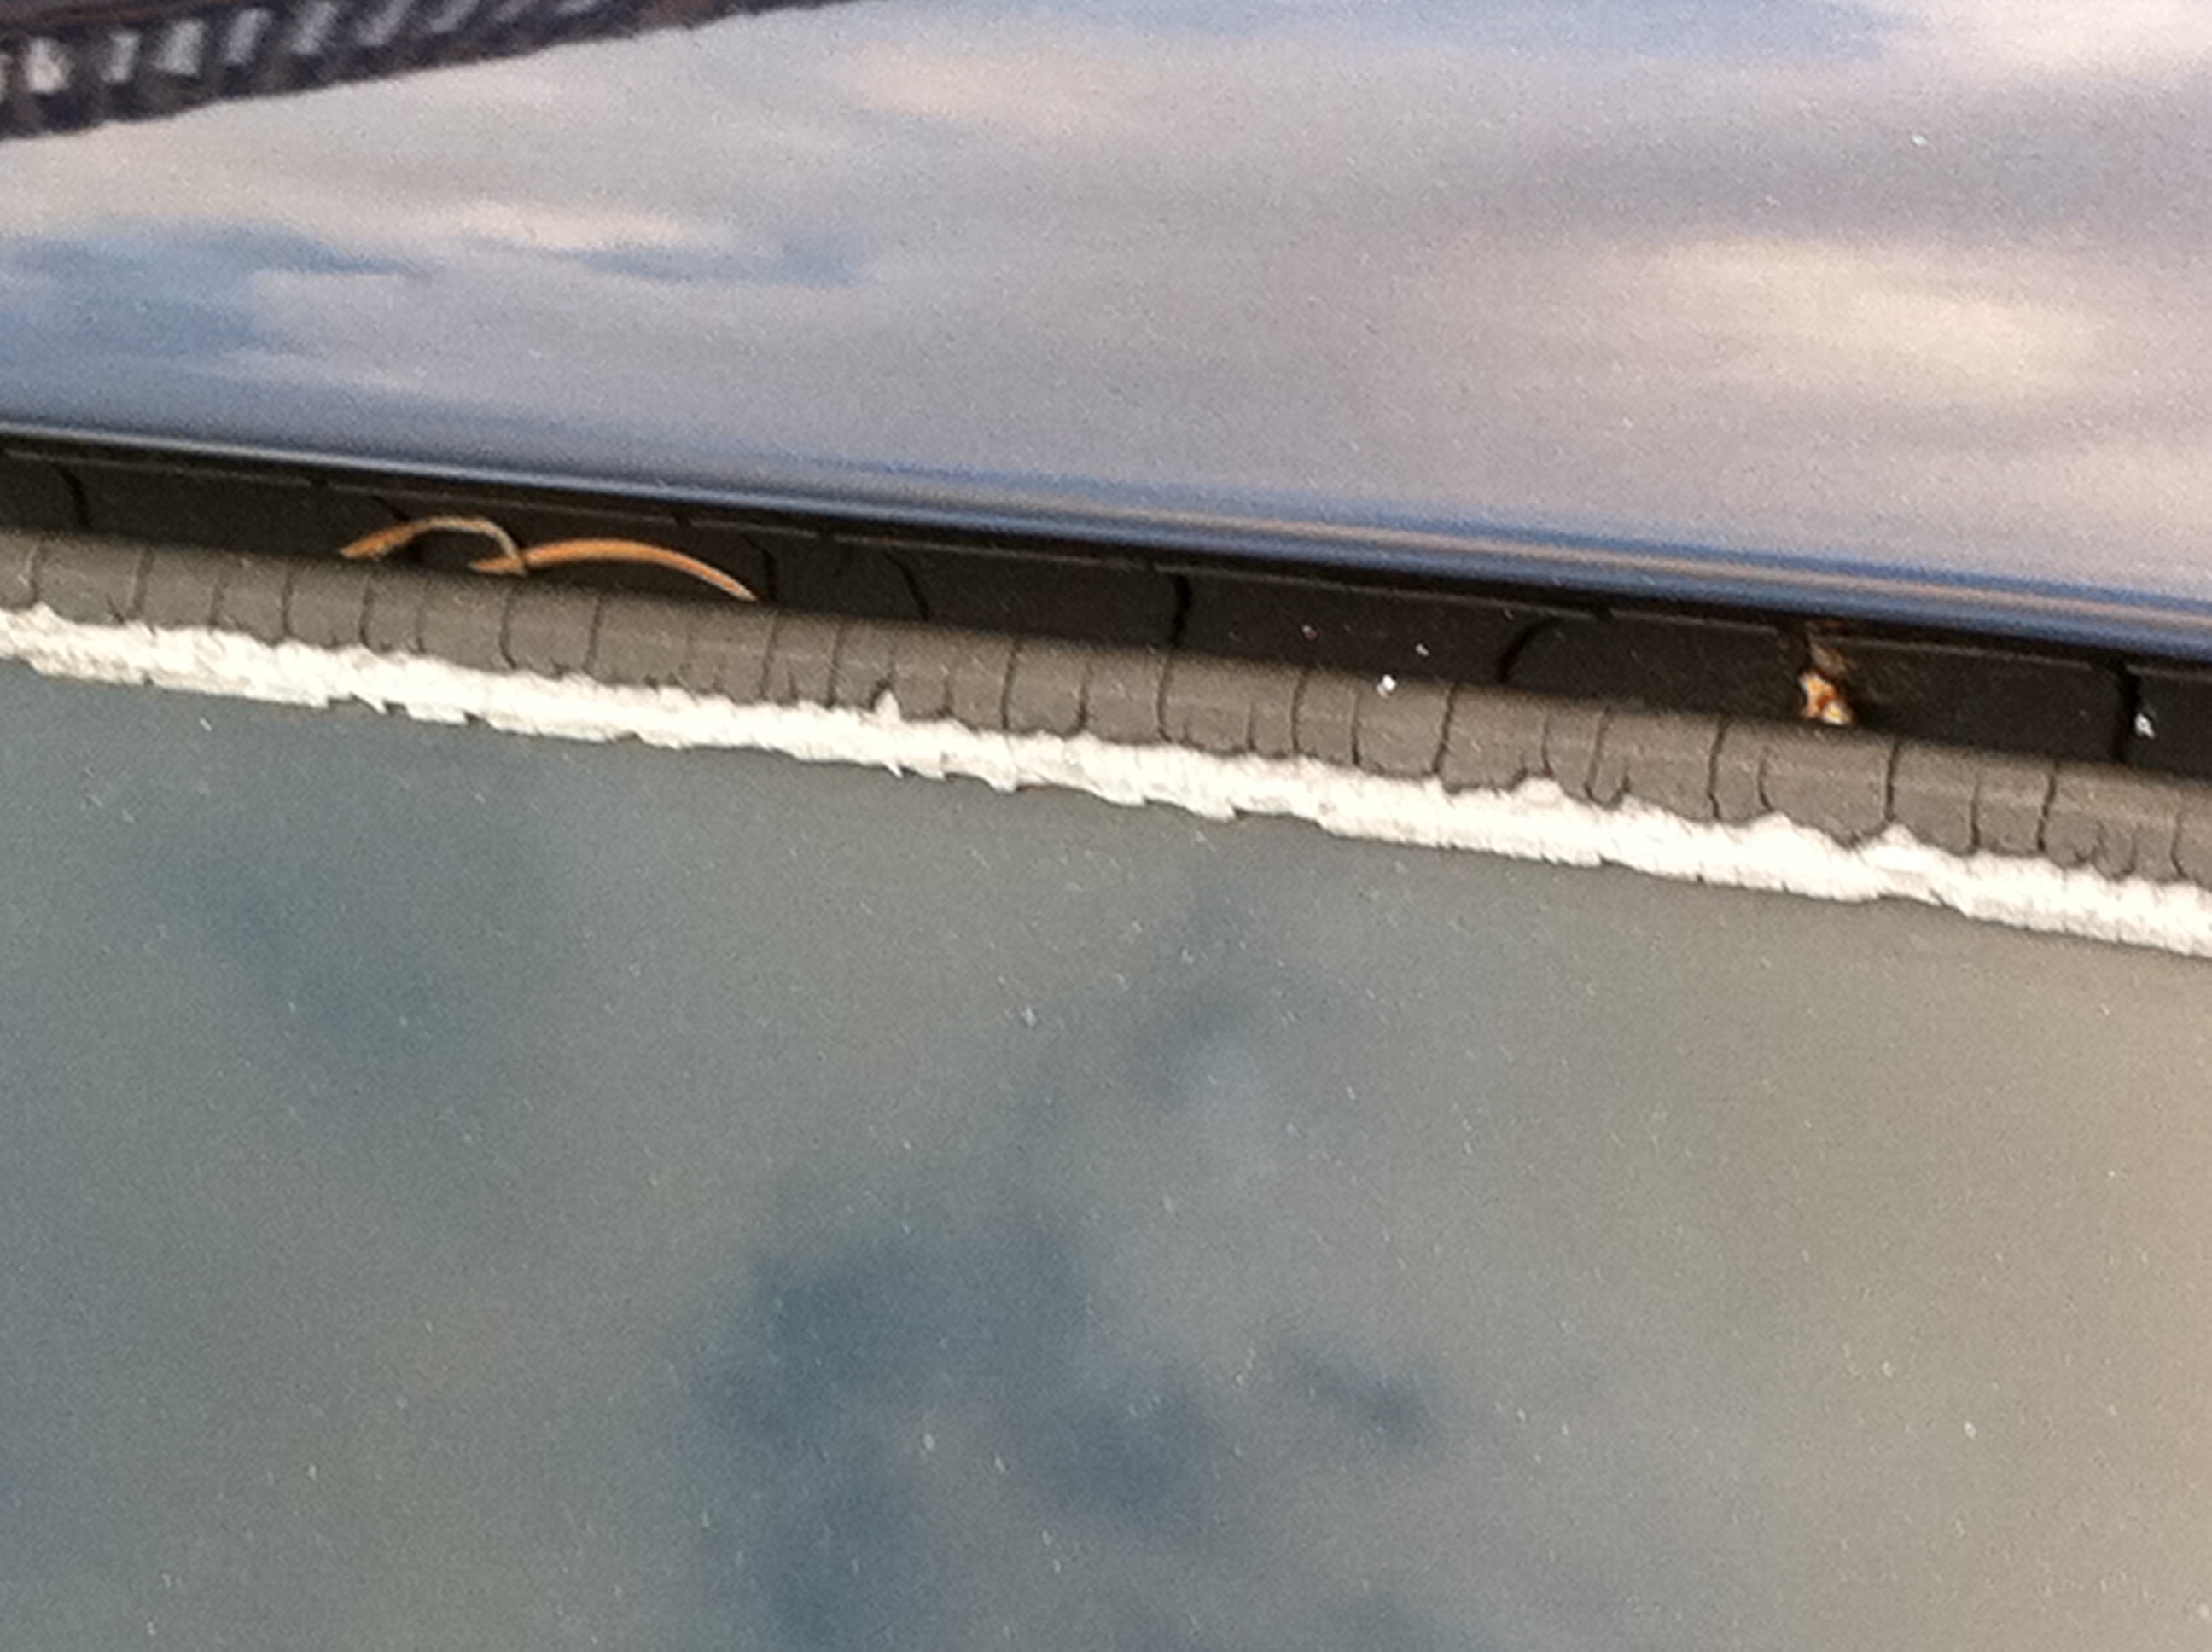
Before replacement

My tools
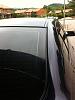
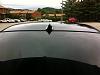
Started removing the old rubber from the bottom left all the way up, i had to do the same from the right side as well, came off pretty easy.
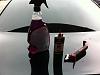
The clean up was a pain because the little pieces were stuck and I had to use a little hair pin to get them out, after 30 min or so using the Purple Power it was nice and clean.
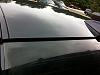
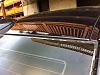
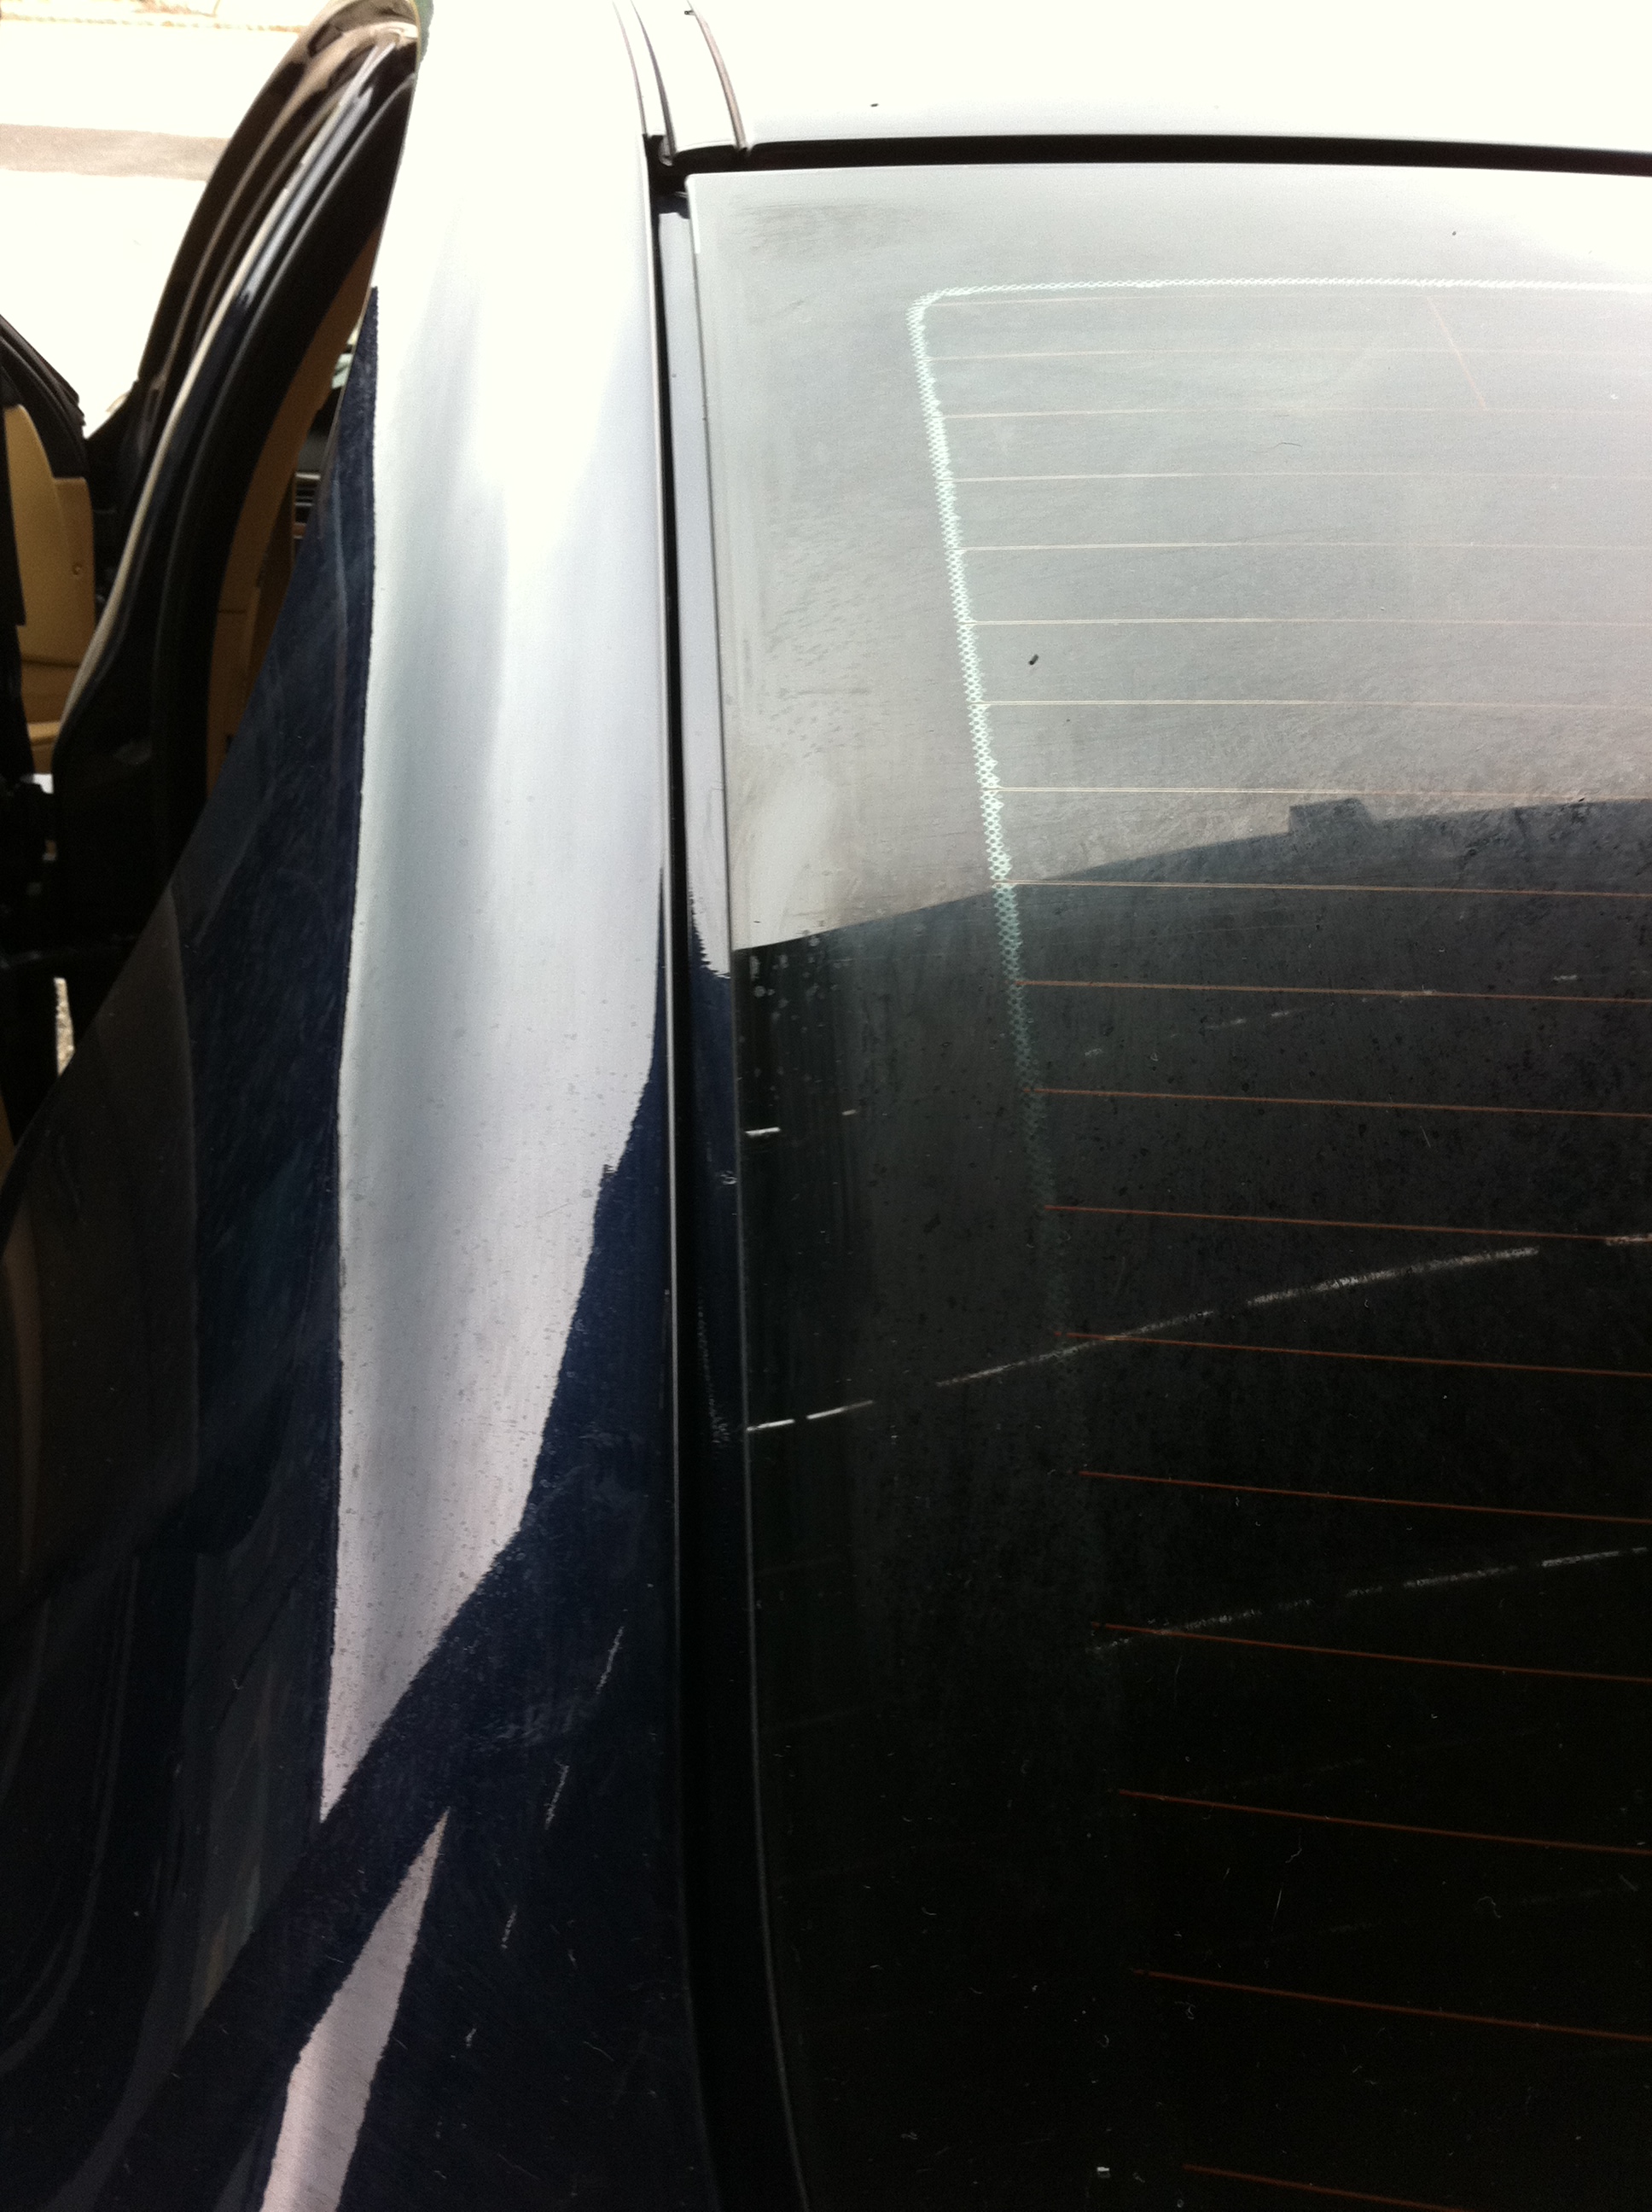
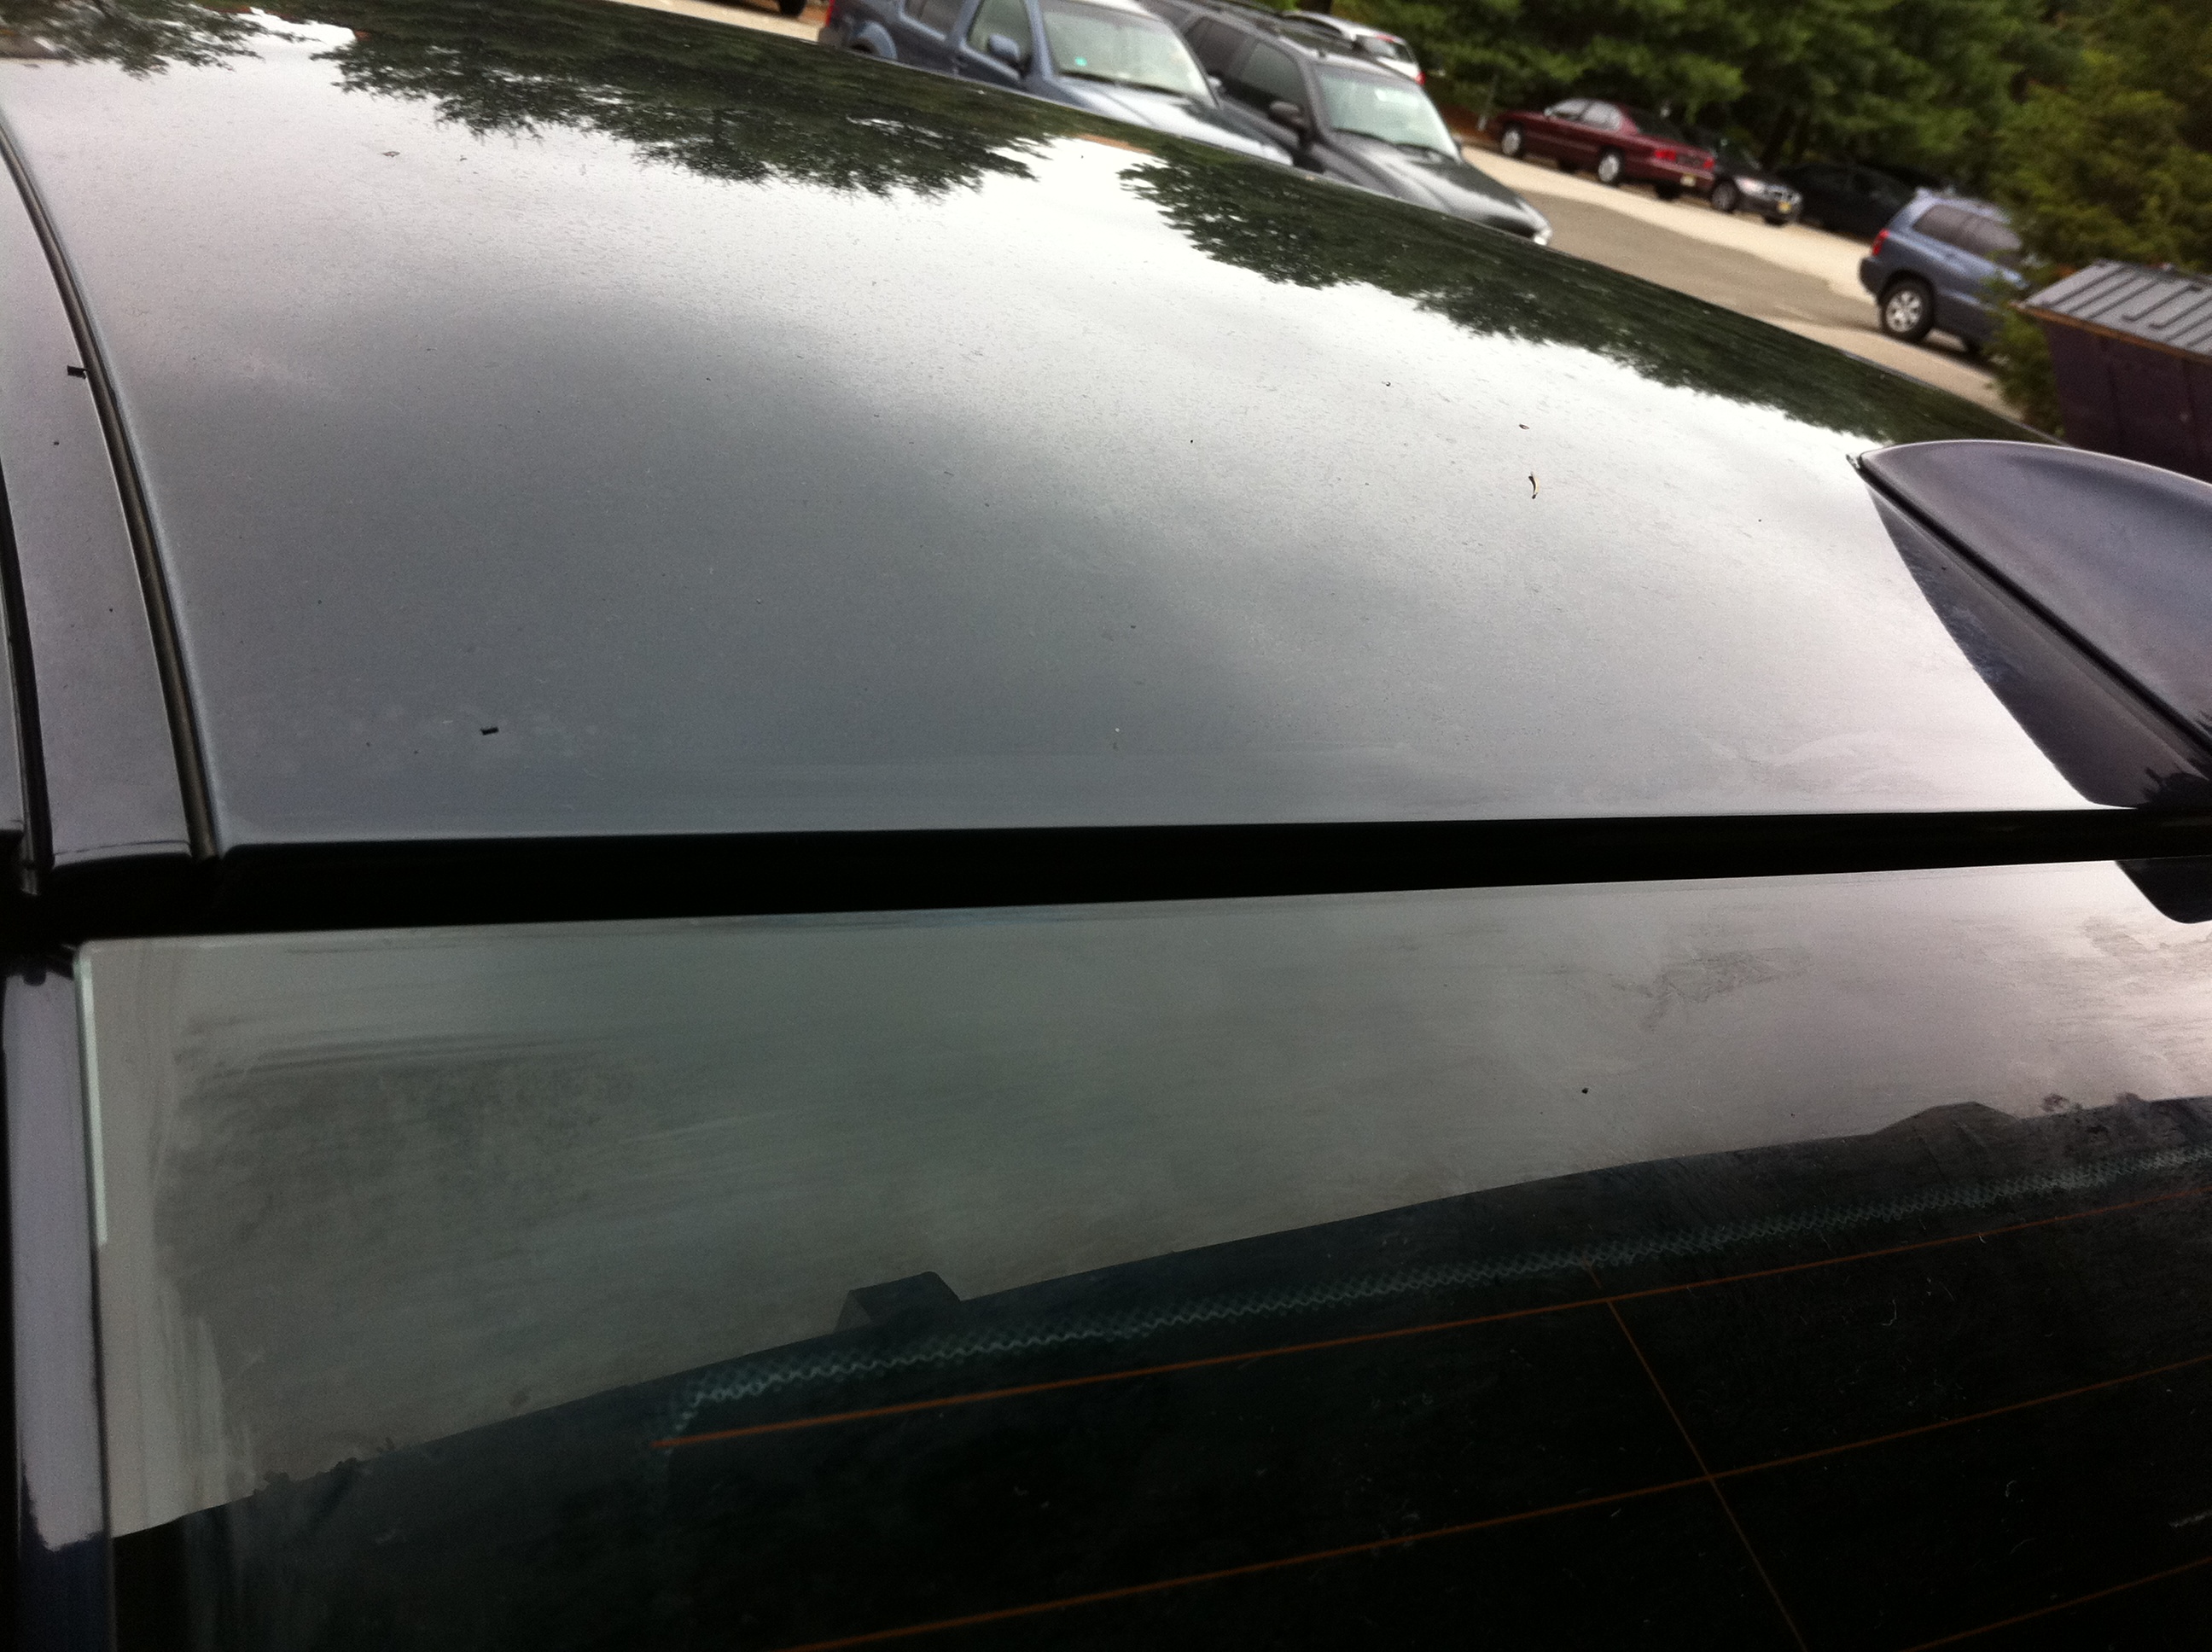
Adding the new rubber I had some hard time getting the top right corner right, after many tries i got it finally!!
Now it looks the was it supposed to. Nice!
Not bad for 1st time DYI..
1. 3in1 caulk tool _ Home depot paint section had a small plastic scraper- it came hand but could done it without it..
2.Purple Power cleaning degreaser- I used to clean after I removed the rubber
3. 3in1 I used it as a lubricant to install the new one. This was a bit slippery didn't like it much..
The rubber came in a huge box I could fit the entire glass and the rubber

Before replacement


My tools

Started removing the old rubber from the bottom left all the way up, i had to do the same from the right side as well, came off pretty easy.

The clean up was a pain because the little pieces were stuck and I had to use a little hair pin to get them out, after 30 min or so using the Purple Power it was nice and clean.
Adding the new rubber I had some hard time getting the top right corner right, after many tries i got it finally!!
Now it looks the was it supposed to. Nice!


Not bad for 1st time DYI..
Senior Members
Joined: Jan 2011
Posts: 361
Likes: 0
From: Thousand Oaks, CA
My Ride: 2004 BMW 545i Silver,Gray, Metallic. Blk Dakota leather. Nav. Heads up disply. PDC. Pro logic 7 sound. 35% tint.
Mods. MTECH body kit. OEM trunk finisher and M5 spoiler.OEM 166 wheels. Blk and wht CF Roundels.
Orion V2 AEs. LCI taillights with Ricky effect. LED interior lights. LED license plate light. HID fogs. Smoked LED side markers. White cluster mod. Coding. RPI scoop & BMC filter. Gloss black OEM grills.CF interior trim. B&B exhaust.
I finished replacing my back window rubber.. I wish i knew about it before.. This is what i used:
1. 3in1 caulk tool _ Home depot paint section had a small plastic scraper- it came hand but could done it without it..
2.Purple Power cleaning degreaser- I used to clean after I removed the rubber
3. 3in1 I used it as a lubricant to install the new one. This was a bit slippery didn't like it much..
The rubber came in a huge box I could fit the entire glass and the rubber
Attachment 122082
Before replacement
Attachment 122090
Attachment 122088
Attachment 122092
My tools
Attachment 122094
Started removing the old rubber from the bottom left all the way up, i had to do the same from the right side as well, came off pretty easy.
Attachment 122095
The clean up was a pain because the little pieces were stuck and I had to use a little hair pin to get them out, after 30 min or so using the Purple Power it was nice and clean.
Attachment 122096
Attachment 122097
Adding the new rubber I had some hard time getting the top right corner right, after many tries i got it finally!!
Now it looks the was it supposed to. Nice!
Attachment 122098
Attachment 122099
Not bad for 1st time DYI..
Man, I can't believe you waited so long to replace it.
Yours was really bad!
Thread Starter
Members
Senior Members
Joined: Aug 2010
Posts: 270
Likes: 0
From: USA-NJ
Thanks !!
According to the stealer I had to spend a couple of hundred of dollars to replace the glass and add the rubber, and then the tint again..
I kind of trusted them, never went for a second opinion.. Almost, went to replaced it, but thanks to this board I didn't..
The saving will go to my M-Tech aerodynamic kit fund that I'm dying to get..
According to the stealer I had to spend a couple of hundred of dollars to replace the glass and add the rubber, and then the tint again..
I kind of trusted them, never went for a second opinion.. Almost, went to replaced it, but thanks to this board I didn't
..The saving will go to my M-Tech aerodynamic kit fund that I'm dying to get..
Contributors
Joined: Jan 2007
Posts: 2,661
Likes: 2
From: (Sonoma County)Santa Rosa, CA
I finished replacing my back window rubber.. I wish i knew about it before.. This is what i used:
1. 3in1 caulk tool _ Home depot paint section had a small plastic scraper- it came hand but could done it without it..
2.Purple Power cleaning degreaser- I used to clean after I removed the rubber
3. 3in1 I used it as a lubricant to install the new one. This was a bit slippery didn't like it much..
The rubber came in a huge box I could fit the entire glass and the rubber
Attachment 122082
Before replacement
Attachment 122090
Attachment 122088
Attachment 122092
My tools
Attachment 122094
Started removing the old rubber from the bottom left all the way up, i had to do the same from the right side as well, came off pretty easy.
Attachment 122095
The clean up was a pain because the little pieces were stuck and I had to use a little hair pin to get them out, after 30 min or so using the Purple Power it was nice and clean.
Attachment 122096
Attachment 122097
Adding the new rubber I had some hard time getting the top right corner right, after many tries i got it finally!!
Now it looks the was it supposed to. Nice!
Attachment 122098
Attachment 122099
Not bad for 1st time DYI..
1. 3in1 caulk tool _ Home depot paint section had a small plastic scraper- it came hand but could done it without it..
2.Purple Power cleaning degreaser- I used to clean after I removed the rubber
3. 3in1 I used it as a lubricant to install the new one. This was a bit slippery didn't like it much..
The rubber came in a huge box I could fit the entire glass and the rubber
Attachment 122082
Before replacement
Attachment 122090
Attachment 122088
Attachment 122092
My tools
Attachment 122094
Started removing the old rubber from the bottom left all the way up, i had to do the same from the right side as well, came off pretty easy.
Attachment 122095
The clean up was a pain because the little pieces were stuck and I had to use a little hair pin to get them out, after 30 min or so using the Purple Power it was nice and clean.
Attachment 122096
Attachment 122097
Adding the new rubber I had some hard time getting the top right corner right, after many tries i got it finally!!
Now it looks the was it supposed to. Nice!
Attachment 122098
Attachment 122099
Not bad for 1st time DYI..
Thread Starter
Members
Senior Members
Joined: Aug 2010
Posts: 270
Likes: 0
From: USA-NJ
Thanks man!! I'm surprised that my front rubber is still in pretty good shape looking at how deteriorated the back was..

Senior Members
Joined: Dec 2009
Posts: 878
Likes: 0
From: Birmingham, AL
My Ride: 06 550i
Model Year: 06
Grab an edge and pull up that's what I did when I replaced the front. I was lazy and didn't clean the old glue and it still stuck fine.
If I had known there was this much interest in a DIY with pics, I would gave made one months ago, lol.
If I had known there was this much interest in a DIY with pics, I would gave made one months ago, lol.
Contributors
Joined: Jan 2007
Posts: 2,661
Likes: 2
From: (Sonoma County)Santa Rosa, CA