
Headlights restored...
 05-10-2014, 02:35 PM
#1
Members
Thread Starter
Join Date: Dec 2008
Location: Michigan
Posts: 29
Likes: 0
Received 0 Likes
on
0 Posts
My Ride: 2005 BMW 545i, Billy Boat w/ y-resonator removed.
Recently the headlights were getting worse and worse.
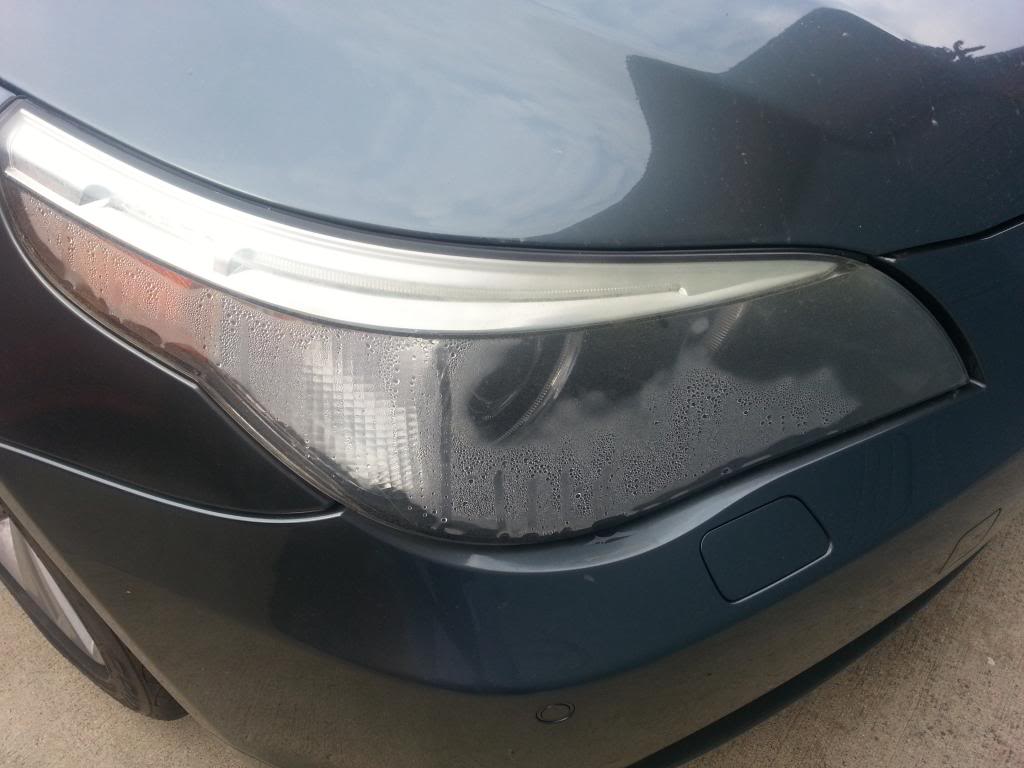
Passenger side was getting bad and a lot of condensation:
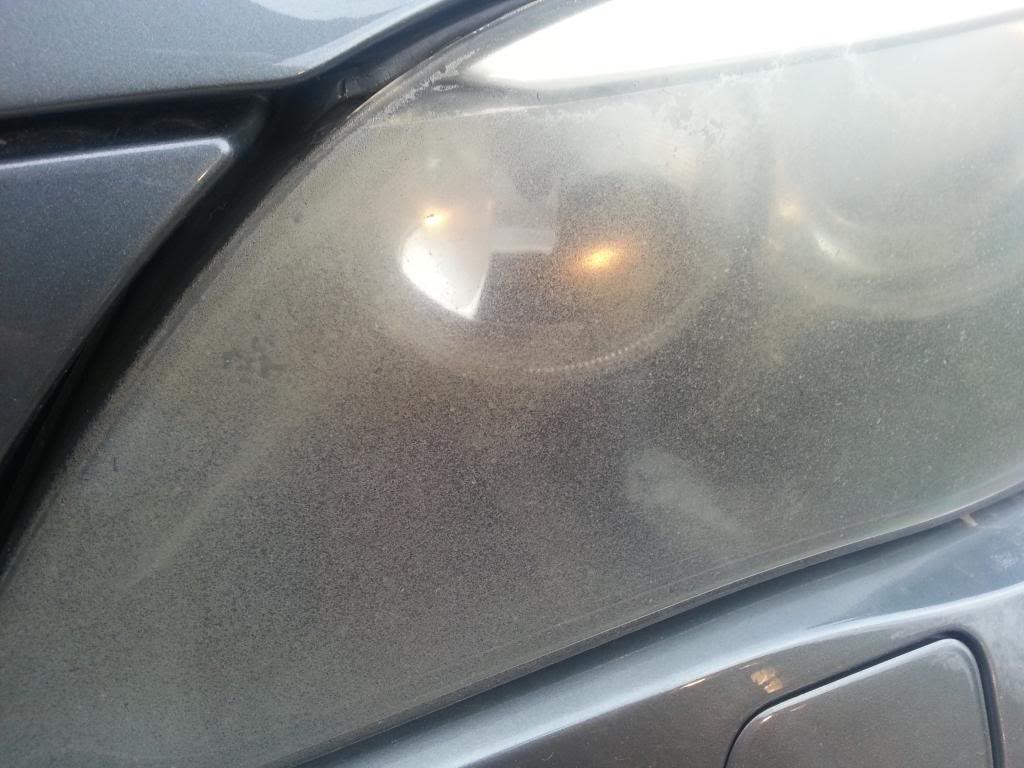
Drivers side was really bad:
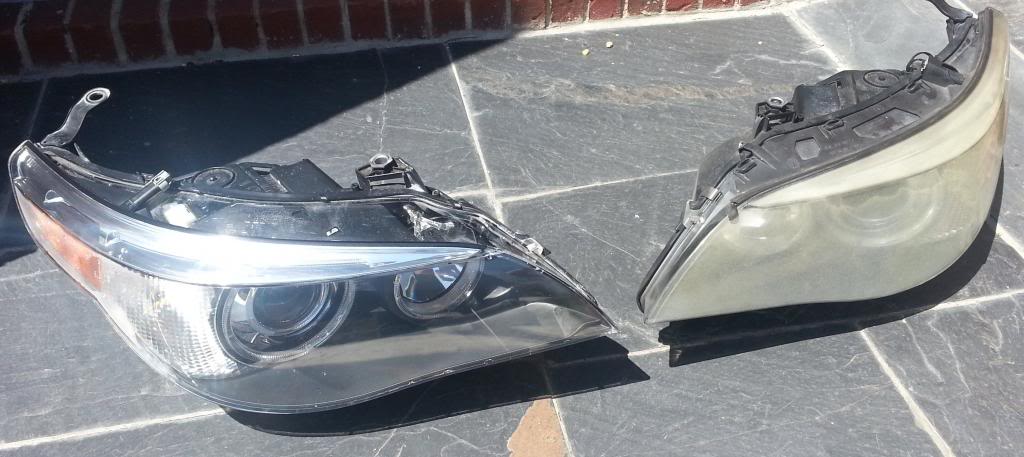
Pulled them out, started wet sanding with 500, 600, 800, 1000, 2000, 3000, and then polished.
Put black silicone all round to attempt to ensure a better seal. Upgraded the angel eyes with new LEDs, and used bulb grease around the access panels to try and seal better.
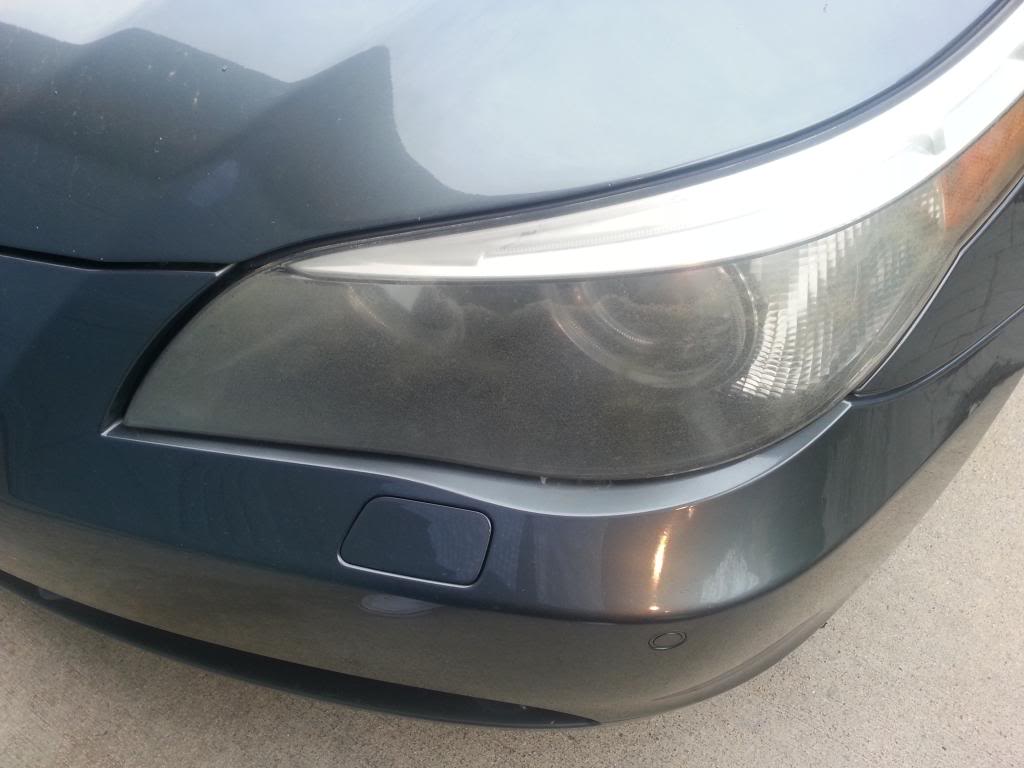
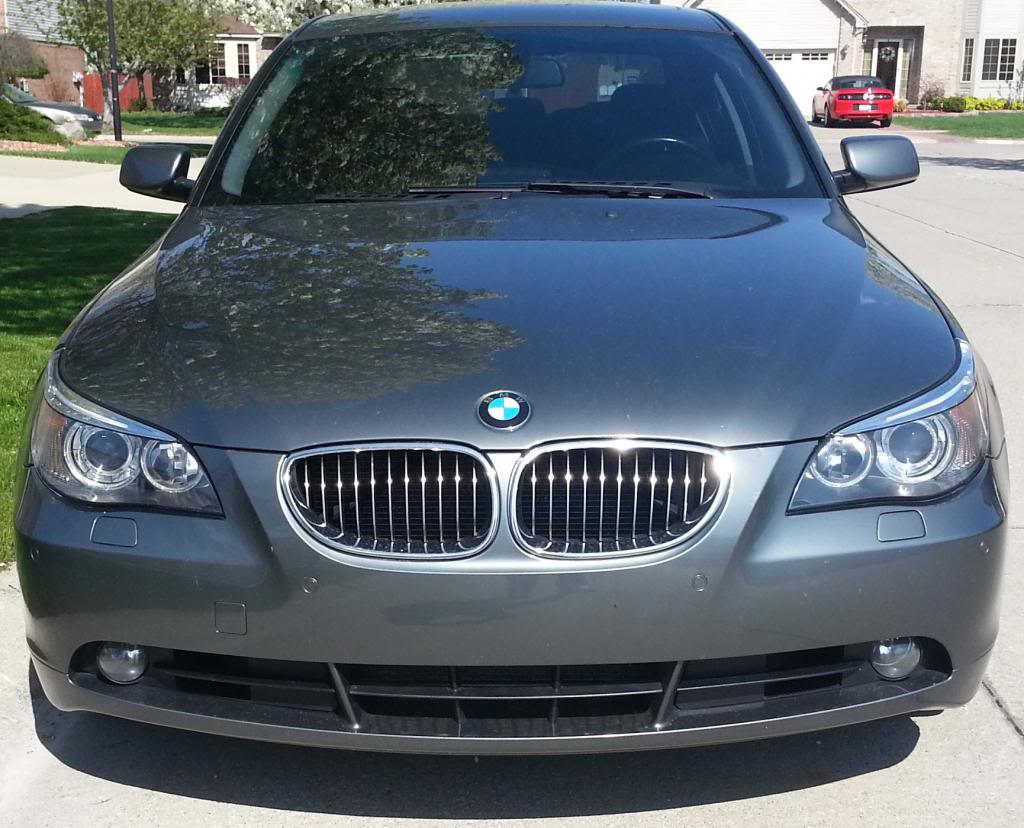
Now it's looking better:
Passenger side was getting bad and a lot of condensation:

Drivers side was really bad:


Pulled them out, started wet sanding with 500, 600, 800, 1000, 2000, 3000, and then polished.

Put black silicone all round to attempt to ensure a better seal. Upgraded the angel eyes with new LEDs, and used bulb grease around the access panels to try and seal better.
Now it's looking better:

 05-10-2014, 04:02 PM
#3
Members
Thread Starter
Join Date: Dec 2008
Location: Michigan
Posts: 29
Likes: 0
Received 0 Likes
on
0 Posts
My Ride: 2005 BMW 545i, Billy Boat w/ y-resonator removed.
I pulled them off the car. Between the amount of sanding, figured I needed to try and seal them better with silicon around the bucket and lens, and the LED upgrade it just worked out better.
Wet sanded as described above by hand. Probably didn't need to go through all the levels of sandpaper I did but, I wanted to take my time and ensure it was going to come out okay.
With the 500 / 600 I went over it several times, wiping it off, letting it dry, and checking to see that I was getting a consistent satin sheen across the entire headlight. I only used a back and forth motion; no circles or short strokes.
After the 1000 and 2000 grit it starts to look better in terms of clarity.
I used a drill with a polishing attachment along with polishing creme for headlights as the last step. After I did that a couple times it came out pretty nice.

 05-11-2014, 11:42 PM
#6

Awesome end result. Do you have problems with the condense now? Do you have pictures of the places and how much of silicon did you applied there? What grease you've used for the removable caps and why not just a thin layer of silicon, let it dry and the push the cap back to its place?
05-13-2014, 10:48 AM
#7
Members
Thread Starter
Join Date: Dec 2008
Location: Michigan
Posts: 29
Likes: 0
Received 0 Likes
on
0 Posts
My Ride: 2005 BMW 545i, Billy Boat w/ y-resonator removed.
Awesome end result. Do you have problems with the condense now? Do you have pictures of the places and how much of silicon did you applied there? What grease you've used for the removable caps and why not just a thin layer of silicon, let it dry and the push the cap back to its place?
I put black silicone all the way around where ever the clear lens meet with the black housing. There is a gasket / bonding agent between the two along with a couple screws and snap clips. I ran a bead of silicone all around it and made sure to work it down into the seam as best possible.
For the access panels, I lined the sealing foam in the panel with 'bulb grease' which is available at AutoZone. Typically you use this non drying electrical grease to seal electrical connections, and connections around fog lights...
No new condensation has shown up this week but, I'll keep an eye on it over the next month or so to see what it does. I looked over the housing and lens carefully and did not see any other cracks or breaks in them so hopefully this will cure or at least help keep it to a minimum.
05-16-2014, 09:47 AM
#8
New Members

Join Date: May 2014
Location: Oceanside, CA
Posts: 1
Likes: 0
Received 0 Likes
on
0 Posts
My Ride: 2008 535i, 2012 x5
Nice work! These look like new. You've inspired me to try mine. They aren't quite as far gone as yours were but they are getting there.
