When you click on links to various merchants on this site and make a purchase, this can result in this site earning a commission. Affiliate programs and affiliations include, but are not limited to, the eBay Partner Network.
I have a 2006 e60 N52 with dynamic drive. Heater control valve was heating only the driver side and the it finally quit.
It appears that engine compartment is a bit different on the e60 models. So any other comments concerning access to this valve did not apply completely to me.
It takes about 1.5 hours to do this without rushing.
my engine compartment layout air filter assembly removed intake elbow removed air intake elbow clamp tool visual access to the valve hose clamp pliers intake vacuum hose to reattach
1) I drained the radiator completely. Been replacing hoses, etc., so decided on water now to prevent cost of antifreeze and waste. There was no drain on mine so I removed the small bottom hose and drained into a container. While mostly water there was antifreeze residue. I left pan in sun to allow water to evaporate. No environmental problem.
2) Loosen air cleaner cover, remove filter, disconnect the MAF connection, remove lower air filter housing (3 torx bolts). (photo 2)
3) Remove two (2) 10 mm nuts holding the P/S reservoir, lift reservoir and move over to left. Put absorbent paper towels under the cap as it will leak a bit through it’s vent. (photo 3). I would suggest next removing the metal bracket that holds the reservoir. I cut my self twice on that!
4) Tricky to get the air intake collar clamp loose. You need a small, knurled finger ratchet tool and an 6 mm socket to loosen the large clamp. It is a challenge. Be patient. (photo 4) There are two rubber mounts holding wires. Pull up and move the wires towards firewall Gives more room to loosen that clamp. Then remove the elbow and disconnect the vacuum line. There is finally access to the heater control valve (photo 5)
5) Now that you have access to the valve, remove the 12V connector (press in center part and pull up), pull the valve up and away from the mounts, and turn on its side with the 12V socket facing upwards..
6) You need hose clamp pliers. Don’t try fooling with regular pliers. They will not work. Get the ones in attached photo that have about a 30 degree angle. Greatly facilitates loosening and moving the clamps. Got mine off ebay for $11.00 delivered!
7) Loosen and move the front hose clamp (single inlet) away. Have a pan under for any dripping. Remove the hose and move down out of way. Then do the same to the two (2) rear hoses. Remove the valve.
8) I purchased my valve off ebay for $54.00 delivered. Most likely made in china but hard to tell from the oem. It is working great.
9) Attach two (2) rear hoses to the valve then use the pliers to seat the clamps. Good time to replace hoses if so inclined. Seat the vale fully into its mounts and attach the front hose and seat the clamp. Attach the 12V connector.
10) Make sure during reassembly of the air intake elbow to attach the vacuum line (photo 7), and reattach the two rubber mounts holding wires to their tabs that were earlier removed.
11) Replace the MAF tube and electrical connector
12) Reattach the bracket (if removed) and remount the P/S reservoir. Clean the fluid that leaked.
13) Reattach the air filter housing.
14) Fill water or antifreeze, press start button to 2nd position, turn heat all way up, hold gas pedal down for 10-12 seconds for pump to come on, get air bubbles out, top off water/antifreeze.
I decided to take the valve apart to see how it operates and to see what caused its failure and then post the results for those who may be curious..
I was curious to see how this control valve is made and disassembled it.
The failure soon became very obvious!
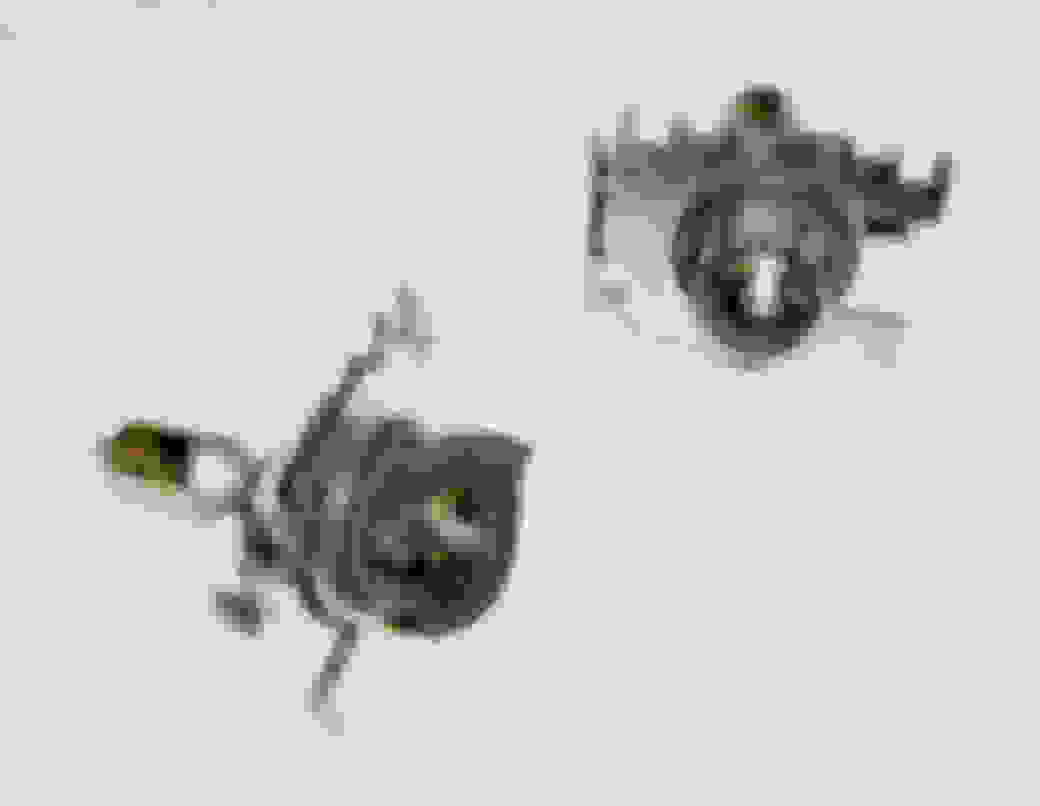
It is a far more complex piece than needs to be, and the design uses rubber valve seats that have degraded - a terrible concept!
Bottom line is that the valve does not have a long future.
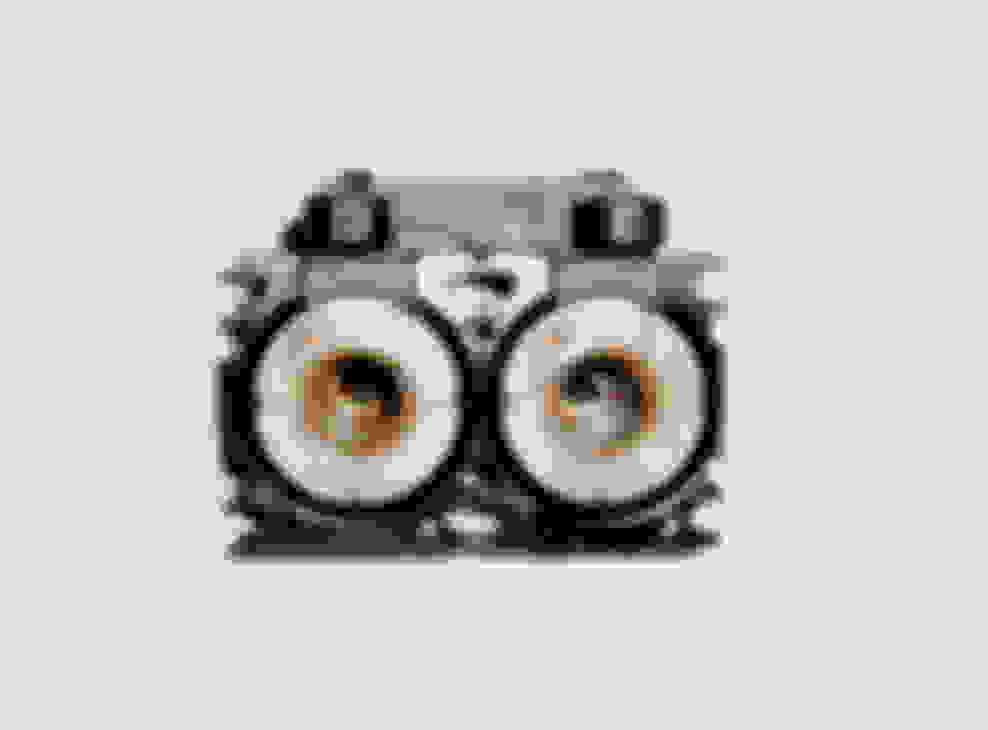
I am hopeful that the replacement valve I used has improved valve seats and seals. Valve with the coils removed. Inner view of the operating coils Degraded valves seals Another shot of the degraded valves.
The two valves are always open when no power is applied.
I realized that the failure of the rubber caused coolant to get into the the two coils that cause the valves to move downward to close.
I need to attempt this soon, I have warm air all the time, exacerbated by recent aircon failure which I also need to sort. Problem is, no matter how much I poke around with a torch, I cannot see where this valve is. I'd be much happier starting the dismantling process if I was confident it is actually there! I've already had the top intake housing off but still can't locate it.. Mine's a 2005 E61 530i with N52 motor but is of course right hand drive. I'm just wondering how much locations of these valves vary.
Dave
Thanks for the quick reply. Still can't see it! I may try getting the plastic covers off underneath and looking up. It occured to me that as a temporary solution to stop me frying it might be possible to block or clamp a pipe going to the valve or heater core, at least until summer is over. Does anybody know if this would cause any problems? Looking at pics of the valve it appears to have three pipe connections so not simply an on/off valve to the heater core perhaps?. Where do they go? If I did this I would need to find an accessible pipe.
BTW I seem to have the most basic of climate control options. Just three knobs and no left/right separation, no digital readouts. The only thing on I Drive is a control for temperature of face vents. Strange spec on my car, has digital TV (works on top of hills!) but missing the useful stuff.
Dave
Based on the above, when going on realoem make sure to enter your vin before and verify that way if in fact your car has the heatervalve......
Based on the above, when going on realoem make sure to enter your vin before and verify that way if in fact your car has the heatervalve......
Thanks Sean, JTB and CM. Really useful. There seem to be two diagrams, 'High' and 'Basis' https://www.realoem.com/bmw/enUS/sho...diagId=64_1493 https://www.realoem.com/bmw/enUS/sho...diagId=64_1491
I'm guessing I have 'basis' but both diagrams show parts avilable for my car. Basis has a single barreled pump with only two hoses. 'High' has double barreled with three hoses. That's for models with 'Auxilary' How do I tell if I have 'auxilary'?
So, any possibility of clamping/ blocking one of these hoses until I get around to doing the job? Guess no problem on 'basis' as it would have same effect as closing valve.
 09-08-2018, 02:41 PM