
Wheel Lip Repolish DIY
 05-02-2010, 10:48 PM
#1
Senior Members
Thread Starter
Join Date: Sep 2009
Location: West LA
Posts: 932
Likes: 0
Received 0 Likes
on
0 Posts
My Ride: 2005 BMW 545i
I recently decided to repolish my wheels since the lips lost their shine and showed various stains which would not come off no matter what type of cleaner or how much effort I put in. Frustrated I decided to try repolishing my wheels, and I am absolutely in love with the results! I figured I might as well share the process here since I didn't see one already and figured it would be helpful for anyone who wants to give their wheel lips new life without spending the $$$ to have it done professionally. This was my first time and I'm a wash and wax noob so I hope this helps and if people have tips/additional input please share!
Here is a quick before and after shot
Before:
After:
Now on to the DIY!
The goodies needed:
1. Aircraft Clearcoat Peeler
2. 1000, 1500, and 2000 grit sandpaper
3. Mag & Aluminum Polish
3. Hose and bucket of water
4. Lots of towels
5. About 1-2 hours of time per wheel
Steps:
1. Unmount wheels from car
2. Wash and clean the wheel
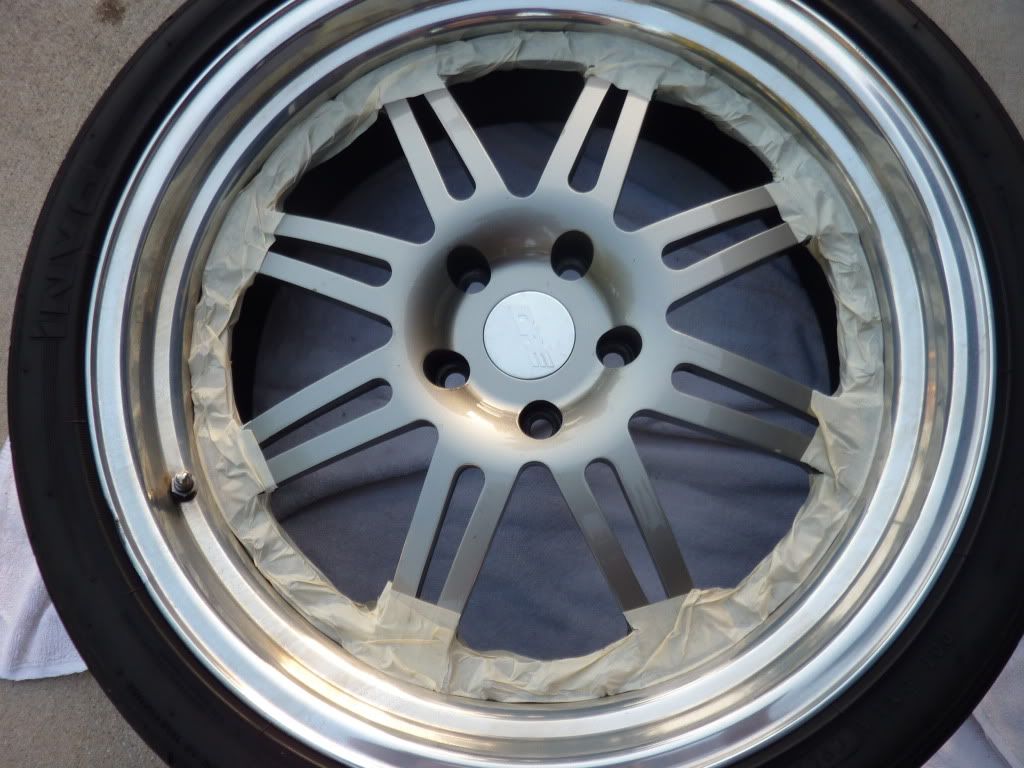
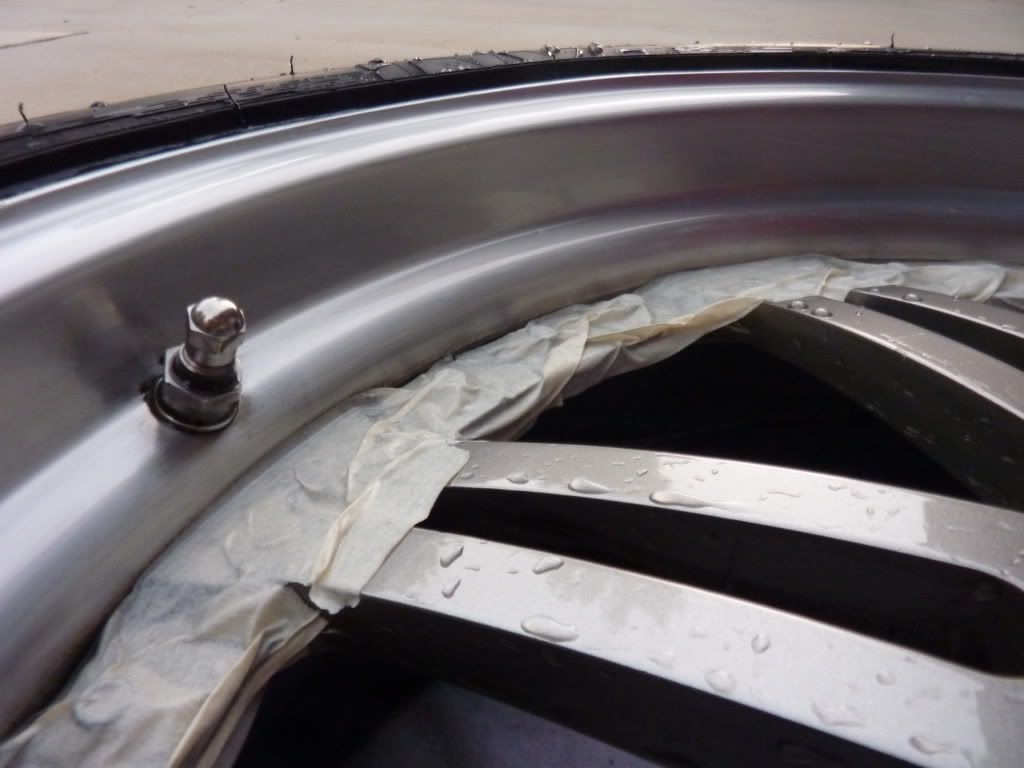
3. Tape off spokes to avoid damage to them. Be careful to really tape them up good, I would layer it twice or three times as much as shown in the picture below.
4. Grab some Aircraft Peeler from your local auto store if your wheel lips have a clearcoat. To prevent unwanted damage on the face of the wheel, spray it into a cup and use a paintbrush and dab a good amount around the wheel lip. Do not get it on your hands or where you don't want it, trust me! Being careful is key.
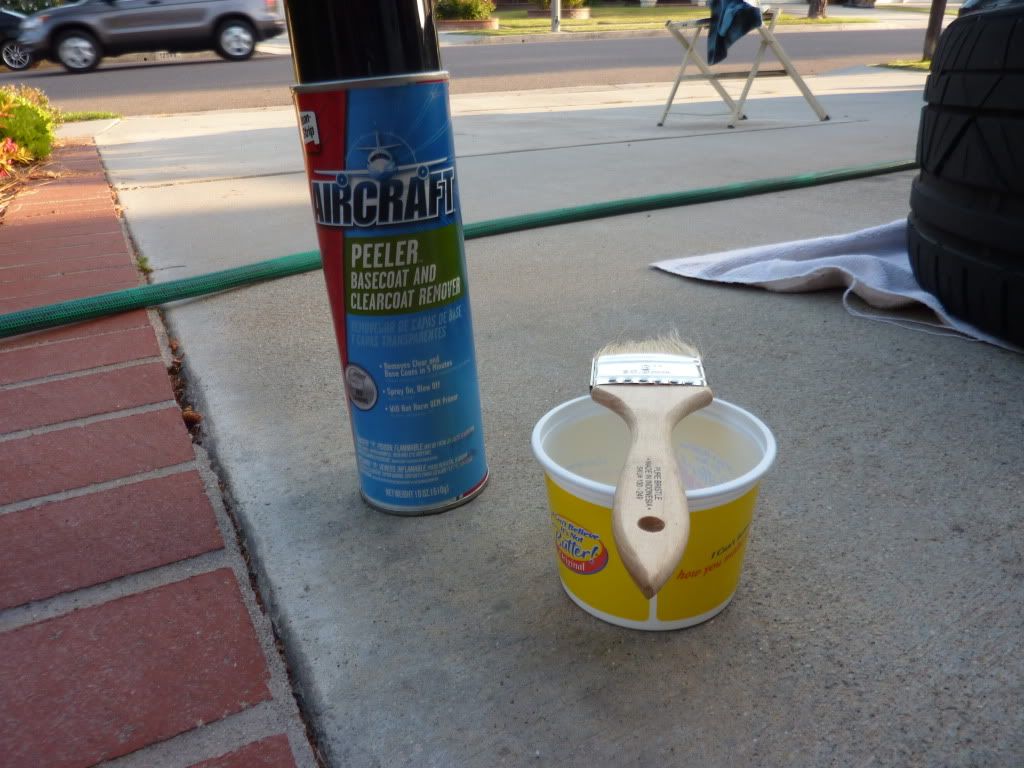
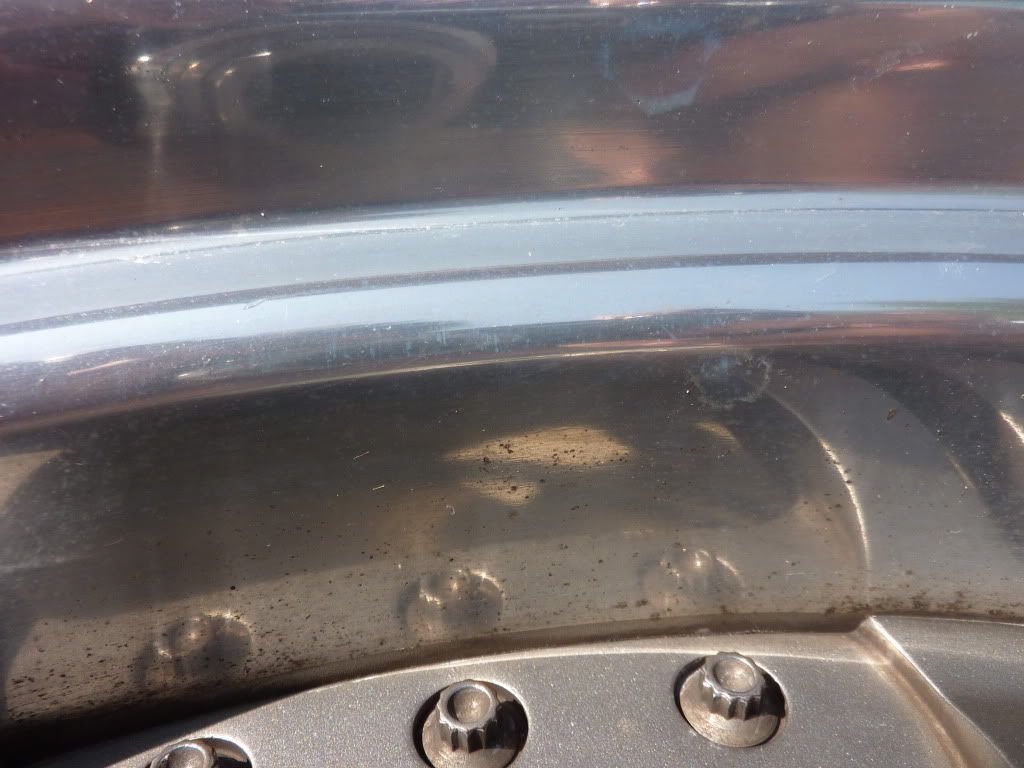
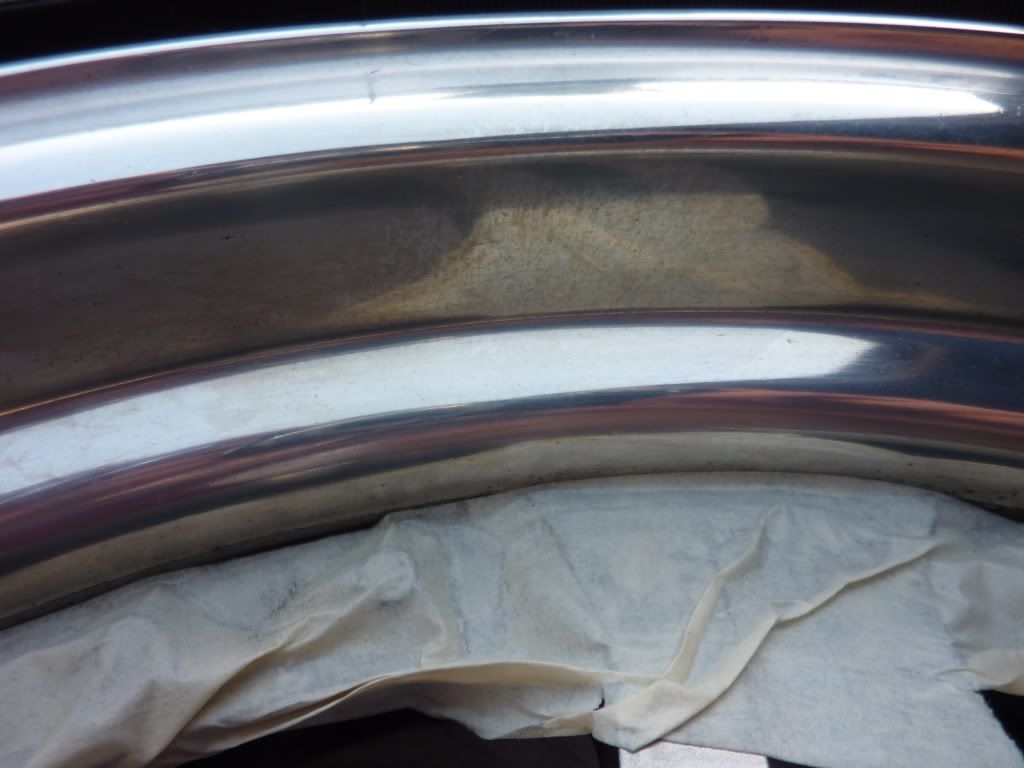
5. Wait about 10-15 minutes then wipe it down with a wet towel. Water disables the dissolving agent in the Aircraft Peeler. After you wipe it down, spray it down with a hose then dry it off with a towel. This is what my wheel looked like at this point:
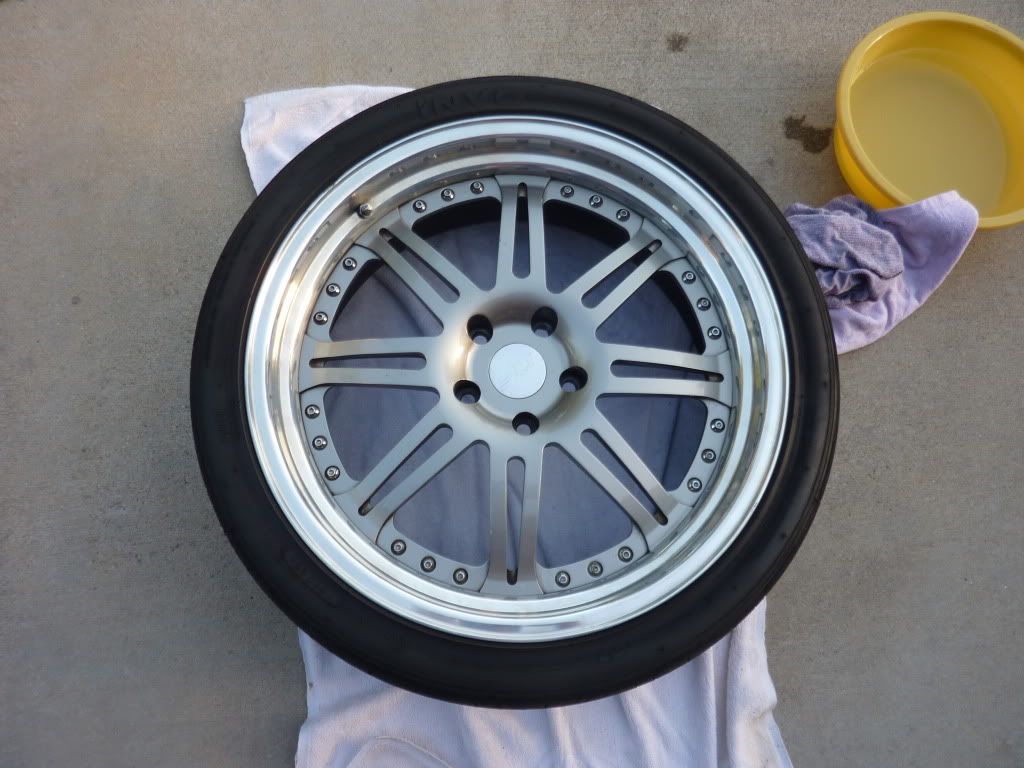
6. Since my wheels were originally polished and weren't in really terrible shape, I decided to start with 1000 grit sandpaper. If the wheel is in really bad shape and/or was not previously polished, I would start with 400 or 600 and work my way up to 800 then 1000. Dip the sandpaper in water and sand the wheels in a back and forth motion and make sure there are no scratches or blemishes that stand out. Keep sanding until you get as even as finish as possible. Then do the same with 1500 grit and 2000 grit, cleaning and wiping down the wheel between each sanding step. Keep the sandpaper wet at all times! The second picture below shows the wheel lip after I was done sanding with the 2000 grit.

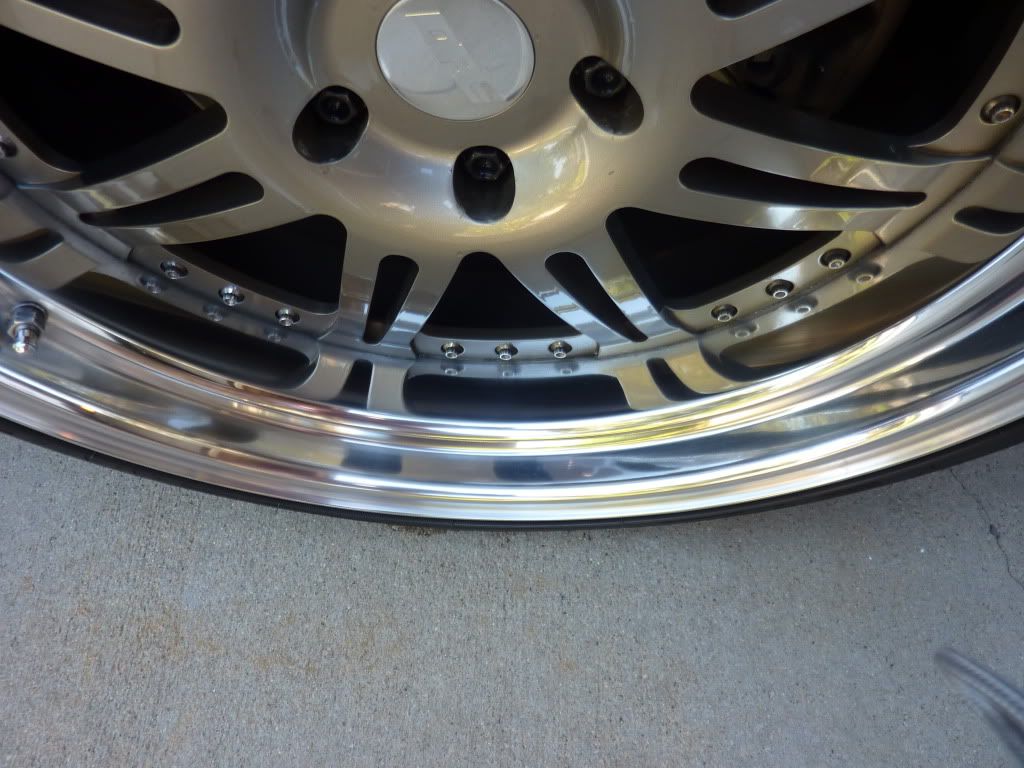
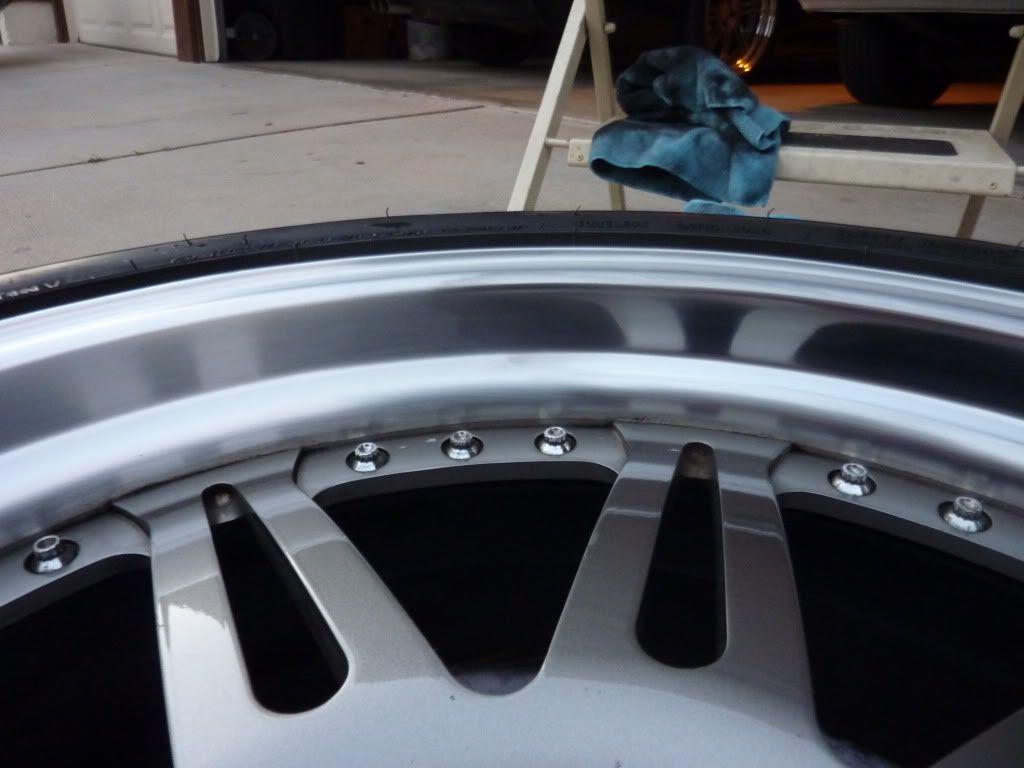
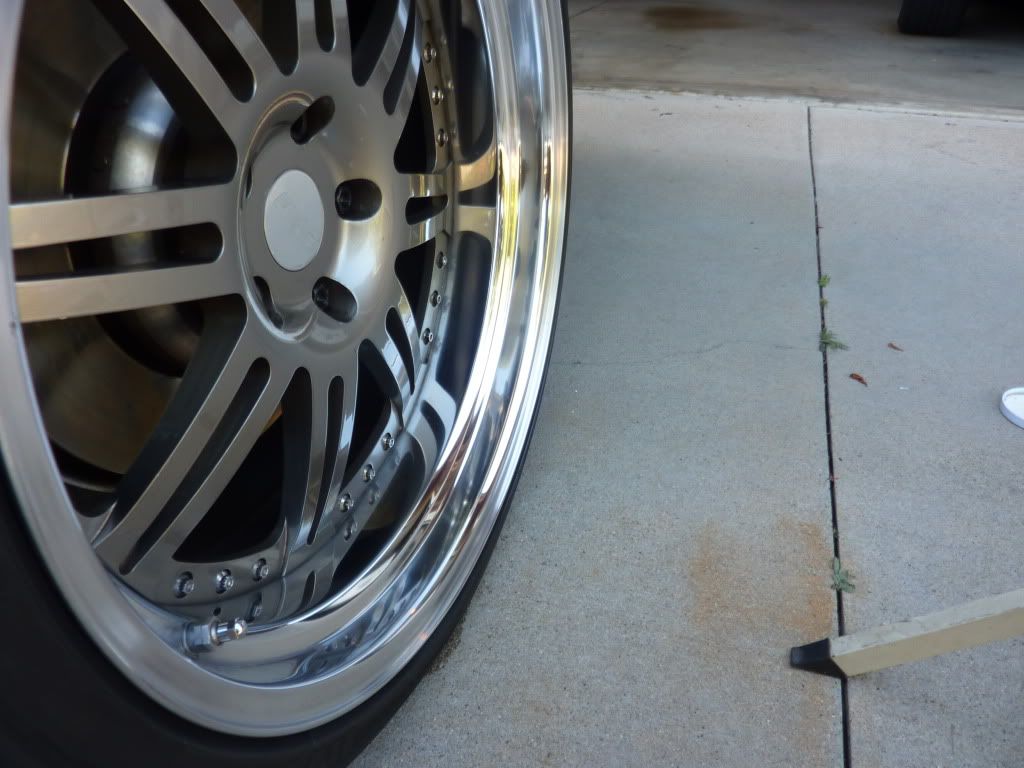
7. Lastly, whip out the polish and two clean terry/microfiber towels. You don't need to use a lot of polish, just scoop out a thin layer on the towel and work on one small wheel section at a time. If you're doing this by hand like I did, rub it in hard, it makes a big difference. Then use the other clean towel and wipe off the black residue. If there is no black residue, your wheels cannot be polished! Here is a picture of the wheel partly polished on the right and unpolished on the left.
And viola, we're done!!!
Here is a quick before and after shot
Before:
After:
Now on to the DIY!
The goodies needed:
1. Aircraft Clearcoat Peeler
2. 1000, 1500, and 2000 grit sandpaper
3. Mag & Aluminum Polish
3. Hose and bucket of water
4. Lots of towels
5. About 1-2 hours of time per wheel
Steps:
1. Unmount wheels from car
2. Wash and clean the wheel
3. Tape off spokes to avoid damage to them. Be careful to really tape them up good, I would layer it twice or three times as much as shown in the picture below.
4. Grab some Aircraft Peeler from your local auto store if your wheel lips have a clearcoat. To prevent unwanted damage on the face of the wheel, spray it into a cup and use a paintbrush and dab a good amount around the wheel lip. Do not get it on your hands or where you don't want it, trust me! Being careful is key
.5. Wait about 10-15 minutes then wipe it down with a wet towel. Water disables the dissolving agent in the Aircraft Peeler. After you wipe it down, spray it down with a hose then dry it off with a towel. This is what my wheel looked like at this point:
6. Since my wheels were originally polished and weren't in really terrible shape, I decided to start with 1000 grit sandpaper. If the wheel is in really bad shape and/or was not previously polished, I would start with 400 or 600 and work my way up to 800 then 1000. Dip the sandpaper in water and sand the wheels in a back and forth motion and make sure there are no scratches or blemishes that stand out. Keep sanding until you get as even as finish as possible. Then do the same with 1500 grit and 2000 grit, cleaning and wiping down the wheel between each sanding step. Keep the sandpaper wet at all times! The second picture below shows the wheel lip after I was done sanding with the 2000 grit.
7. Lastly, whip out the polish and two clean terry/microfiber towels. You don't need to use a lot of polish, just scoop out a thin layer on the towel and work on one small wheel section at a time. If you're doing this by hand like I did, rub it in hard, it makes a big difference. Then use the other clean towel and wipe off the black residue. If there is no black residue, your wheels cannot be polished! Here is a picture of the wheel partly polished on the right and unpolished on the left.
And viola, we're done!!!
 05-04-2010, 01:05 PM
#2
Contributors
Join Date: Apr 2010
Location: Rijswijk, The Netherlands
Posts: 578
Likes: 0
Received 0 Likes
on
0 Posts
My Ride: 2005 E60 523 executive
20"ASA / Bi-Xenon / Full M-tech / LED Angel Eyes / Matte Black Kidney's / LED Side Markers
 Good job! And great patience ....
Thanx!!
05-04-2010, 01:10 PM
#3
Contributors
Join Date: May 2009
Location: SoCal
Posts: 10,496
Likes: 0
Received 2 Likes
on
2 Posts
My Ride: 2008 550I LOADED, all options except HUD and NV
DAYUM BRO!!!!!!  That is one great job you did there!!! Congrats, was a lot of work but well worth it!!!! Those wheels look new and beautiful again
That is one great job you did there!!! Congrats, was a lot of work but well worth it!!!! Those wheels look new and beautiful again
05-04-2010, 02:21 PM
#4
Senior Members
Thread Starter
Join Date: Sep 2009
Location: West LA
Posts: 932
Likes: 0
Received 0 Likes
on
0 Posts
My Ride: 2005 BMW 545i
.
05-04-2010, 08:19 PM
#6
Contributors
Join Date: Oct 2007
Location: Milky Way, Earth, N. America, CA, San Jose, 95136, Latitude N 37� 16.837, Longitude W 121� 50.461
Posts: 3,561
Likes: 0
Received 0 Likes
on
0 Posts
My Ride: 2004 530i | Sapphire Black | Sport | Premium | NAV | Logic 7 | DPE R07 Variant S Gloss Black with Polished Lip 20x8.5 front 20x10 rear | Falken FK452 tires 245/30/20 front 275/30/20 rear | H&R Coilovers | Smoked Tail Lights | M5 trunk spoiler | AC Schnitzer style roof spoiler | HID 8000K headlights & foglights | 35% tint all around | Sprint Booster | Speed Innovation ECU tuning | M5 trunk finisher | M-Tech body kit | Remus Quad Exhaust | AC Schnitzer style pedals | Euro Stickers | RPi Ram Air Induction | Smoked LED Side Lenses | AC Schnitzer style e-brake handle | AC Schnitzer style shifter | AC Schnitzer style iDrive knob | AC Schnitzer style carbon fiber diffuser | carbon fiber hood/trunk/steering emblems | carbon fiber grilles | carbon fiber door pillars | MTEC v2 Angel Eyes | Hamann style carbon fiber splitter
amazing DIY! congrats!


 05-05-2010, 10:49 AM
#9
Members
Join Date: May 2008
Location: So Cal
Posts: 158
Likes: 0
Received 0 Likes
on
0 Posts
My Ride: 2006 530 Titanium Gray, Sport and Premium Package, Navigation, Sirus Radio
Great DIY  The re-polish on the lip came out looking like new. Tempted to try it on my polish lip if only I had time.
The re-polish on the lip came out looking like new. Tempted to try it on my polish lip if only I had time.