Retro fitting Homelink mirror DIY
 03-10-2010, 08:37 PM
#1
Contributors
Thread Starter

Join Date: Apr 2009
Location: Edmonton, AB, Canada
Posts: 149
Likes: 0
Received 0 Likes
on
0 Posts
I'll start by apologizing for any poor picture quality, and by saying ATTEMPT AT YOUR OWN RISK,I will not be responsible for any damage etc. incurred by any use of this document
Okay so here goes, bought the mirror on Ebay for about $150, and the retro fit wiring harness was $40 (CAD) (delaership as around 500). Initially phoned my dealership about the cabling, they told me it couldn't be done would need to be re-programmed blah blah blah. Phoned another dealership in town, they located the part, ordered it and had it in 2-3 days.
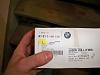
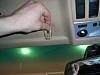
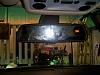
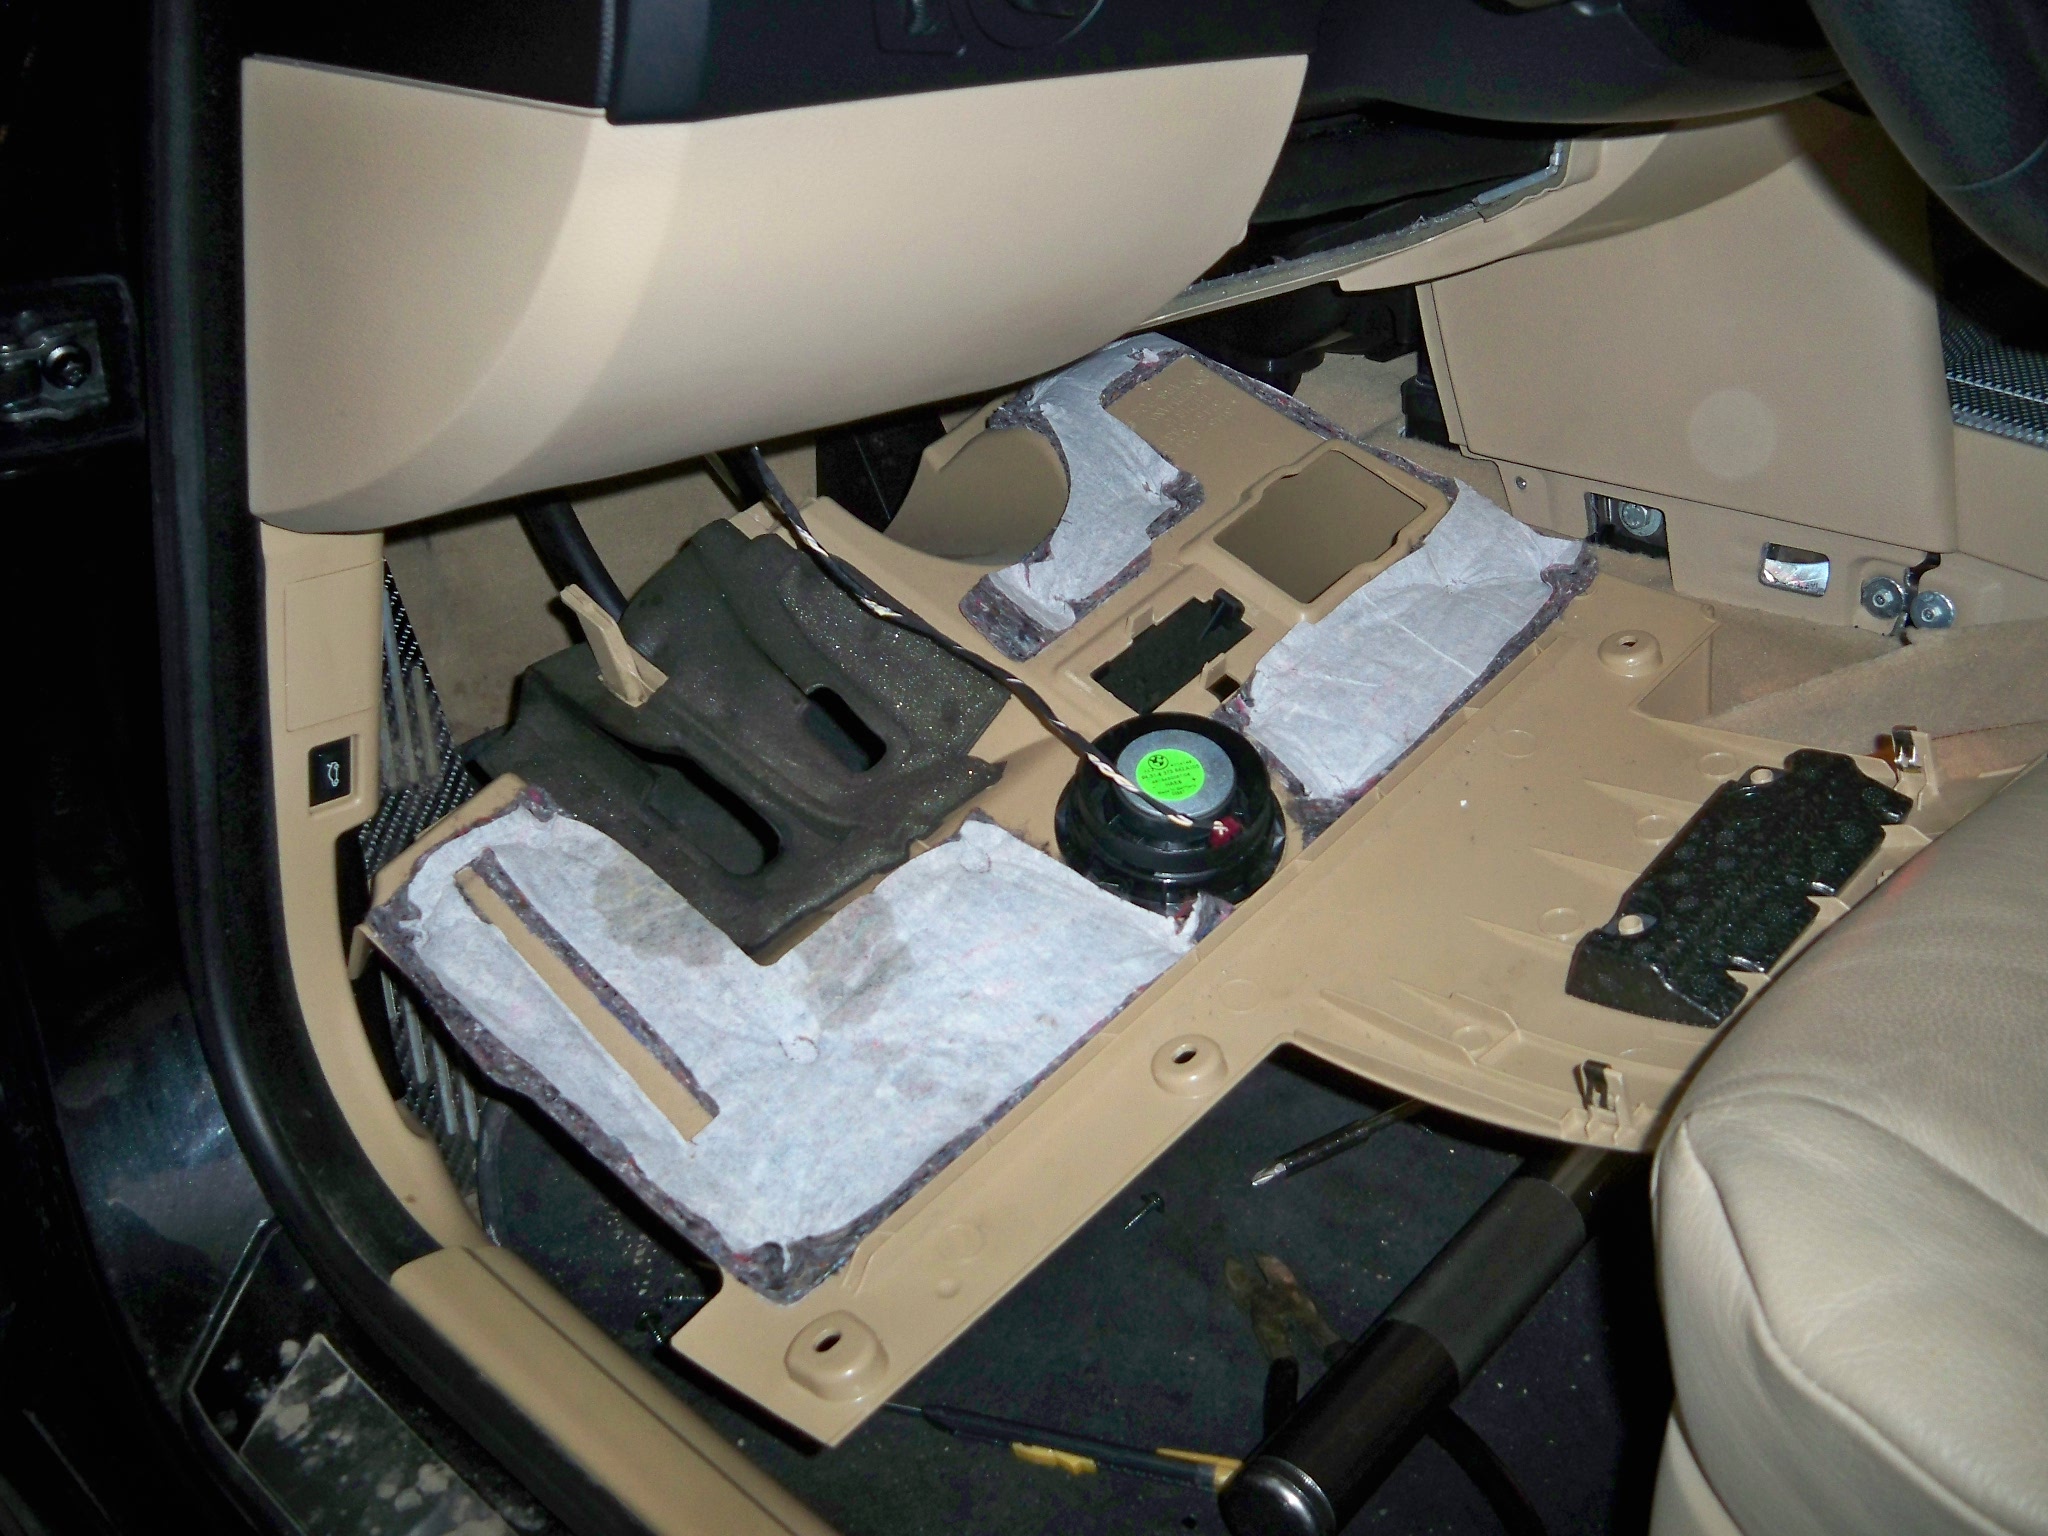
Box contains the wiring harness, new rubber gasket, and three splices for the wiring connections. The box comes with no directions inside, but the sticker on the top instructs them to print the ASAP and give it to the customer. I can post that PDF separately, what's of note about it is that it's basically impossible to do it the way they describe. Biggest point they make is to route everything to behind the glove box. Did that and spent four hours searching for the three wires you need to splice. it's cramped and a pain in the ass. Actually gave up after not being able to find one of the three wires, and buttoned everything up on that side. After consulting a WDS (thankfully provided by member Ricky1329) I found reference to the wire (GN/WS, or green and white) on the driver side so decided to try that side. Once on that side I found all three wires in about 5 minutes. First step is to remove the panel above the pedals.
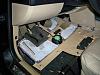
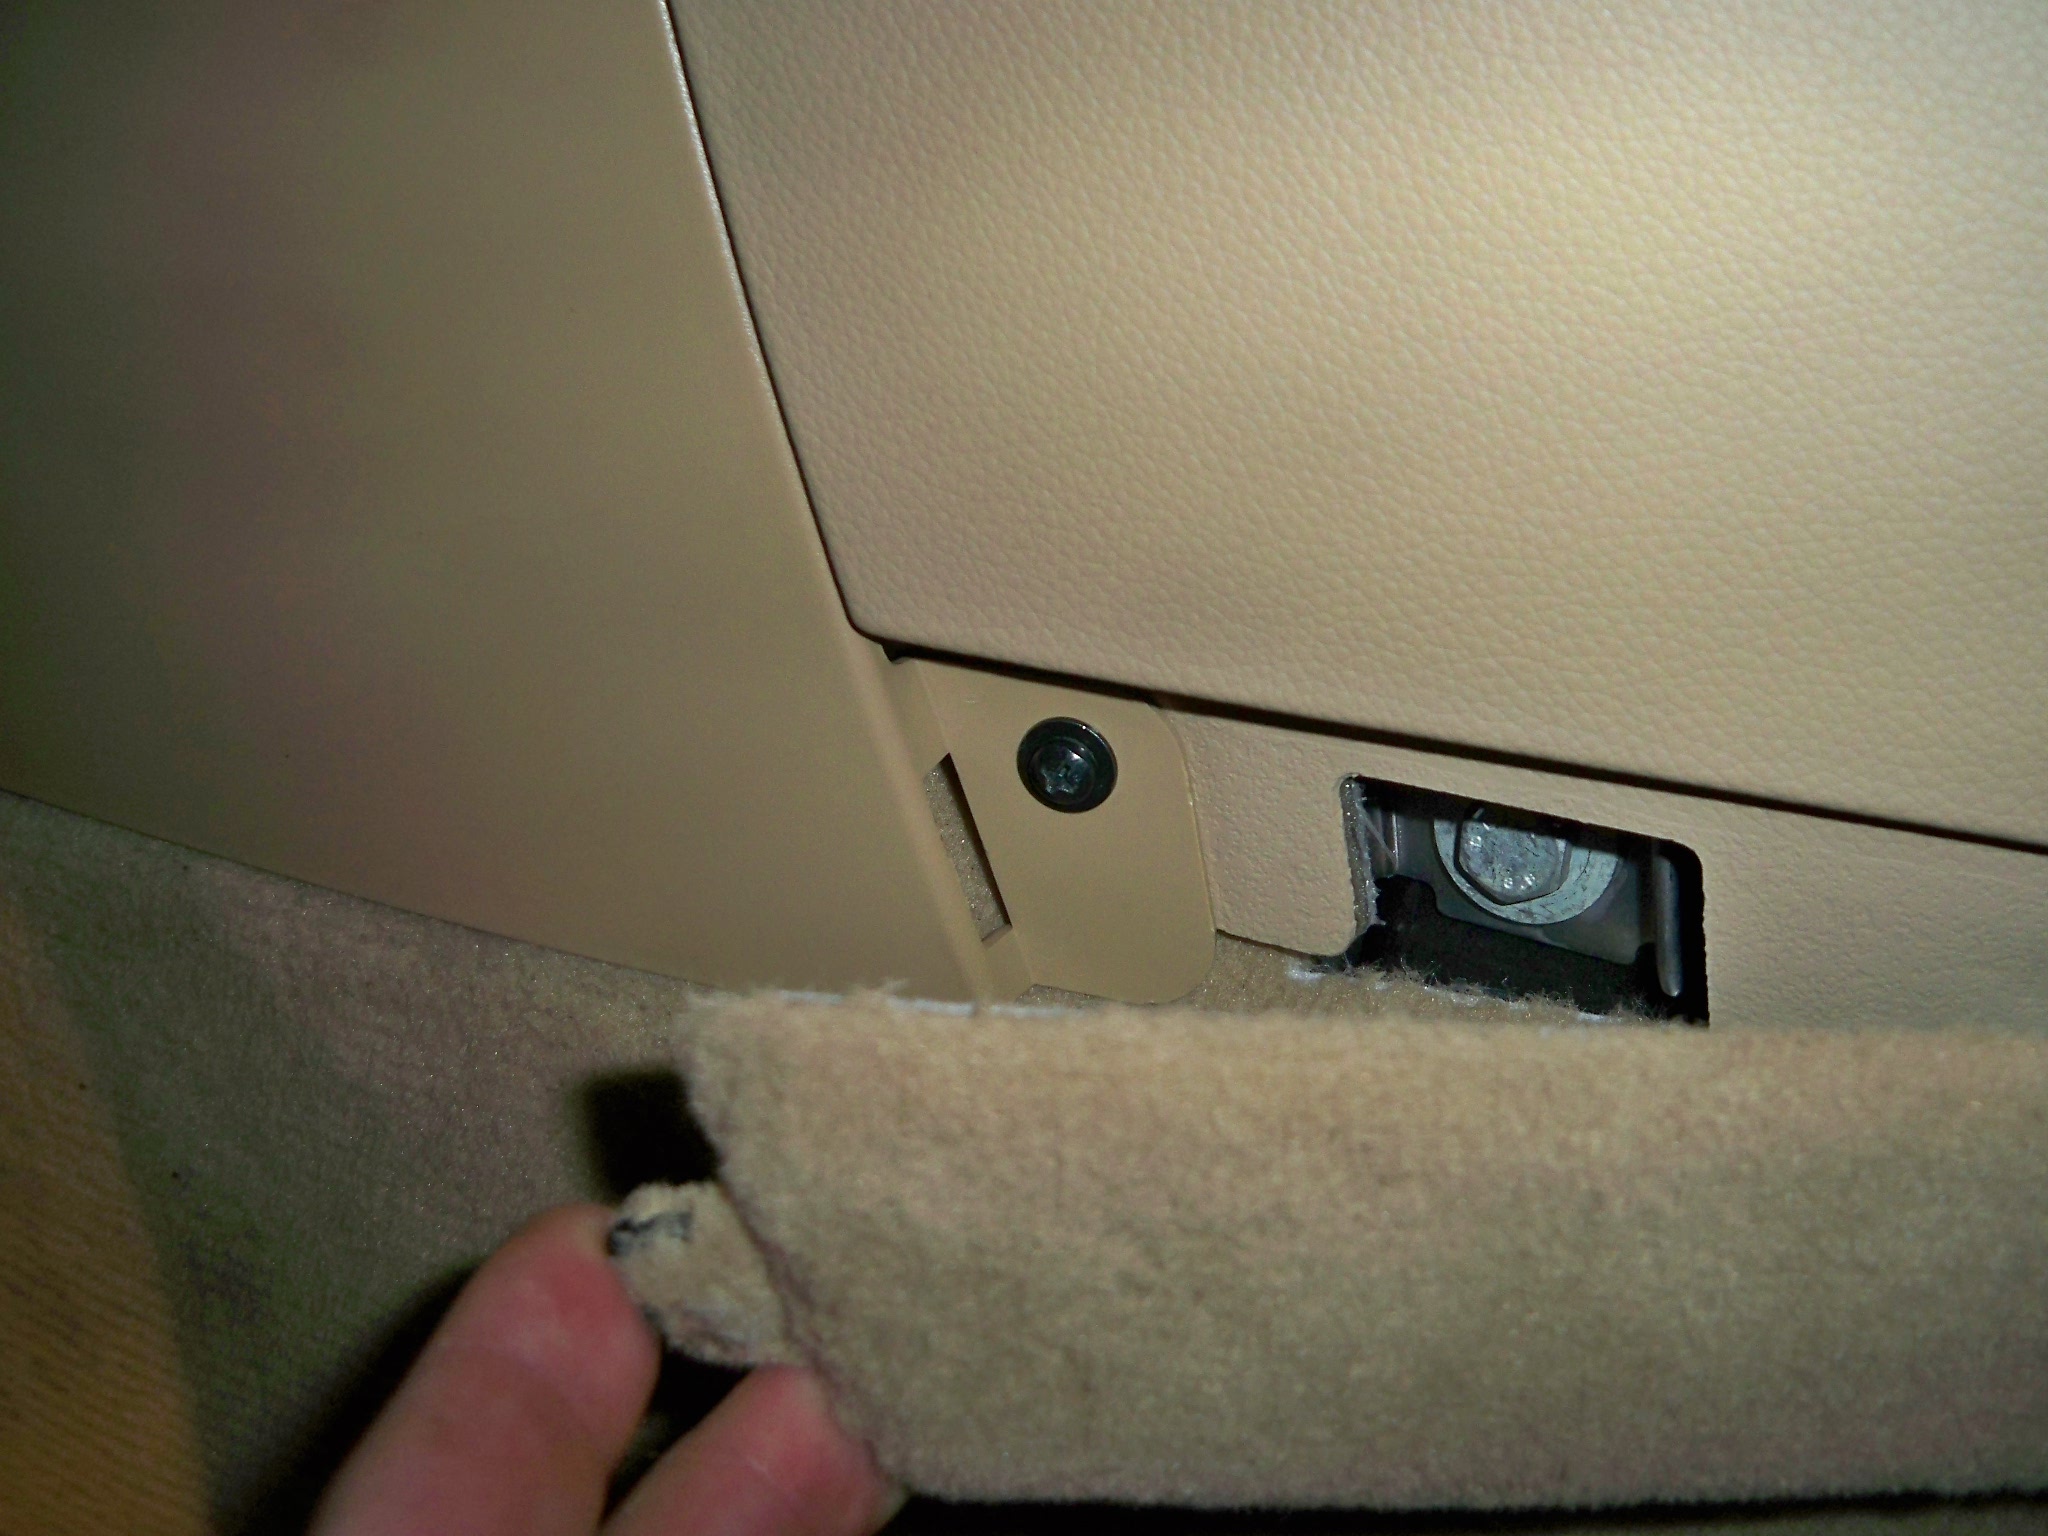
Straight forward removing screws with the exception of the one hidden screw
just need to pull back the carpetting section that slides into the plastic by a tab
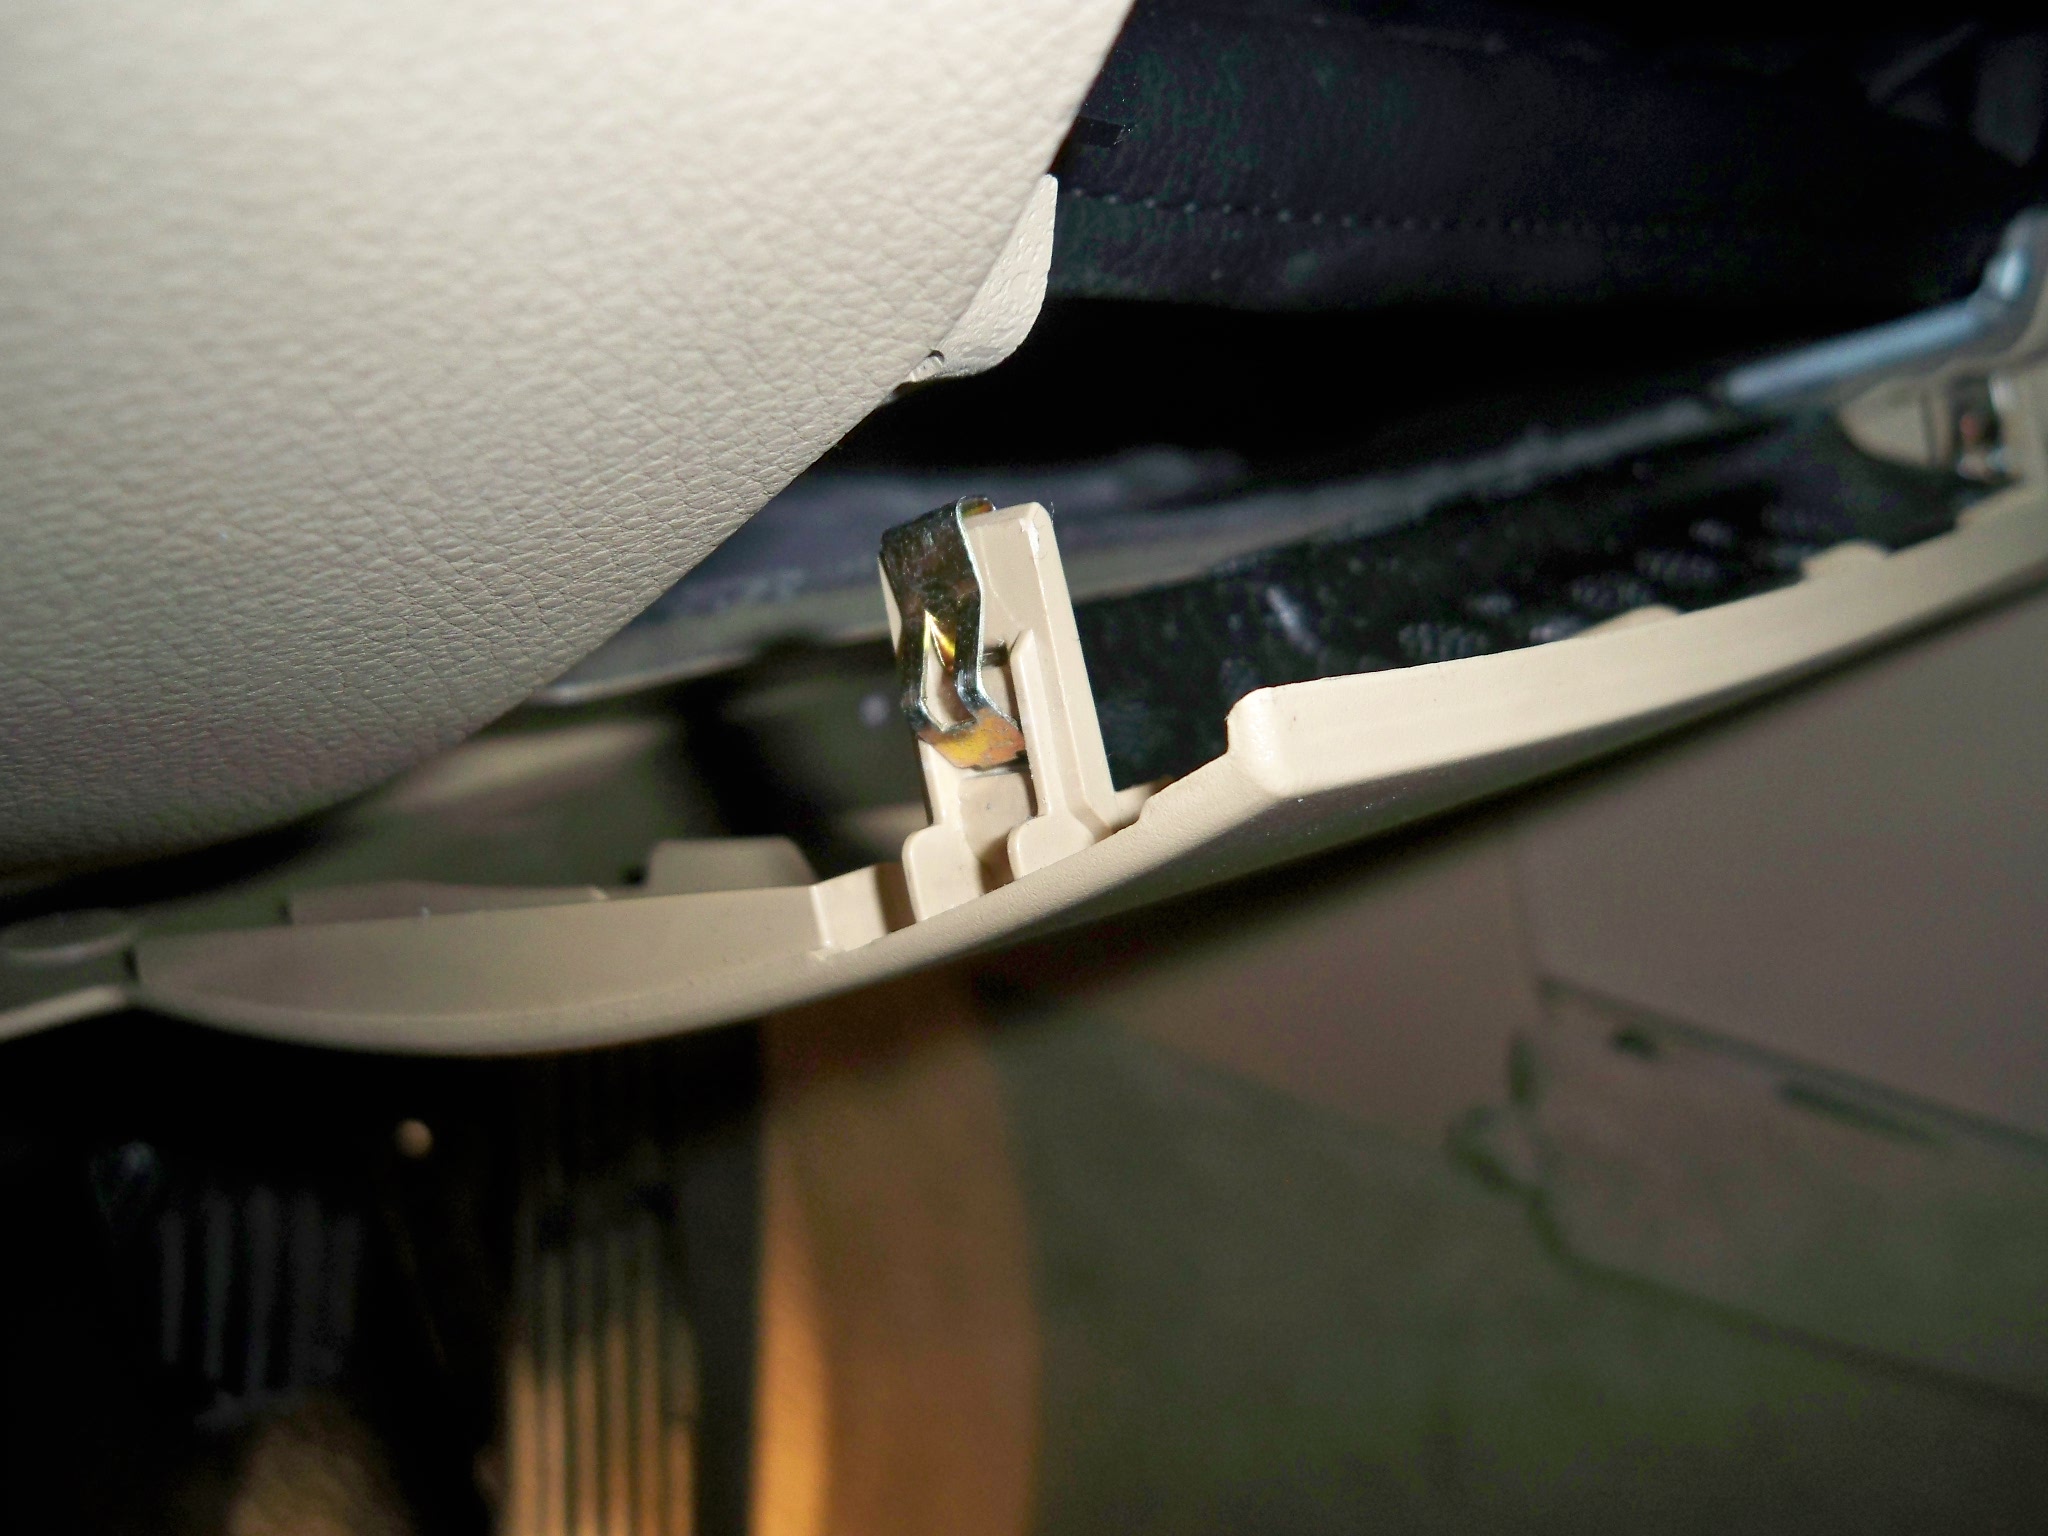
The leather boot at the bottom of the steering wheel attaches with three tabs that pull off, and the plastic trim connects with two clips one on each side that just need to be pulled out firmly
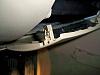
once it's loose just need to unclip the speaker wire and remove the panel.
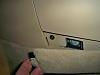
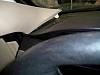
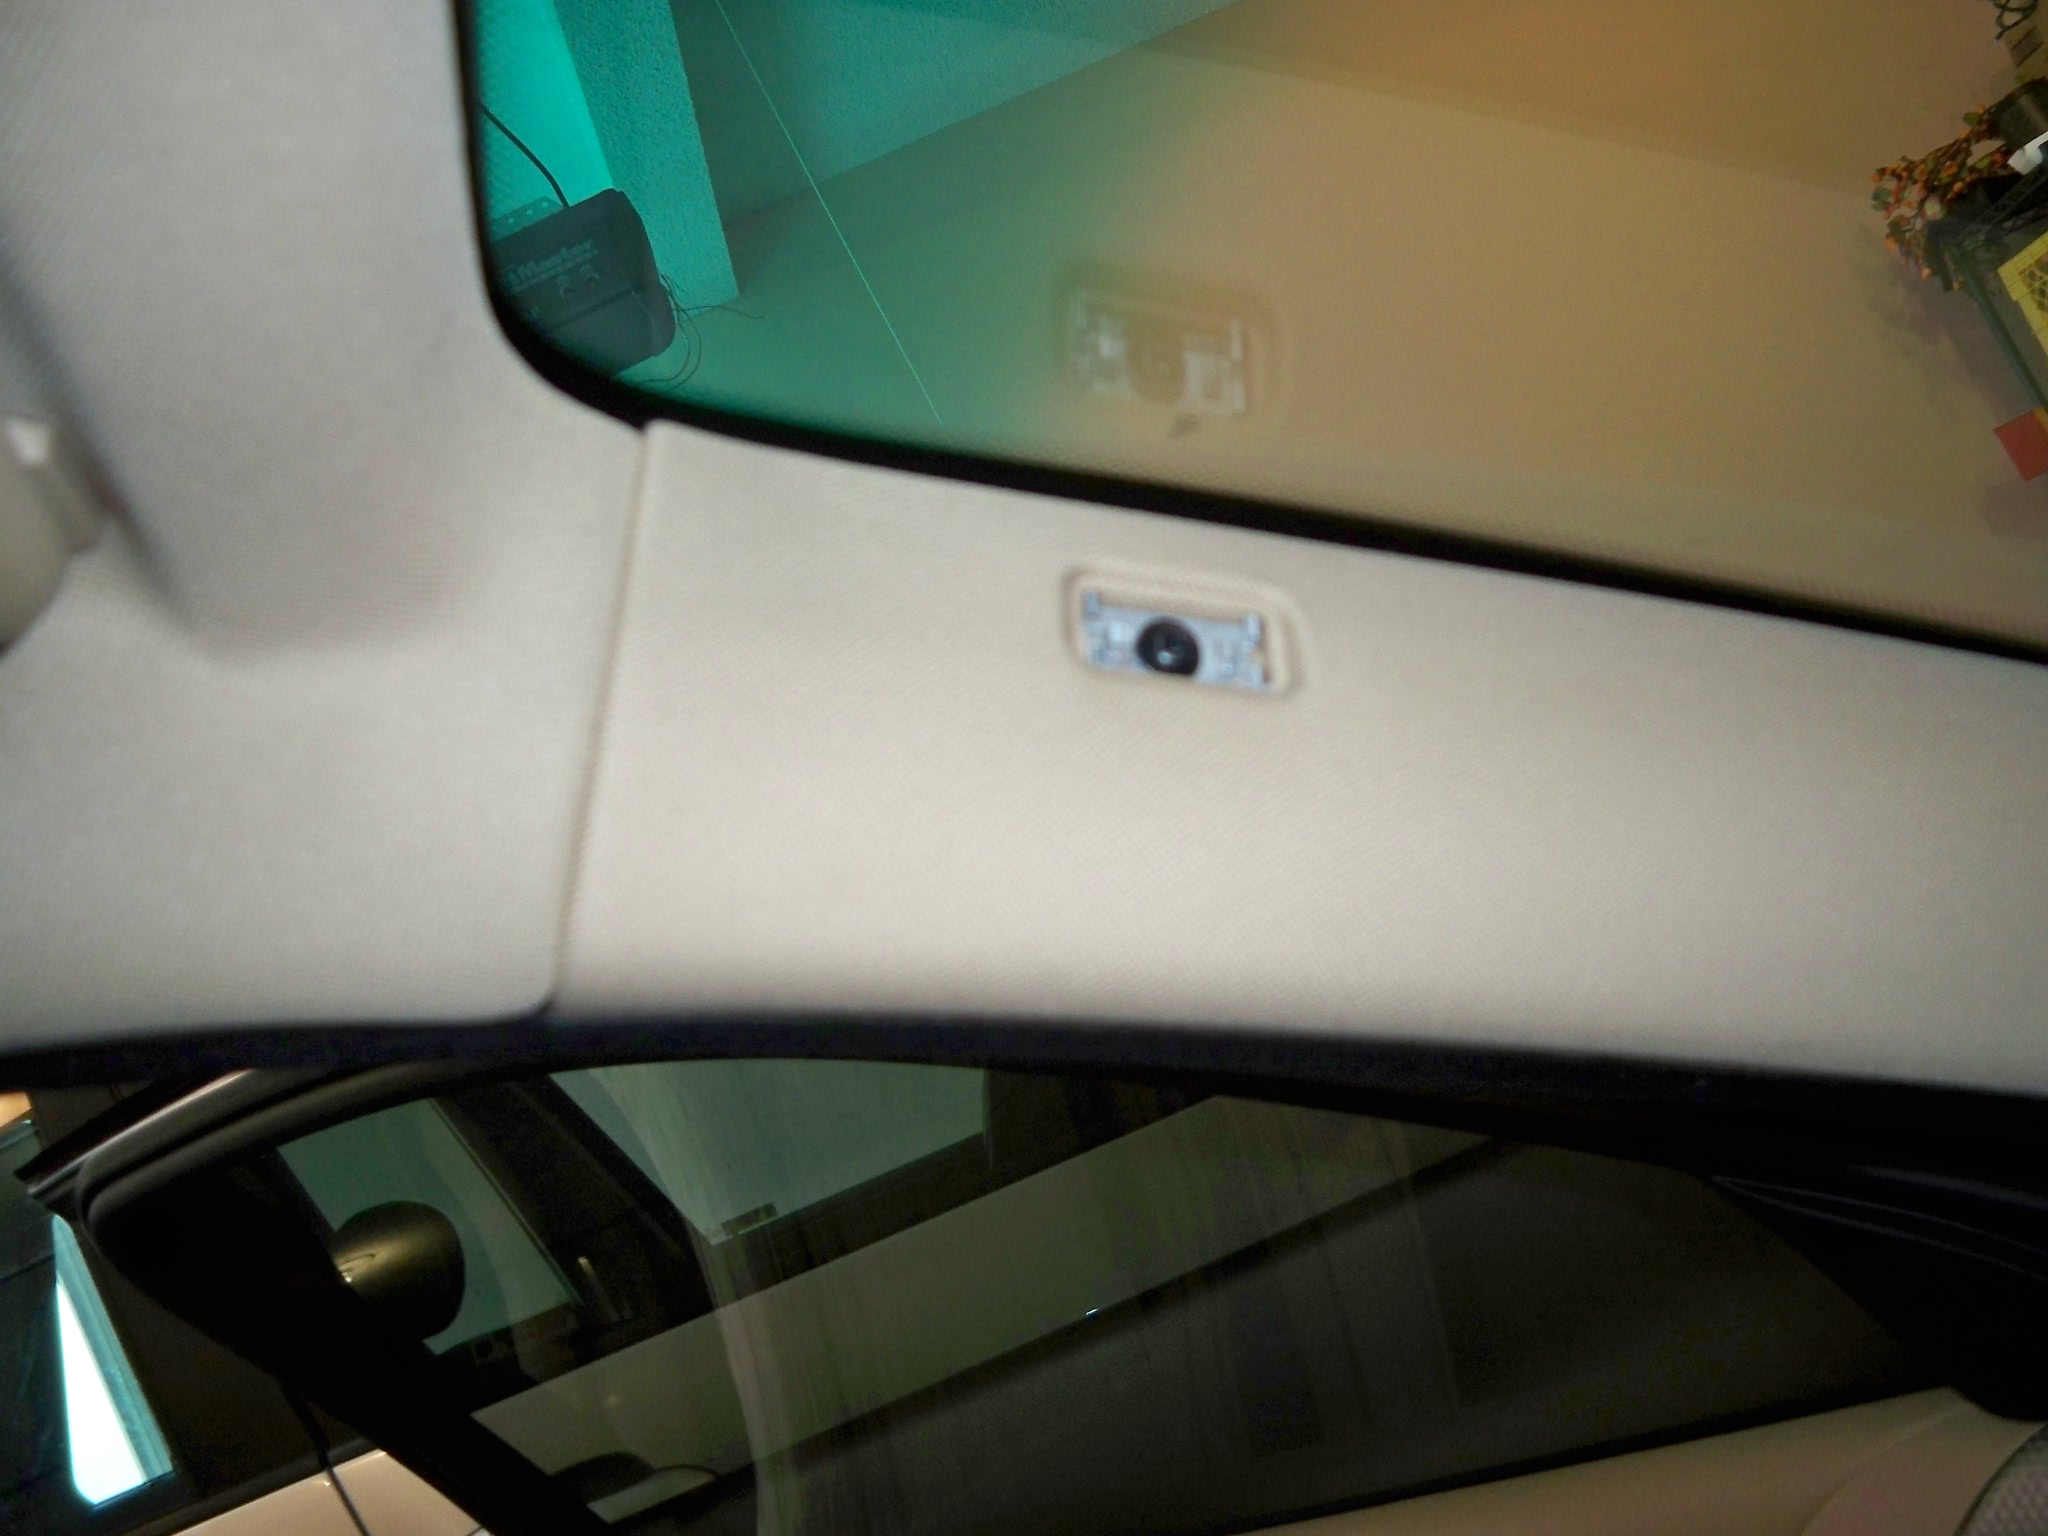
Next you have to remove the A pillar First pop off the airbag symbol and expose the torx bolt below

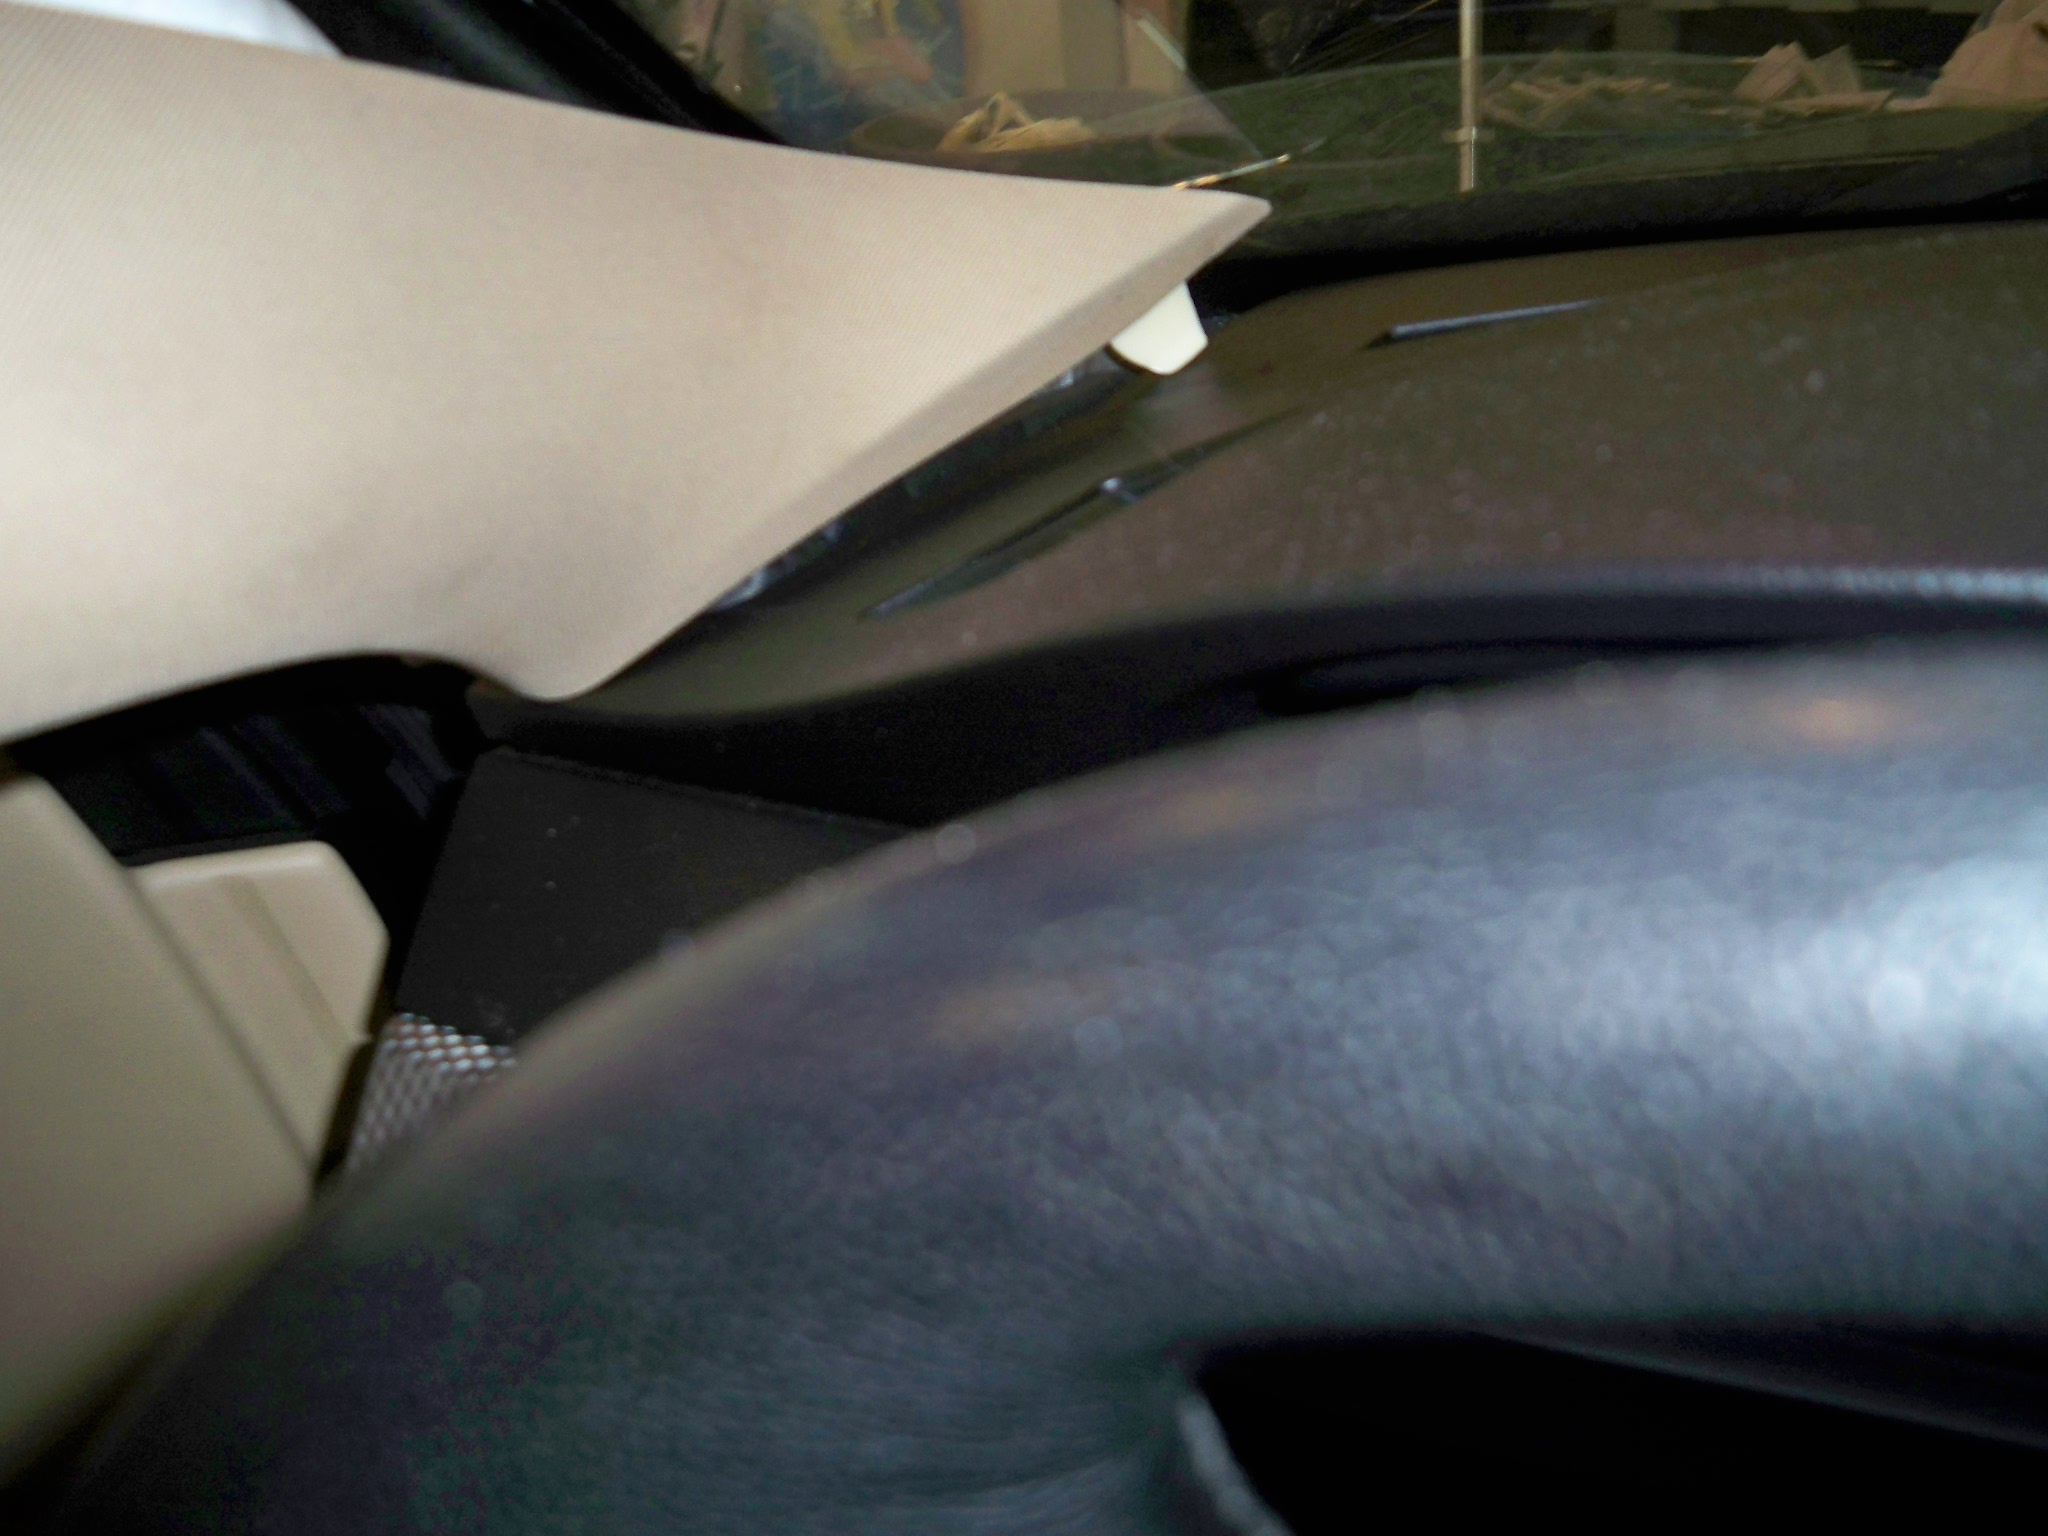
Remove that, then pull out. The pillar is held by a plug in the center (pull firmly) and a small curved piece of plastic at the bottom.
(Center plug)
(curved tab)
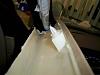
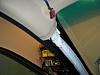
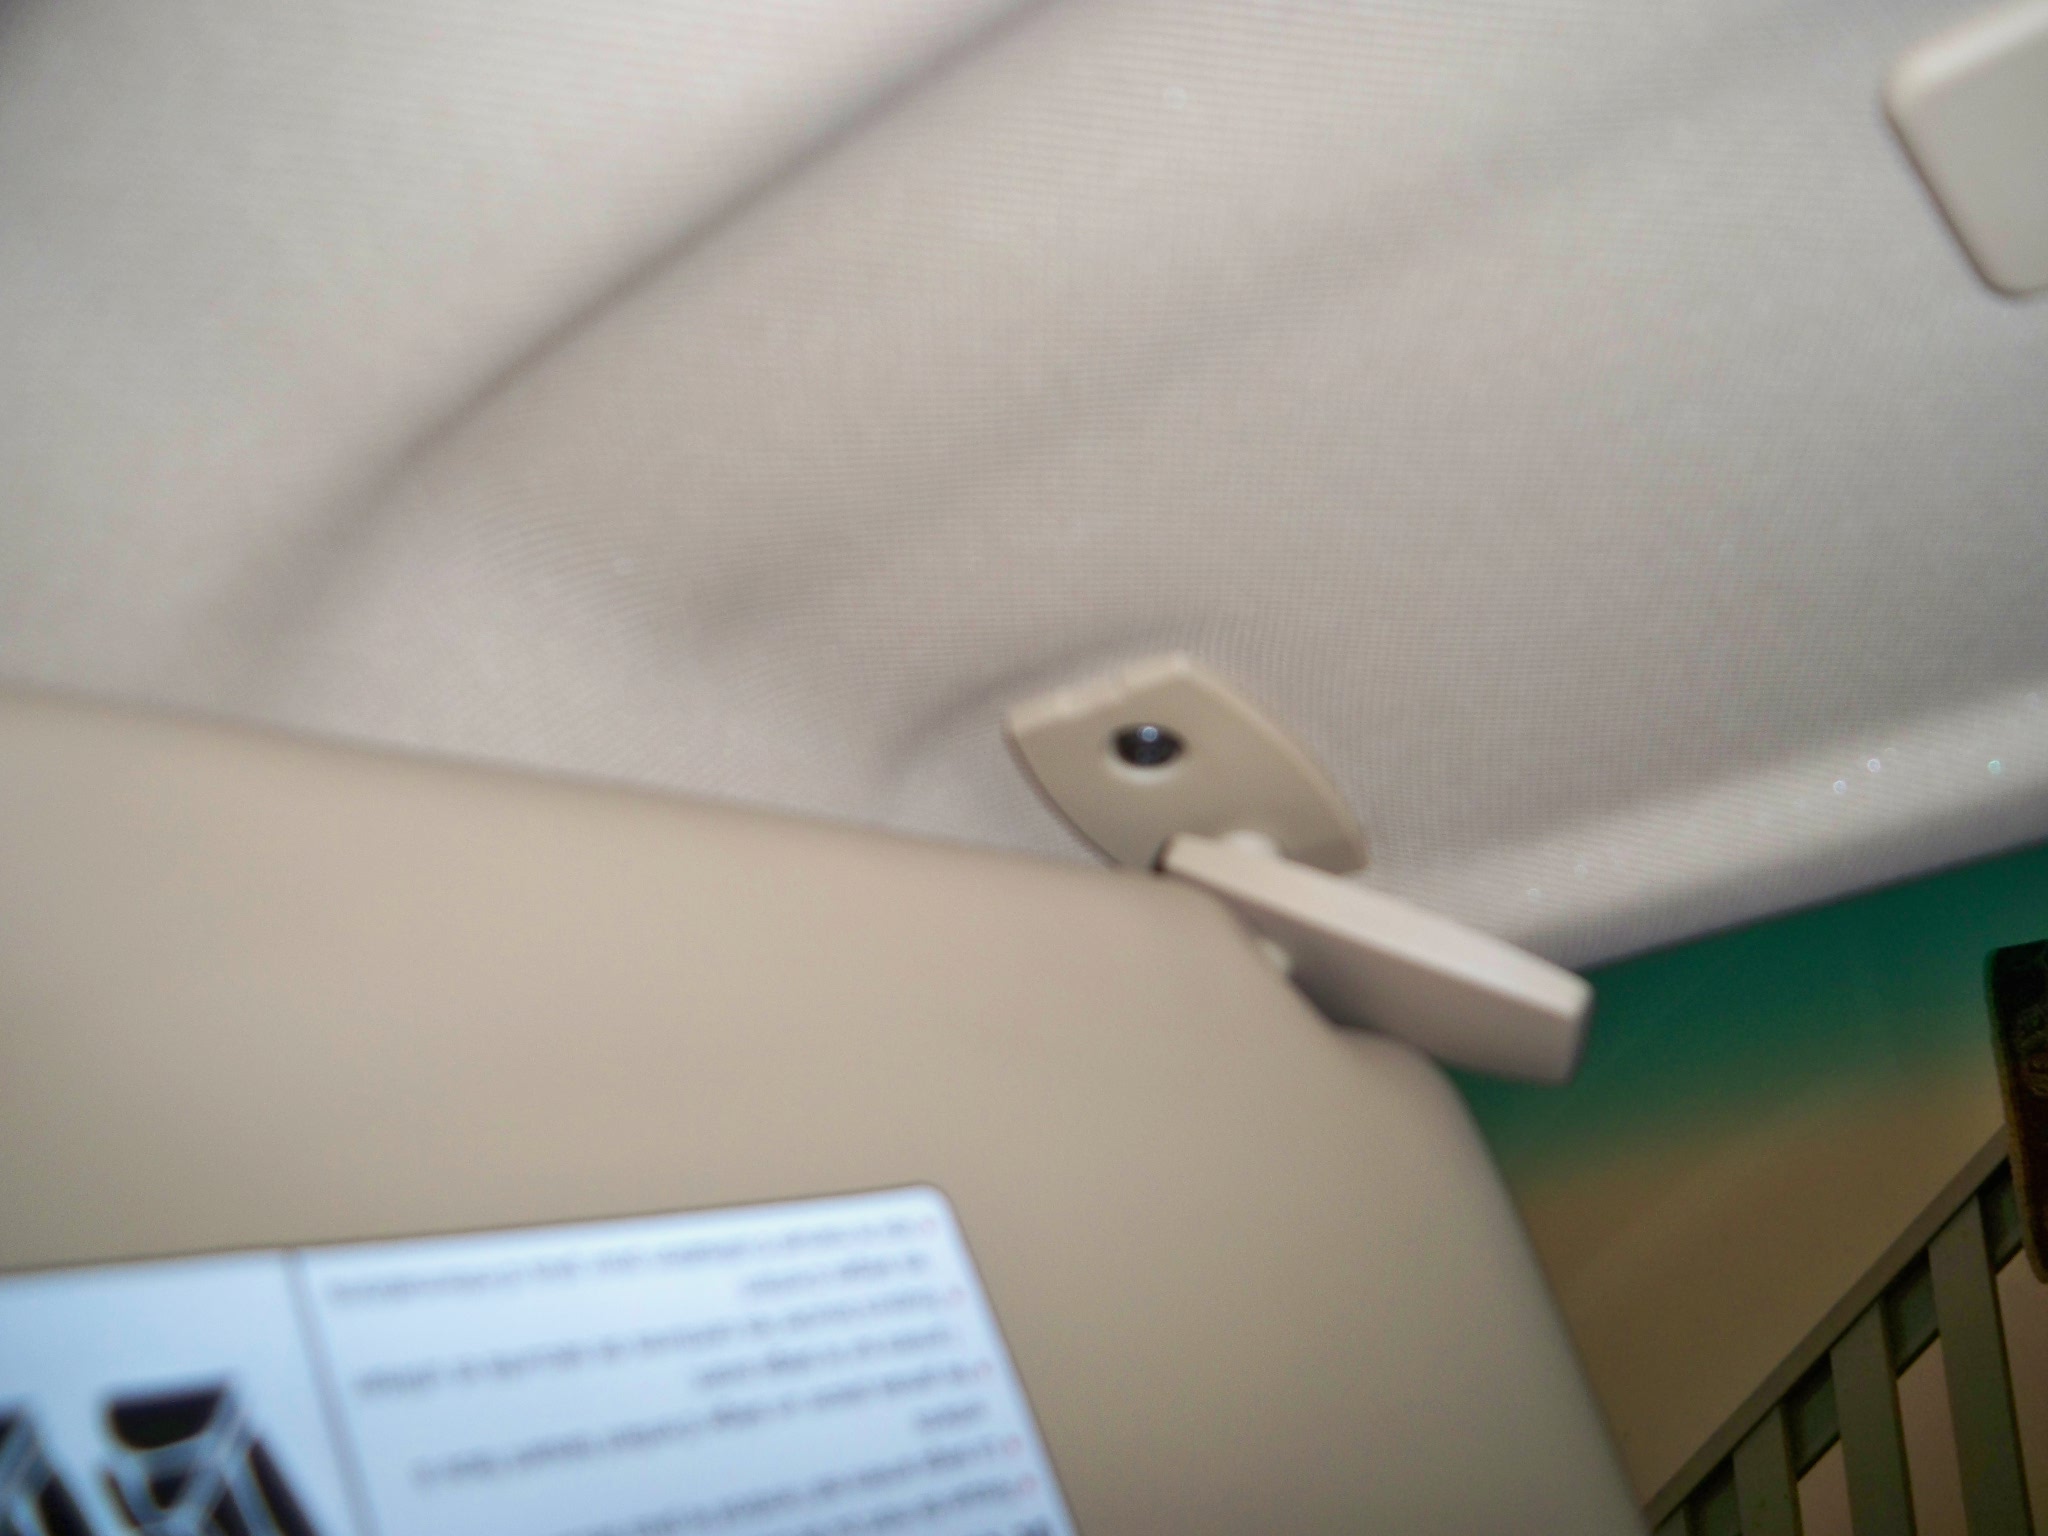
Once pillar is removed (you'll run the wire down there) you need to drop the headliner. Need to remove the sunshade lift the tab that the covers where the shade base is and remove the torx screw found underneath
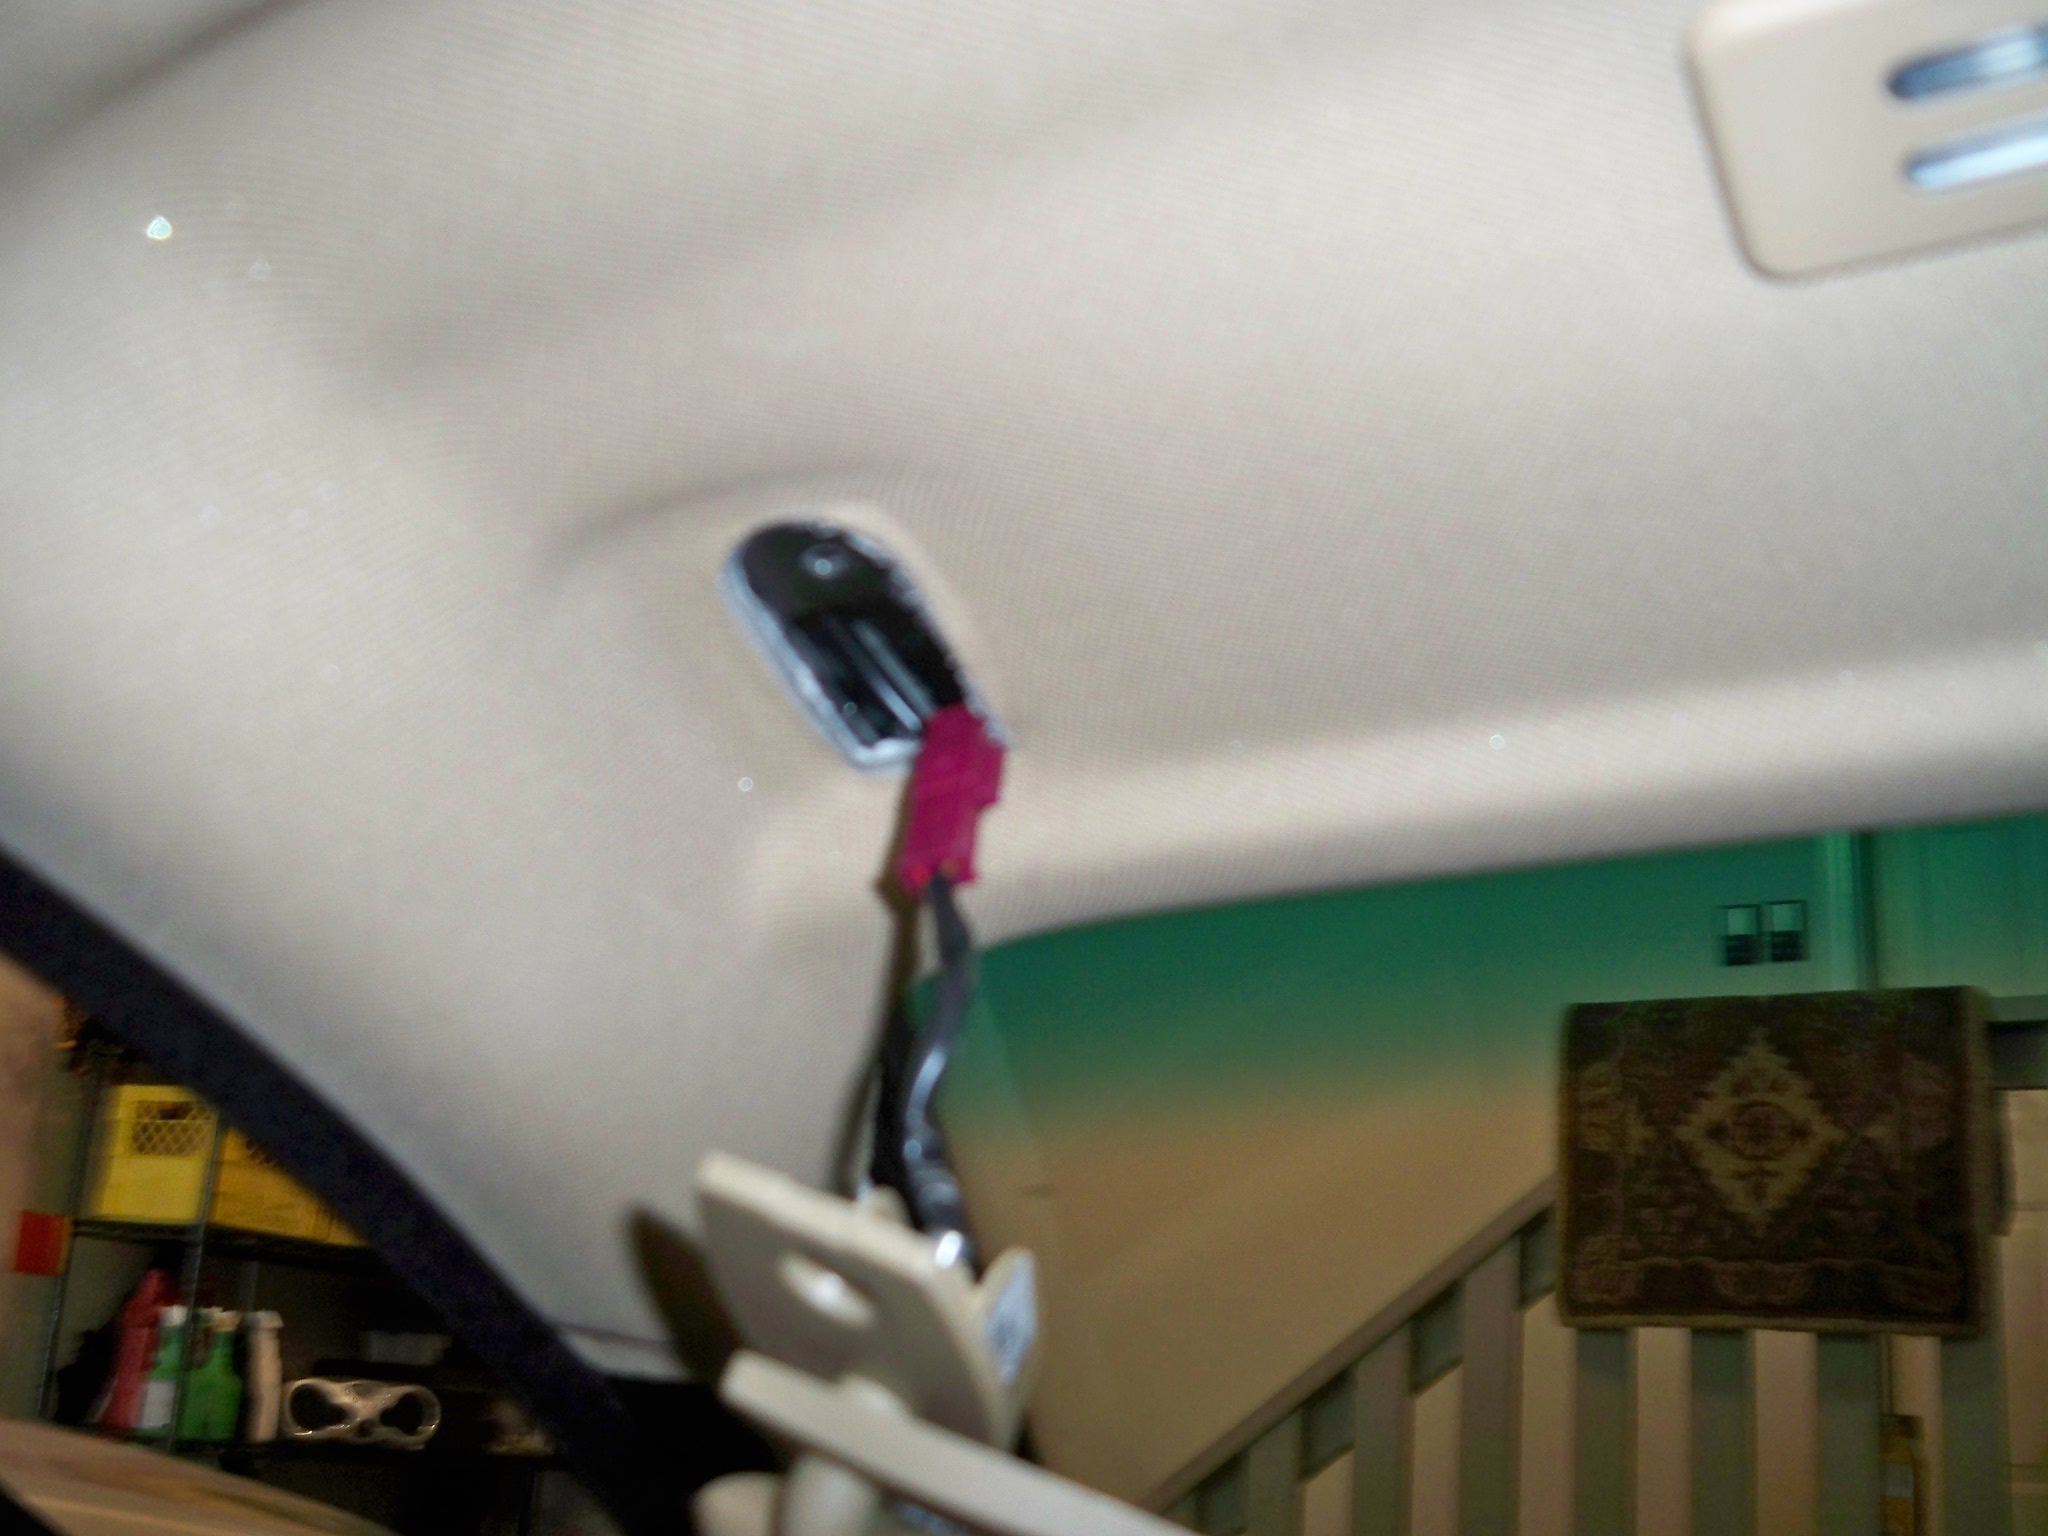
You pull down and out but slowly there is a wire attached to power the light for the mirror which you need to unclip
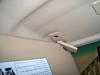
Then remove the other side, the torx screw is under the little flap you need to pop open
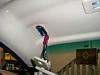
Once these two are removed the headliner will pull down enough to run your wire. After you pop off the black cover behind the mirror you'll see the current wiring harness attached to the mirror. I attached the mirror first (note to search about removing the rearview mirror, be careful removing the old one as you can crack the windshield) I removed the clip from the mirror, and cut the rubber cuff and simply tucked the old harness up into the headliner. Rather than try and unconnect the rain sensore etc, and try and run the wires throught the new plastic cuff I slit the top of the new rubber cuff (will not be visible) and slipped it around the bundle of wires and tucked the rubber cuff back into the hole in the headliner.
now you're able to run the wire along the inside of the headliner, to the a pillar and down BEHIND the airbag (don't run in front or obstruct the airbag in any way)
to get the wire to the footwell I used a taped wire hanger to run it down just inside the trim
At this point prior to touching wires I disconnected the negative pole of the battery.
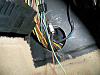
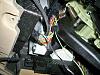
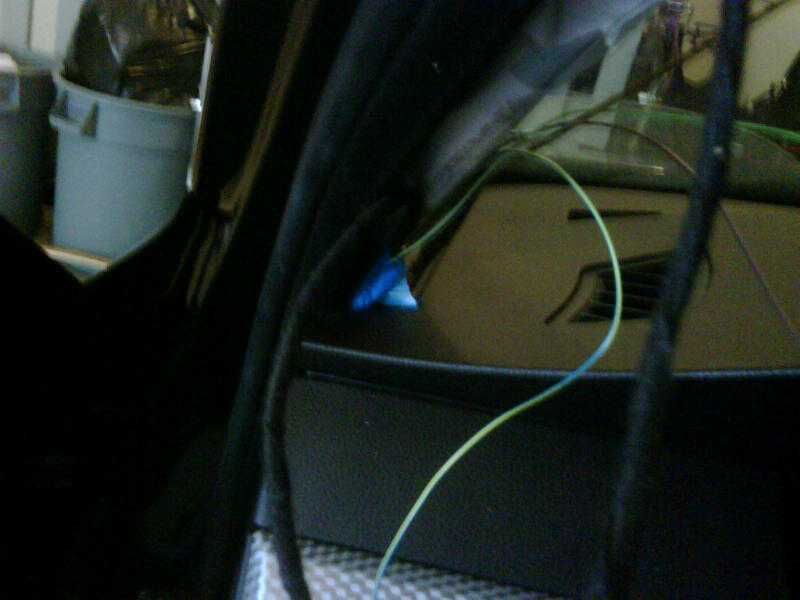
You are matching three wires (BR/SW, Brown/Black)(BL/GN, Blue/Green) and the mythical (GN/WS,Green/white) all 35mm. I'm sorry but I can't think of how to describe the locations of the three wires, the brown and blue wires are in a larger bundle that travels throught the footwell near the back, while the green is in a smaller bundle near the front that looks like it supplies the steering wheel. I removed enough tape that wraps the bundles to see and be able to work on/splice the wires.
Splices are parallel, so seat the wires in the top part then close firmly.
blue/green and brown black
green/white
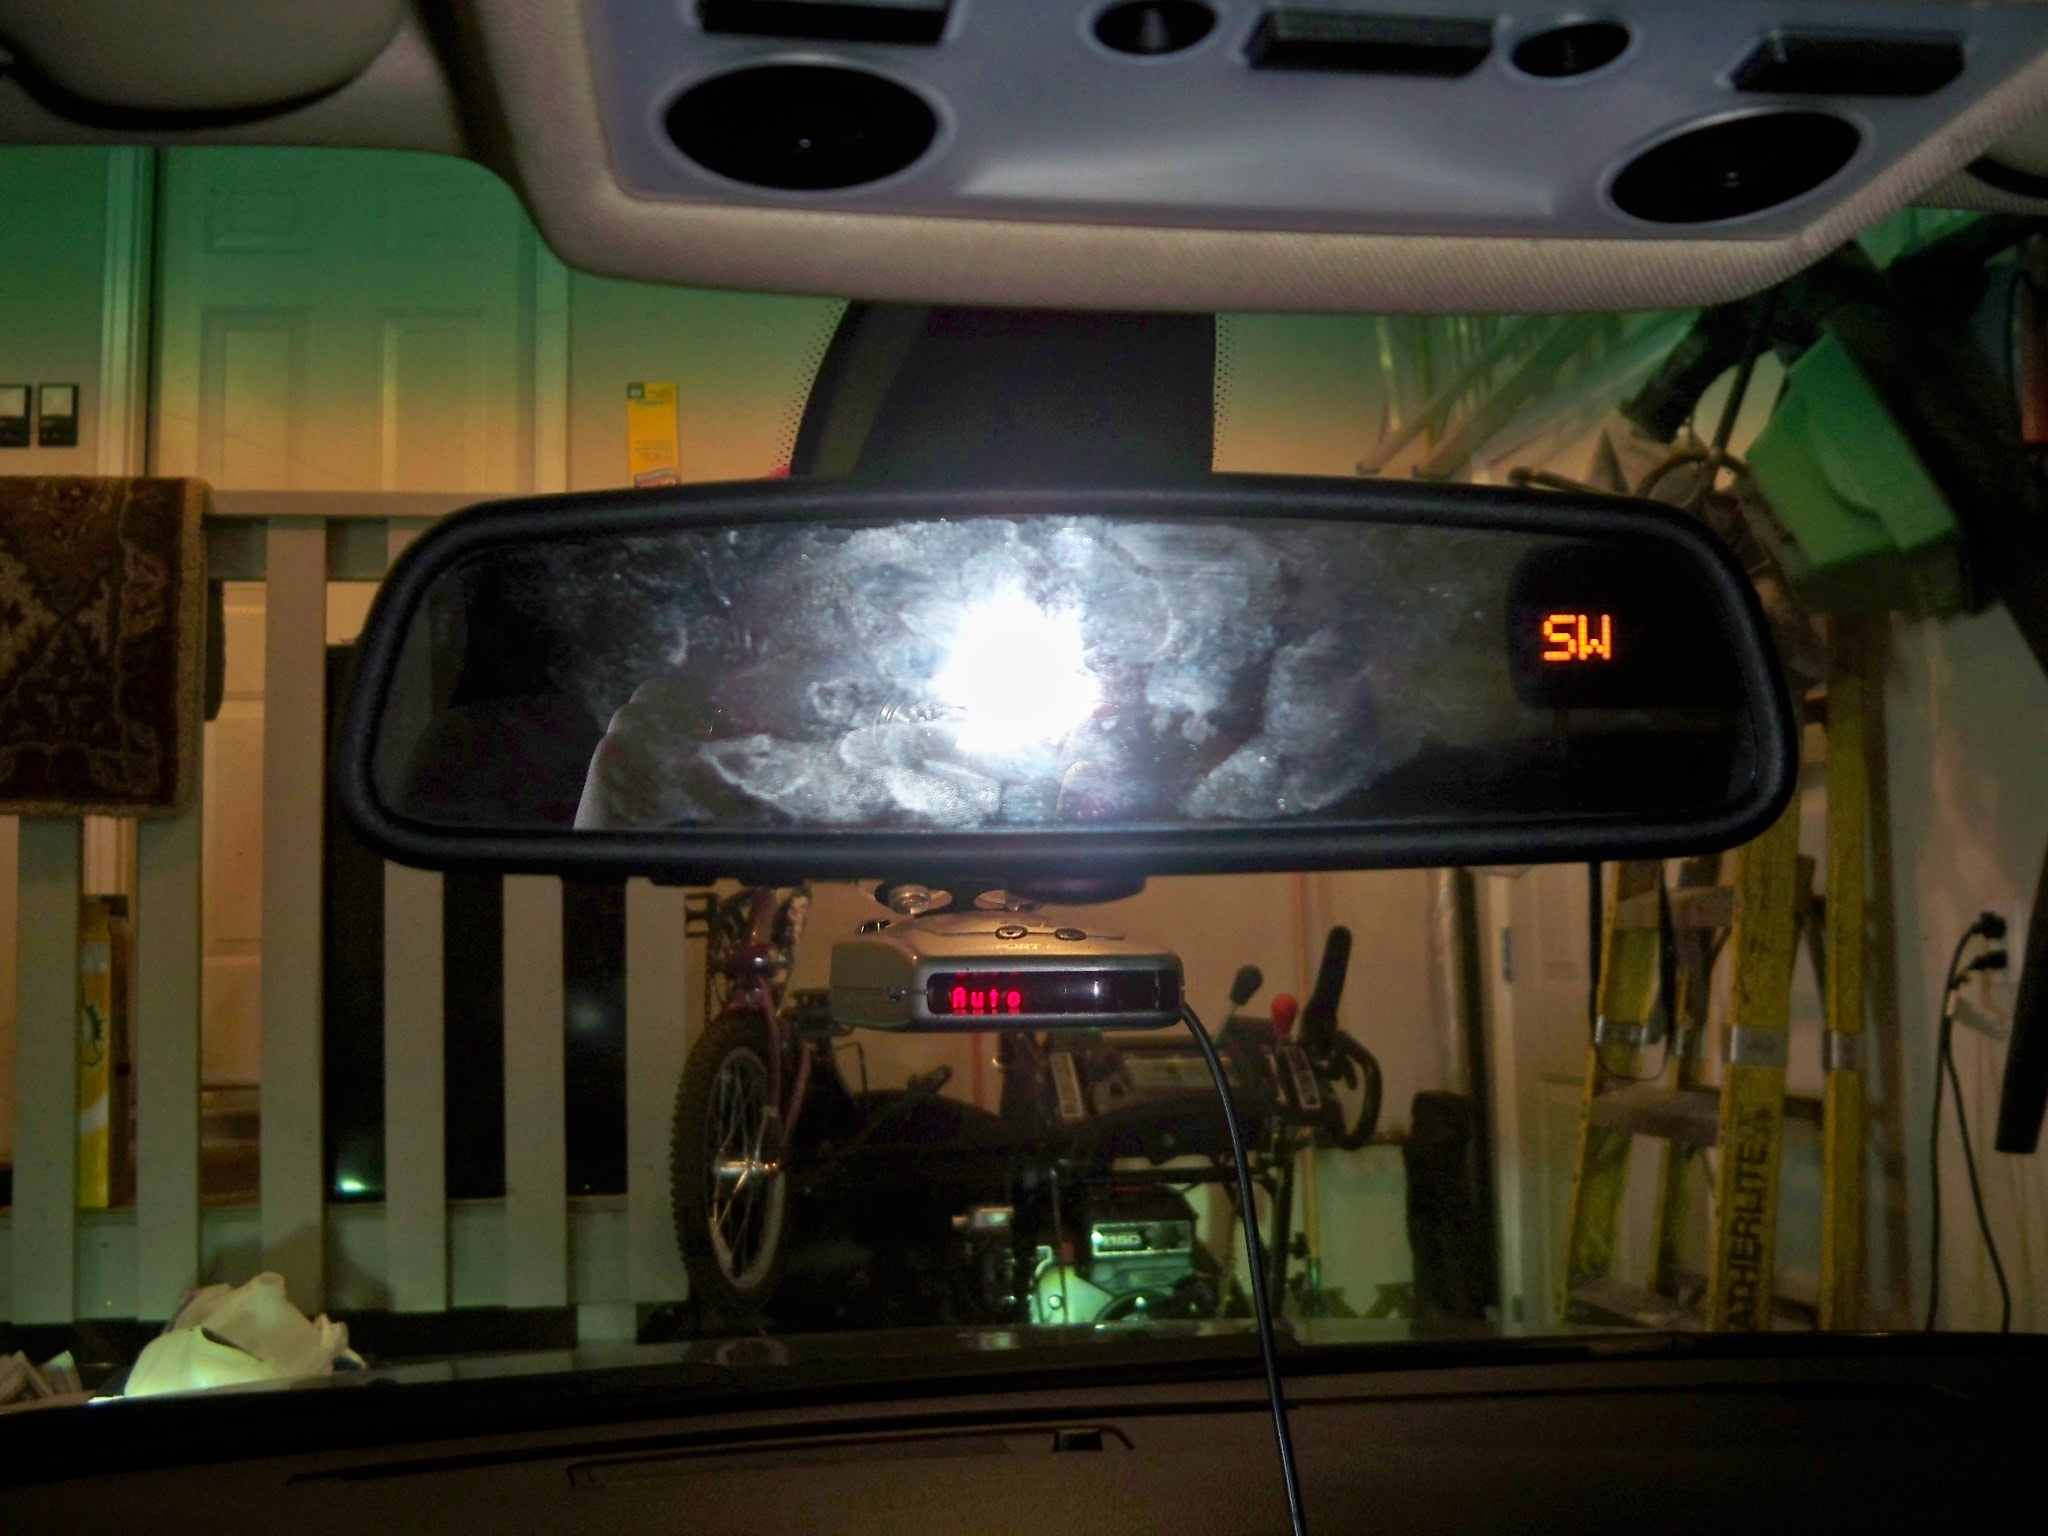
Once the three wires were spliced, I re-connected the battery to test function and was verrrry happy to see the compass functioning for sure
Once I knew I had power to the memory buttons (just pressed one to make sure the little light blinked) and the auto dim was functioning (shone a flashlight and the sensor and observed mirror darkening) I buttoned everything up, and followed the instructions to reset and then program the garage door functions.
I hope this helps someone, I have a few other pics, and if you have any specific questions feel free to PM me and I'll do my best to answer/help out.
Okay so here goes, bought the mirror on Ebay for about $150, and the retro fit wiring harness was $40 (CAD) (delaership as around 500). Initially phoned my dealership about the cabling, they told me it couldn't be done would need to be re-programmed blah blah blah. Phoned another dealership in town, they located the part, ordered it and had it in 2-3 days.

Box contains the wiring harness, new rubber gasket, and three splices for the wiring connections. The box comes with no directions inside, but the sticker on the top instructs them to print the ASAP and give it to the customer. I can post that PDF separately, what's of note about it is that it's basically impossible to do it the way they describe. Biggest point they make is to route everything to behind the glove box. Did that and spent four hours searching for the three wires you need to splice. it's cramped and a pain in the ass. Actually gave up after not being able to find one of the three wires, and buttoned everything up on that side. After consulting a WDS (thankfully provided by member Ricky1329) I found reference to the wire (GN/WS, or green and white) on the driver side so decided to try that side. Once on that side I found all three wires in about 5 minutes. First step is to remove the panel above the pedals.
Straight forward removing screws with the exception of the one hidden screw
just need to pull back the carpetting section that slides into the plastic by a tab
The leather boot at the bottom of the steering wheel attaches with three tabs that pull off, and the plastic trim connects with two clips one on each side that just need to be pulled out firmly
once it's loose just need to unclip the speaker wire and remove the panel.
Next you have to remove the A pillar First pop off the airbag symbol and expose the torx bolt below
Remove that, then pull out. The pillar is held by a plug in the center (pull firmly) and a small curved piece of plastic at the bottom.
(Center plug)

(curved tab)
Once pillar is removed (you'll run the wire down there) you need to drop the headliner. Need to remove the sunshade lift the tab that the covers where the shade base is and remove the torx screw found underneath
You pull down and out but slowly there is a wire attached to power the light for the mirror which you need to unclip
Then remove the other side, the torx screw is under the little flap you need to pop open

Once these two are removed the headliner will pull down enough to run your wire. After you pop off the black cover behind the mirror you'll see the current wiring harness attached to the mirror. I attached the mirror first (note to search about removing the rearview mirror, be careful removing the old one as you can crack the windshield) I removed the clip from the mirror, and cut the rubber cuff and simply tucked the old harness up into the headliner. Rather than try and unconnect the rain sensore etc, and try and run the wires throught the new plastic cuff I slit the top of the new rubber cuff (will not be visible) and slipped it around the bundle of wires and tucked the rubber cuff back into the hole in the headliner.
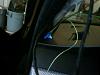
now you're able to run the wire along the inside of the headliner, to the a pillar and down BEHIND the airbag (don't run in front or obstruct the airbag in any way)

to get the wire to the footwell I used a taped wire hanger to run it down just inside the trim

At this point prior to touching wires I disconnected the negative pole of the battery.
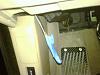
You are matching three wires (BR/SW, Brown/Black)(BL/GN, Blue/Green) and the mythical (GN/WS,Green/white) all 35mm. I'm sorry but I can't think of how to describe the locations of the three wires, the brown and blue wires are in a larger bundle that travels throught the footwell near the back, while the green is in a smaller bundle near the front that looks like it supplies the steering wheel. I removed enough tape that wraps the bundles to see and be able to work on/splice the wires.
Splices are parallel, so seat the wires in the top part then close firmly.
blue/green and brown black

green/white

Once the three wires were spliced, I re-connected the battery to test function and was verrrry happy to see the compass functioning for sure
Once I knew I had power to the memory buttons (just pressed one to make sure the little light blinked) and the auto dim was functioning (shone a flashlight and the sensor and observed mirror darkening) I buttoned everything up, and followed the instructions to reset and then program the garage door functions.
I hope this helps someone, I have a few other pics, and if you have any specific questions feel free to PM me and I'll do my best to answer/help out.
 04-08-2011, 11:06 AM
#3
Contributors
Join Date: Apr 2010
Location: Toronto, Canada
Posts: 772
Likes: 0
Received 2 Likes
on
2 Posts
My Ride: 2007 Black Sapphire 535i
jgulli,
Excellent post. To confirm, your E60 originally had the standard rear-view mirror without homelink and compass? Mine is the same and I've also purchased a new mirror on eBay with these two features added. Actually I was hoping that the harness in the existing mirror contained all conductors I needed to adapt the new mirror. Given your explanation below, now I suspect not.
Do you have a link to the mechanical removal of the existing mirror.? If this information already exists it should save some. Also once your install was complete was there any coding required to enable the new mirror? You never mentioned this either so I suspect not, but confirmation would be great!
I'll start on this project soon myself and post some pics. Thanks in advance for the feedback and all the great info posted.
Cheers!
04-08-2011, 12:59 PM
#4
Members
Senior Members
Join Date: Sep 2006
Location: Omaha, NE - USA
Posts: 3,238
Likes: 0
Received 1 Like
on
1 Post
My Ride: MY07 525xi Silver Gray
Model Year: 2007
Sorry for jumpin' in ...
I did the same retrofit w/ full featured mirror that has compass, homelink & auto-dim and thought my process might assist you.
No coding required but you'll need the new wiring, since the basic mirror I got only has 2 wires for the blinking red nose while the new mirror need at least 3 more that basically give power & ground for the homelink, compass & auto-dim to work & another one will cancel the auto-dim when you reverse.
On top of that another 2 wires that goes to the KGM that allow the inside mirror to communicate to the outside mirror to dim together if the outside mirror capable of auto-dim.
As for mirror removal I found it from here long time ago, pretty much pop open the base mirror cover (on the windshield glass) and carefully twist the base of the metal arm counter clock-wise ('bout 45 deg) ... just be carefull 'cuz I know of one member cracked the glass during the process and wound up replacing the windshield all together.
GL!
--Rival.
jgulli,
Excellent post. To confirm, your E60 originally had the standard rear-view mirror without homelink and compass? Mine is the same and I've also purchased a new mirror on eBay with these two features added. Actually I was hoping that the harness in the existing mirror contained all conductors I needed to adapt the new mirror. Given your explanation below, now I suspect not.
Do you have a link to the mechanical removal of the existing mirror.? If this information already exists it should save some. Also once your install was complete was there any coding required to enable the new mirror? You never mentioned this either so I suspect not, but confirmation would be great!
I'll start on this project soon myself and post some pics. Thanks in advance for the feedback and all the great info posted.
Cheers!
Excellent post. To confirm, your E60 originally had the standard rear-view mirror without homelink and compass? Mine is the same and I've also purchased a new mirror on eBay with these two features added. Actually I was hoping that the harness in the existing mirror contained all conductors I needed to adapt the new mirror. Given your explanation below, now I suspect not.
Do you have a link to the mechanical removal of the existing mirror.? If this information already exists it should save some. Also once your install was complete was there any coding required to enable the new mirror? You never mentioned this either so I suspect not, but confirmation would be great!
I'll start on this project soon myself and post some pics. Thanks in advance for the feedback and all the great info posted.
Cheers!
04-08-2011, 04:23 PM
#5
Senior Members

Join Date: Dec 2009
Location: Birmingham, AL
Posts: 878
Likes: 0
Received 0 Likes
on
0 Posts
My Ride: 06 550i
Model Year: 06
Would I need to do any extra wiring or coding if I have the garage door opener and auto dim already in my mirror? I really just want the compass function.

Thread
Thread Starter
Forum
Replies
Last Post