
Removing Footwell Panel


Thread Starter
Contributors
Joined: May 2004
Posts: 822
Likes: 0
From: Colorado, USA
Starting to take pictures and get a plan together for installing my Lidatek. Have a pretty good idea of where I will put the transponders, but routing is another issue.
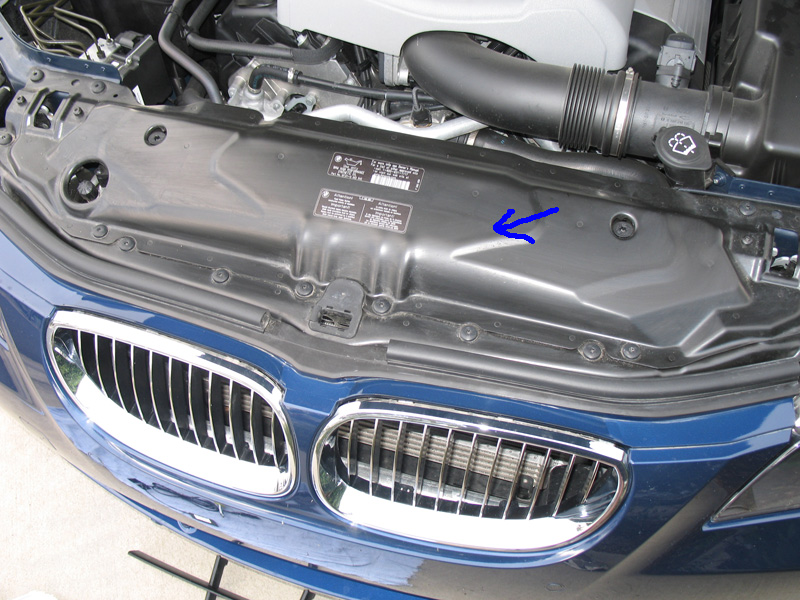
Does any body have removal instructions for the panel above the radiator. I assume that you just remove all the bolts (torx I believe).

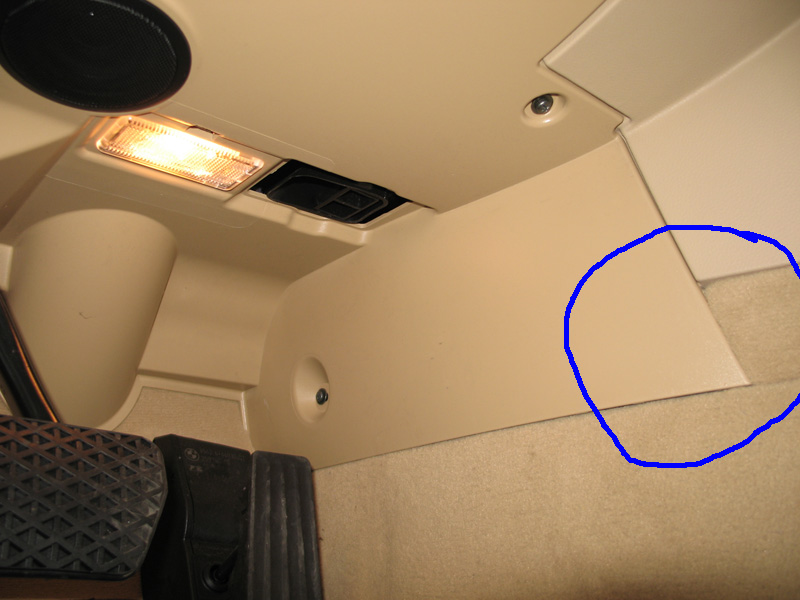
I was able to partially remove the panel that is up under the driver footwell, except for the portion below and wandering if there were some removal instructions.

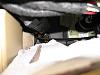
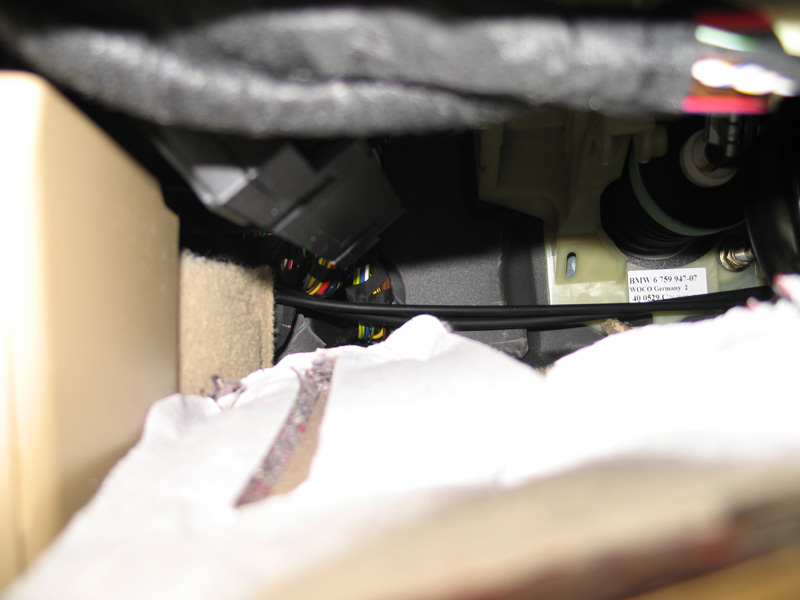
As you can see below, after removal of 4 screws, I was able to pry the panel down, and snap a picture of the wires coming through the firewall. I was triing to follow the main cable routing into the cabin and look for place to tie in for power, but hard to get at with only small portion of the panel down.
Does any body have removal instructions for the panel above the radiator. I assume that you just remove all the bolts (torx I believe).
I was able to partially remove the panel that is up under the driver footwell, except for the portion below and wandering if there were some removal instructions.
As you can see below, after removal of 4 screws, I was able to pry the panel down, and snap a picture of the wires coming through the firewall. I was triing to follow the main cable routing into the cabin and look for place to tie in for power, but hard to get at with only small portion of the panel down.
Super Moderator
Joined: Mar 2004
Posts: 17,310
Likes: 2
From: Pittsburgh, PA USA
My Ride: G30 M550i
Model Year: 2018
Okay CR, I think I found what you need...
Instructions for removing radiator cover:
RA__Removing_radiator_cover.pdf
Instructions for removing and installing trim for pedal assembly:
RA_Removing_and_installing_trim_for_pedal_assembly.pdf
Good luck. Let me know how things turn out!
Instructions for removing radiator cover:
RA__Removing_radiator_cover.pdf
Instructions for removing and installing trim for pedal assembly:
RA_Removing_and_installing_trim_for_pedal_assembly.pdf
Good luck. Let me know how things turn out!
Thread Starter
Contributors
Joined: May 2004
Posts: 822
Likes: 0
From: Colorado, USA

I knew I could count on you Rudy. That special tool, I think I will have to use a normal wrench, but clearly that last bolt is hidden behind the trim, and that is what I was missing.
Unfortunately raining, so can't work on car tonight.
Thread Starter
Contributors
Joined: May 2004
Posts: 822
Likes: 0
From: Colorado, USA
Originally Posted by Rudy' date='Mar 19 2005, 08:31 PM
I think the special tool is more like a wedge, not a wrench.? It's item number 7 in the illustration...
[snapback]103945[/snapback]
I just saw the wrench next to the "special tool required"


looks like a dinner knife will do the job then.

Note to self, cross reference the special tool number with the illustrations.


Contributors
Joined: Mar 2005
Posts: 170
Likes: 0
From: U.S. of A.
My Ride: 2005 545, Titanium Gray II, 6 Spd, CWP, Sat, LPP Laser Defense, V1 (hard-wired), iPod, 38% ceramic tint, CDV delete, H&R Street Performance Coil Overs, Forced Air Induction, DriveData Pro Camera System (4 cams), M5 Front Bumper
The "special tool" you need is an Upholstery Puller.
You can find them at Advance Auto and similar auto parts stores.
One should cost no more than $10 or so.
You can find them at Advance Auto and similar auto parts stores.
One should cost no more than $10 or so.
Super Moderator
Joined: Mar 2004
Posts: 17,310
Likes: 2
From: Pittsburgh, PA USA
My Ride: G30 M550i
Model Year: 2018
Do you have a pic of an upholstery puller? BMW calls the tool an "assembly wedge" and to me, it looks more like a wedge than a "puller."
I'm curious if an upholstery puller is like a wedge or if it's shaped like something else...
I'm curious if an upholstery puller is like a wedge or if it's shaped like something else...

