When you click on links to various merchants on this site and make a purchase, this can result in this site earning a commission. Affiliate programs and affiliations include, but are not limited to, the eBay Partner Network.
My DIY for turbo wastegate rattle repair on a 535xi
I recently undertook a large job at home in my garage of fixing the wastegate rattle on my 2009 535xi wagon. For approximately 6 months I have been planning this, ordering parts, and doing plenty of research online so thought I would put this together to help anyone else researching the same things. The car has 144,000 kms on it and is a unicorn with a 6 speed manual. Bought it a year ago and it's in really nice shape other than it's been rattling since I got it and if I gave heavy throttle at 2,400 RPM I would get the 30FF underboost code and go into limp mode. There was also a bit of a jolt when tapping the brakes because the tension strut bushings were wearing out.
My setup: I have a two-car garage at home and had plenty of space. We are blessed to have two vehicles so I was able to put the two car seats in the E46 and just use that car for the two weeks while the wagon was out of commission. I drove the rear wheels up on ramps and put the front end on jack stands. Also had some heavy-duty wood pylons (not sure if that's the right word) that I left under as a backup. I have an additional two jack stands which were very helpful in lowering/raising the subframe, holding exhaust pipes, and as a backup under the oil pan should the engine support bar slip or something. I used a cheap chinese engine support bar to hold the engine up. The design of its feet was pretty bad so I got a few different bolts to use it differently and it was perfect.
All in, I spent about $2,500 CAD on this project. I could have saved a bit by purchasing the one-time use stretch bolts ahead of time. My local dealer charged me $350 for bolts!!! But that's the opportunity cost to get them right when you need them. I could have probably spent less than $150 if purchased beforehand. I was out working on the car most nights for a 2 week period after my kids went to bed, so usually 7-10. The things I replaced are:
Wastegates
Oil pan gasket
Motor mounts
Front axle seals
Tension strut bushings
Lots of bolts
Oil, oil filter, power steering fluid, differential fluid (I reused my coolant as it was only a few months old. So was the diff fluid but it was surprisingly dark)
Exhaust manifold studs, nuts, and all the gaskets on the oil/coolant lines to the turbos
Attached are some videos I took of the slop in the wastegates before and after.
Let me know if you have any questions or things that would be helpful to know as I'm happy to share my experience. This was totally doable, including just being on jack stands in my garage. I have quite a lot of experience working on my own vehicles but this was definitely the biggest thing I've taken on. I bought this car and decided I will do whatever it needs so it didn't really bother me much to buy it with the rattle as I knew I would fix lots of things up while in there.
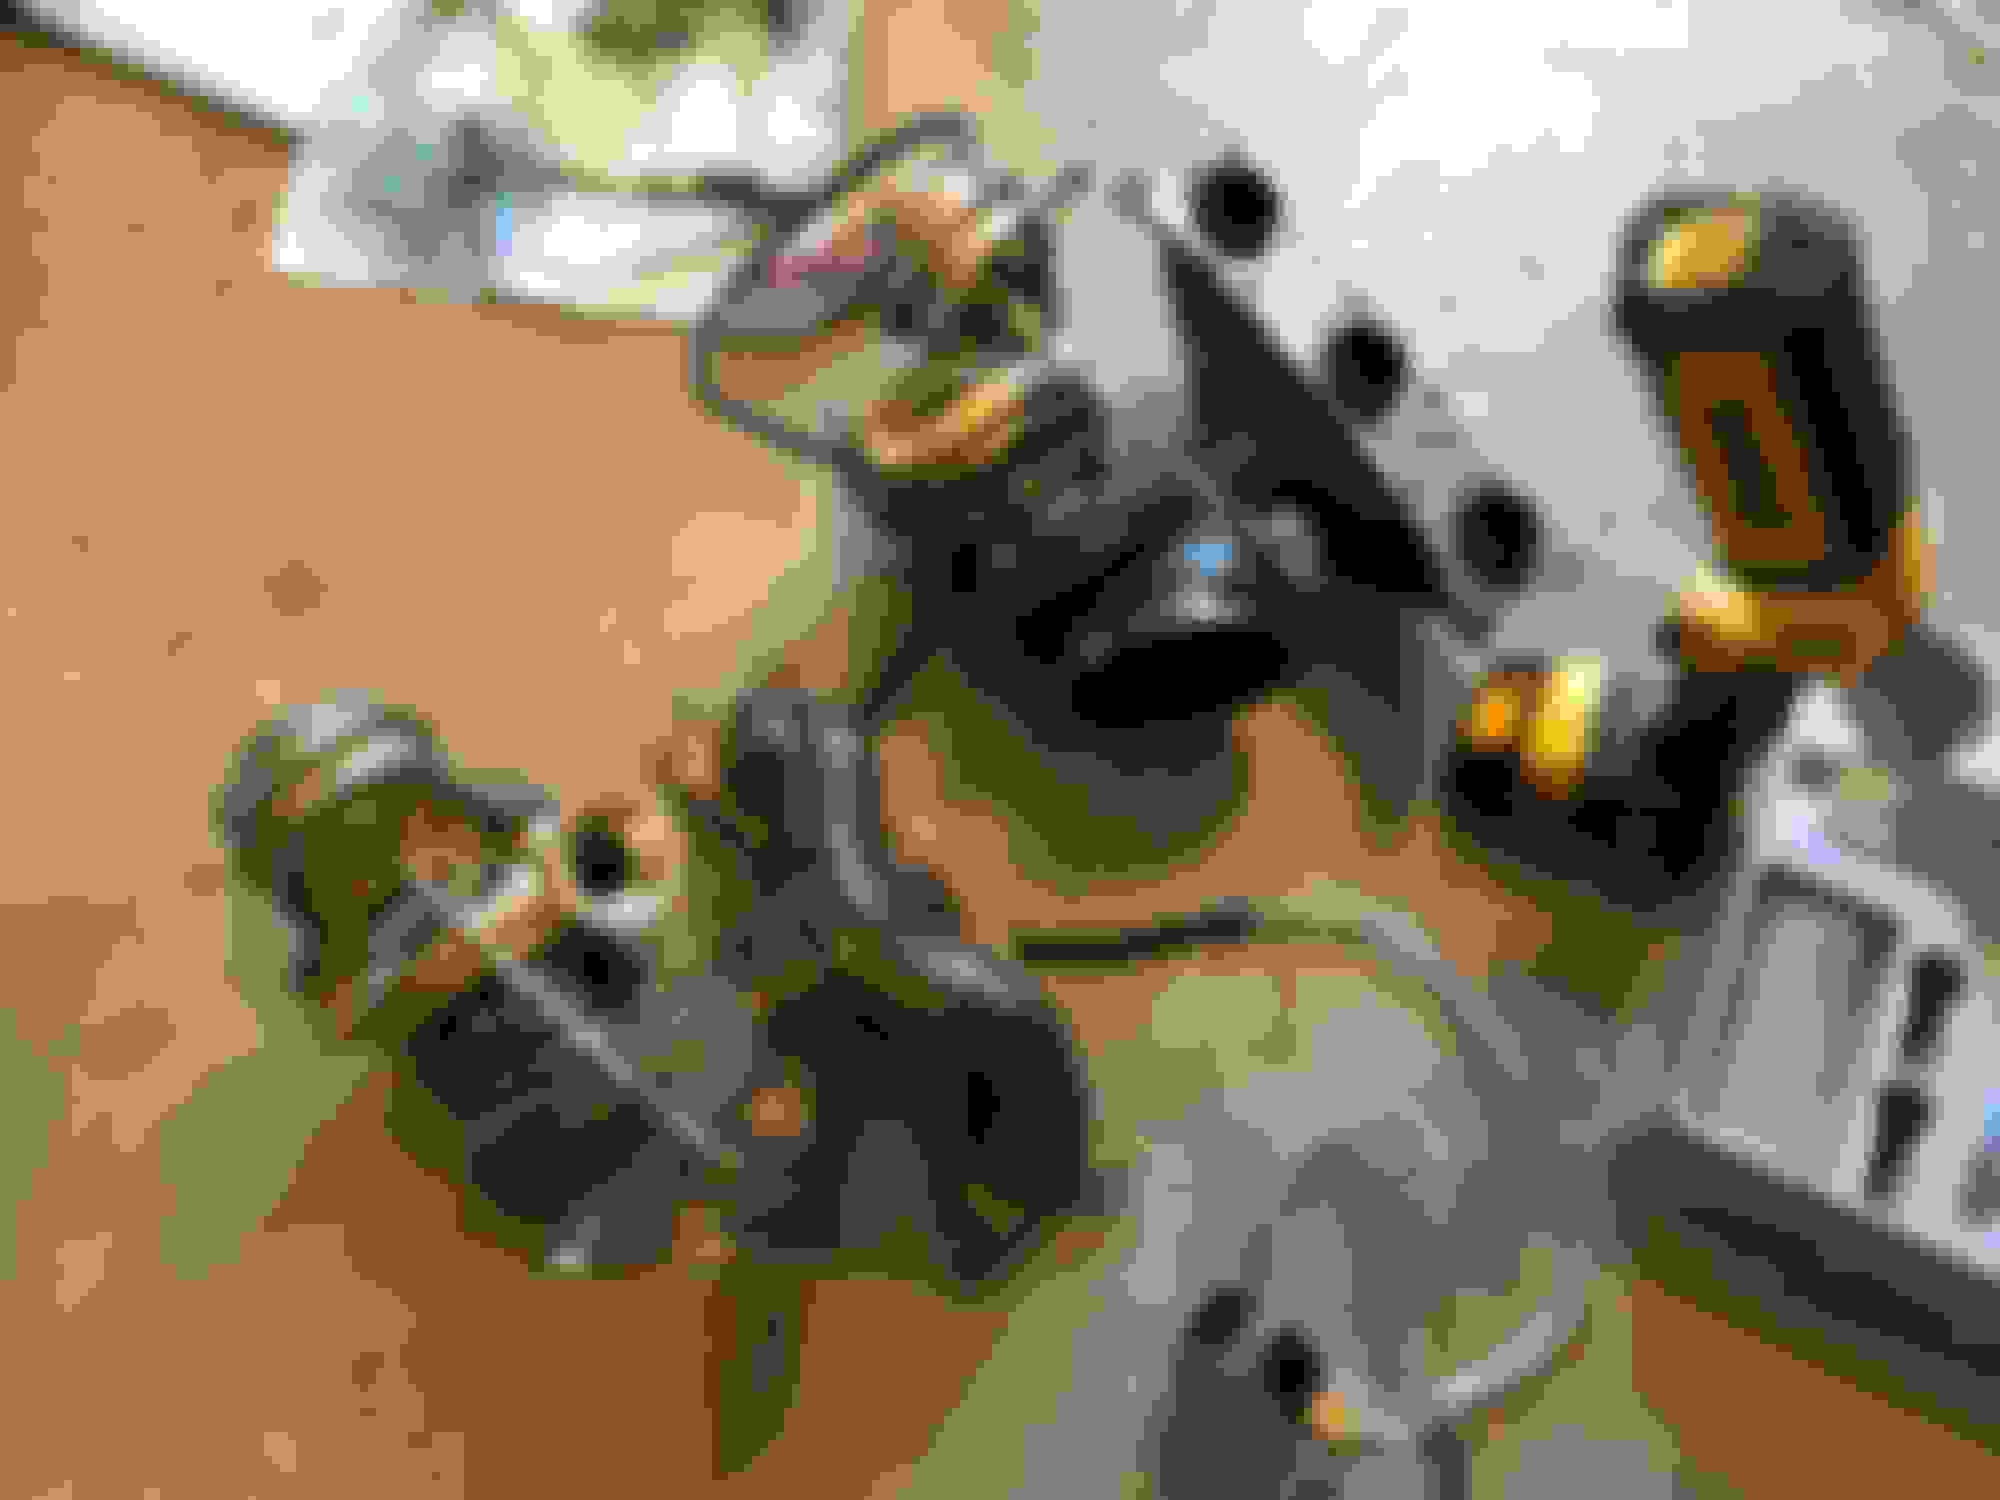
I began by removing all the underbody panels and unclipping O2 sensors (labeling the connections). Then I took out the passenger axle. Wasn't sure of the best way to remove the axle nut but my Dewalt 20v impact wrench pulled it off no problem. I didn't have any other way I could think of to undo the ends of the nut where they get indented around the end of the axle but the impact easily bent the metal tabs out of the way and pulled it off without hurting the threads of the shaft. I don't see how you could hurt the shaft doing it this way because you would only be hurting the threads at the tip and those threads aren't in contact with the nut anyway. I spent a good 30-40 minutes trying to bang out the axle from the oil pan carrier with a simple hammer and a metal rod but all I did was bash a few knuckles. Then borrowed a crowbar and a random 1"x12"x4" piece of iron that had lots of mass and one good whack and it popped out.
Passenger side axle removed
The downpipes really were not that hard to remove. We don't get a lot of salt here so it was easy to remove the nuts holding the exhaust pipes to the cats. I had no trouble getting to the bolts on the v-clamps holding the downpipes on. Here's the offending wastegates.
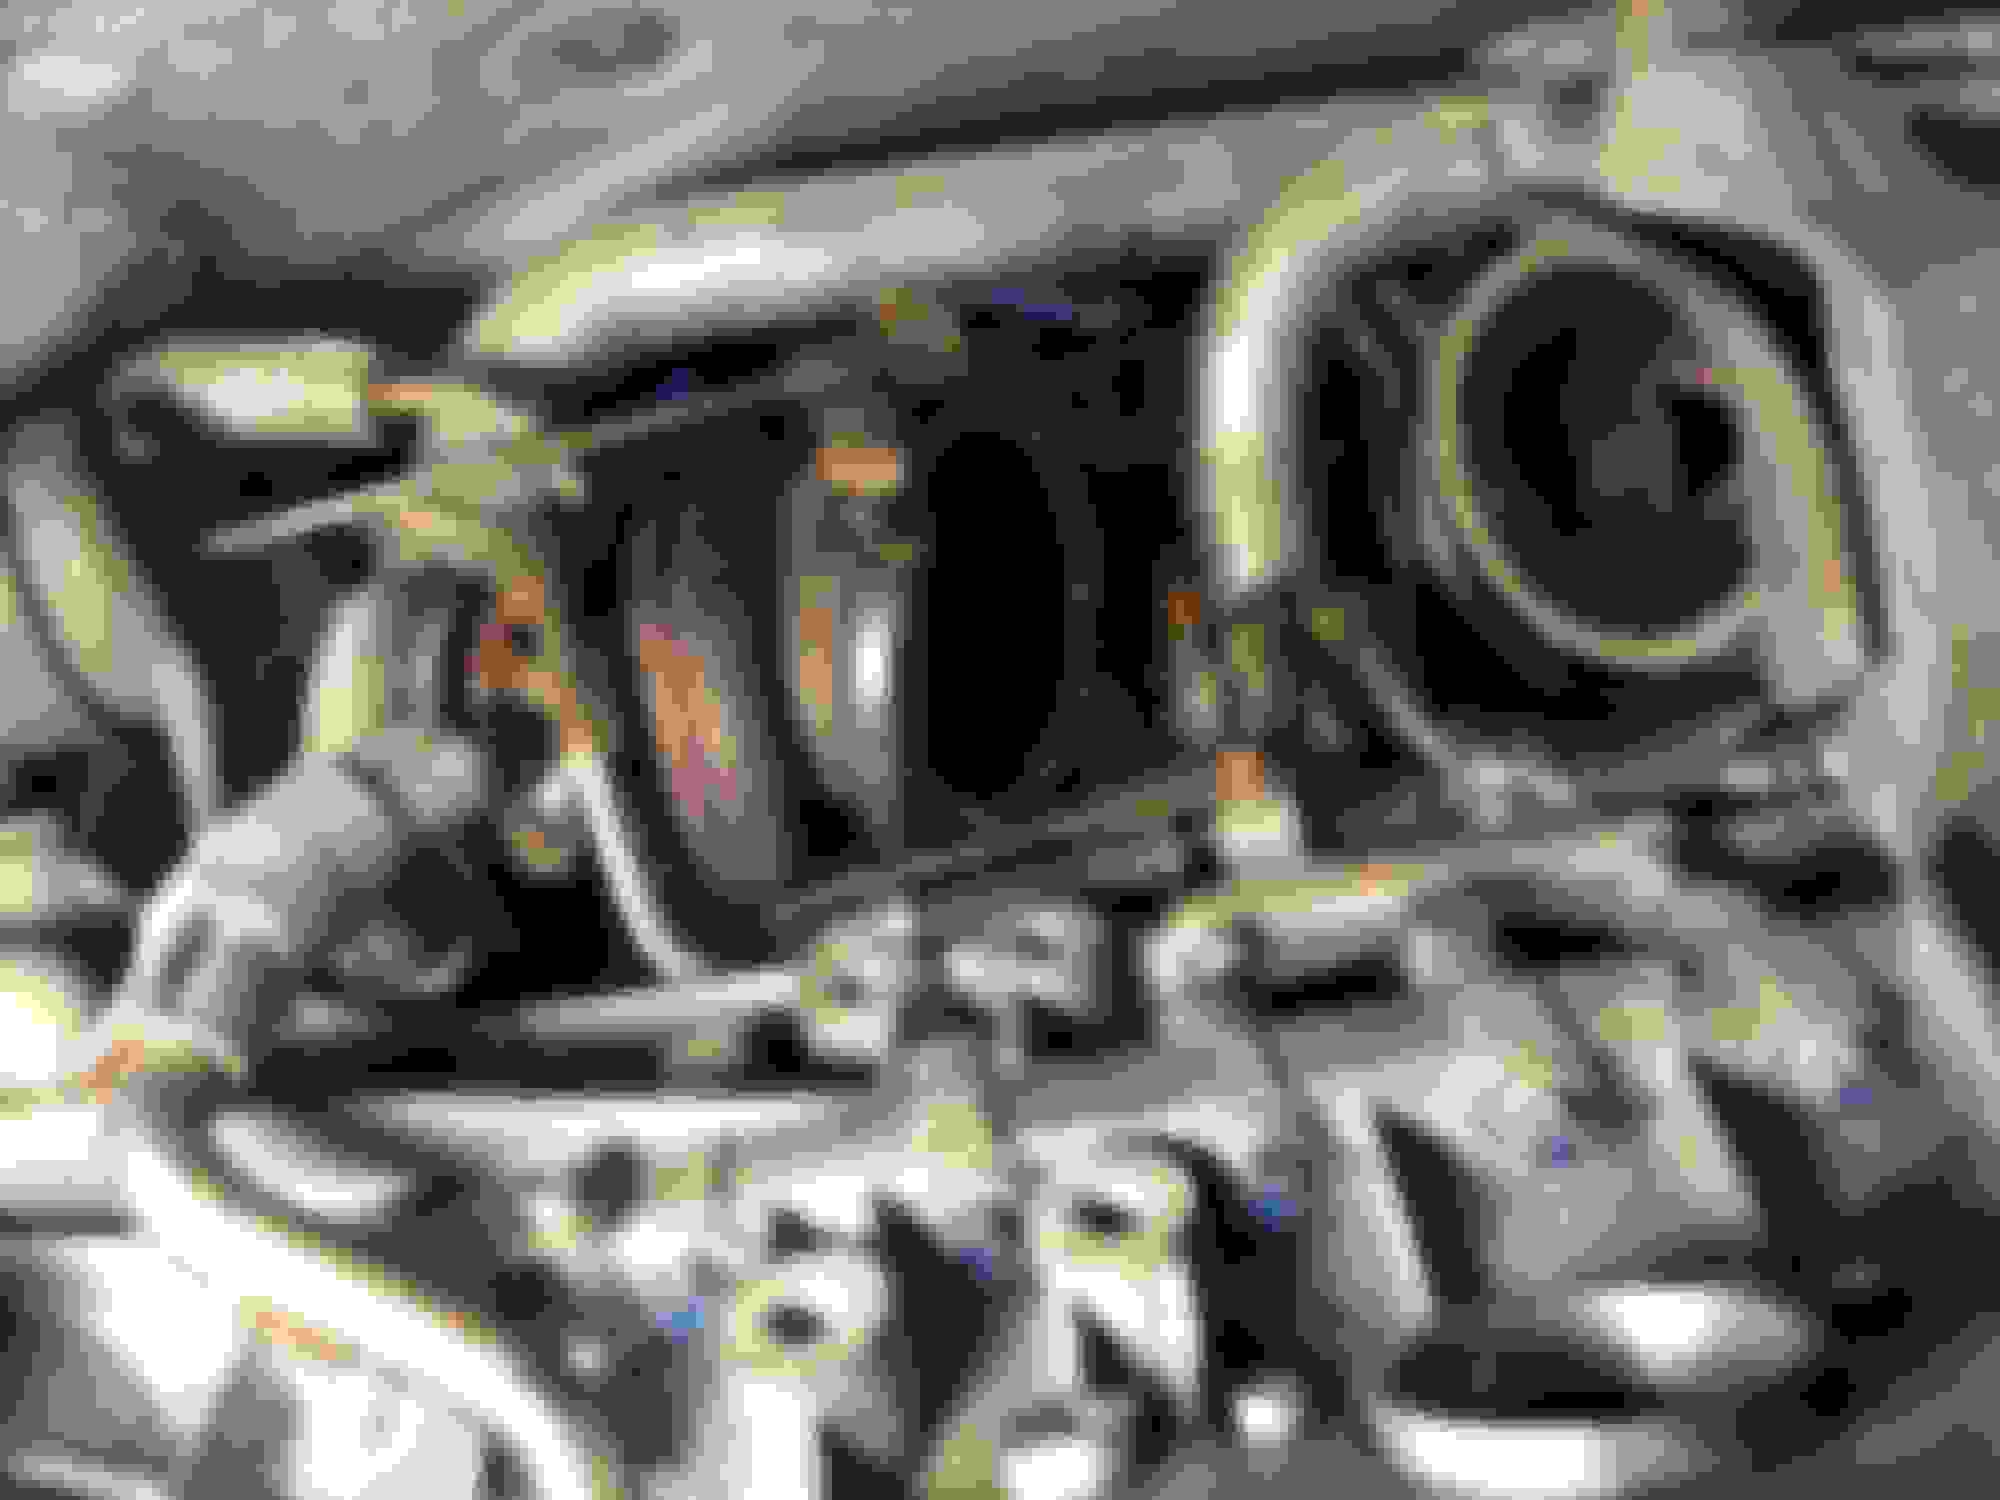
The downpipes are out. Here's the offending turbos and their many coolant/oil lines
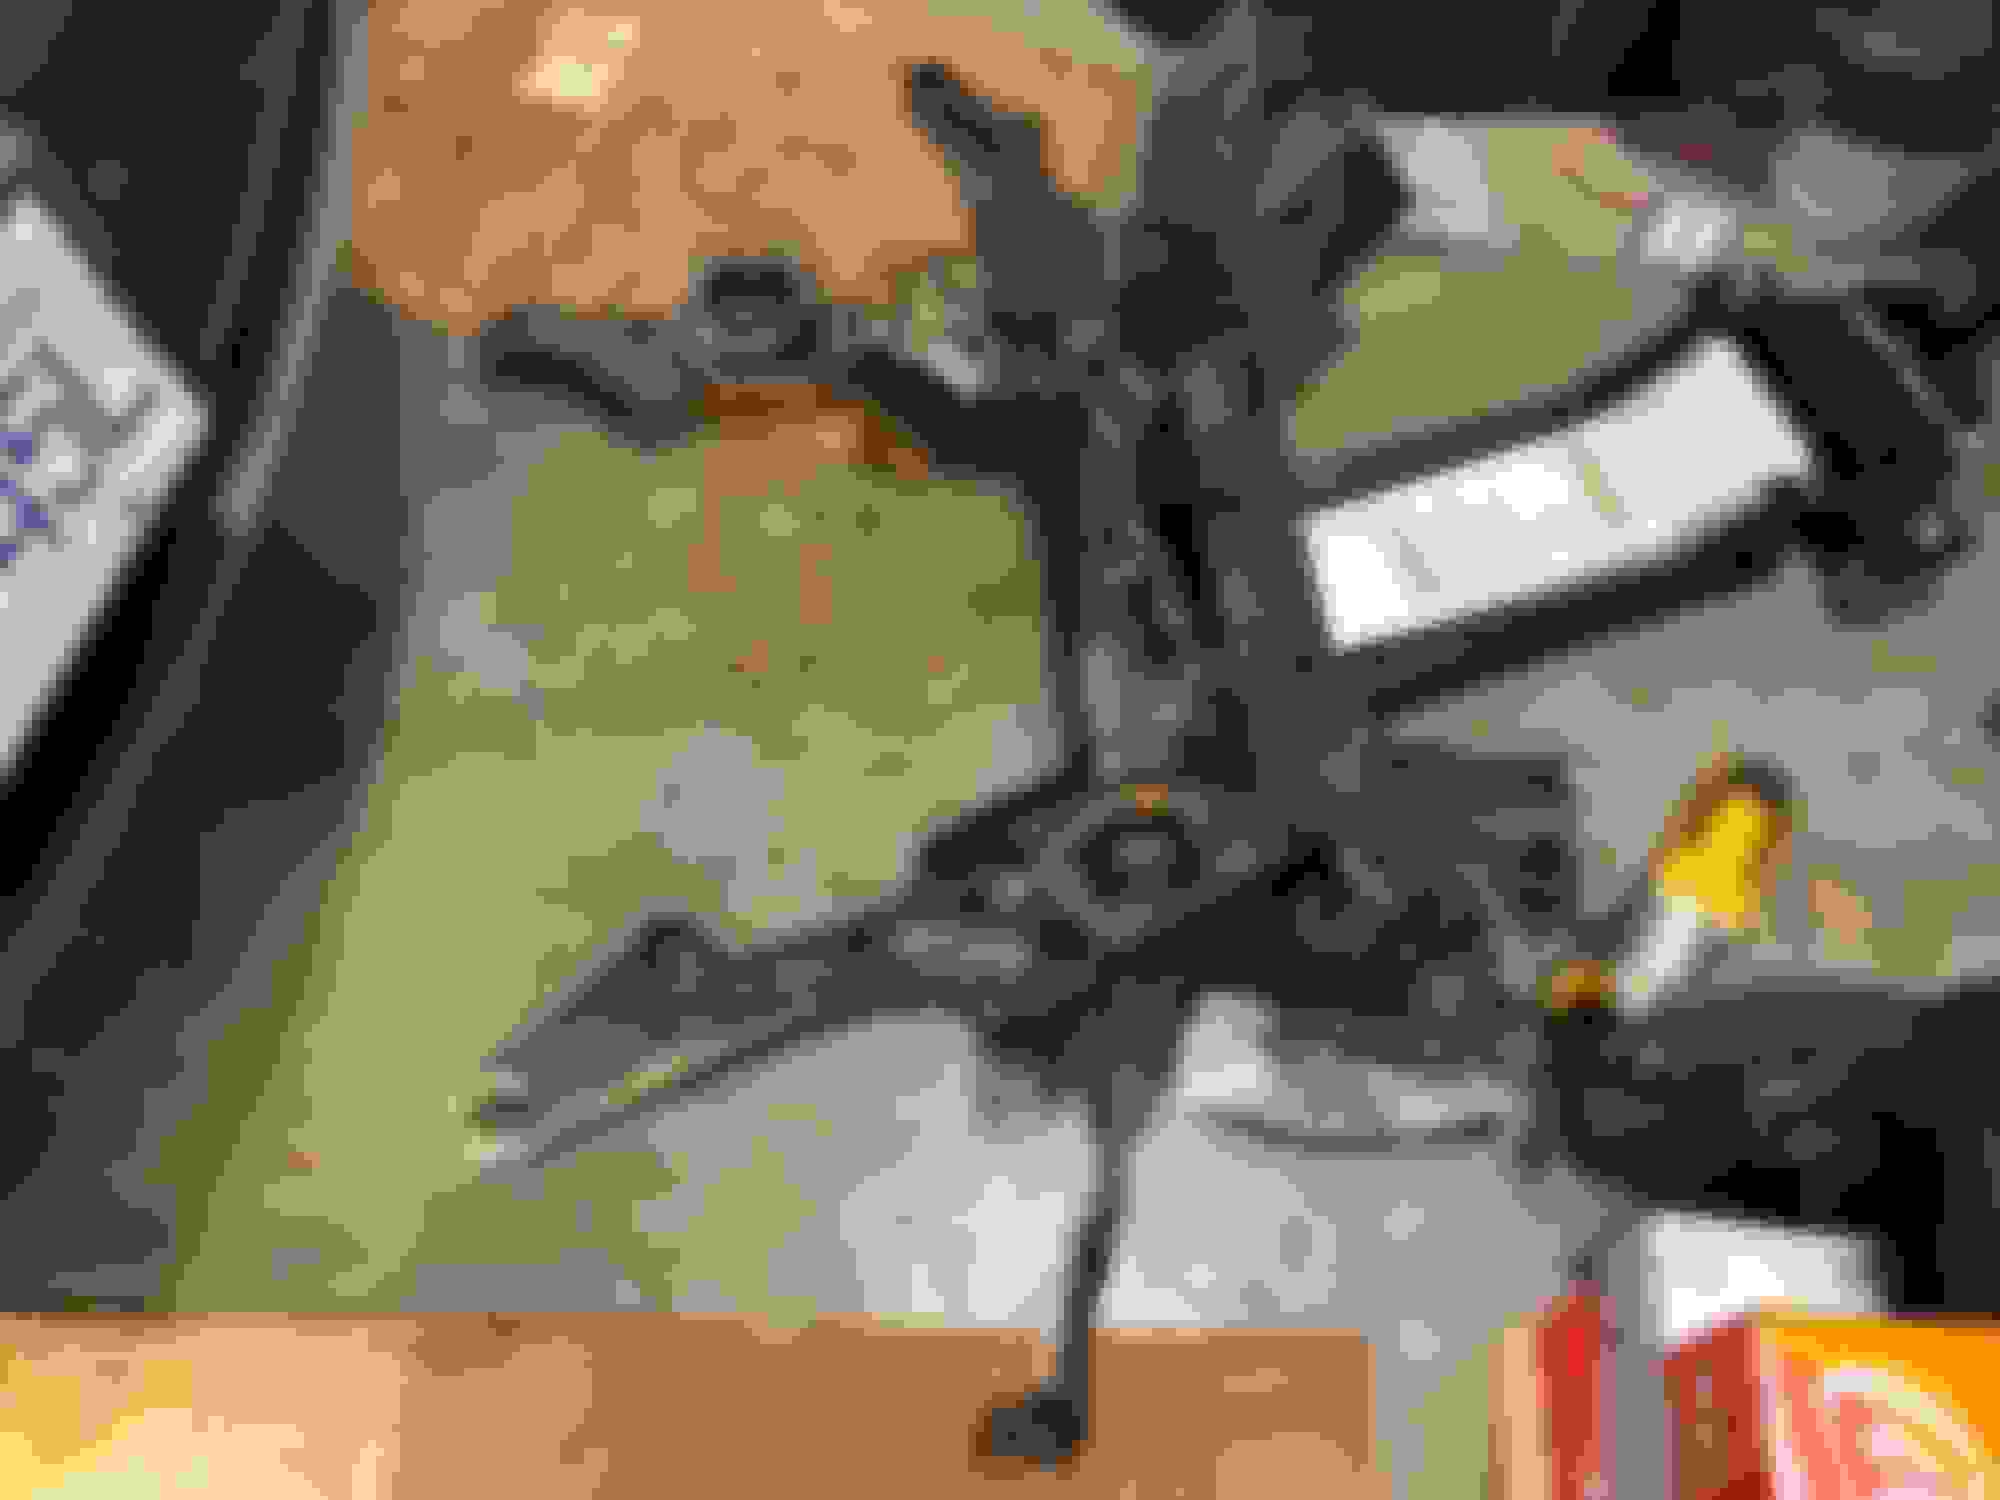
I used this engine support bar that I bought on clearance to hold it up. The feet of it had a terrible design so I got some longer bolts from the hardware store and then it worked perfectly for me. I'm glad you can twist the legs because they needed to twist in to go on the frame behind the headlights due to how far forward the hanging hook on the engine is.
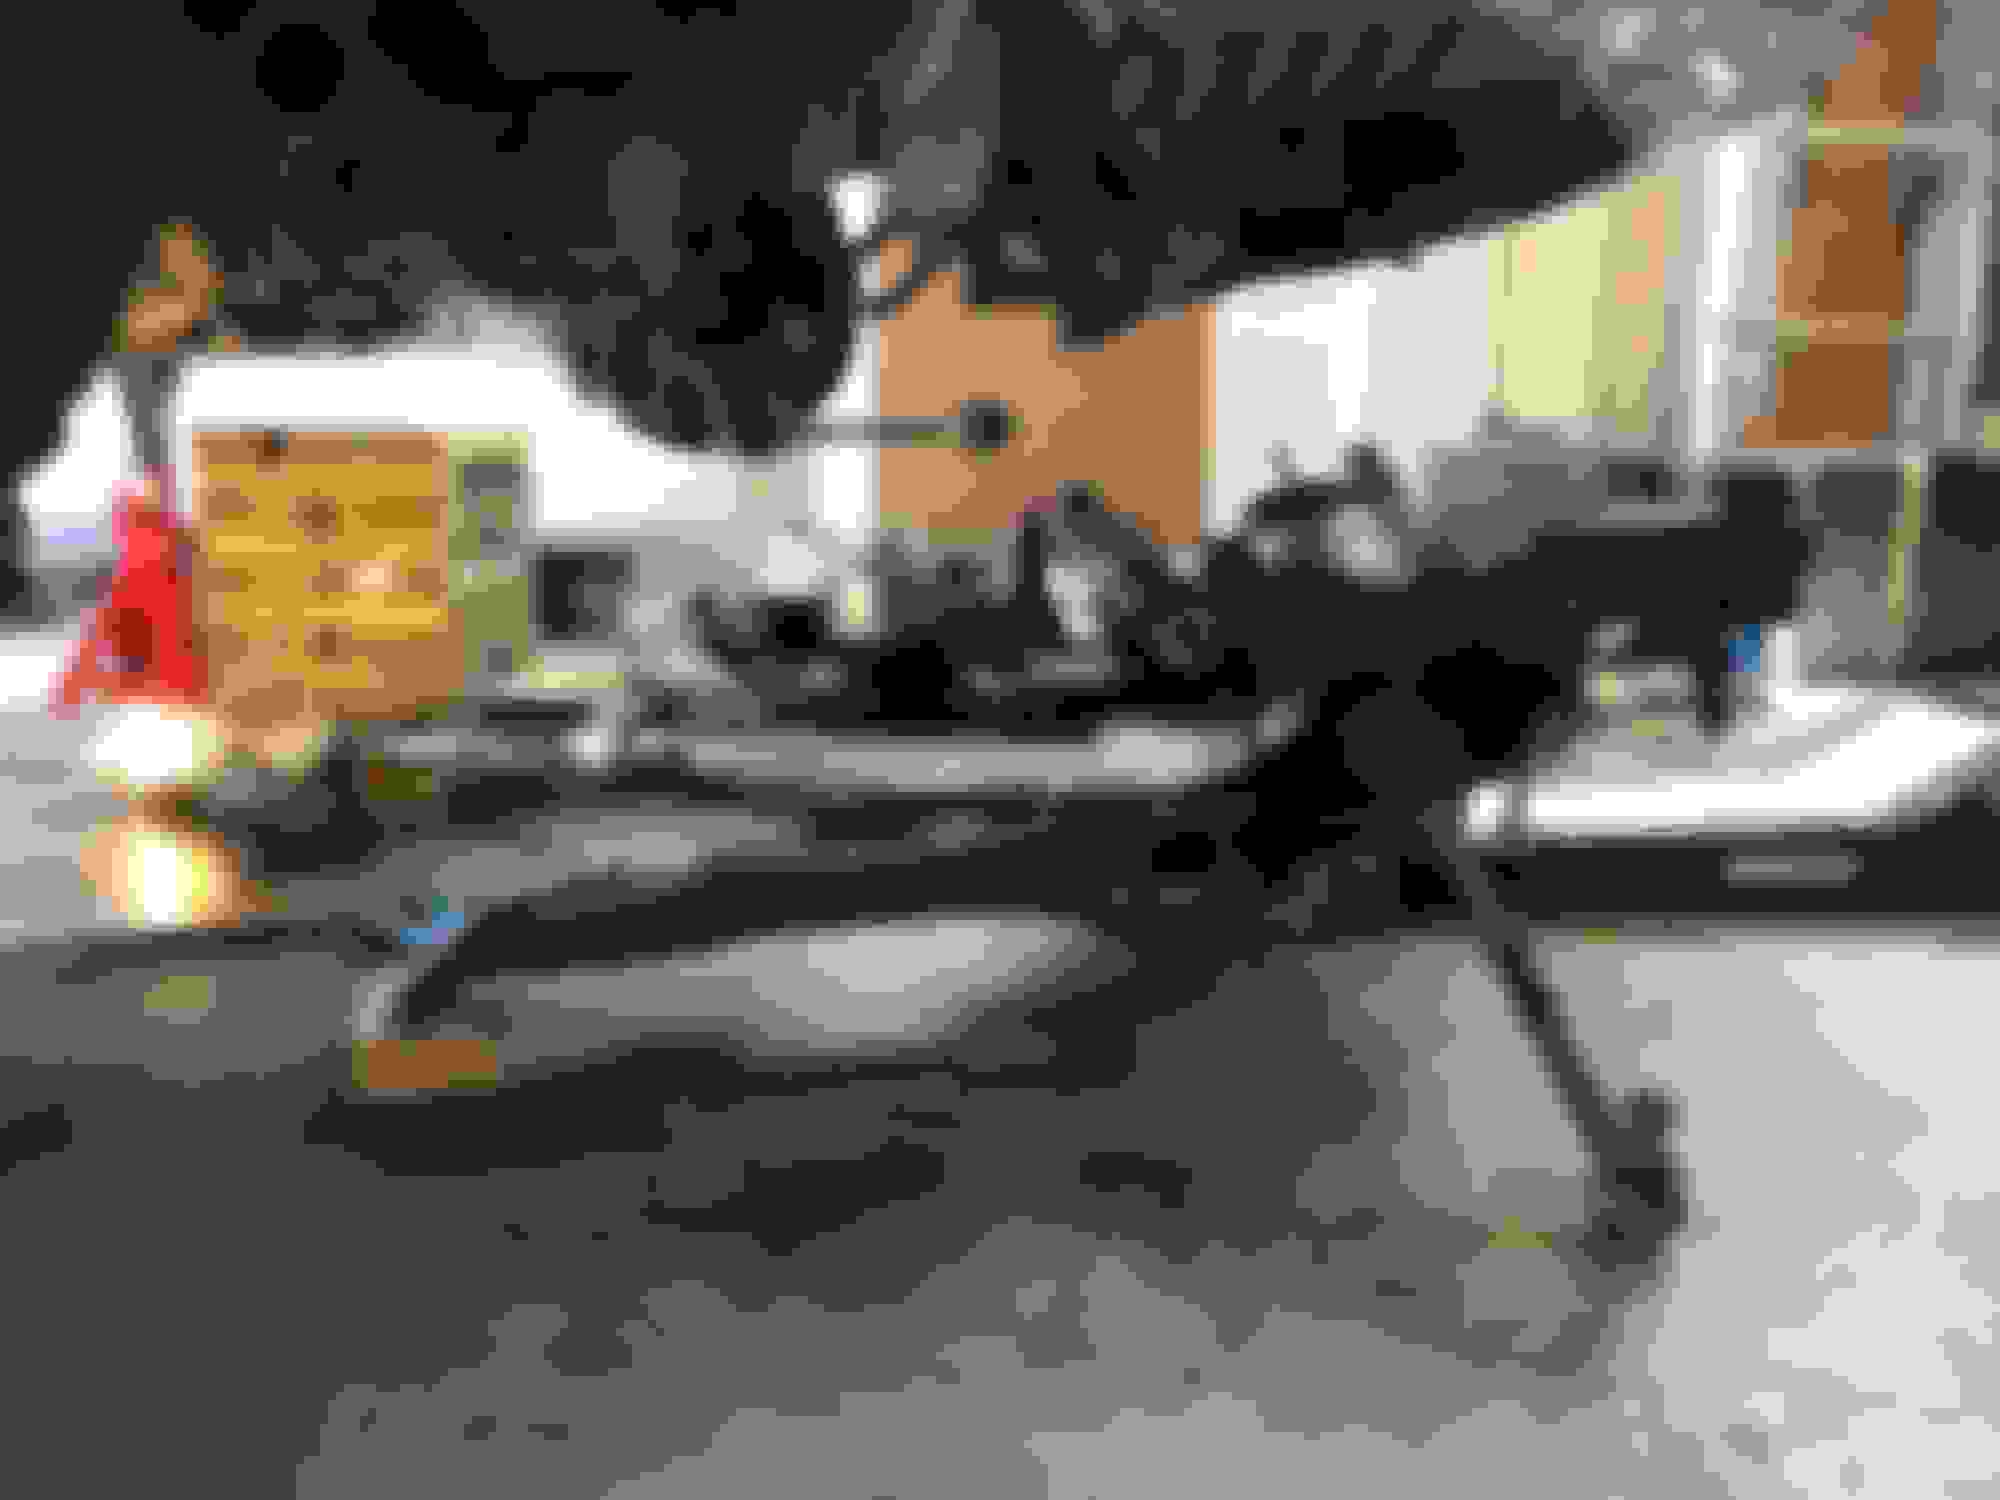
The engine will soon be hanging from this for two weeks. The engine hanging point is very far forward so the bar is as well.
One thing the I kept flip-flopping on was whether or not I needed to remove the subframe entirely or just let it hang down a bit. JUST REMOVE IT! It really isn't that hard to do, as others have said. I guess I thought it would be more work to then remove the power steering lines, but now I got to replace that fluid which was the only one remaining to be done. It also meant new bolts for the tie rod ends. But big deal, you're going to need an alignment anyway since you've already unbolted the subframe. It gave me soooo much access to the turbos having it out of the way.
I was loosening the bolts that hold the motor mount to the subframe. Not sure why I did it at this point, maybe because I thought I'd have more space by removing the mount or something... Just do it once the subframe is out.
Having a set of stands at the rear of the subframe and a jack in the front allowed me to progressively lower it from the vehicle.
Here's the subframe out. I put jackstands under the rear and the jack at the front and progressively lowered it.
I didn't need to remove the driver side axle nut, just kept the shaft in the hub and let it rest on blocks of wood. Since the control arms are already disconnected it was easy to pull it out.
I never removed driver side axle from the hub, just from the diff. This is the engine without the subframe. For the steering I just disconnected the steering shaft and the banjo bolts that connect the lines to the rack.
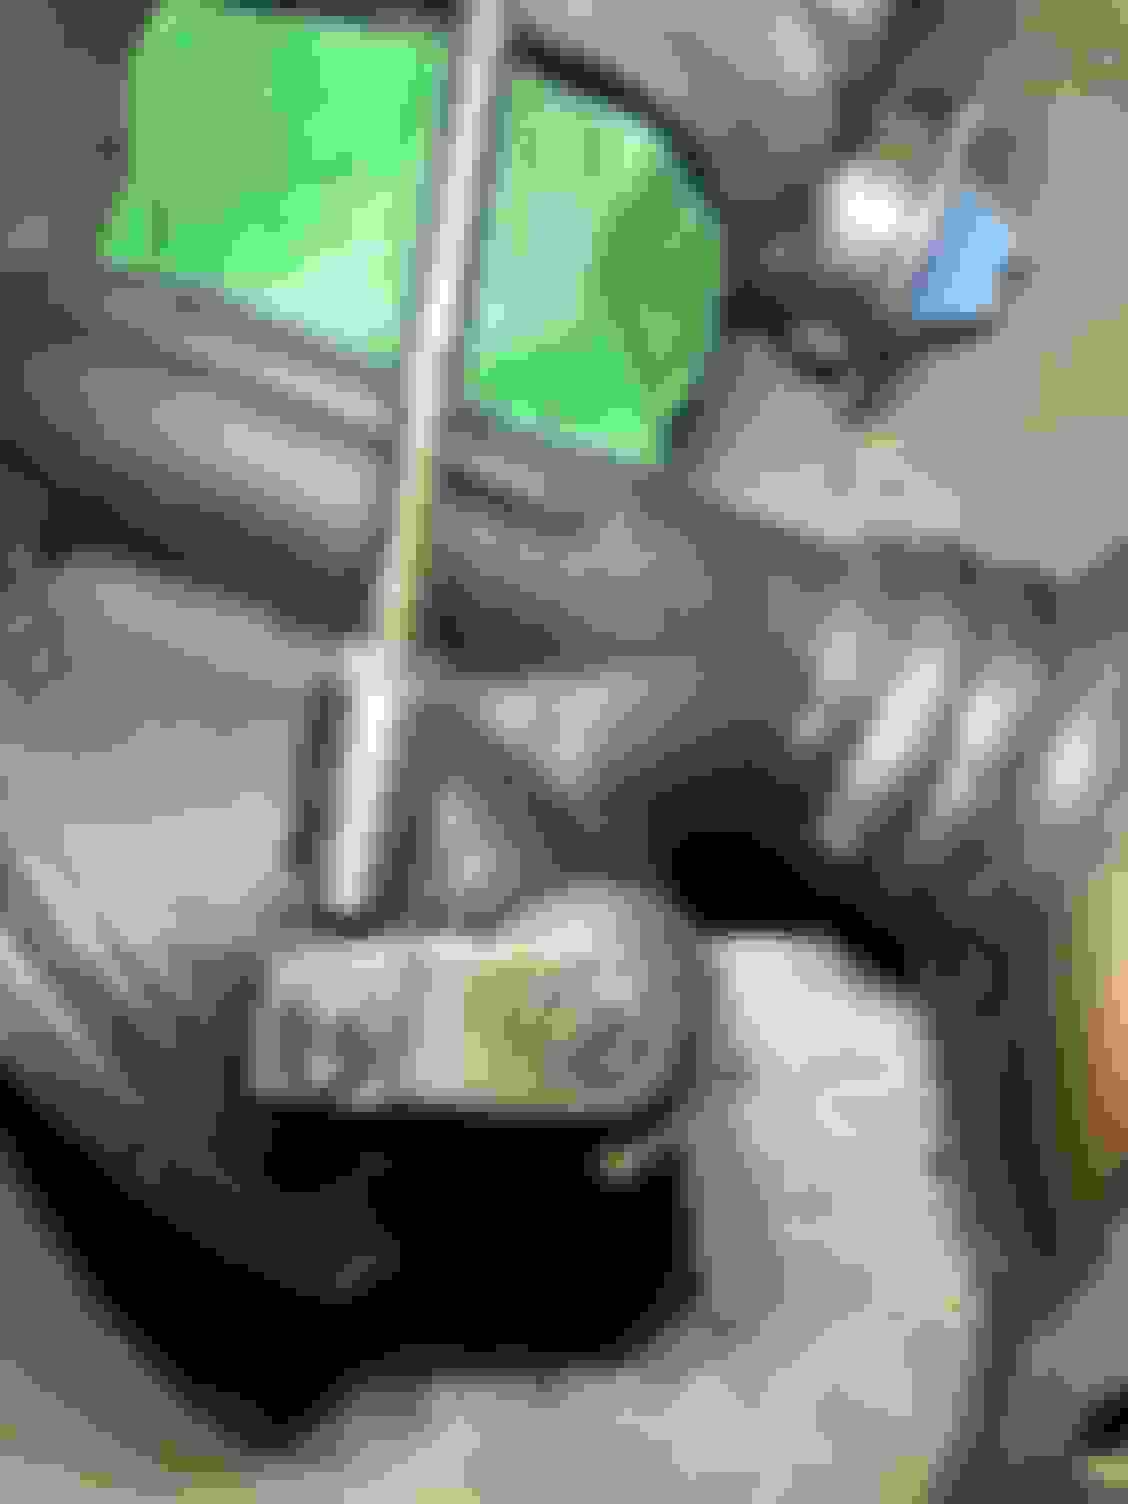
Using my knockoff Mighty Vac to see how much slop was in the waste gates.
The VTT rattle repair kit
The front diff was easy to remove with just 4 bolts holding it on. I didn't need to remove the driver side engine mount arm. I left the driveshaft on and just moved it to the side to rest on a bucket. It's quite wobbly due to the u-joints.
I kept a jack stand under the oil pan as a backup for the support bar. Here's the diff off to the side.
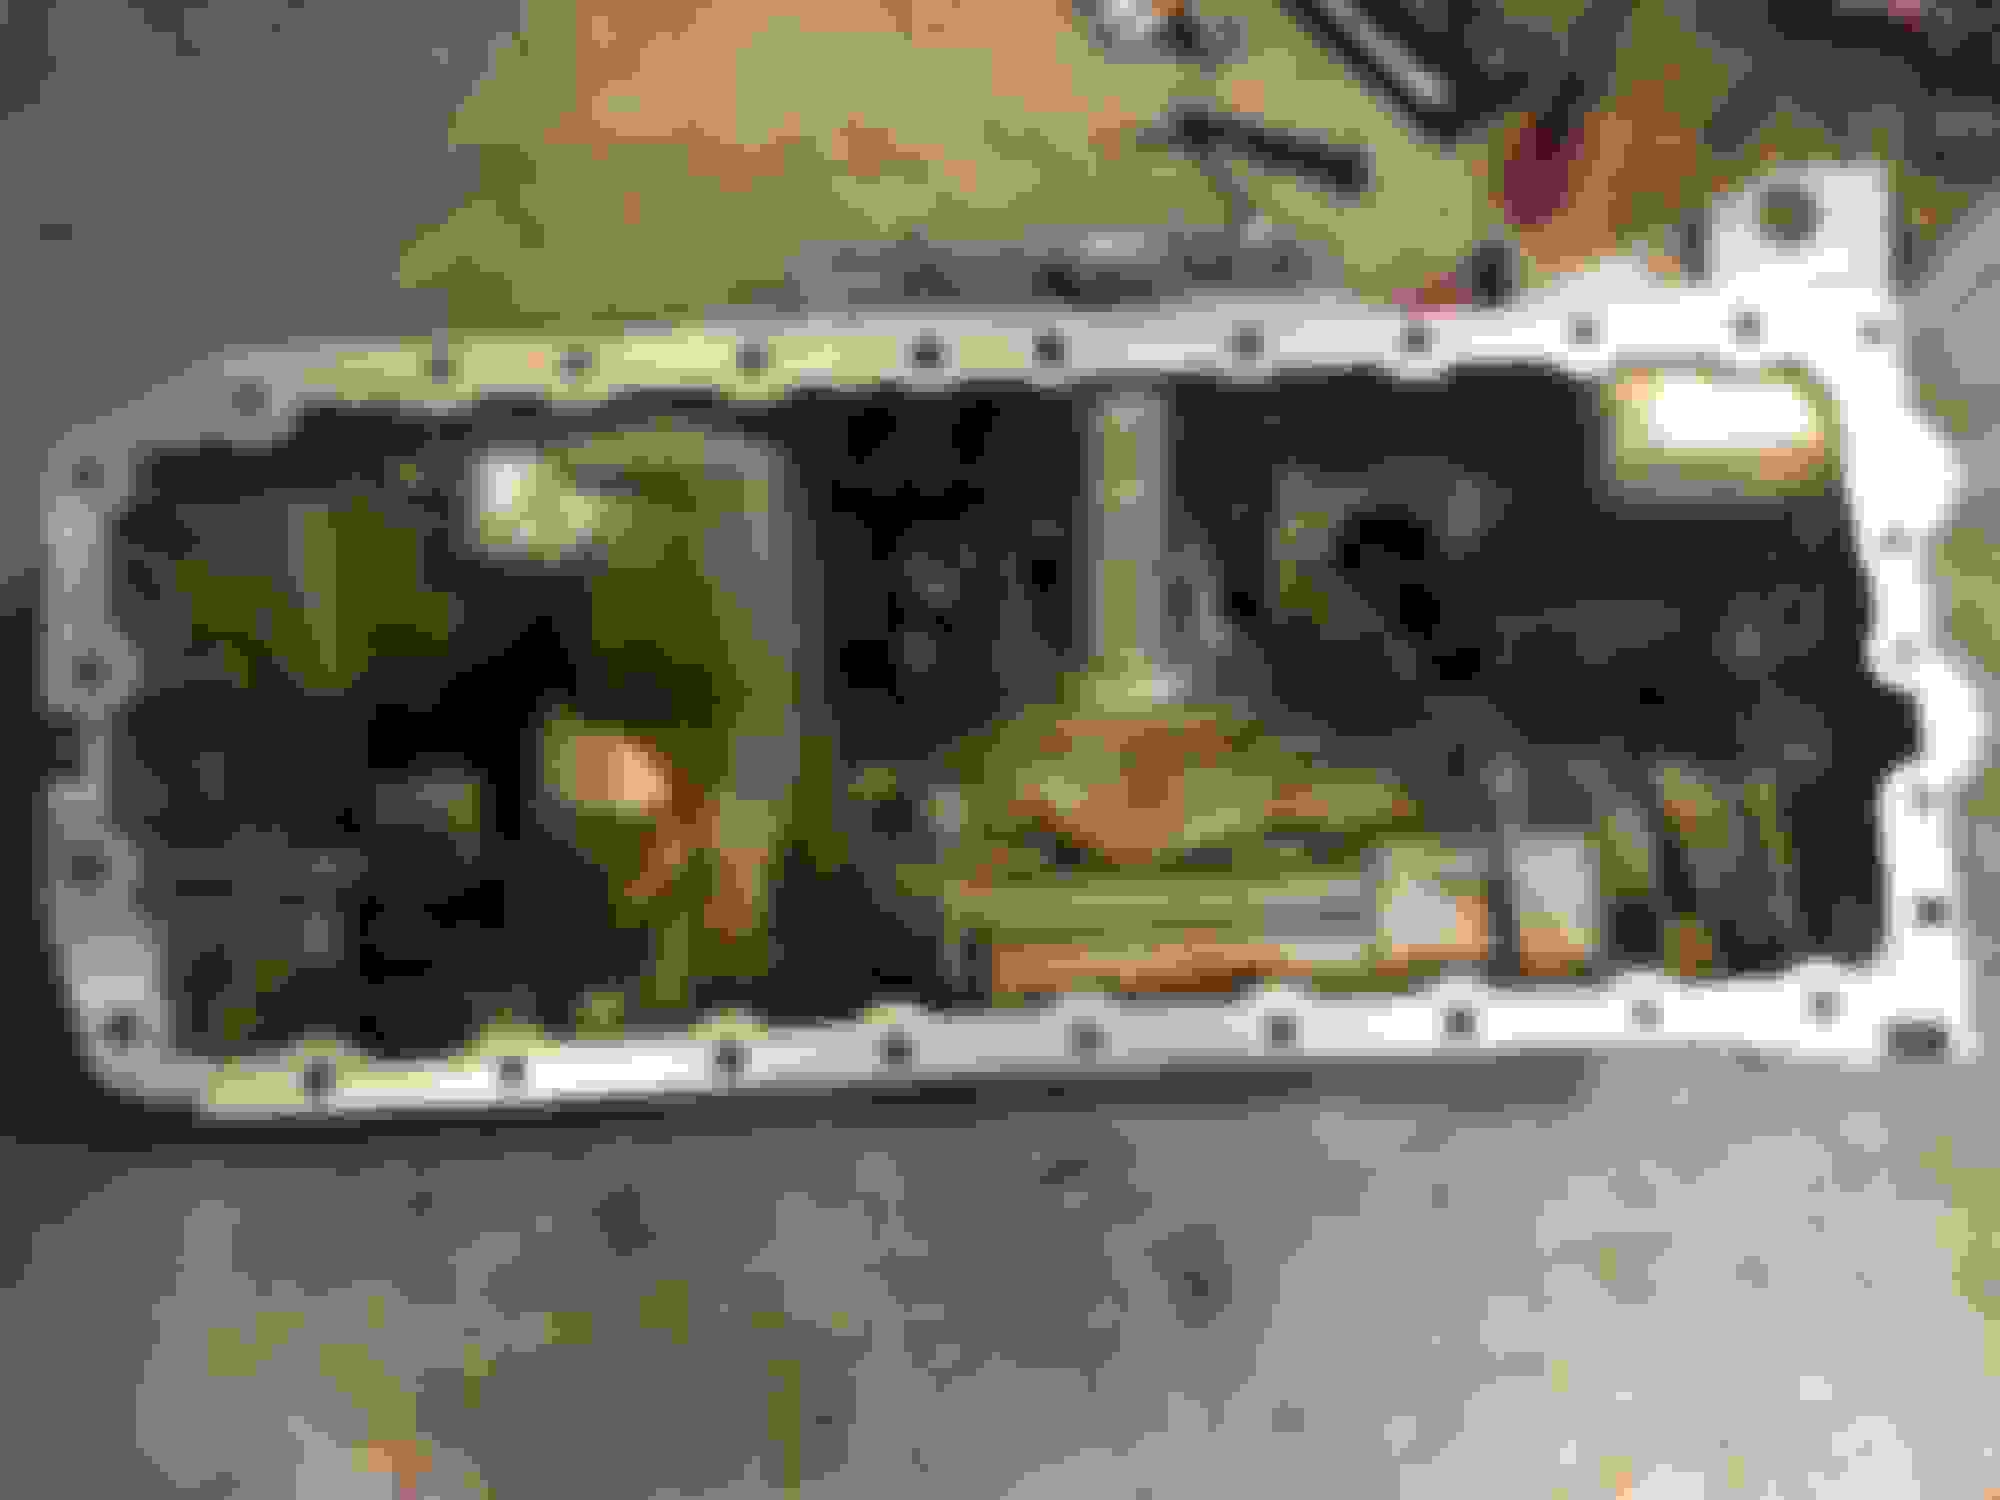
Got the oil pan all cleaned up before installing the new gasket. I was surprised how much oil was still in it when I removed it.
Removing the old manifold gaskets was easiest with a flathead screwdriver to pry it out. Then I took a stubby flathead and scraped around inside there and lots of graphite flakes kept coming out. It's a weird type of gasket I haven't seen before. Was like crumpled up aluminum foil with lots of graphite pressed in all around it.
It was a bit tedious putting in the new exhaust manifold gaskets because they didn't seem to want to stay in and kept falling out on me. Perhaps you're supposed to put it on the manifold first and then put them all in together. Whatever, I got them to stay in enough that it was no problem pushing the manifold back on. I replaced all the studs as they came in the turbo install kit I got from ECS.
The block looks pretty simple when all those lines and turbos are removed.
The new wastegate flap installed (Took it to Turn 3 Autosport in Langley, BC)
The new linkage that Turn 3 welded on for the flapper
Lifting the subframe and new motor mounts back up into place.
This was a bit blurry, but this is using the press kit I got off eBay. Boy those bushings are in there tight. I had a crescent wrench on one side and a 24mm on the other. I had to stomp on the 24mm to get that nut to turn.
Used a cheap chinese eBay bushing kit to replace tension strut bushings. Original M12 threaded rod in the kit snapped so a grade 8 replacement from the hardware store worked like a charm. One side of the arm has chamfered edges, put the smaller cup on that side so that it goes into the arm. Made that mistake on the first one.
dude. great write up. I wish I came across this when I was researching how to do mine. Either way, im figuring it out and have the turbos completely removed right now. it was tough figuring out which lines/ brackets to remove off of the subframe before dropping it. and the god forsaken T-30 bolts holding on the rear inlet to the block. sweet jesus.
So I take it you�re replacing the turbo inlets? I dont remember having any problems with the rear inlet but the front ones were annoying because I was too lazy to remove the oil cooler lines begging the radiator. If you want any input from me or anything just let me know, though if you made it this far you�ll be fine. Are the same turbos going back in or did you get the set from Turner?
So I take it you�re replacing the turbo inlets? I dont remember having any problems with the rear inlet but the front ones were annoying because I was too lazy to remove the oil cooler lines begging the radiator. If you want any input from me or anything just let me know, though if you made it this far you�ll be fine. Are the same turbos going back in or did you get the set from Turner?
sorry just saw your reply-
I got the pure600 upgrade turbos, new inlets, AR downpipes. big undertaking, but making some good progress, and fixing tons of steering stuff, bead blasting parts as I go!
I got the pure600 upgrade turbos, new inlets, AR downpipes. big undertaking, but making some good progress, and fixing tons of steering stuff, bead blasting parts as I go!
How do you like the fitment of the AR pipes? Sure aren't cheap! Would you get them again?
Sorry to bring an old thread back from the dead, but I'm in the midst of this job in my '08 6-speed wagon and have a couple of questions I'm hoping you may be able to shed some light on.
First off, my car unfortunately has a bit more corrosion than it sounds like yours does, which means that removing the downpipes has not been a pleasant endeavor. Luckily, the downpipes are nearly out at this point. The bolt that holds the power steering lines to the subframe is completely corroded and just spins, so unfortunately I'm going to have to lower the frame a bit so I can get in there and cut the bracket. Not ideal, but I think this strategy should work.
My main question: do the downpipes need to be removed to access the top nut on the passenger-side engine mount? I tried accessing it from above, but a metal charge pipe is in the way. The steering rack is in the way of one of the bolts holding the mount to the block, so that's not a possible route. I'm making progress on removing the downpipes, but between stuck O2 sensors and clamps with bolts that spin on both ends (why!! luckily my replacements don't do this), I'm realizing it would be much easier with the subframe out of the way.
I've given myself two weeks for the job but have a hard deadline after that, so I'm a bit nervous that I haven't quite gotten to the point of dropping the subframe yet. I'm hoping I can wrap up the entire thing in the next few days--would be very nice.
Thanks!
Great questions. I can�t recall unfortunately what I had to do to disconnect passenger side motor mount. I was taking turbos out anyway so I definitely had the downpipes off at some point. You�re doing turbos as well? If so, take them out and see where you get. Are you stuck getting the band clamps off for the down pipes or something? Everyone warned me it�s difficult to get to the clamps without all sorts of swivel things but I found it not too bad. The subframe really wasn�t difficult to do I found. Sorry about your bolts that are corroded and spinning.
Once you get the downpipes out I don�t think it should be too difficult to remove that charge pipe, right? Shoot, just re-read your post and saw the hardware is spinning on both ends of your clamps. That sucks, I don�t remember that happening so I wonder if something busted. I don�t suppose you can get a dremel in to cut the bolt, there isn�t much room up in there. I did have a swivel 1/4� drive adapter that I think was useful.
Thanks for the quick reply!
I'm removing the turbos for the most frustrating reason: the shop that replaced the turbos (before my ownership) reused the single-use manifold hardware, which has since loosened up and caused exhaust leaks between the heads and the manifolds. I tried tightening the nuts from the top (they were super loose--I could spin them with my fingers), but I think the gaskets are blown out at this point. Obviously, replacing those requires pulling everything. The turbos themselves only have 50k miles on them, so I'm not replacing them.
I think the clamps they used are just a poor design, as the BMW ones I got to replace them don't spin at both ends. I got one off this evening, and am hoping to get the other tomorrow. May end up resorting to the Dremel if need be, but yes, pretty tight up in there.
I'm at the point of wishing I'd paid someone to do the job, but I always feel this way--need to persevere! I got myself a new FMIC as a reward for tackling the job... good motivation.
Wow, that is incredibly frustrating to have to do this job just because of an exhaust leak and someone who did a poor job. I had lots of rattle and underboost codes. I paid a shop to replace the wastegate flaps and reused the turbos. Also replaced all the gaskets on the exhaust and all the oil and coolant lines to the turbos. Also did oil pan gasket and front axle seals. Good work getting that one clamp off, all the best on the others.