More Oil Leaks! 545i 545i 545i 545i 545i

Thread Starter
Contributors
Joined: Jul 2010
Posts: 1,727
Likes: 3
From: socal
My Ride: 545I and a half dozen other rides
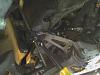
Loosen alternator cables from clips
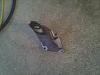
with the alternator loose unplug the smaller cable...
[attachment=164929:alt out.jpg]
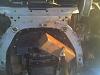
pull alternator aside to a safe place where it will not damage itself or anything else...
with the alternator loose unplug the smaller cable...

[attachment=164929:alt out.jpg]
pull alternator aside to a safe place where it will not damage itself or anything else...
Thread Starter
Contributors
Joined: Jul 2010
Posts: 1,727
Likes: 3
From: socal
My Ride: 545I and a half dozen other rides
At this point I decided to again spray simple green on everything and hose down with a water hose.
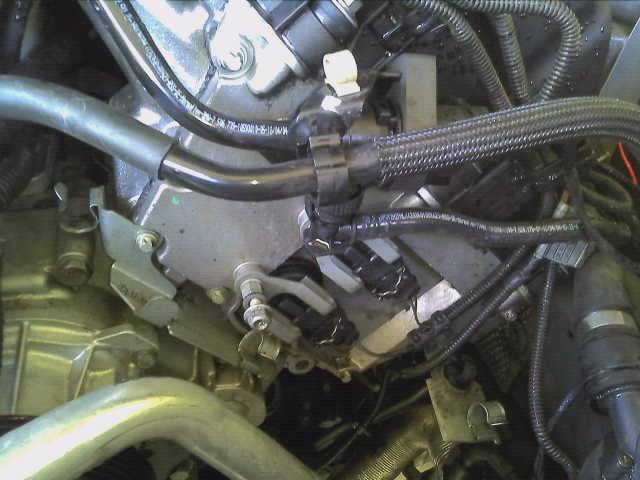
Oh don't forget this bolt where the socket is inserted...

[attachment=164931:clean.jpg]
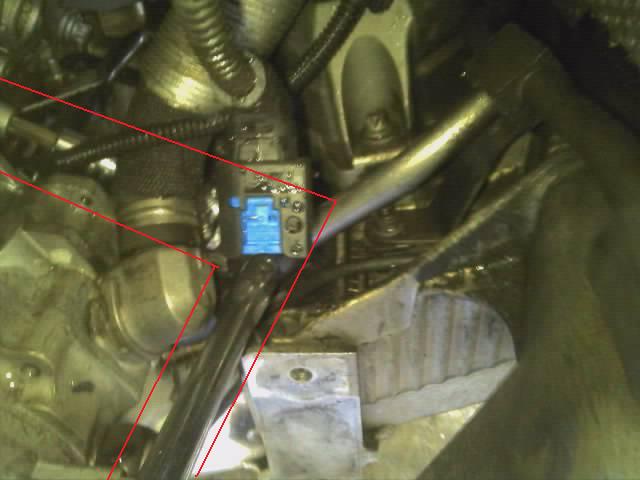
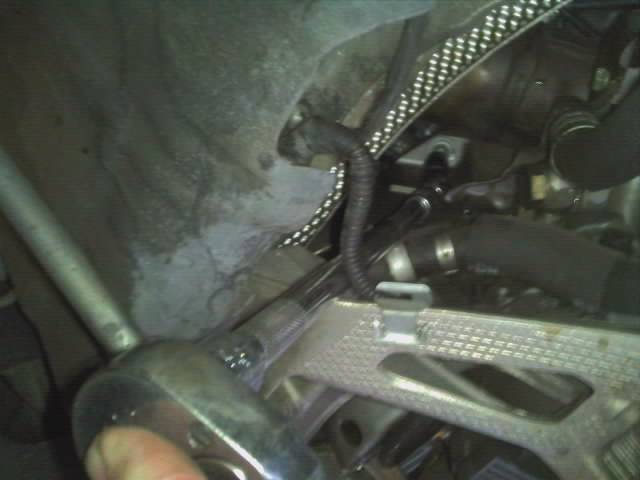
This is where it starts to get hard...
you have to find a way to remove the rear power steering bolt or it's bracket from the alternator bracket...
You'll probably have have no idea what this is, unless you are seeing it first hand. It is the rear attachment bolt on the power steering pump, with a socket and a combination of extension to fit.
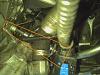
Sorry the black and blue electrical plug was in the way.

Oh don't forget this bolt where the socket is inserted...

[attachment=164931:clean.jpg]
This is where it starts to get hard...
you have to find a way to remove the rear power steering bolt or it's bracket from the alternator bracket...
You'll probably have have no idea what this is, unless you are seeing it first hand. It is the rear attachment bolt on the power steering pump, with a socket and a combination of extension to fit.
Sorry the black and blue electrical plug was in the way.

Thread Starter
Contributors
Joined: Jul 2010
Posts: 1,727
Likes: 3
From: socal
My Ride: 545I and a half dozen other rides
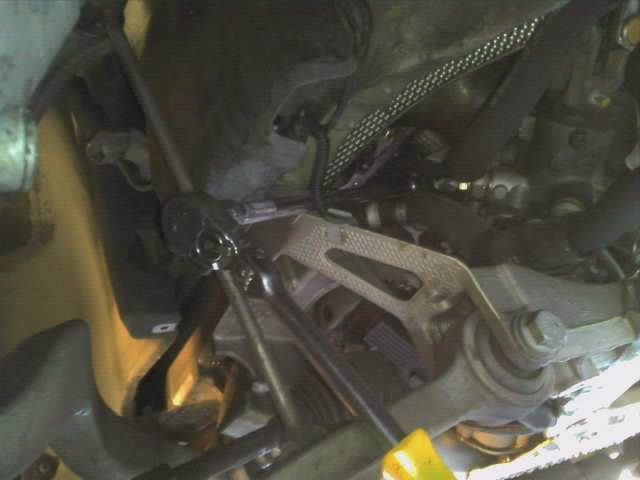
my ratchet and extensions used,
Note with my combination I was only able to break loose the bolt and un-thread it a couple threads. I had to remove the socket and extensions, then remove the bolt by hand, as the frame was in the way.
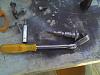
Note with my combination I was only able to break loose the bolt and un-thread it a couple threads. I had to remove the socket and extensions, then remove the bolt by hand, as the frame was in the way.

Thread Starter
Contributors
Joined: Jul 2010
Posts: 1,727
Likes: 3
From: socal
My Ride: 545I and a half dozen other rides
Dang Nam It! I forgot a couple steps and cannot go back and edit.
Of course raise the car and put on secure jack stands.
Remove the belly/dust/splash shield.
remove the 4 bolts holding the sway bar to the frame.
Lower sway bar
tie or bungee so the sway bar does not dangle off the small lines.
Of course raise the car and put on secure jack stands.
Remove the belly/dust/splash shield.
remove the 4 bolts holding the sway bar to the frame.
Lower sway bar
tie or bungee so the sway bar does not dangle off the small lines.
Thread Starter
Contributors
Joined: Jul 2010
Posts: 1,727
Likes: 3
From: socal
My Ride: 545I and a half dozen other rides
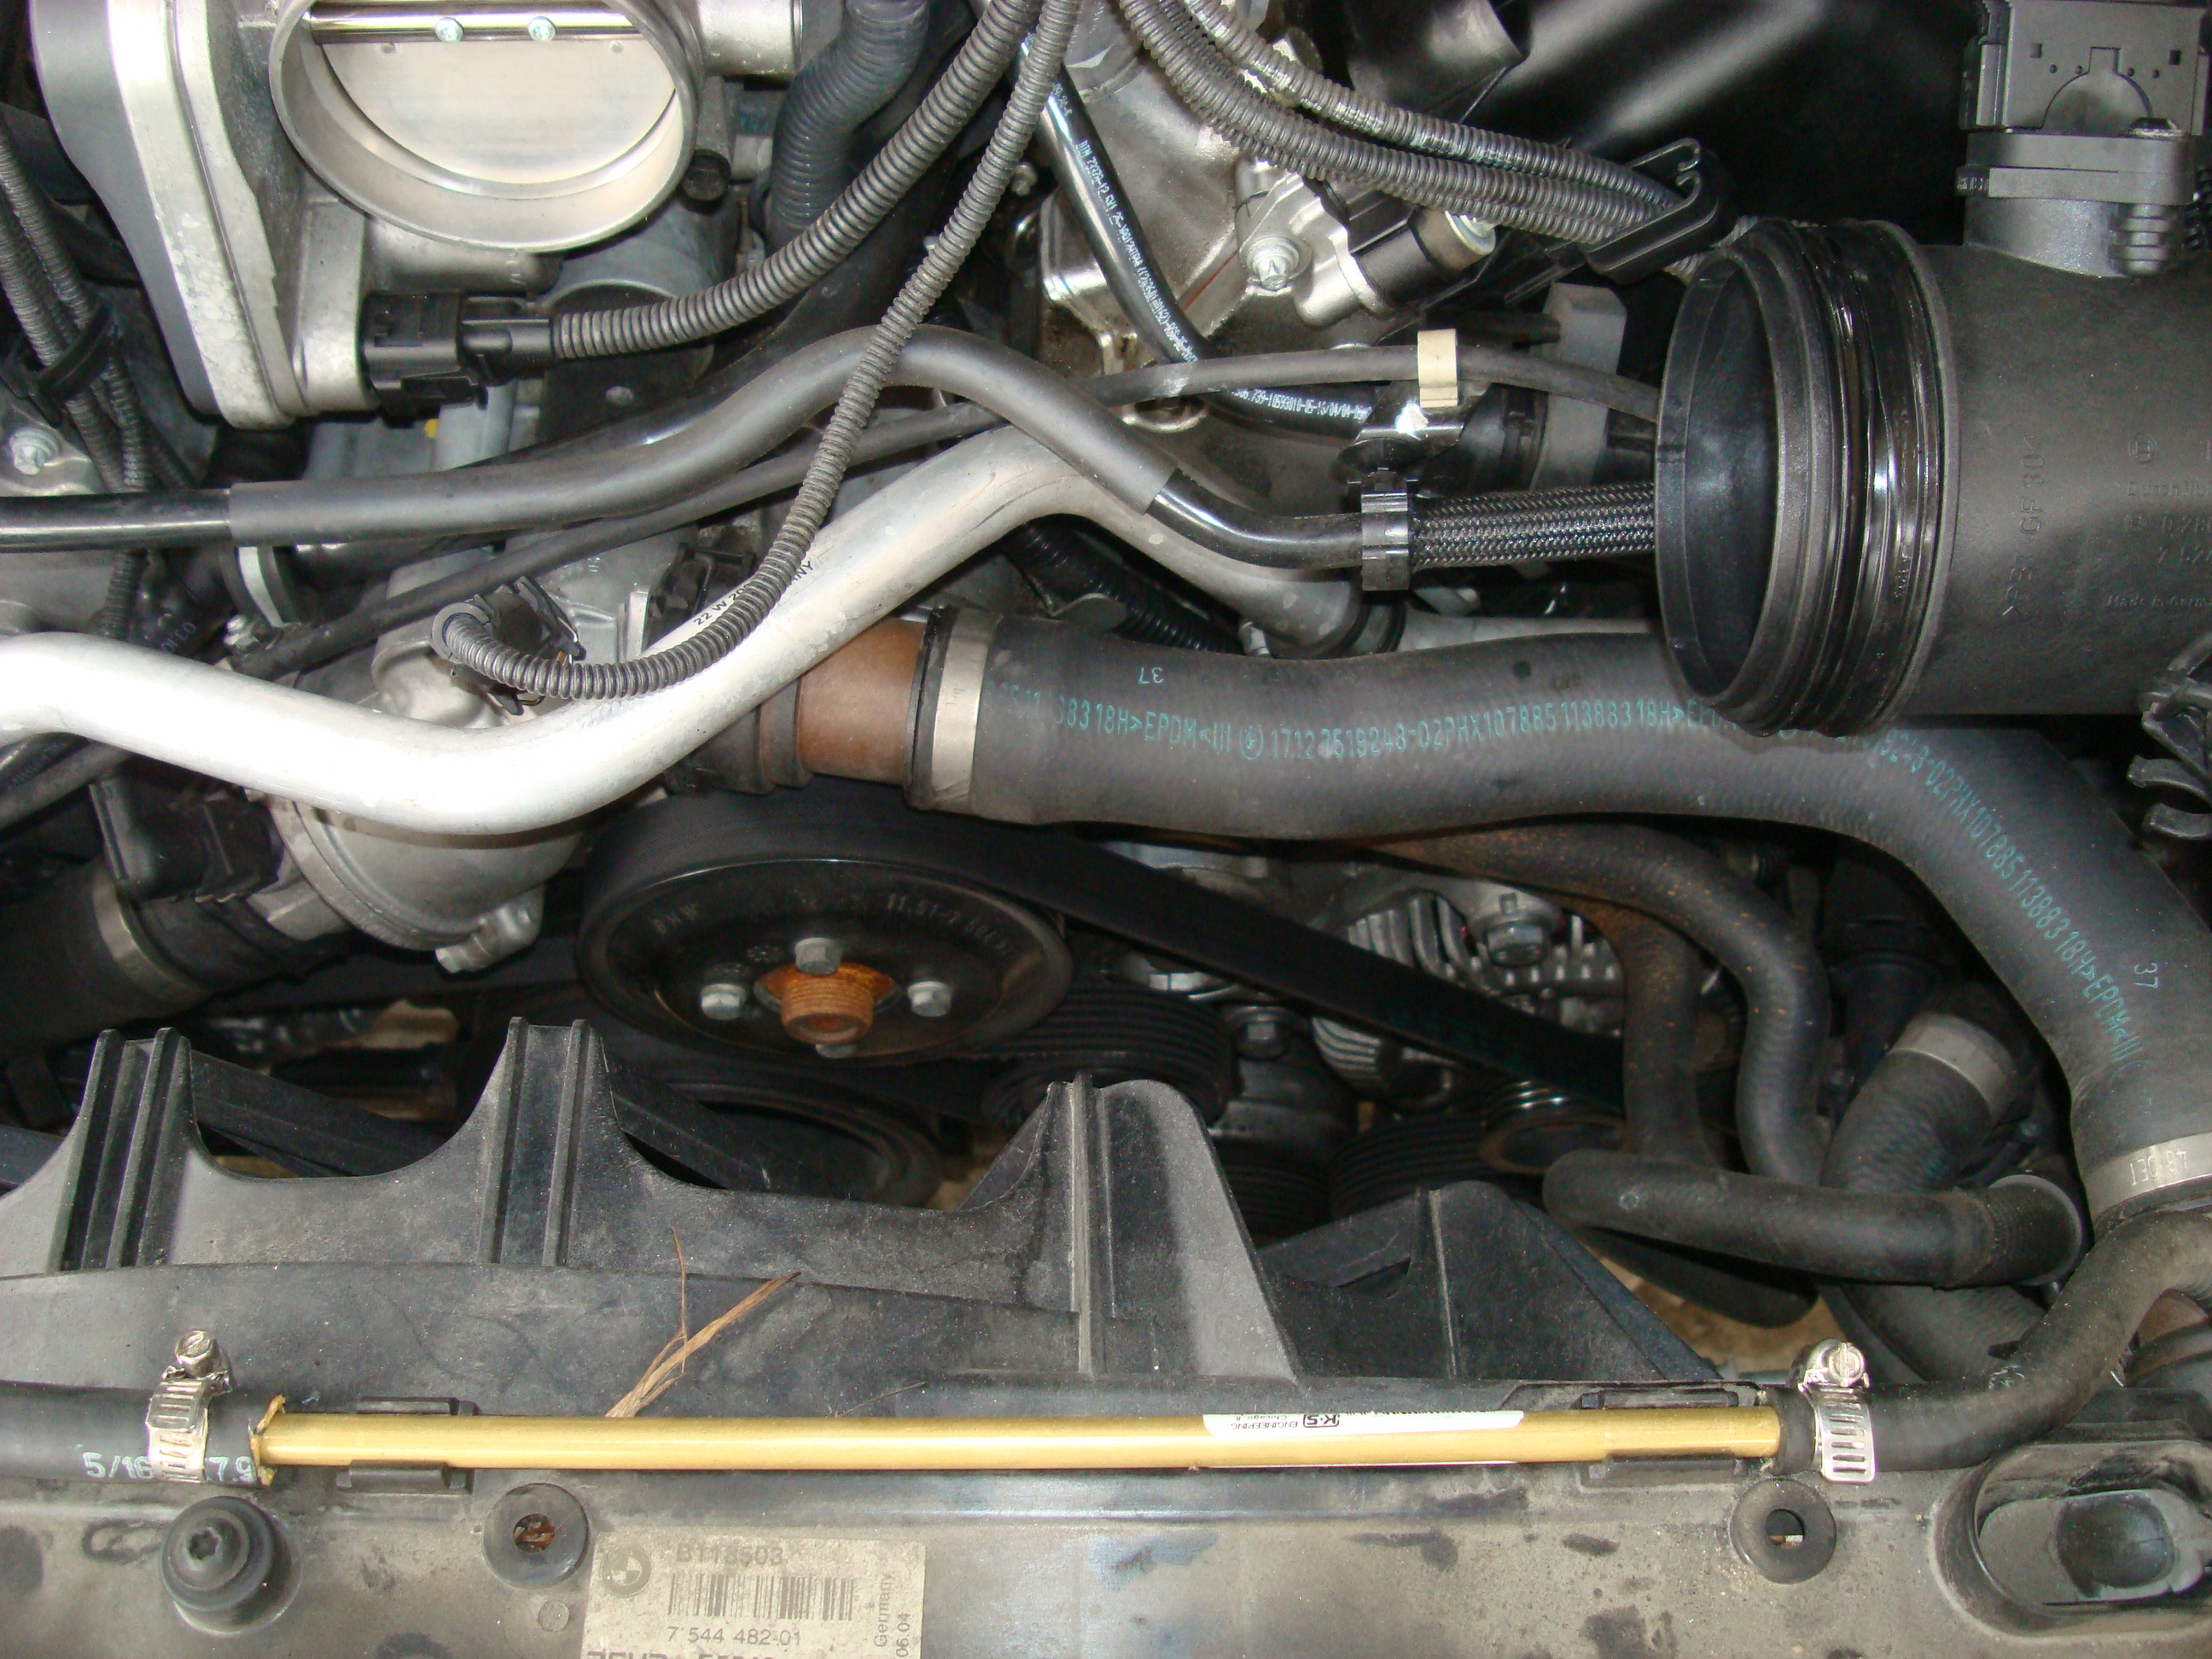
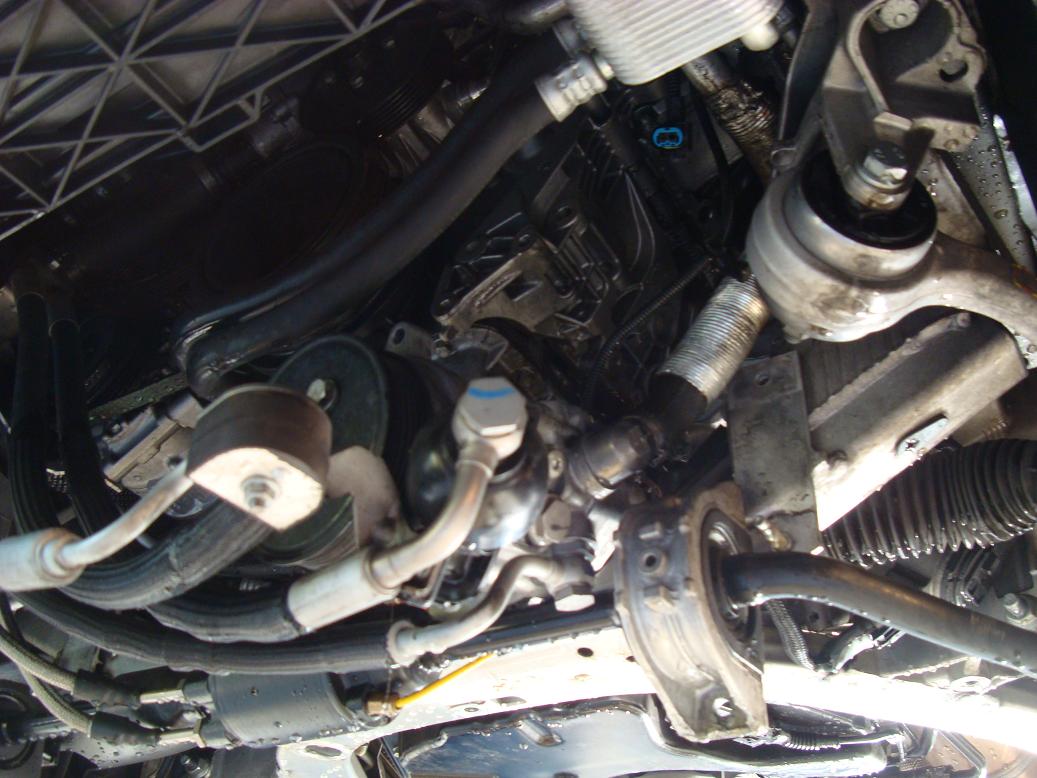
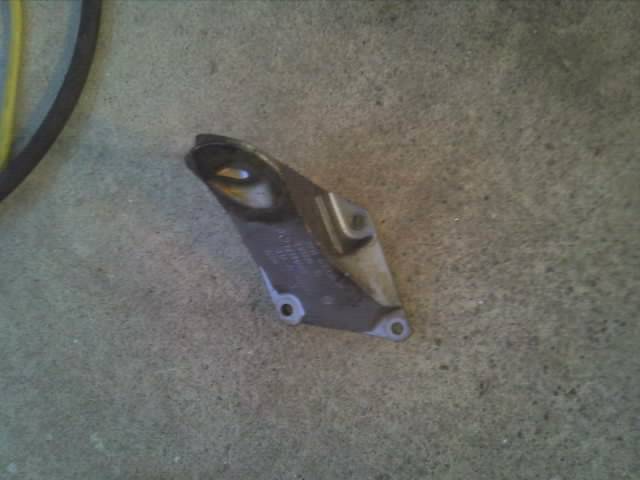
Once the power steering is loose unbolt the aluminum power steering feed tube clips on the front of the engine. pull the power steering forward and out of the way.
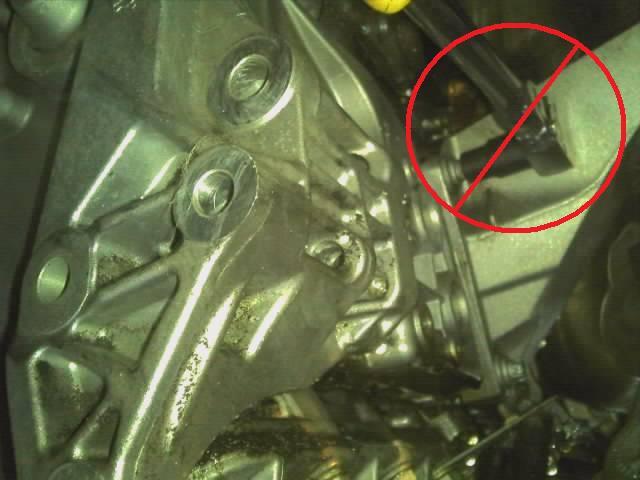
The upper motor mount bolts to the block are up against the mount, so please use a universal extension on the socket or risk rounding off the bolt heads!

Notice the socket is not fully seated with just a ratchet and no universal attached
There are 5 bolts total. 4 on the block and one on top of the motor mount.
Thread Starter
Contributors
Joined: Jul 2010
Posts: 1,727
Likes: 3
From: socal
My Ride: 545I and a half dozen other rides
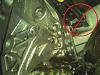
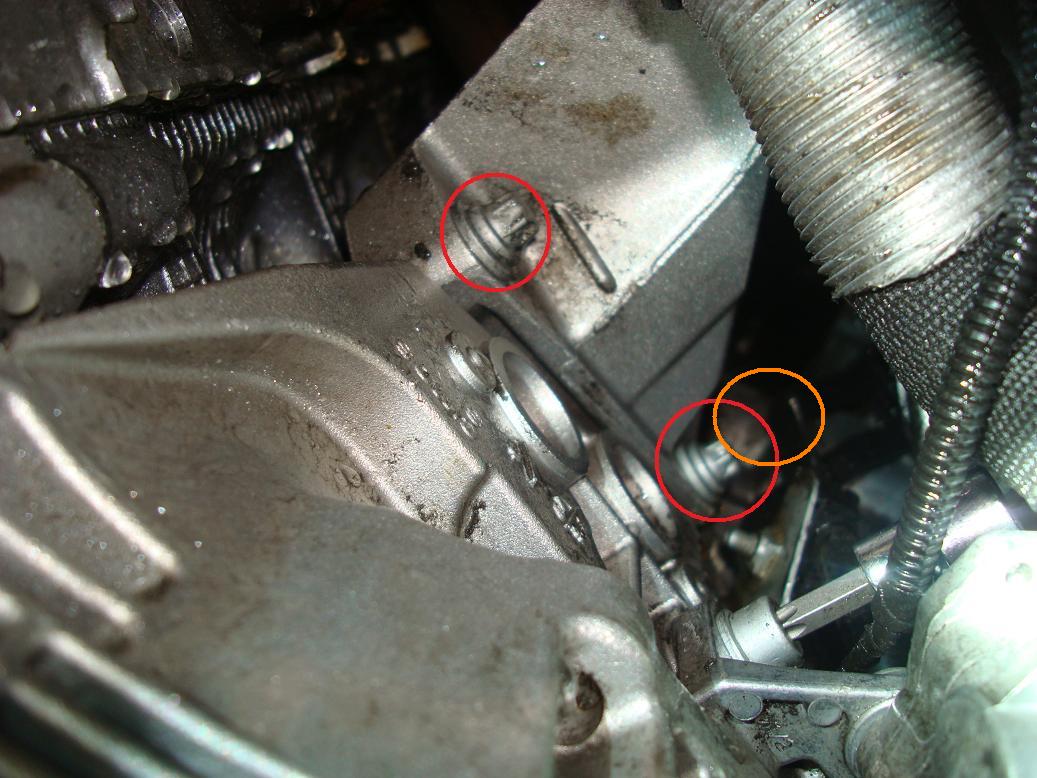
Pull off the side panel that covers the steering rack (3 bolts)
Use the universal, extension and socket to reach the upper rear bolt.
The rear lower you will have to get to from the front (orange circle).

Use the universal, extension and socket to reach the upper rear bolt.
The rear lower you will have to get to from the front (orange circle).
Thread Starter
Contributors
Joined: Jul 2010
Posts: 1,727
Likes: 3
From: socal
My Ride: 545I and a half dozen other rides
Get a short piece of wood and place under the drivers (US cars) side oil pan rail. Place a jack under this point and jack up enough to remove the motor mount.
Edit The stupid oil pan is aluminum, it would be best to put a small block of wood on the oit pan rail to raise.

Edit The stupid oil pan is aluminum, it would be best to put a small block of wood on the oit pan rail to raise.
Last edited by healthservices; Jul 16, 2014 at 07:24 AM.
Thread Starter
Contributors
Joined: Jul 2010
Posts: 1,727
Likes: 3
From: socal
My Ride: 545I and a half dozen other rides
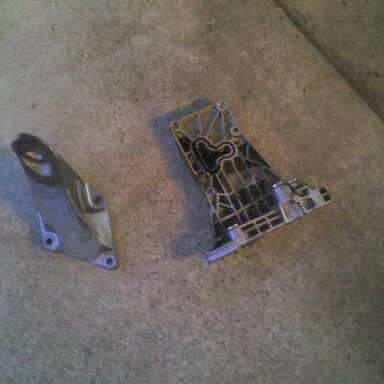
There is one more bolt on the alternator bracket...
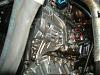
and...
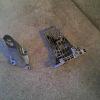
of course clean everything up and re install with the new o-ring.
However for me I will be removing the upper timing cover to reseal it.
Boy I think I spent more time typing and loading the pictures on how to do this than the time it actually took. oh well hopefully a couple of you will get some help from what I have done.

and...
of course clean everything up and re install with the new o-ring.
However for me I will be removing the upper timing cover to reseal it.
Boy I think I spent more time typing and loading the pictures on how to do this than the time it actually took. oh well hopefully a couple of you will get some help from what I have done.