
More Oil Leaks! 545i 545i 545i 545i 545i

Thread Starter
Contributors
Joined: Jul 2010
Posts: 1,727
Likes: 3
From: socal
My Ride: 545I and a half dozen other rides
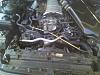
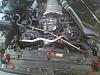
I just finish doing the valve cover gasket and I appear to still have an oil leak above the alternator. Anyone do one of these?
I seem to recall a o-ring or oil seal up there?

oh...
545i 545i 545i 545i


Thread Starter
Contributors
Joined: Jul 2010
Posts: 1,727
Likes: 3
From: socal
My Ride: 545I and a half dozen other rides
Thanks Jason, about what I figured...
I pulled something in my back wednesday and still hurting. Maybe I can pull some stuff off to start.
Hopefully you are already done.

I pulled something in my back wednesday and still hurting. Maybe I can pull some stuff off to start.
Hopefully you are already done.
Thread Starter
Contributors
Joined: Jul 2010
Posts: 1,727
Likes: 3
From: socal
My Ride: 545I and a half dozen other rides
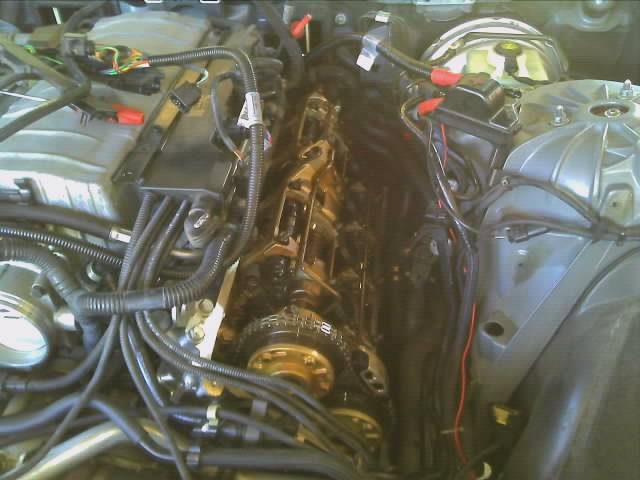
Well this was a fricken pain in the butt.
So you know This bracket is sandwiched between the motor mount and the block. So not only do you have to remove the alternator and the power steering pump but the upper metal motor mount too!
I would also recommend that anyone who tries this to also think about replacing the upper timing cover gasket (part number 4) at the same time. Otherwise you will be in a world of hurt if you have to do this all over again.
Boy it says its steel, maybe I can use a sealer with this well its only a $12 part, I'll wait until monday.

So you know This bracket is sandwiched between the motor mount and the block. So not only do you have to remove the alternator and the power steering pump but the upper metal motor mount too!
I would also recommend that anyone who tries this to also think about replacing the upper timing cover gasket (part number 4) at the same time. Otherwise you will be in a world of hurt if you have to do this all over again.
Boy it says its steel, maybe I can use a sealer with this
well its only a $12 part, I'll wait until monday.
Thread Starter
Contributors
Joined: Jul 2010
Posts: 1,727
Likes: 3
From: socal
My Ride: 545I and a half dozen other rides
Here are some steps as I remember it. Took me a while as my back was killing me. I needed a handful of Vicodin too.
Remove the air box assembly all the way to the throttle body.
Although you don't really need to I drained my coolant so I could remove some hoses for better access.
hmmm.. for whatever reason I cannot up load photos. I guess I'll do this another time
Remove the air box assembly all the way to the throttle body.
Although you don't really need to I drained my coolant so I could remove some hoses for better access.
hmmm.. for whatever reason I cannot up load photos. I guess I'll do this another time
Thread Starter
Contributors
Joined: Jul 2010
Posts: 1,727
Likes: 3
From: socal
My Ride: 545I and a half dozen other rides
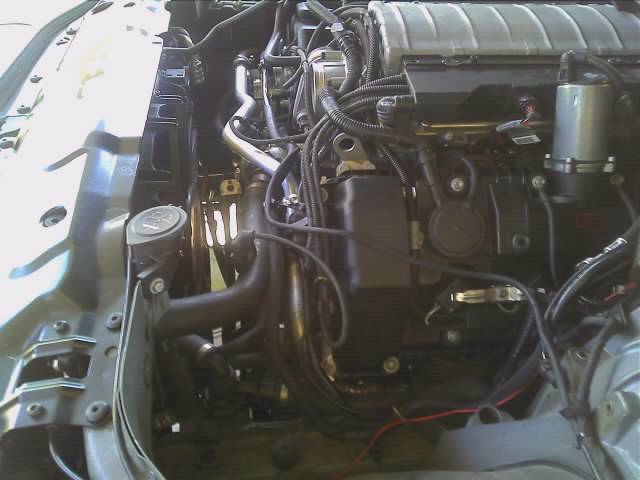
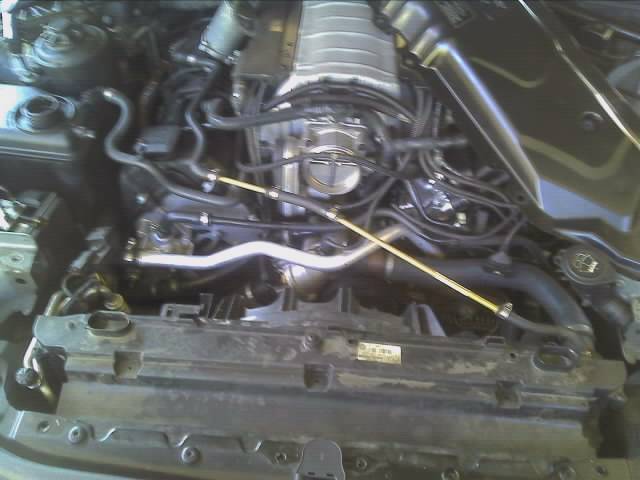
Before I did anything I sprayed simple green on everything oily (cool engine), let it sit, then hosed off with a water hose.
Sorry about my crappy cell pics. I was lazy
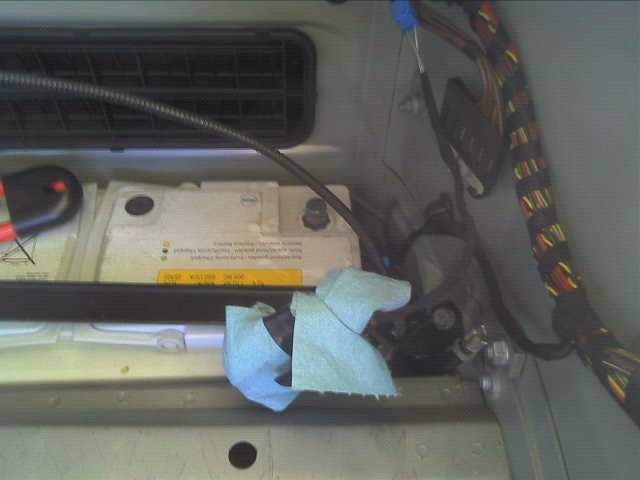
Pull off neg battery terminal (and wrap neg cable if you wish)
Pull off the air box...
pull off upper radiator cover...
Put a bucket under the radiator drain and drain coolant. Not nec unless you want to pull the coolant hoses out of the way...
Don't forget the two forward bolts...
Sorry about my crappy cell pics. I was lazy
Pull off neg battery terminal (and wrap neg cable if you wish)
Pull off the air box...
pull off upper radiator cover...
Put a bucket under the radiator drain and drain coolant. Not nec unless you want to pull the coolant hoses out of the way...
Don't forget the two forward bolts...

Thread Starter
Contributors
Joined: Jul 2010
Posts: 1,727
Likes: 3
From: socal
My Ride: 545I and a half dozen other rides
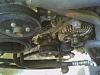
Take the fan shroud off, note the tab on the driver's side folds so you can clear the radiator hose.
Be sure to take note of the belt layout... maybe even take a picture (hint)
oh and there is a special tool you must purchase ($120 or more thru BMW and they do not stock) or make it yourself (less than $10) for the a/c belt should you decide to remove and replace this one. Otherwise do NOT TAKE A/C BELT OFF!!!

When you pull the bolts to everything take note of each bolt you take off and where they go.
after you pull the two alternator bolts, pull, jiggle, pry, the alternator forward
Be sure to take note of the belt layout... maybe even take a picture (hint)
oh and there is a special tool you must purchase ($120 or more thru BMW and they do not stock) or make it yourself (less than $10) for the a/c belt should you decide to remove and replace this one. Otherwise do NOT TAKE A/C BELT OFF!!!
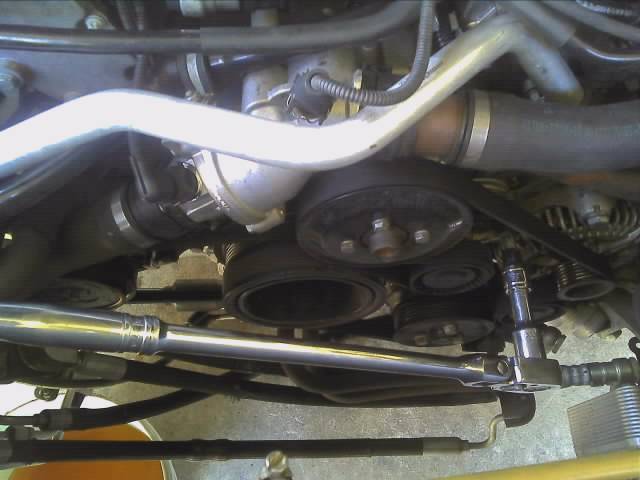
When you pull the bolts to everything take note of each bolt you take off and where they go.
after you pull the two alternator bolts, pull, jiggle, pry, the alternator forward
