When you click on links to various merchants on this site and make a purchase, this can result in this site earning a commission. Affiliate programs and affiliations include, but are not limited to, the eBay Partner Network.
Okay so this is going to be a hard job and not for the faint of heart. I have successfully installed white/amber switchback angel eyes without cutting open the existing lens. A lot of posts I read were stating I have to cut it open with some sort of rotary cutting tool. I disagree.
To begin the tools you will need - heat gun, flat head screw drivers of different sizes. soldering iron, soldering lead, flux paste, some 5 min epoxy, cutters or pliers, small file, heat sink tubes and some automotive wire if the LED kit does not include some sort of wiring harness.
Sorry I was working alone and did not take pictures while removing.
Start off by removing the 2 metal clips and 2 small torx screws. make sure you remove all the bulbs and ballasts. start at the bottom and using a heat gun heat about 5 - 6 inches of headlight at the top. Heat the housing and not the lens. Heat by moving your hand back and forth do not stay stationary. It takes about a min at most to make the butyl rubber soft. Use 2 screw drivers and insert them between the lens and the housing and push the lens out. because I did not heat the lens, the rubber will still stick to the lens. just keep the pressure and once you have enough space to slide in another tiny Phillips screwdriver to hold it out. use the 2 flat heads and start prying out in succession. keep inserting small screwdriver to prevent it from going back in. One suggestion is to start in the middle and go towards the indicators and around them to the down side. use heat gun when necessary> I did not heat the entire lens. I only heated it where the lens would not come out easily. Using 2 screwdrivers is the key. Use one to lift the lens just enough to slide the other one in right next to it and lift some more. DO NOT PUT EXCESSIVE FORCE. Apply force gently and hold it for 3 - 5 seconds the lens will start to come out. Once you have done about 3/4 of the lens, just pull it out from the opposite side with your fingers between the lens and housing.
I have a halogen projector style Hella headlight with halogen high. I have a HID low kit installed with LED tuen bulbs. So the procedure to remove the assembly inside might vary but it should not be that hard. just watch out for the small screws and remove them.
While doing this job it is advised to remove the assembly completely and heat shrink all the wires. I am sure yall have the same prob. The wire insulation is falling apart. Once you have the Assemble removed clean out he inside. you will be surprised how much dust can go in despite them being sealed. my lens was all covered in dust and wire insulation fragments was all over the place. the projector reflector bowl was in a really amazing. I gave a nice chrome polish for added reflection. cleaned out the lenses using glass cleaner and heat shrinked all the wires. removed the existing halo rings. changed the connector for the halo rings because i forgot to check the positive and negative in the cables. You can figure it out but my wires were so bad i just added a custom connector that can be reversed. used the trigger wire for the amber turn signals from the existing turn signal. Make sure you use the trigger wire and not the common positive or negative that is in the housing. In my headlight there is one common positive and individual trigger wires for the negative. just make sure to check the wiring. its easy to figure it out. just follow the wires back to the port.
After the installation of the angel eyes and the internal assembly, heat the existing butyl rubber or remove it and use new. I am planning on going quad bi-xenon. once I have the parts, I am going to repoen the headlights so i did not reseal them with new butyl rubber for now.
Procedure to install the lens - heat the top part of the housing by directly heating the glue EVENLY for a good 3 - 5 min. the rubber needs to be soft and sticky. install the lens and quickly install the 2 metal clips. flip the headlight to lens facing down. make sure you have a soft carpet or some sort of cushion, put the lens between your legs and apply force bu holding the housing on both sides. Use good gripping gloves if needed. I didnt use any. make sure you have pants on, the sucker is really hot. keep the pressure until the headlight is cooled. onto the other half where the glue is not heated, heat the entire side EVENLY for 5 minutes. AGAIN DO NOT STAY IN ONE PLACE AND DO NOT HEAT THE LENS, HEAT THE HOUSING. Put it back between your legs facing down and apply pressure until it cools down. Install the 2 torx screws and any other gaskets or plastic bits on the headlight you removed earlier.
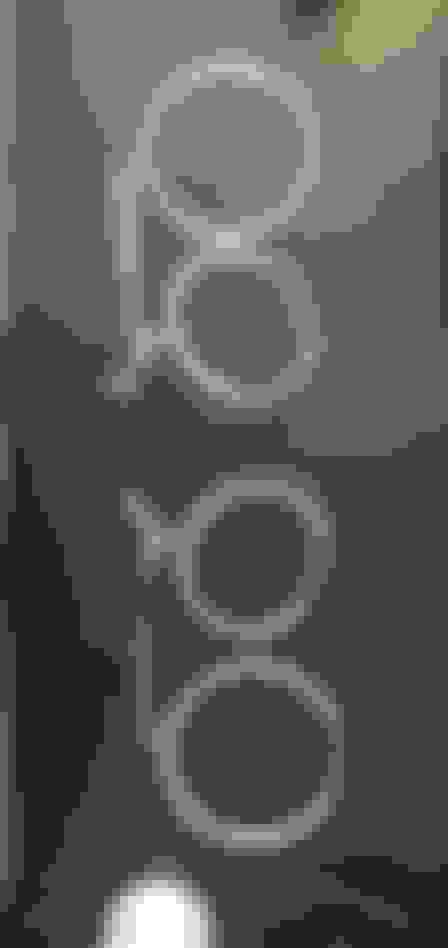
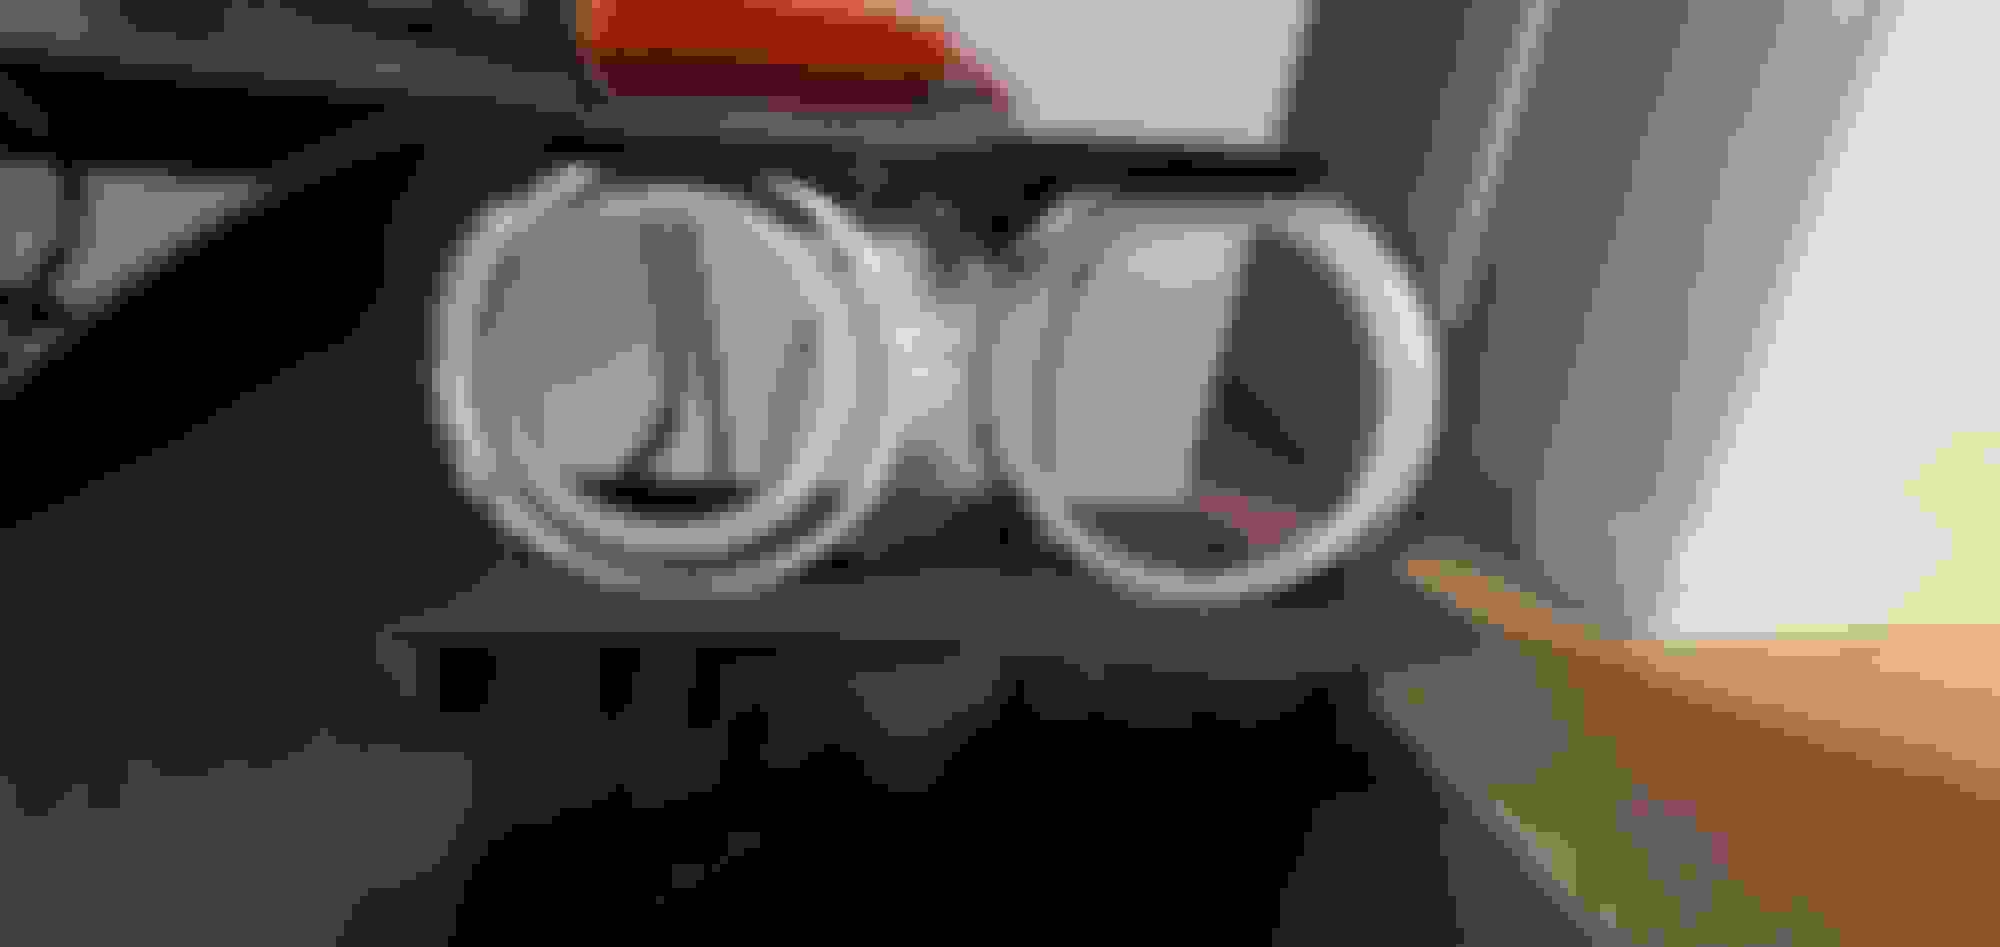
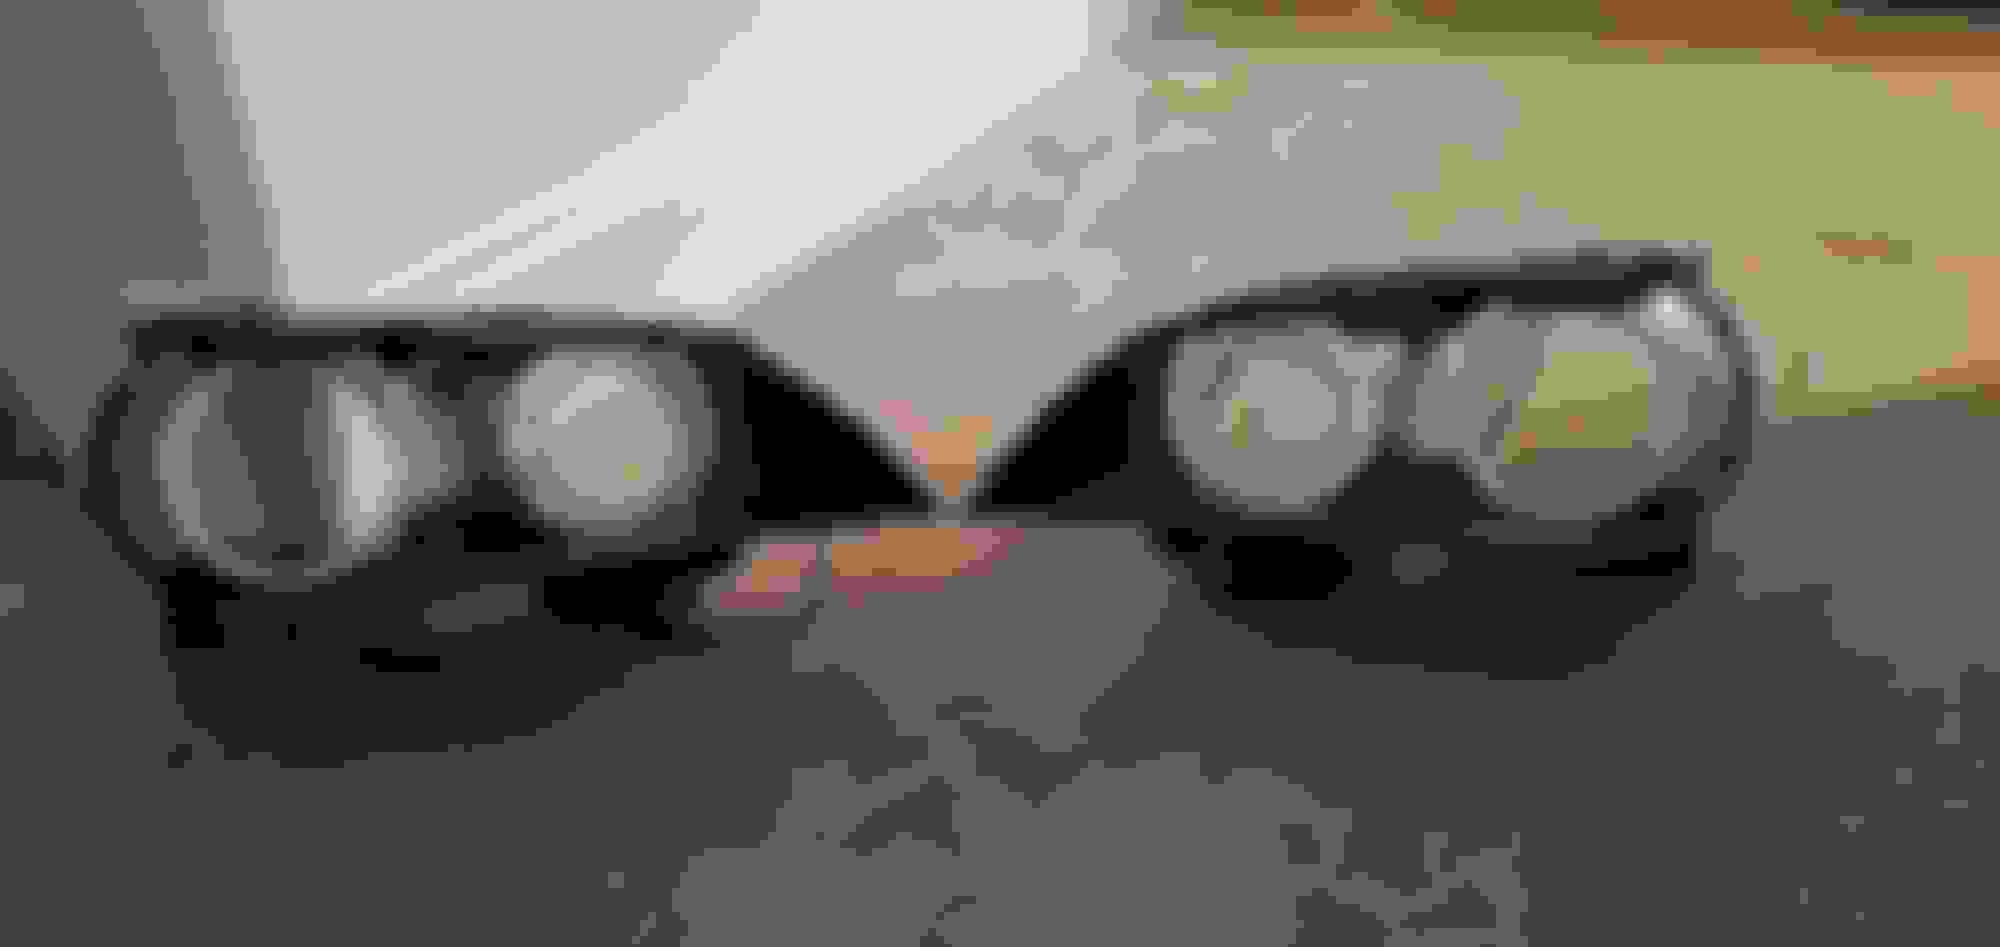
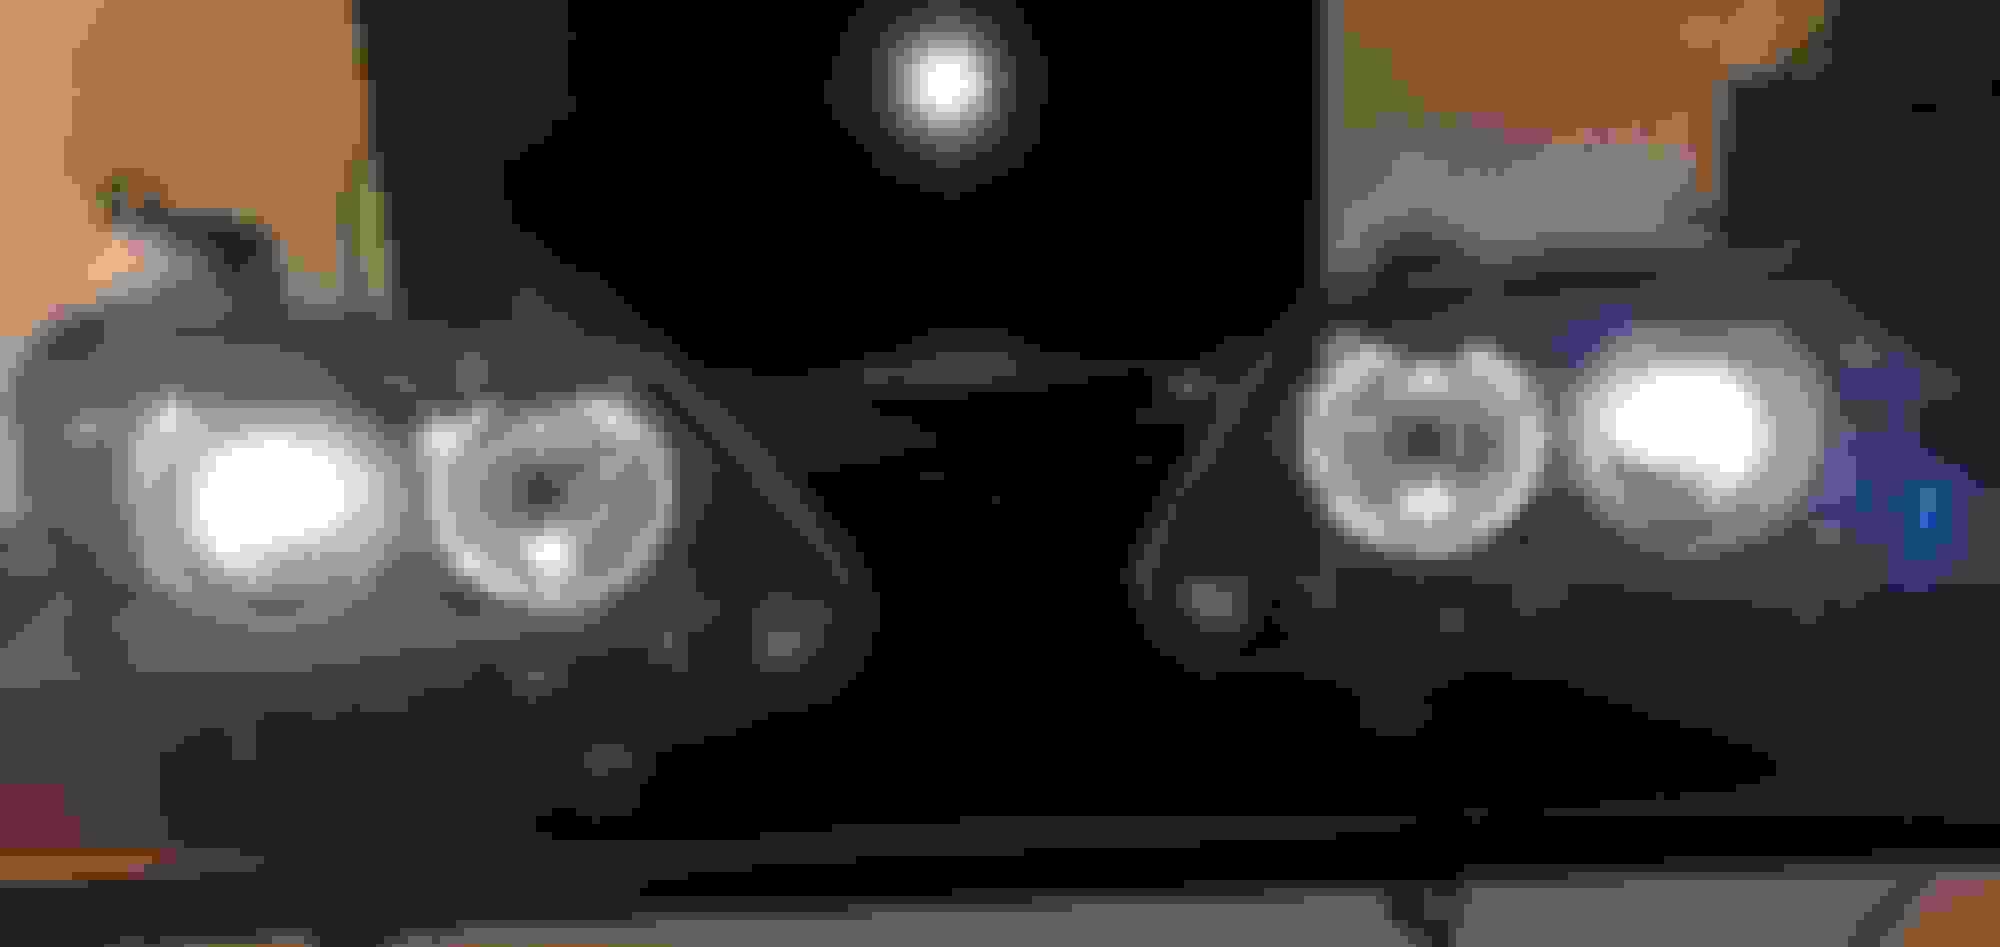
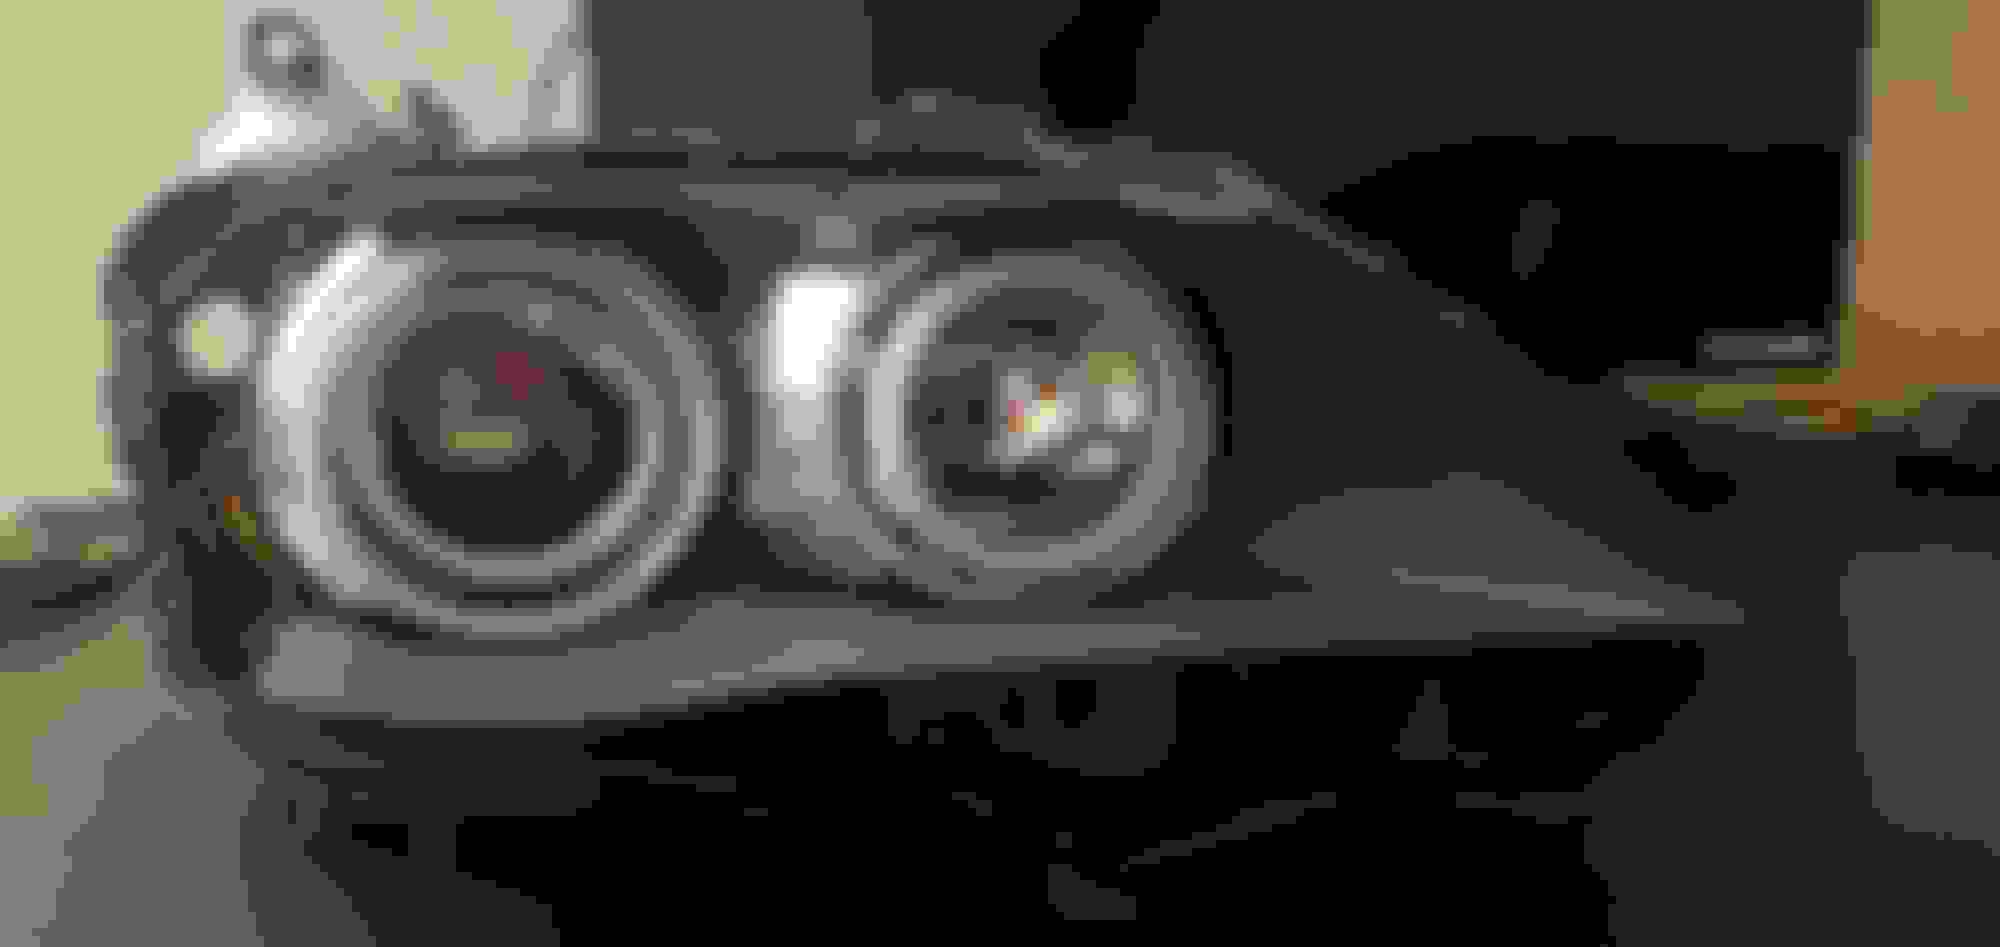
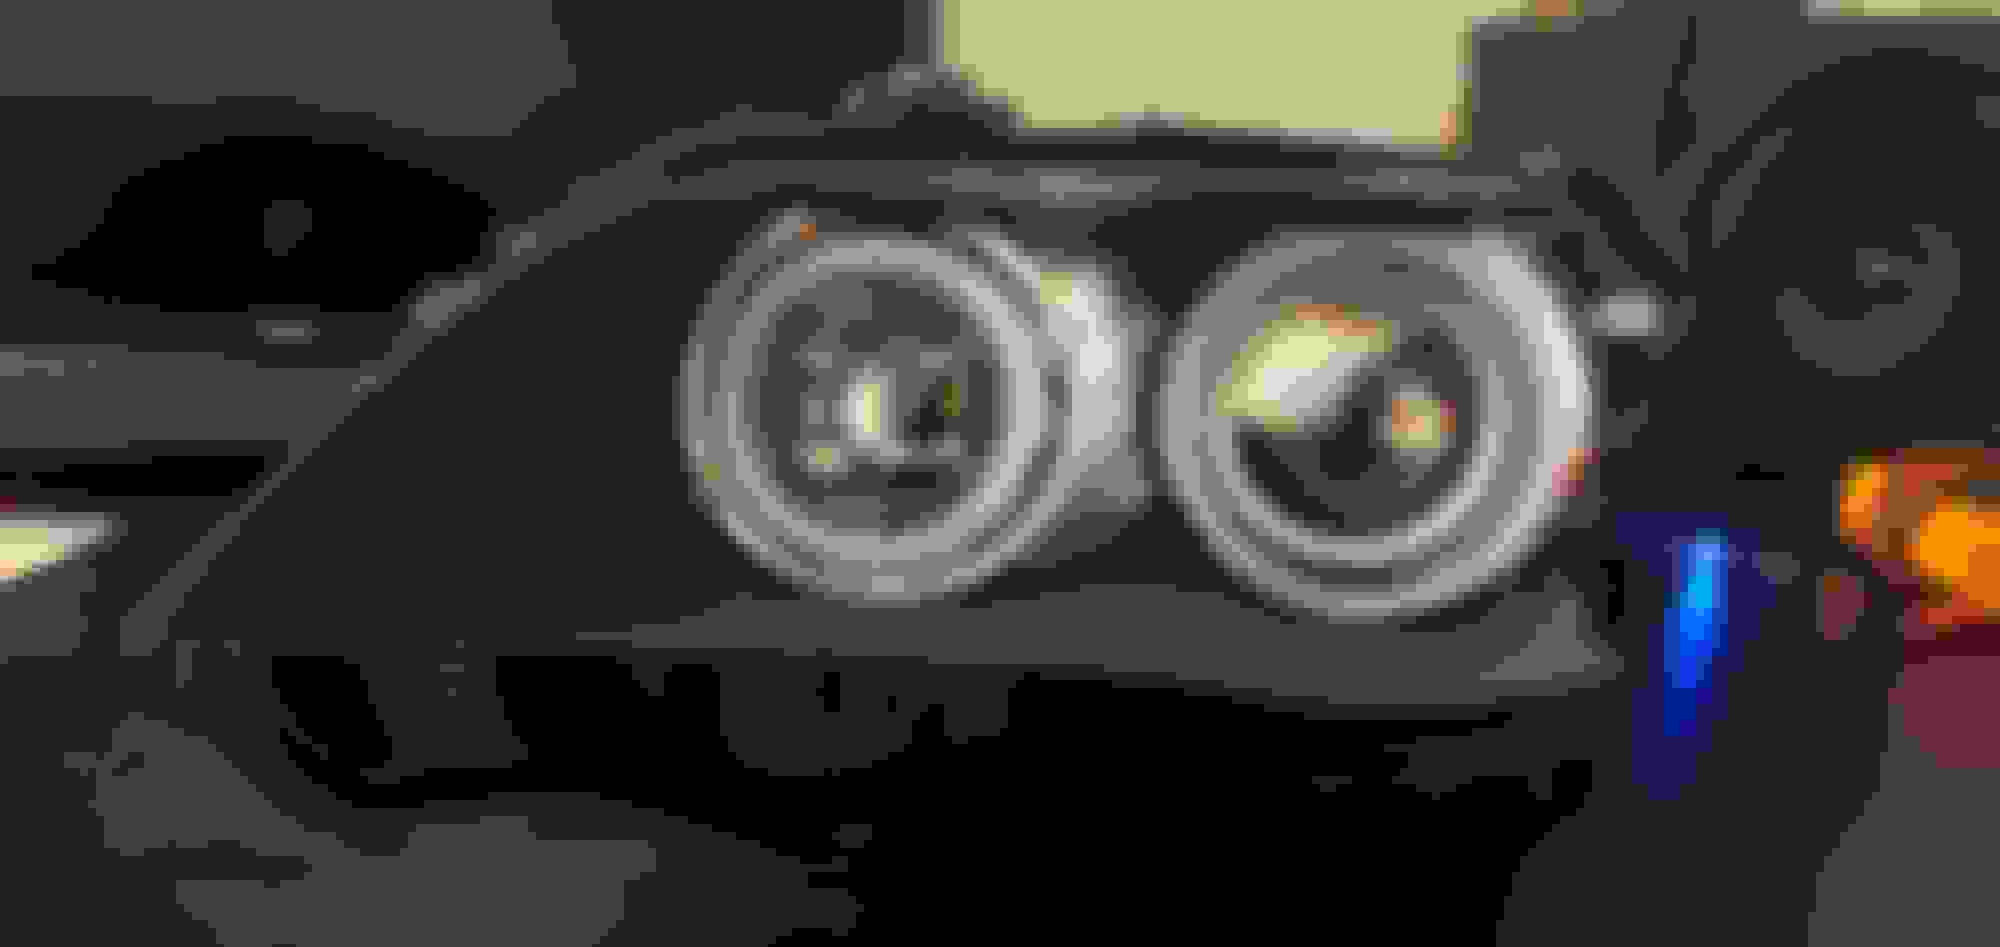
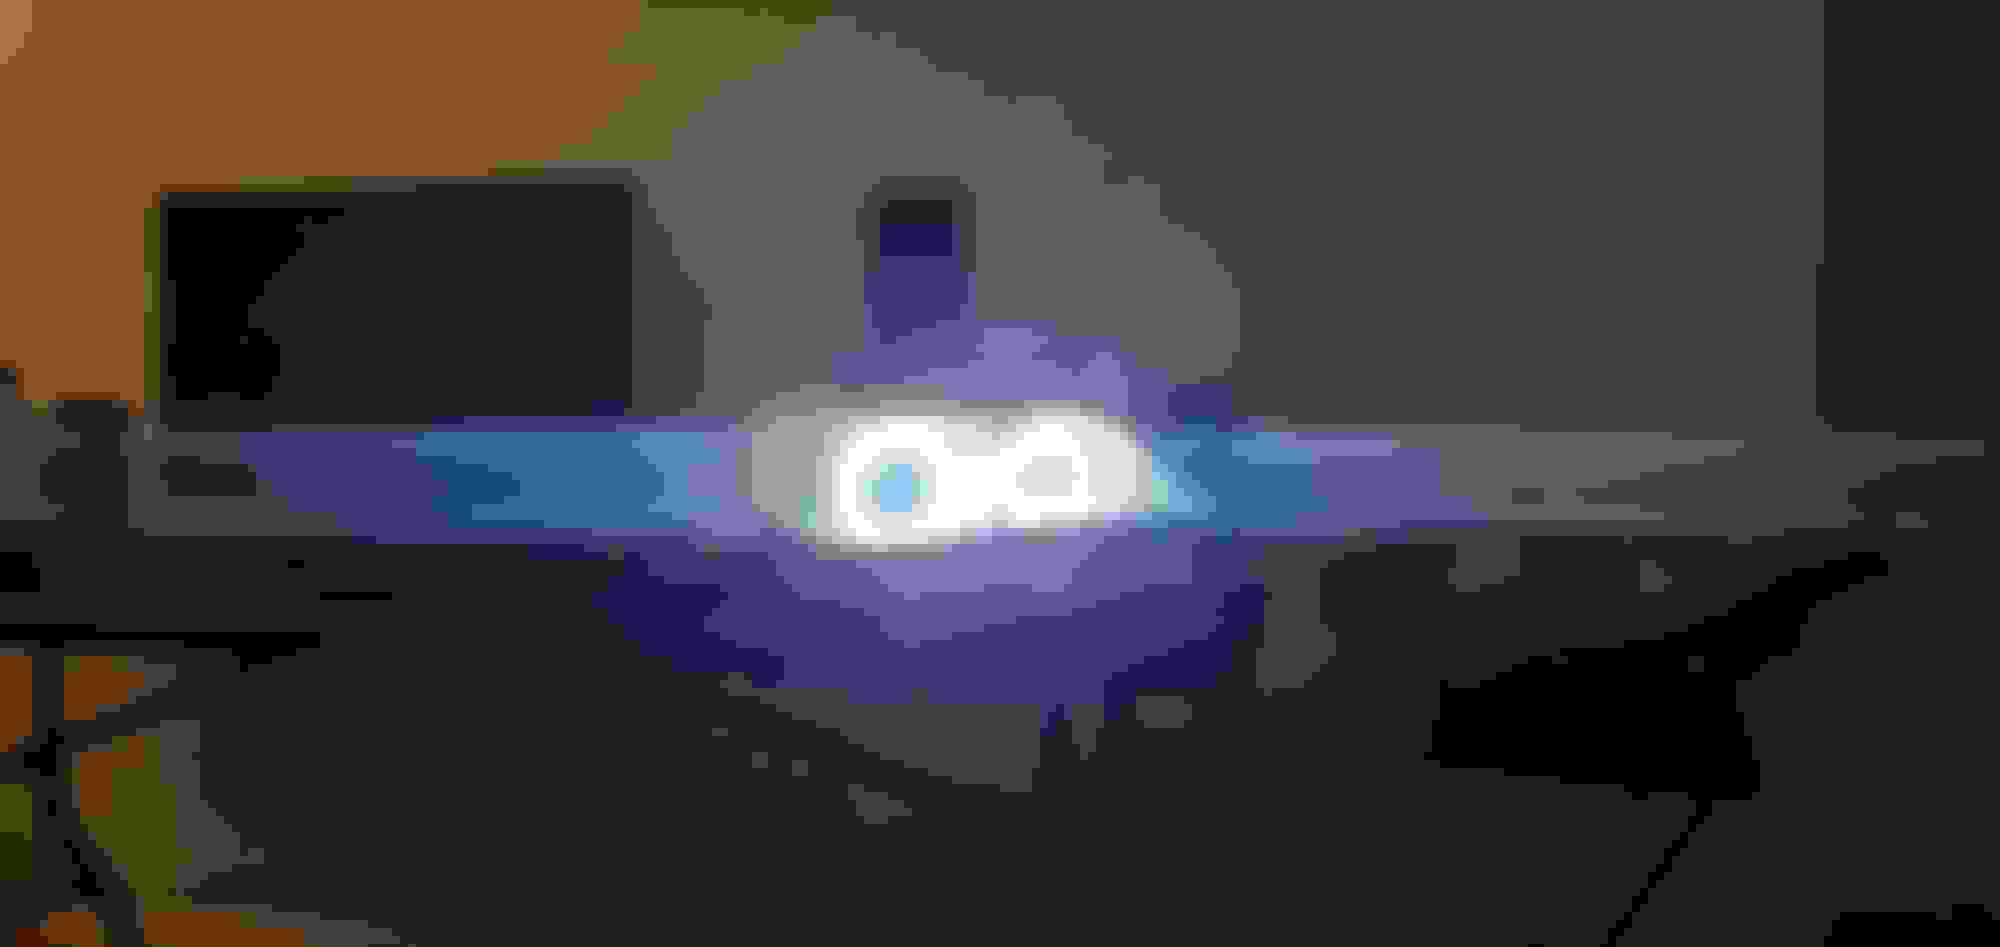
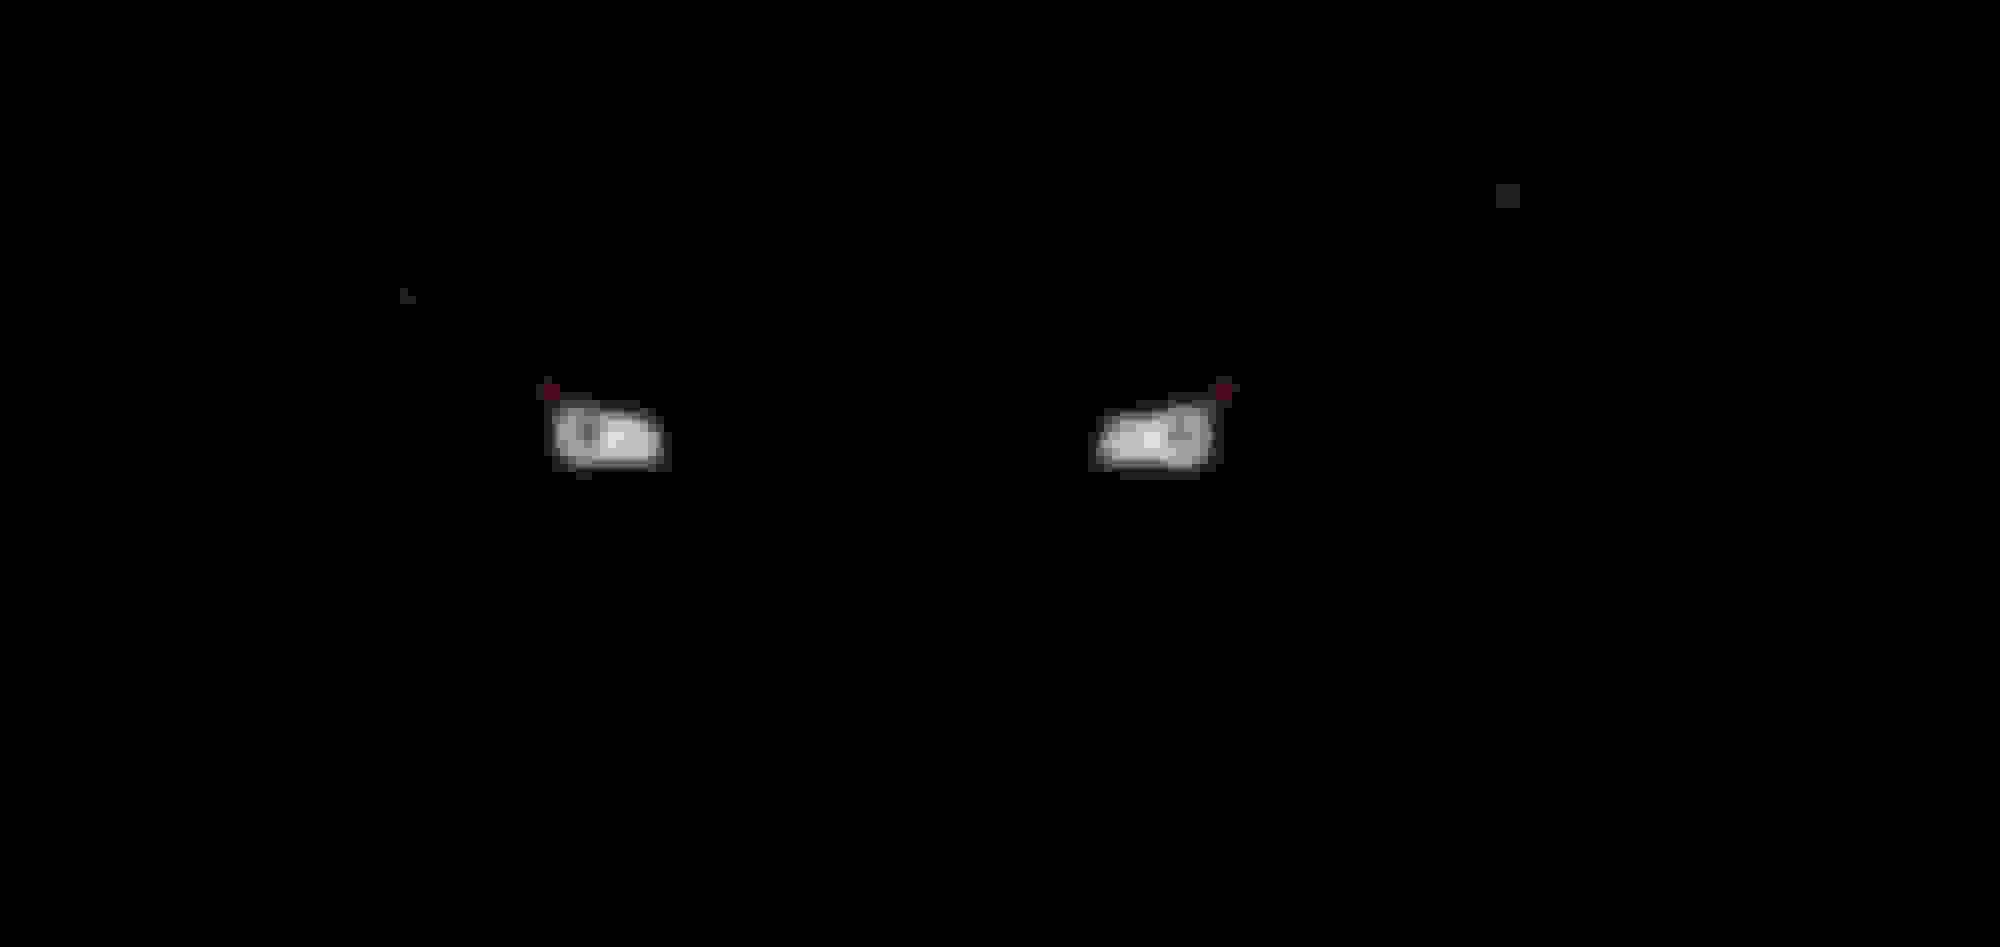
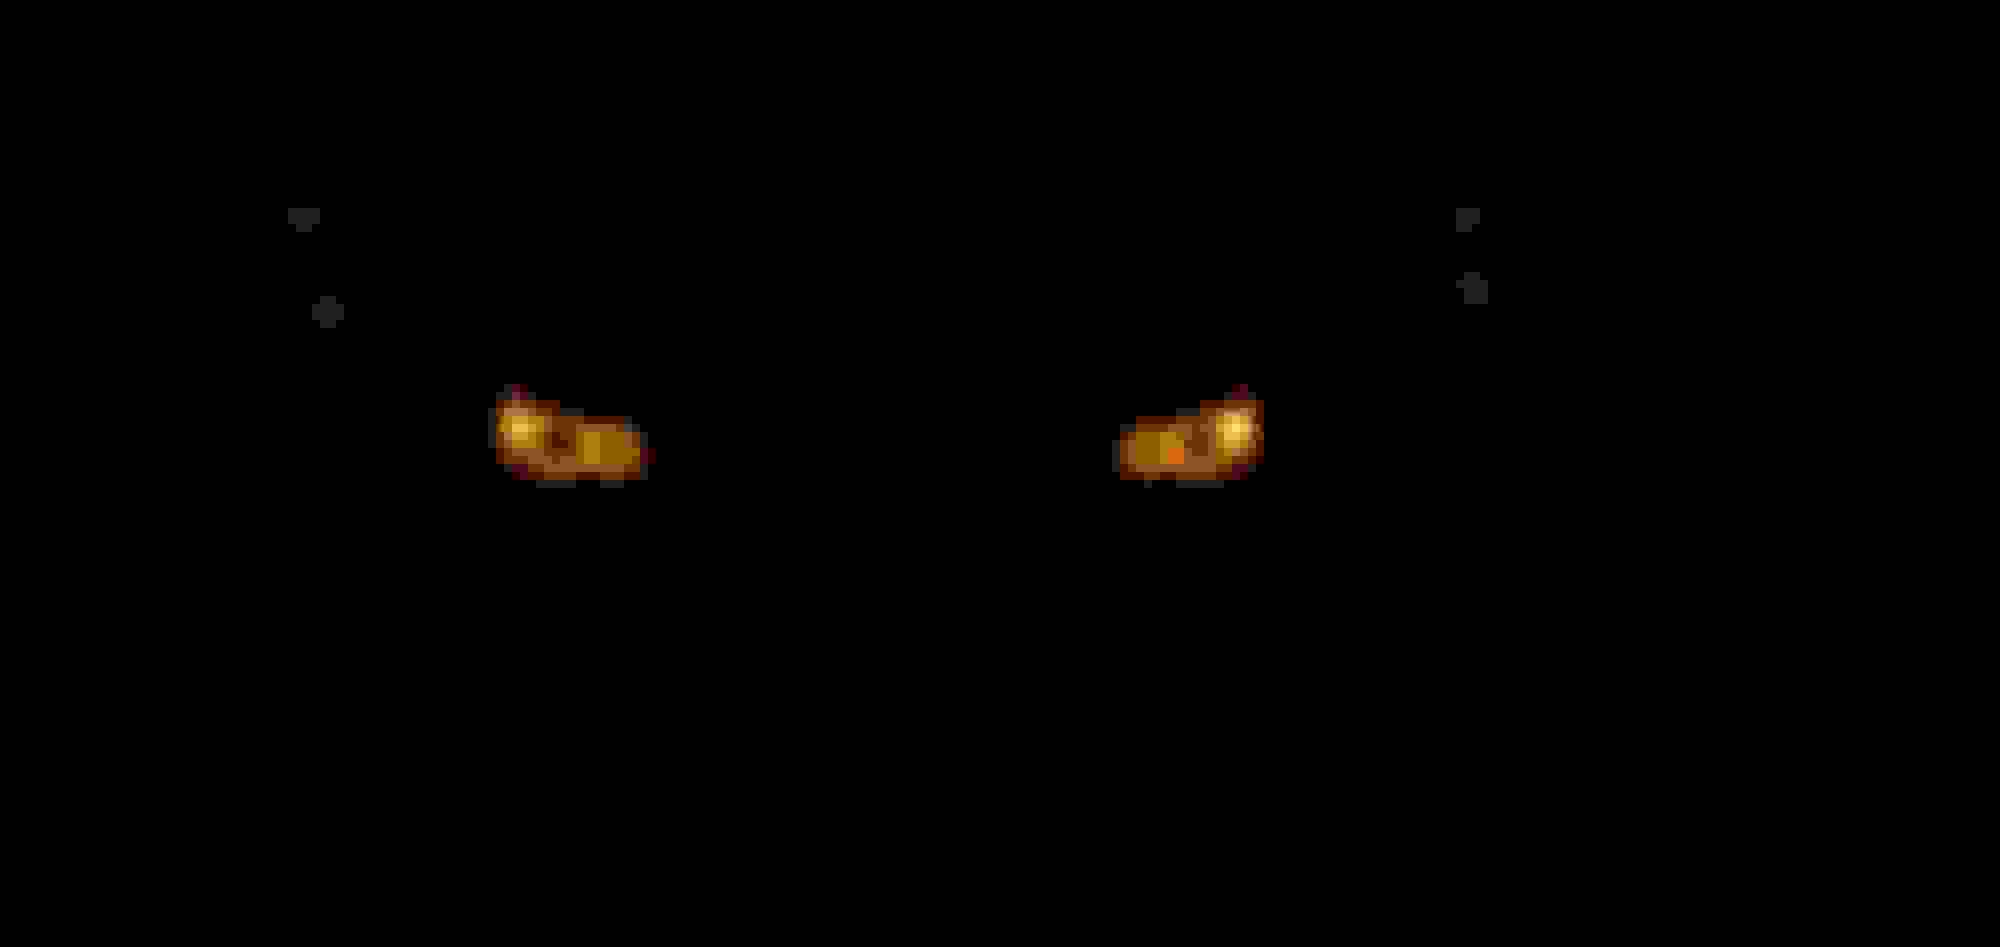
Here are some pictures. It looks way too bright in the picture. but its actually just the phone camera. I did take some low exposure pictures. Unfortunately I do not have any pictures in sunlight but its bright enough to be seen perfectly. The amber in direct sunlight is a bit dull but i dont really care.
Here is a video of the switchbacks in action.
Hey.. Sorry I do not have a picture of it with me but its about 65-75% as bright as the 2018 BMW 5 series out there. My friend has a 2018 530i. Its definitely visible and looks great. I am extremely satisfied with it. I could have gotten a much brighter one if i did not choose a switch back version. But i loved it. I have made a small circuit with a switch which keep them on amber all the time. Looks insane once its starts to get a bit dark outside. !!!
Excellent job love the switch backs in the video. You should be very proud, from what I've read on this site what you did was an impossible task. My friend has an e60 with terrible looking lenses and does not want to replace the entire light, After reading your post i might attempt just the lens replacement. I did perform a similar task on my son's 08 Chevy. Silverado except we used the oven method.
It is a bit of a pain. But it is doable. If the lenses are completely shot then I would recommend just cutting them off and slowly heating and removing the adhesive and clean it out with paint thinner or gum out. You can install new lenses and do any repair or mods while you have it open.
 08-03-2020, 05:23 PM