Installing Garmin GPS (or others). Lots of PICS
 01-02-2009, 07:31 AM
#21
Contributors
Thread Starter
Join Date: Aug 2008
Location: Originally from Koeln, Deutschland. Enjoying it in Bonita Springs, Florida Now :)
Posts: 7,421
Likes: 0
Received 0 Likes
on
0 Posts
Originally Posted by MiamiPhill' post='757730' date='Jan 2 2009, 11:29 AM
No, just copy the pics to your computer, then upload to the Garmin as you would any other pic., then find it in the garmin :Tools, Picture viewer, touch the roundel, then info, then check the 'display at power on' box, then you are done. 
Thanks for the help!
 01-02-2009, 07:27 PM
#23
Members
Join Date: Oct 2008
Posts: 8
Likes: 0
Received 0 Likes
on
0 Posts
I just picked up the same one. I tapped the power in the overhead area using the DIY radar detector thread. I soldered leads onto the cable that comes with the garmin and was able to tuck it between the headliner and down the weather stripping without extending it. I have mine mounted in the same spot yours is. I will try to get some pics.
Kevin
Kevin
01-03-2009, 05:24 AM
#24
Contributors
Thread Starter
Join Date: Aug 2008
Location: Originally from Koeln, Deutschland. Enjoying it in Bonita Springs, Florida Now :)
Posts: 7,421
Likes: 0
Received 0 Likes
on
0 Posts
Originally Posted by NorCal_530' post='758121' date='Jan 2 2009, 11:27 PM
I just picked up the same one. I tapped the power in the overhead area using the DIY radar detector thread. I soldered leads onto the cable that comes with the garmin and was able to tuck it between the headliner and down the weather stripping without extending it. I have mine mounted in the same spot yours is. I will try to get some pics.
Kevin
Kevin
 01-03-2009, 12:12 PM
#25
Contributors
Join Date: Sep 2007
Location: South Florida
Posts: 1,921
Likes: 0
Received 0 Likes
on
0 Posts
My Ride: 2008 535i w/ Sports & Permium Pkg. Silv/Blk
2008 VW R32 w/Nav.
1992 VW Corrado Silv/Blk-retired
2001 530i Sports/Premium-retired
Originally Posted by MiamiPhill' post='757505' date='Jan 2 2009, 12:04 AM
I plug mine into the outlet in front passenger foot well, Attachment 68208 but I haven't looked under there to see if there is a more elegant solution for hiding the wire.
I'll post my findings.
I'll post my findings.
Ingredients:
1) Your favorite beverage. (Needed in this 80 degree weather)

2) Wire cutter....(maybe, I'll explain)
3) Butt Splice connectors.....(again, maybe)
4) Crimping tool......(see 2&3)
5) Electrical tape.....(do I have to say it?)
6) Heat Shrink Tubing (ditto)
7) 18G aluminum wire (not easy to find, I had to use speaker wire from HomeDepot)
8) Soldering equip.** (if you own one, you can skip #3&4)
9) Heat gun**
10) Knife & More beverage
WARNING: Some GPS units have their FM antenna (for the traffic function) integrated into the power cord, so DO NOT CUT! (i.e. forget this whole procedure & use Krozi's setup)
** Optional, you can get by without these,.....I did.
Procedure
(Sorry, I don't have pics of all this.)
1) Take a drink of beverage.
2) Use the wire cutter and cut the cord somewhere in the middle.

3) Strip back a bit of the insulation.......do it carefully because if yours is simular to mine (Garmin 260W) the ground wire is exposed and is only insulated by that outer layer.
4) Strip back the insulation on the other (white) wire.
5) That will be a bit nerve racking for the not so handy......time for another swig.
6) Strip back the 18G aluminum (speaker) wire, slide a piece of heat shrink tubing over the wire, then connect to one of the power cord wires using the butt splice connectors or by soldering.
7) Repeat step #6 for the other wire. Note; the wires in the garmin are both aluminum not copper, so use only the aluminum wire to keep everything the same.
8) Measure the length of wire you will need to hide everything away neatly. Better to be too long than too short, you can always hide excess wire.
9) Cut wire after measuring and repeat steps #6&7. Make sure you connect ground to ground & power to power. (match the colors)
10) Slide the shrink tubing over the connections and heat it up using the heat gun (or the stove like I did) until it is nice an tight.
it will look like this.
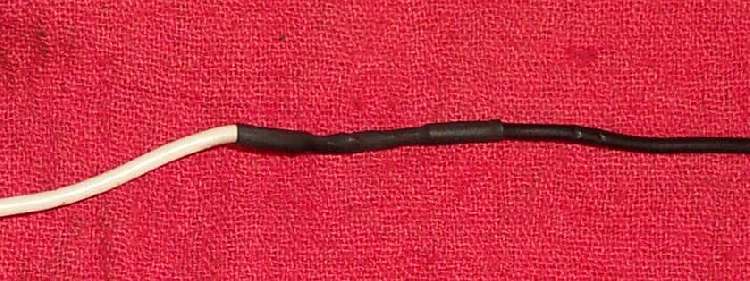
11) Use the electrical tape to wrap up the new section so its all neat.
12) Have a drink.
13) Run the wire. I used the outlet in the front passenger footwell.
14) Sit back and admire your work, with another drink of course.
15) Nap time.

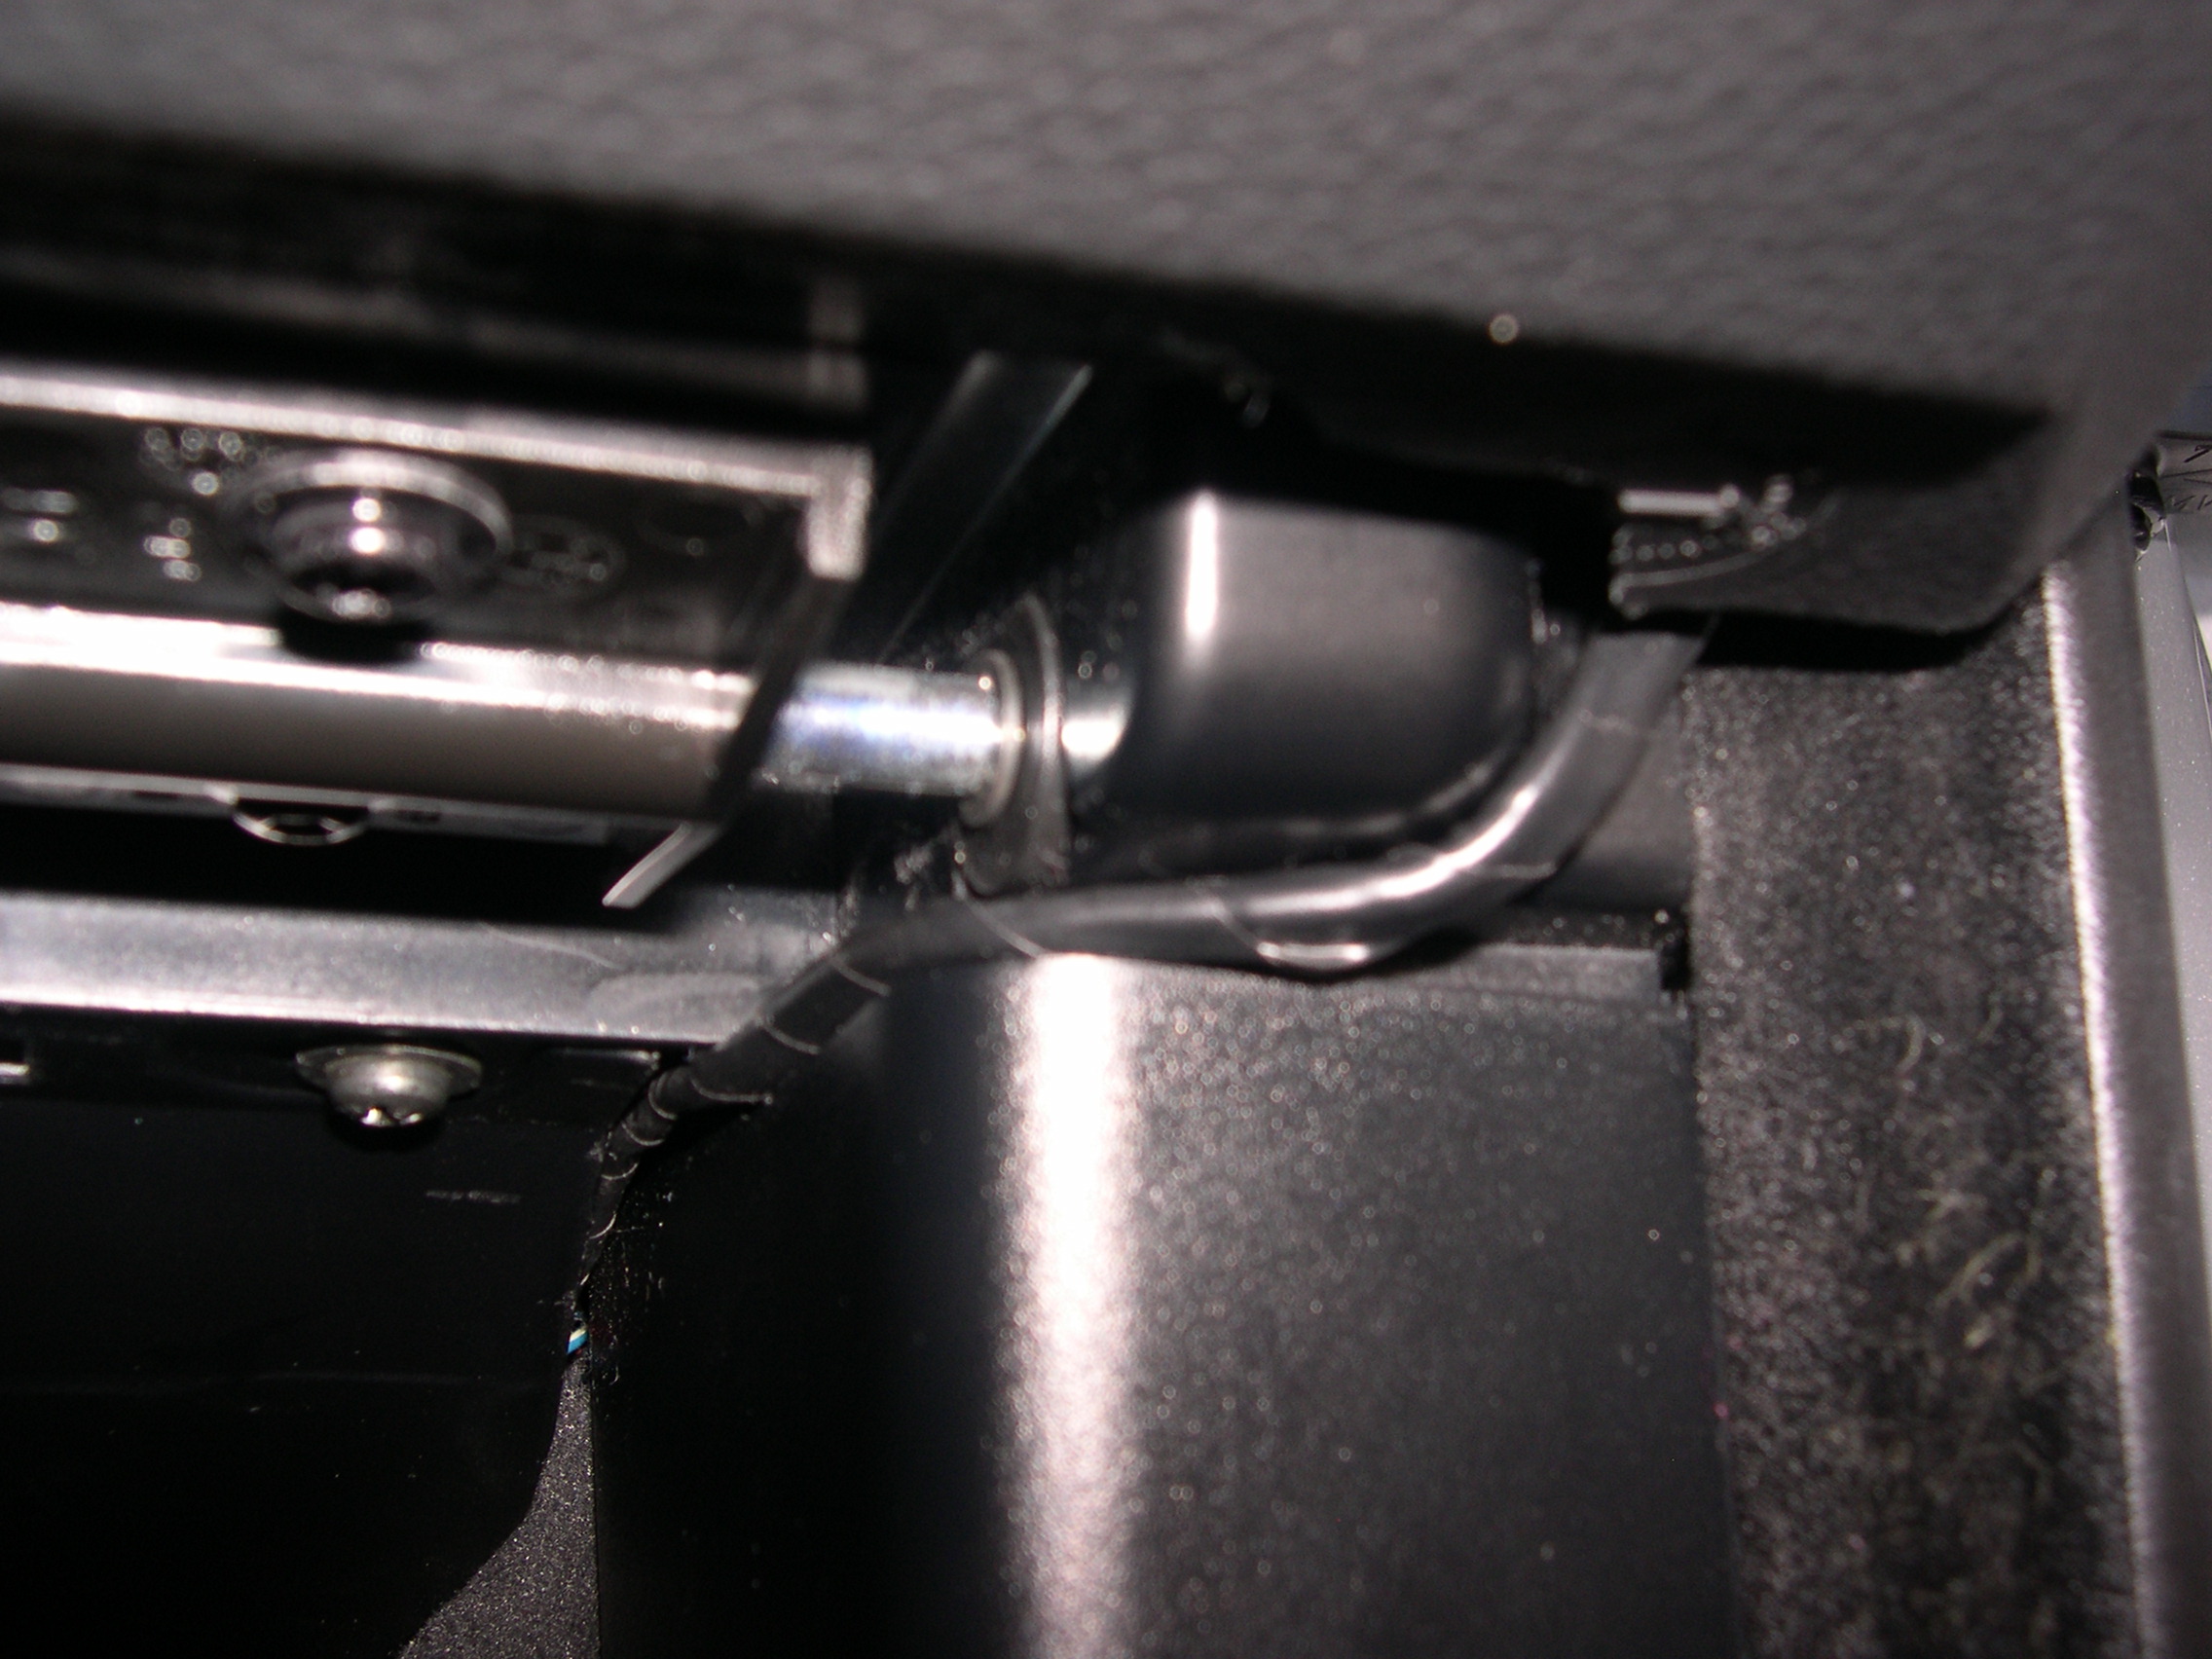
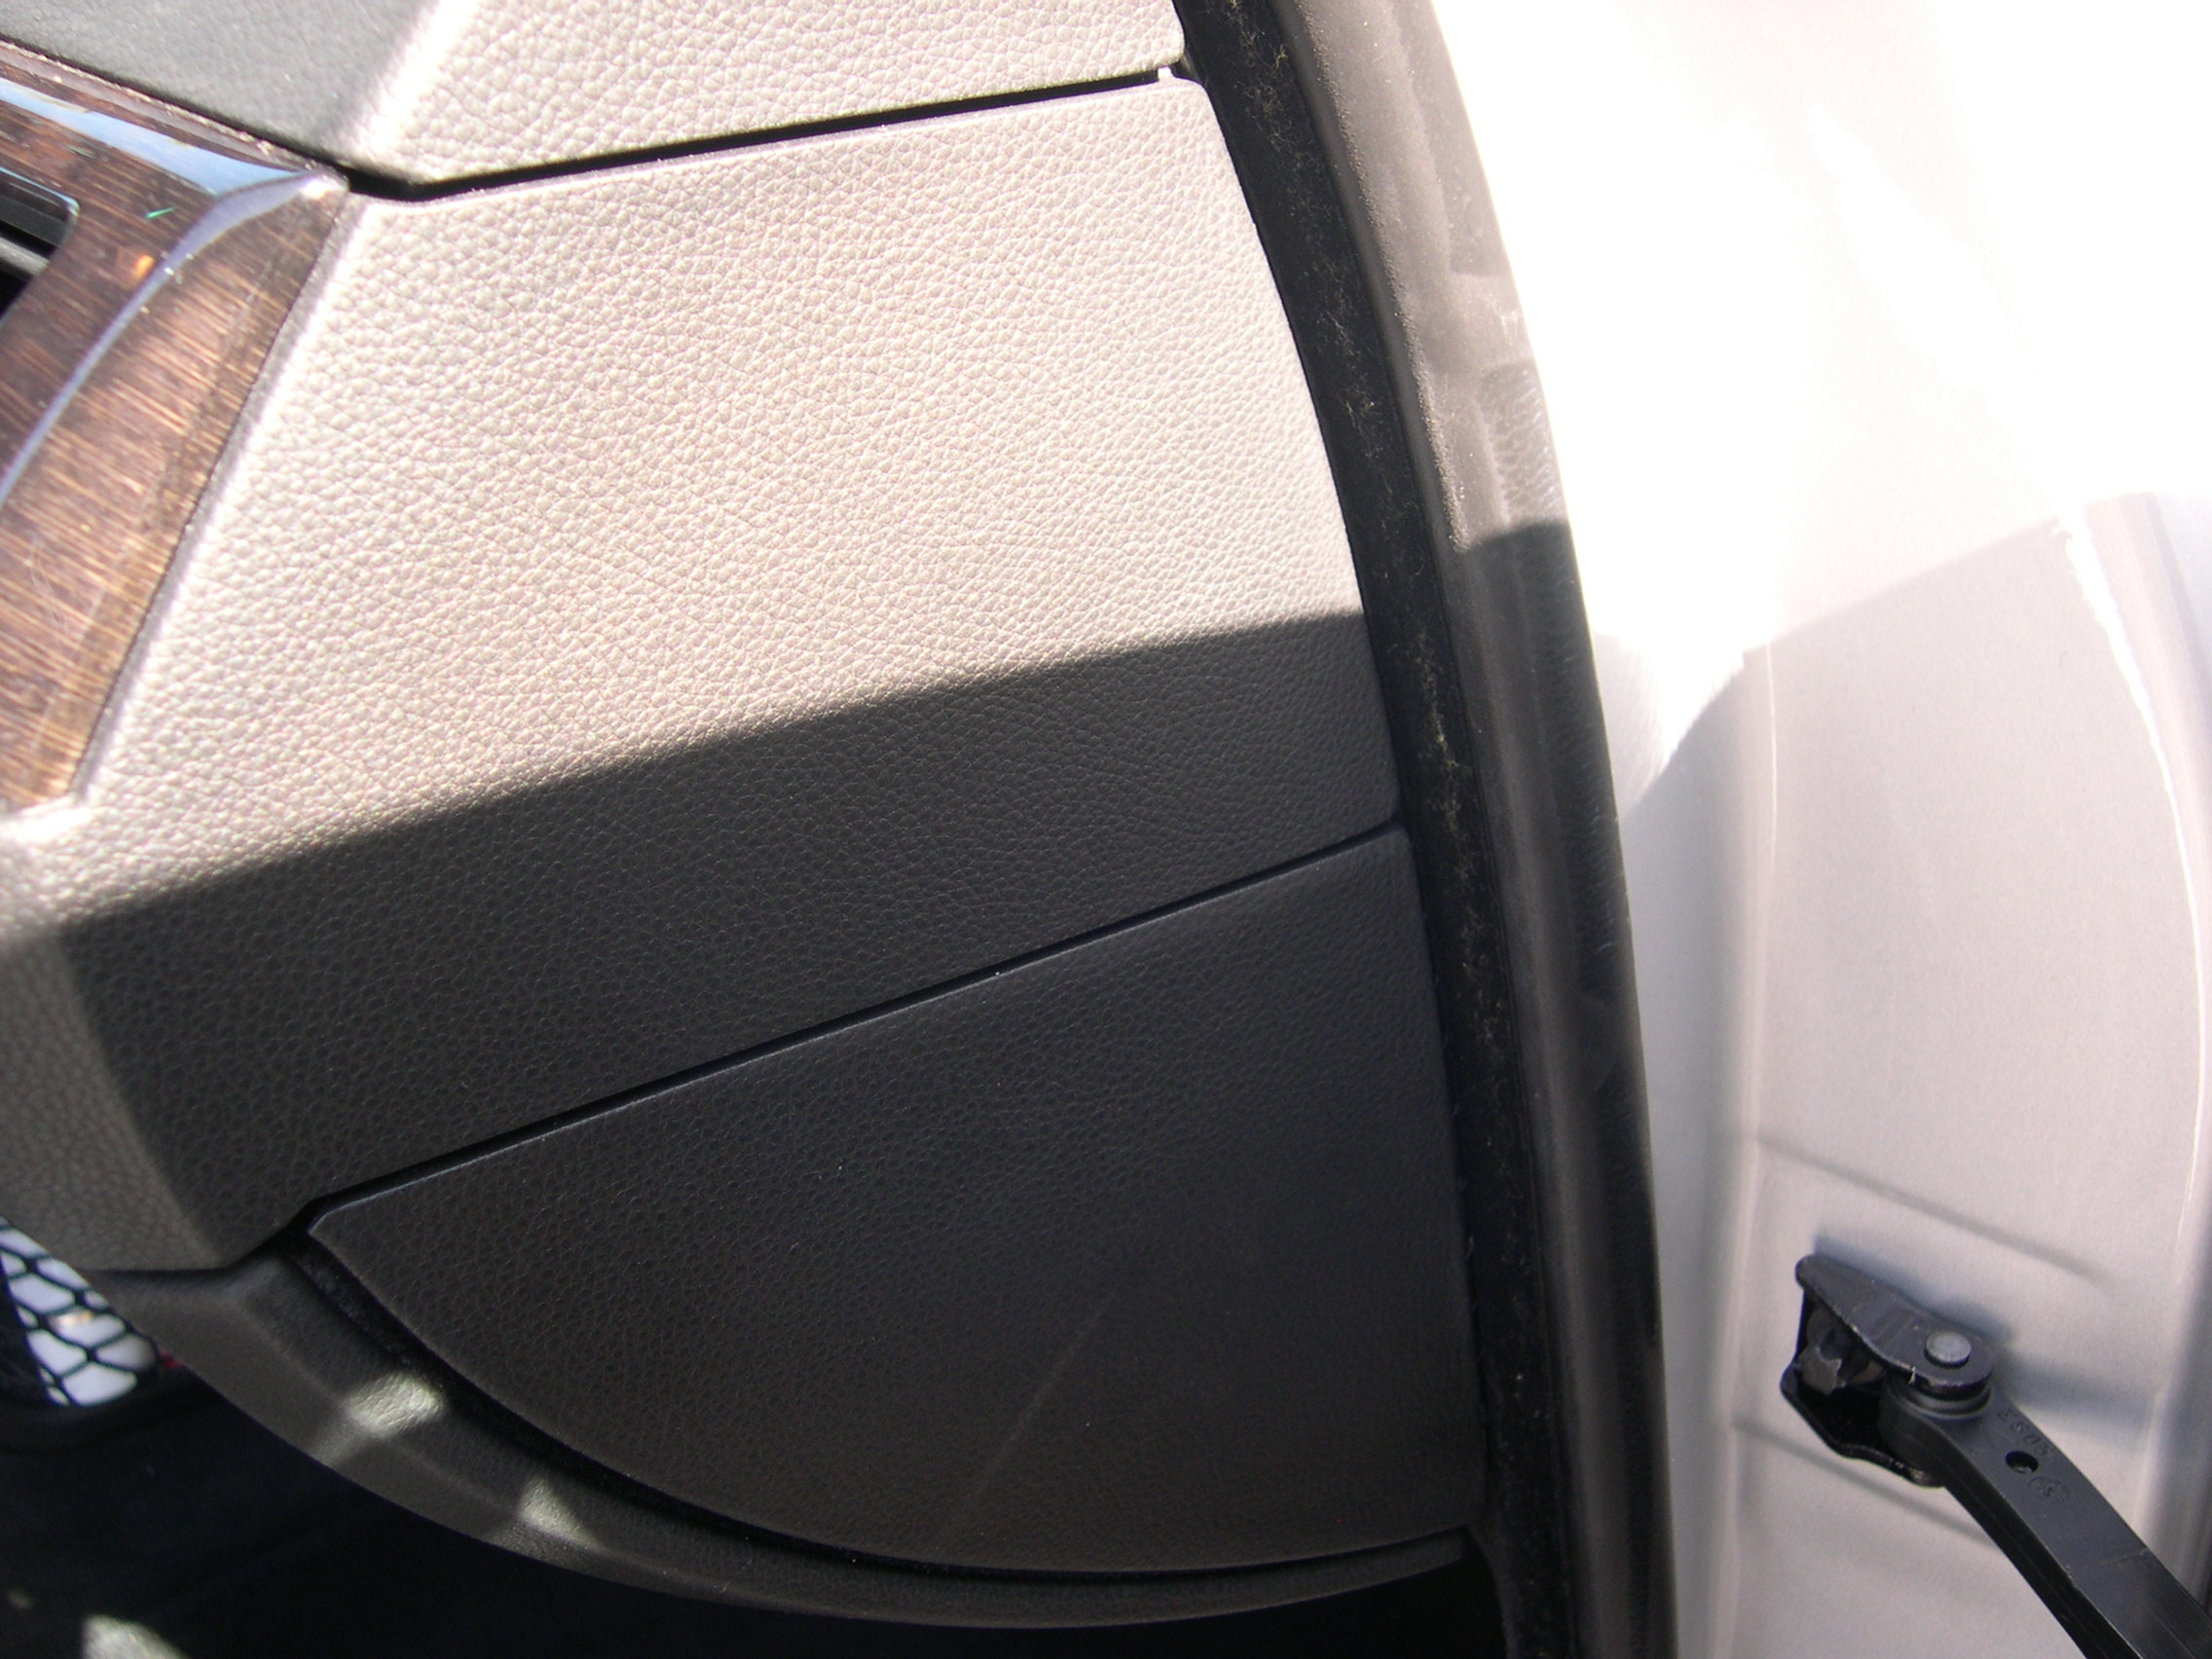
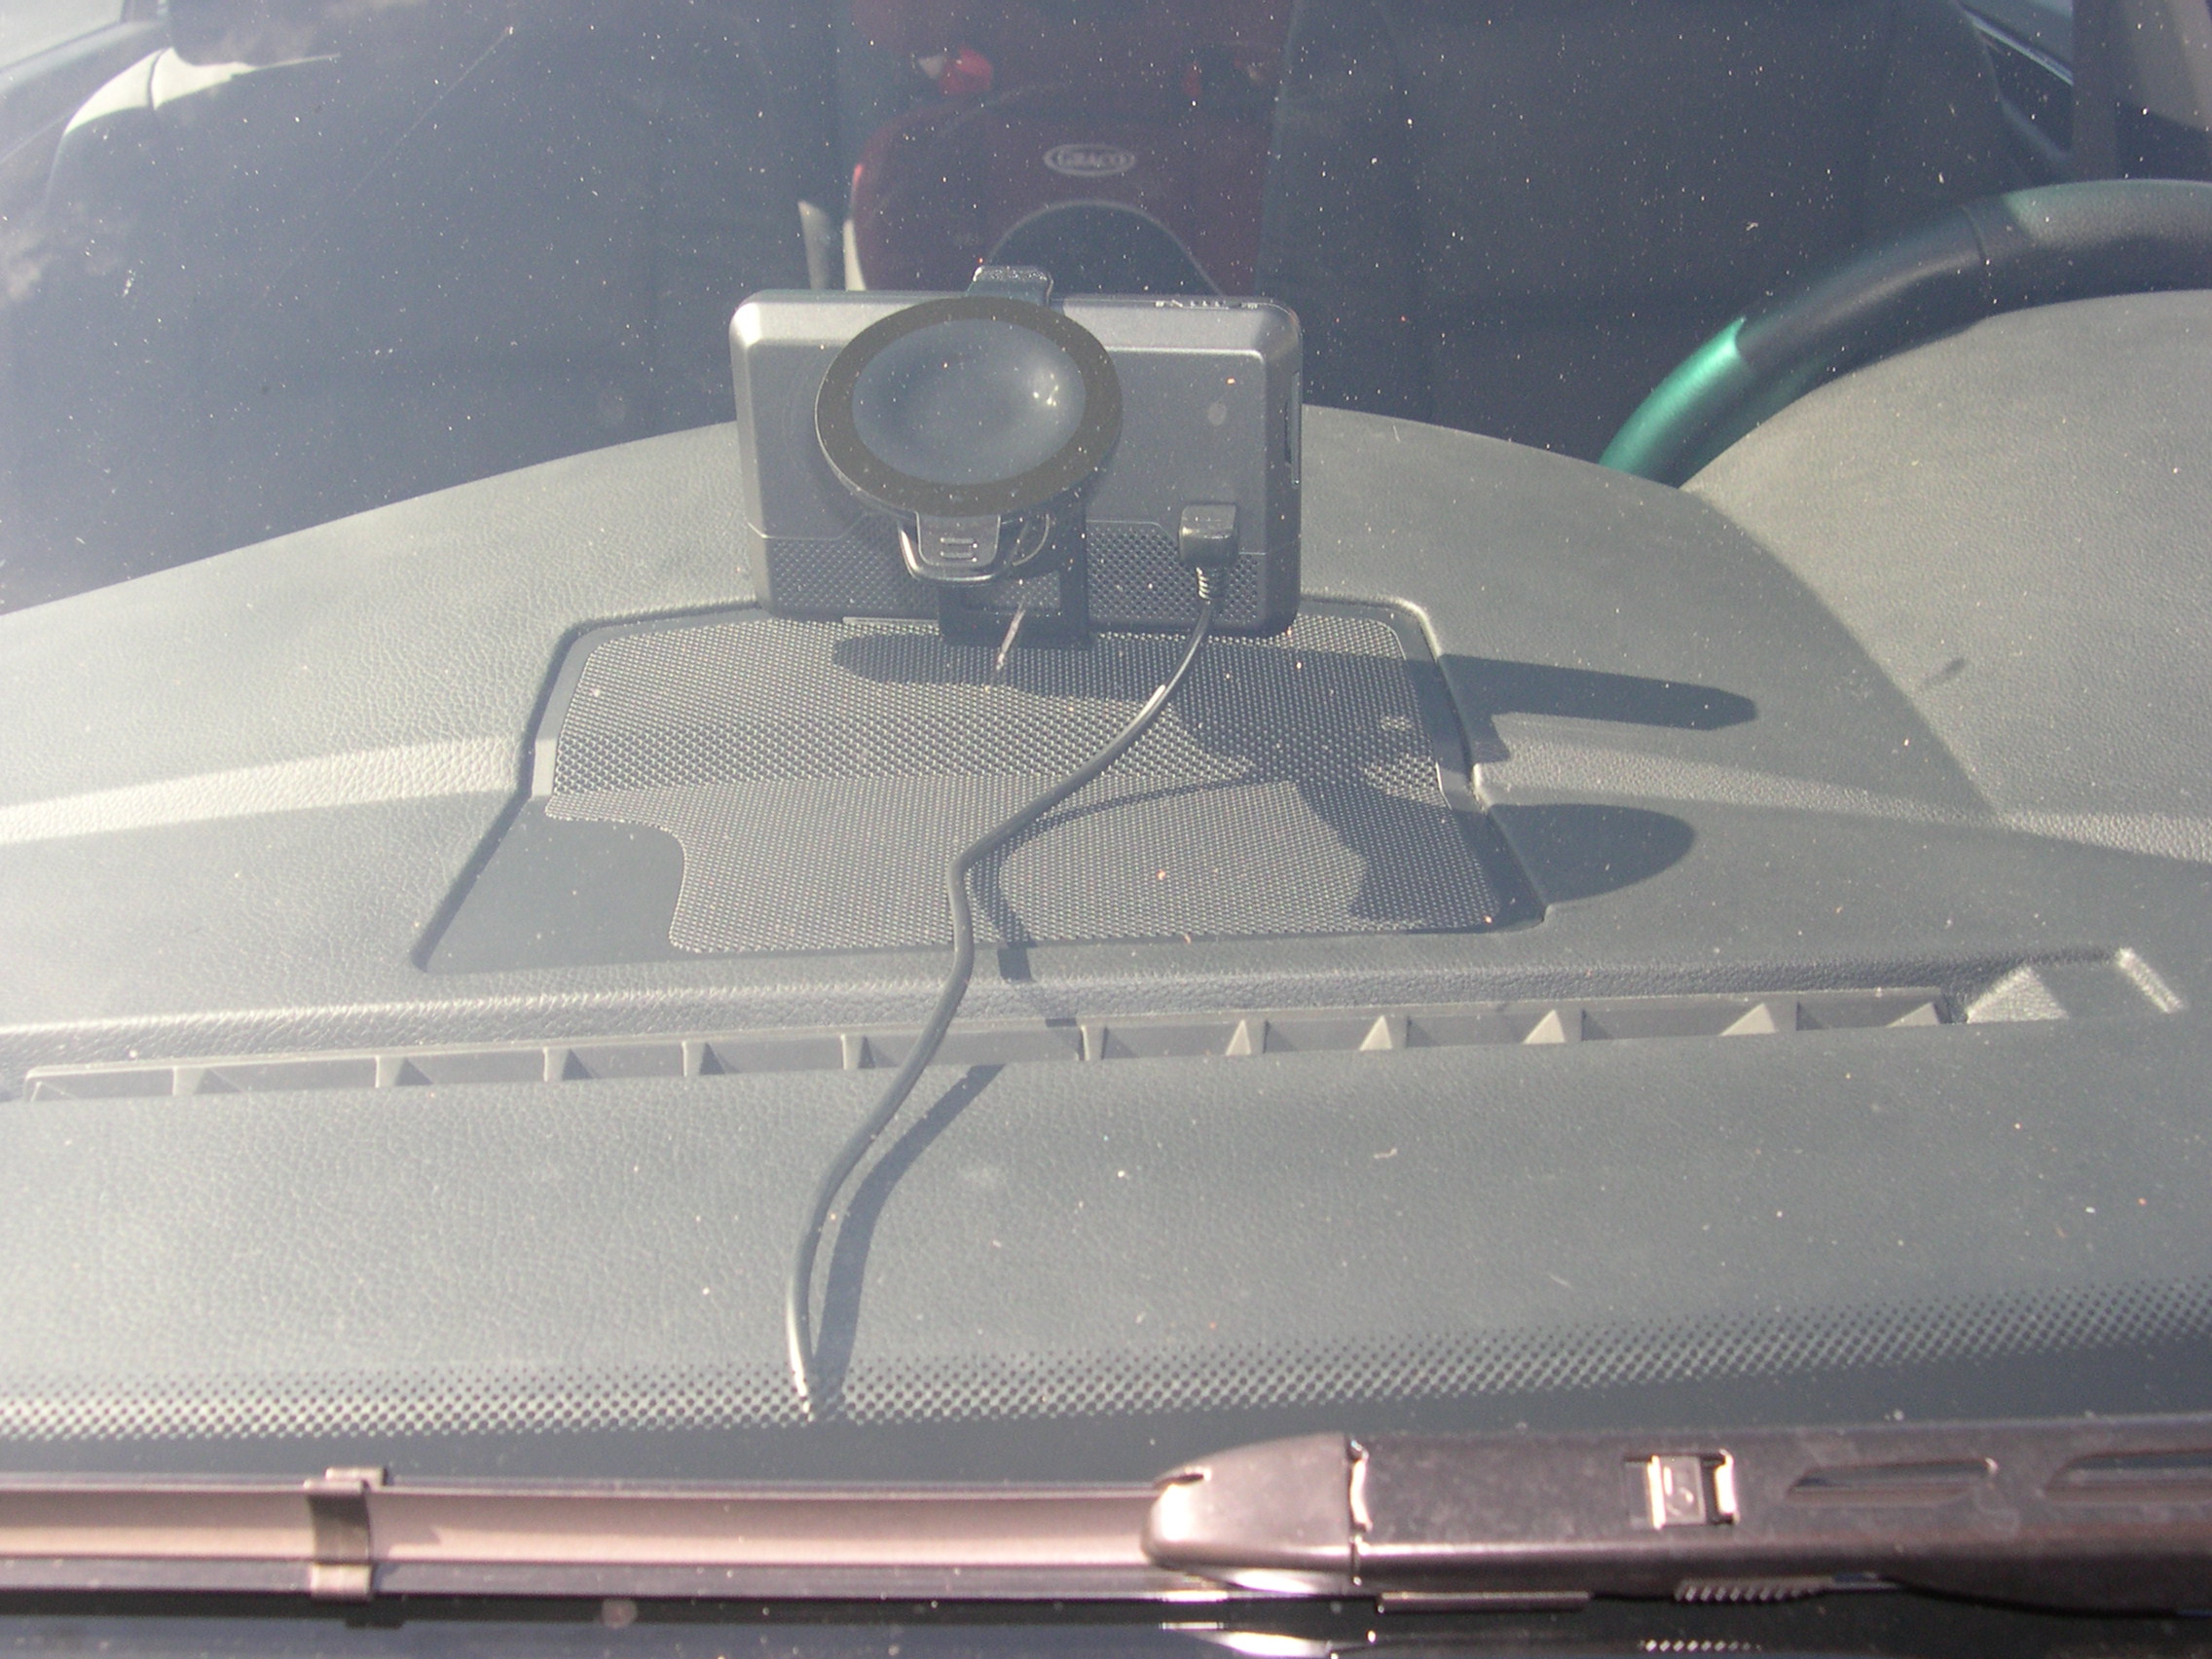
The pics below show the route I took with the wire but only the small area on the dash is exposed.
I placed it in the center and not on the left like Krozi because it was easier to connect the unit. Krozi's unit has the powered mount which makes for easier mount & dismount of the unit. Also with the unit in the middle, the co-pilot can have access while the car is moving.


Before anyone starts asking:

Admins please forgive the copyright infringement.
 01-03-2009, 02:43 PM
#26
Contributors
Thread Starter
Join Date: Aug 2008
Location: Originally from Koeln, Deutschland. Enjoying it in Bonita Springs, Florida Now :)
Posts: 7,421
Likes: 0
Received 0 Likes
on
0 Posts
My attempt:
I used my fantastical photoshop skills and it came out pretty good.

I used my fantastical photoshop skills
and it came out pretty good. 01-03-2009, 02:51 PM
#27
Contributors
Join Date: Sep 2007
Location: South Florida
Posts: 1,921
Likes: 0
Received 0 Likes
on
0 Posts
My Ride: 2008 535i w/ Sports & Permium Pkg. Silv/Blk
2008 VW R32 w/Nav.
1992 VW Corrado Silv/Blk-retired
2001 530i Sports/Premium-retired
Originally Posted by Krozi' post='758647' date='Jan 3 2009, 06:43 PM

can you make me a 535i or E60.net?
01-03-2009, 02:55 PM
#28
Contributors
Thread Starter
Join Date: Aug 2008
Location: Originally from Koeln, Deutschland. Enjoying it in Bonita Springs, Florida Now :)
Posts: 7,421
Likes: 0
Received 0 Likes
on
0 Posts
Originally Posted by MiamiPhill' post='758655' date='Jan 3 2009, 06:51 PM
Damn, that looks great.......
can you make me a 535i or E60.net?
can you make me a 535i or E60.net?
01-03-2009, 03:05 PM
#29
Contributors
Join Date: Sep 2007
Location: South Florida
Posts: 1,921
Likes: 0
Received 0 Likes
on
0 Posts
My Ride: 2008 535i w/ Sports & Permium Pkg. Silv/Blk
2008 VW R32 w/Nav.
1992 VW Corrado Silv/Blk-retired
2001 530i Sports/Premium-retired
Originally Posted by Krozi' post='758662' date='Jan 3 2009, 06:55 PM
Sure no problem. Give me 20 minutes or so.