
DIY LED Reverse Lights
 09-01-2009, 04:48 PM
#1
Banned
Thread Starter

Join Date: Jun 2008
Location: Queens, NY
Posts: 7,983
Likes: 0
Received 1 Like
on
1 Post
My Ride: A Car
This is a DIY for my LED Reverse Lights. Works for LCI and pre-LCI taillights. In this DIY, it was an LCI taillight.
You need to remove the taillight from the car first. Removing the taillight is simple. Just remove the two screws from the panel and then pull. Then there are 4 nuts holding the taillight in place. U can find the taillight DIY anywhere as it has been discussed MANY times.
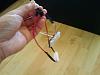
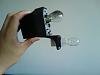
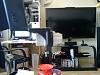
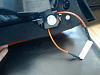
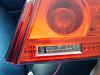
Picture of actual product

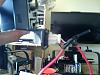
Connected with resistor
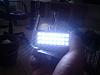
Let's check the brightness
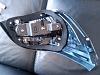
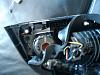
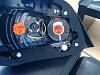
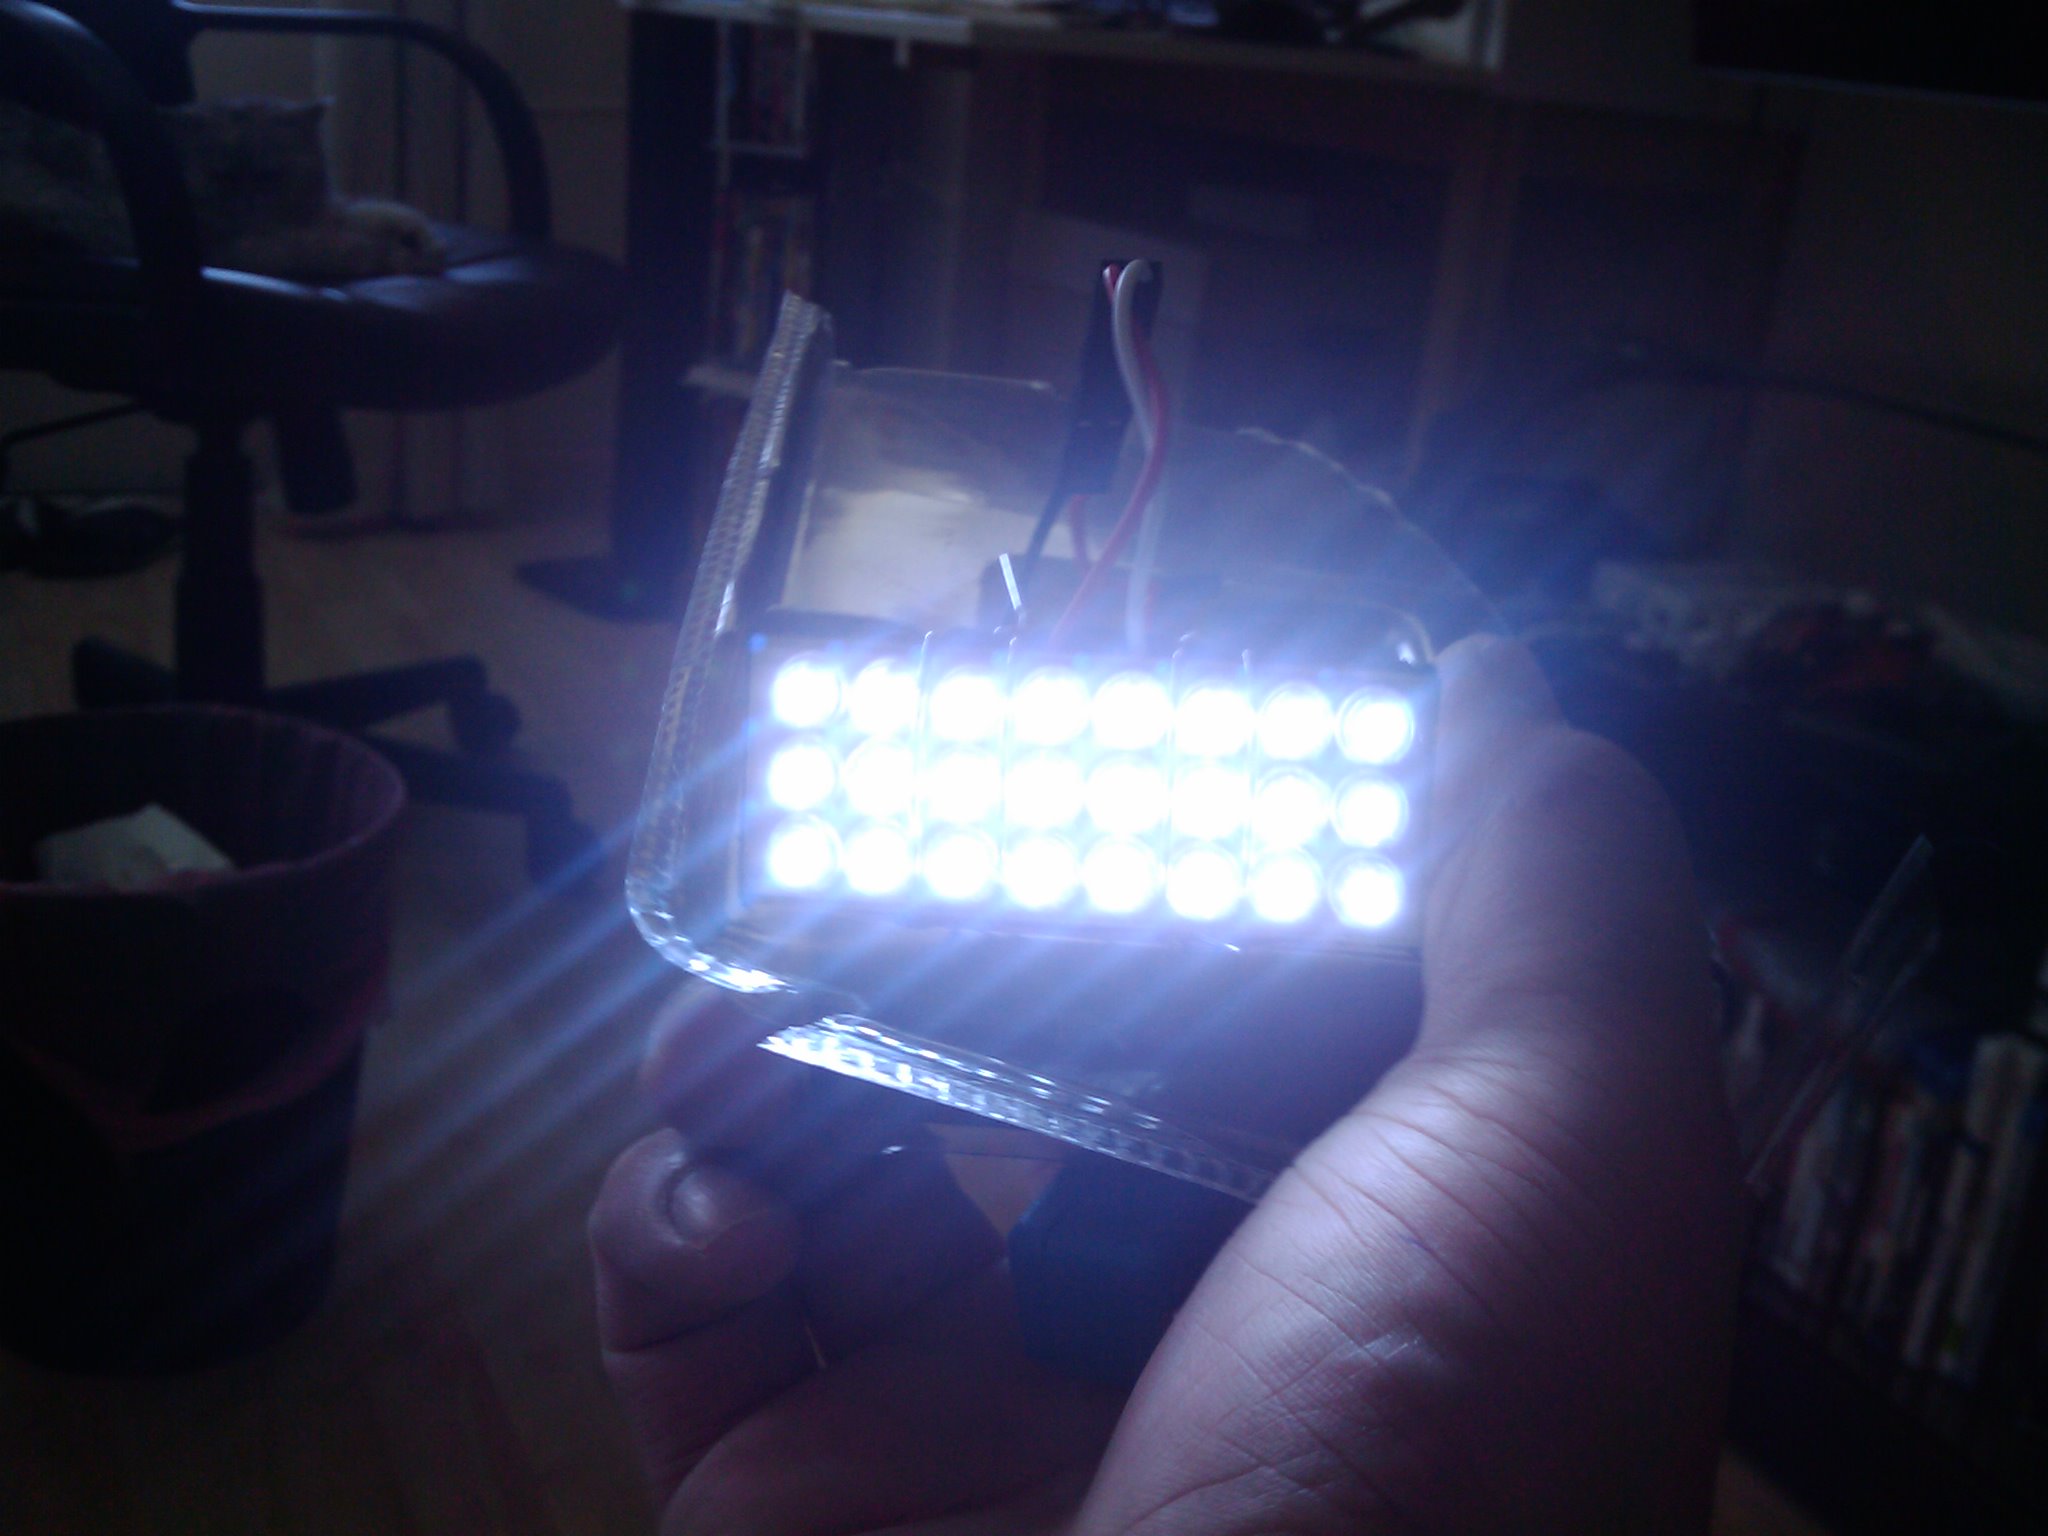
Taillight removed
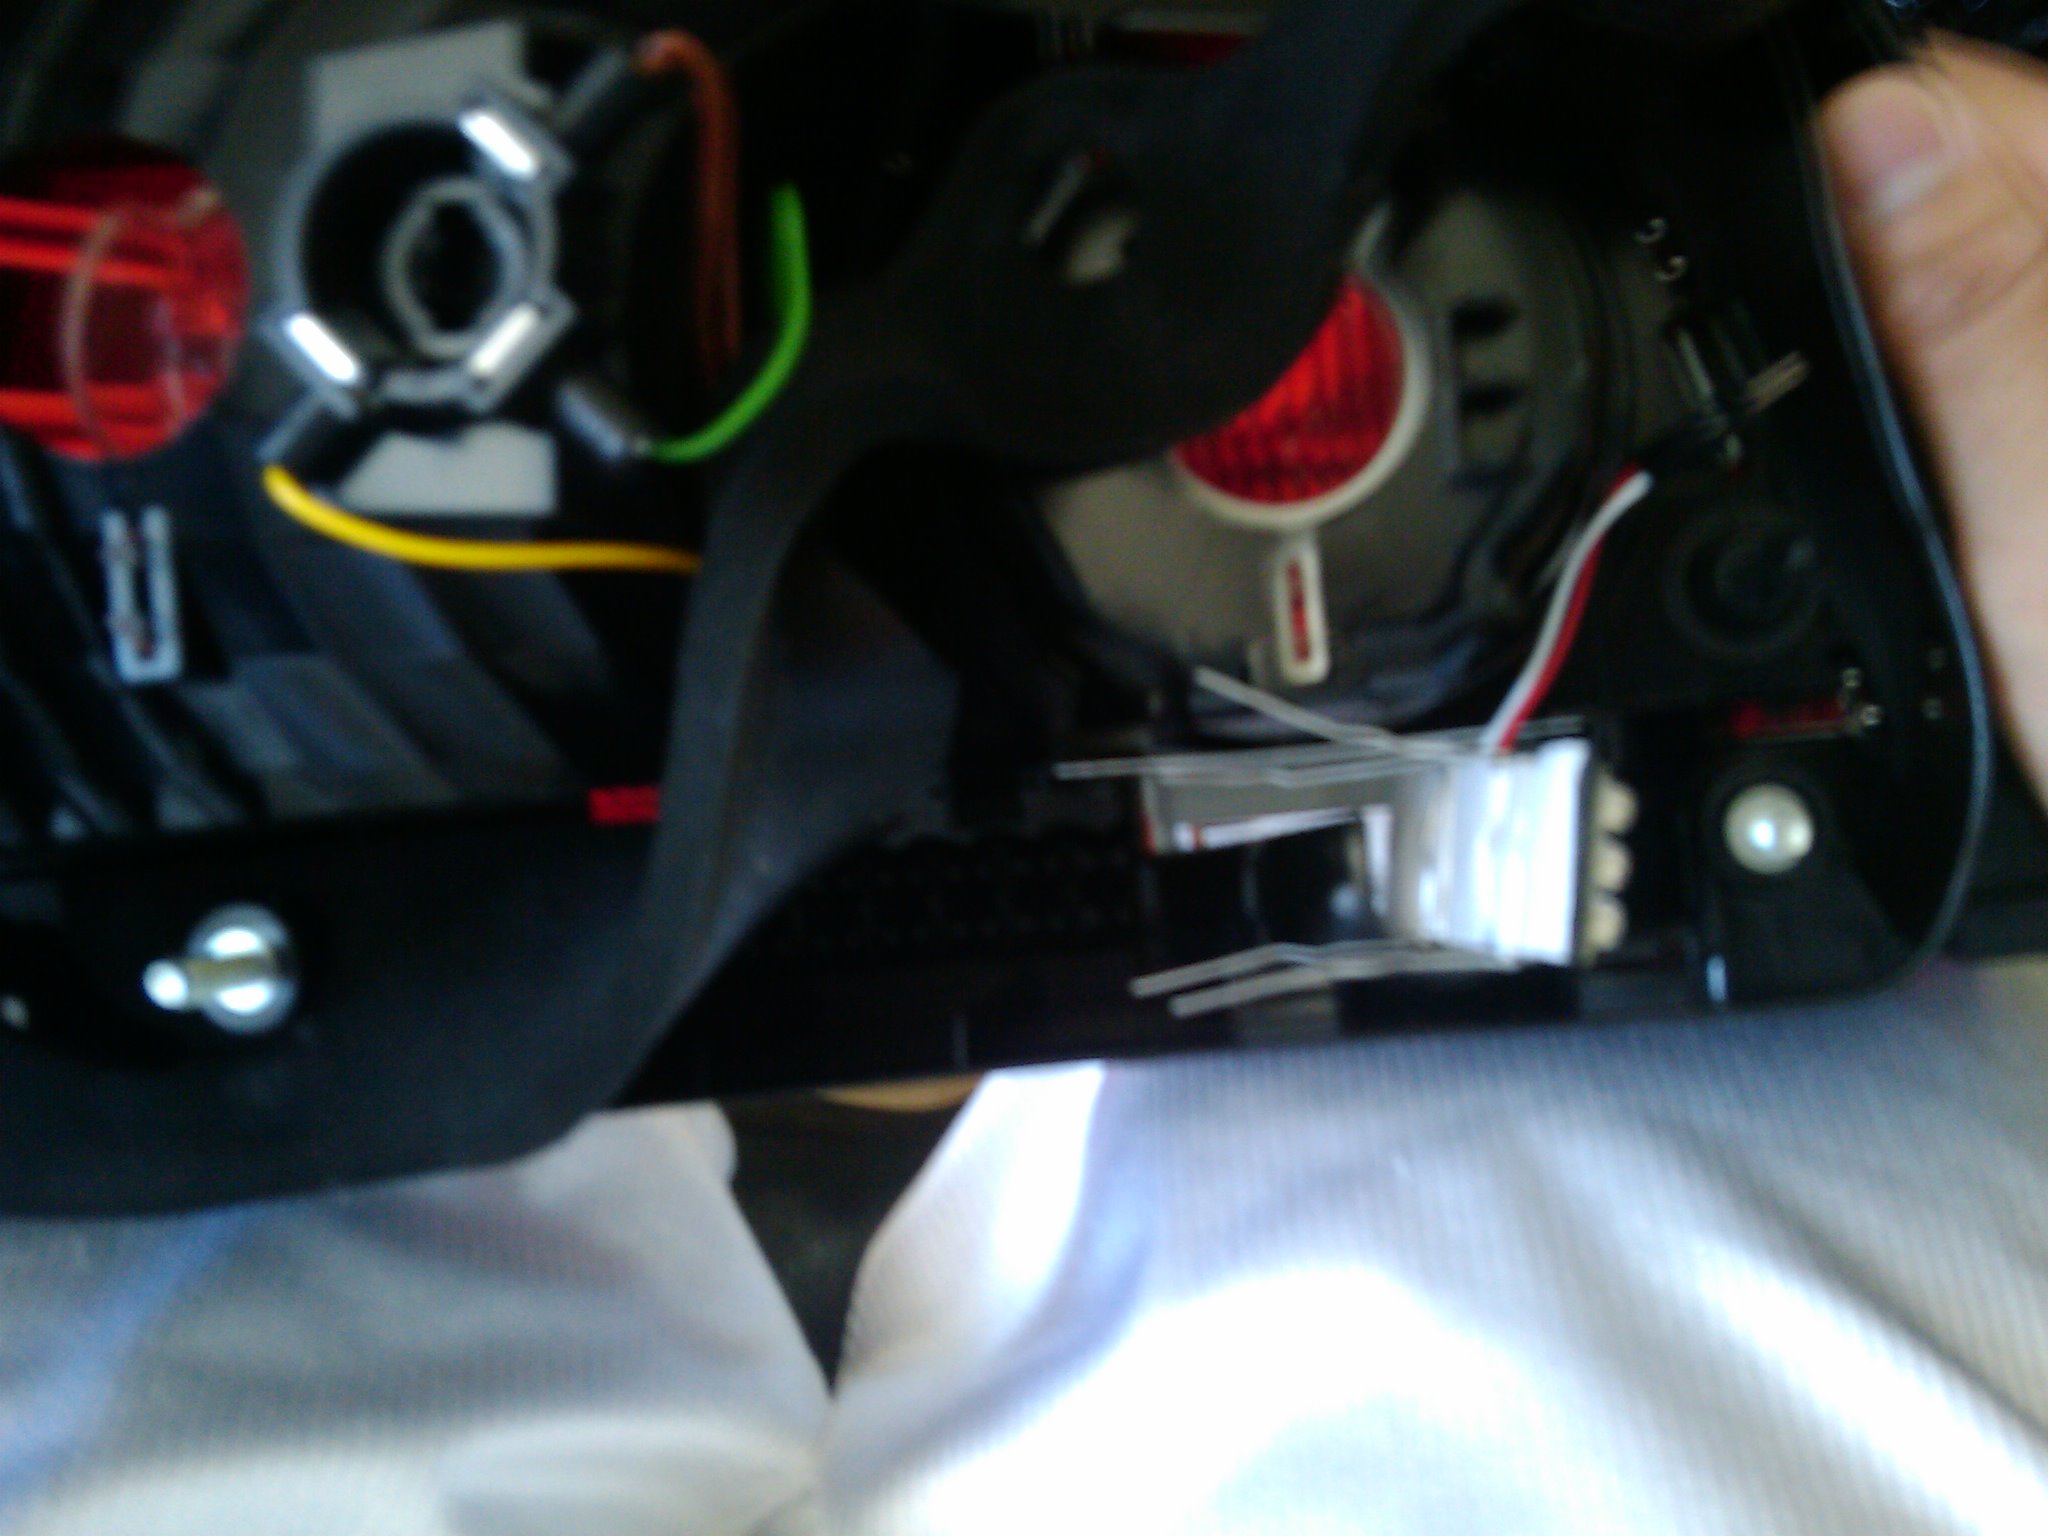
Unclip the sockets for ALL the bulbs for pre-LCI. For LCI, twist the knob and pull out.
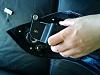
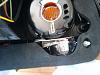
This is what it looks like when pulled out.
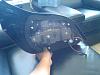
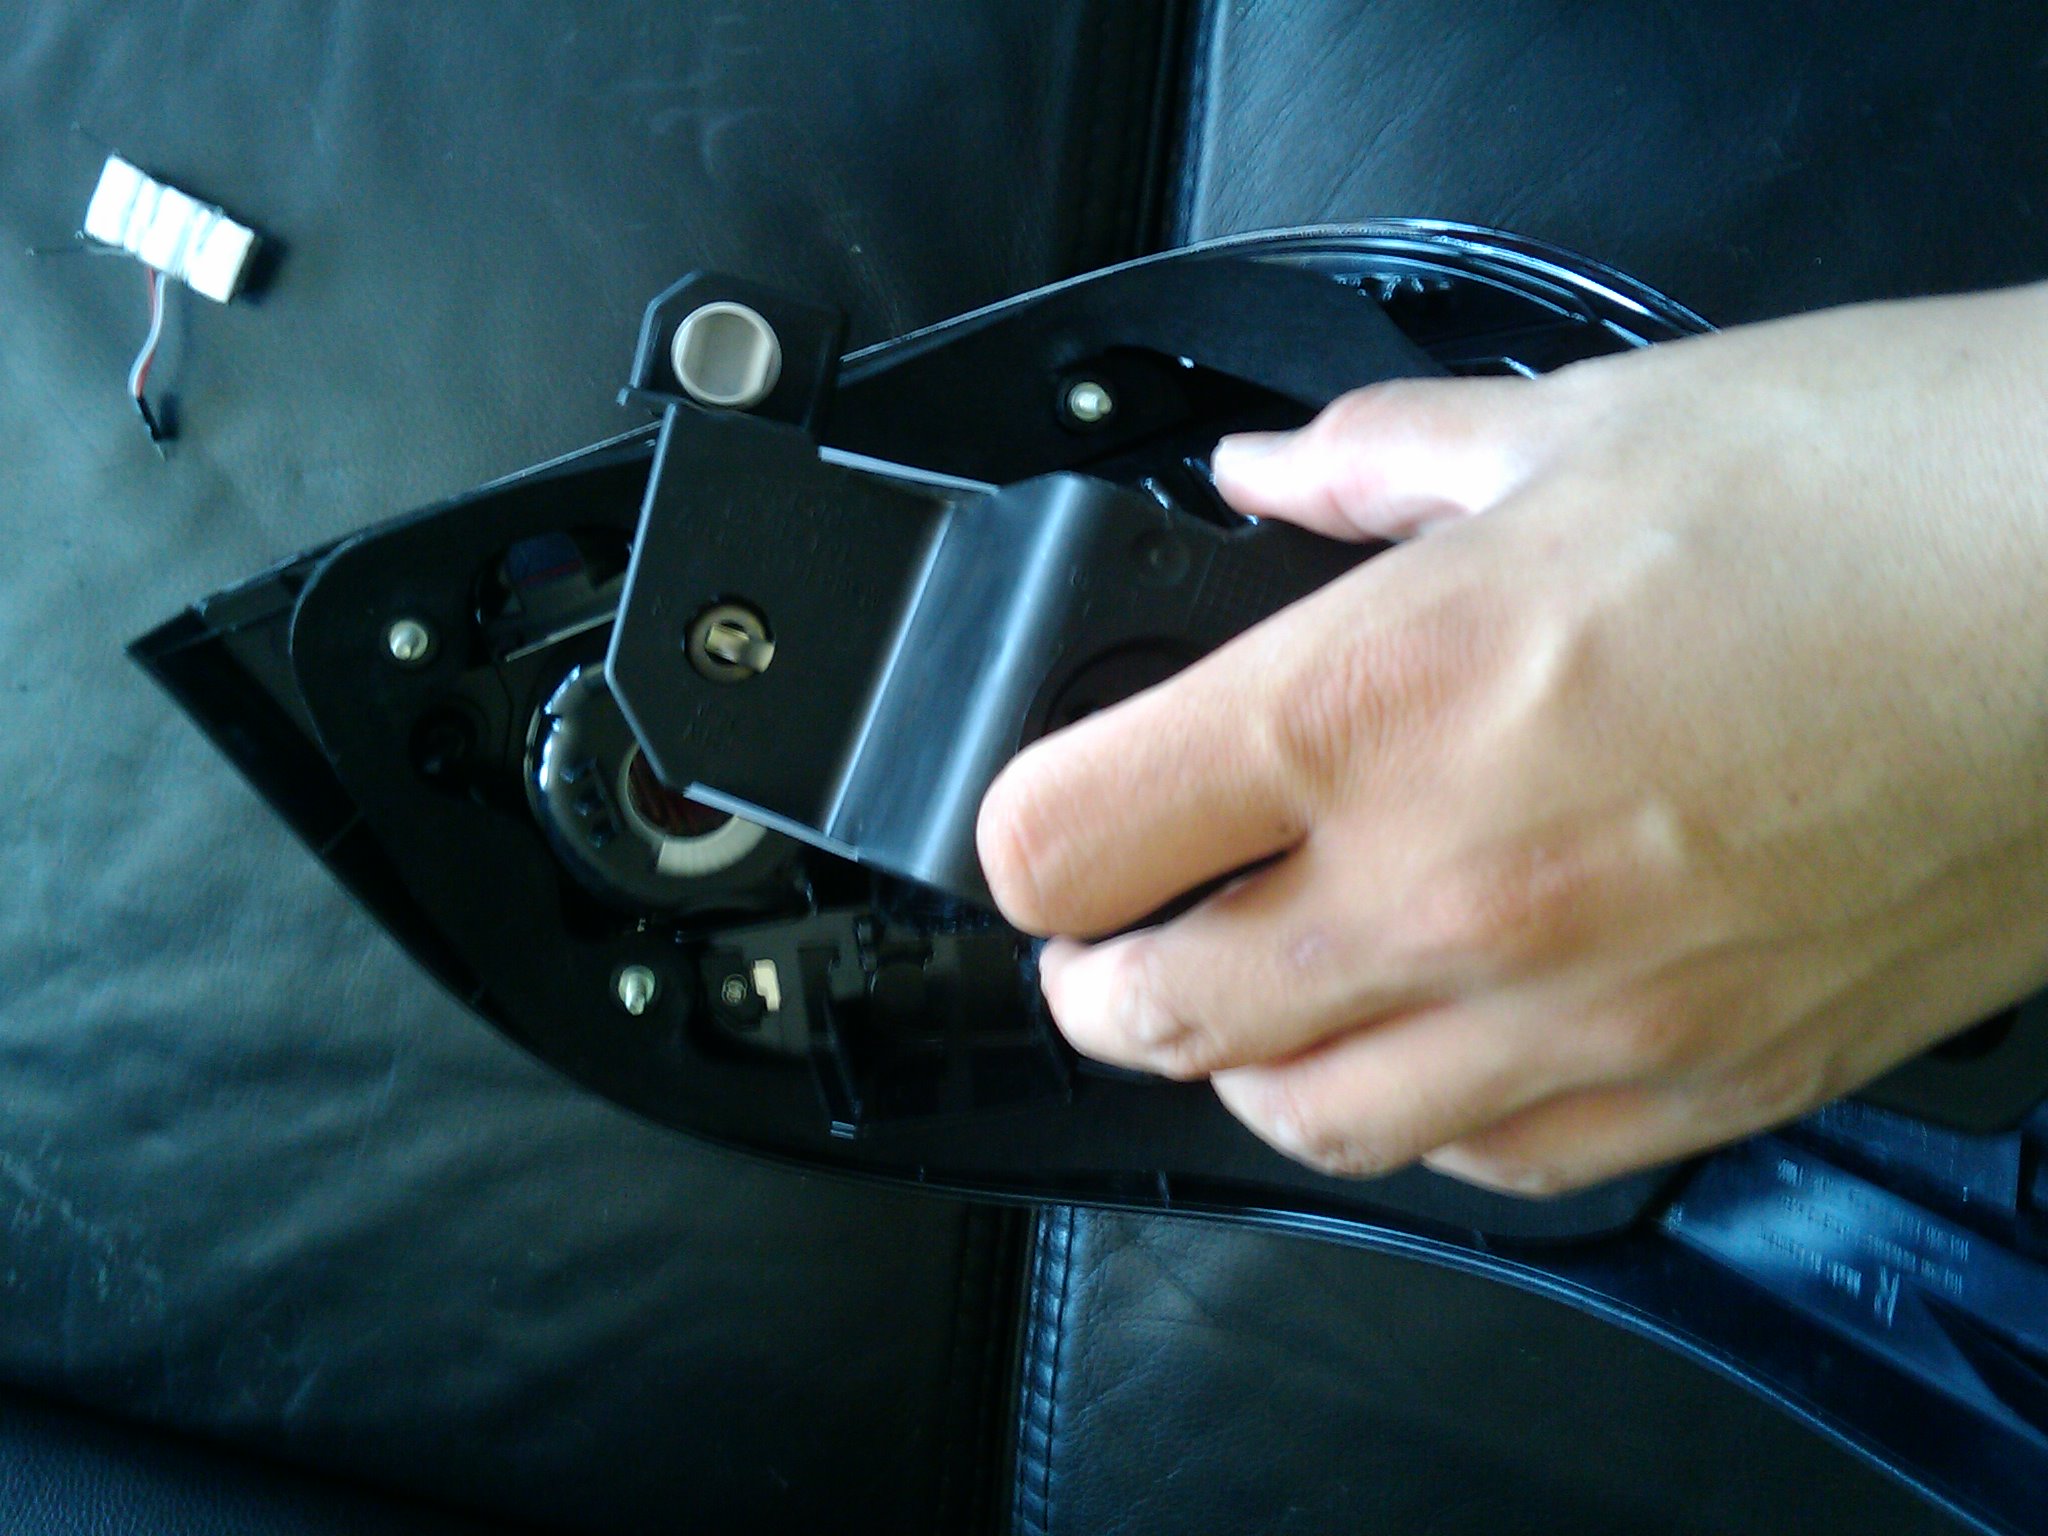
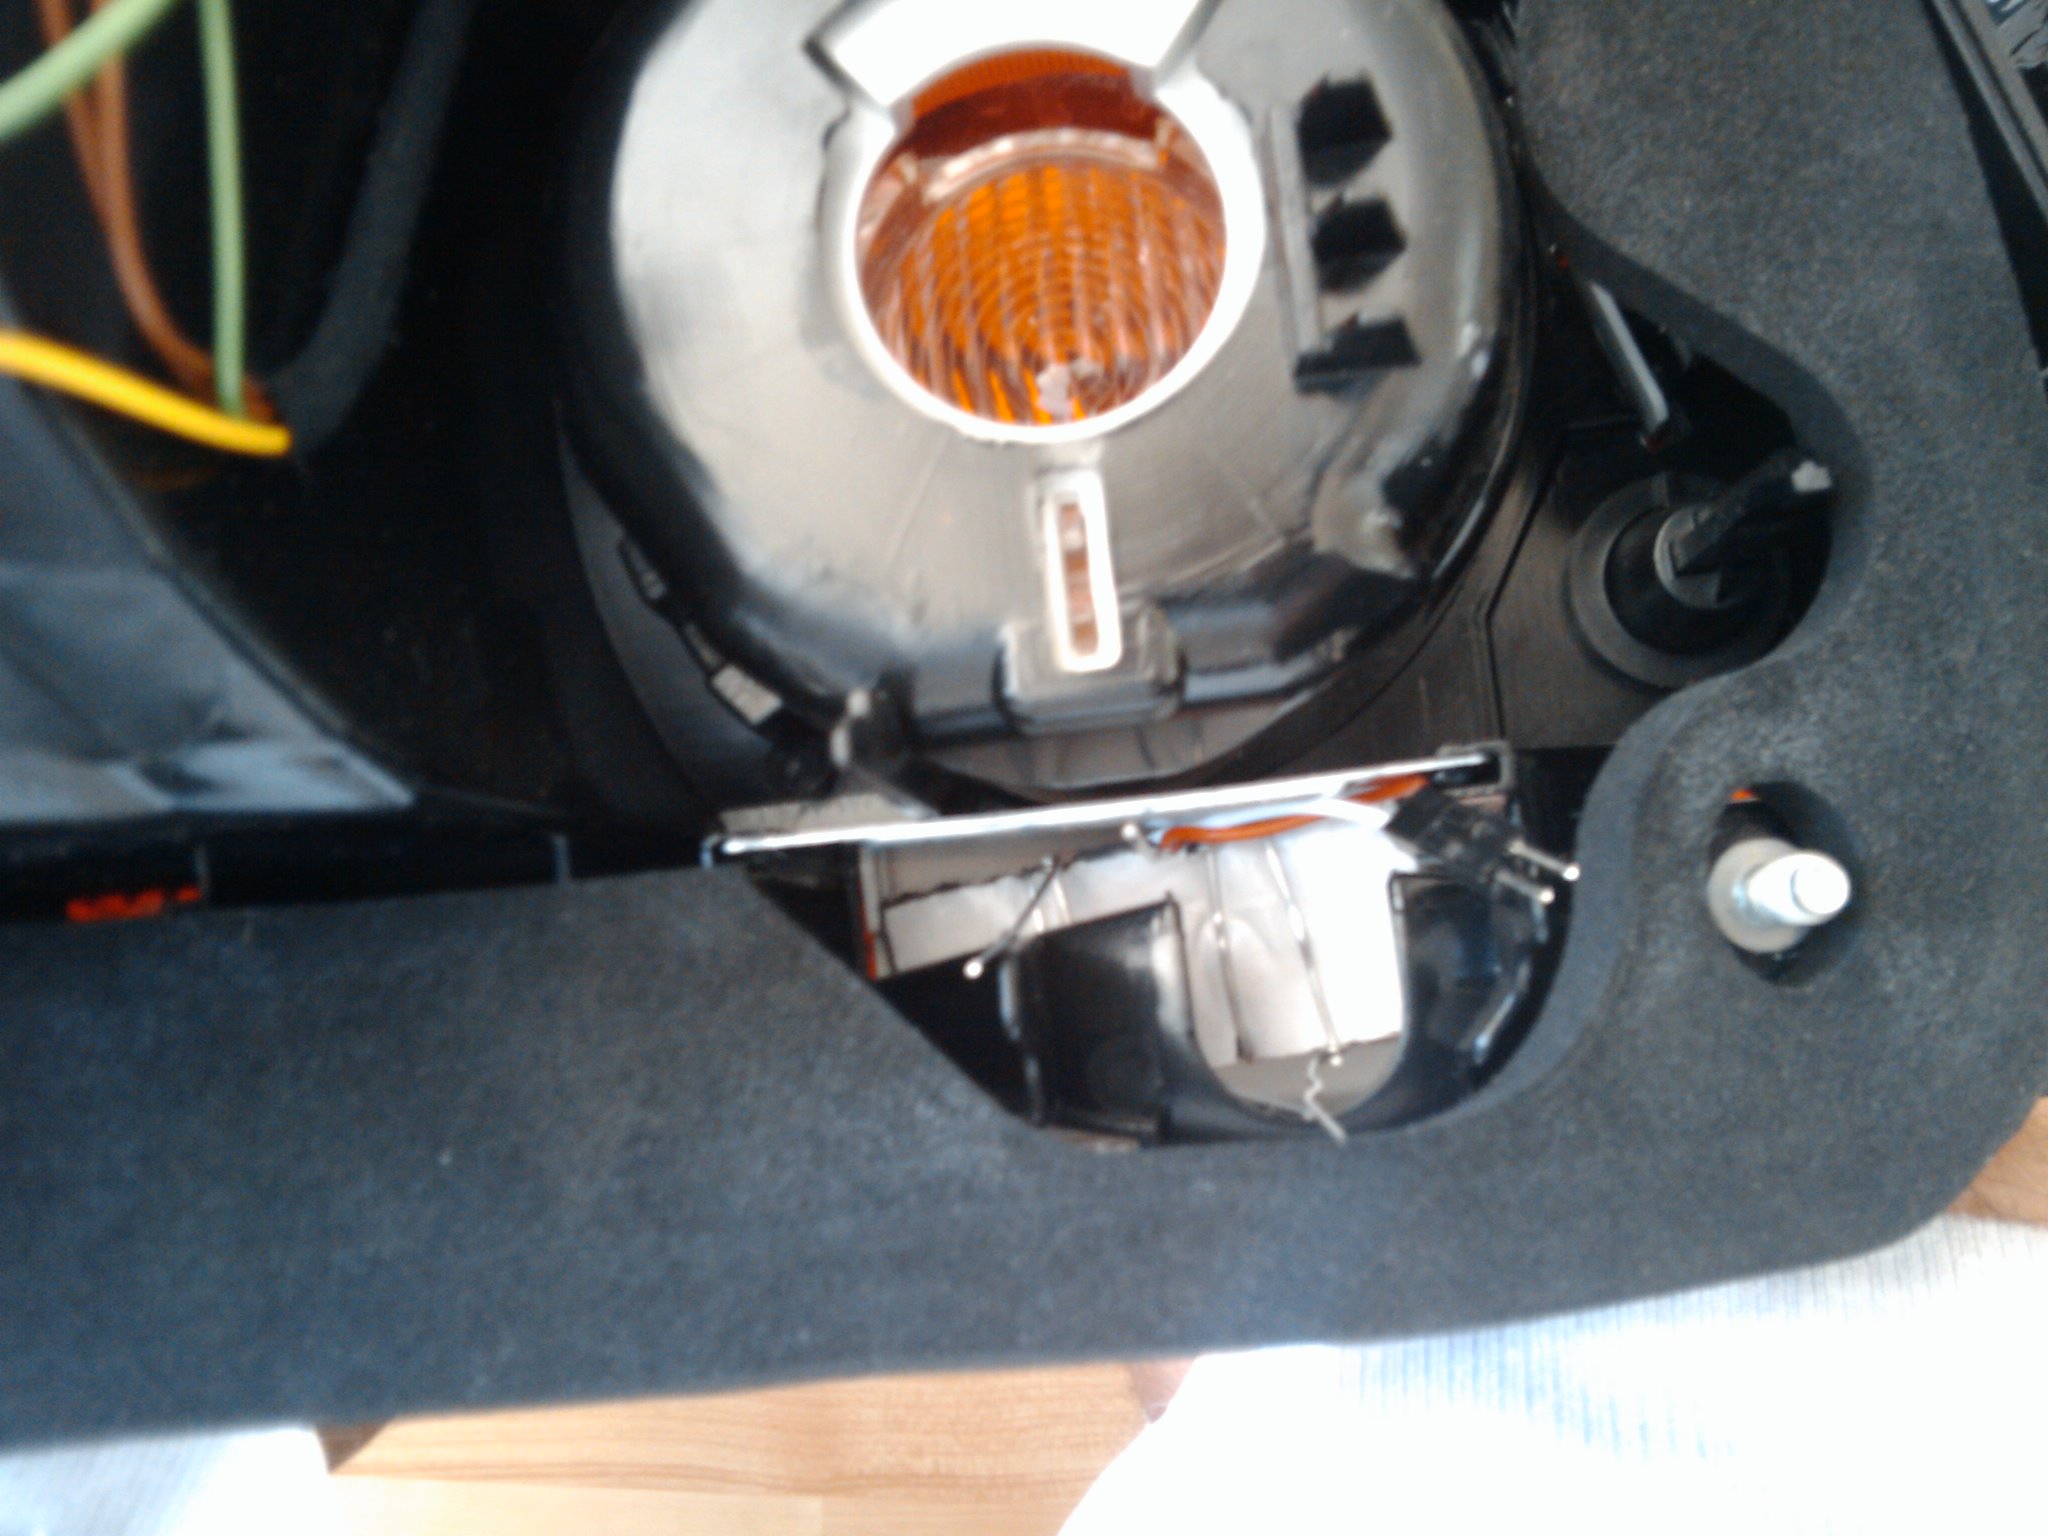
Take a close look of the rubbery foam.
Pull the foam back so u have access
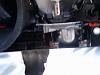
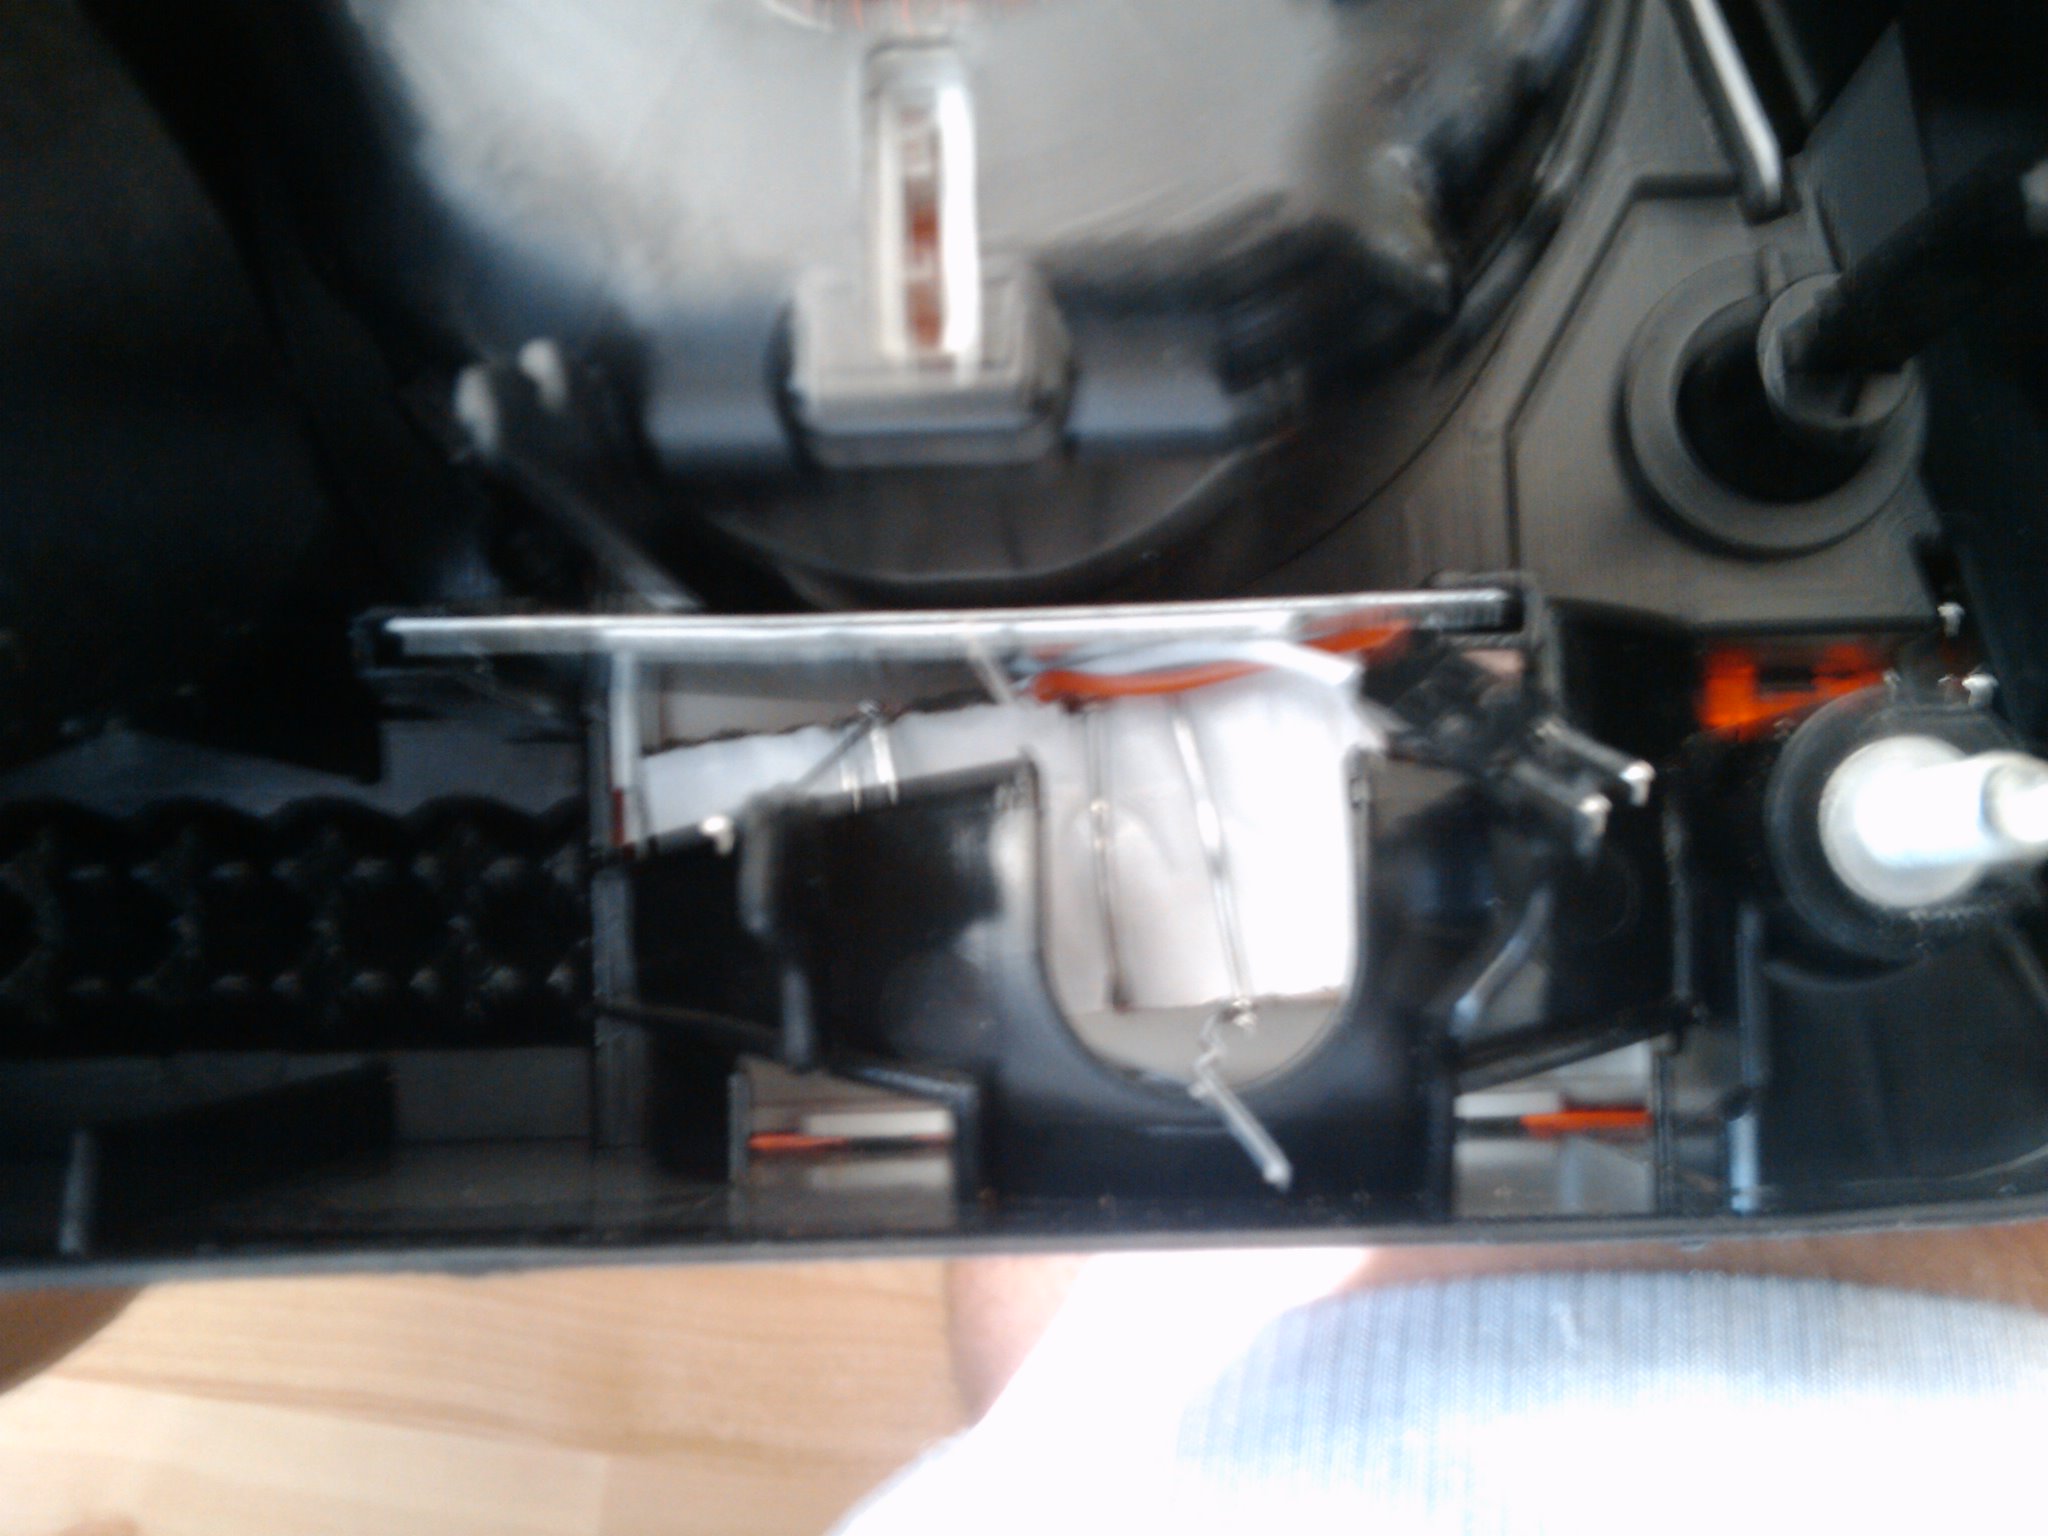
Drop the panel into the hole
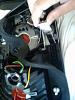
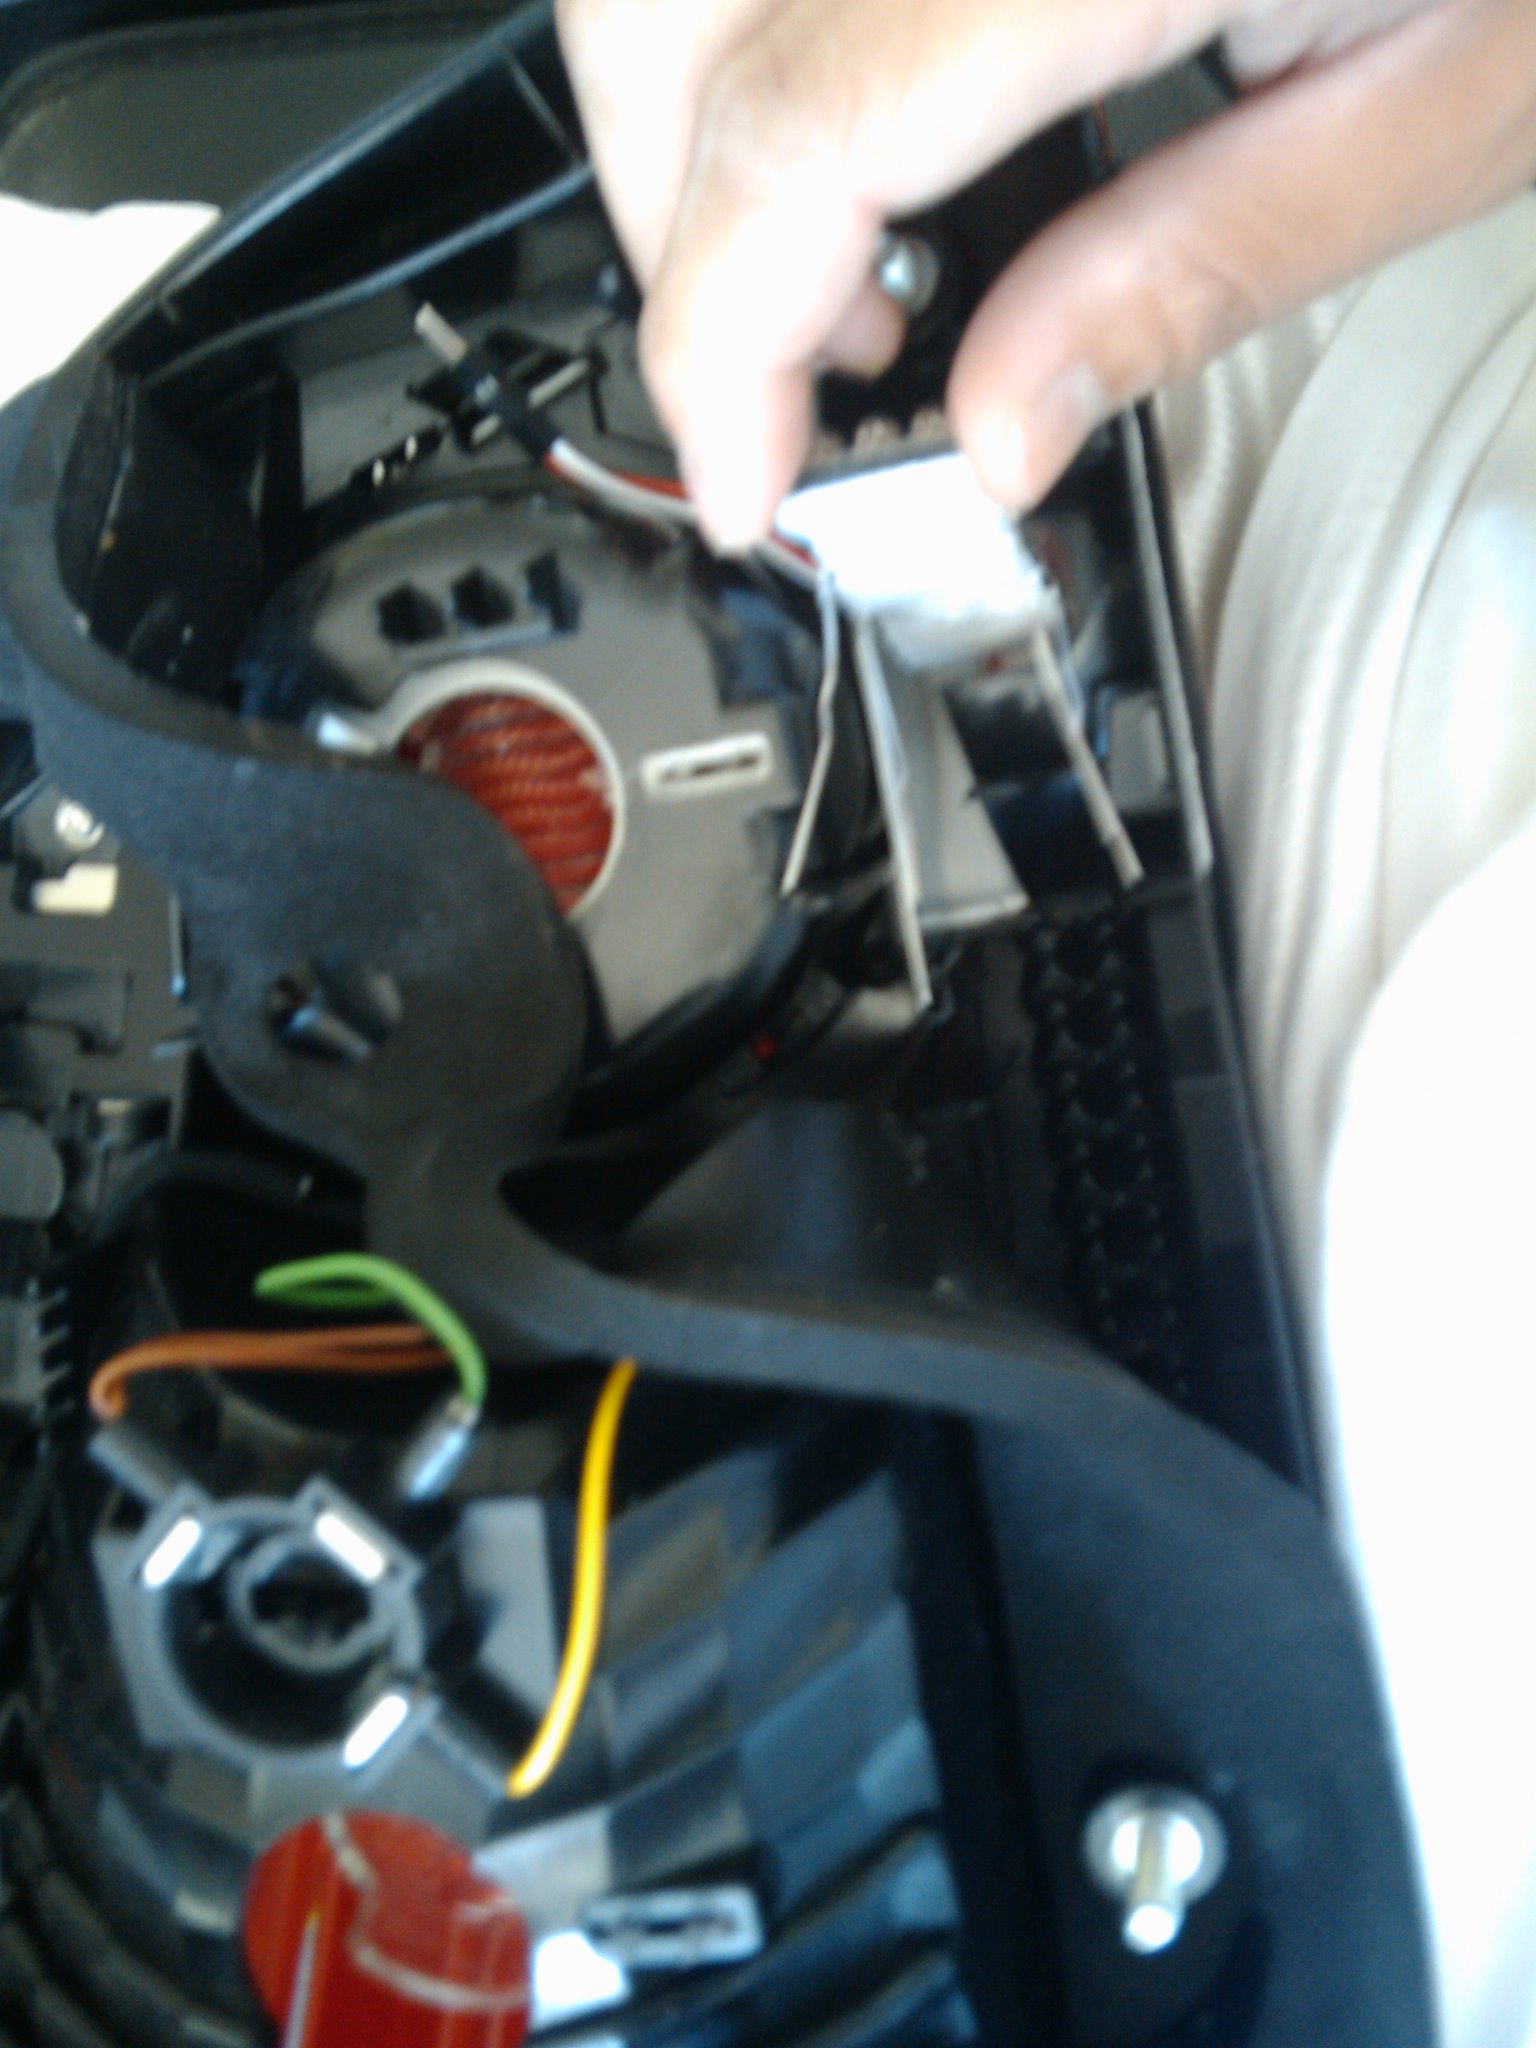
Another view of dropping the panel inside

Push the panel into the hole.
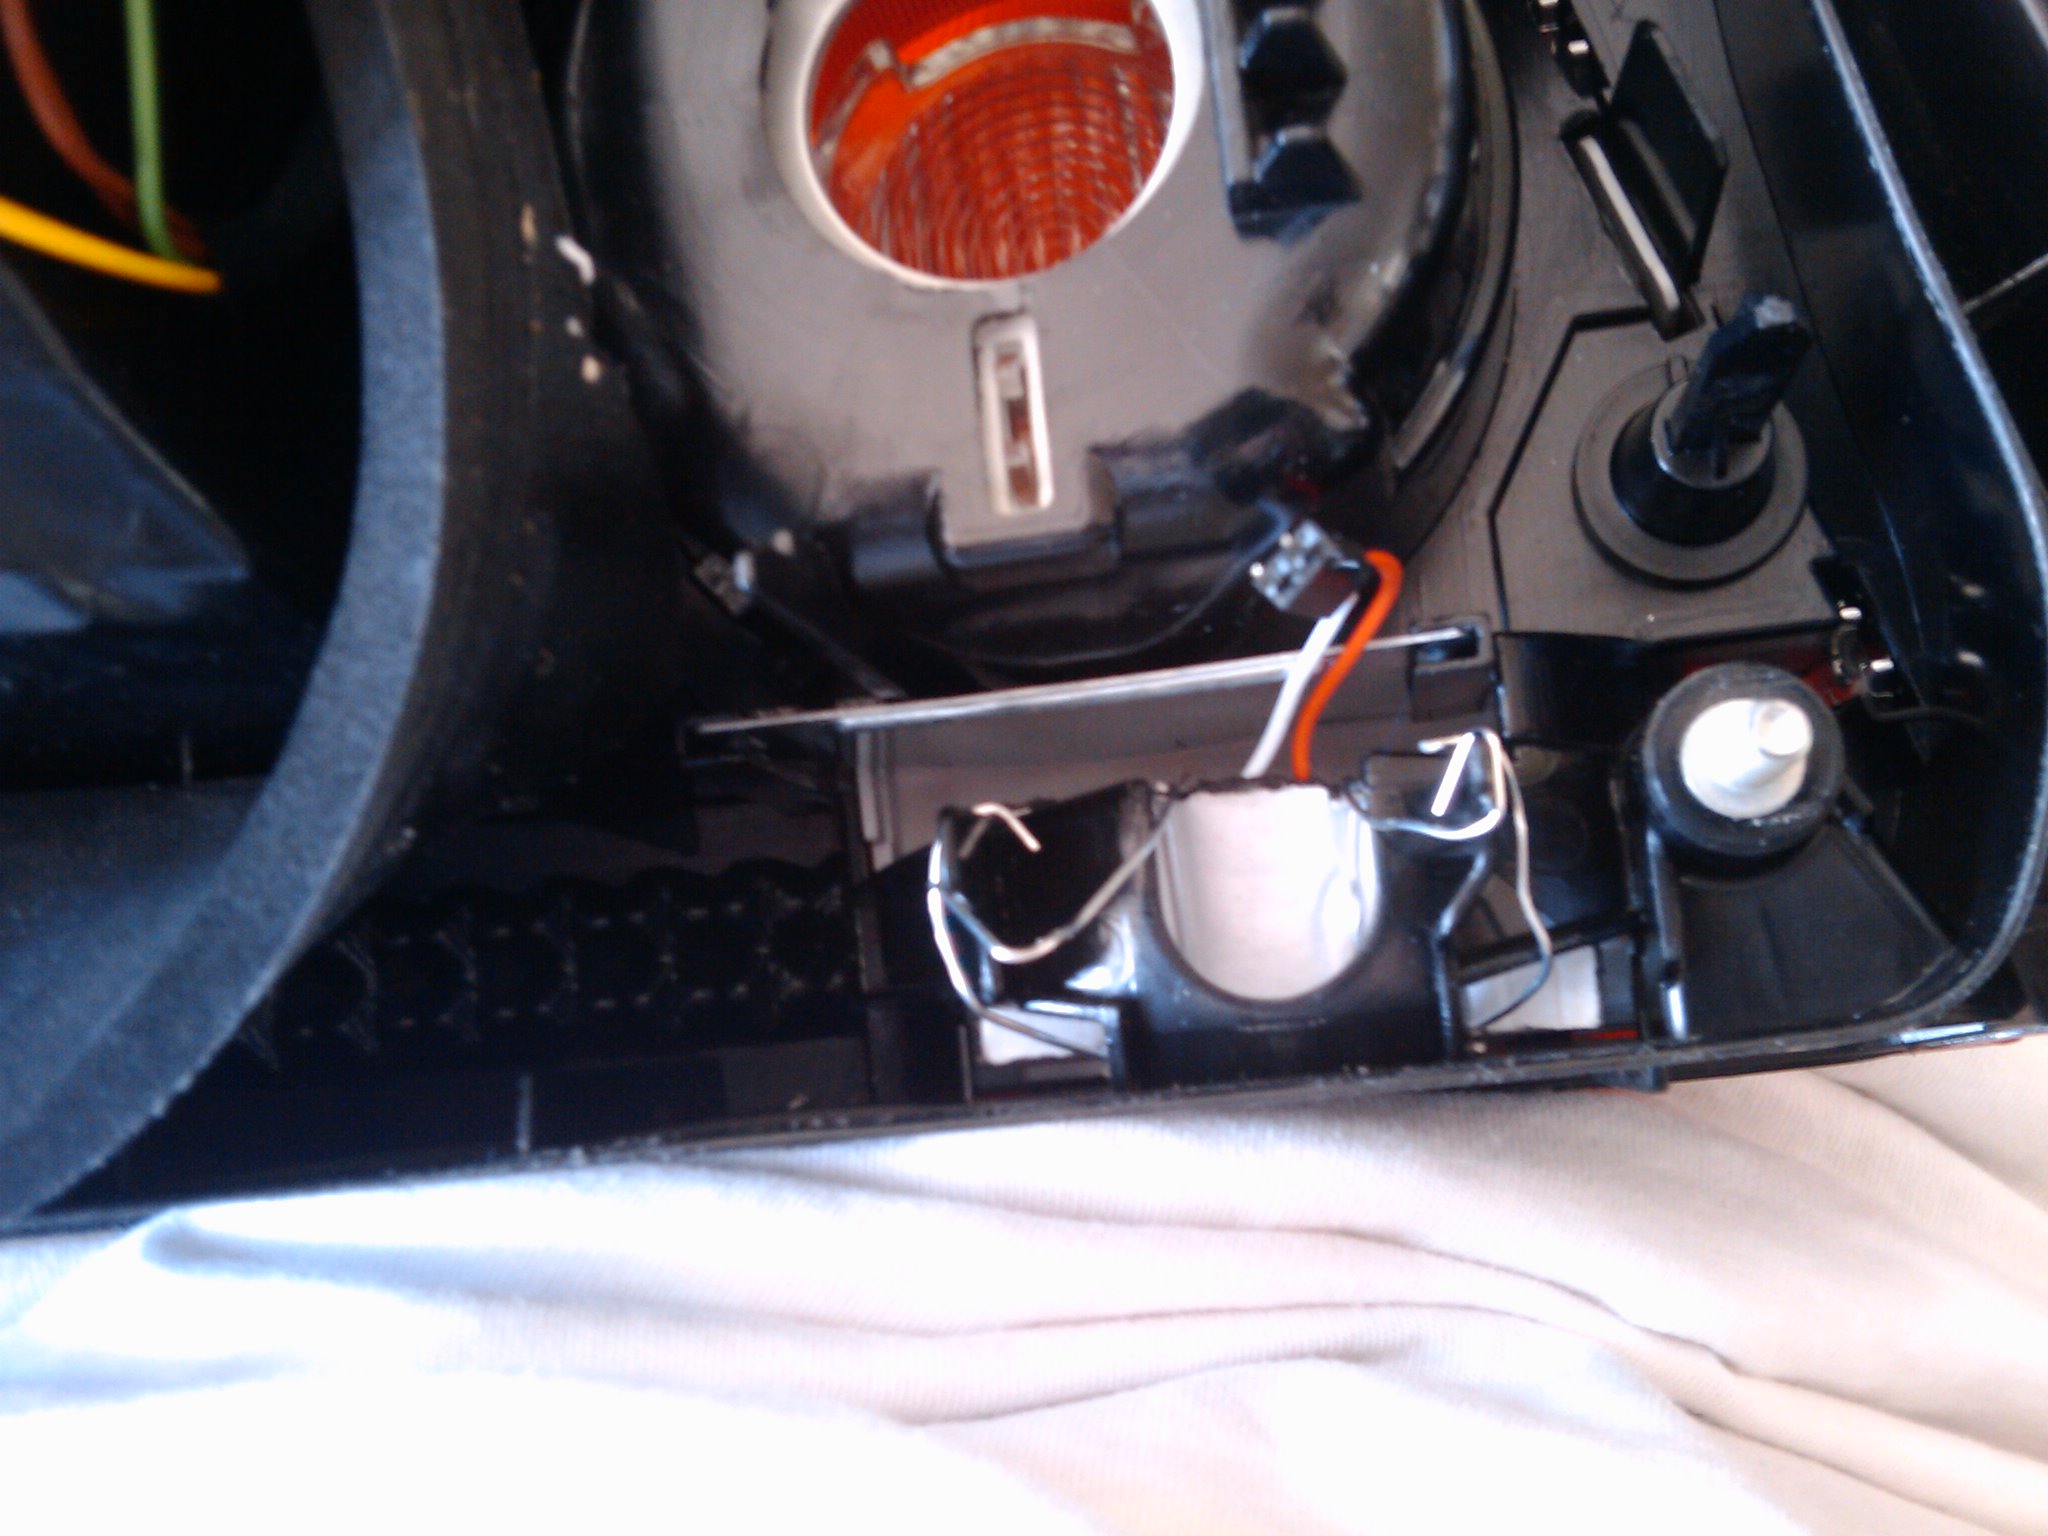
Another view of pushing the panel

Pull the mounting clips upwards using pliers
Wrap the mounting clips around so it stays put. You can use ur hands or pliers.

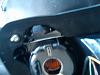
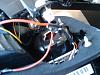
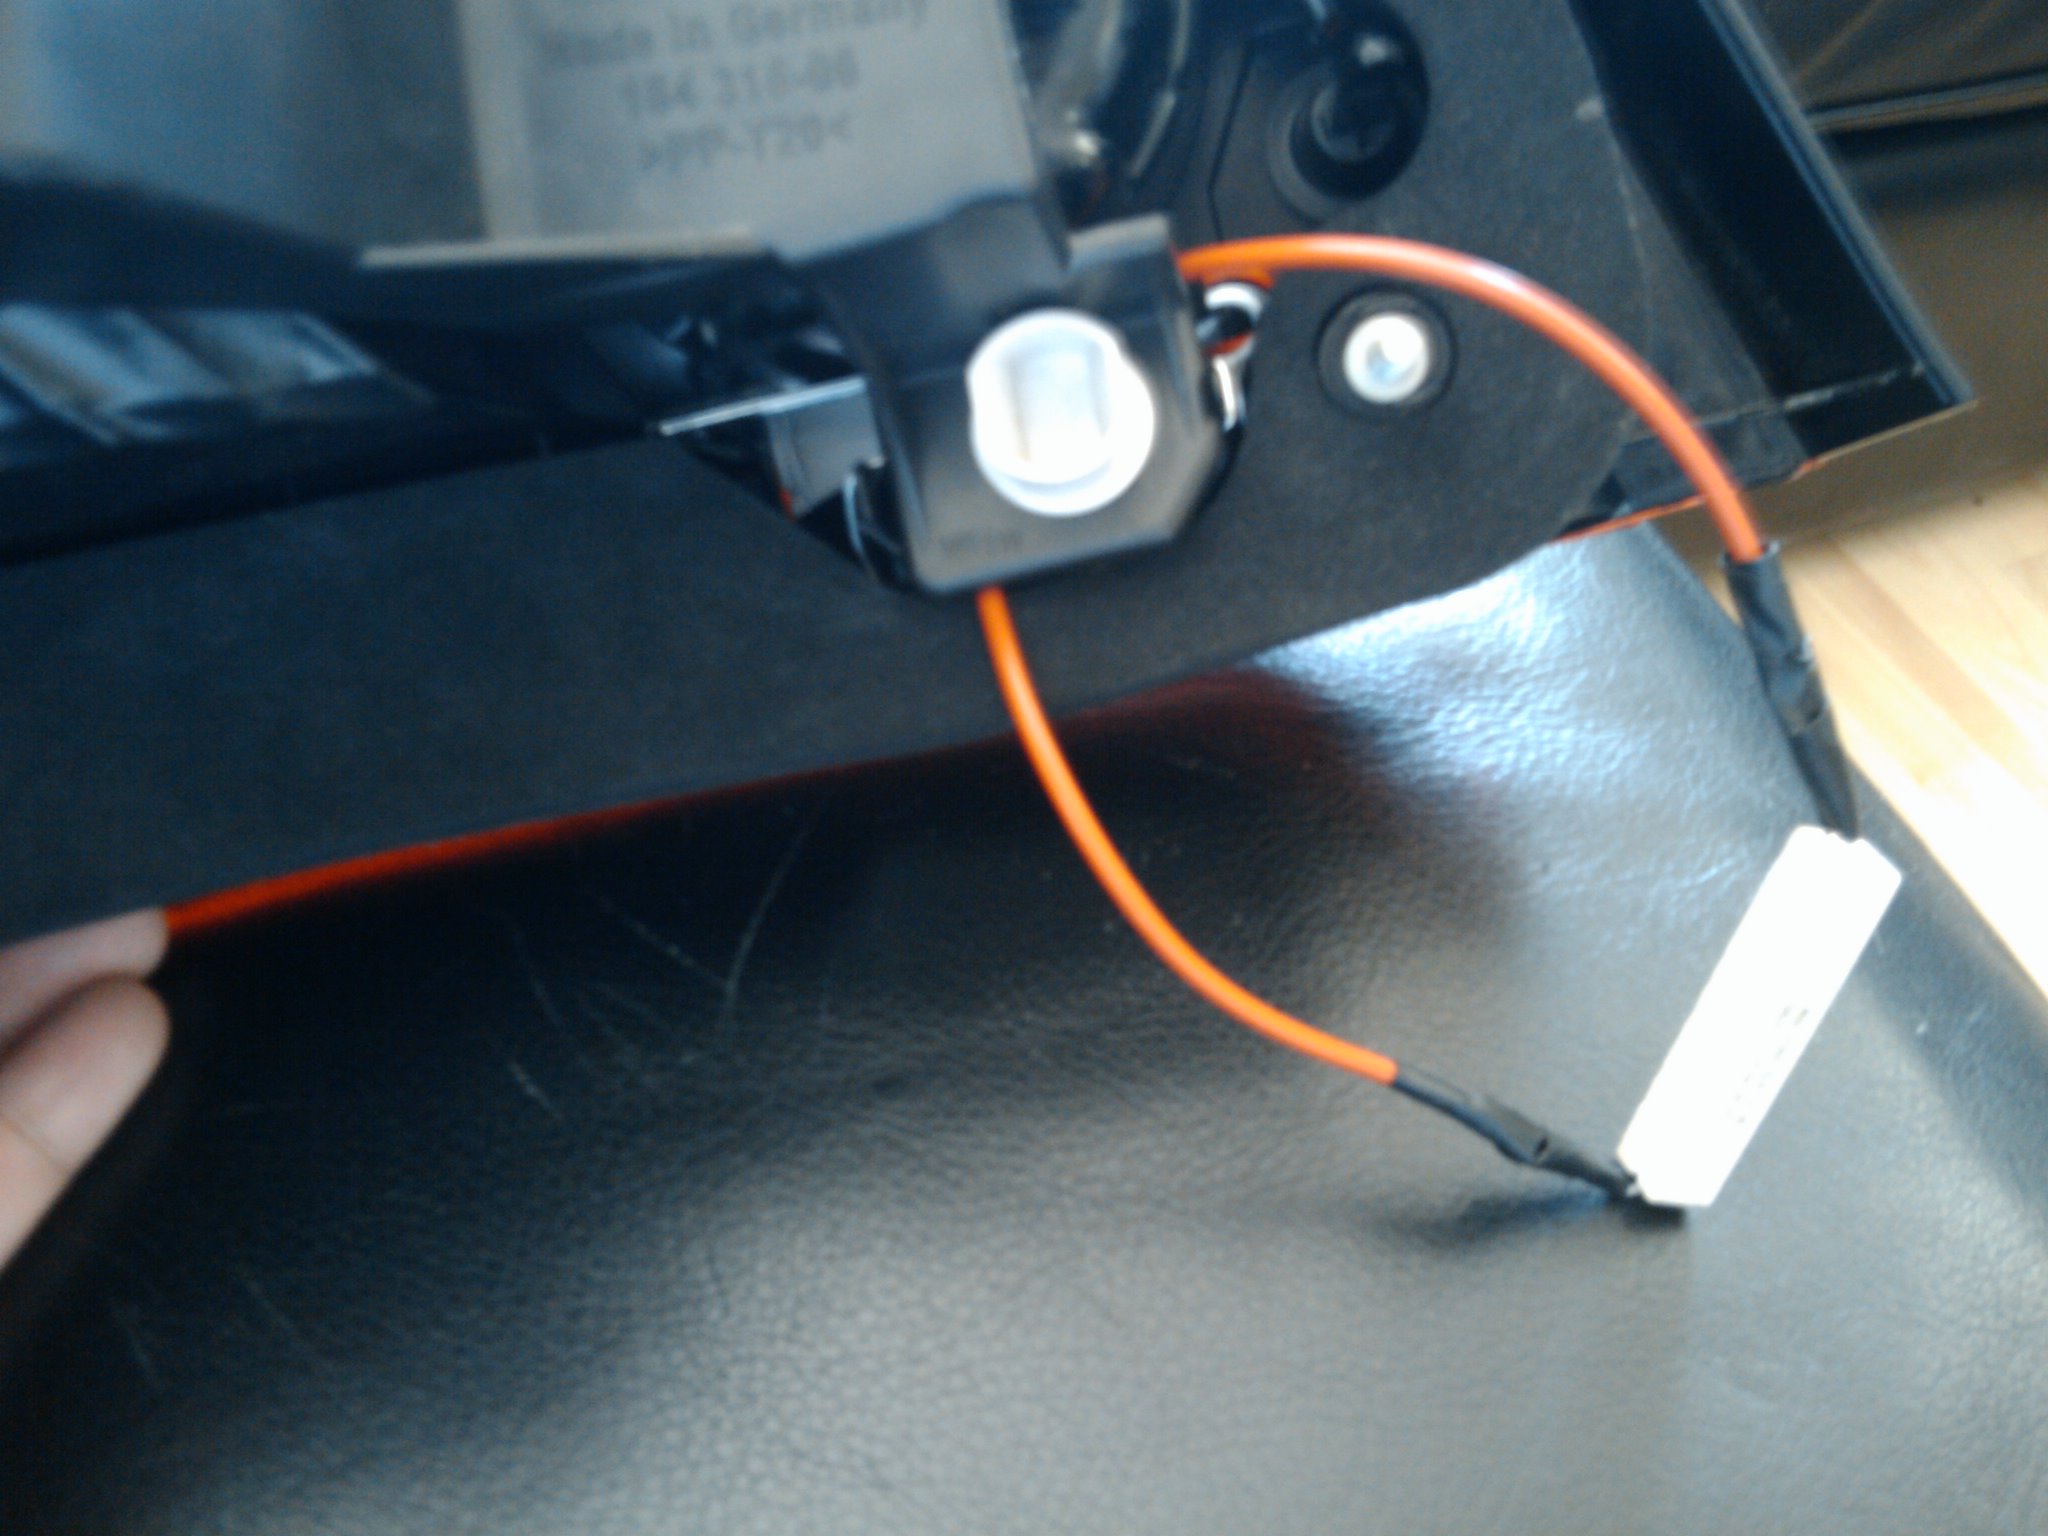
Picture of the socket piece
Socket piece with my custom cable with resistor
Put the foam back in place
Attach the connectors and clip them in place.
Finished!
Make sure you DO NOT rest the resistor on wires. The reverse lights would not be on for hours but safety is still a priority.
Post any questions u may have.
You need to remove the taillight from the car first. Removing the taillight is simple. Just remove the two screws from the panel and then pull. Then there are 4 nuts holding the taillight in place. U can find the taillight DIY anywhere as it has been discussed MANY times.
Picture of actual product

Connected with resistor

Let's check the brightness
Taillight removed

Unclip the sockets for ALL the bulbs for pre-LCI. For LCI, twist the knob and pull out.
This is what it looks like when pulled out.

Take a close look of the rubbery foam.

Pull the foam back so u have access

Drop the panel into the hole
Another view of dropping the panel inside
Push the panel into the hole.
Another view of pushing the panel
Pull the mounting clips upwards using pliers

Wrap the mounting clips around so it stays put. You can use ur hands or pliers.
Picture of the socket piece

Socket piece with my custom cable with resistor

Put the foam back in place

Attach the connectors and clip them in place.

Finished!


Make sure you DO NOT rest the resistor on wires. The reverse lights would not be on for hours but safety is still a priority.
Post any questions u may have.
 09-01-2009, 05:03 PM
#2
Contributors

Join Date: Mar 2009
Location: New York, New York
Posts: 10,301
Likes: 0
Received 0 Likes
on
0 Posts
My Ride: See my signature
I saw John do this to my tails when he put in the LED reverse lights. The technical difficulty of this mod was greater, by far, than any of the other lighting mods John has done to my car (HID fogs, 6000K HID headlights, stealth bulbs, LED interior lights, 8500K GP Thunder AE bulbs).
Yet John somehow manages to make everything look easy.
Yet John somehow manages to make everything look easy.
09-01-2009, 08:04 PM
#4
Banned
Thread Starter
Join Date: Jun 2008
Location: Queens, NY
Posts: 7,983
Likes: 0
Received 1 Like
on
1 Post
My Ride: A Car
Originally Posted by theXman' post='995524' date='Sep 1 2009, 11:30 PM
Great DI, John. Would you get error from the reverse lights if you don't put any resistors?
Yes it will have error message if you dont put any resistors.


