
Wes_R x GT3 RS (89 pics)
 07-21-2013, 04:02 PM
#1
Members
Thread Starter

Join Date: Feb 2009
Location: Toronto
Posts: 98
Likes: 0
Received 0 Likes
on
0 Posts
Hey 5Seriesers,
It's been awhile since my last write up here https://5series.net/forums/detailing...2-pics-127670/ but I'm back with a beautiful GT3RS 997.1 which was actually done back in Dec.
I got a call back in Dec. regarding this Orange RS and the owner stating that he wanted to give it a "freshen up" and good protection as it was a daily driver and had never been detailed since he took ownership. We discussed what it may need and figured out a date. Upon arrival it turned out I knew the owner and we had gone to school together. Small world!
Anyways again on to the write up hope you guys enjoy seeing the process!
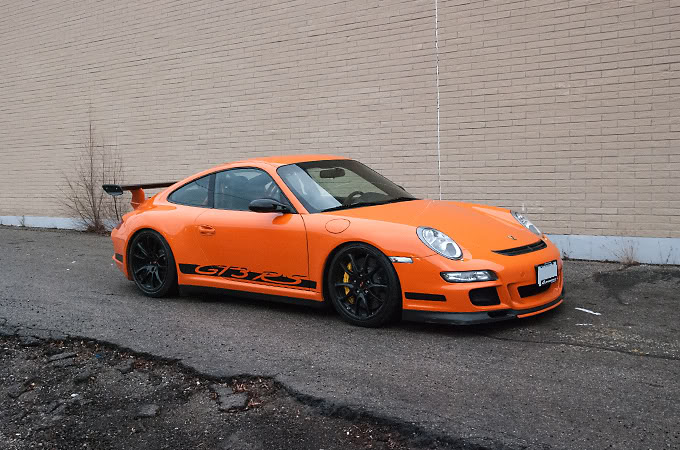
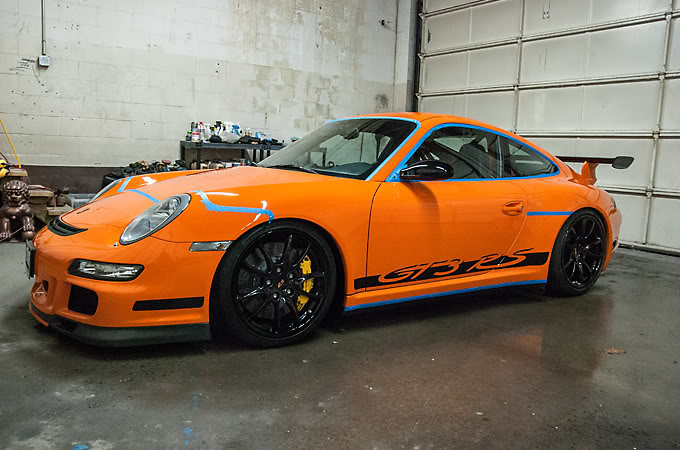
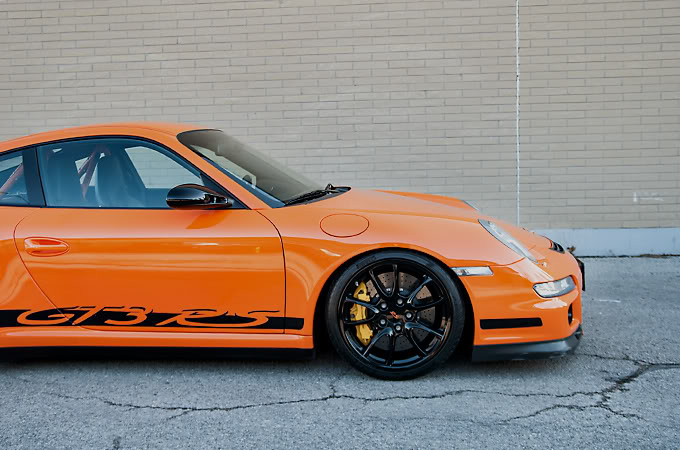
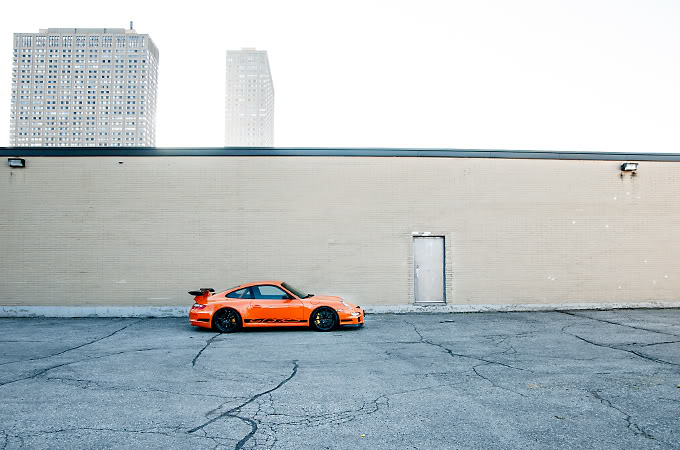
First off the initial walk around

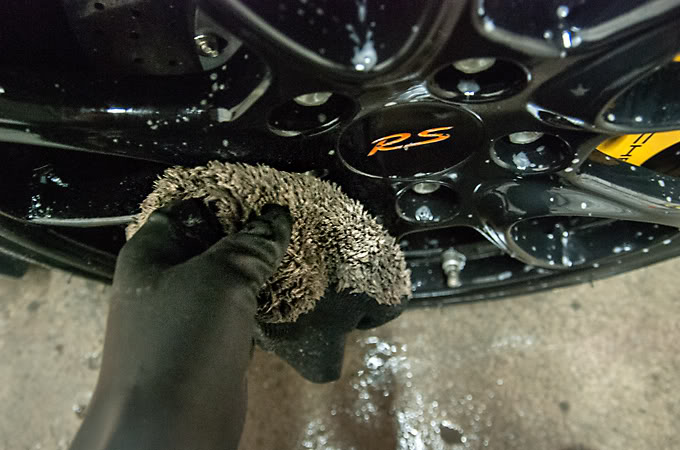
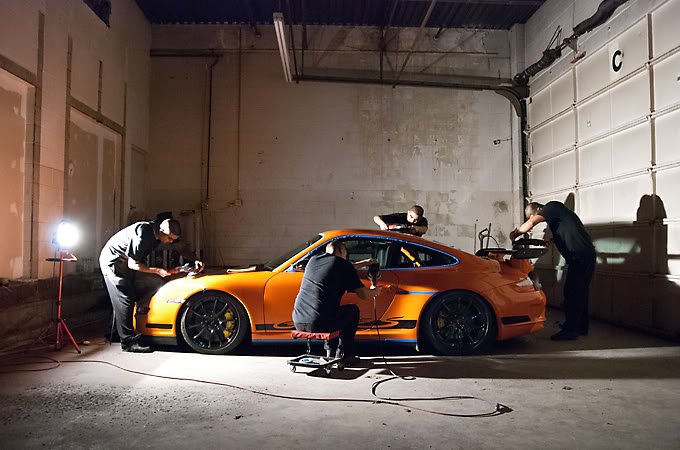
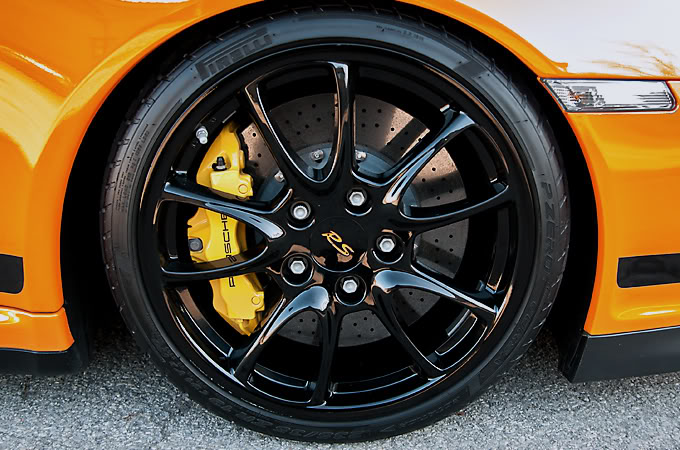
Brought it in to the garage and started cleaning the wheels first
Starting with the inner barrel
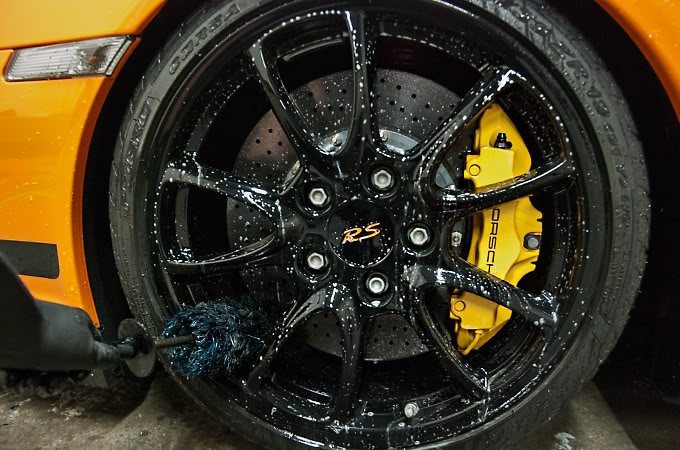
Lugnuts and calipers
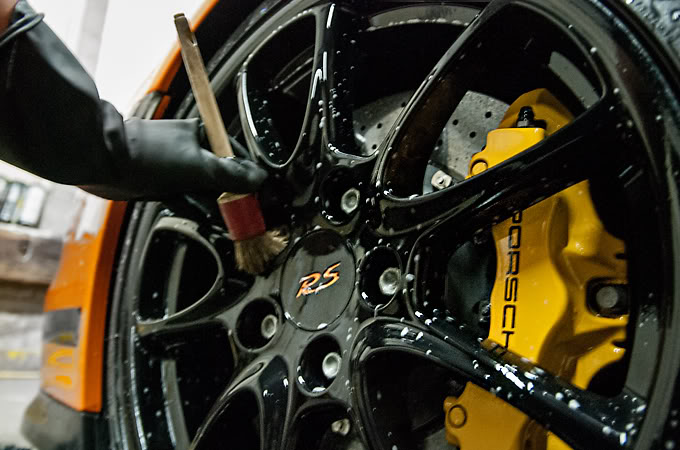
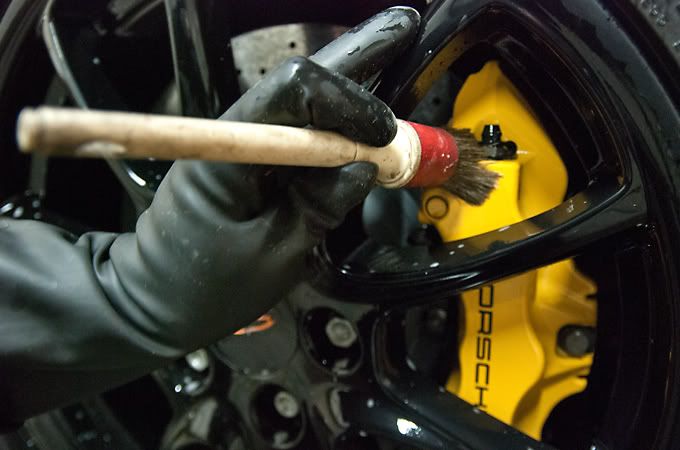
and rimface
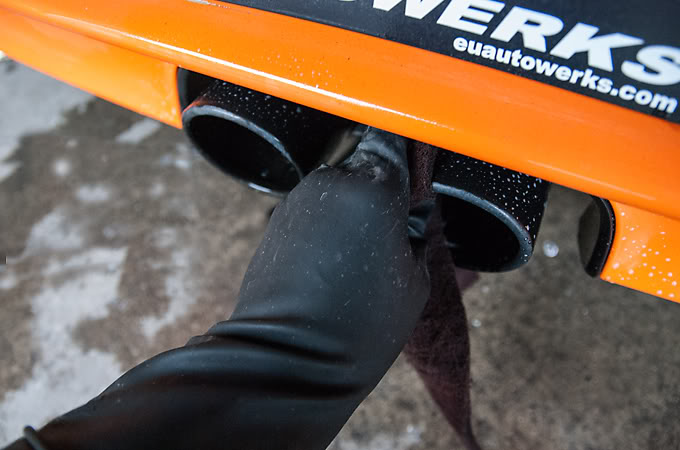
Moving on to the exhaust, steel wool was used to clean the outside and inside.
Lol, free advertising for Courtney
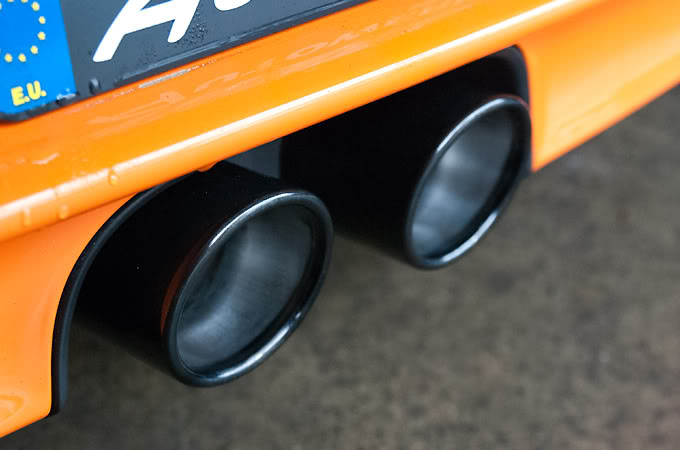
All clean
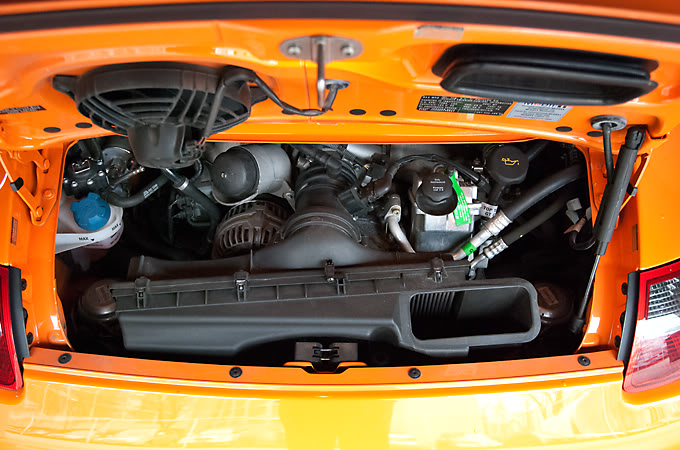
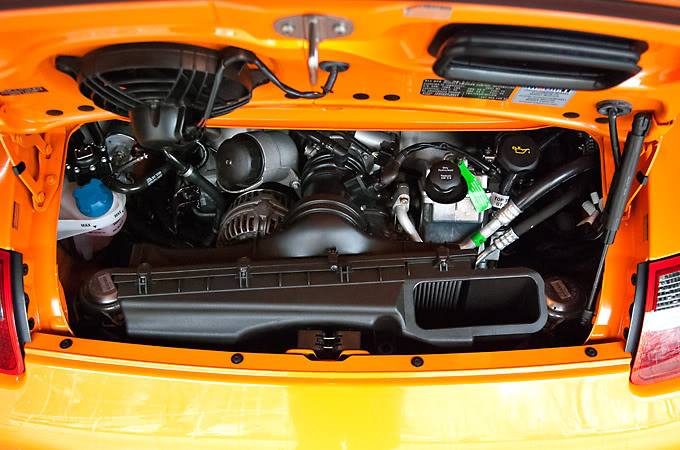
Engine also got a quick shampoo and dressing
Before
After
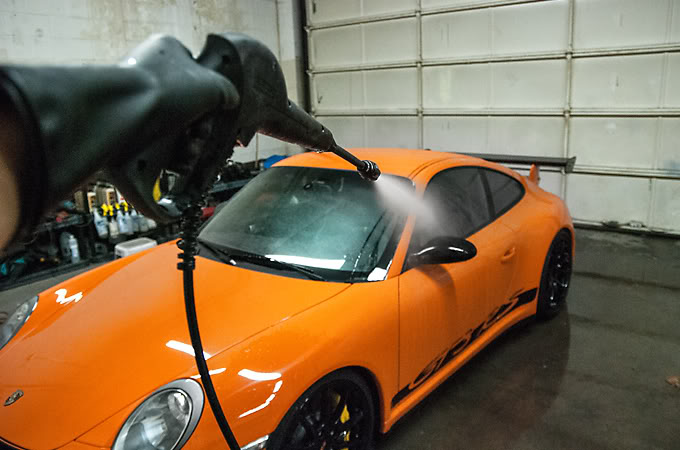
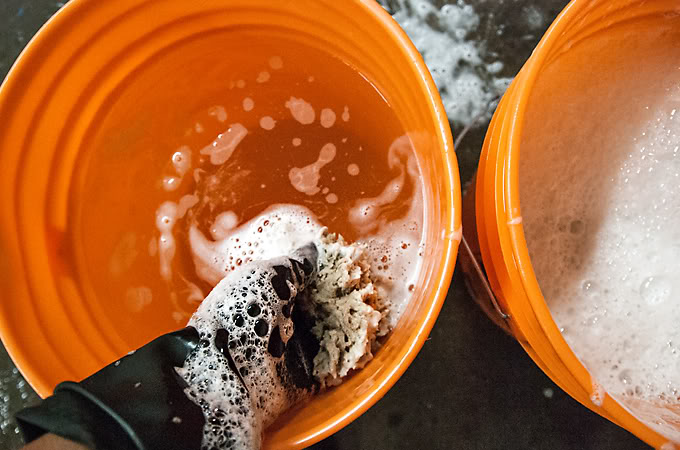
Finally after all the prep now we can start washing the car starting with the rinse
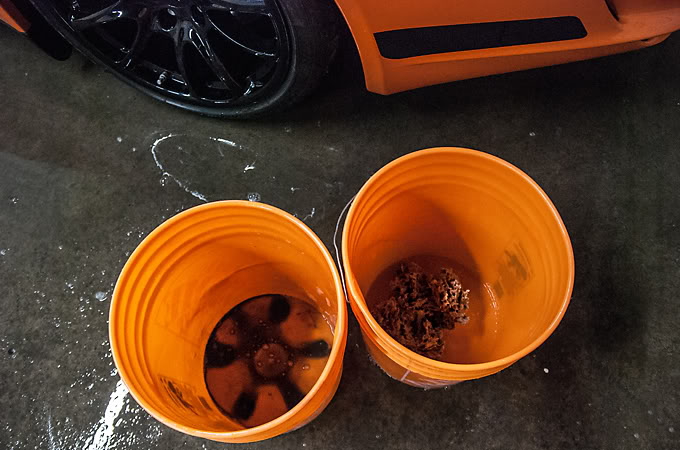
Cars are always washed using the 2 Bucket Method. If you are not familiar with the 2 Bucket Method, in a nutshell it is basically 2 buckets, one water only, the other soap. The water only bucket is where you rinse off the dirt from your mitt before placing it back in the soap water thus eliminating the potential to drag dirt all over your paint and causing swirls.
This is the dirt from a previous car. You definitely don't want to be dragging this all over your paint. Also notice the bucket with the sponge is pretty much clean
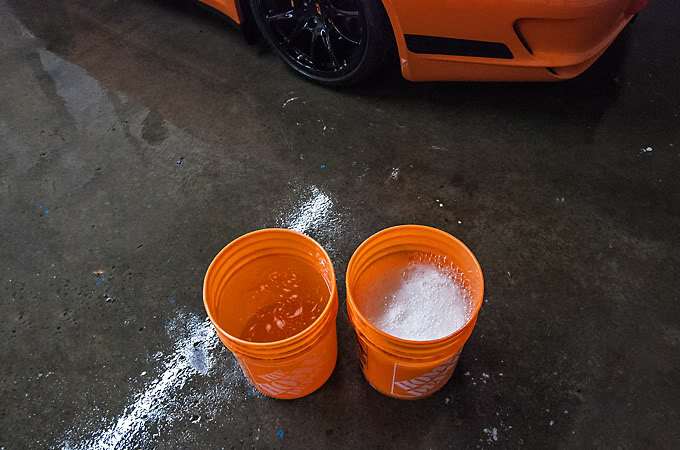
Rinsed out and new soap and water
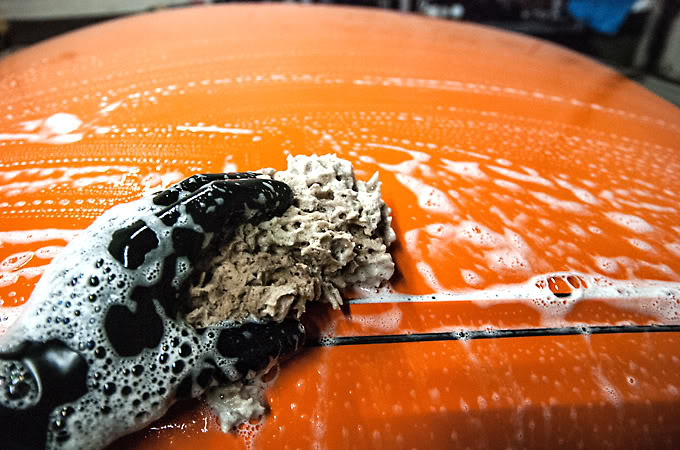
Washing panel by panel starting with the roof
And rinsing off the dirt
Other details taken care of
After rinsing the soap off while the car was still wet I began to clay the paint to remove any embedded dirt in the clearcoat
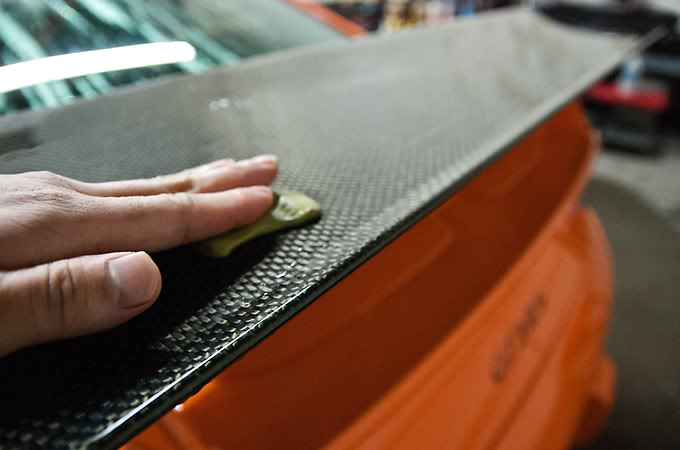
Pretty rough

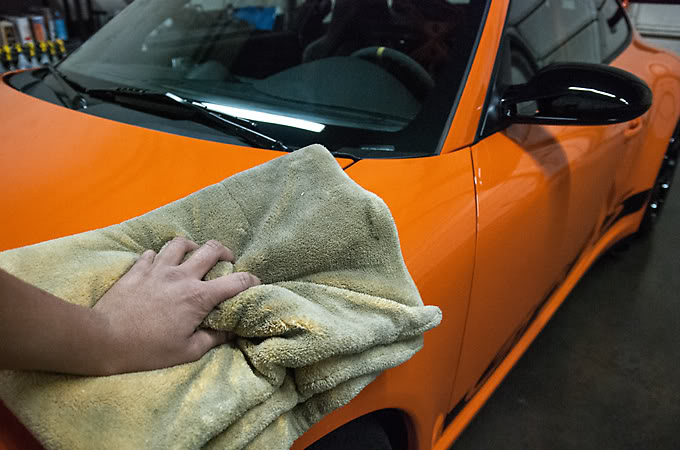
Finally began to dry it off with a microfibre towel
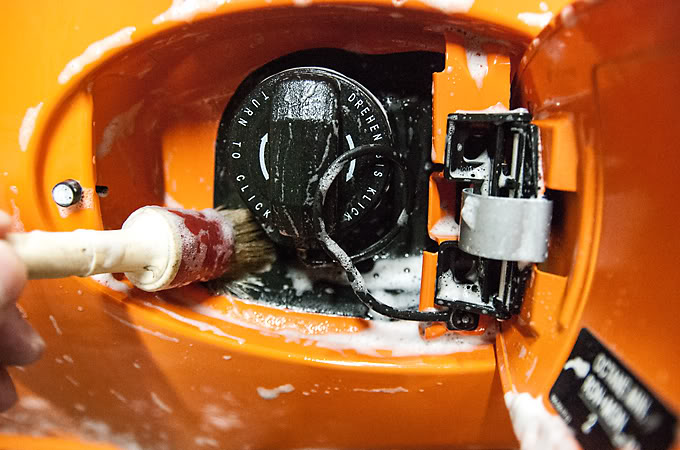
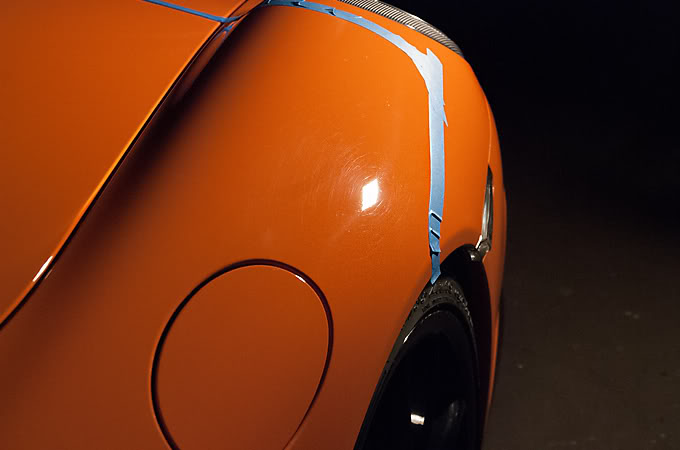
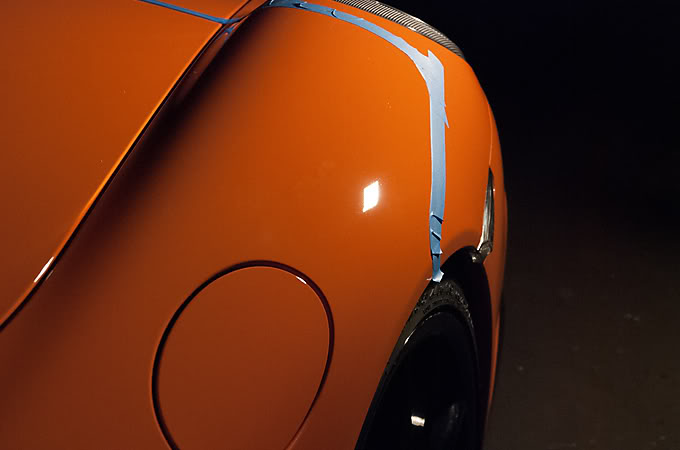
All rubber trim was masked off
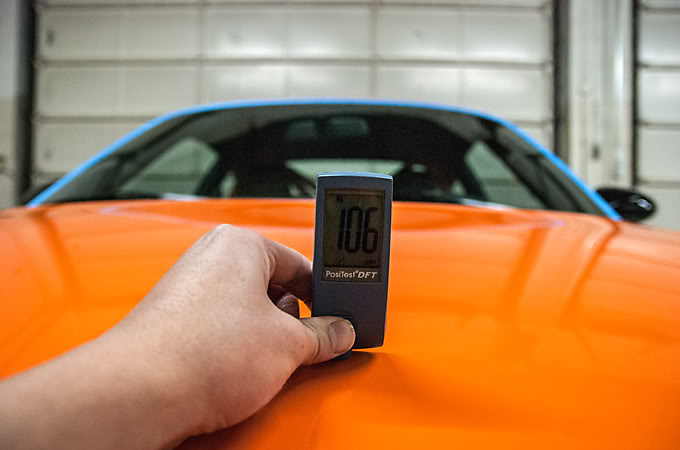
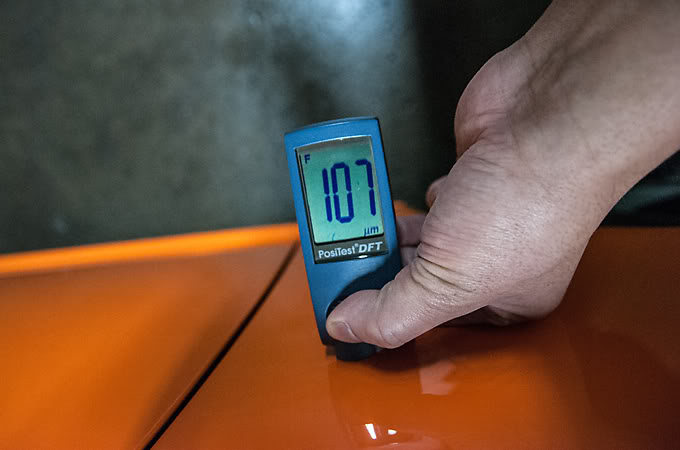
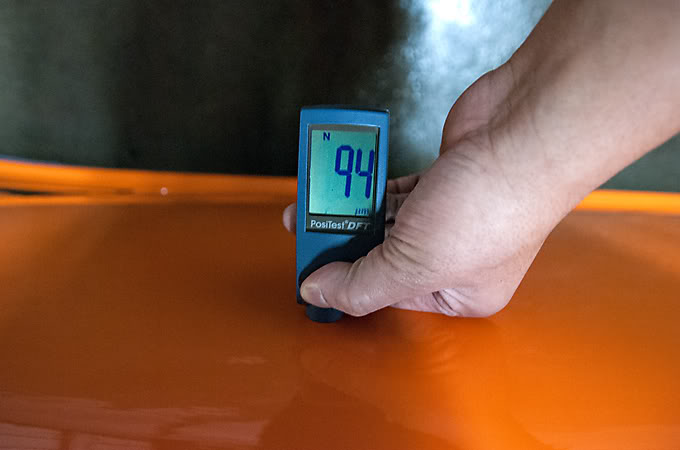
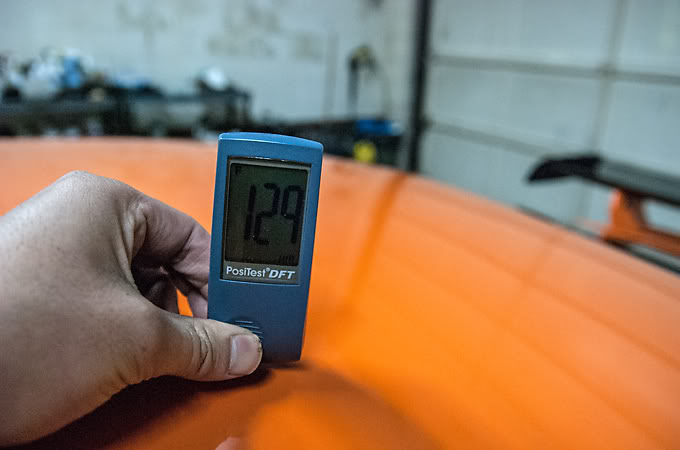
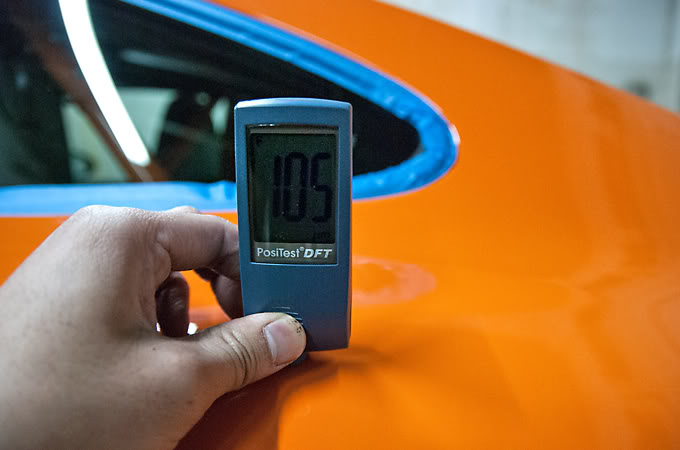
Paint measurements were taken in microns to look for any low spots to be careful of and to see if anything had been repainted that the owner might not have been aware of
Finally the polishing can begin and a medium cutting polish and pad were used to clean up the swirls
before
after

before
after
before
after
before
after
before
after
before
after
before
after
before
after
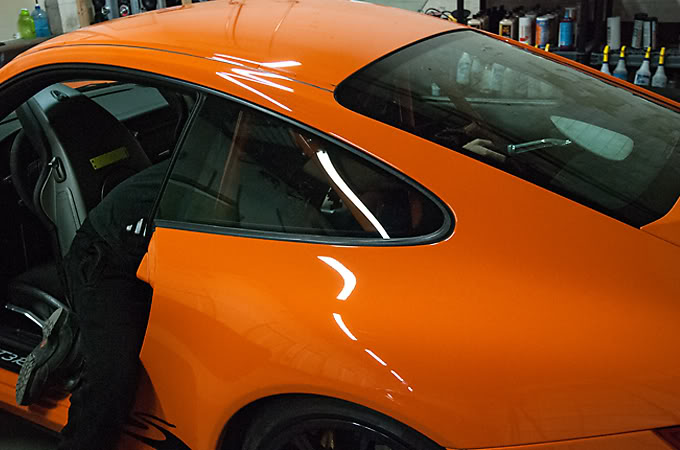
Here is a cool artsy fartsy shot of me polishing
After the polishing was done the masking tape was removed

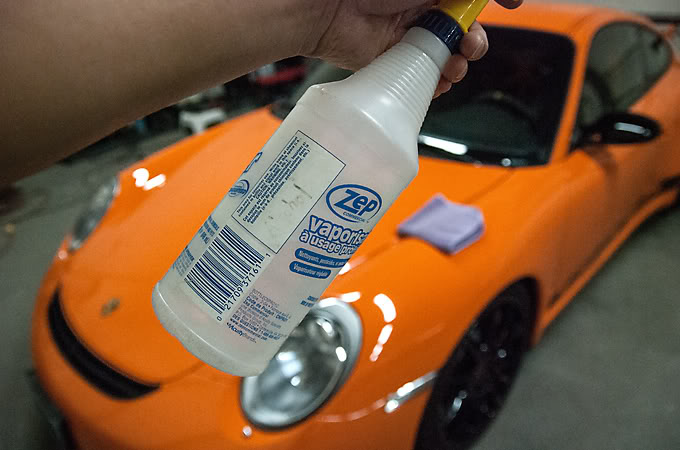
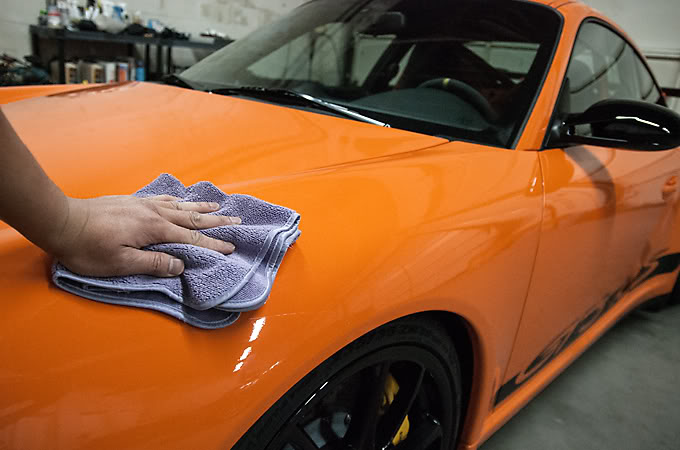
Then alcohol was brought out to wipe down the panels to remove oils left behind by the polish so that the wax could have a clean surface to bond to
Here is a teaser of the shine achieved with no wax on yet
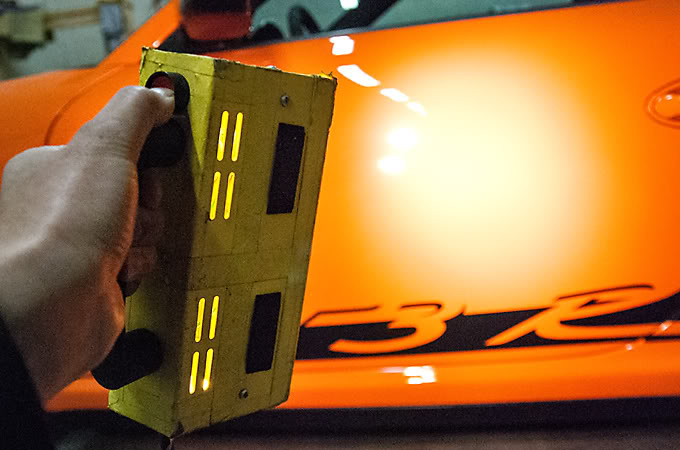
After the wipe down the panels were double checked with a special light that omits the same spectrum light as the sun
Perfect
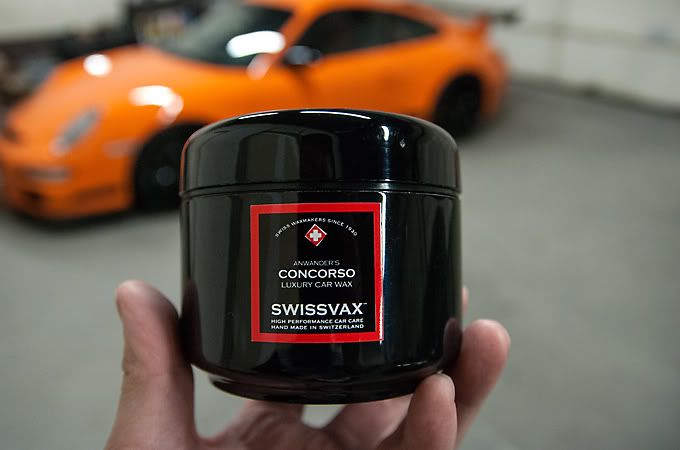
Wax applied was Swissvax Concorso
While the wax was curing the tires were dressed with a satin finish. Personally I don't really like the shiny stuff
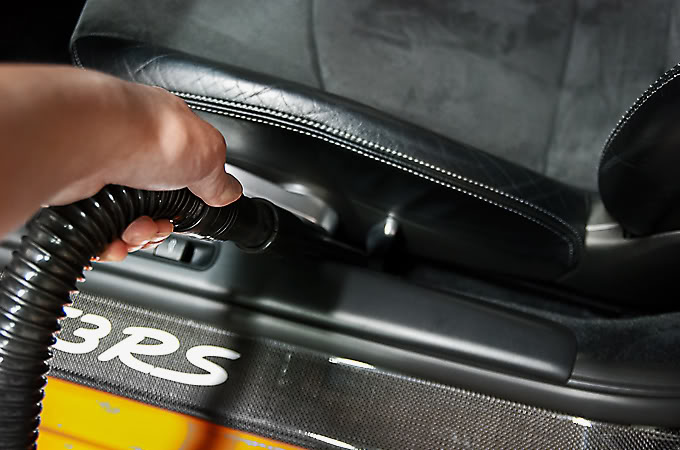
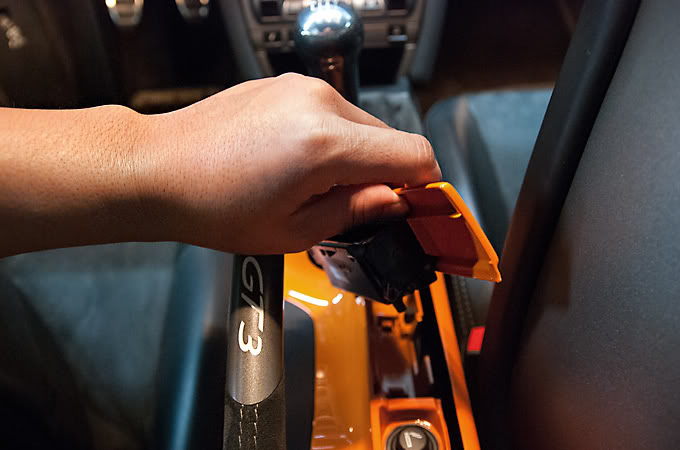
Starting now with the interior I began vacuuming

Getting in between the seats
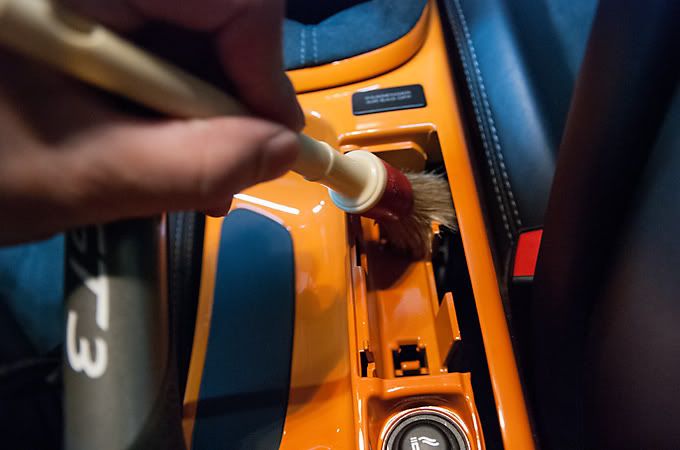
Started dusting the cracks and crevices
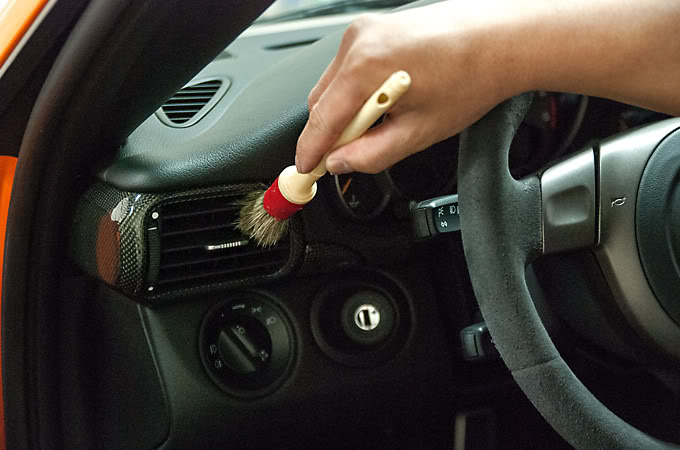
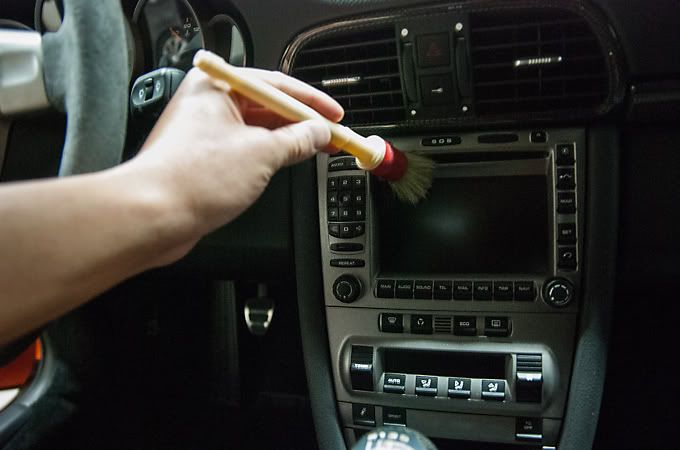
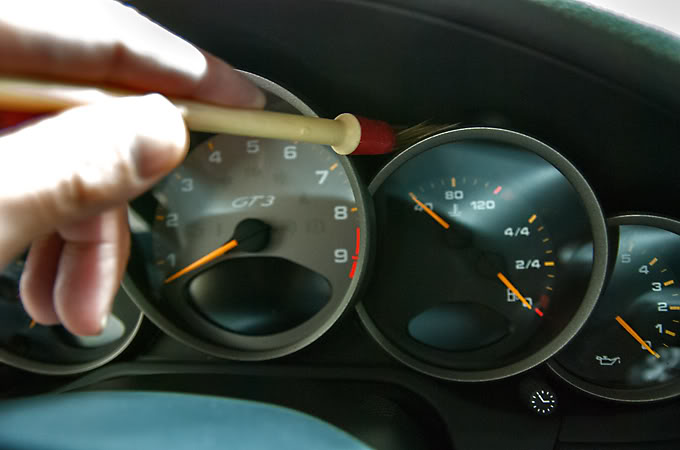
Pulled out a different brush with longer bristles to reach behind the tach
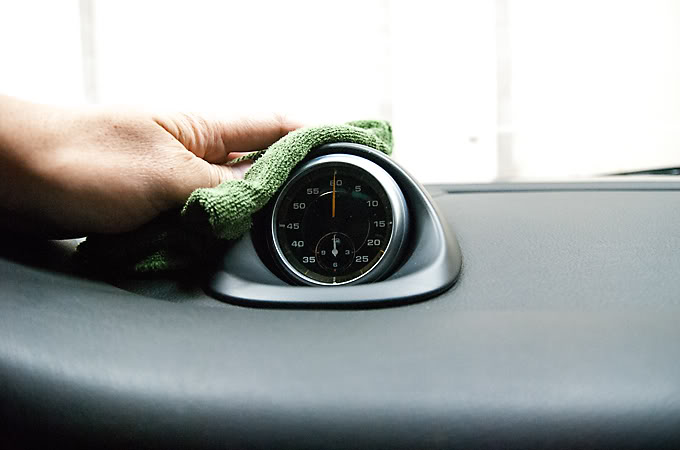
After the dusting and brushing I can finally wipe down the different surfaces
I really love this shot for some reason
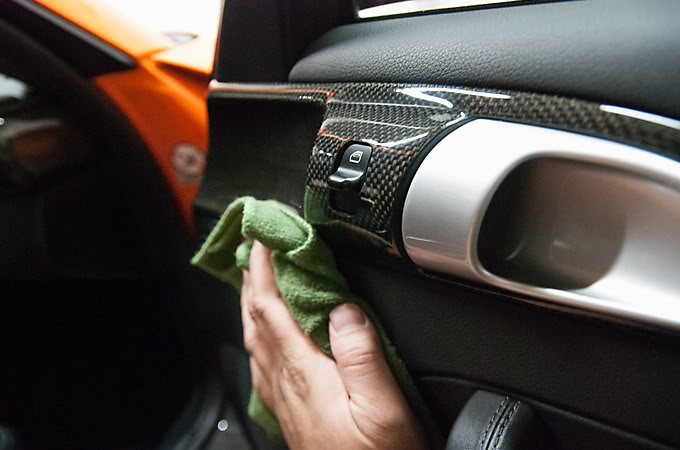
Wiping down the doors
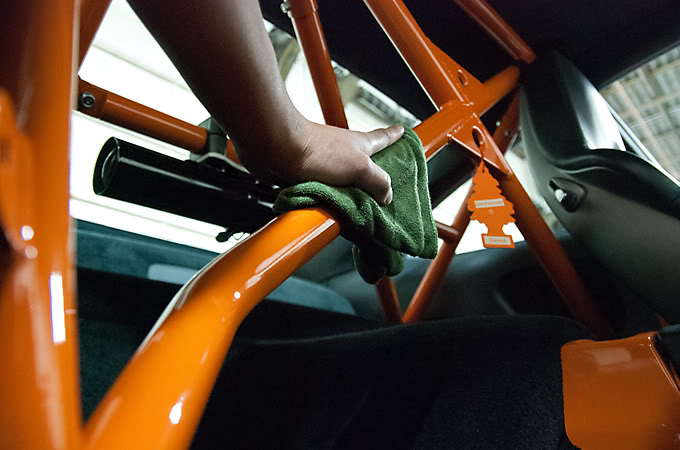
The roll cage
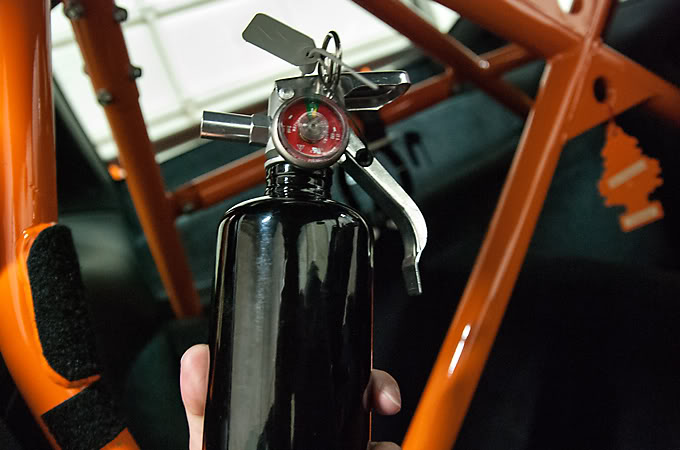
Even the extinguisher lol
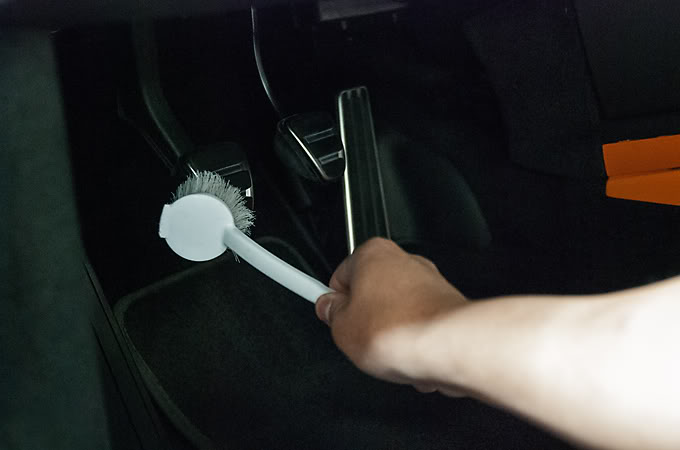
A finishing that I love to add to the detail is cleaning the pedals. Lol at the end of the detail and when the customer is taking delivery, they always say that the feel bad to sit in the car afterwards hahaha
Finally I cleaned the windows but doing the back inside windows was the worst! Luckily I have been doing hot yoga lol so I was able to handle the job
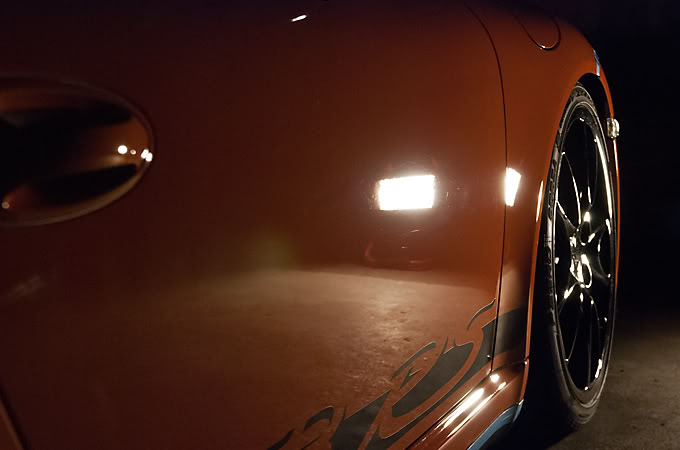
And now after all that hard work here are the final pics!
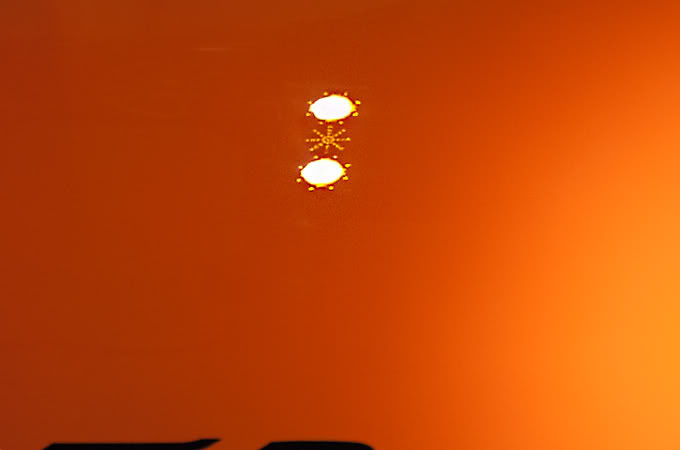
Starting with some sun shots
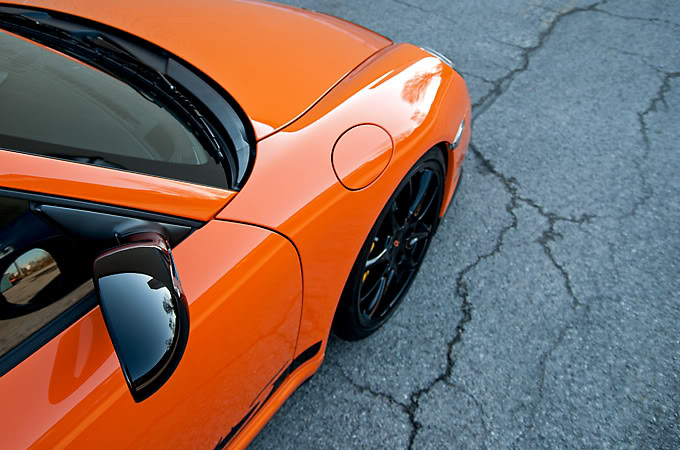
No swirls
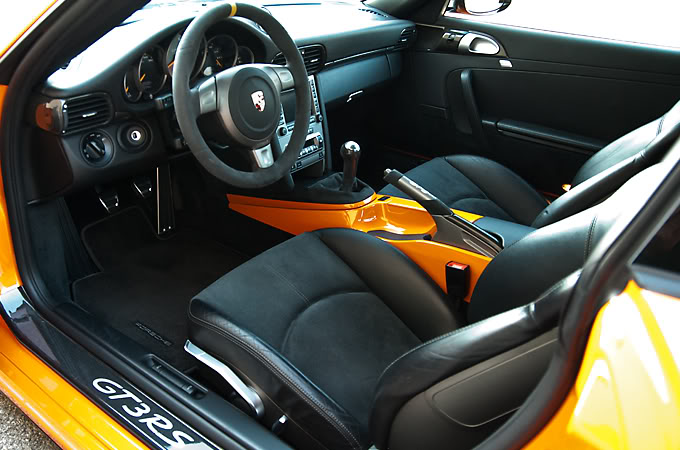
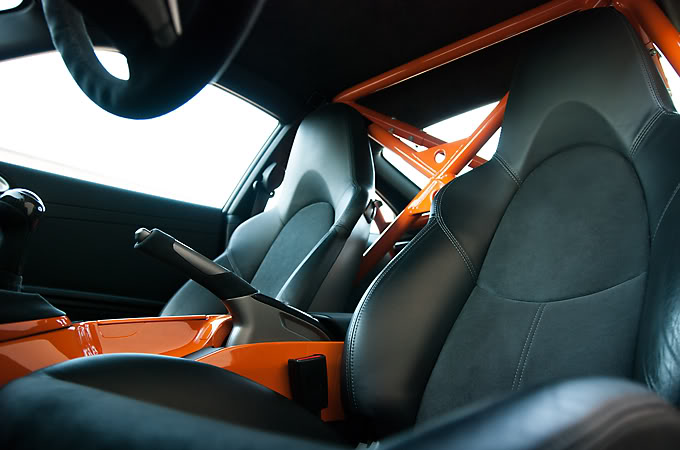
Finished interior shots

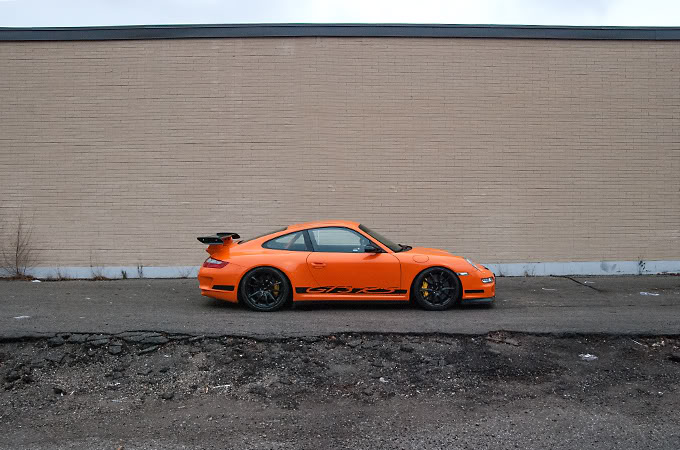
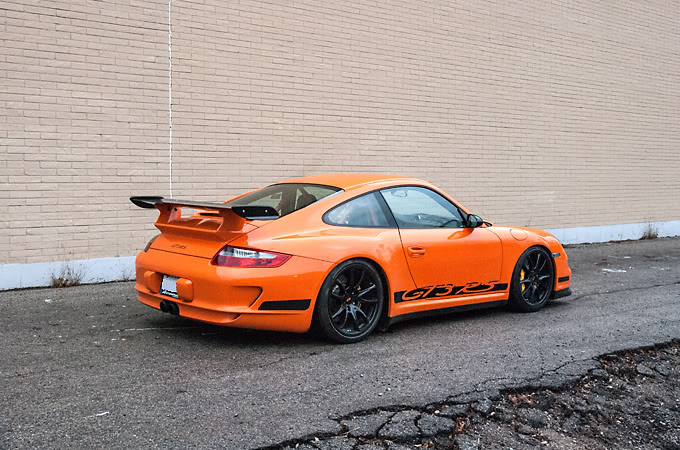
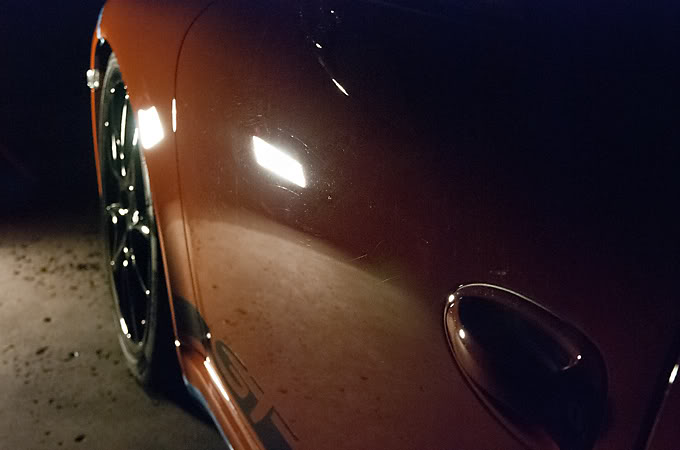
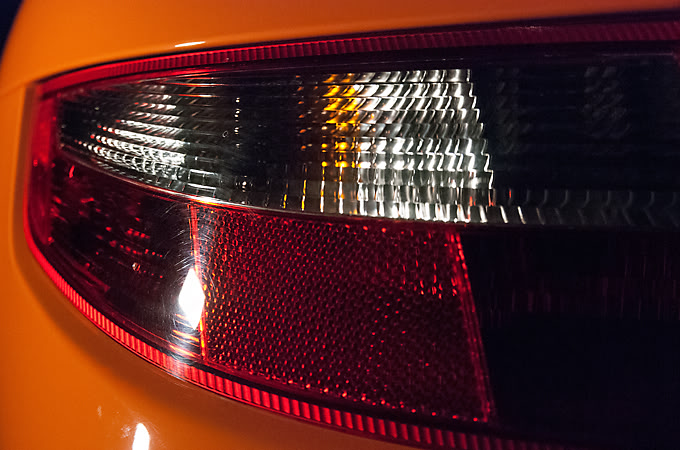
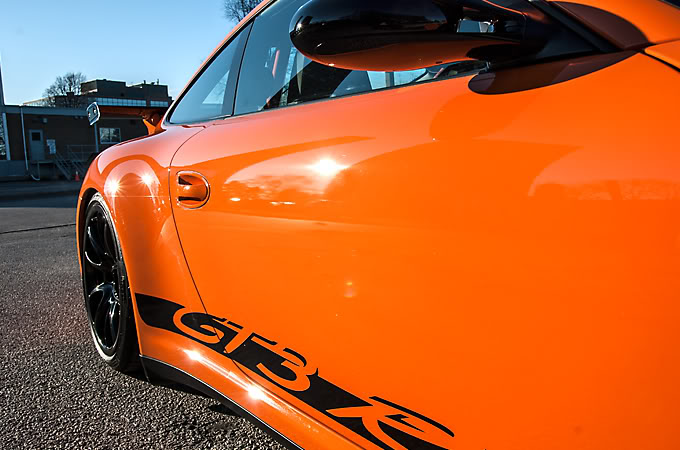
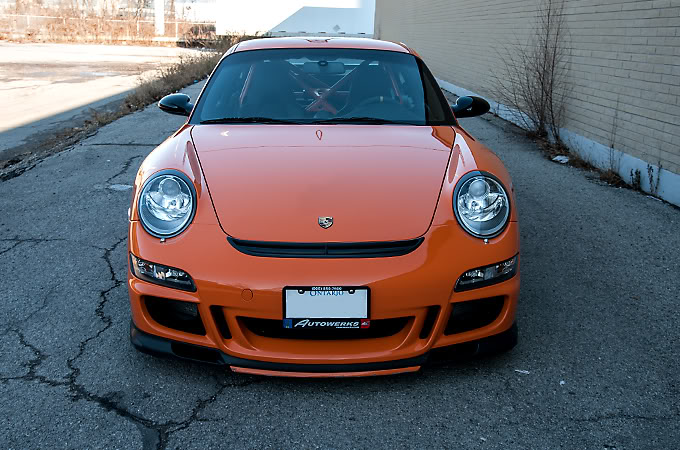
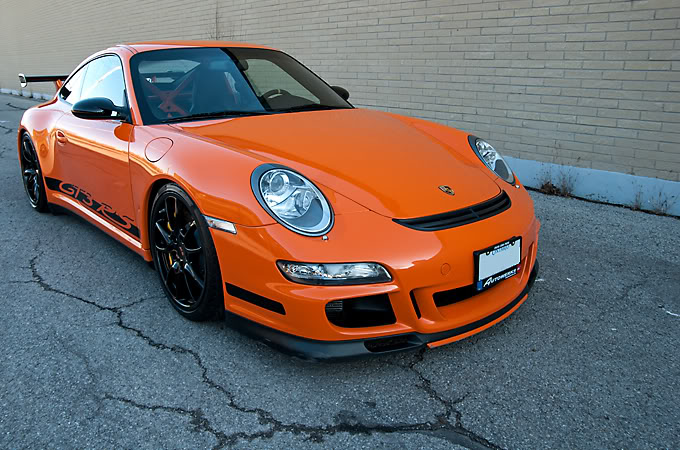
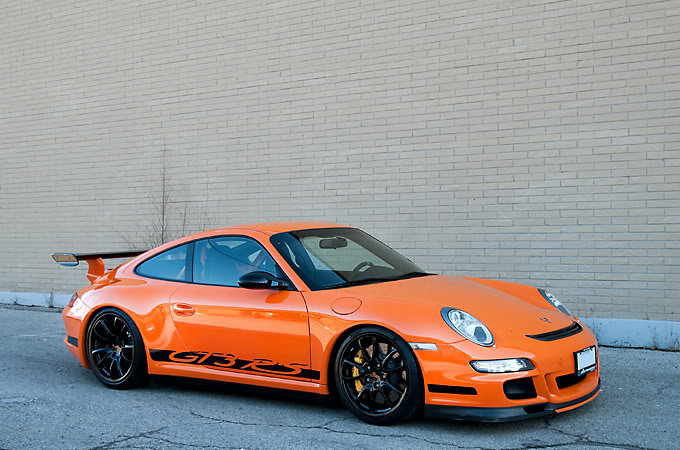
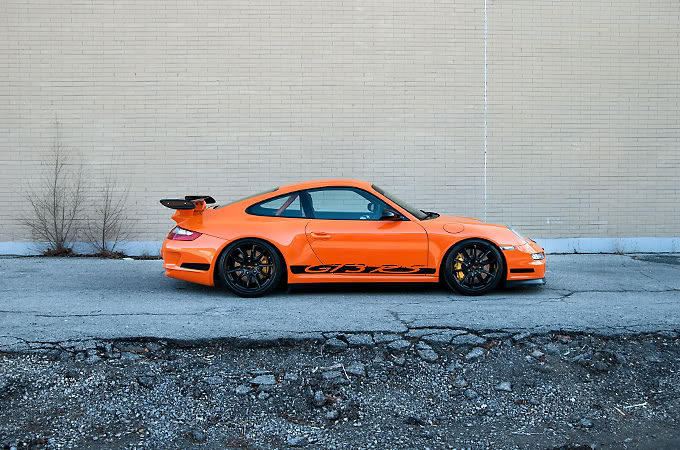
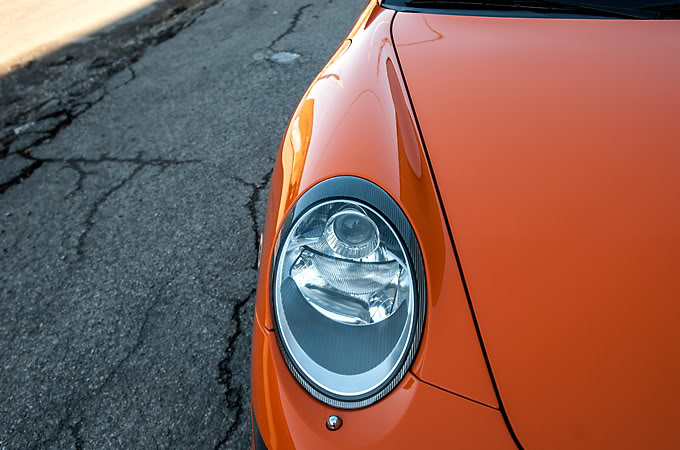
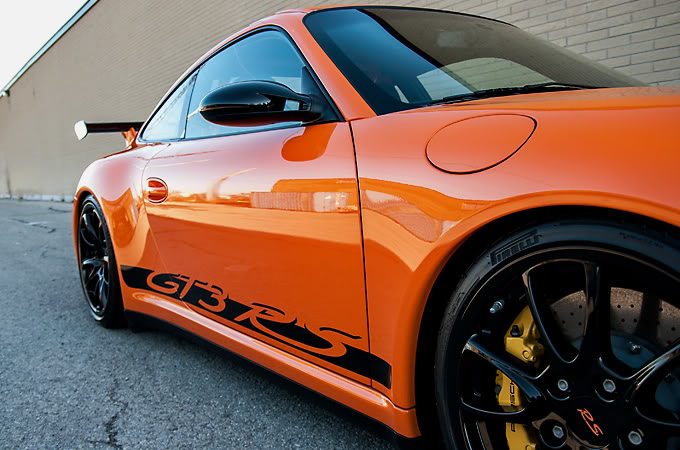
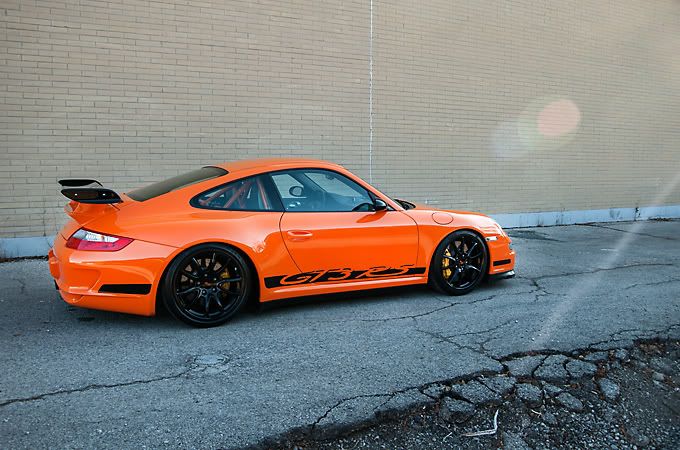
Exterior finished shots
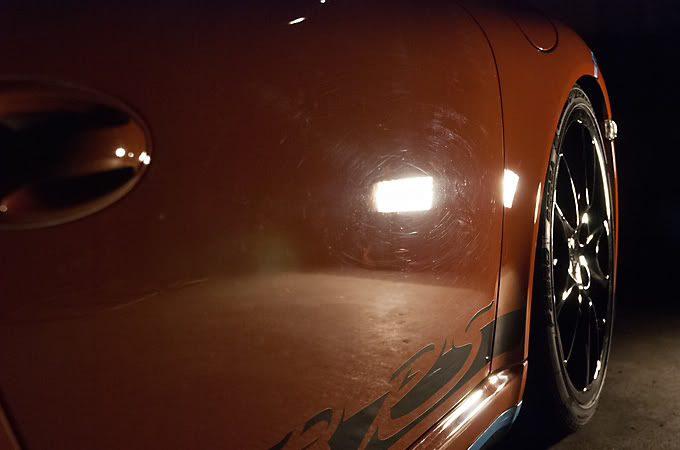
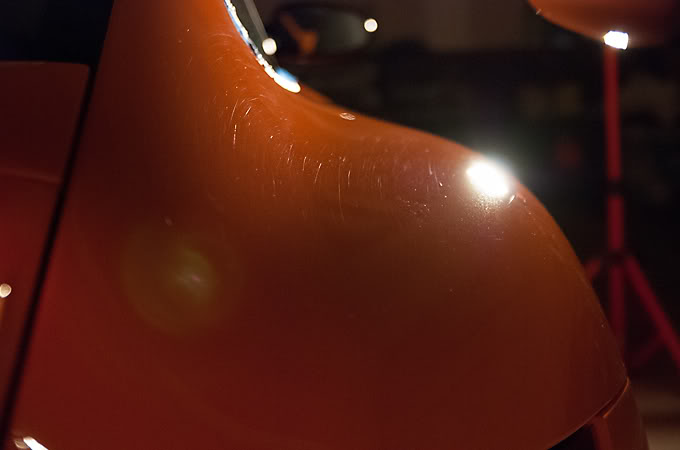
I think this pic is pretty cool too
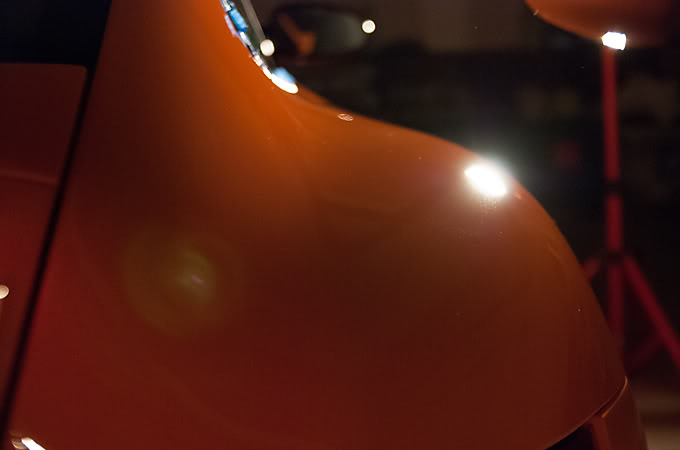
I love the way the beam of light and flare looks in this pic
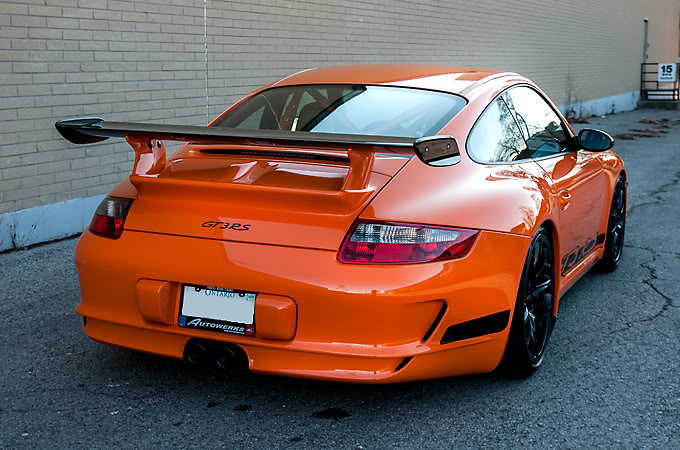
15km speed limit
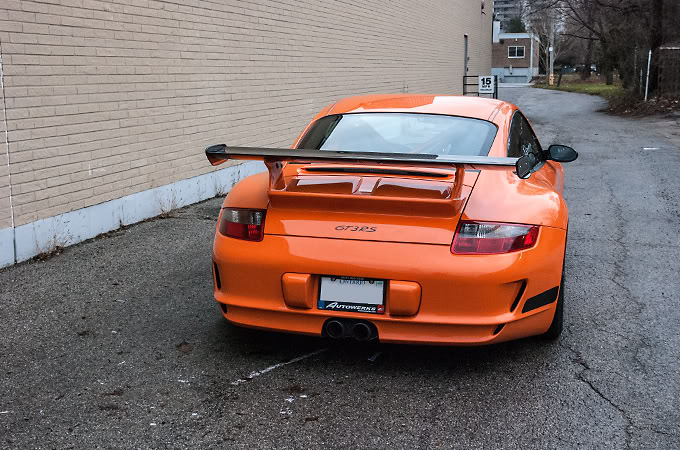
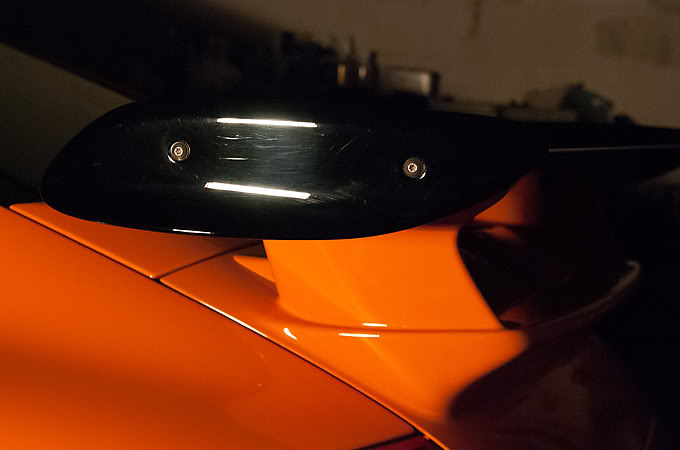
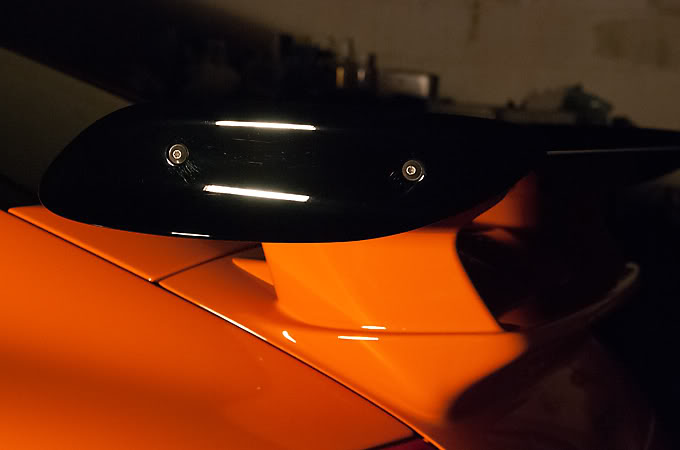
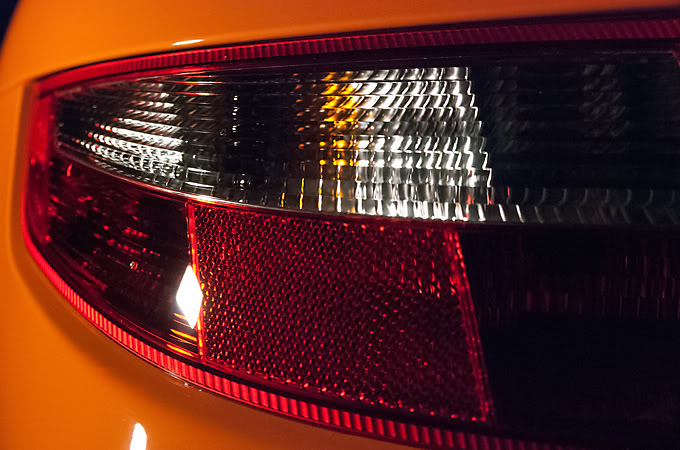
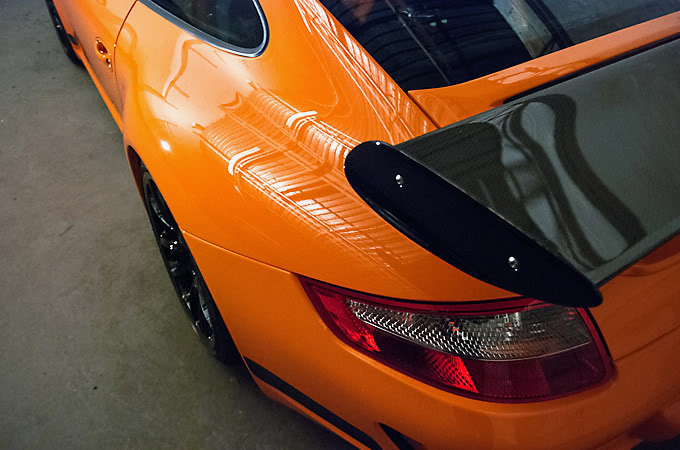
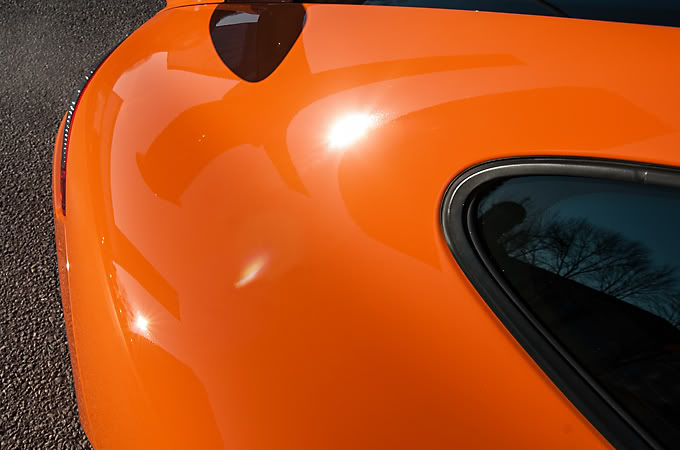
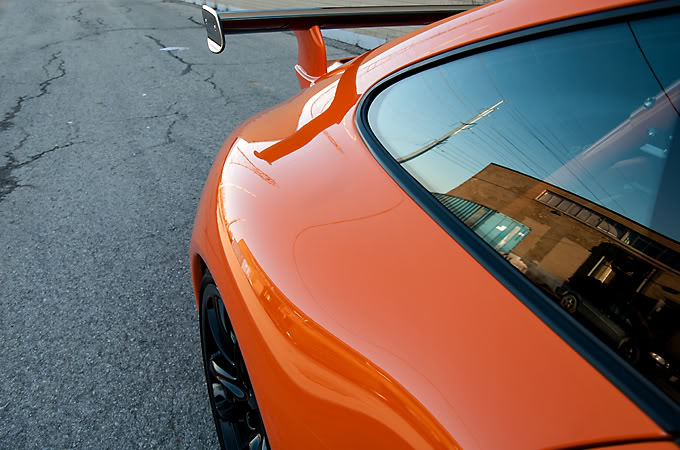
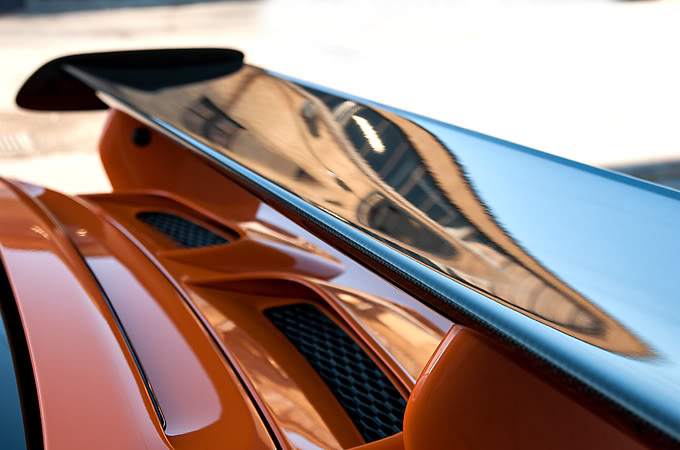
Beautiful reflection shot on the spoiler!
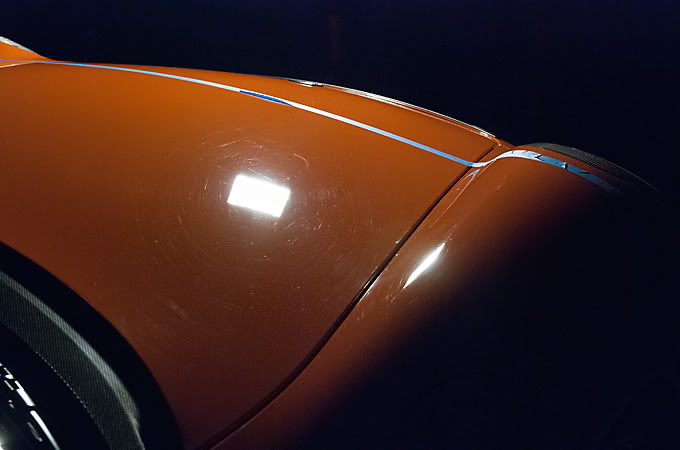
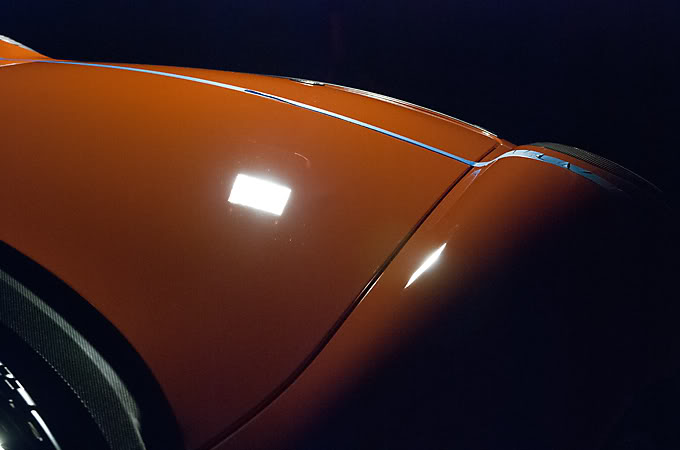
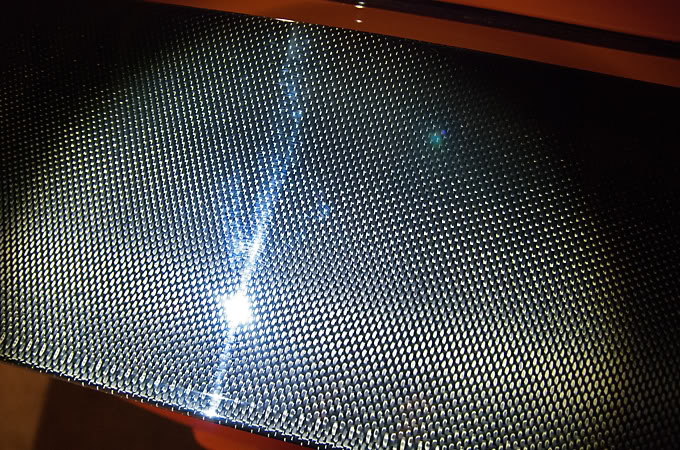
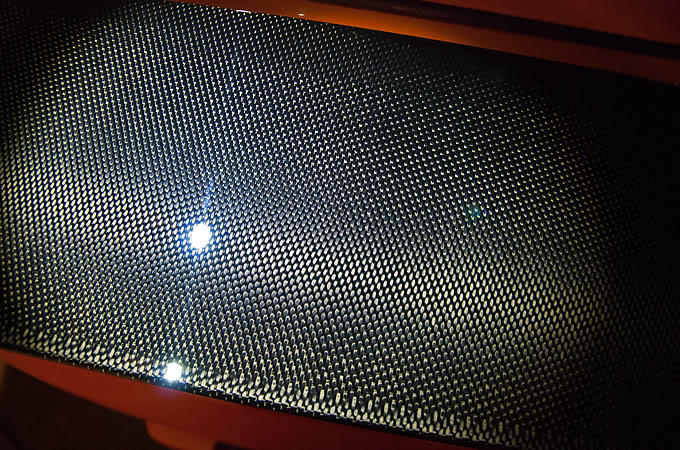
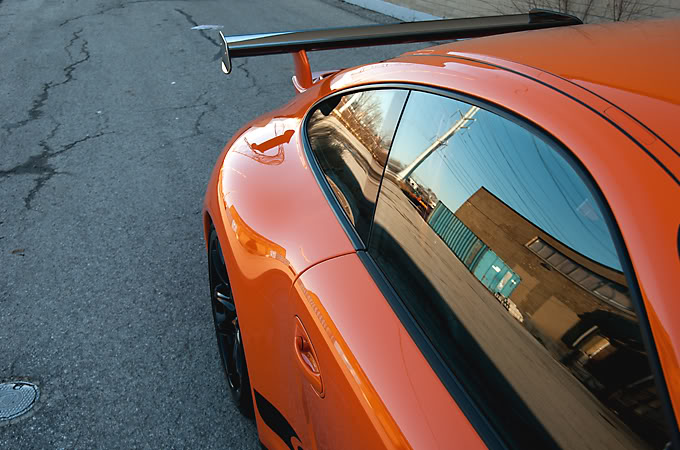
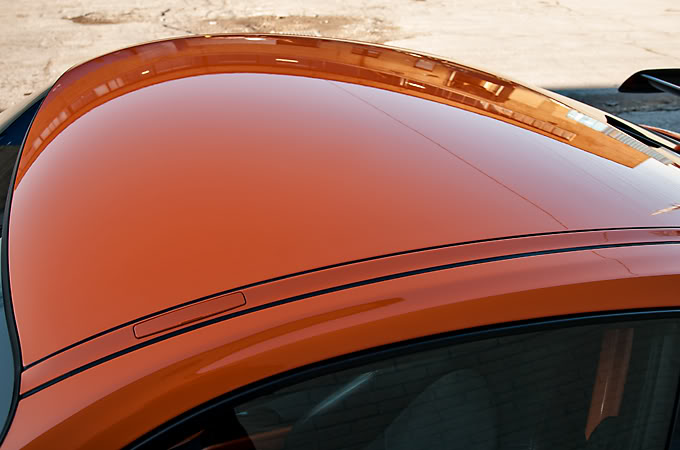
Interesting roof shot
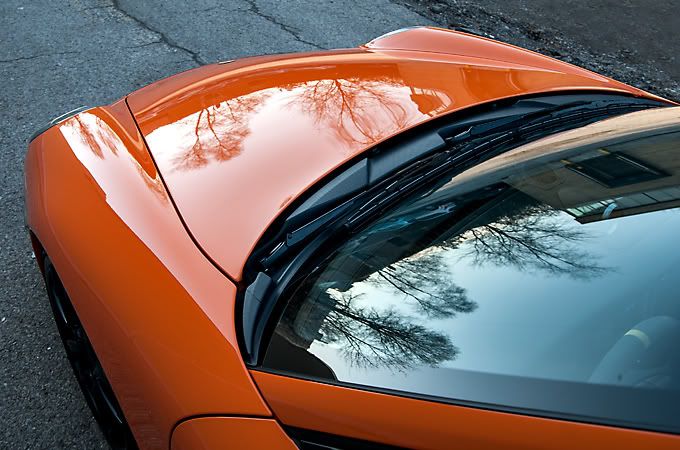
And finally the last artsy fartsy
I hope you guys and gals enjoyed reading through the documentation!
It's been awhile since my last write up here https://5series.net/forums/detailing...2-pics-127670/ but I'm back with a beautiful GT3RS 997.1 which was actually done back in Dec.
I got a call back in Dec. regarding this Orange RS and the owner stating that he wanted to give it a "freshen up" and good protection as it was a daily driver and had never been detailed since he took ownership. We discussed what it may need and figured out a date. Upon arrival it turned out I knew the owner and we had gone to school together. Small world!
Anyways again on to the write up hope you guys enjoy seeing the process!
First off the initial walk around
Brought it in to the garage and started cleaning the wheels first
Starting with the inner barrel
Lugnuts and calipers
and rimface
Moving on to the exhaust, steel wool was used to clean the outside and inside.
Lol, free advertising for Courtney
All clean
Engine also got a quick shampoo and dressing
Before
After
Finally after all the prep now we can start washing the car starting with the rinse
Cars are always washed using the 2 Bucket Method. If you are not familiar with the 2 Bucket Method, in a nutshell it is basically 2 buckets, one water only, the other soap. The water only bucket is where you rinse off the dirt from your mitt before placing it back in the soap water thus eliminating the potential to drag dirt all over your paint and causing swirls.
This is the dirt from a previous car. You definitely don't want to be dragging this all over your paint. Also notice the bucket with the sponge is pretty much clean
Rinsed out and new soap and water
Washing panel by panel starting with the roof
And rinsing off the dirt
Other details taken care of
After rinsing the soap off while the car was still wet I began to clay the paint to remove any embedded dirt in the clearcoat
Pretty rough
Finally began to dry it off with a microfibre towel
All rubber trim was masked off
Paint measurements were taken in microns to look for any low spots to be careful of and to see if anything had been repainted that the owner might not have been aware of
Finally the polishing can begin and a medium cutting polish and pad were used to clean up the swirls
before
after
before
after
before
after
before
after
before
after
before
after
before
after
before
after
Here is a cool artsy fartsy shot of me polishing
After the polishing was done the masking tape was removed
Then alcohol was brought out to wipe down the panels to remove oils left behind by the polish so that the wax could have a clean surface to bond to
Here is a teaser of the shine achieved with no wax on yet
After the wipe down the panels were double checked with a special light that omits the same spectrum light as the sun
Perfect
Wax applied was Swissvax Concorso
While the wax was curing the tires were dressed with a satin finish. Personally I don't really like the shiny stuff
Starting now with the interior I began vacuuming
Getting in between the seats
Started dusting the cracks and crevices
Pulled out a different brush with longer bristles to reach behind the tach
After the dusting and brushing I can finally wipe down the different surfaces
I really love this shot for some reason
Wiping down the doors
The roll cage
Even the extinguisher lol
A finishing that I love to add to the detail is cleaning the pedals. Lol at the end of the detail and when the customer is taking delivery, they always say that the feel bad to sit in the car afterwards hahaha
Finally I cleaned the windows but doing the back inside windows was the worst! Luckily I have been doing hot yoga lol so I was able to handle the job
And now after all that hard work here are the final pics!
Starting with some sun shots
No swirls
Finished interior shots
Exterior finished shots
I think this pic is pretty cool too
I love the way the beam of light and flare looks in this pic
15km speed limit
Beautiful reflection shot on the spoiler!
Interesting roof shot
And finally the last artsy fartsy
I hope you guys and gals enjoyed reading through the documentation!


Thread
Thread Starter
Forum
Replies
Last Post
PelicanParts.com
Meet & Greet Discussion
2
10-16-2015 03:07 PM
DetailersDomain
Detailing Forum
0
09-22-2015 03:59 PM
umichchris
Private Member Classifieds
1
09-10-2015 12:54 PM