
Santorini Blue M3 x Wes_R (23 pics)


Thread Starter
Members
Joined: Feb 2009
Posts: 98
Likes: 0
From: Toronto
Hey 5ers,
Just a mini write up this time due to time constraints.
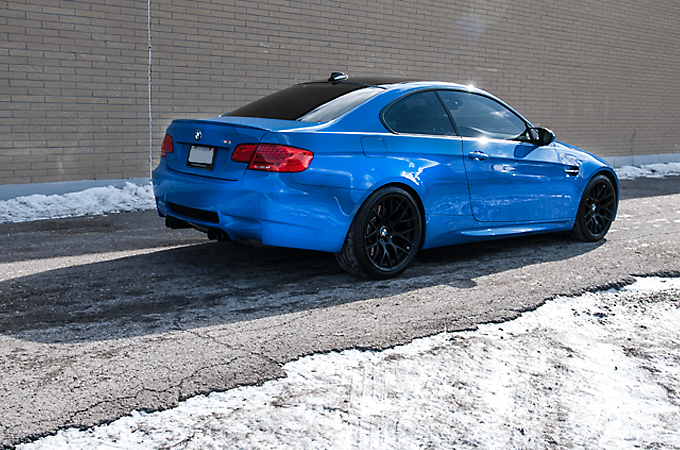
This client has been with me for a couple years now and first came with a 335is. He recently purchased this brand new Santorini Blue M3 of which there are only 10 of in Canada. It had some light swirling that was to be polished out and then Opti Coated. I mentioned Pro but in the end we just went with 2.0. This was a 1 Stage Polish to buff out the light swirling.
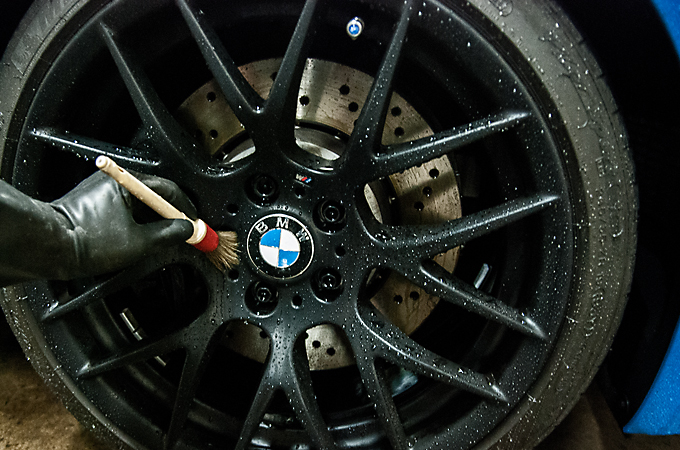
Getting started with the rims, which came in black from the factory by the way
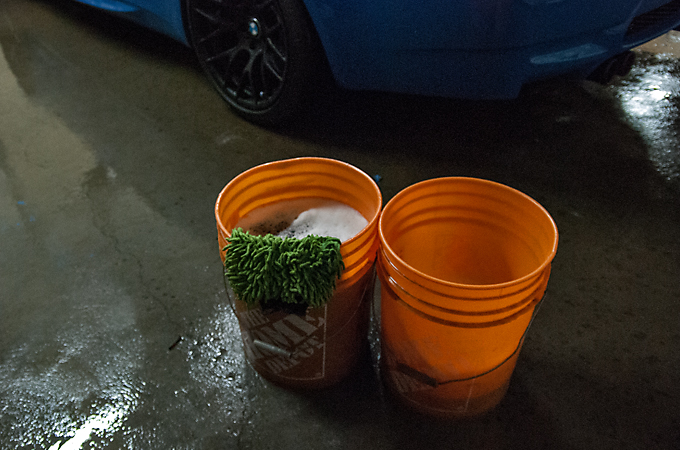
2 Bucket Method Washed as always
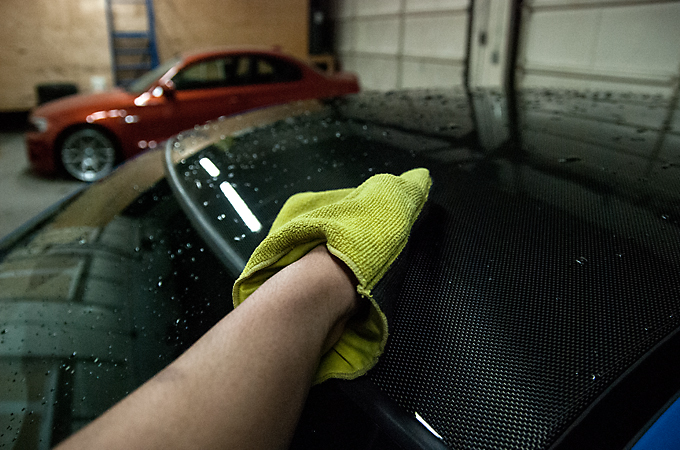
Clayed with the Nanoskin Mitt while the car was still wet
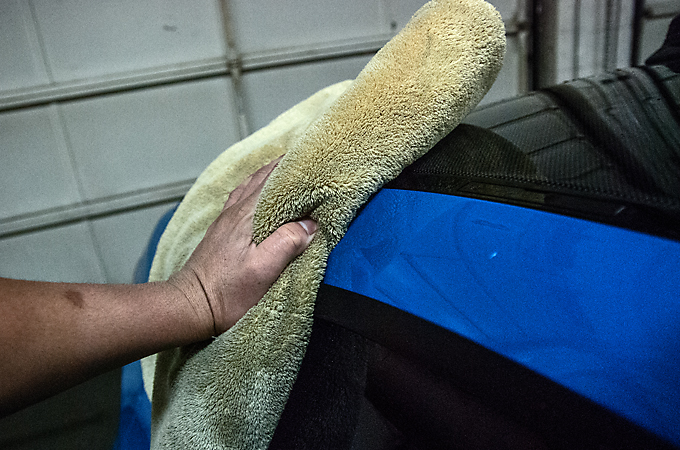
Then dried with a plush microfibre towel
Paint was measured in microns to look out for low spots or repainted panels
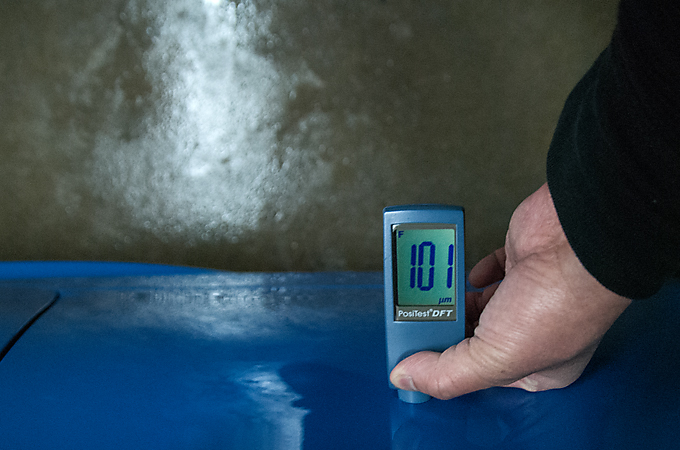
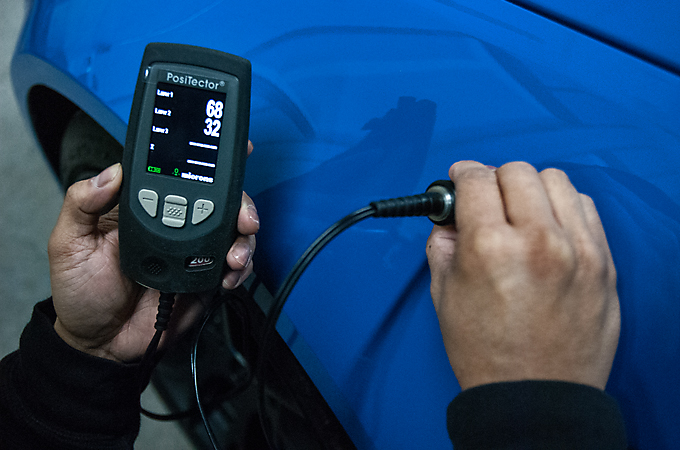
And we brought out a new paint depth gauge that can measure non metallic surfaces by using ultrasound. This thing costed $3000!!!
It can measure up to 3 different layers.
The front fenders are made of an "advanced plastic" according to BMW so the "32" is primer and paint and the "68" is clearcoat equalling 100 microns. Which is about right because the other gauge measured 101 microns on the door.

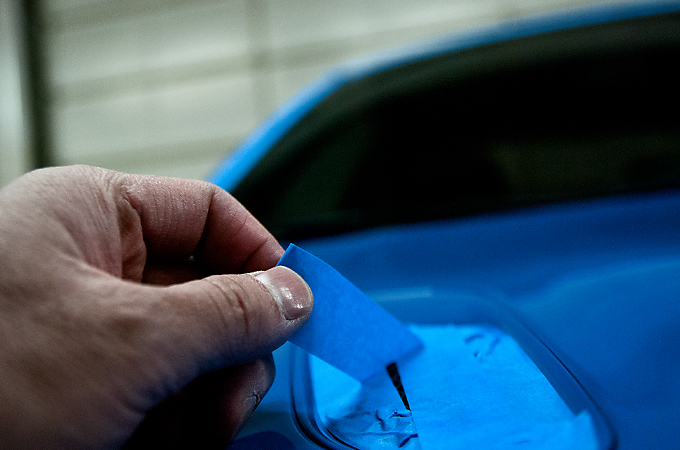
Next up was masking the rubber trim
 [/QUOTE]
And I could start polishing
Before

After
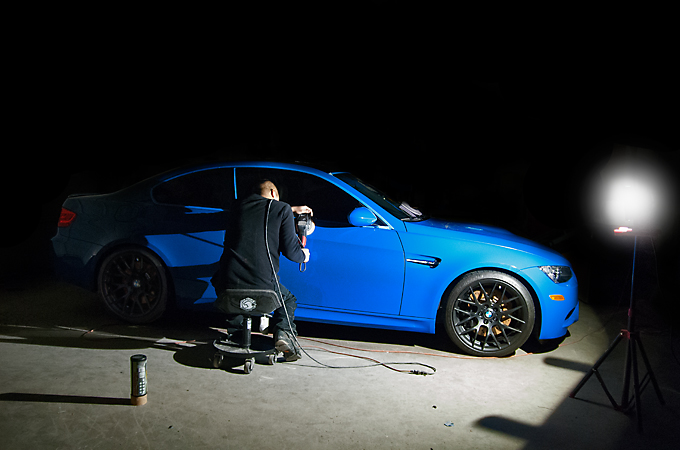
A shot of yours truly polishing
Unmasking
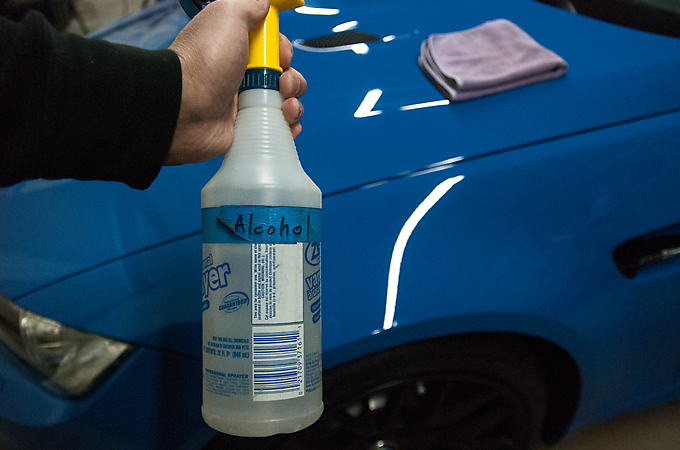
Alcohol wiping to clean off the polishing oils
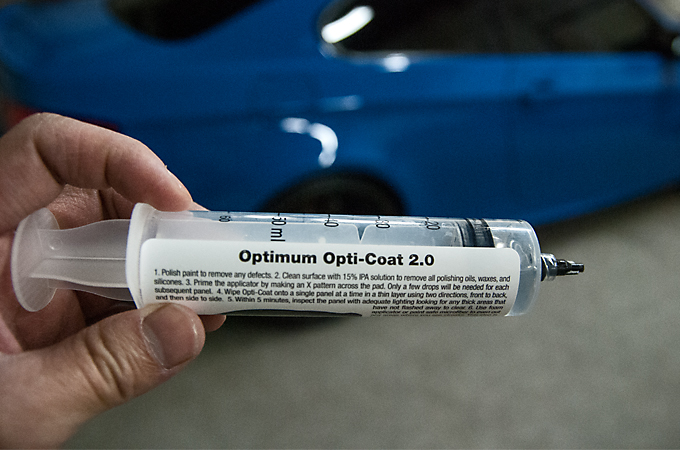
Opti Coat 2.0 about to be applied
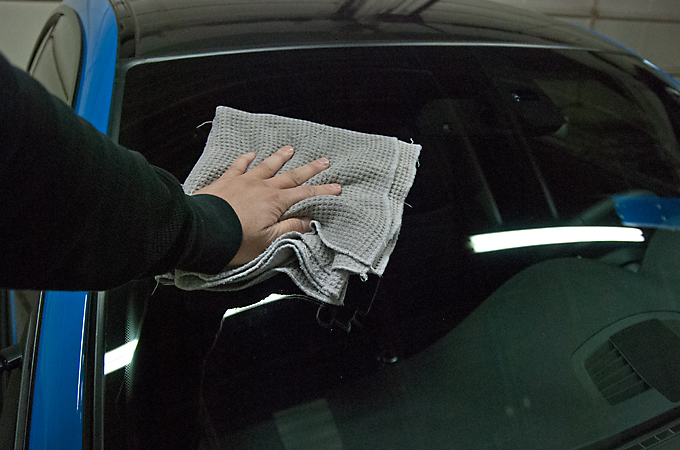
Windows cleaned
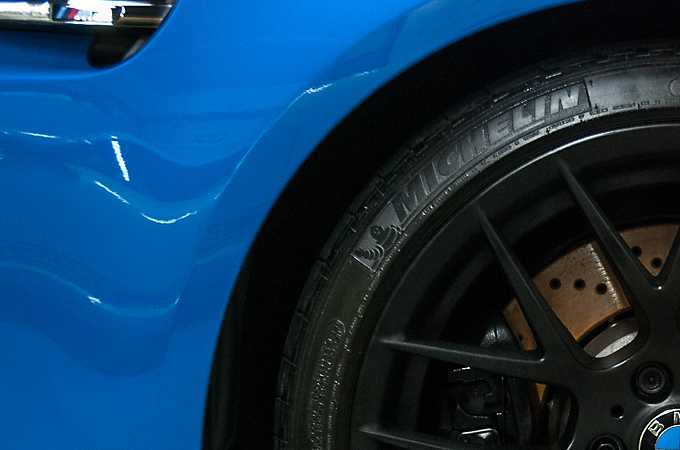
Tired dressed(I don't like the shiny stuff. I prefer a satin finish)
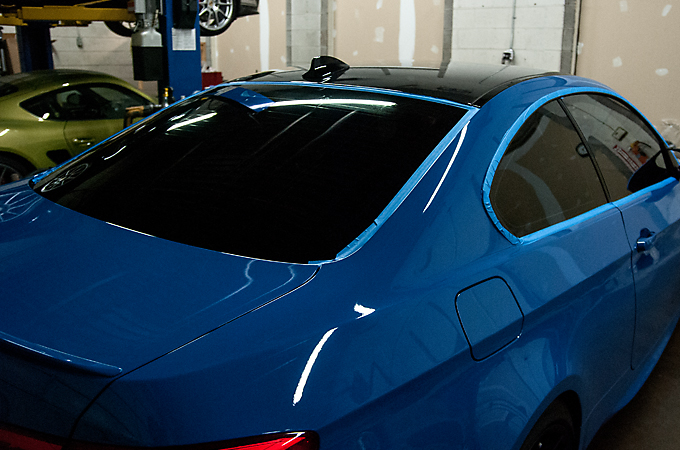
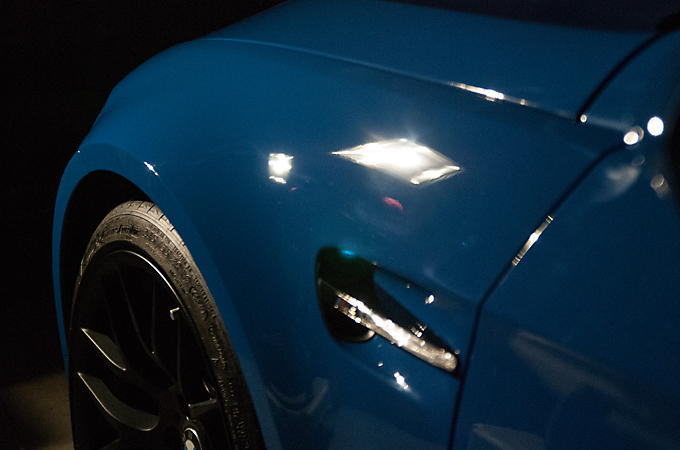
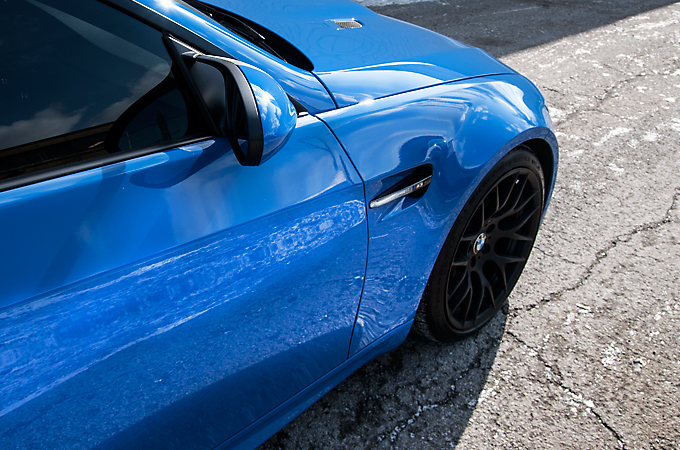
And the super sexy afters! Words cannot describe!
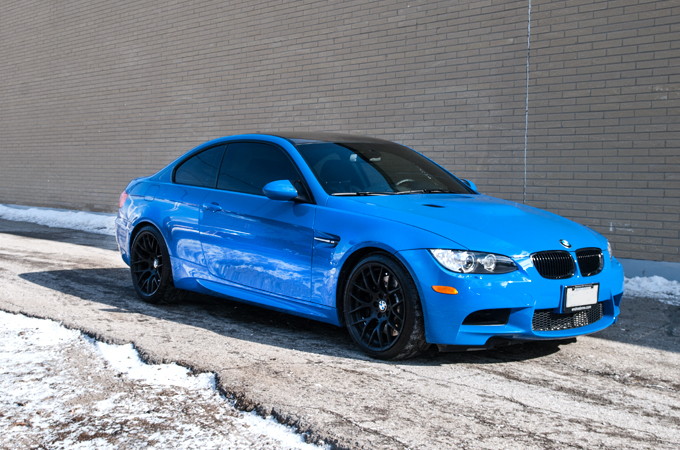
Drool
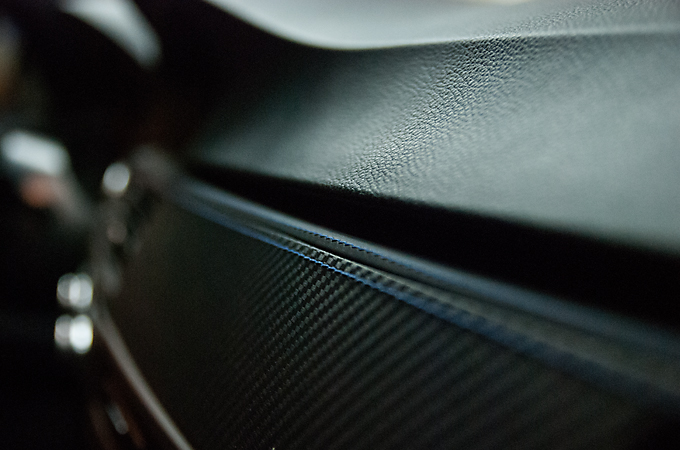
And my last 2 favorite pics
I love the matching stitching
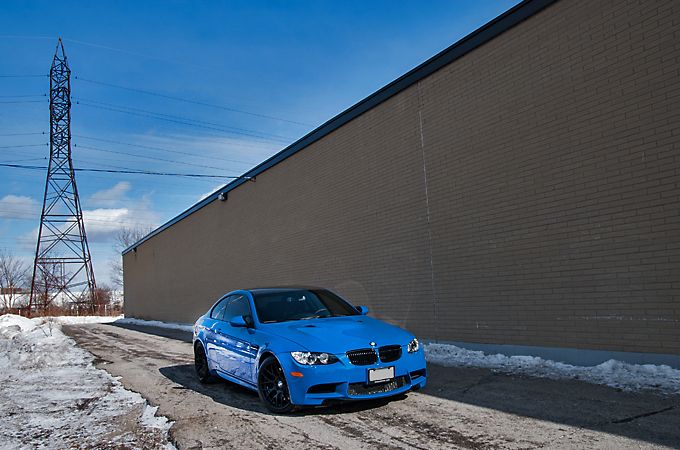
And one of those cool guy pics to end it off
All in all I spent about 9hrs beginning to end.
Hope you guys enjoyed the pics!
Wes
Just a mini write up this time due to time constraints.
This client has been with me for a couple years now and first came with a 335is. He recently purchased this brand new Santorini Blue M3 of which there are only 10 of in Canada. It had some light swirling that was to be polished out and then Opti Coated. I mentioned Pro but in the end we just went with 2.0. This was a 1 Stage Polish to buff out the light swirling.
Getting started with the rims, which came in black from the factory by the way
2 Bucket Method Washed as always
Clayed with the Nanoskin Mitt while the car was still wet
Then dried with a plush microfibre towel
Paint was measured in microns to look out for low spots or repainted panels
And we brought out a new paint depth gauge that can measure non metallic surfaces by using ultrasound. This thing costed $3000!!!
It can measure up to 3 different layers.
The front fenders are made of an "advanced plastic" according to BMW so the "32" is primer and paint and the "68" is clearcoat equalling 100 microns. Which is about right because the other gauge measured 101 microns on the door.
Next up was masking the rubber trim
[/QUOTE]And I could start polishing
Before
After
A shot of yours truly polishing
Unmasking
Alcohol wiping to clean off the polishing oils
Opti Coat 2.0 about to be applied
Windows cleaned
Tired dressed(I don't like the shiny stuff. I prefer a satin finish)
And the super sexy afters! Words cannot describe!
Drool
And my last 2 favorite pics
I love the matching stitching
And one of those cool guy pics to end it off
All in all I spent about 9hrs beginning to end.
Hope you guys enjoyed the pics!
Wes

Thread
Thread Starter
Forum
Replies
Last Post
PelicanParts.com
Vendor Classifieds
0
Jul 24, 2015 01:26 PM