Shadowline Vinyl DIY
 10-16-2011, 07:33 PM
#1
Members
Thread Starter
Join Date: Sep 2010
Location: Columbus, Ohio
Posts: 239
Likes: 0
Received 1 Like
on
1 Post
My Ride: 2007 Silver Grey 530 XI
In order to save $250, I decided to go with the $25 option! I went to www.BMWSHADOWLINE.com and bought a roll of matte black. I included the step by step of the process I went through. Although working with vinyl is relatively easy, it does require a huge amount of patience. That was the most challenging part for me.
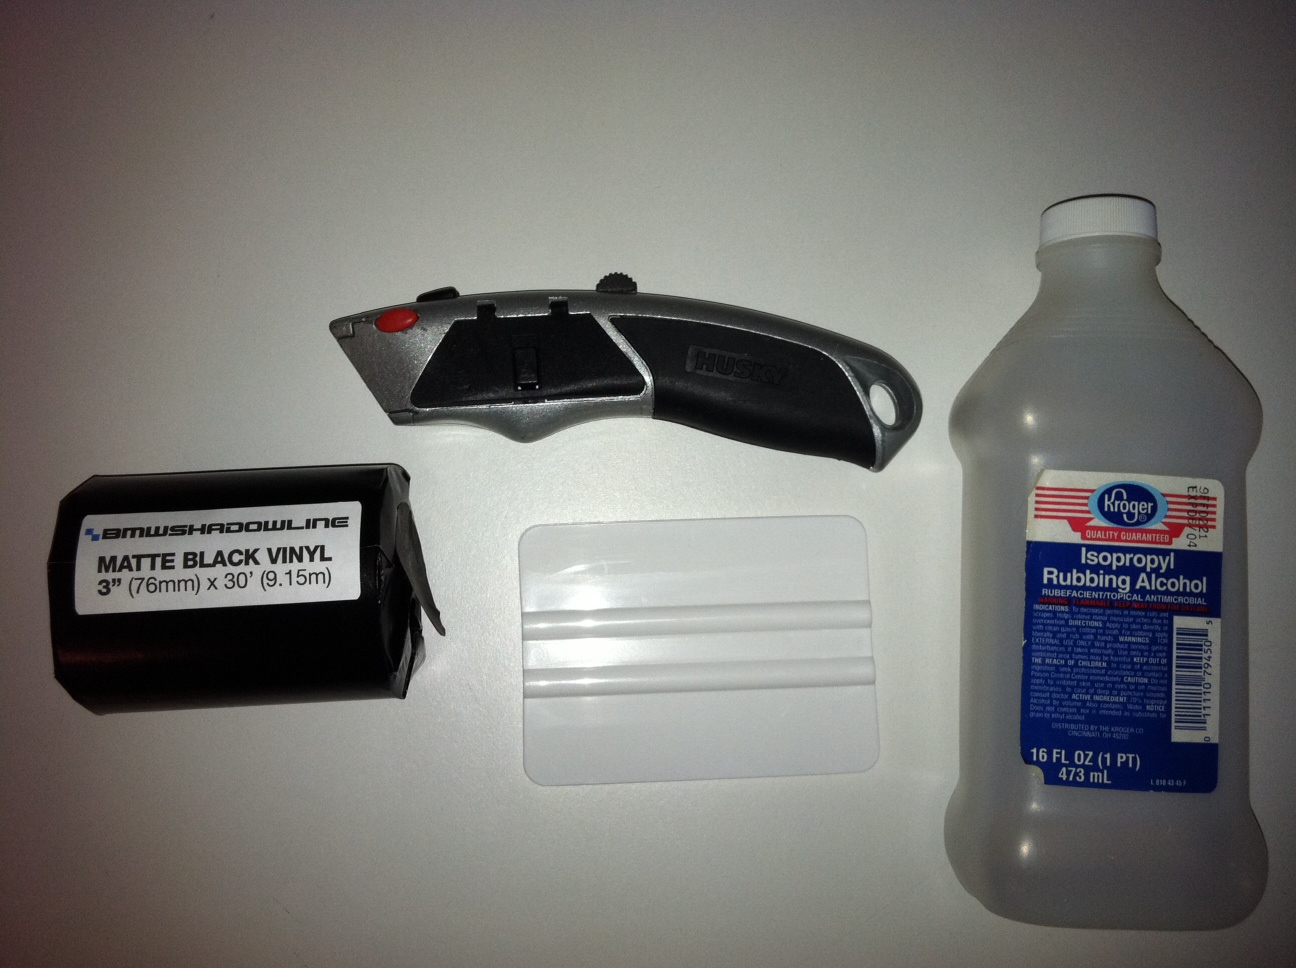
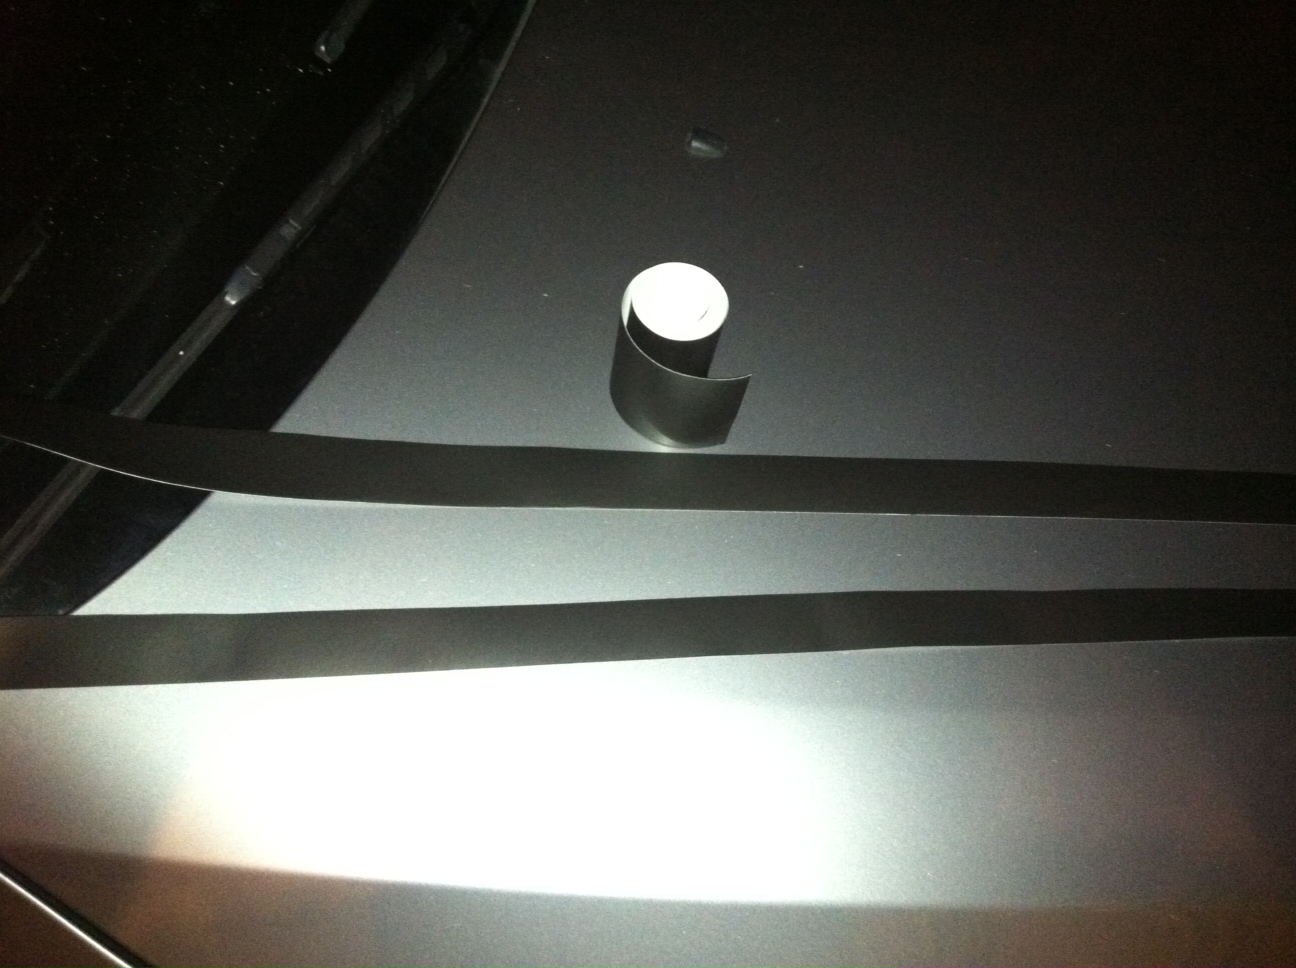
Tools: Vinyl, squeegee or credit card, rubbing alcohol, razor, scissors.

I began by washing all trim with soap and water. After it dried, I went through with a cloth and rubbing alcohol. Make sure you give it enough time to dry thoroughly. At that point it is time to get the vinyl ready.
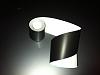
I started by measuring off my first section. I then cut the vinyl in half. The roll comes in 3 inch width and 1.5 inch is more then wide enough. This will definitely help reduce waste. It also makes it easier to work with!
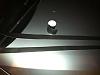
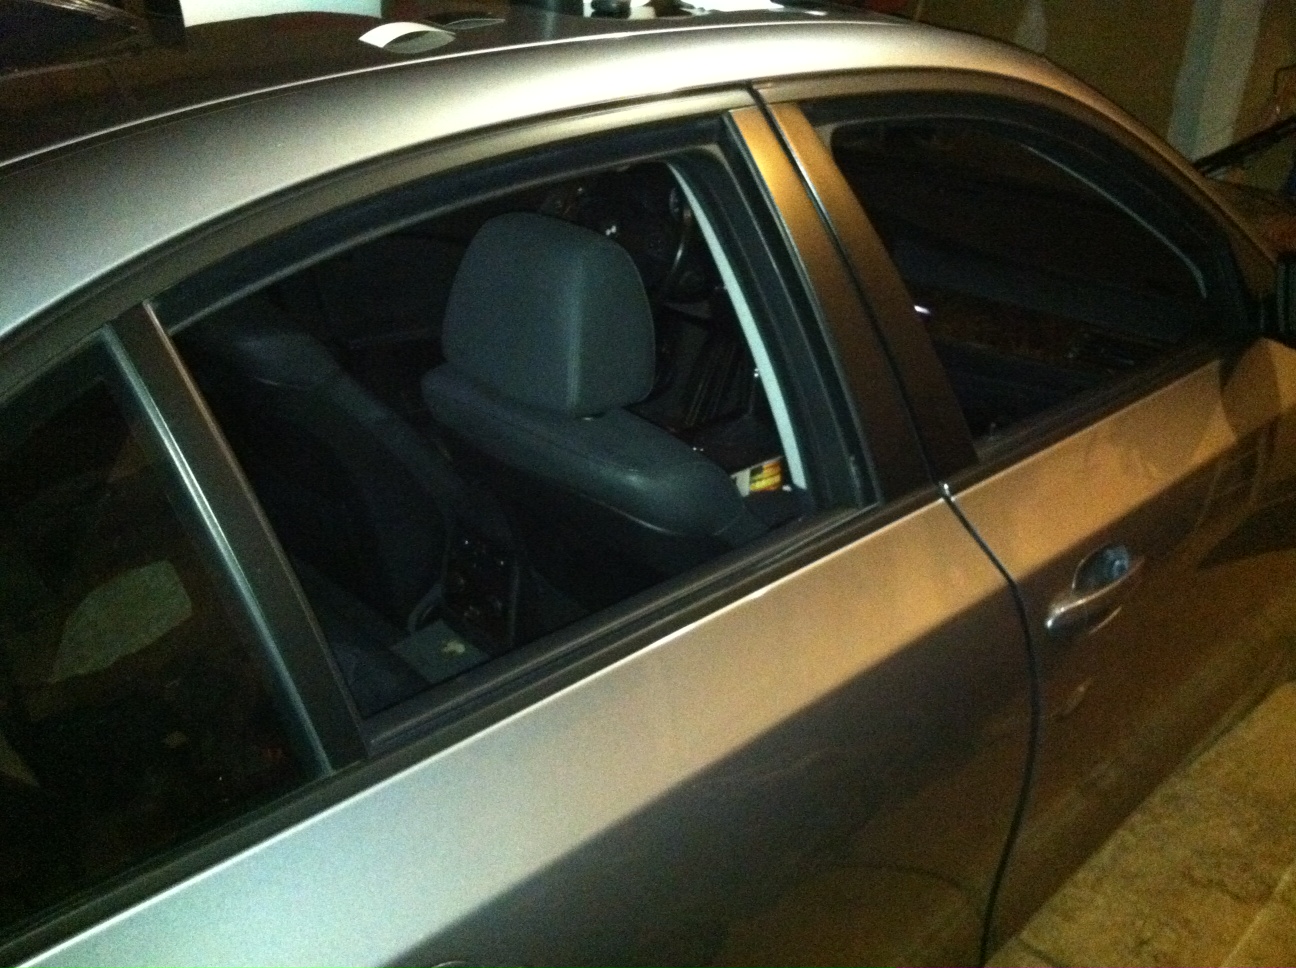
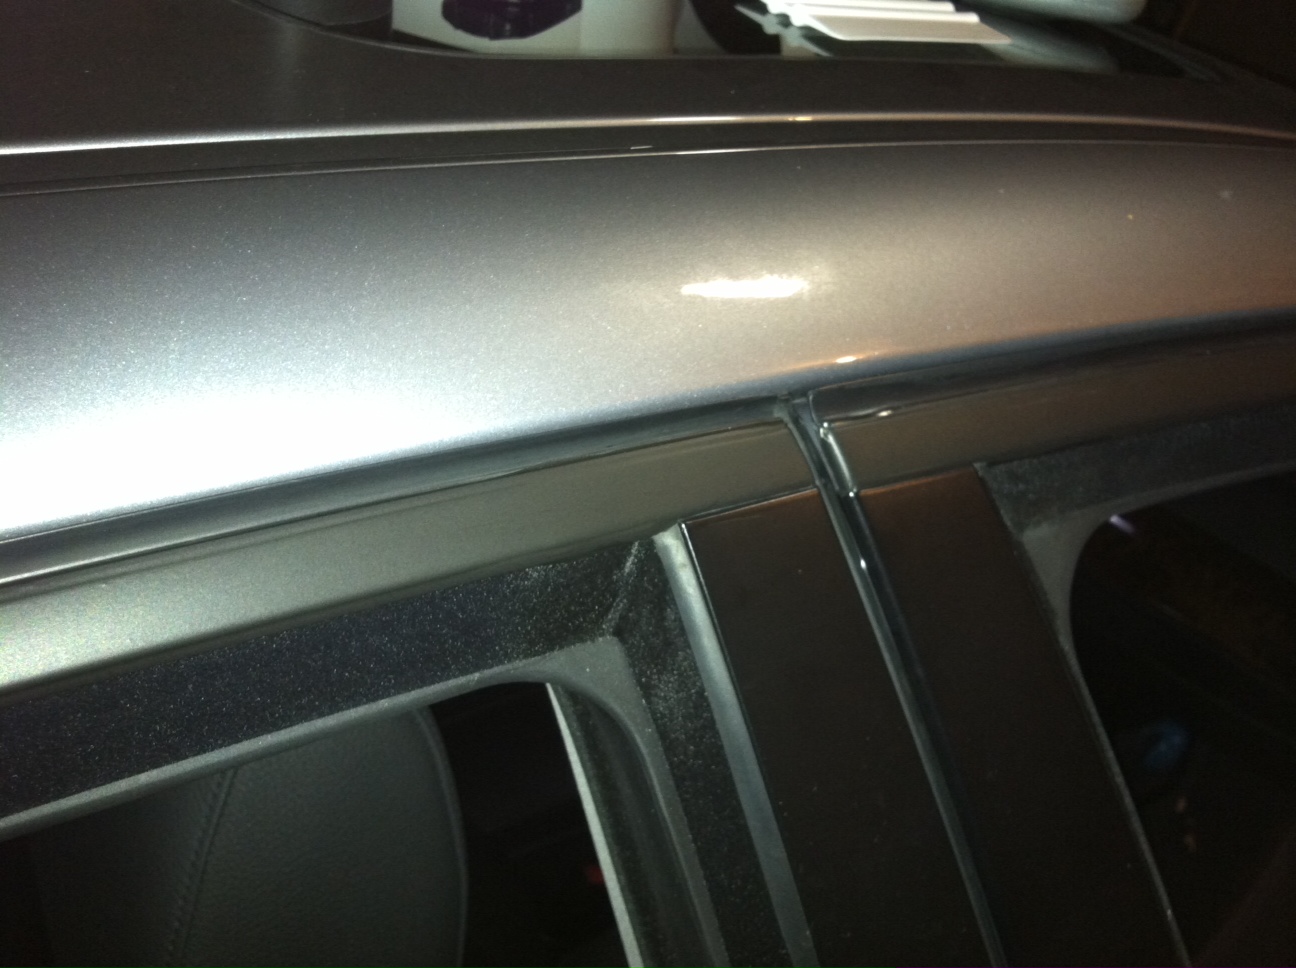
I went through and opened each window. I then began to lay the vinyl a strip at a time. As you lay the vinyl keep it pulled somewhat tight, but not too tight reducing wrinkles and bubbles. These blemishes will however be inevitable. That's when you smooth things out with a squeegee or old credit card. Smooth things out as you go. Try to make it as smooth as possible, as the vinyl is very tacky. If however you make a mess of a piece, simply pull it up and redo with a fresh piece!


Here is the final product! Sorry the lighting is poor as I finished it up around midnight. I hope this helps someone!

Tools: Vinyl, squeegee or credit card, rubbing alcohol, razor, scissors.
I began by washing all trim with soap and water. After it dried, I went through with a cloth and rubbing alcohol. Make sure you give it enough time to dry thoroughly. At that point it is time to get the vinyl ready.
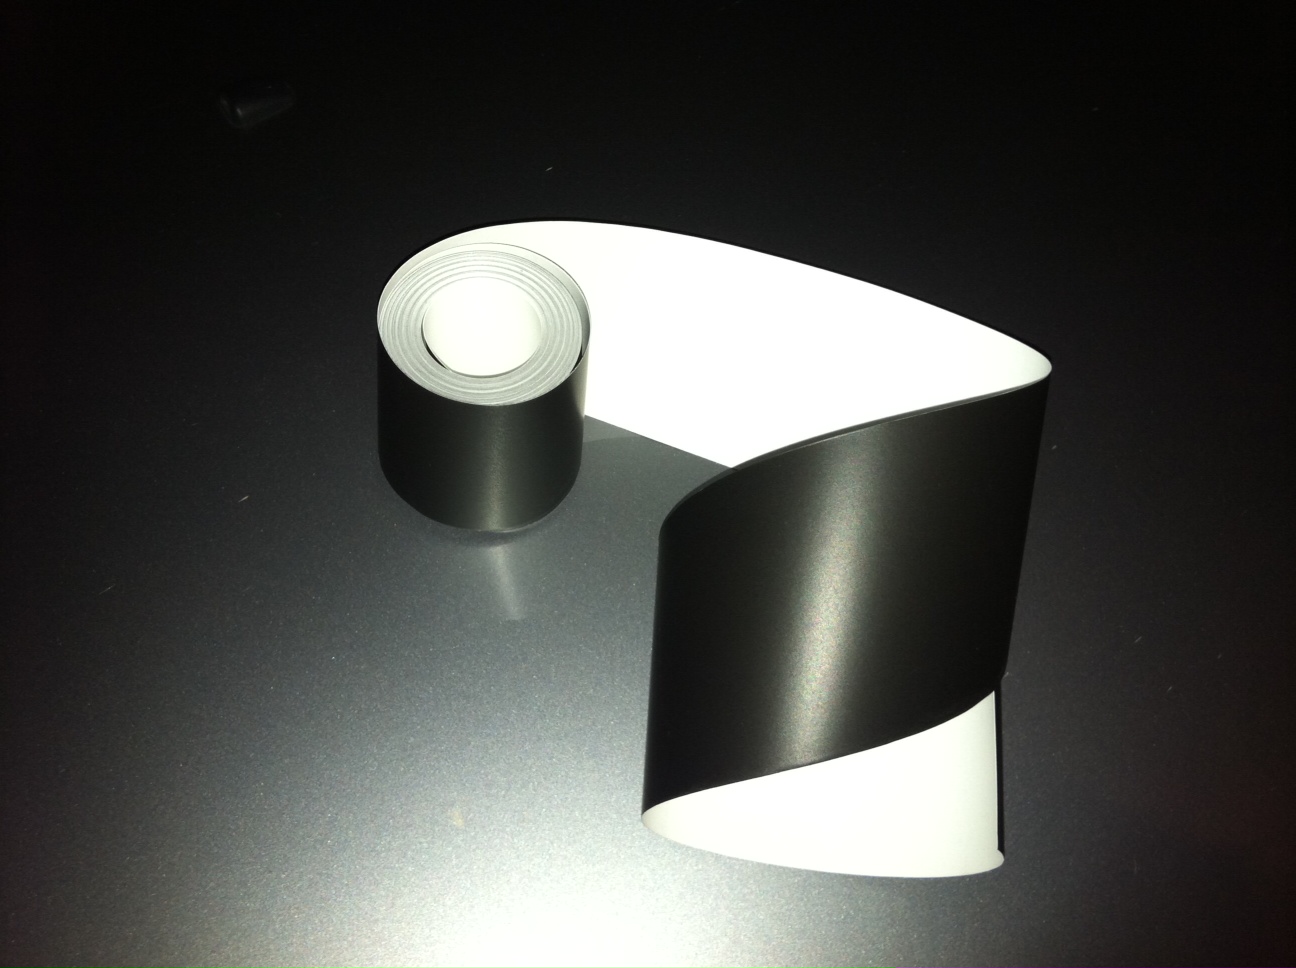
I started by measuring off my first section. I then cut the vinyl in half. The roll comes in 3 inch width and 1.5 inch is more then wide enough. This will definitely help reduce waste. It also makes it easier to work with!
I went through and opened each window. I then began to lay the vinyl a strip at a time. As you lay the vinyl keep it pulled somewhat tight, but not too tight reducing wrinkles and bubbles. These blemishes will however be inevitable. That's when you smooth things out with a squeegee or old credit card. Smooth things out as you go. Try to make it as smooth as possible, as the vinyl is very tacky.
If however you make a mess of a piece, simply pull it up and redo with a fresh piece!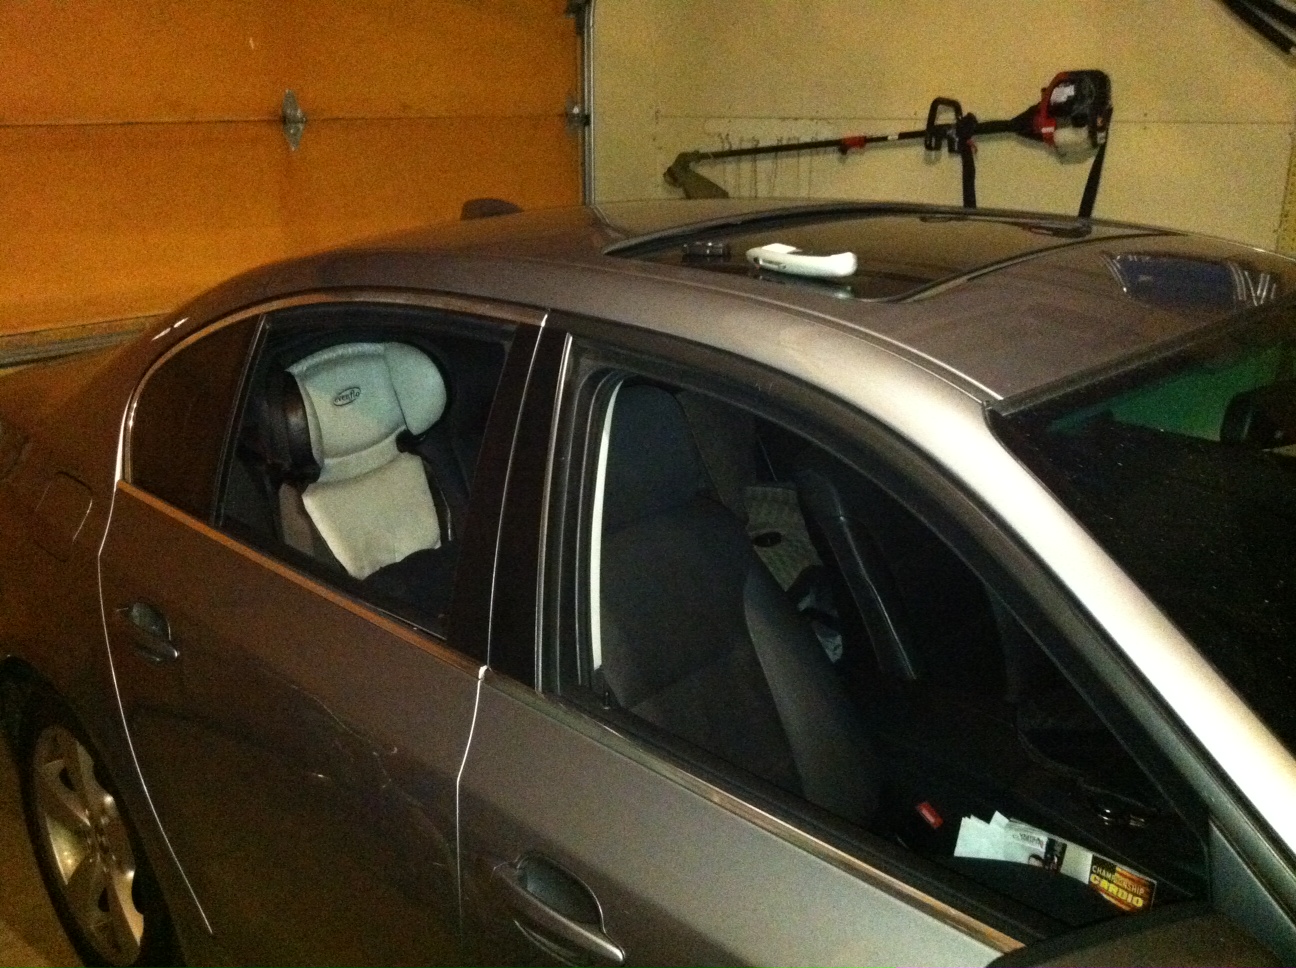
Here is the final product! Sorry the lighting is poor as I finished it up around midnight. I hope this helps someone!


The following users liked this post:
dan_a (08-05-2022)
10-16-2011, 08:42 PM
#3
Members

Join Date: Dec 2010
Location: Port Washington, NY
Posts: 39
Likes: 0
Received 0 Likes
on
0 Posts
Great mod, worth the $ and effort imo
I tried it a few months ago and it was WAYYY harder than I thought it would be. I was going absolutely insane trying to eliminate all the bubbles. I definitely would reccomend cutting it beforehand, I didn't do that and working with the added material was a little tricky.
Congrats looks like you did a nice job
10-17-2011, 04:29 AM
#4
Senior Members
Join Date: Nov 2010
Posts: 387
Likes: 0
Received 0 Likes
on
0 Posts
My Ride: E60
If you have bubbles you can remove them making a small hole with a pin.. Also if you stretch the tape it will shrink in the sunshine.. So I suggest dont scretch it at all..
10-17-2011, 10:06 AM
#5
Senior Members
Join Date: Mar 2011
Location: Northern California
Posts: 434
Likes: 0
Received 0 Likes
on
0 Posts
My Ride: 2008 535i
I think your missing the "step by step" you mentioned. I was hoping to see the step by step process of applying the vinyl not just before and after pics and pics of the materials.
10-17-2011, 12:24 PM
#6
Contributors
Join Date: May 2008
Location: San Antonio, TX
Posts: 5,895
Likes: 0
Received 0 Likes
on
0 Posts
My Ride: 04 525i, 04 Dinan M3
Props for your paitence, I tried to go this route and got super frustrated and ripped all the vinyl off the car. I then purchased all the trim. 

 10-17-2011, 06:04 PM
#10
Members
Thread Starter
Join Date: Sep 2010
Location: Columbus, Ohio
Posts: 239
Likes: 0
Received 1 Like
on
1 Post
My Ride: 2007 Silver Grey 530 XI
Thanks for the comments guys. Honestly, the imperfections are kind of annoying while in the sunlight. Everyone has been saying how good it looks, but like anything when you know where the blemishes are it kind of eats you up! 