
Professional Headlight Restoration DIY

Thread Starter
Senior Members
Joined: Jun 2009
Posts: 2,680
Likes: 7
My Ride: E60 530i
Just as the topic states! I know there are many DIY's out there but most are just re-finishing which will eventually re-fade. Please don't mind the 2 megapixel pics.....blame Apple.
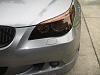
Back when I went to get my windows tinted over a year ago I picked up my car to find they tinted the headlights and tail lights of the wrong vehicle. A similar car (make/model) was there and they got the wrong one. Needless to say I didn't pay for anything.


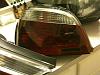
It was a spray tint. I kinda liked the look so I waited it out. Without preparing it myself, I figured I'd wait it out to see what I'm up against. A year later had a chip in my headlight which appeared to be spreadable. I also checked the taillights and noticed a flaking on the edge. So I decide it was time. I got out the pressure washer and put it at 1800 psi and blasted the tint off. Got about 95% off the rest was easily removable.
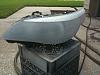
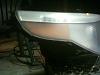
Kinda busy so i called my partner and asked him to do my lights on the 530 and told him I already tinted the clear-coat with the paint and it's in the cabinet labelled accordingly. Forgot to mention which 530 and he mistakenly got the gold E39. So my car came out looking like:

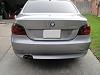
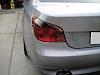
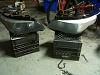
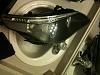
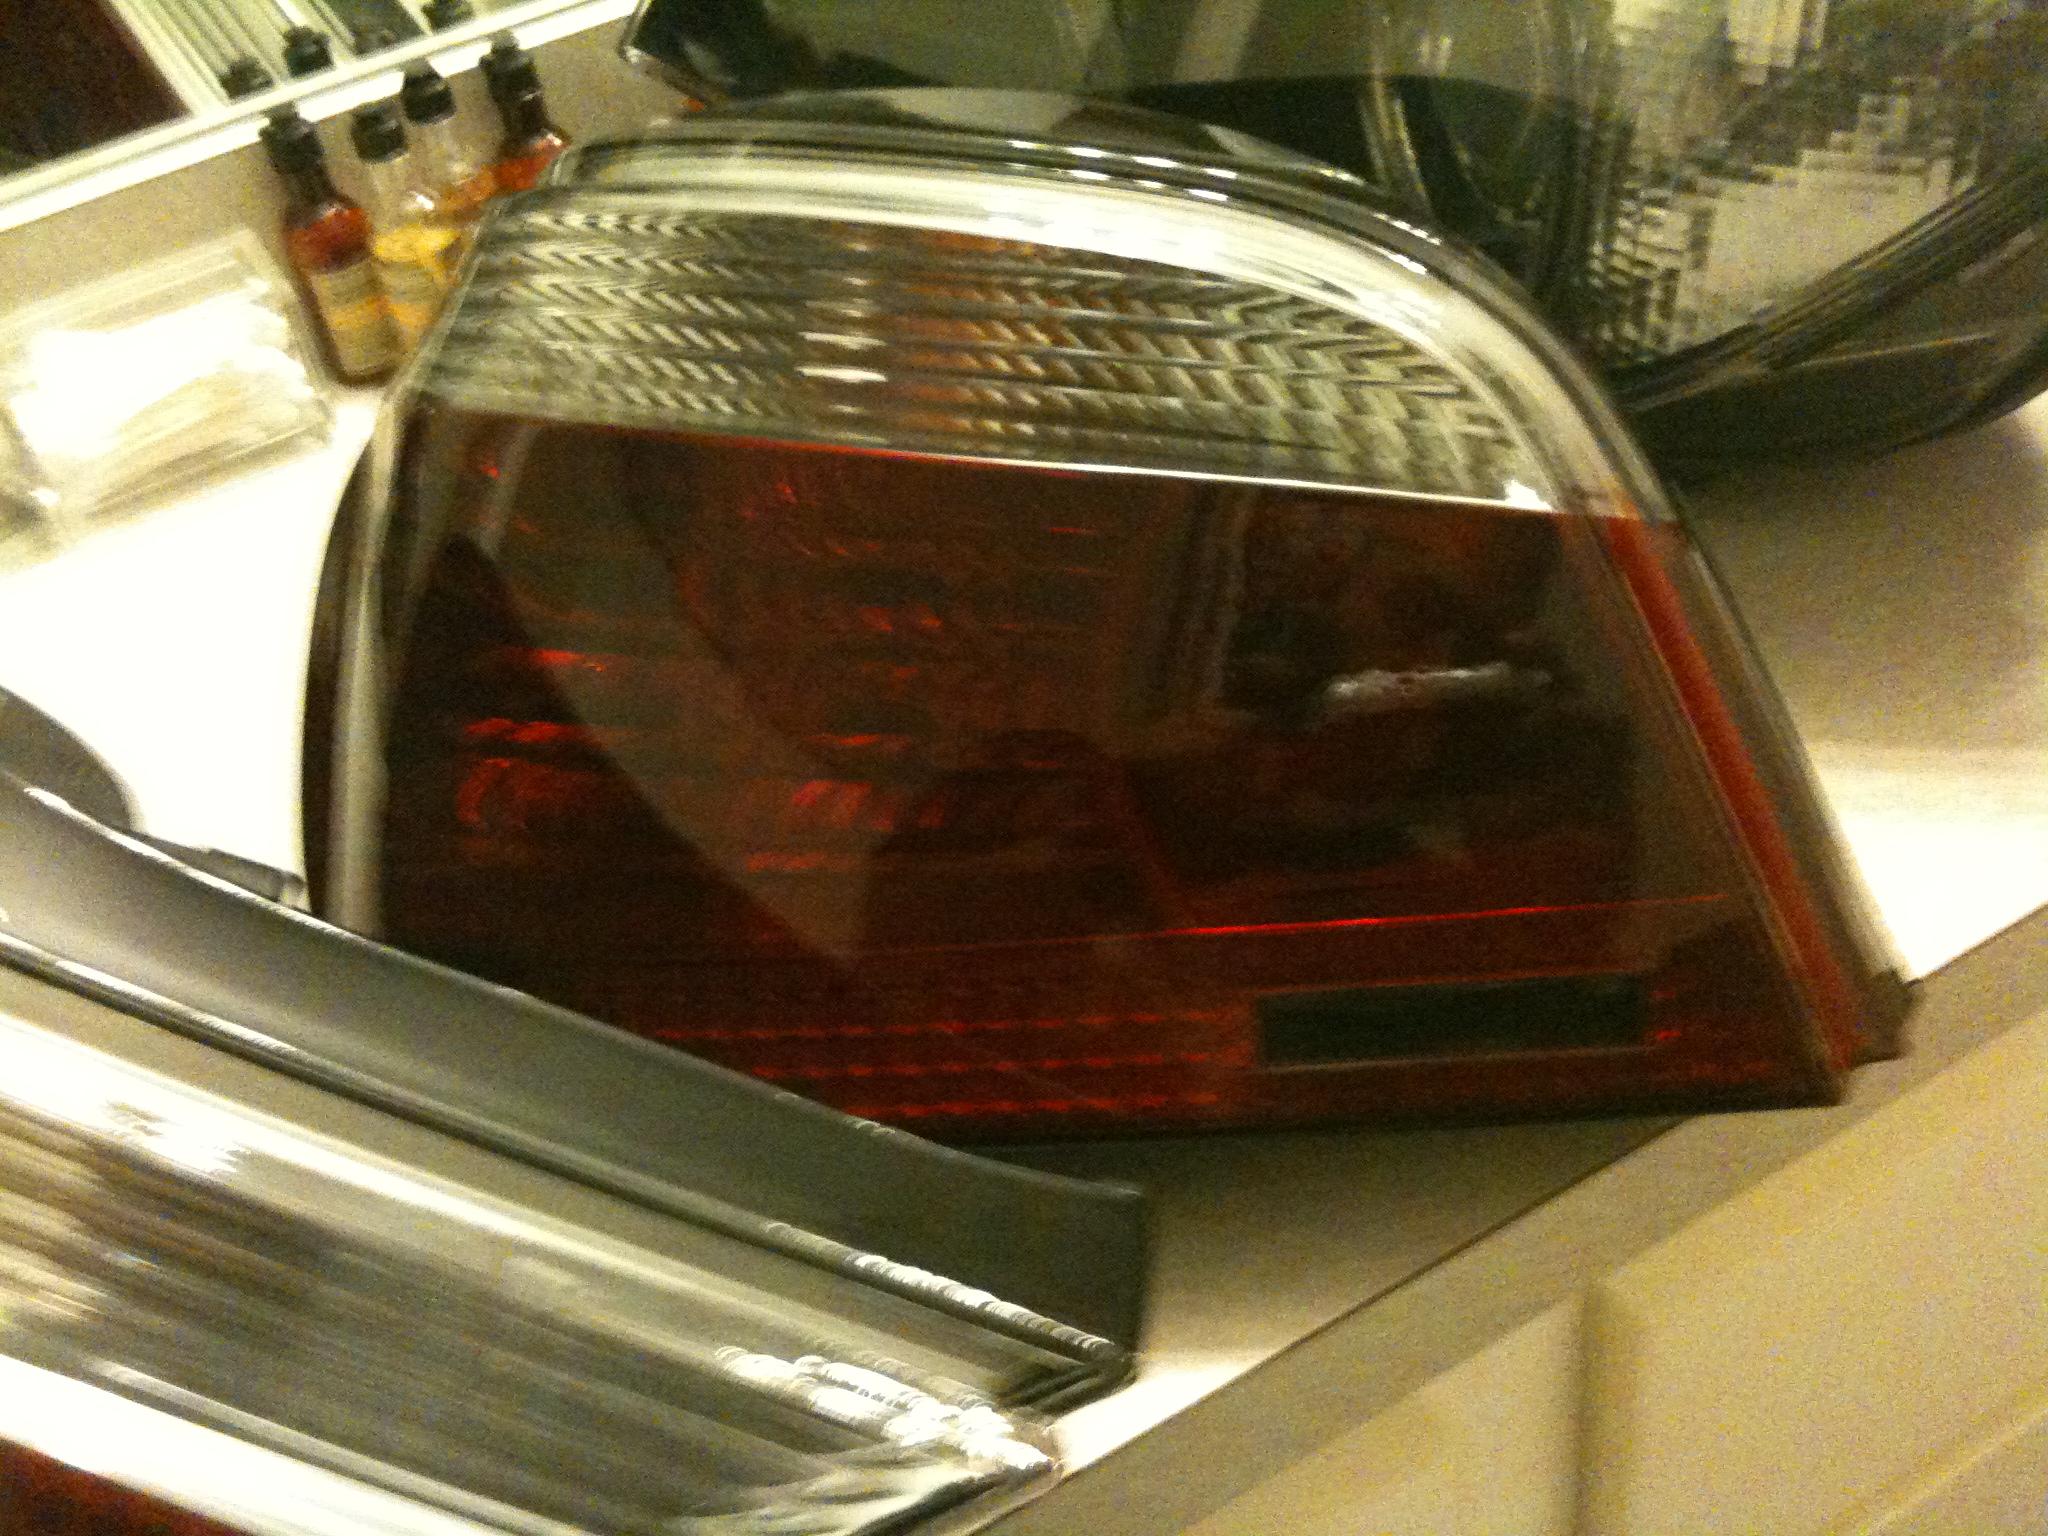
So When I got back 24 hours had passed and I examined the lights and decided the tails were not bad so i cut with precision along the clear part of the lamp. Since it had been only 24 hours it peeled off like static cling (felt like it too). I tried cutting the lamps in strips to be able to create a pocket when i used the pressure washer but it was too late. Genius already used the heat gun to harden the coat on the headlights since they get exposure to road debris and it sped up the process a good 24 hours. I pressure washed and got about 50% off. So I decided it's time for a restoration.......
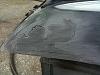
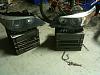
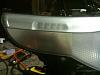
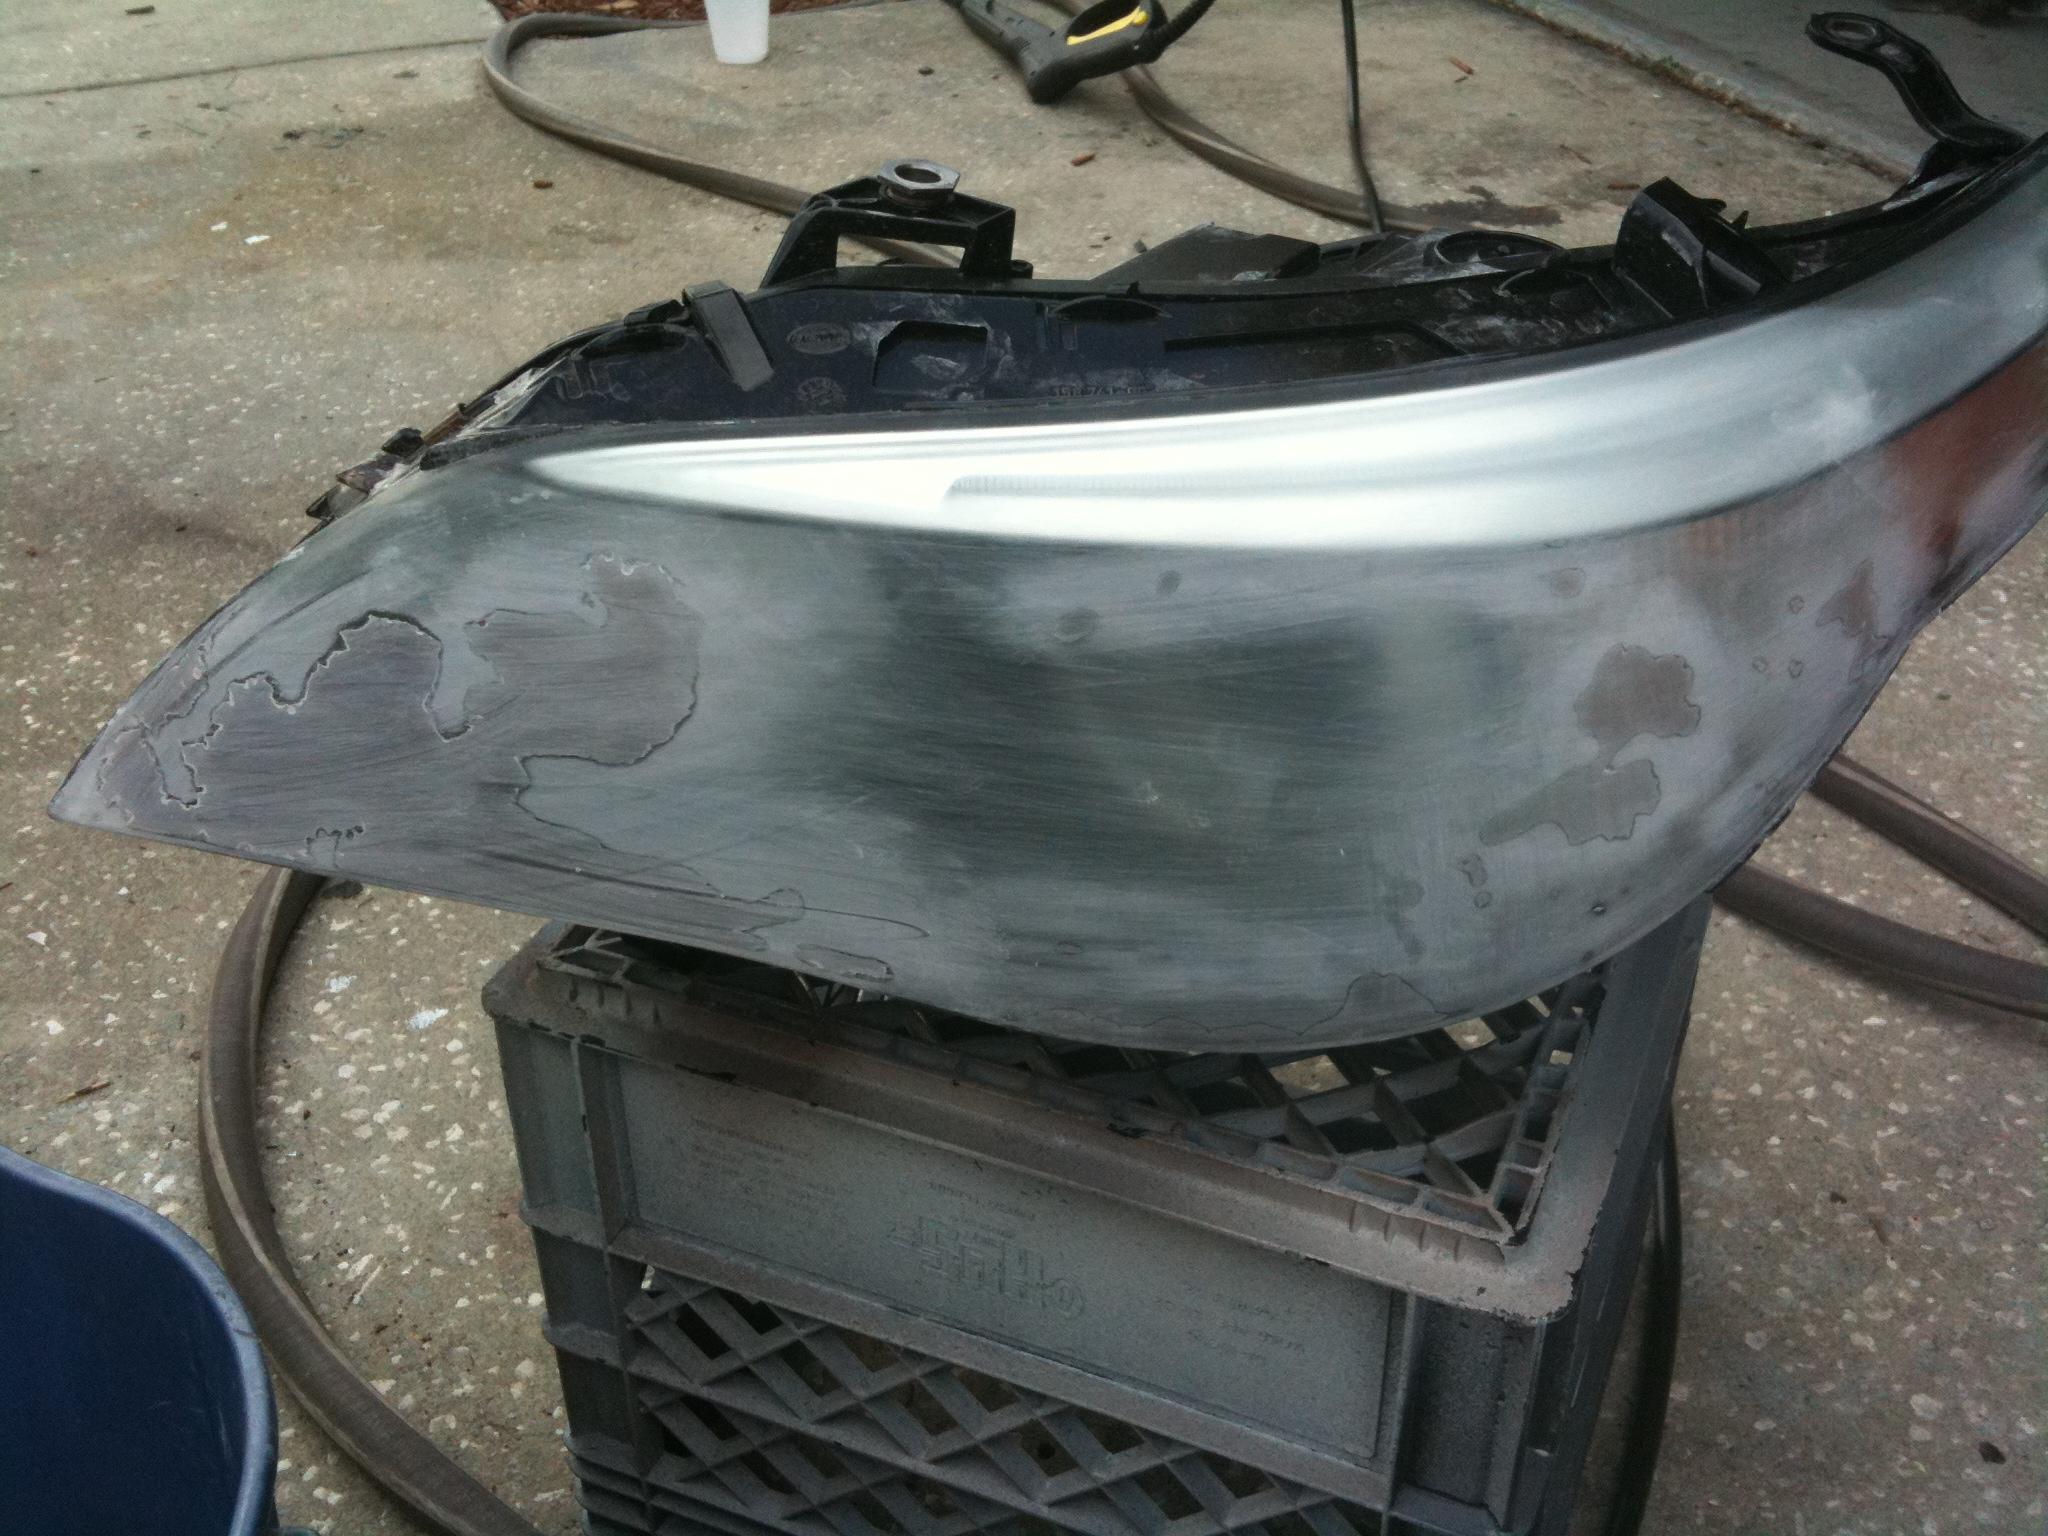
Took out the headlamps and started sanding with 320 grit dry paper to get those nice 4 coats down. Obviously when sanding only sand the area you need to as hard as you need to. Once all coating is off, go over the entire lamp just the same without so much pressure.

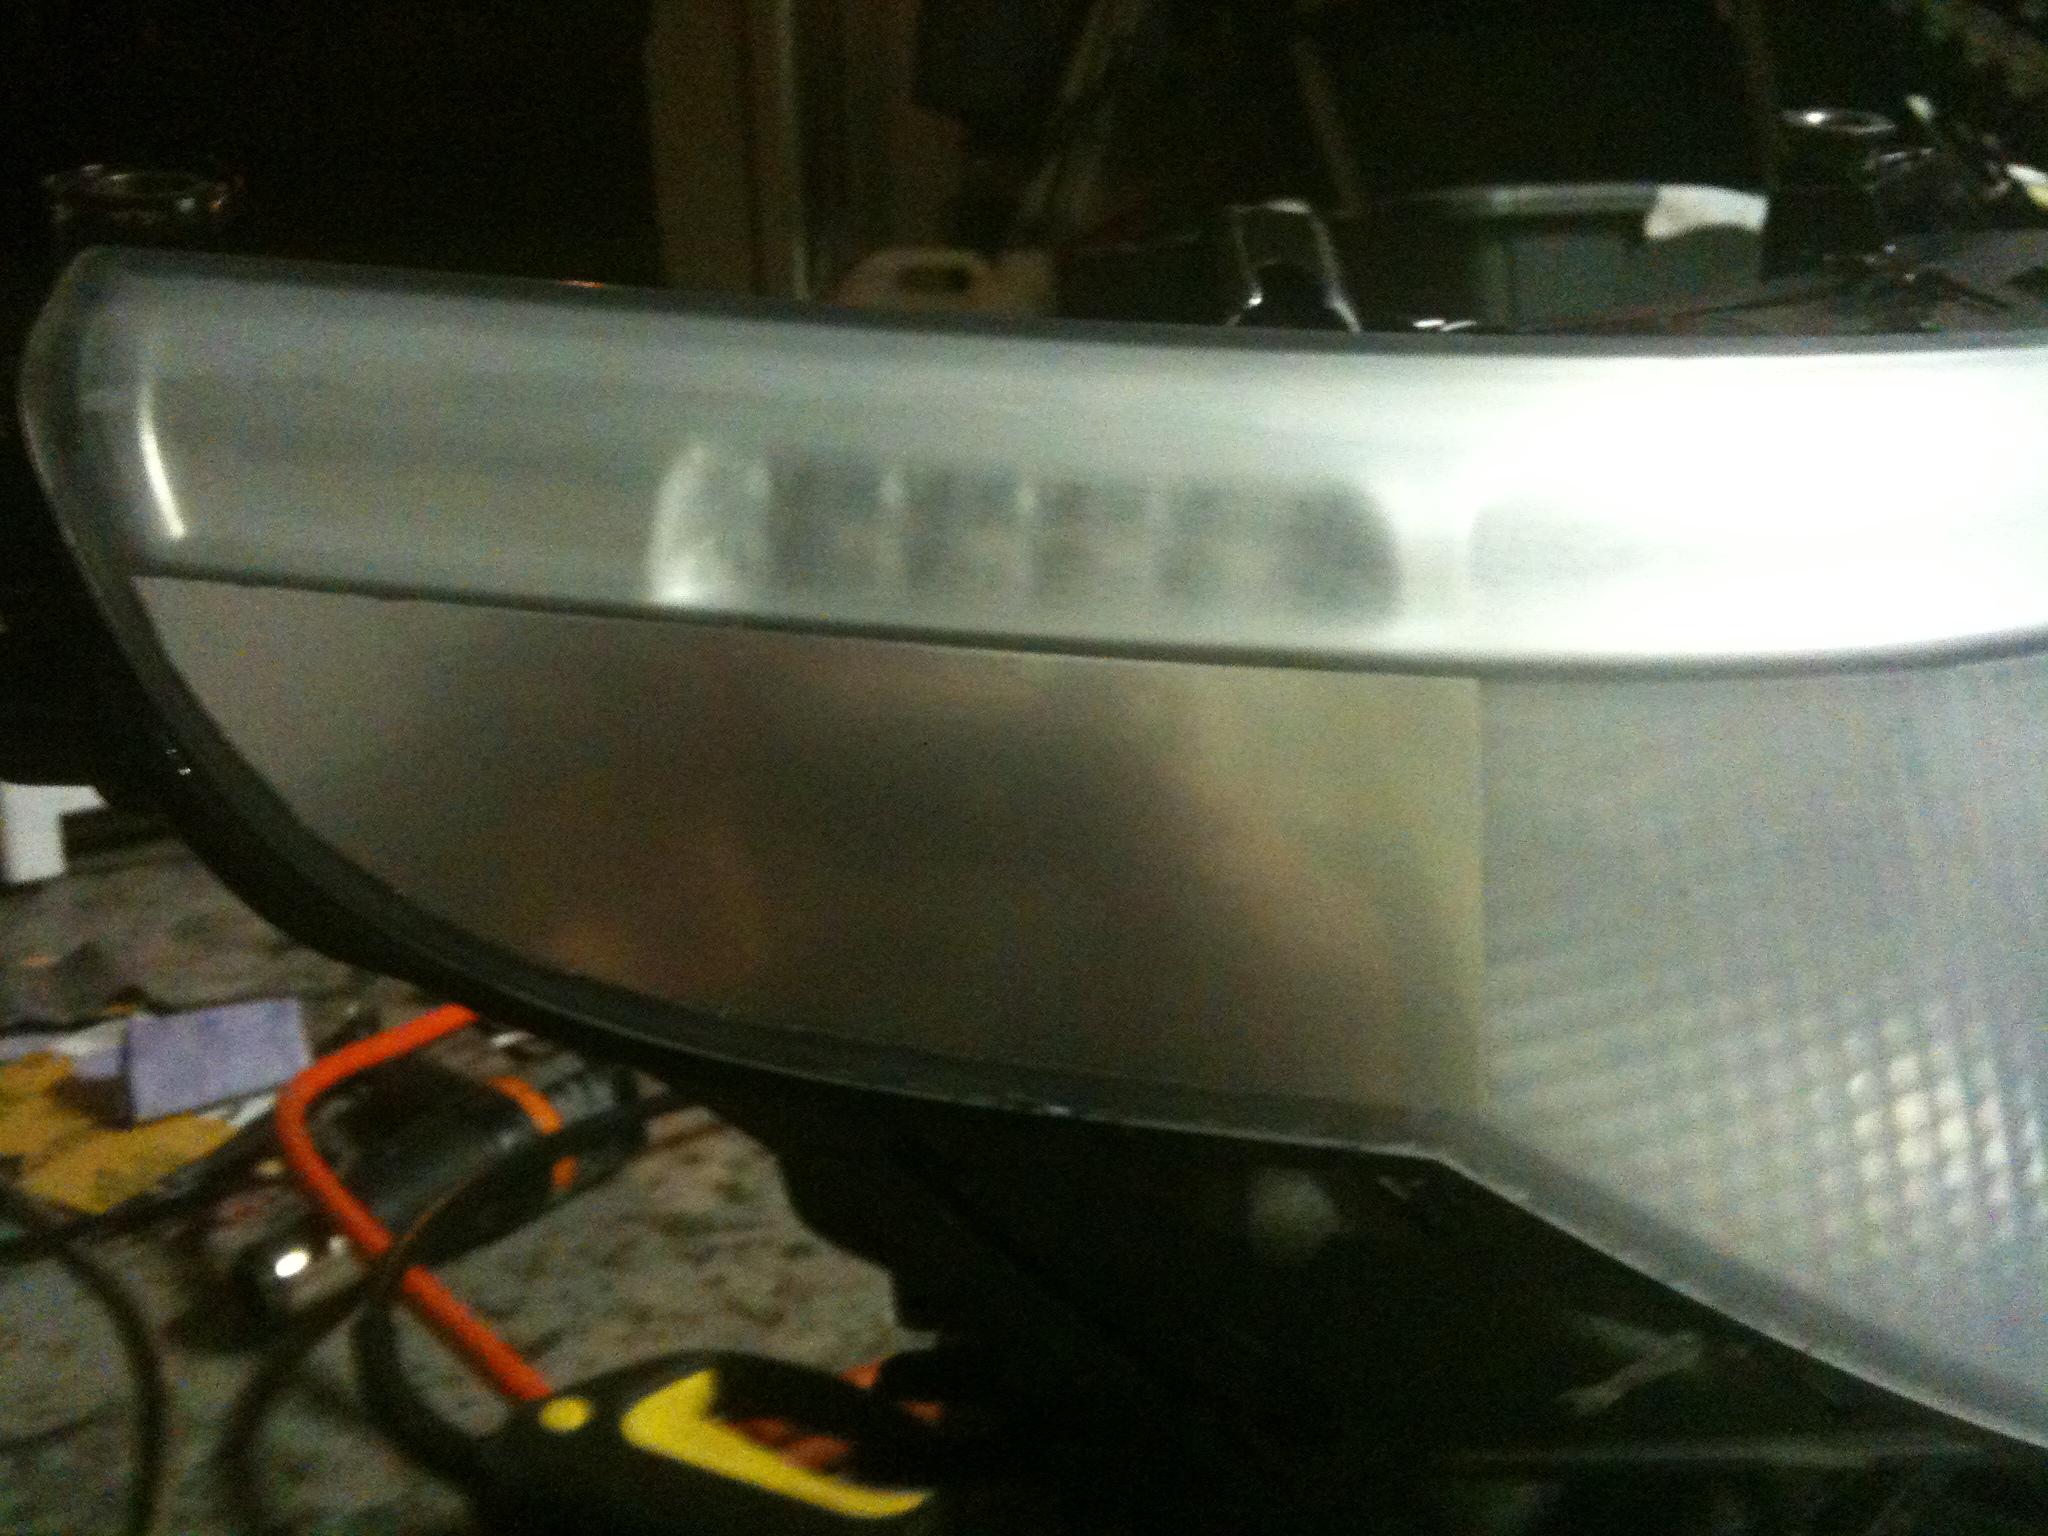
Then sand with a 400 grit wetsand paper, a bucket of water and a clear mild dish soap (dawn)......take your time until the entire light looks the same. After lightly rinsing on lens it Should look like the light on the right when dried..........
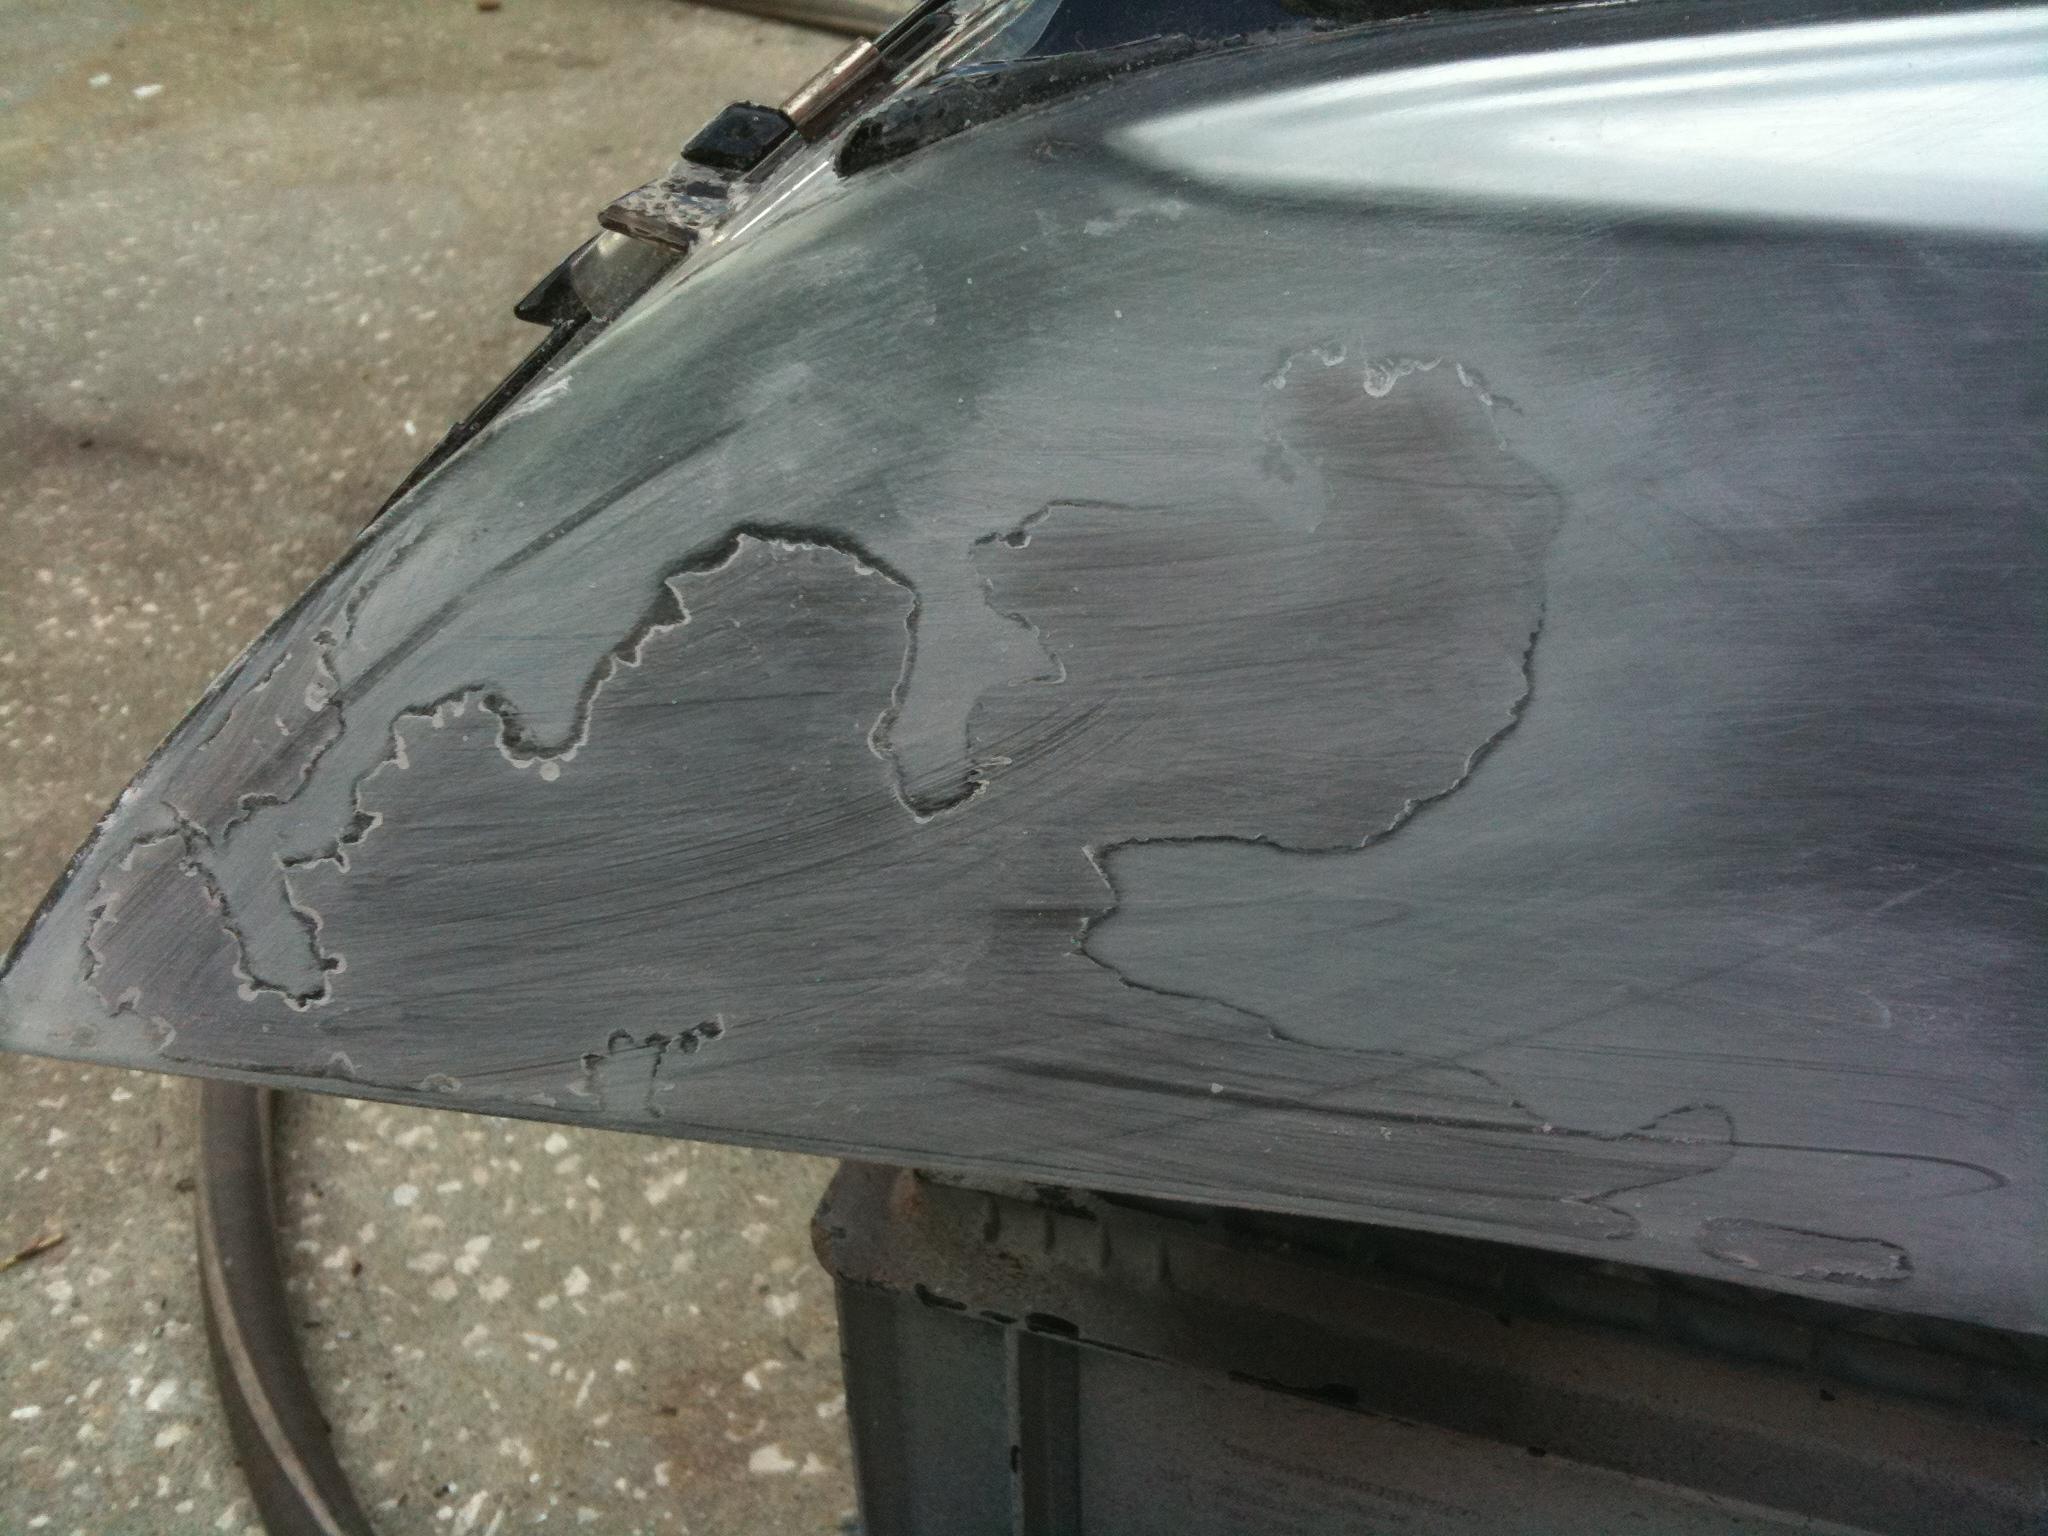
Next, sand with an 800 grit wetsand paper using same as above. Rinse throughly and should look like:

Compare the 400(right) and 800 (left) wetsanded....after it dries
Alone.......Dried
Next sand with a 1000 grit wetsand paper.......compare the 800 and 1000 dried.
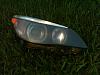
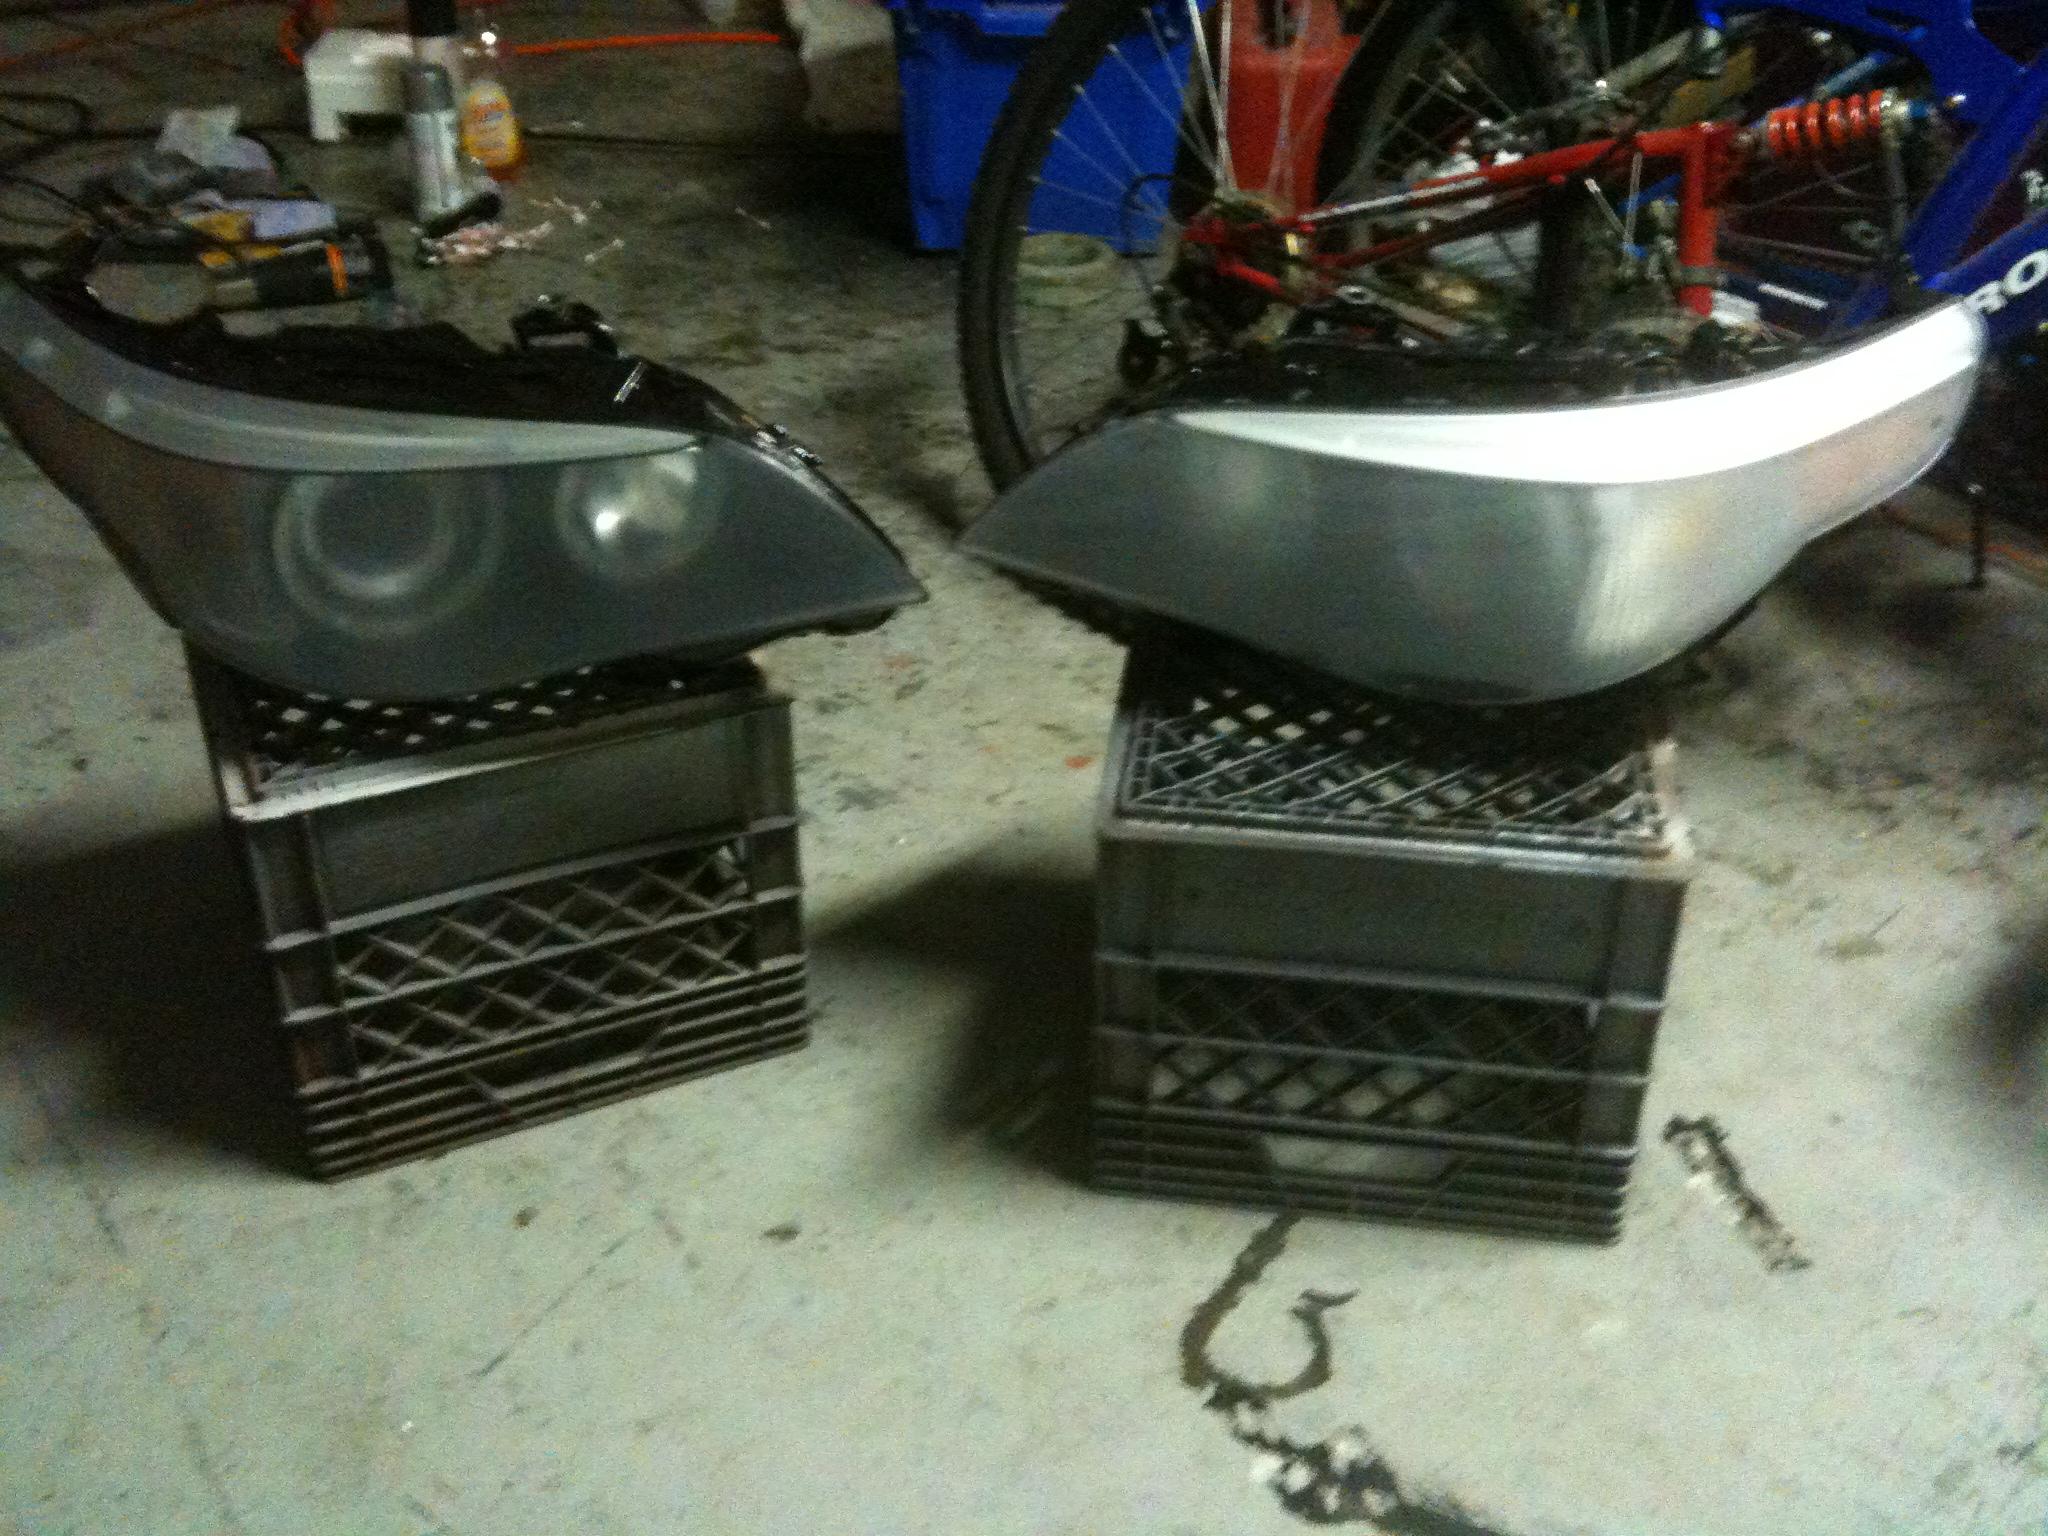
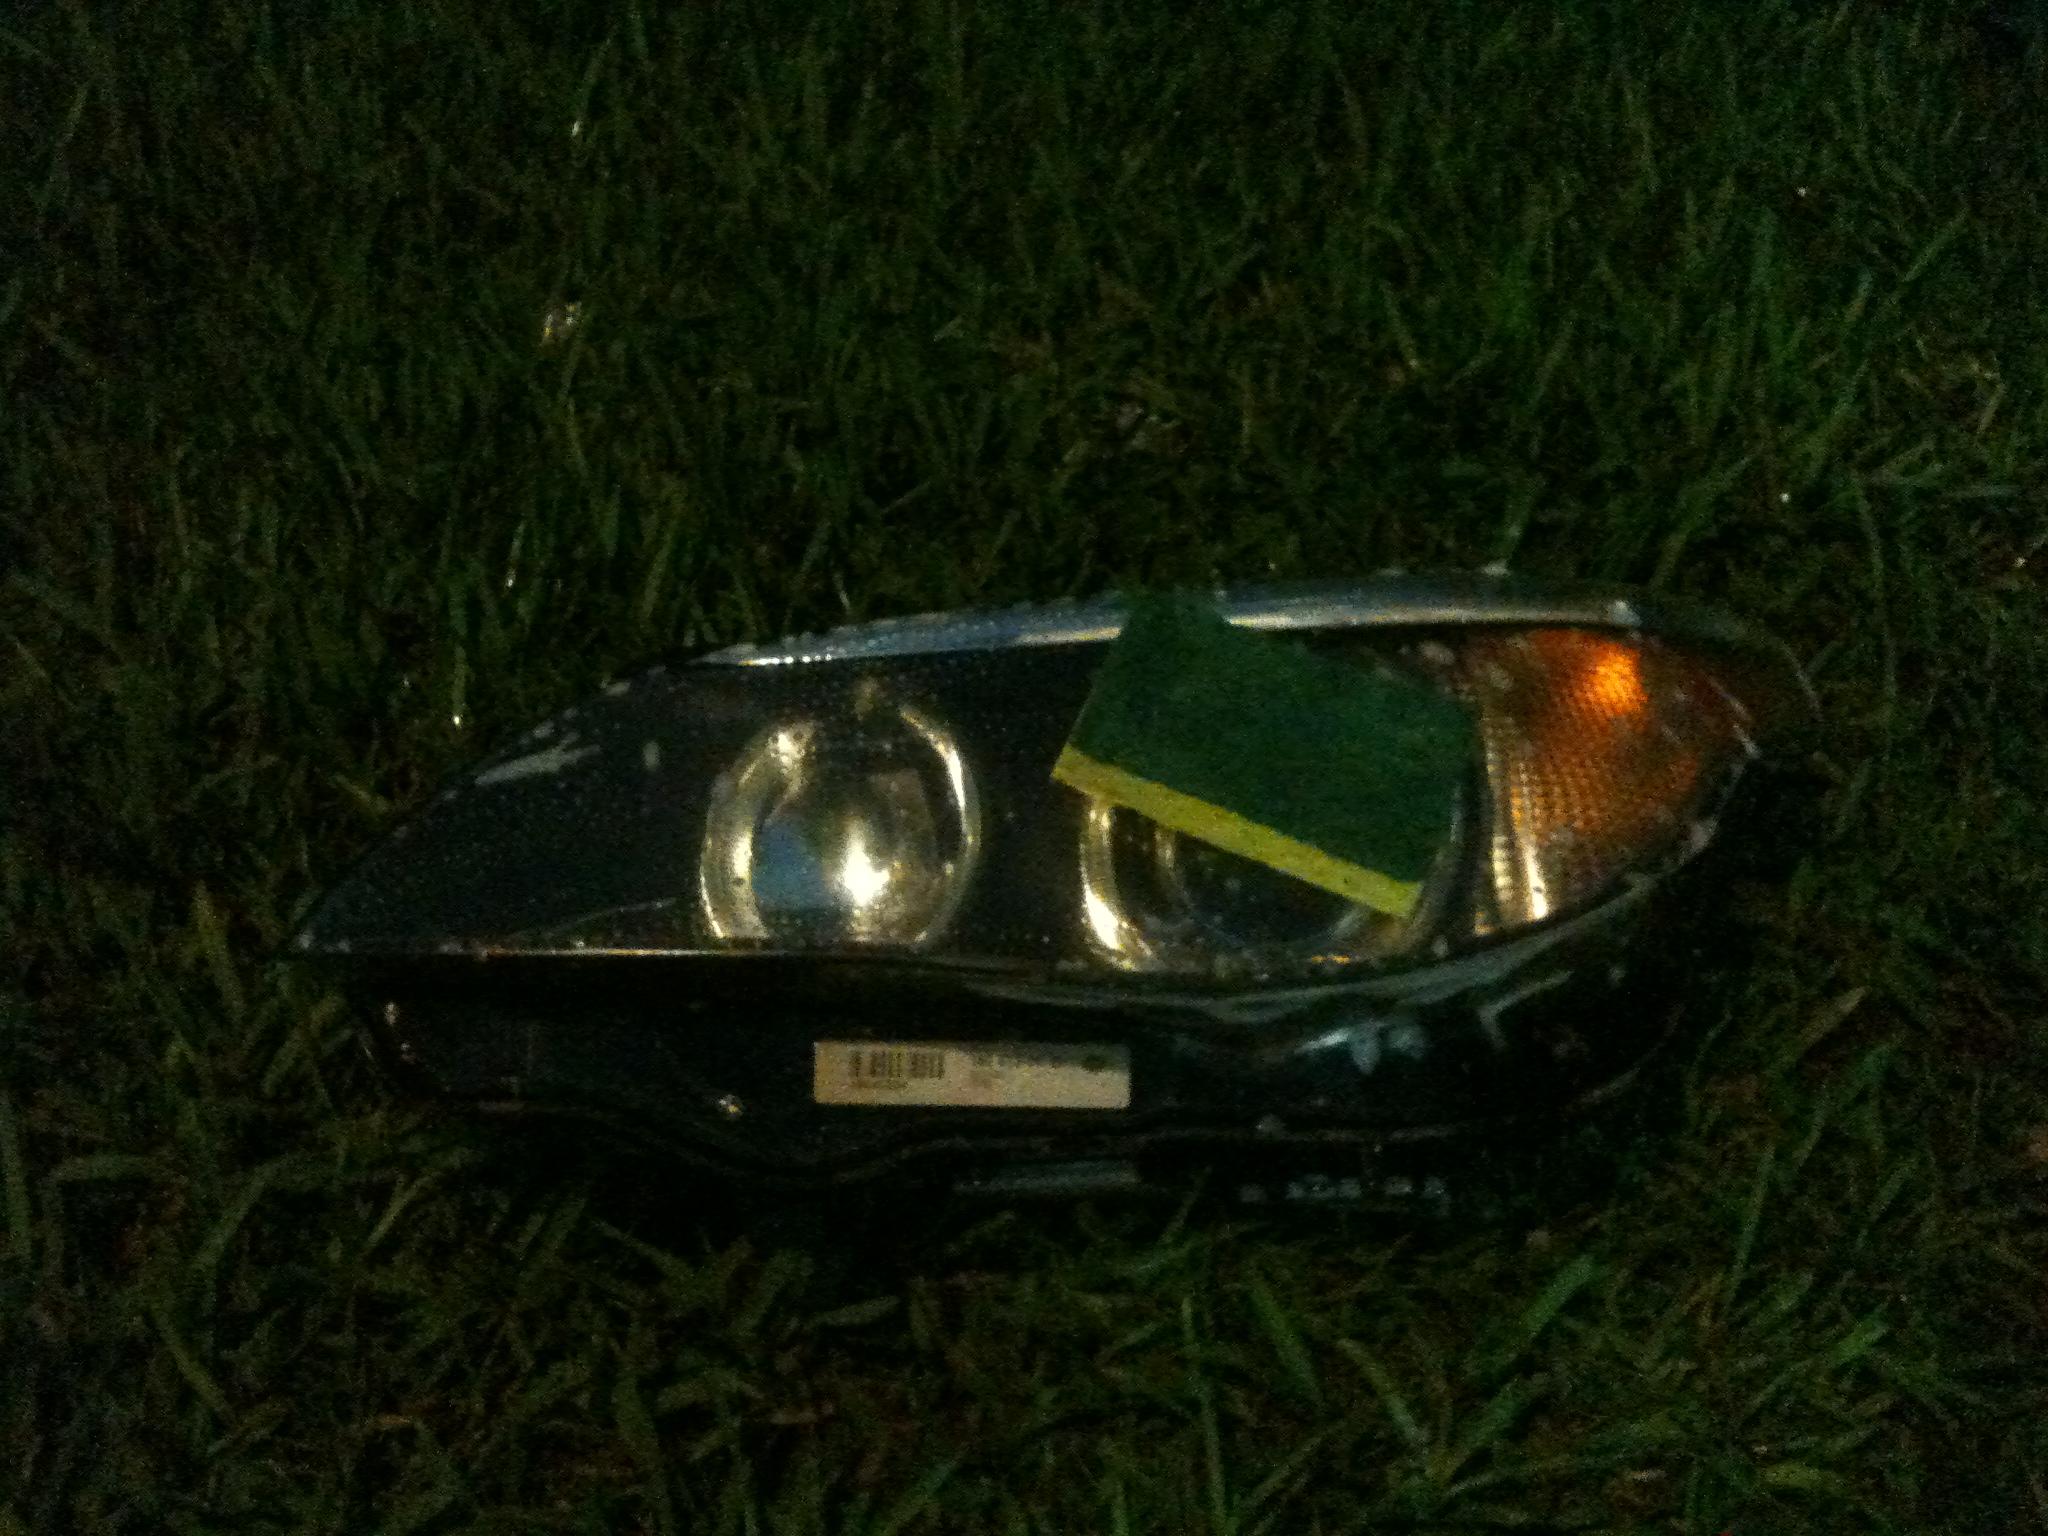
I did not like the orange reflector and was not patient enought to wait for the Eurofreshness stickers. So I taped off the reflector and added silver paint........
Now this where you stop. Why? Sure you can wet sand with a 2000 grit and then use a buffer to polish the light with polishing compound, clean and then apply a buffer driven swirl removing compound and plastix but eventually your lights with get weathered and fade. Oxidation is oxidation......so I finished off with a scotch scrubby pad, a little elbow grease and rinsed....
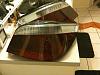
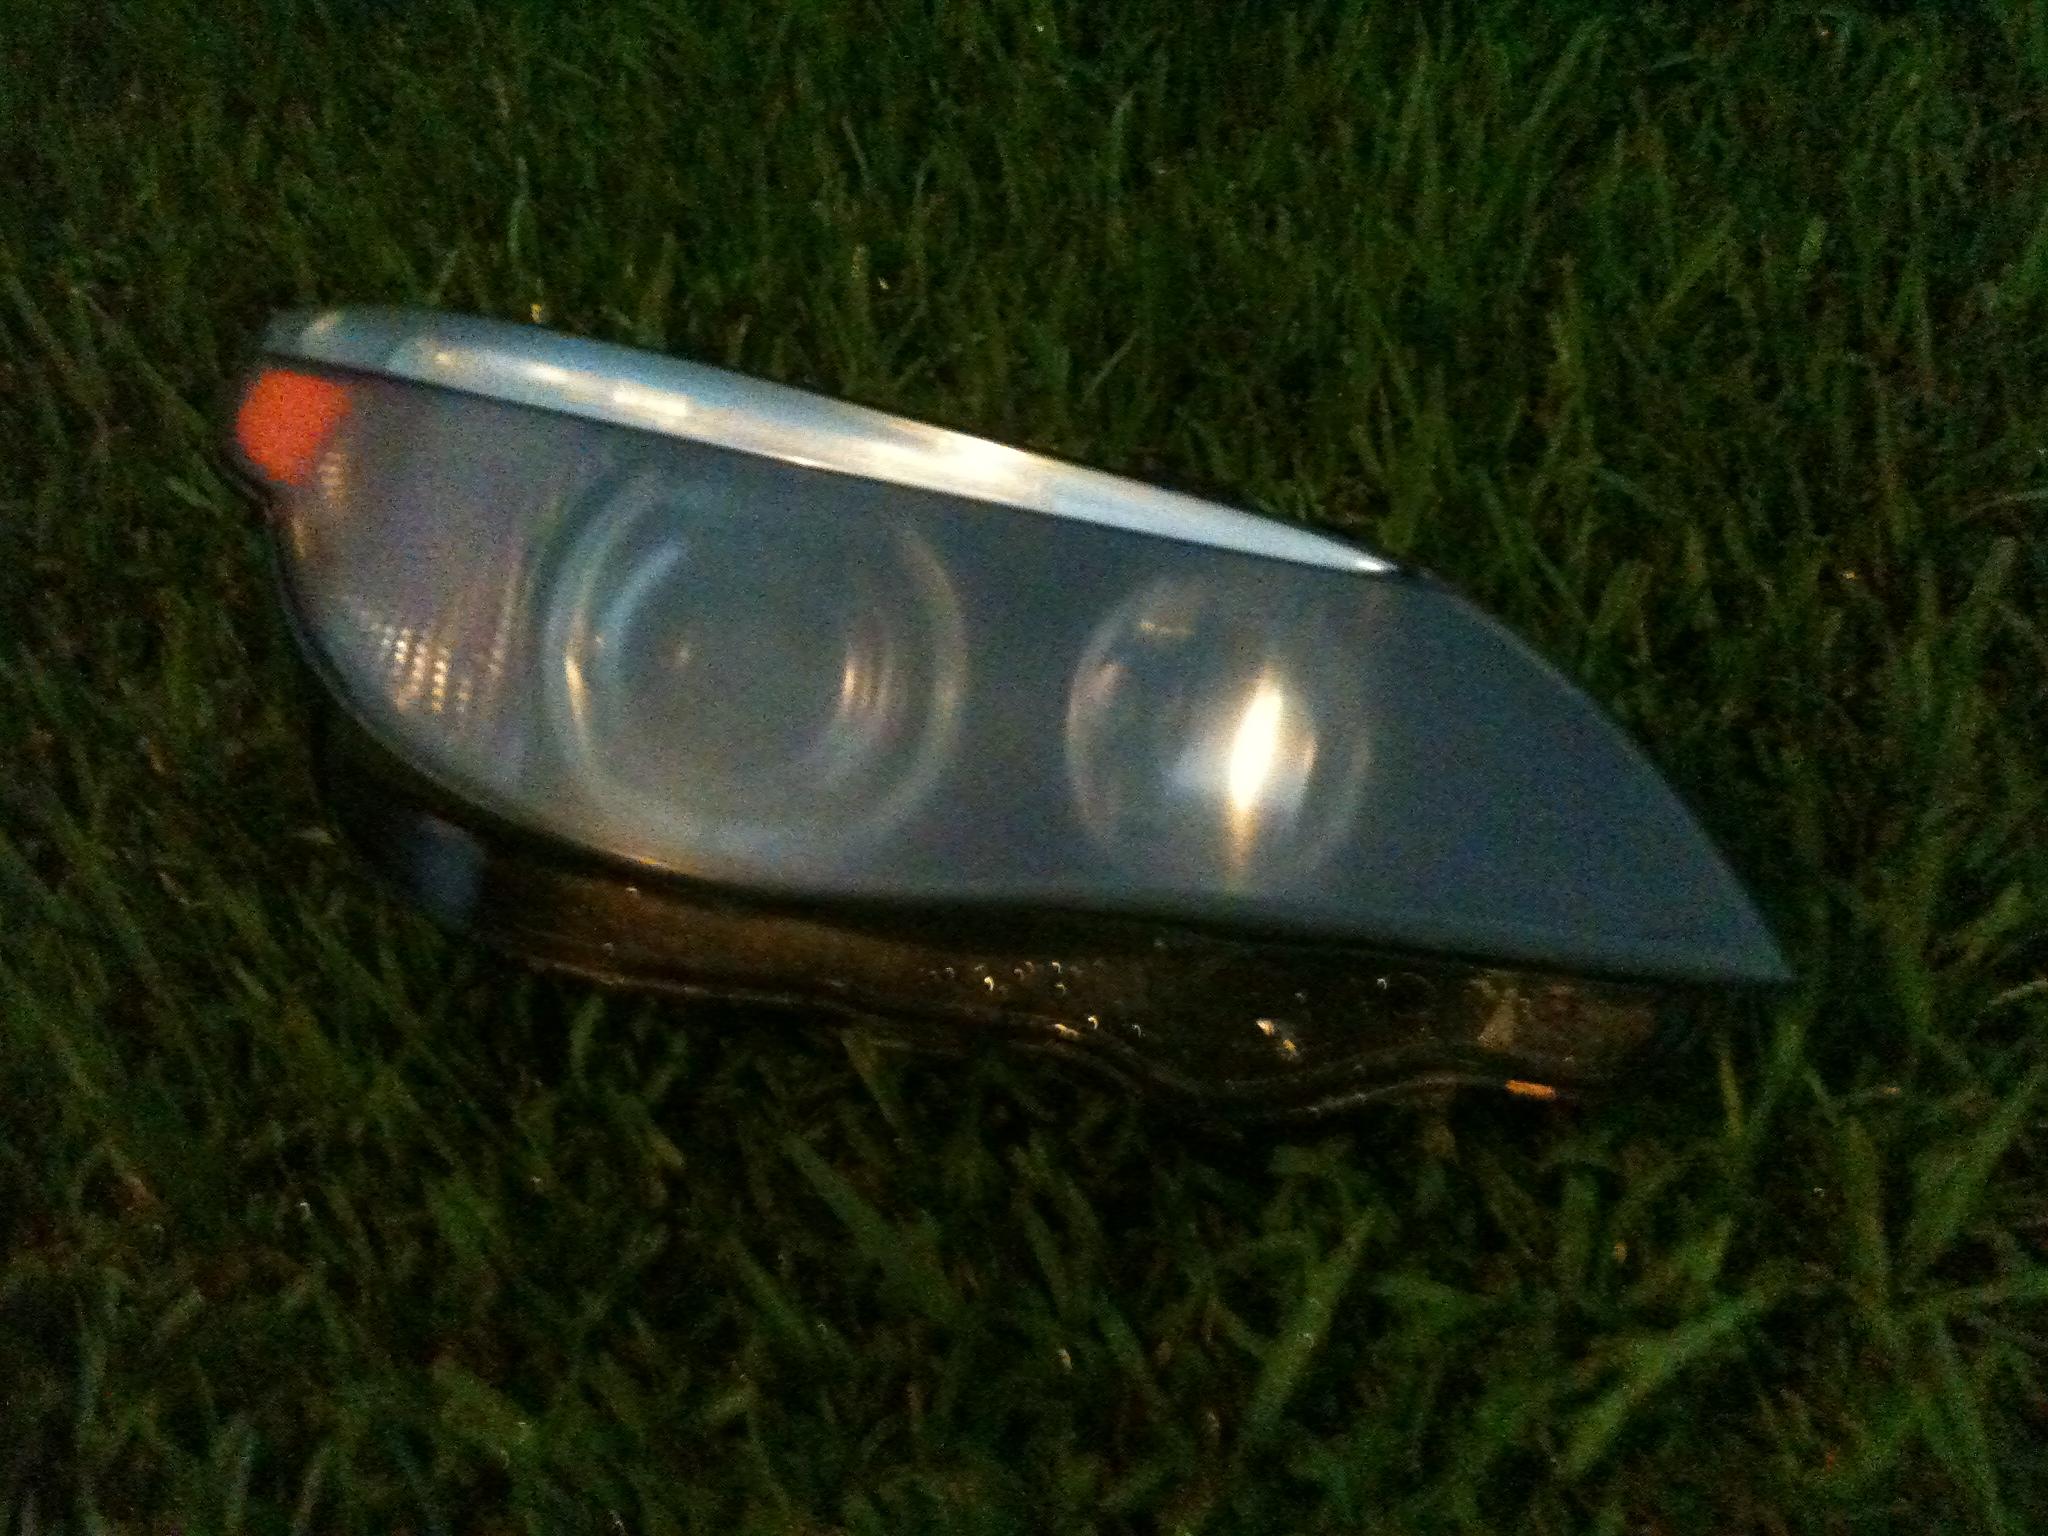
After I let the lights sit for an hour I decide to take my clearcoat, add a shot of pure black paint (blue tinted not red tinted). Although it appears dark it will not come out dark when sprayed with 4-6 coats.
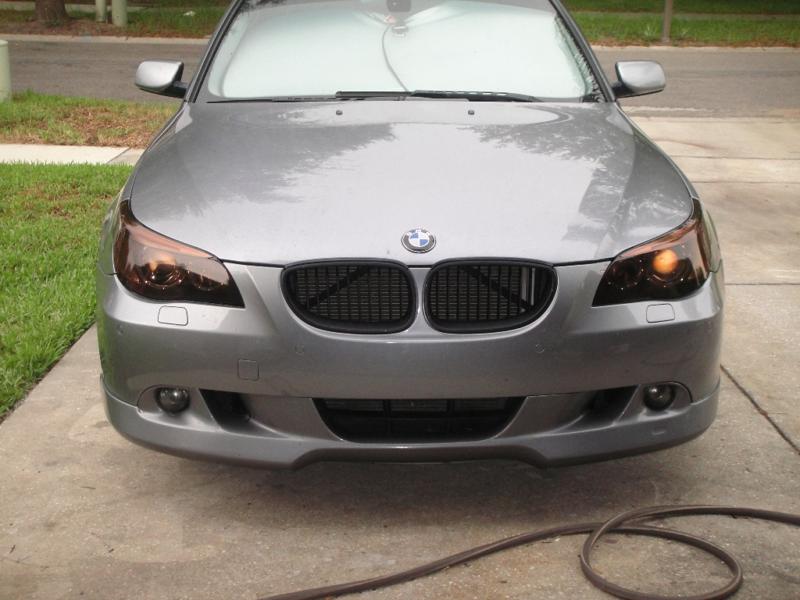
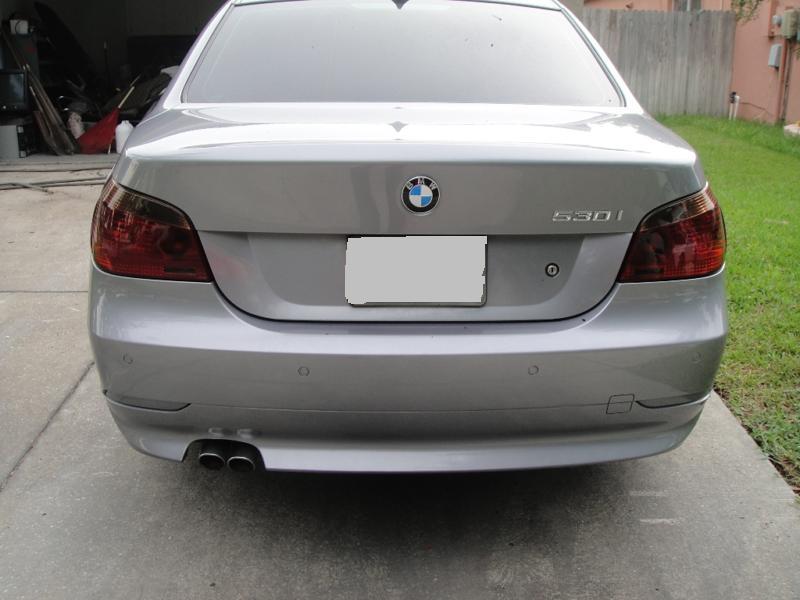
So after 1000 grit and the scotch scrubby pad I took my clearcoat, mixed in the hardener and sprayed. I am in the process of providing a painting DIY, this will be in that process. Here is the finished product.


Haven't took pics of them on the vehicle yet but I all I can say is 5 hours well spent! Obviously if you don't have 6 layers of clearoat on your lamps cut the process down to about 1.5 hours. I'll let you all know when the Painting DIY comes out. It's a lot to cover since you have to be knowledgeable about paint types and spray techniques.
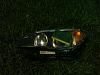
I took out all my stock bulbs and used paint thinner to remove the amber coating. Now you cannot see any amber by looking at the light and they look and blink white. Good deal.
Back when I went to get my windows tinted over a year ago I picked up my car to find they tinted the headlights and tail lights of the wrong vehicle. A similar car (make/model) was there and they got the wrong one. Needless to say I didn't pay for anything.


It was a spray tint. I kinda liked the look so I waited it out. Without preparing it myself, I figured I'd wait it out to see what I'm up against. A year later had a chip in my headlight which appeared to be spreadable. I also checked the taillights and noticed a flaking on the edge. So I decide it was time. I got out the pressure washer and put it at 1800 psi and blasted the tint off. Got about 95% off the rest was easily removable.
Kinda busy so i called my partner and asked him to do my lights on the 530 and told him I already tinted the clear-coat with the paint and it's in the cabinet labelled accordingly. Forgot to mention which 530 and he mistakenly got the gold E39. So my car came out looking like:


So When I got back 24 hours had passed and I examined the lights and decided the tails were not bad so i cut with precision along the clear part of the lamp. Since it had been only 24 hours it peeled off like static cling (felt like it too). I tried cutting the lamps in strips to be able to create a pocket when i used the pressure washer but it was too late. Genius already used the heat gun to harden the coat on the headlights since they get exposure to road debris and it sped up the process a good 24 hours. I pressure washed and got about 50% off. So I decided it's time for a restoration.......
Took out the headlamps and started sanding with 320 grit dry paper to get those nice 4 coats down. Obviously when sanding only sand the area you need to as hard as you need to. Once all coating is off, go over the entire lamp just the same without so much pressure.

Then sand with a 400 grit wetsand paper, a bucket of water and a clear mild dish soap (dawn)......take your time until the entire light looks the same. After lightly rinsing on lens it Should look like the light on the right when dried..........
Next, sand with an 800 grit wetsand paper using same as above. Rinse throughly and should look like:

Compare the 400(right) and 800 (left) wetsanded....after it dries
Alone.......Dried
Next sand with a 1000 grit wetsand paper.......compare the 800 and 1000 dried.

I did not like the orange reflector and was not patient enought to wait for the Eurofreshness stickers. So I taped off the reflector and added silver paint........

Now this where you stop. Why? Sure you can wet sand with a 2000 grit and then use a buffer to polish the light with polishing compound, clean and then apply a buffer driven swirl removing compound and plastix but eventually your lights with get weathered and fade. Oxidation is oxidation......so I finished off with a scotch scrubby pad, a little elbow grease and rinsed....
After I let the lights sit for an hour I decide to take my clearcoat, add a shot of pure black paint (blue tinted not red tinted). Although it appears dark it will not come out dark when sprayed with 4-6 coats.
So after 1000 grit and the scotch scrubby pad I took my clearcoat, mixed in the hardener and sprayed. I am in the process of providing a painting DIY, this will be in that process. Here is the finished product.


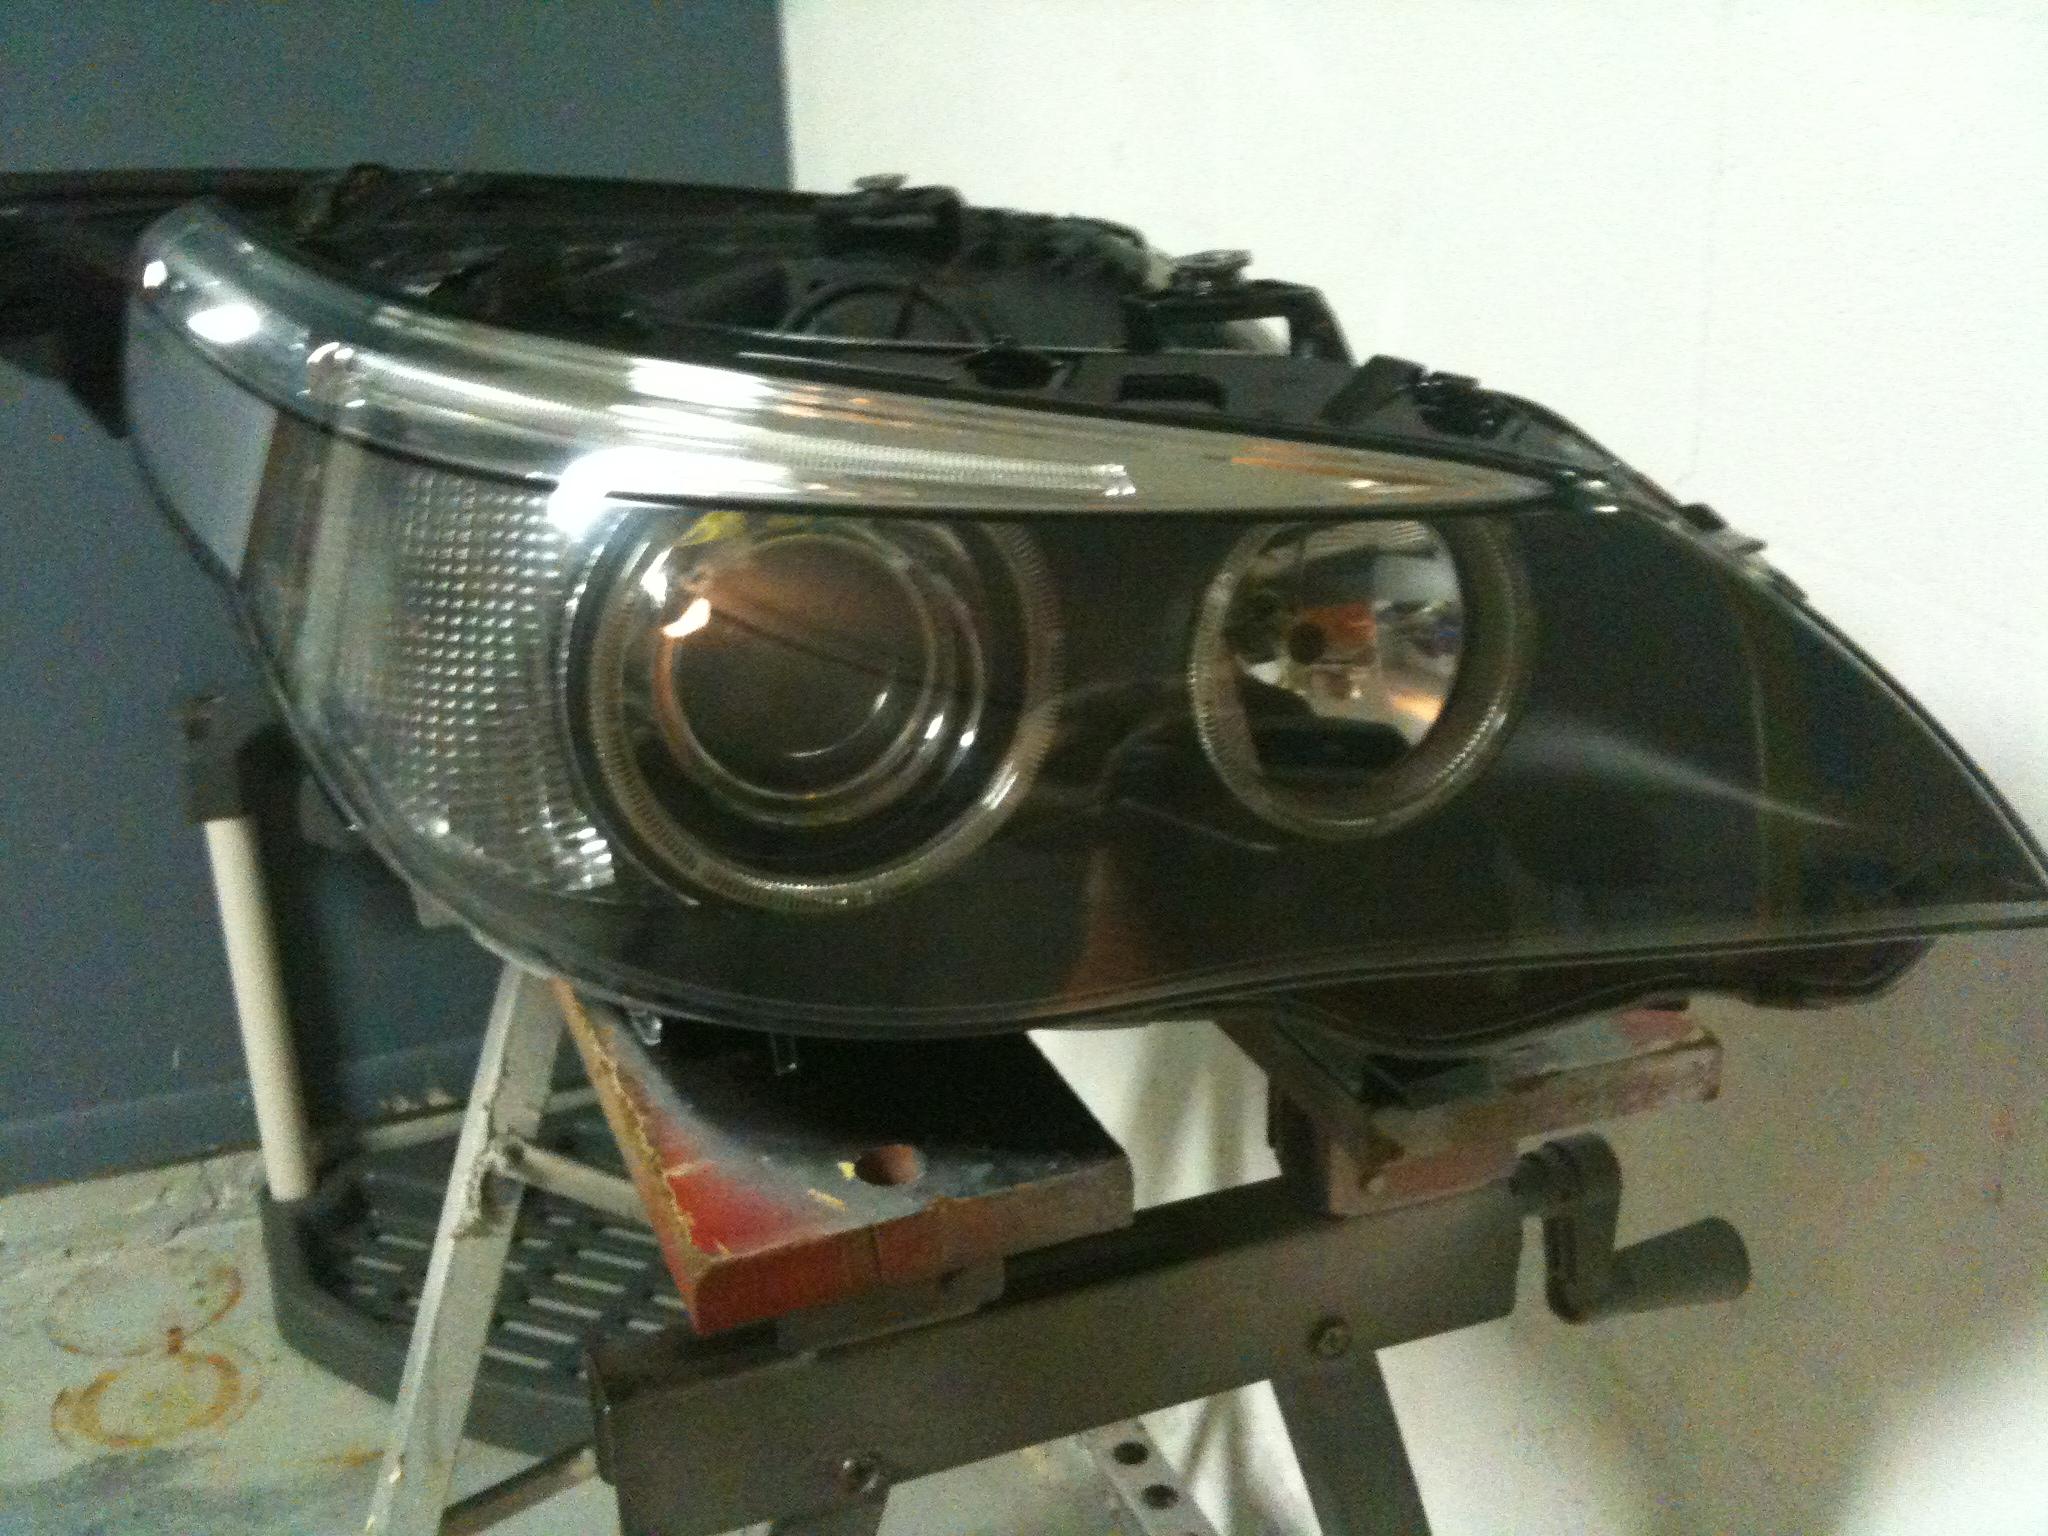
Haven't took pics of them on the vehicle yet but I all I can say is 5 hours well spent! Obviously if you don't have 6 layers of clearoat on your lamps cut the process down to about 1.5 hours. I'll let you all know when the Painting DIY comes out. It's a lot to cover since you have to be knowledgeable about paint types and spray techniques.
I took out all my stock bulbs and used paint thinner to remove the amber coating. Now you cannot see any amber by looking at the light and they look and blink white. Good deal.

Thread Starter
Senior Members
Joined: Jun 2009
Posts: 2,680
Likes: 7
My Ride: E60 530i
If you're lights are fairly pitted, start with 600 and work your way up. DO not rub so hard though. If you're not clearcoating 600,1000,2000,swirl remover, plastx. Good luck
Senior Members
Joined: Jan 2011
Posts: 2,348
Likes: 3
From: UpState SC
My Ride: 2008 535i LCI with sports/premium package, Sports trans with paddle shifters, CF emblems, JB4 Software, Dinan Exhaust, Navigation, M5Tech body kit, Carbon wrap interrior trim and CIC Controller.
Nice information here. I watched a guy once at a detail shop do something similar and discussed it with him. I couldn't stay to observe the entire process but I got the point. My lights aren't bad at all but I was thinking that I might want to do them BEFORE they get bad. Ok, I like the idea of the black in the clear. Could you tell if the tint caused any light loss? I wouldn't think so. BTW, you need to clean your garage and cut your grass! Jk.
Thread Starter
Senior Members
Joined: Jun 2009
Posts: 2,680
Likes: 7
My Ride: E60 530i
Nice information here. I watched a guy once at a detail shop do something similar and discussed it with him. I couldn't stay to observe the entire process but I got the point. My lights aren't bad at all but I was thinking that I might want to do them BEFORE they get bad. Ok, I like the idea of the black in the clear. Could you tell if the tint caused any light loss?
Garage is always dirty. I clean it to fit the 3 cars but in no time gets dirty. I'm a tool thrower.
Floritram grass needs to stay about 4" to be healthy and green. But during this season (rainy) it grows 1" per day so it gets to be about 10" before it gets it's weekly trim. I think soon I'll go with synthetic grass


Members
Joined: May 2012
Posts: 108
Likes: 0
From: Birmingham, AL
Wow finished product looks amazing. If I decide to keep my headlights than I might try this, even though im not sure they are restorable or not lol
Thread Starter
Senior Members
Joined: Jun 2009
Posts: 2,680
Likes: 7
My Ride: E60 530i
They are. I can tell by looking at them. Unless you see something I dont from pics. Post up some pics in a new post and I'll tell you if they are or are not. Best thing is, if you do not have spray I've found a laquer clearcoat in a can that you can use.

Members
Joined: Jun 2012
Posts: 82
Likes: 0
From: Washington, Tacoma
AchtungE60, Would you recommend VHT nightshades? It seems the mixed clear coat gives off duller black which seams like a great idea. I was thinking of going with a grey tint to match my Titanium Gray II Metallic paint. Maybe you can link me to someone who's done either of these options before cuz im still new here! I HAVE been searching though 