My CIC Retrofit.. LOTS of pictures
 07-29-2013, 06:16 PM
#1
New Members
Thread Starter

Join Date: Sep 2012
Location: Greensboro, NC (USA)
Posts: 246
Likes: 0
Received 0 Likes
on
0 Posts
I am copying a lot of this from MY post on another forum (not sure why I registered with a different name here, but anyways). I thought it might help somewhere here.
-----------
So, I decided I was going to do a CCC retrofit, but the further I got into researching parts, the more I realized I might as well just do a CIC retrofit for about the same price. I've seen threads on this, but none that really made it as cut and dry as it probably should be, so hopefully this thread helps.
All my parts are starting to come in, so here my thread on it:
Here's what you need (will be updated as I go):
BMW made parts:
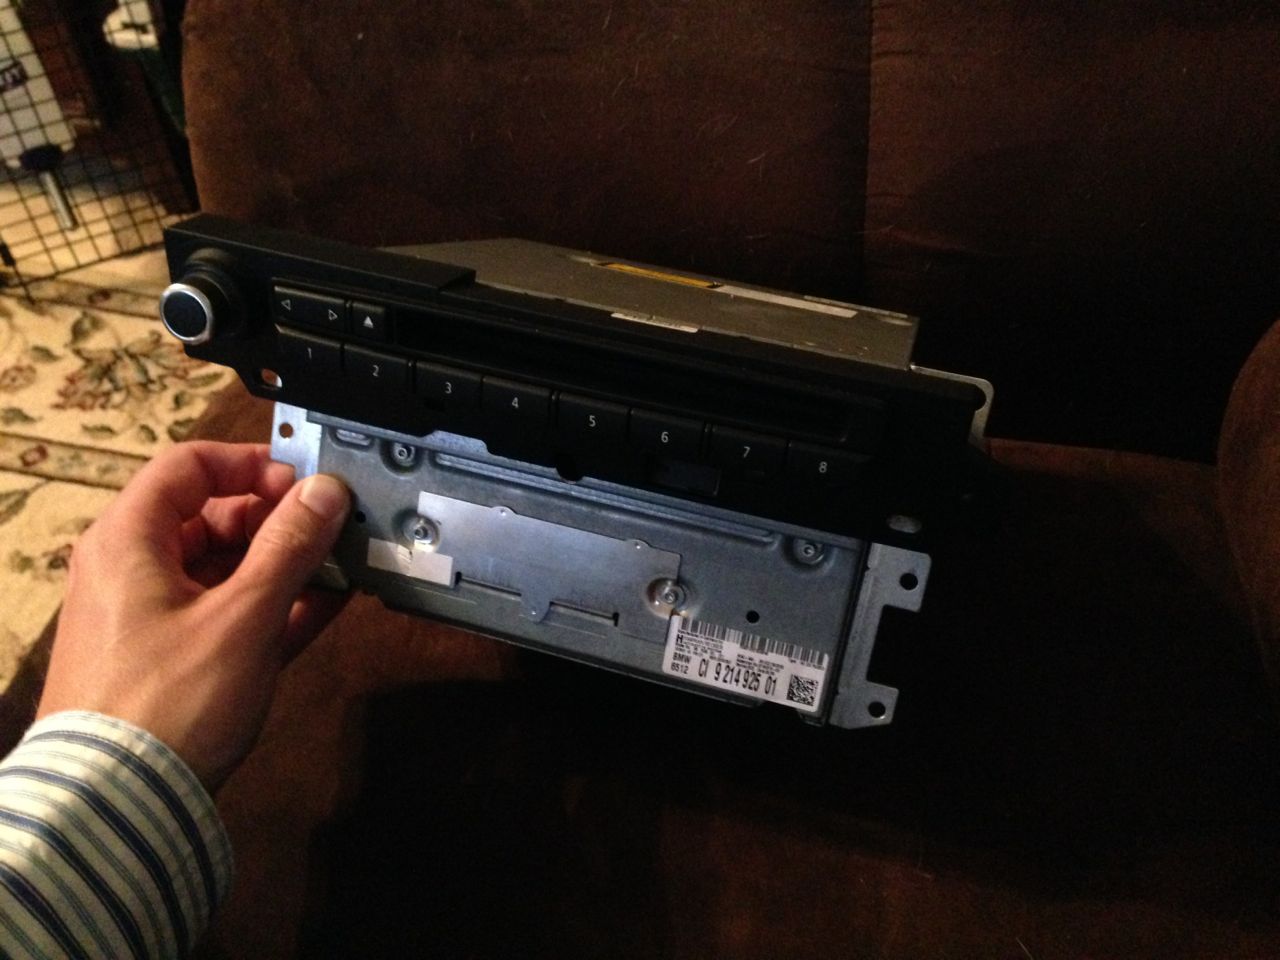
-CIC unit - $1000 on eBay, included other parts noted below (actually I bought it outside of eBay to get the price lower, but that's not really the best idea usually)
-Display ("CID") - Included
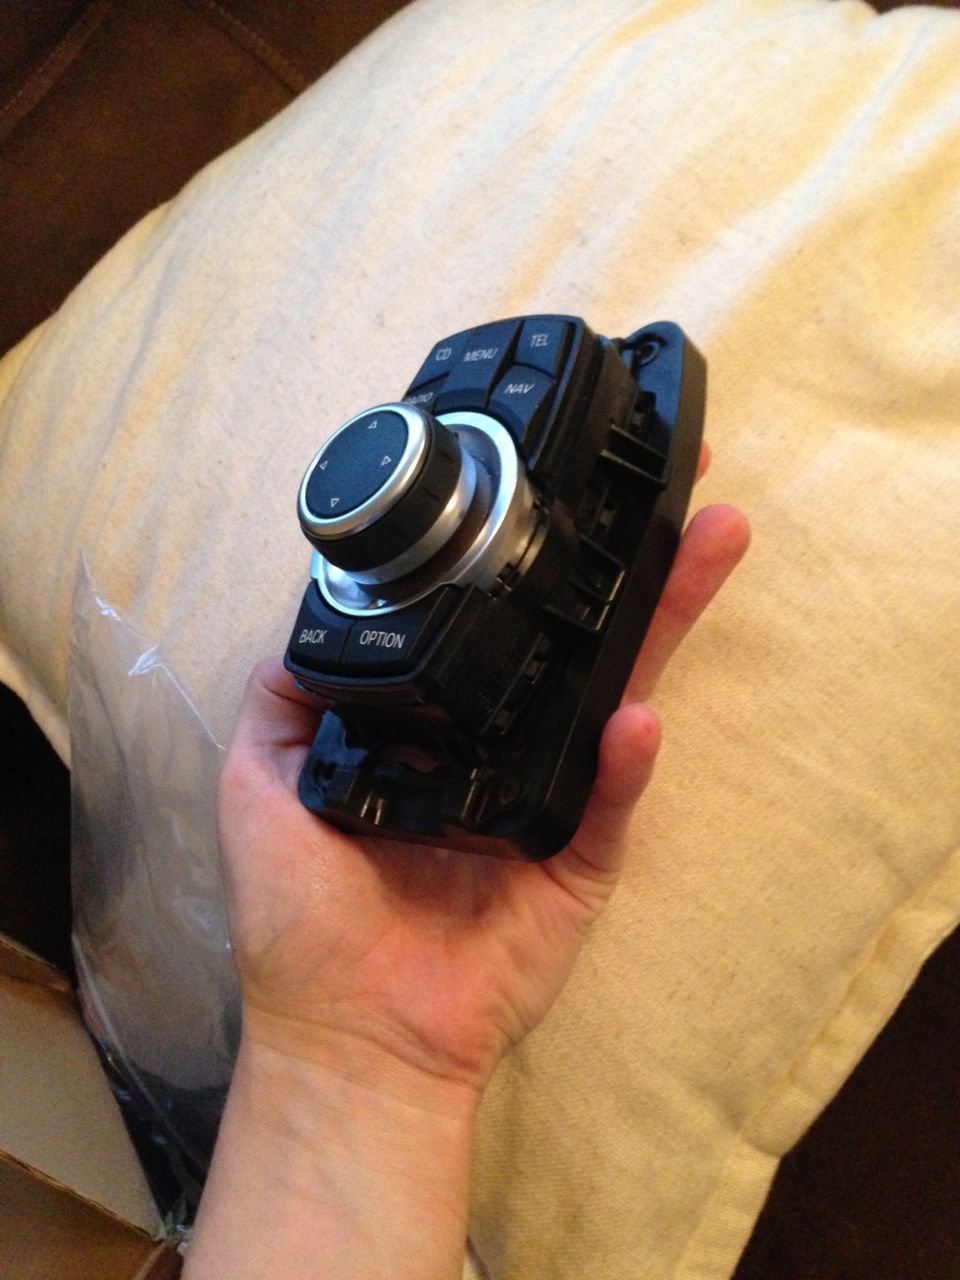
-iDrive controller (optional) - Included
-CID CAN/power connector (61136954526) - Included
-CIC cable, connects to CID for video signal (61119185171) - $38.50
-USB Port (61319167196) - $26.99
-USB Port cable (61129196805) - These are back ordered so I ordered two of the CIC video cables and shaved part of the connector to make it work. Will report back if any issues doing this - $38.50 (correct version is cheaper but back ordered until mid-August
-Trim piece around iDrive controller (comes from the 6 series model) - Included
-Trim piece that goes around the CIC slot - Included
-Optional: LCI climate control assembly (buttons are slightly larger to better fit the CIC trim) - did not purchase this, but I found one for $129 I'm thinking about buying
Aftermarket Parts:
-CAN emulator to activate navigation, etc. without paying BMW big bucks for their activation codes (find on eBay) - $100
-Updated 2013 maps (find online, put them on a 32GB USB drive) - Free
-FSC code for updating maps (find on internet for < $50) - $49
-"FAKRA" GPS antenna. (ebay, $15 or less if you're willing to wait on a shipment from China) - $15 (can be had for $5 if you're patient)
-Misc stuff from Radio Shack (I bought way too much stuff) - $30
I'll post some pictures as I get into actually doing the retrofit. Hopefully today I will have most of my parts and by Saturday have everything I need to get it installed. I'll post a lot of pictures and everything I do coding wise when trying to get it to work.
Total thus far: $1,297.99 (if my math is right)
Pictures!


-----------
So, I decided I was going to do a CCC retrofit, but the further I got into researching parts, the more I realized I might as well just do a CIC retrofit for about the same price. I've seen threads on this, but none that really made it as cut and dry as it probably should be, so hopefully this thread helps.
All my parts are starting to come in, so here my thread on it:
Here's what you need (will be updated as I go):
BMW made parts:
-CIC unit - $1000 on eBay, included other parts noted below (actually I bought it outside of eBay to get the price lower, but that's not really the best idea usually)
-Display ("CID") - Included
-iDrive controller (optional) - Included
-CID CAN/power connector (61136954526) - Included
-CIC cable, connects to CID for video signal (61119185171) - $38.50
-USB Port (61319167196) - $26.99
-USB Port cable (61129196805) - These are back ordered so I ordered two of the CIC video cables and shaved part of the connector to make it work. Will report back if any issues doing this - $38.50 (correct version is cheaper but back ordered until mid-August
-Trim piece around iDrive controller (comes from the 6 series model) - Included
-Trim piece that goes around the CIC slot - Included
-Optional: LCI climate control assembly (buttons are slightly larger to better fit the CIC trim) - did not purchase this, but I found one for $129 I'm thinking about buying
Aftermarket Parts:
-CAN emulator to activate navigation, etc. without paying BMW big bucks for their activation codes (find on eBay) - $100
-Updated 2013 maps (find online, put them on a 32GB USB drive) - Free
-FSC code for updating maps (find on internet for < $50) - $49
-"FAKRA" GPS antenna. (ebay, $15 or less if you're willing to wait on a shipment from China) - $15 (can be had for $5 if you're patient)
-Misc stuff from Radio Shack (I bought way too much stuff) - $30
I'll post some pictures as I get into actually doing the retrofit. Hopefully today I will have most of my parts and by Saturday have everything I need to get it installed. I'll post a lot of pictures and everything I do coding wise when trying to get it to work.
Total thus far: $1,297.99 (if my math is right)
Pictures!


Last edited by ncsugrad2006; 08-13-2013 at 04:03 PM. Reason: Title adjustment
 07-29-2013, 06:17 PM
#2
New Members
Thread Starter
Join Date: Sep 2012
Location: Greensboro, NC (USA)
Posts: 246
Likes: 0
Received 0 Likes
on
0 Posts
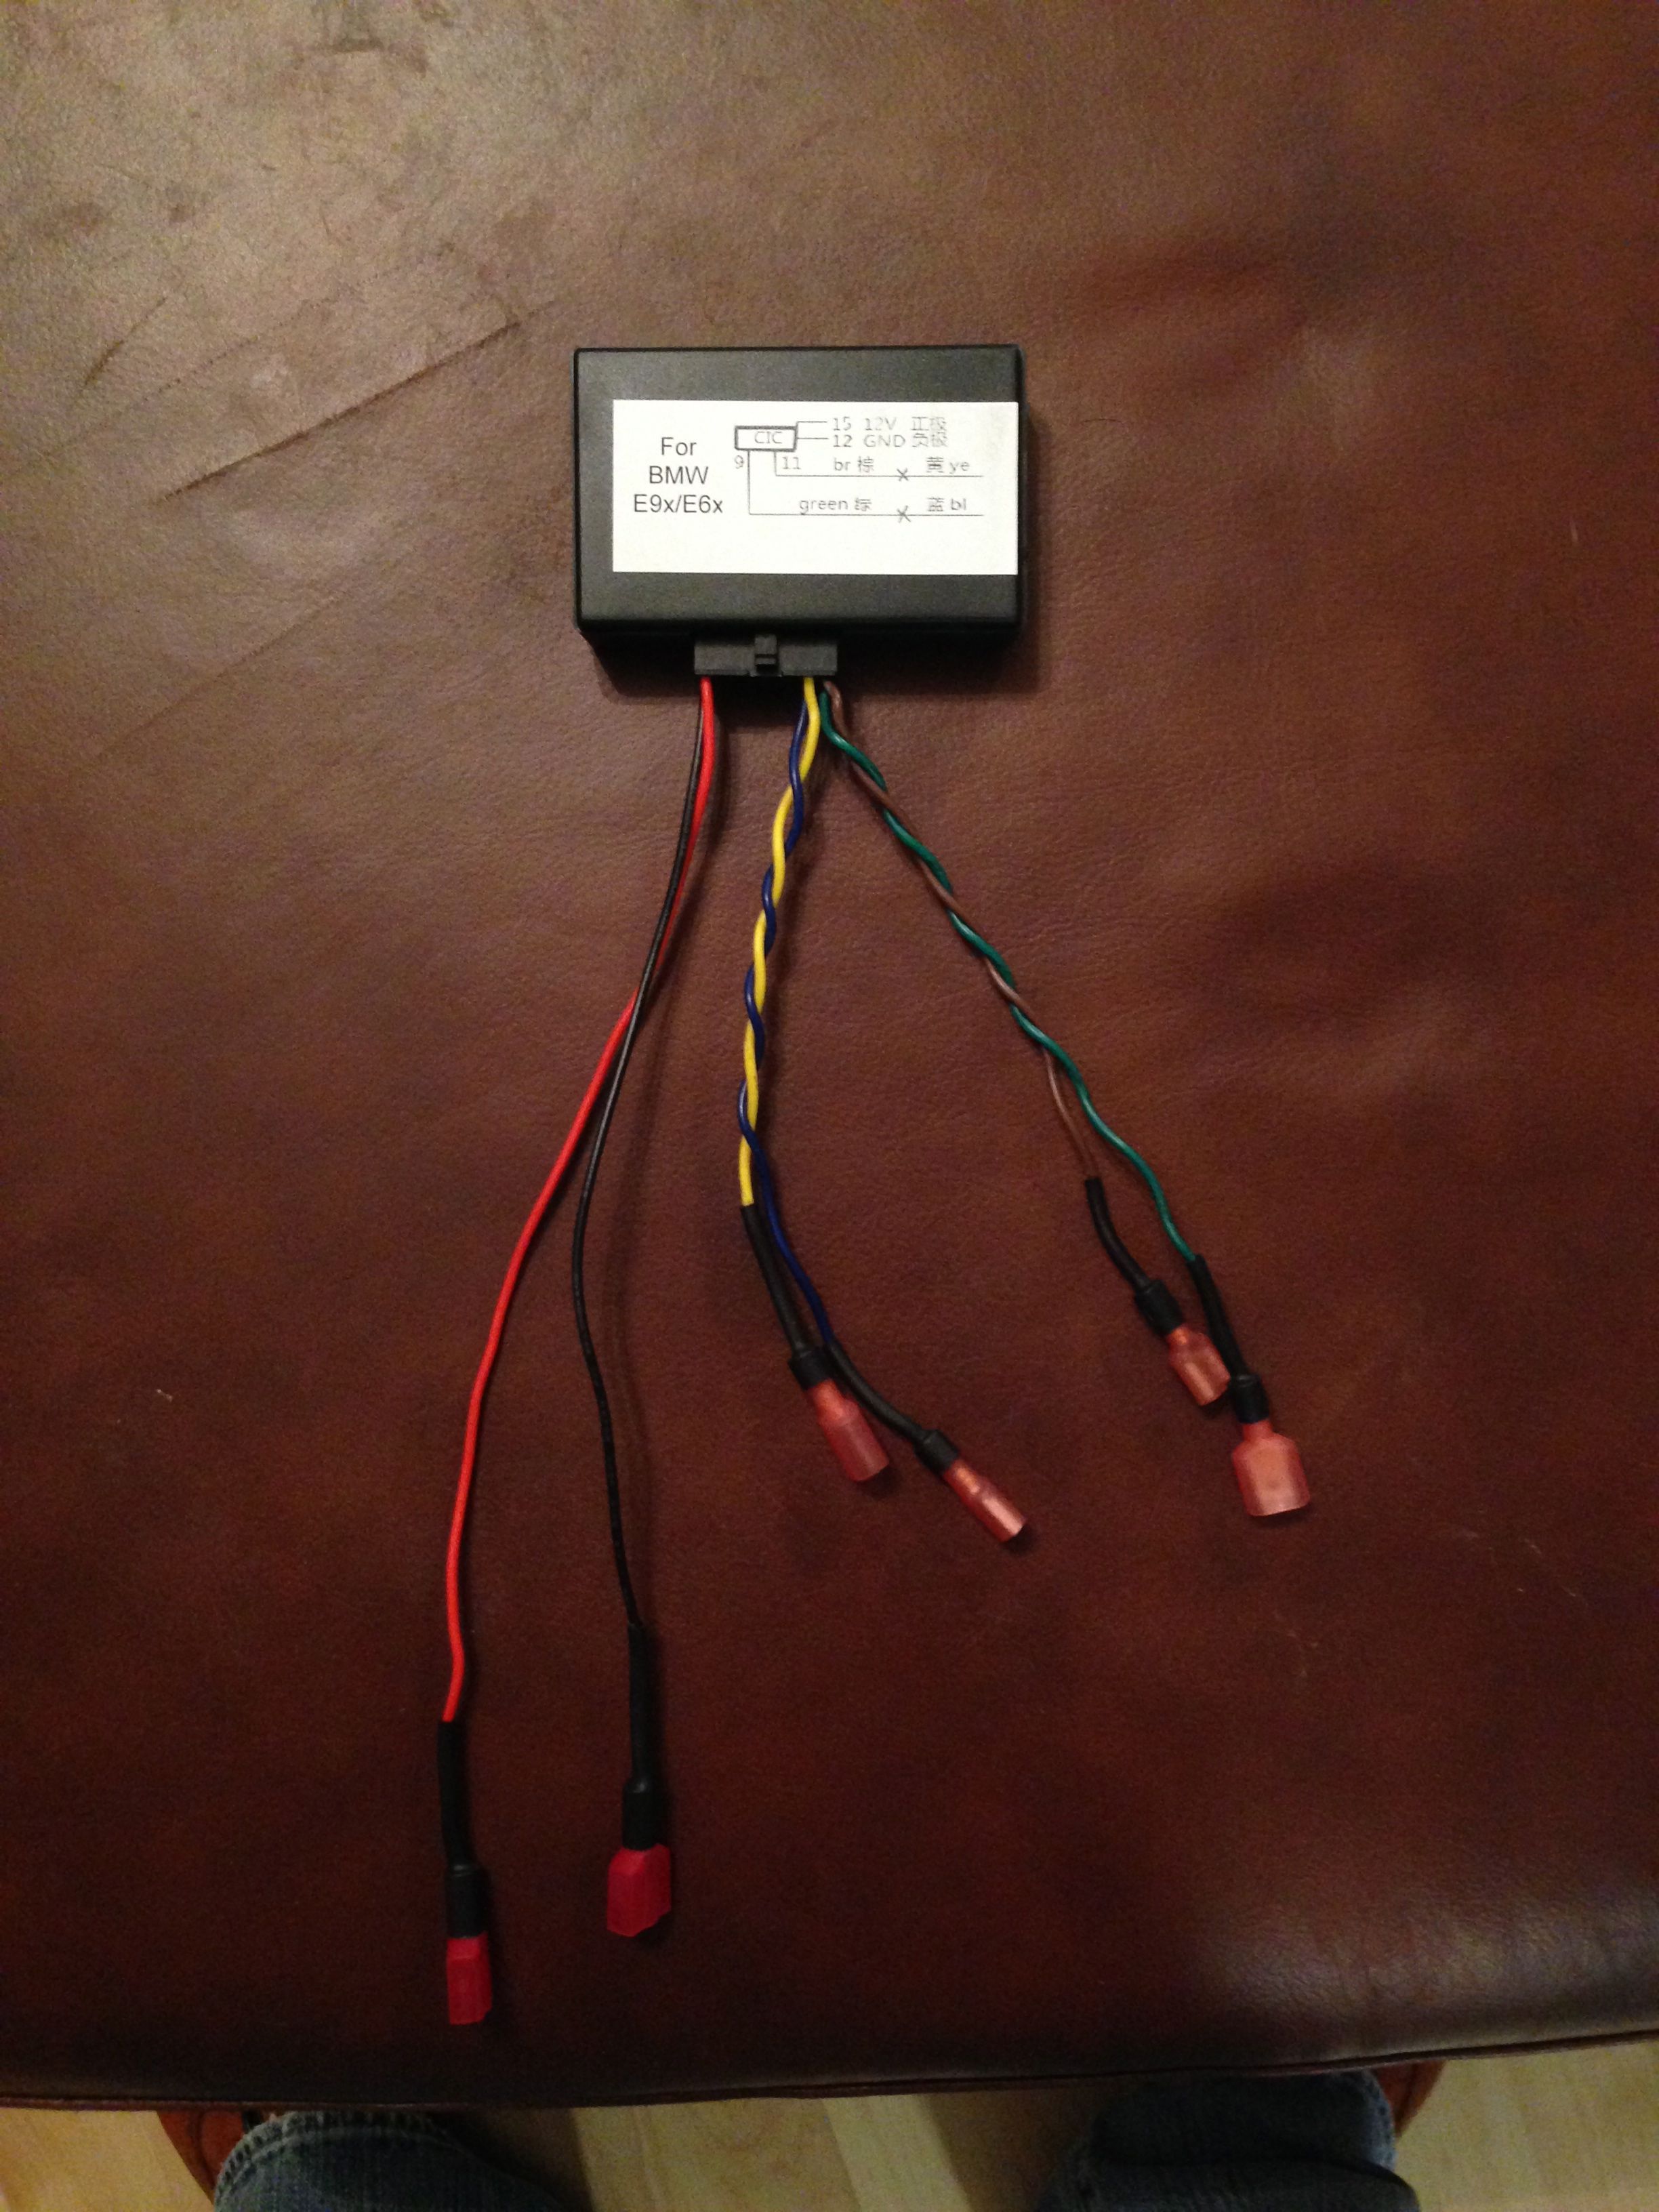
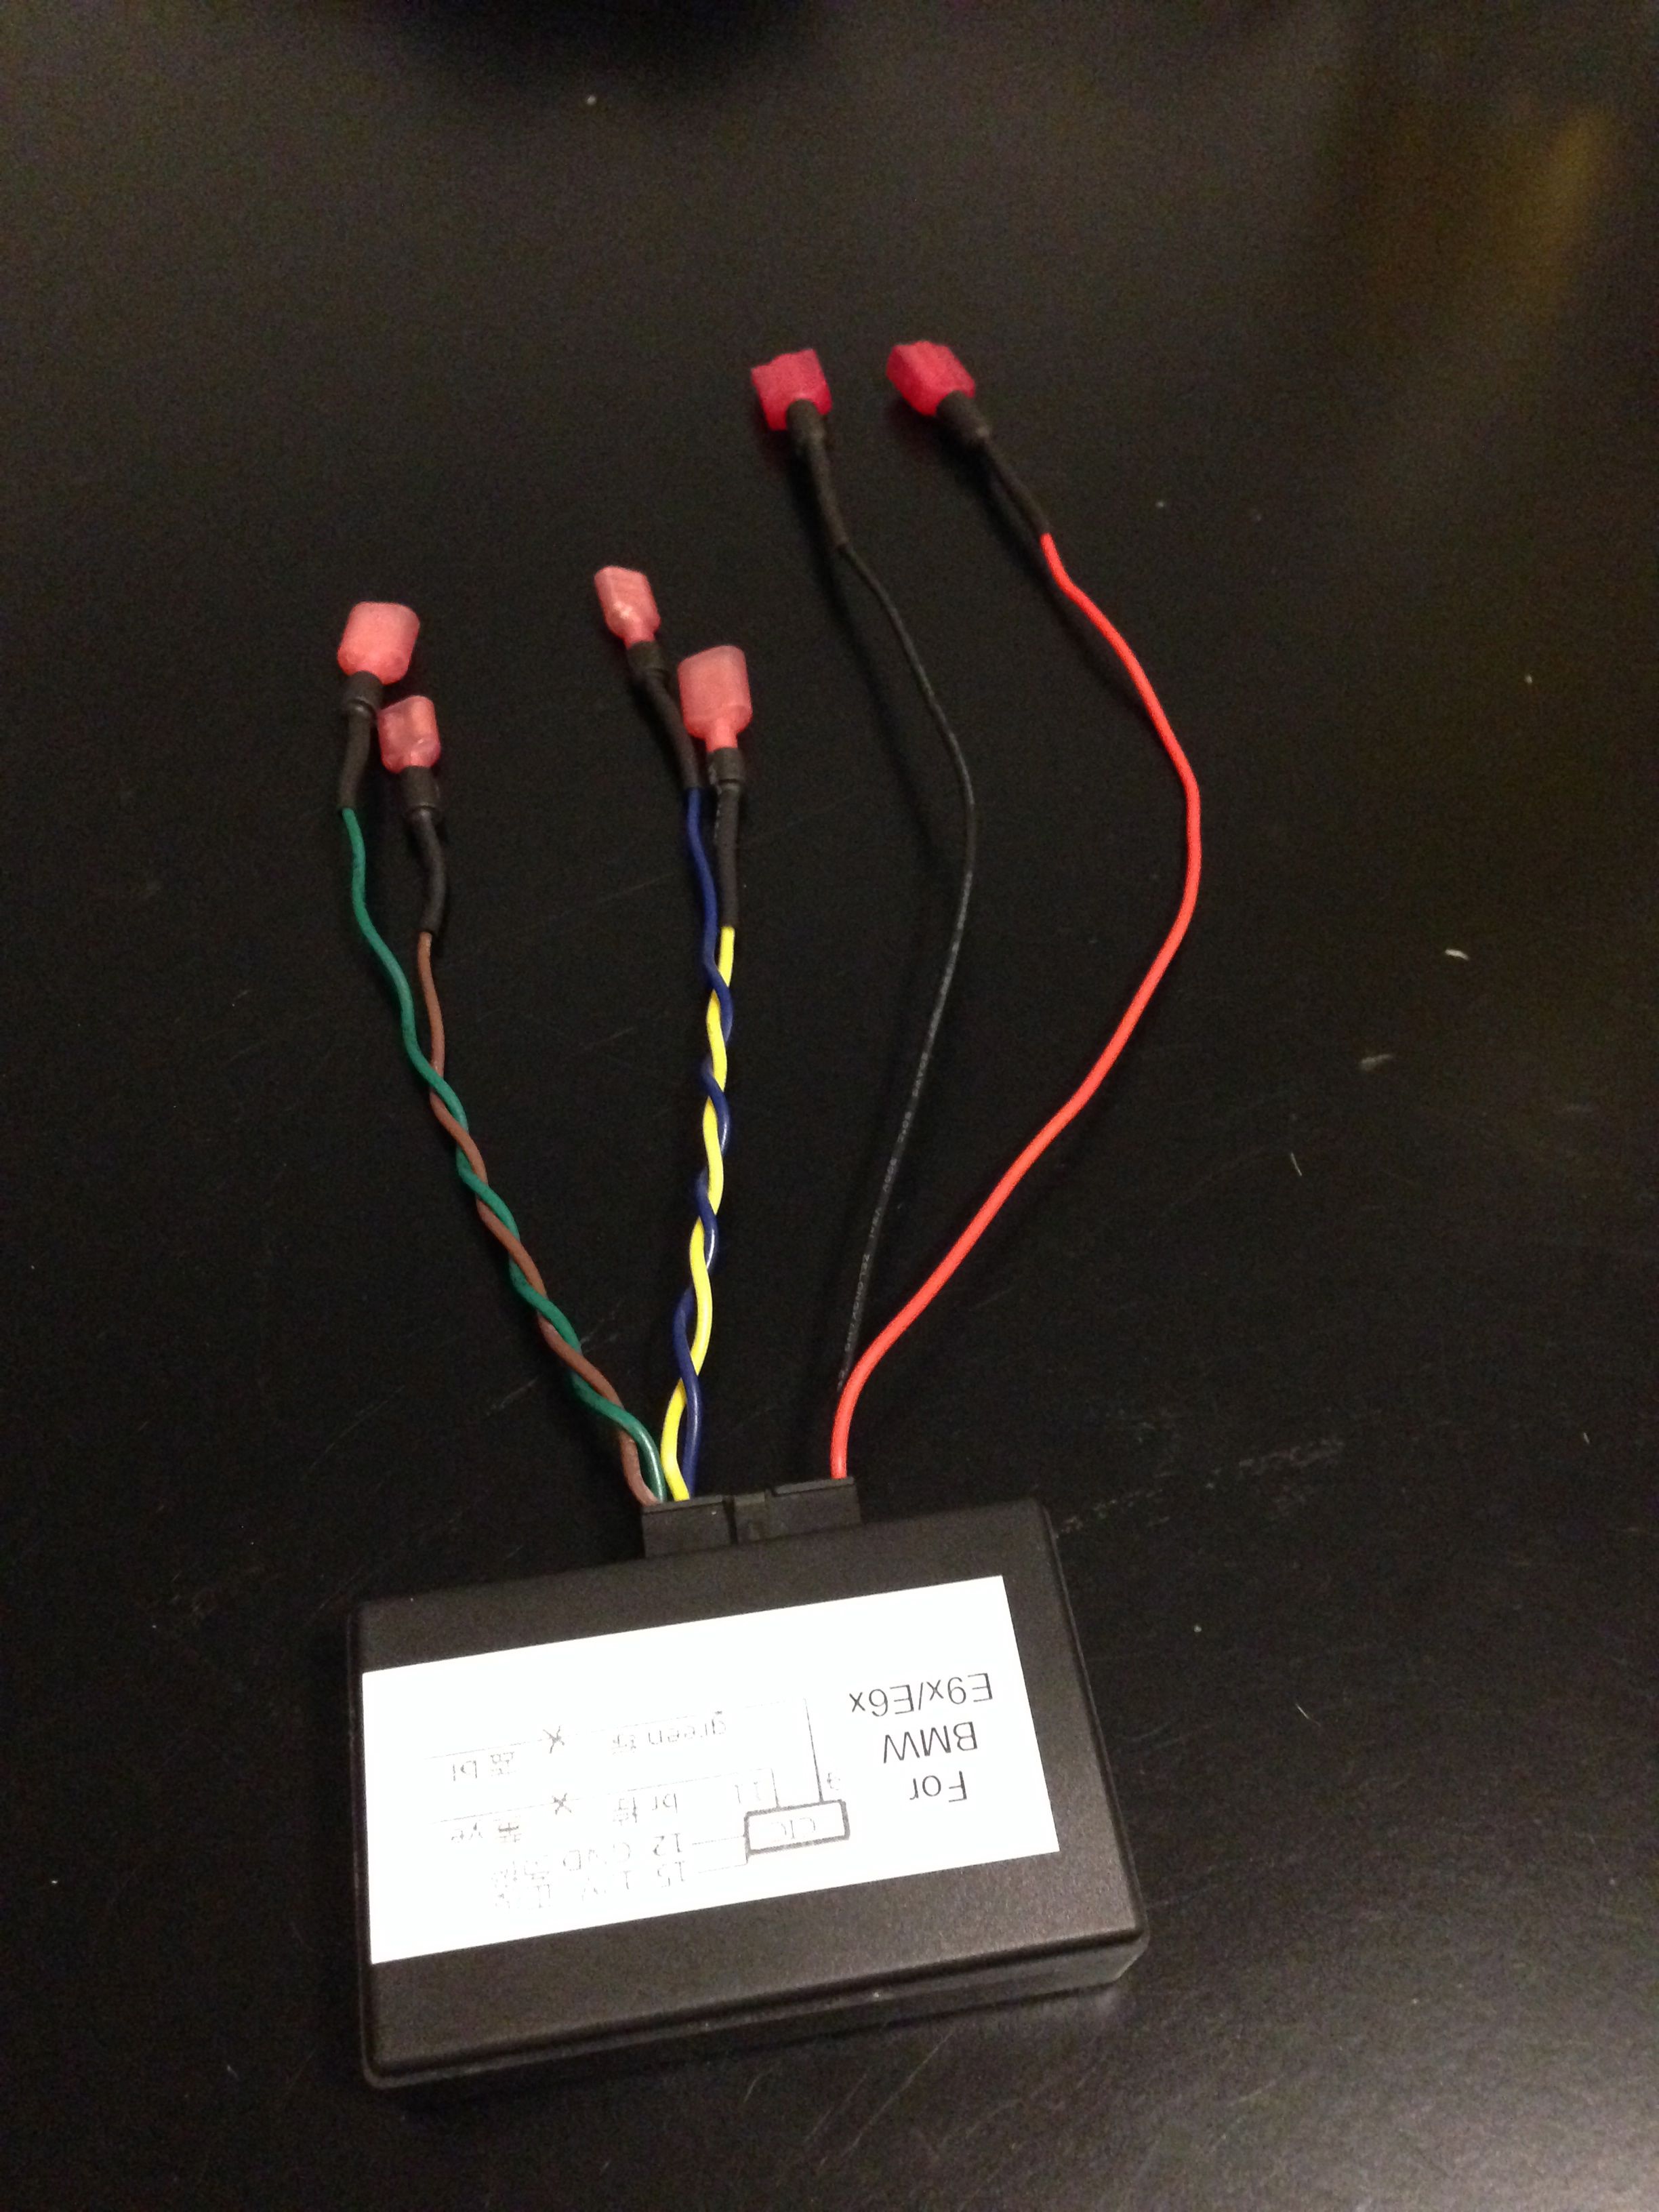
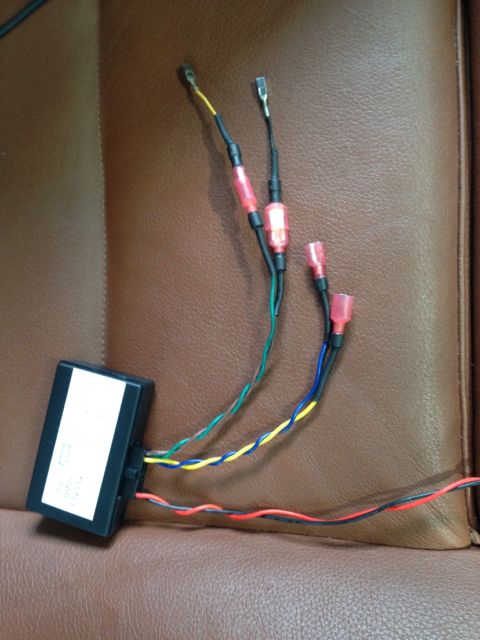
Emulator came in! I added connectors to the ends (soldered them instead of crimping + put heat shrink on them to make them look better). It's setup so that if I remove the emulator later, the original wires will plug right back in to one another with the emulator out of the way.


 07-29-2013, 06:17 PM
#3
New Members
Thread Starter
Join Date: Sep 2012
Location: Greensboro, NC (USA)
Posts: 246
Likes: 0
Received 0 Likes
on
0 Posts
The goal for today was to add connectors to the CAN wires where the emulator will splice between the car and CIC. I wanted this setup as neat as possible, and setup so if I went back to the old system (to sell the car for instance), I could just take out the emulator, plug the wires back in and put it back together. If I could do it over again I would find a way to not have to clip any wires, but I didn't feel like waiting for more parts so I just went with doing it this way.
For those of you that don't know, basically the emulator connects between the car and CIC. Used CIC's are already setup / licensed to a particular car's VIN, and I have heard that the activation codes to switch it over to your car the "proper" way is quite expensive (something like $1300 for voice and navigation to be enabled). So, the emulator basically tells the CIC what it wants to hear and makes it think everything is activated, and voila, no need for expensive activation codes. I'm not too sure on the specifics of how that actually works, but evidently it does.
I bought this one on eBay for $85 + $15 for DHL shipping from China (which is INSANELY fast by the way. I ordered it on Wednesday and had it Friday)
Anyways... k, time for lots of pictures.
Pulling wood trim off.. just start at one end and give it a yank every 6 inches or so. The white rectangle things are what holds it on.
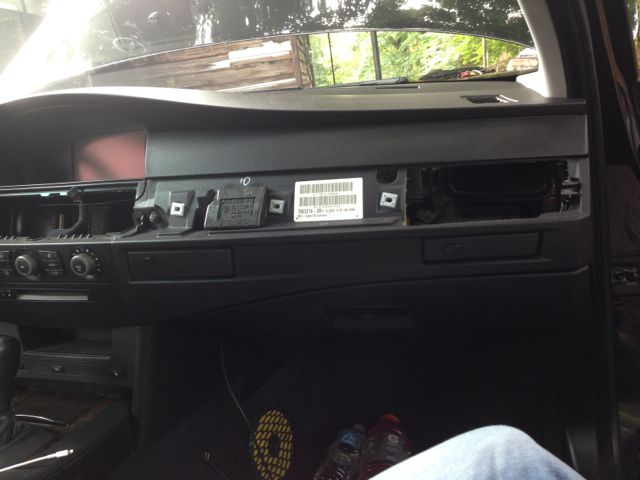
Before you pull the trim off, you have to push the hazard / lock button out first so you can disconnect the wire for it. By "push out" I mean push it from behind the dash, towards the rear of the car. The hazard button will come out the front basically, after it's disconnected.
Two screws hold on the cover around the radio/climate control. It also has a few clips--one on mine always seems to get stuck and takes a LOT of force to get off. I cracked some of the plastic in the process this time
Finally got it off. Usually the box at the bottom (has the seat heater buttons) will come out with it, but this time I had twisted the plastic piece so bad it came off. Worked better actually, but not exactly how it's supposed to work..
Cracks on the back of the cover.. oops
OOPS!
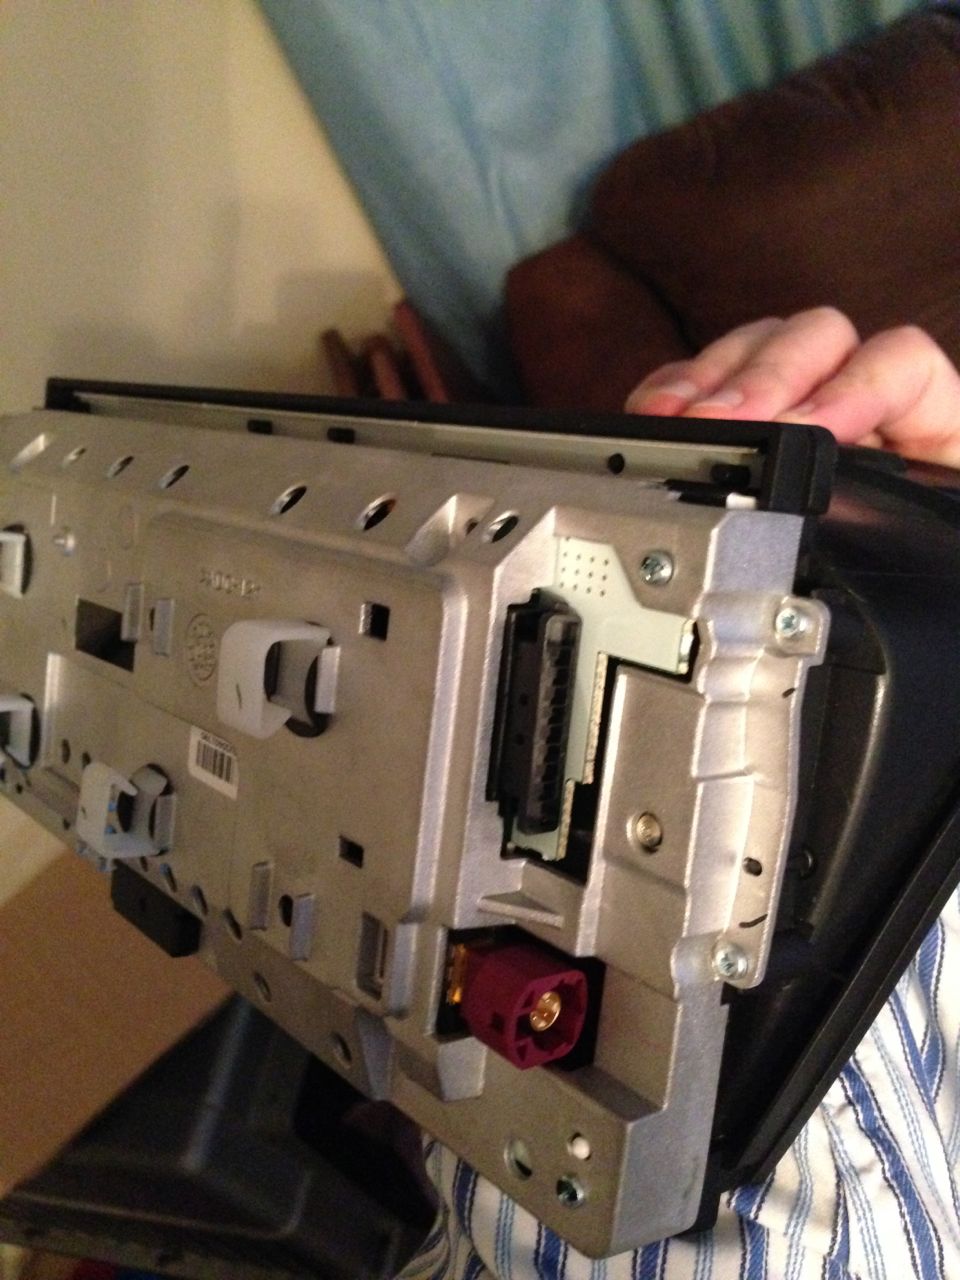
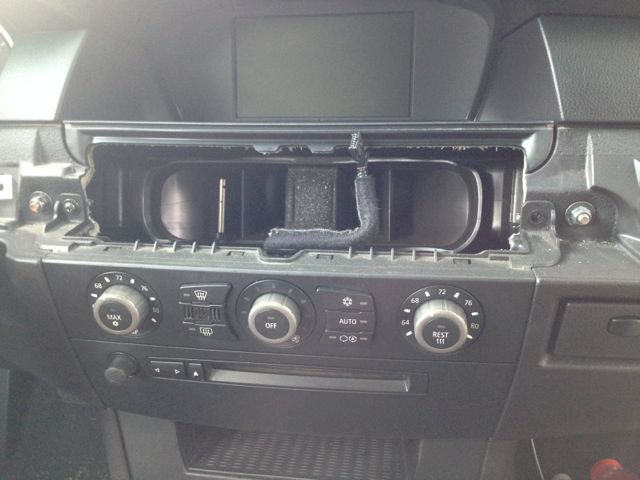
Back of MASK
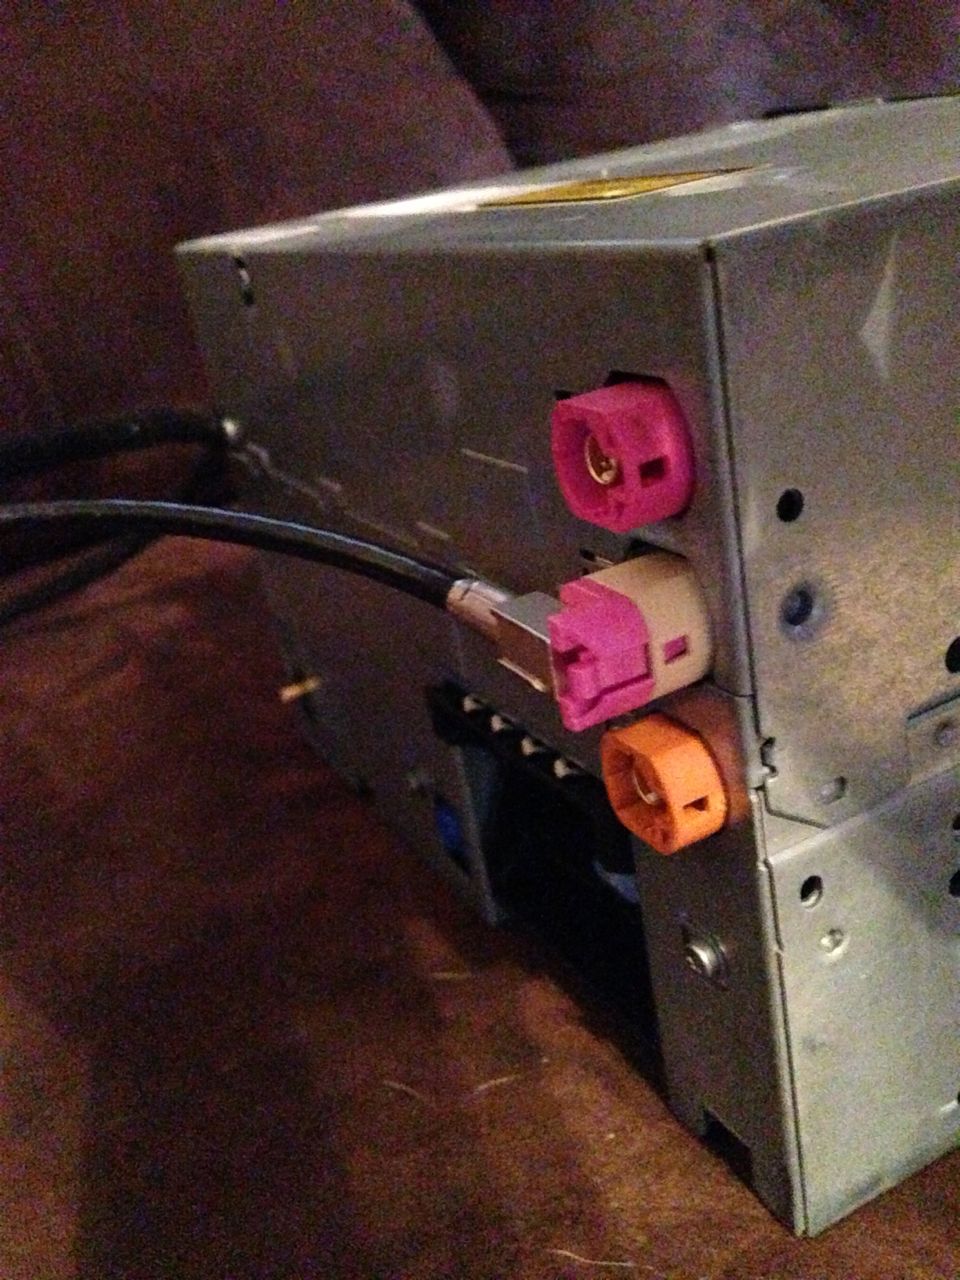
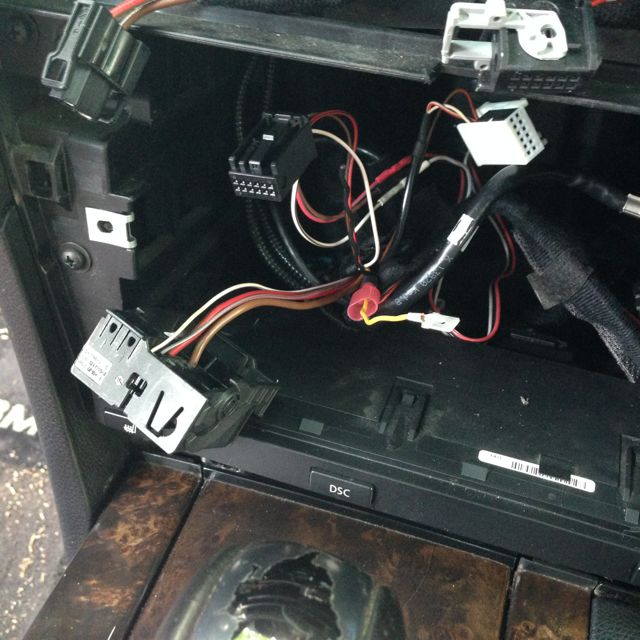
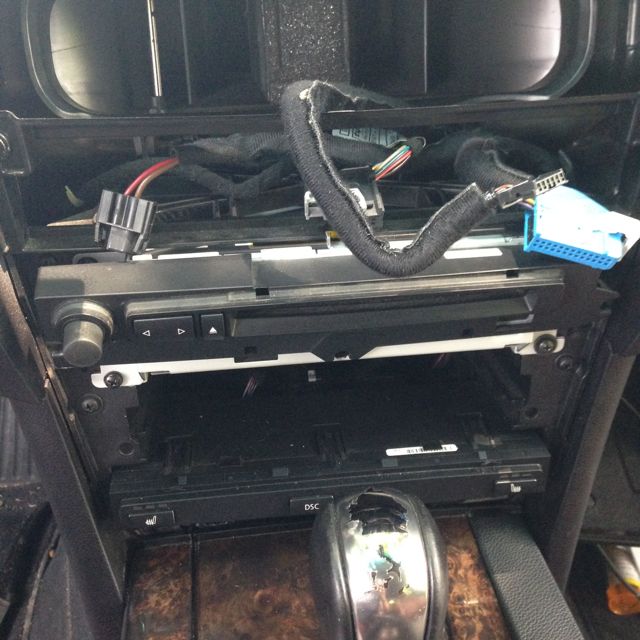
Wiring.. left is main connector, center is for the display, one on the right is for radio antenna
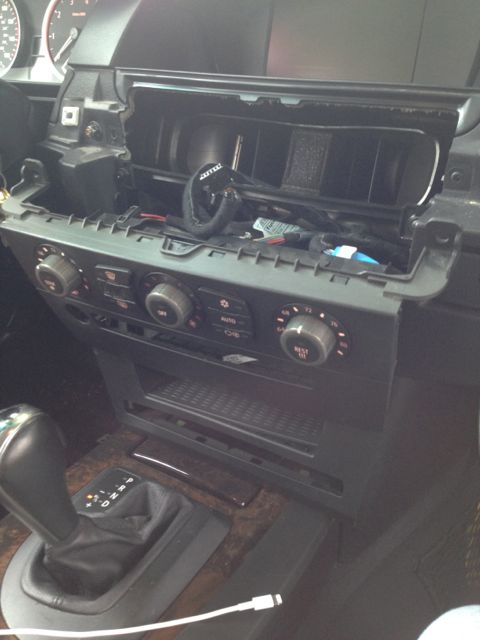
More wires
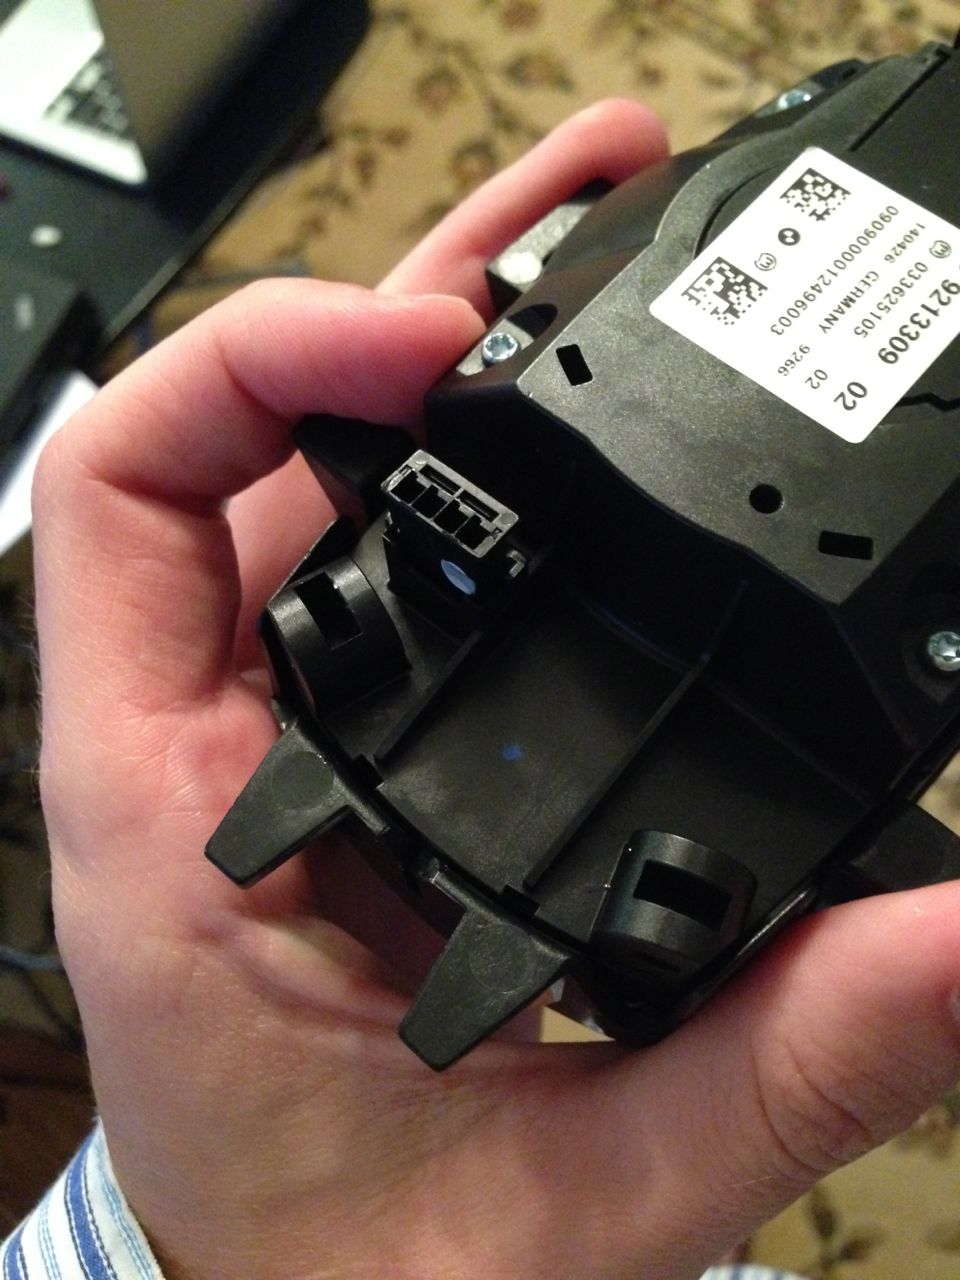
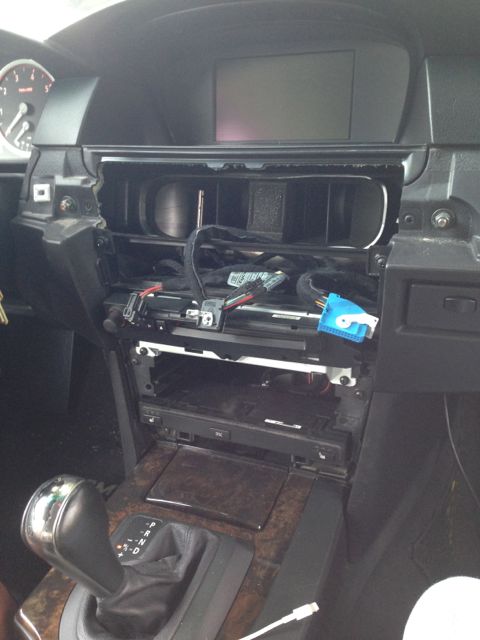
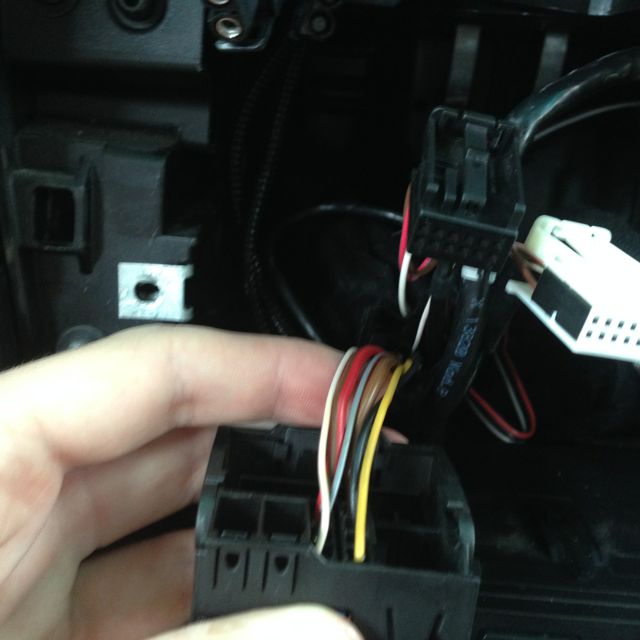
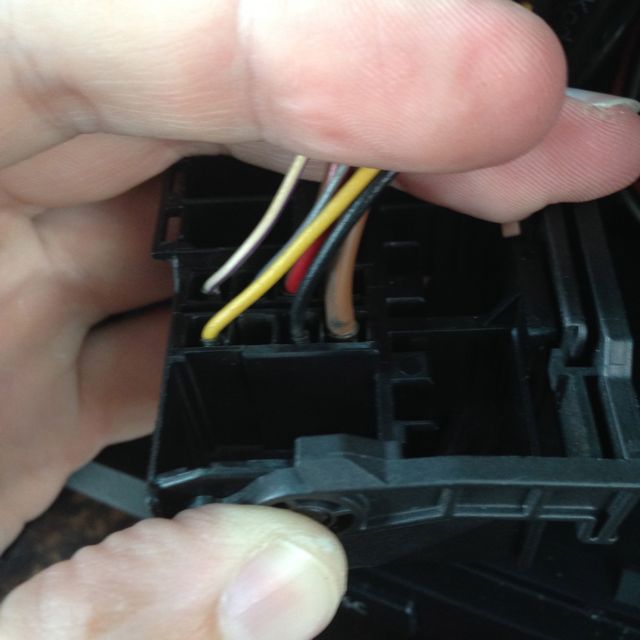
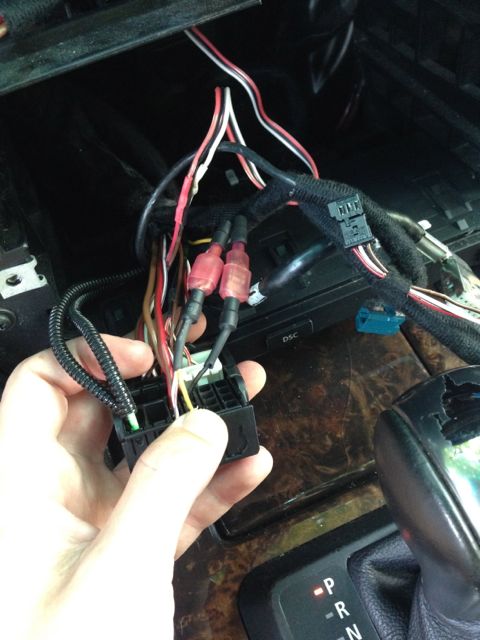
Here's the business.. back of the main block. The green ones are for the MOST bus. The white and black on the right side of the connector will come out. The only one left will isn't a separate plug, so those wires come out one at a time instead of in a set
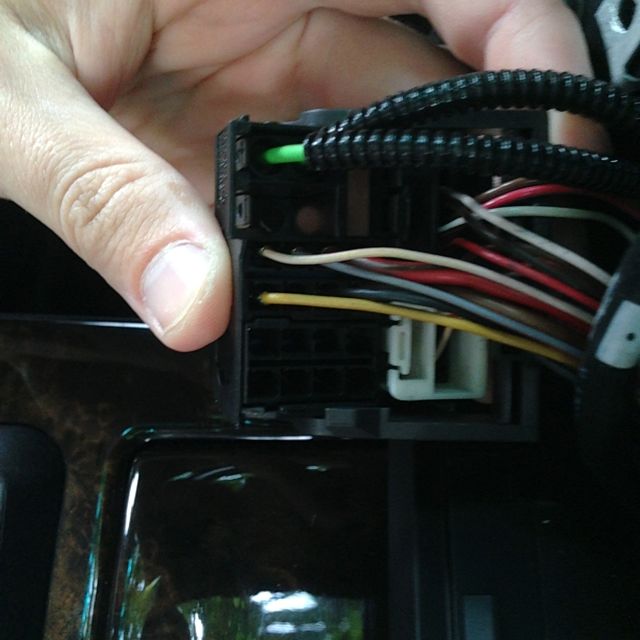
Another angle
And another
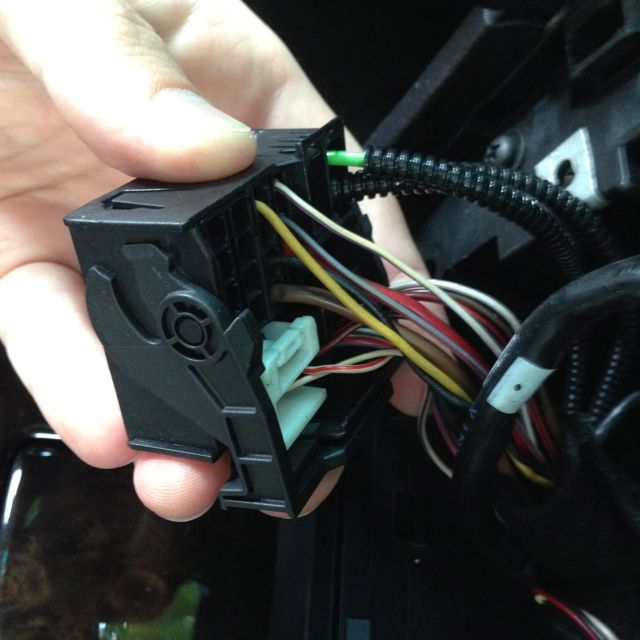
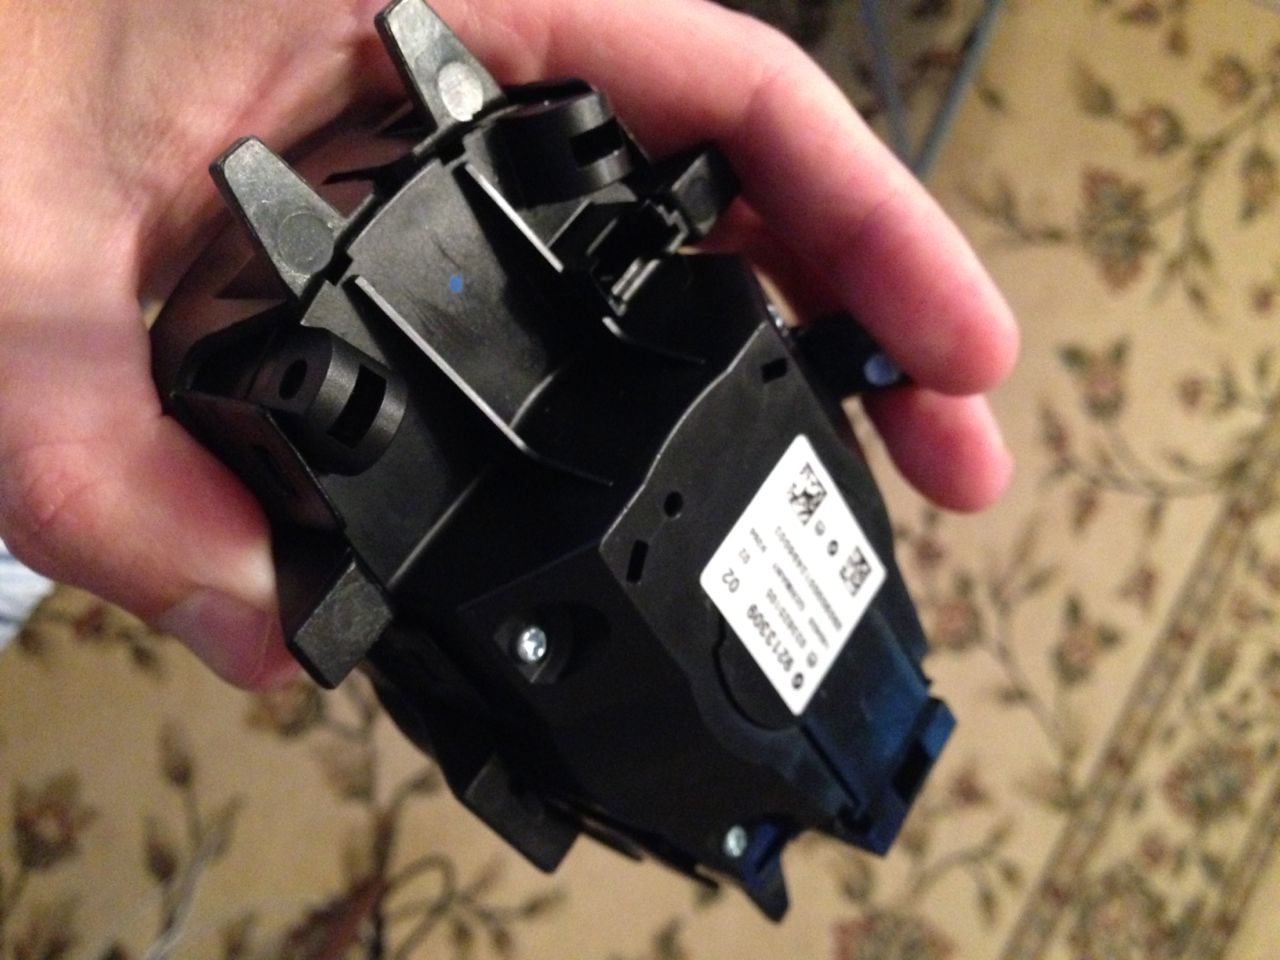
black/white plugs pulled out to get them out of the way
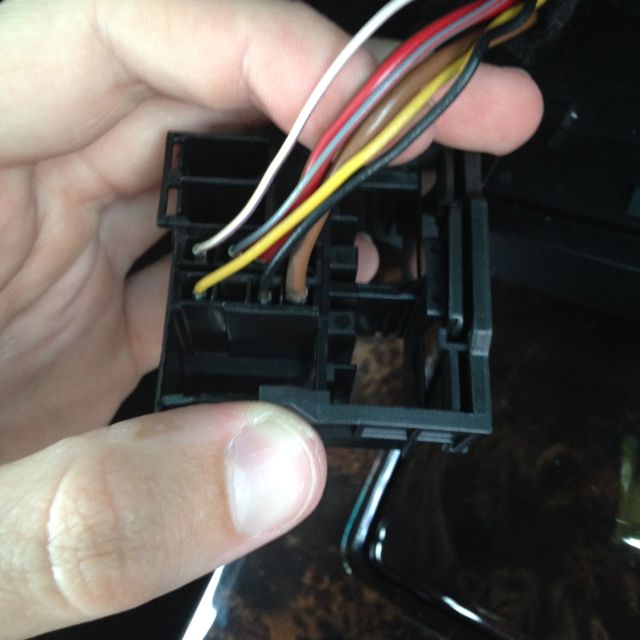
Everything out except the ones I need to get to.. these we have to pull out one at a time (technically I guess you could leave them in and work on them that way, but I decided to just pull them out to give me good access to them.
another angle
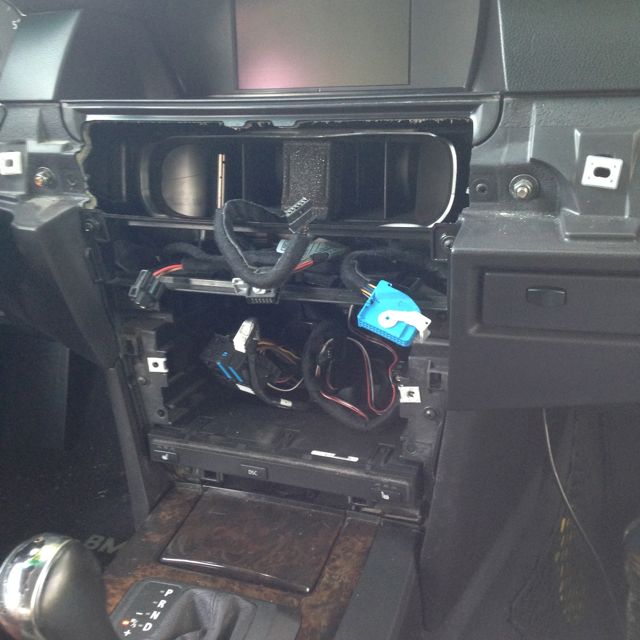
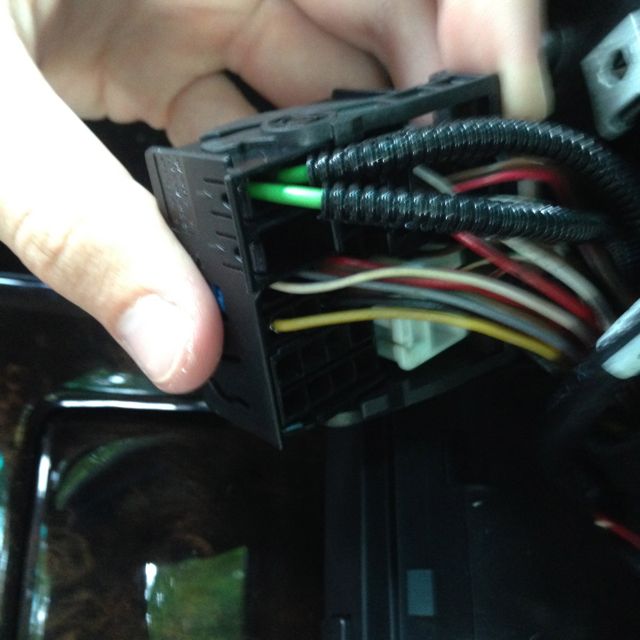
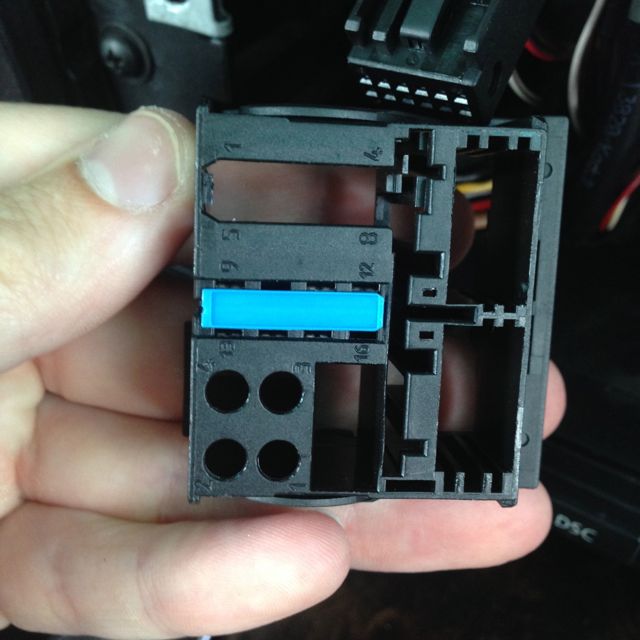
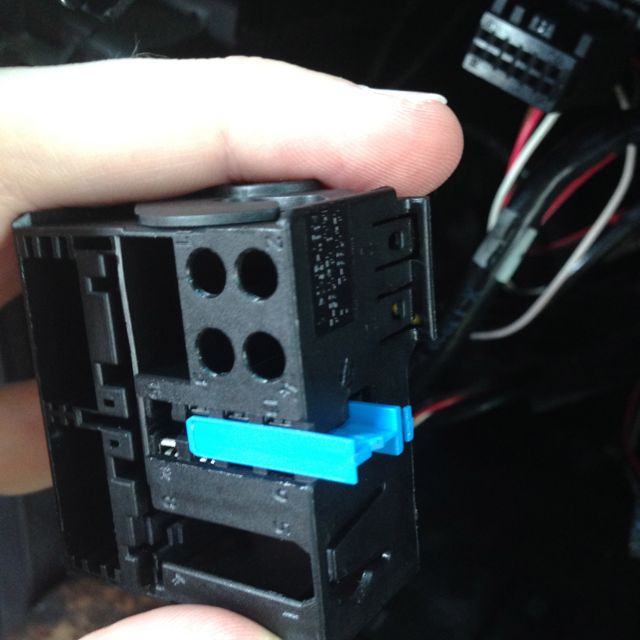
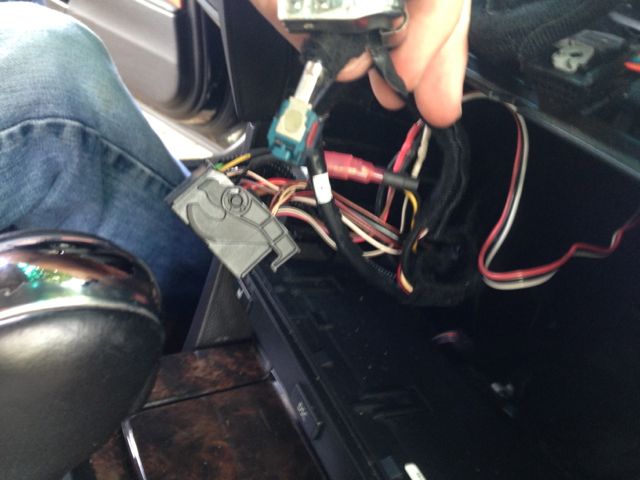
Here's another shot.. the area where the blue thing is is where the wires are we need to get out. We need to remove the blue thing first...
Another angle

Another angle
And another
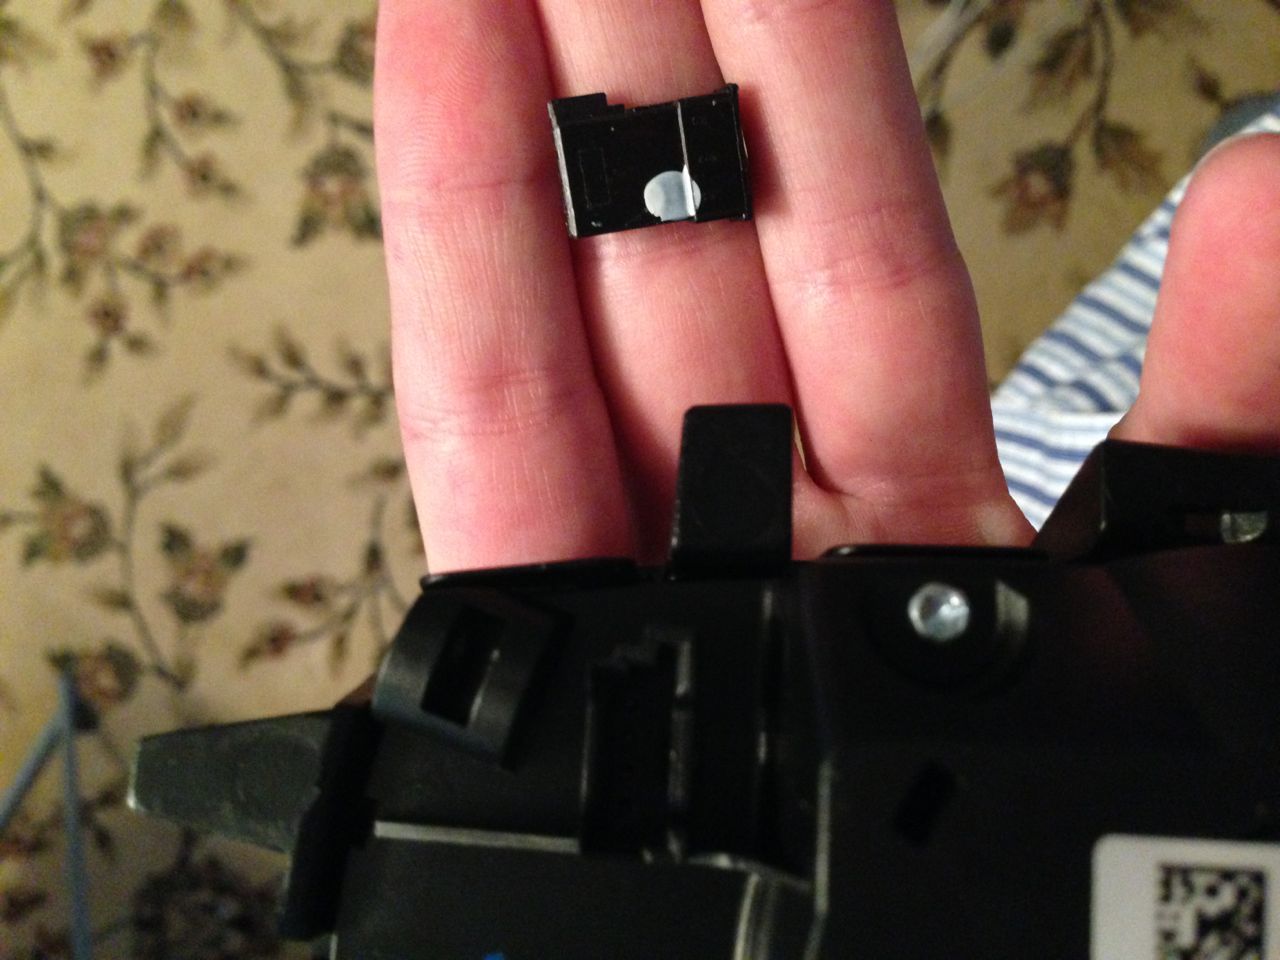
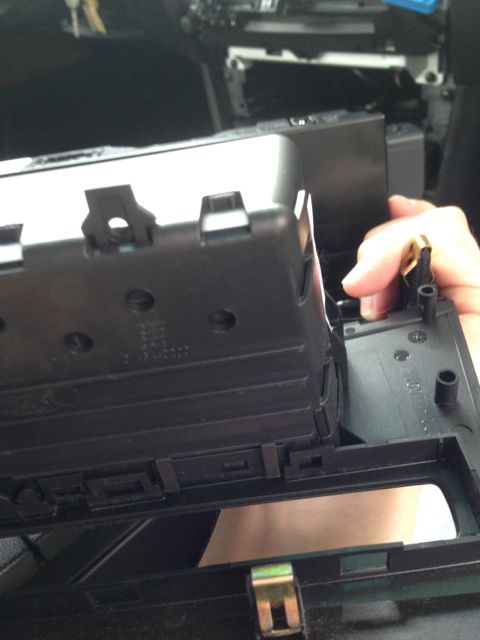
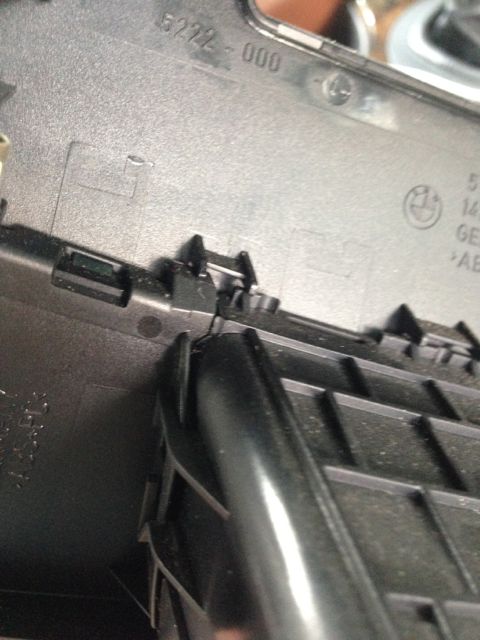
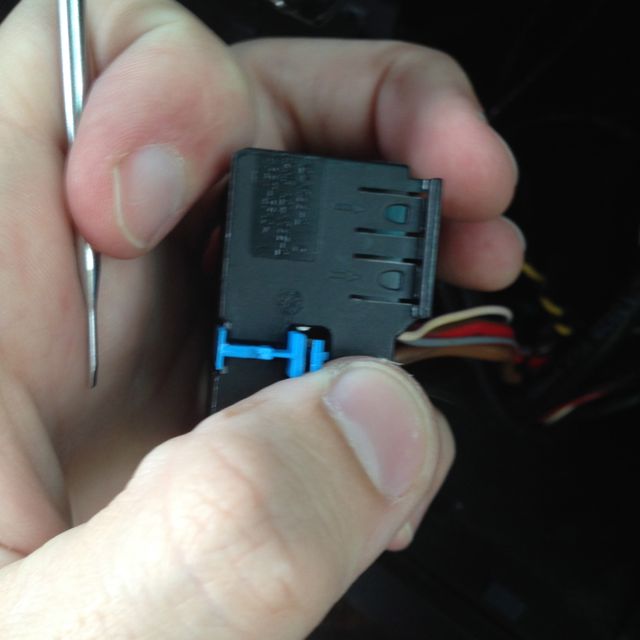
Push down on the tab (right hand side in the pic) and slide the blue bar out
Here's a picture of the tab
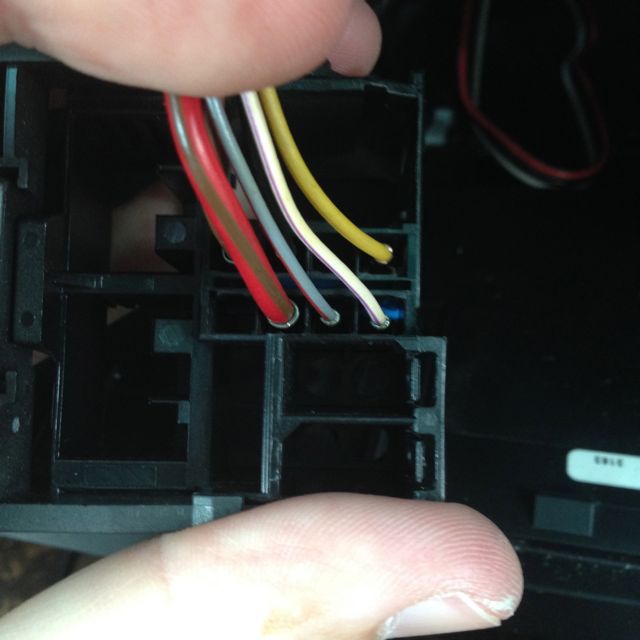
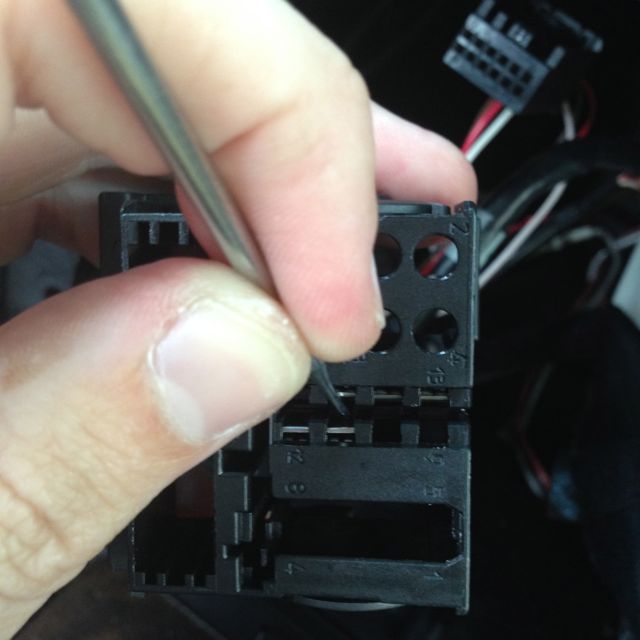
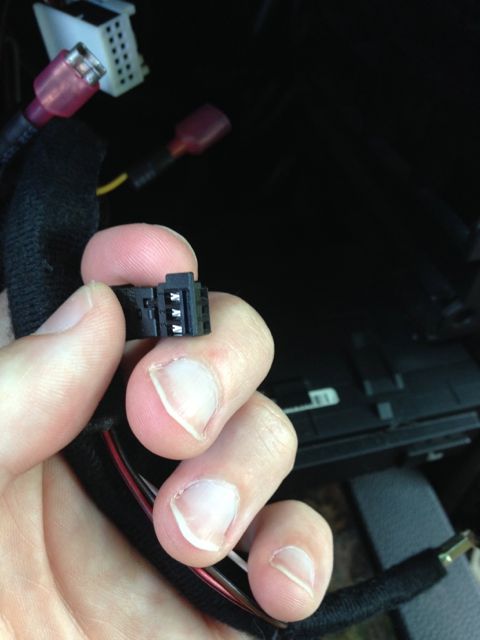
From there, take a small screw driver and push down on the pin.. when you get it right it will slide right out
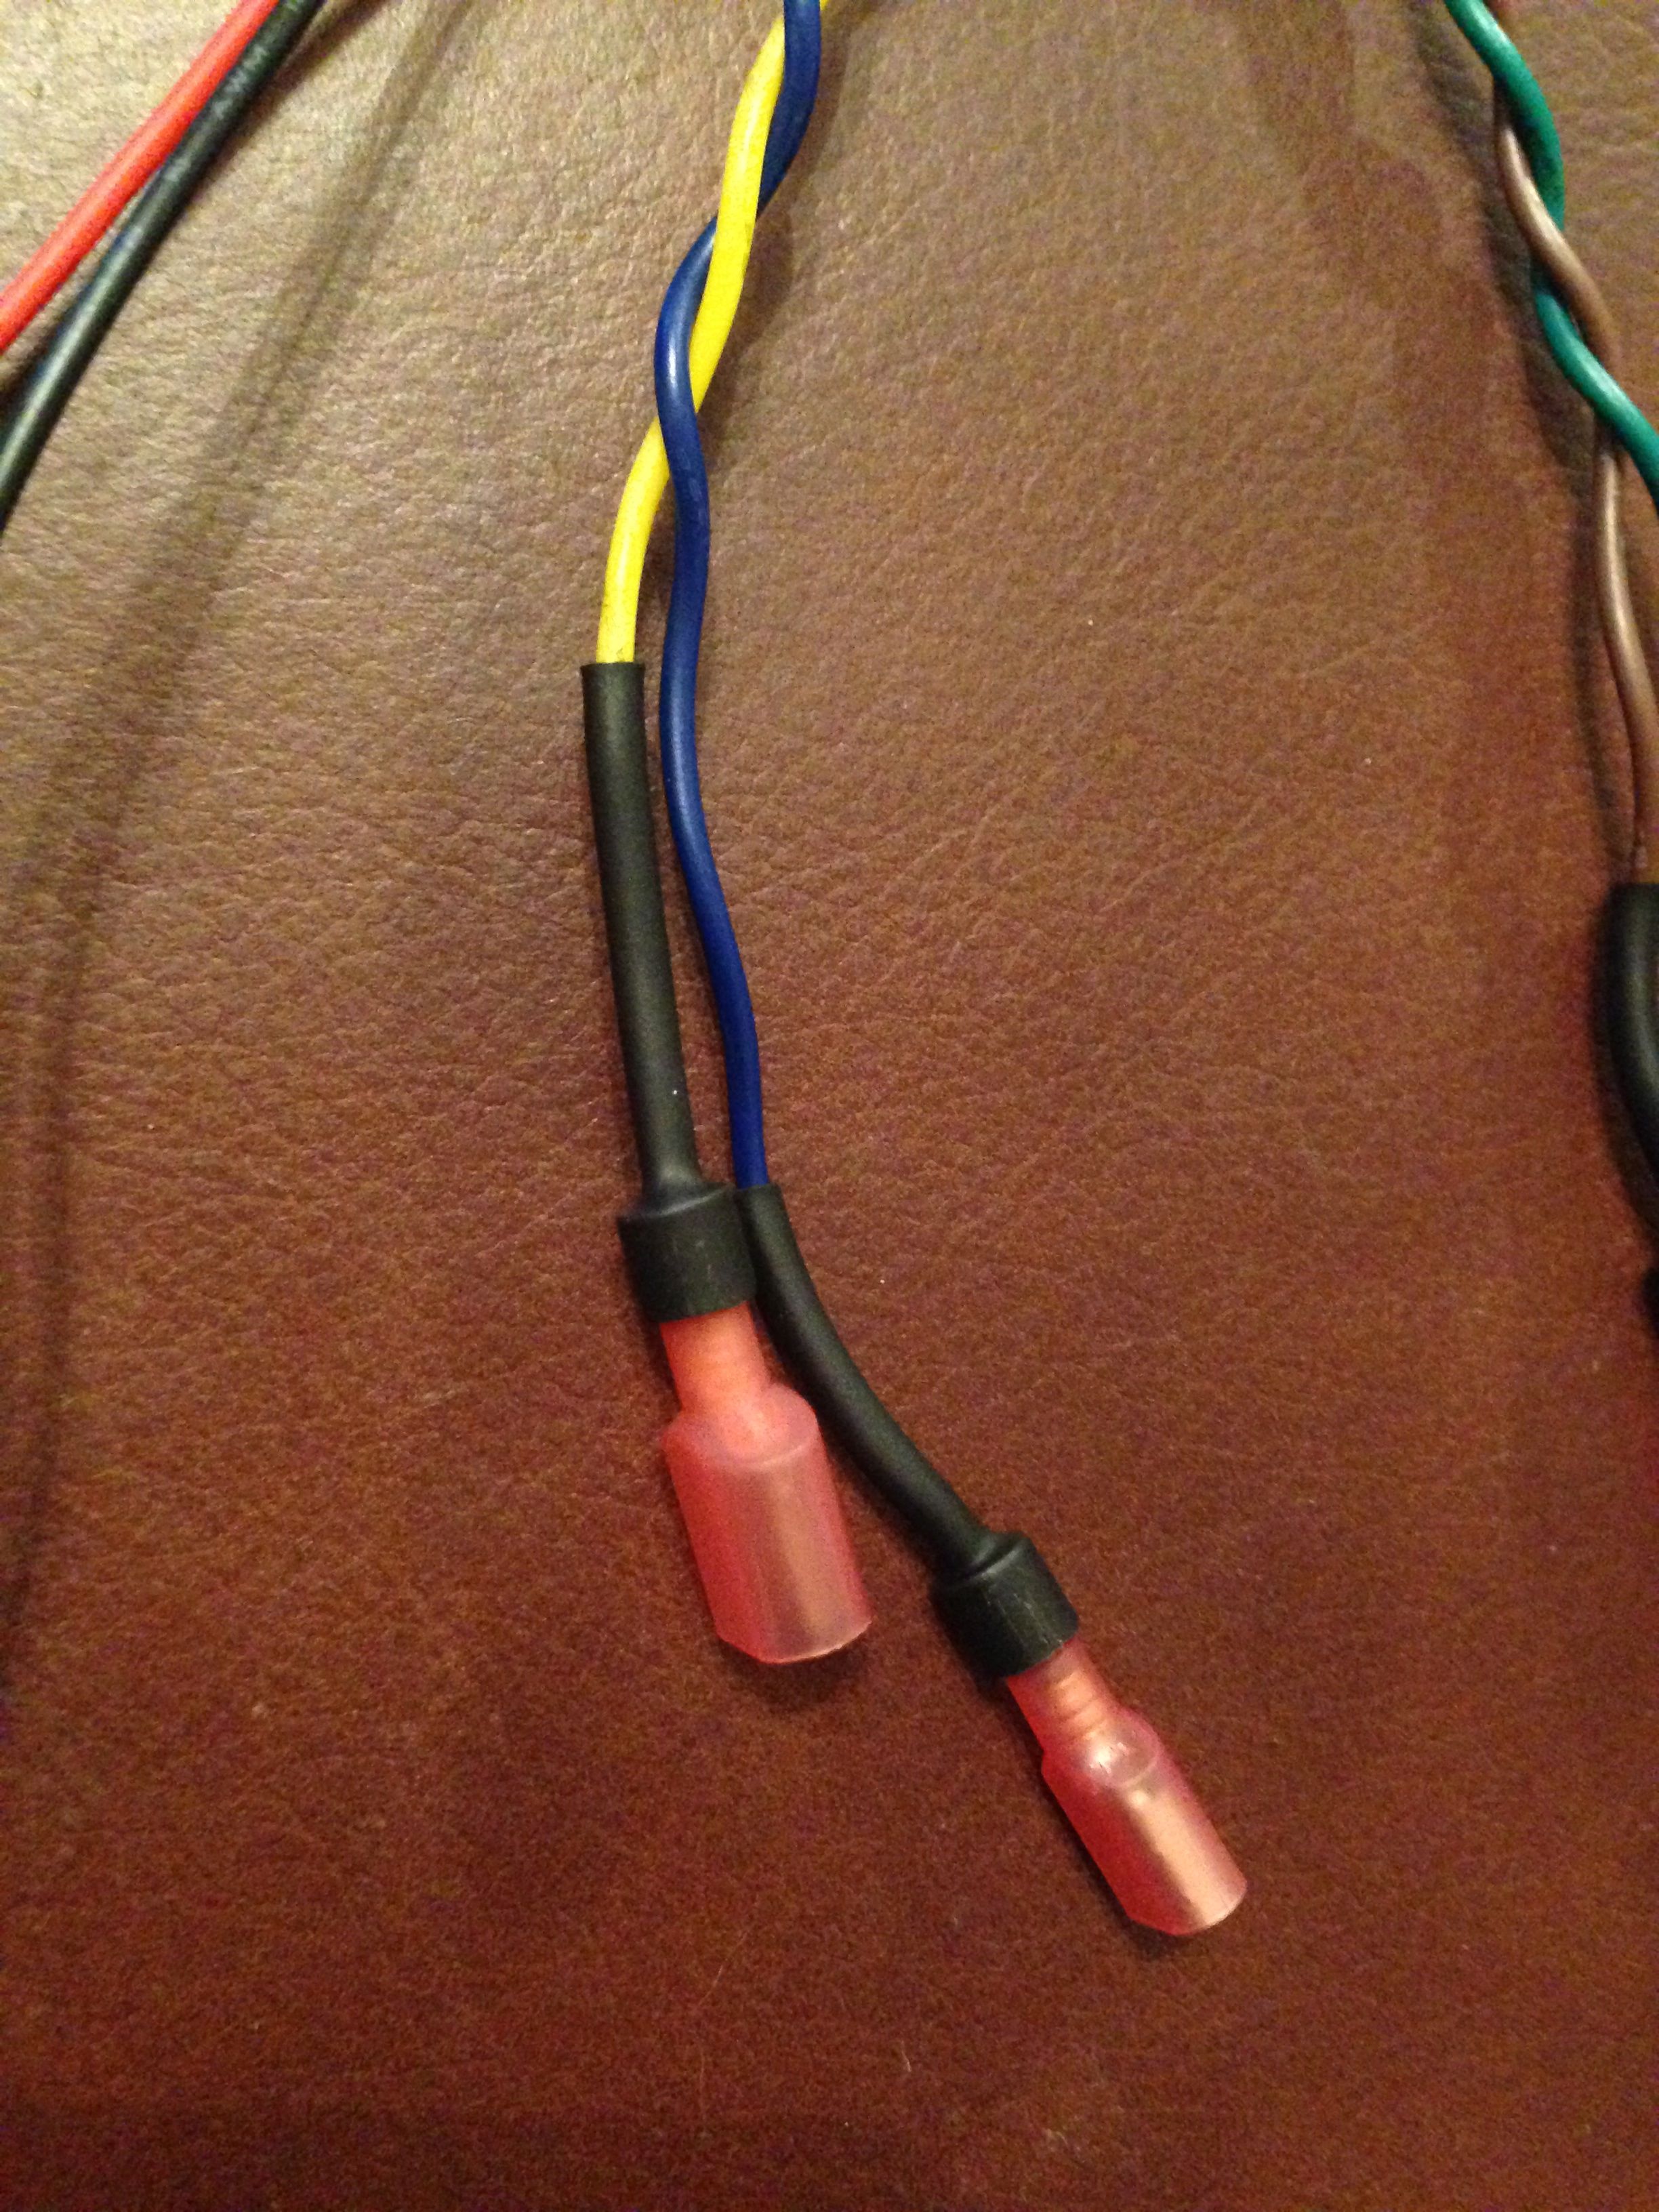
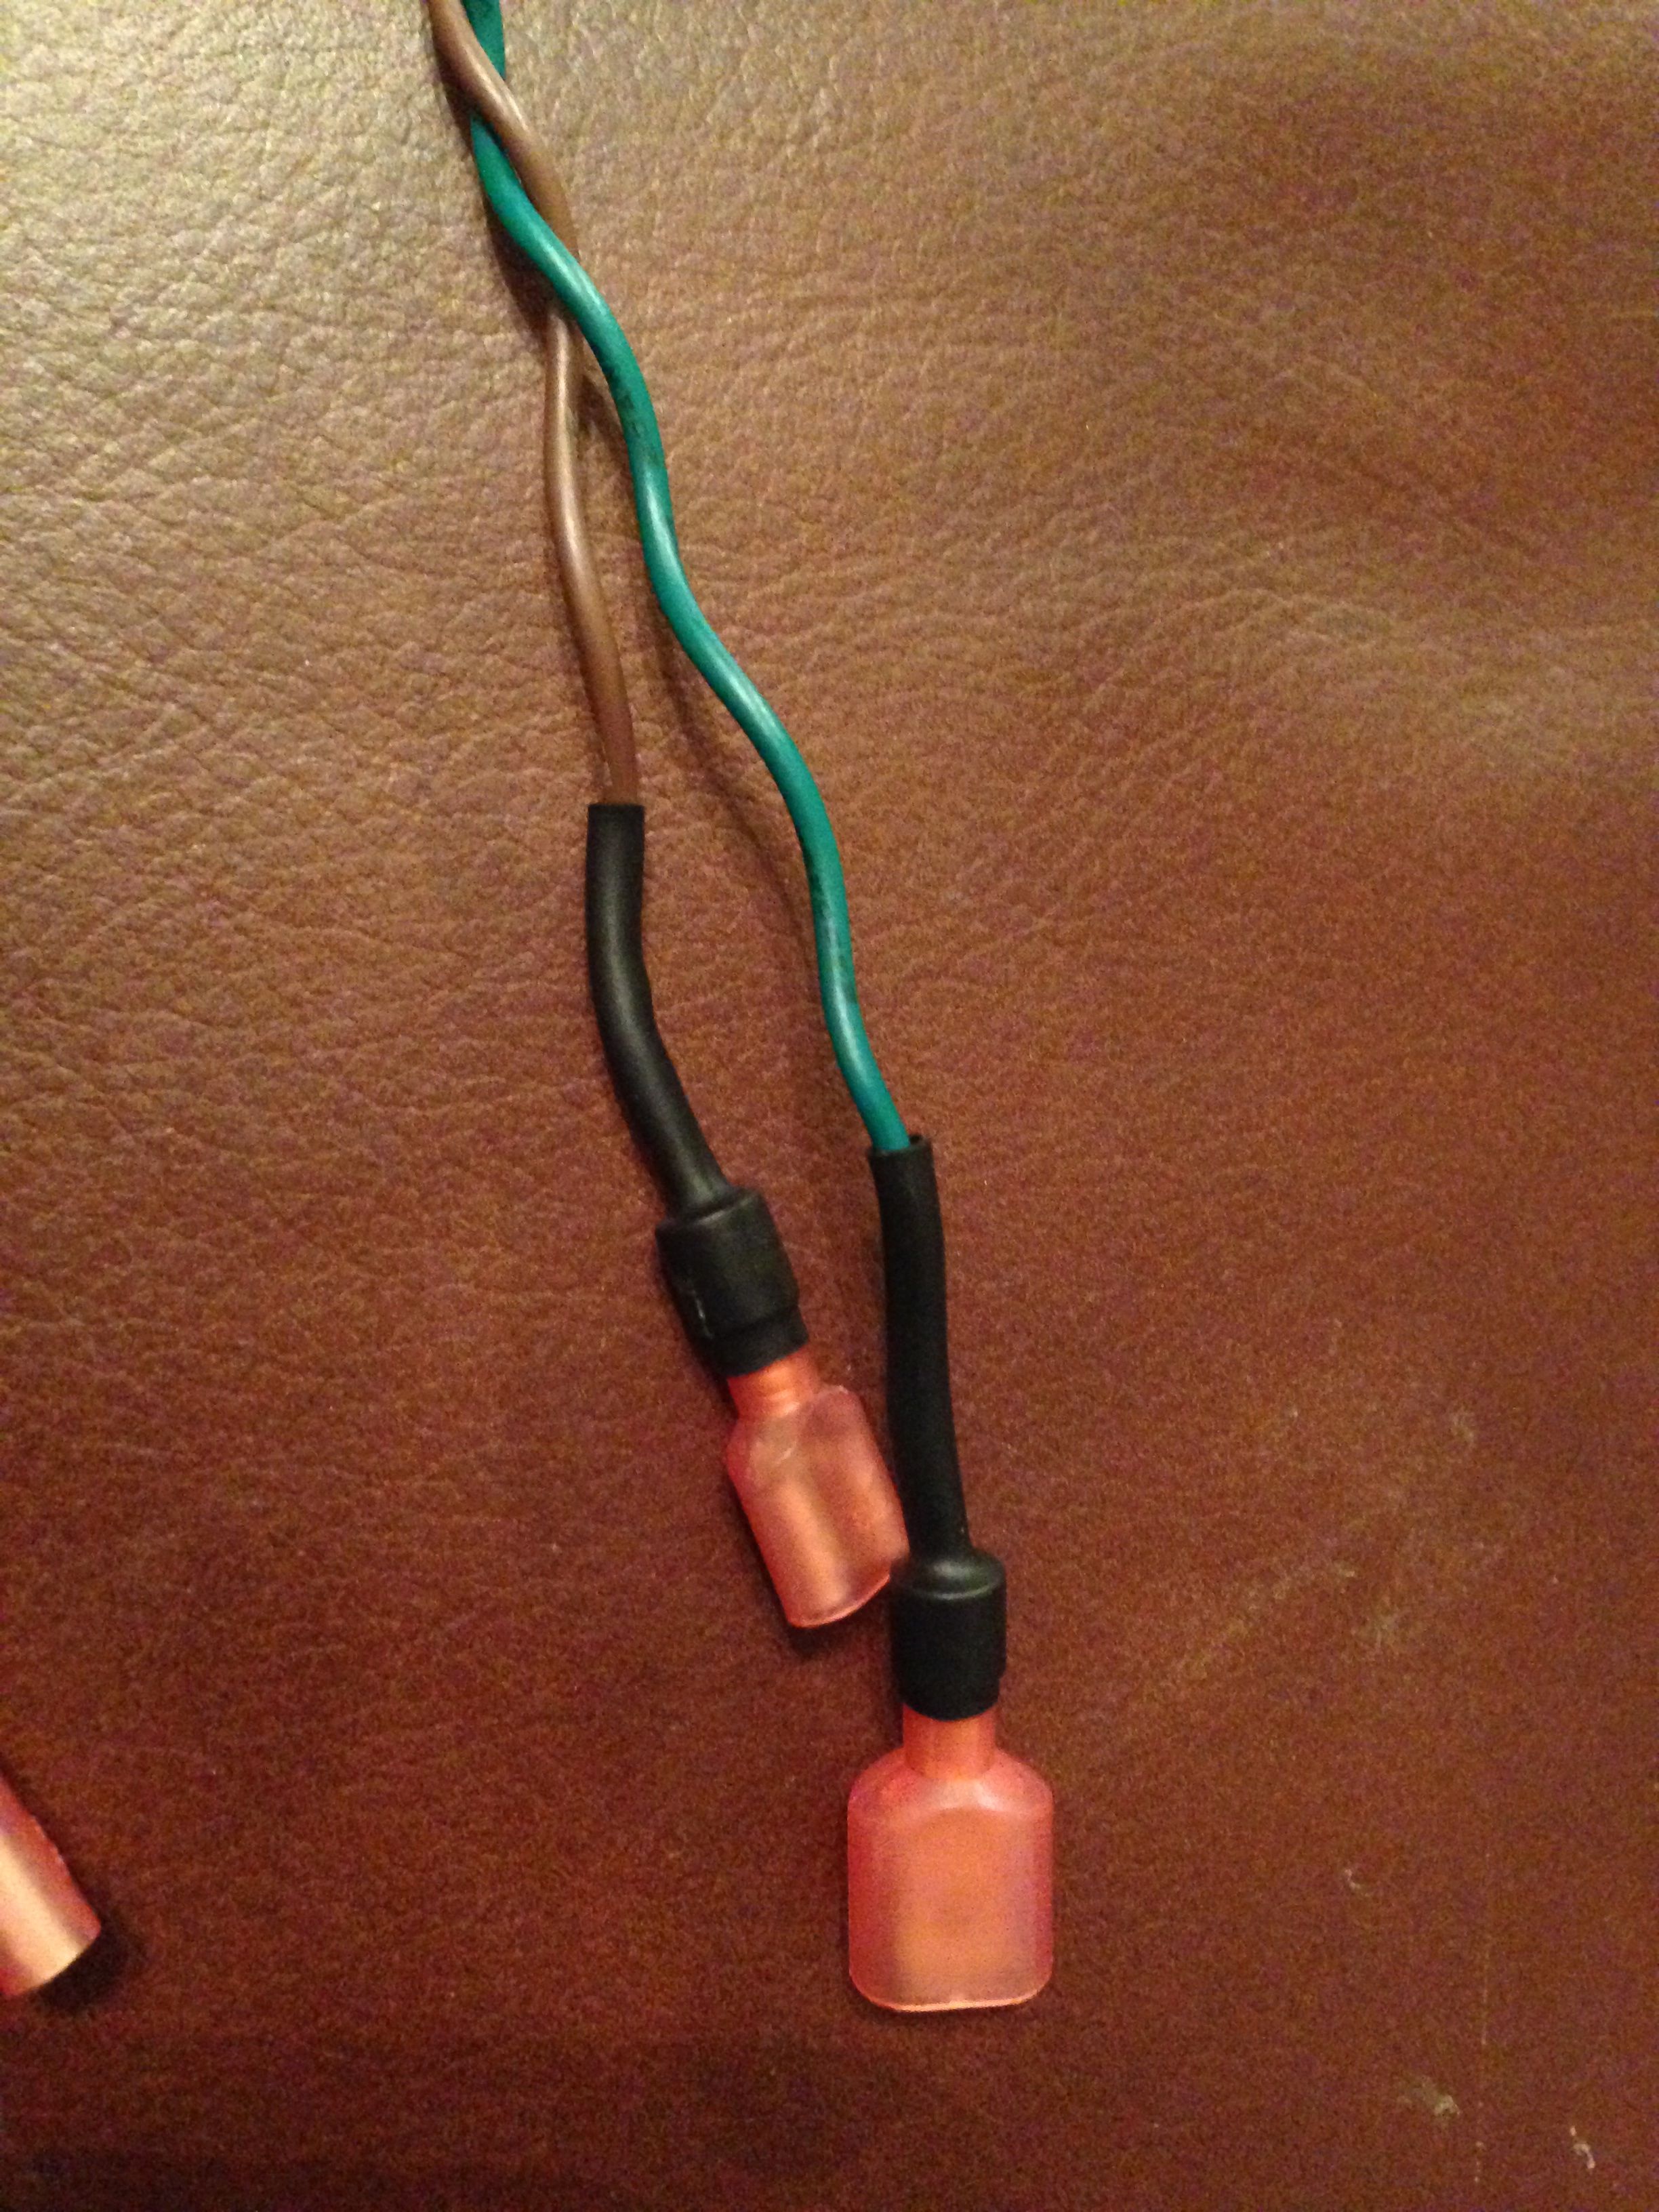
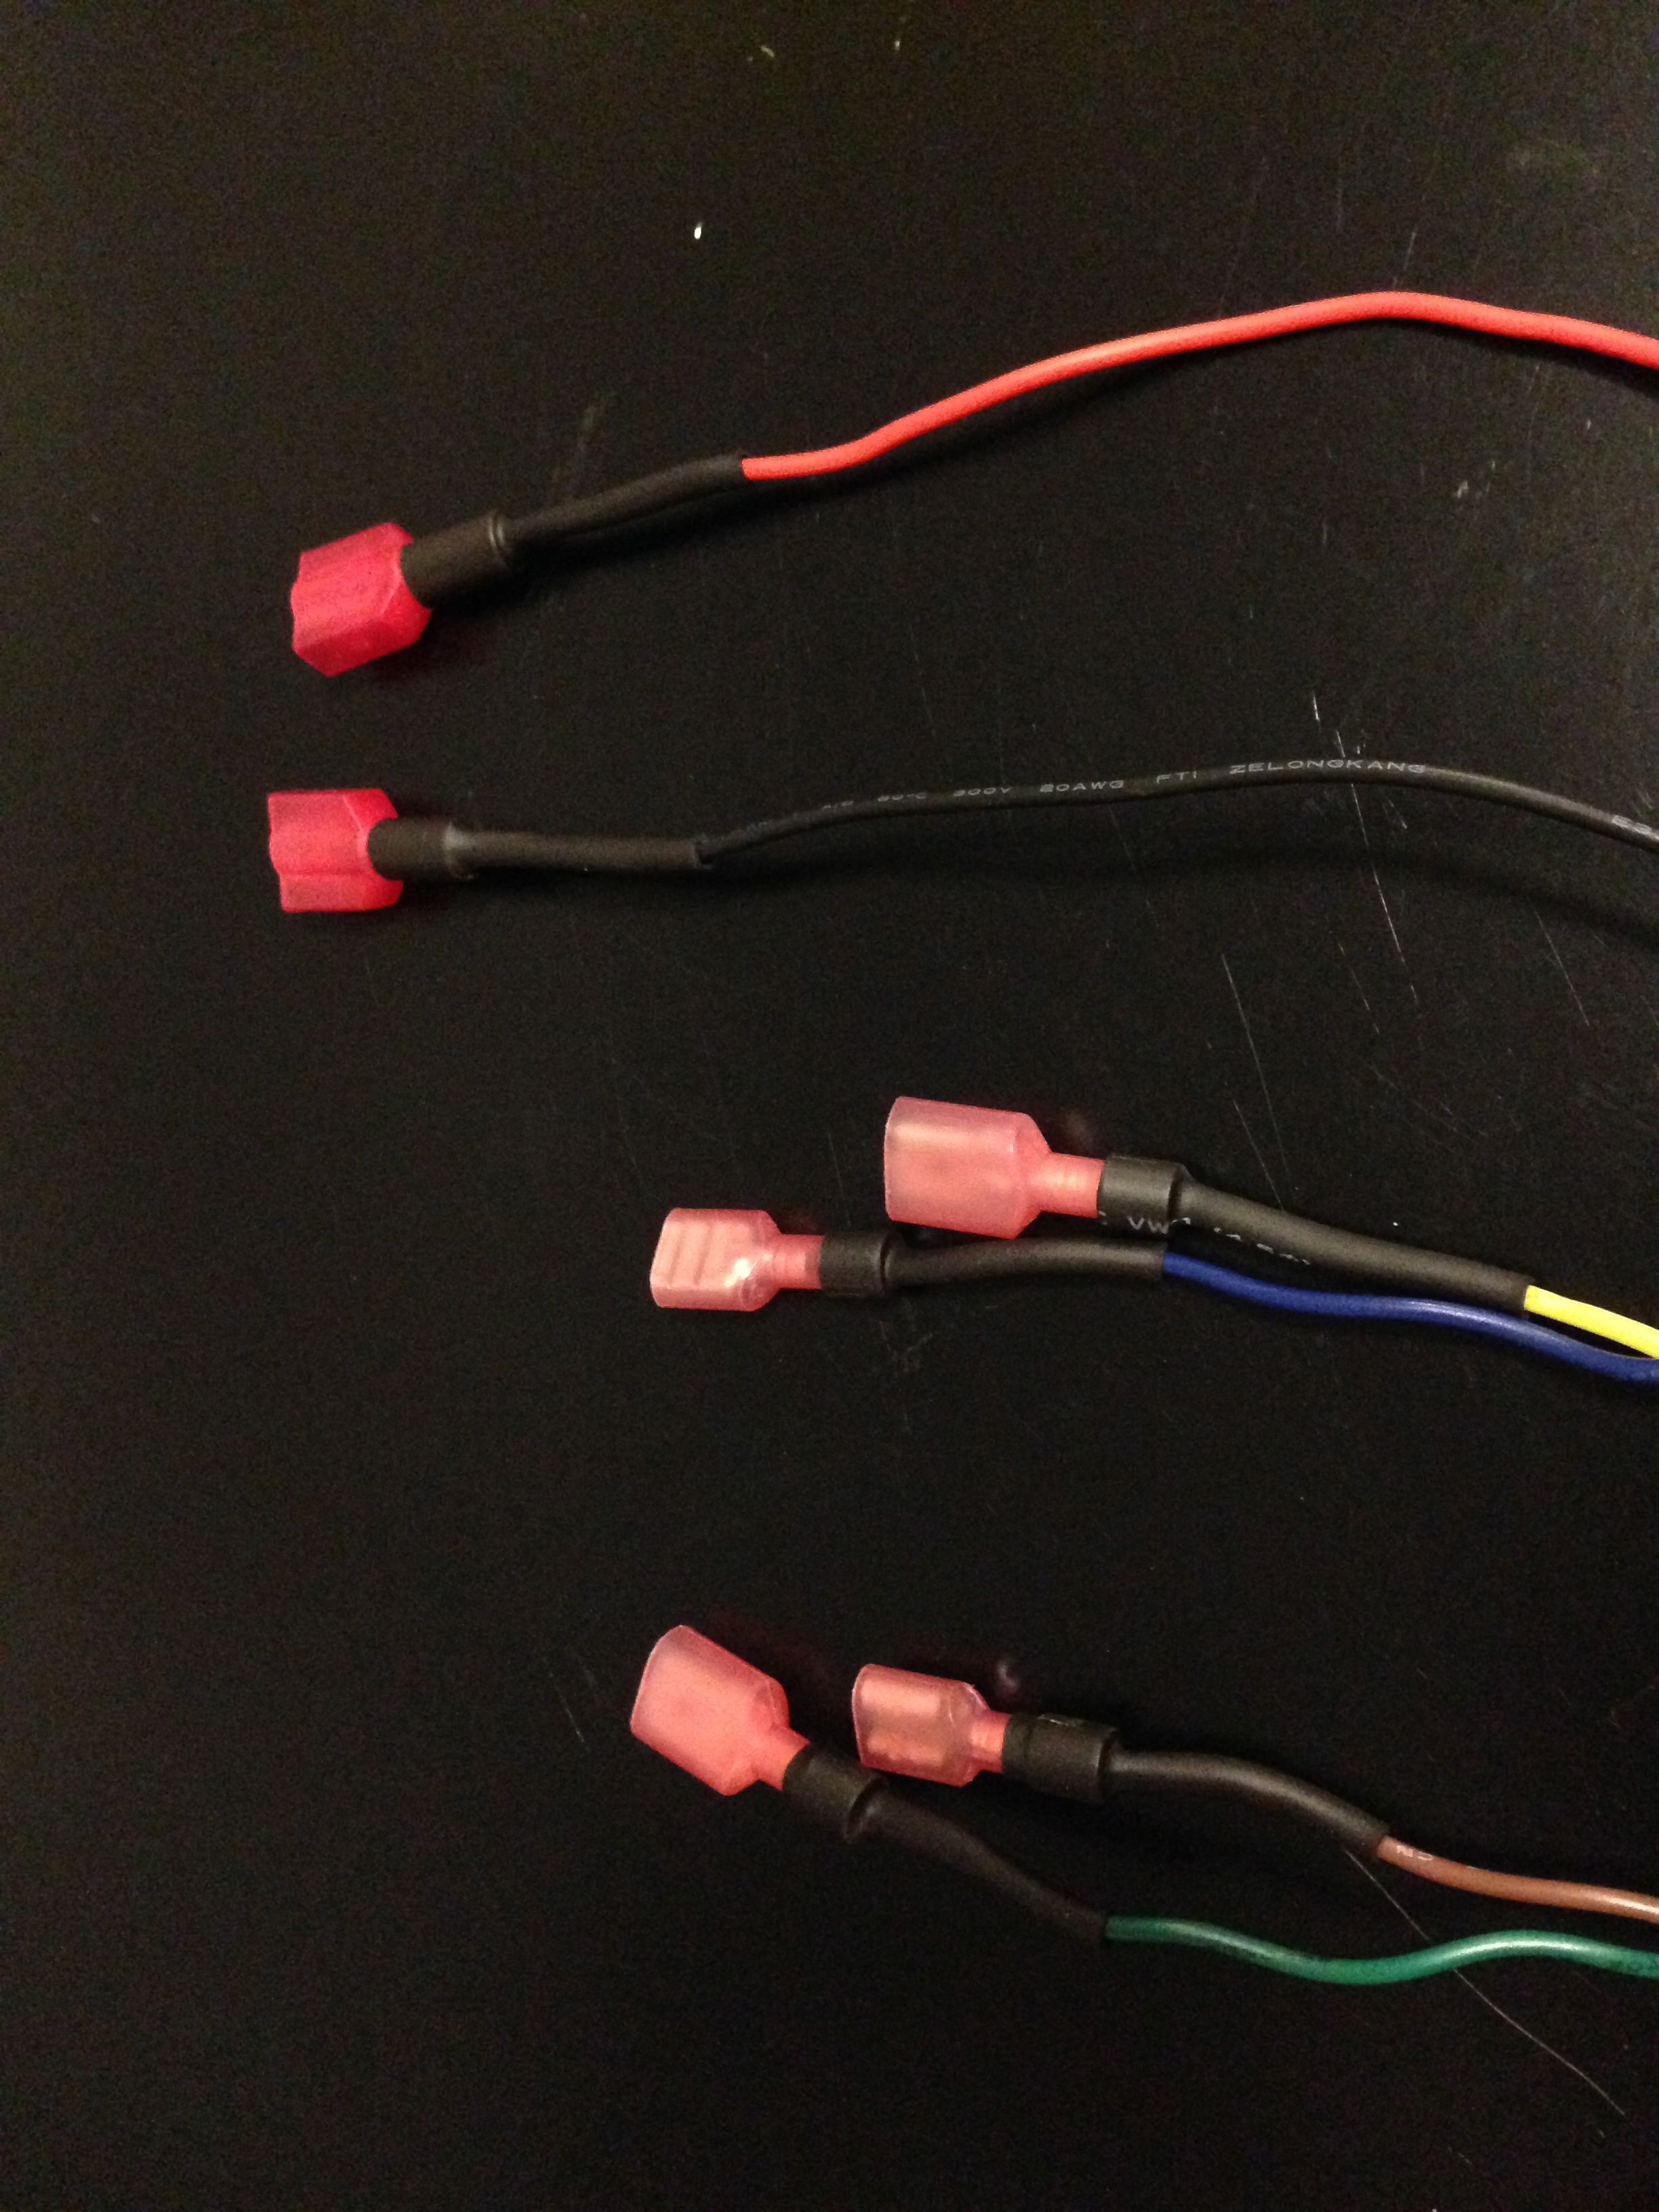
Here are the two wires I need for the emulator..
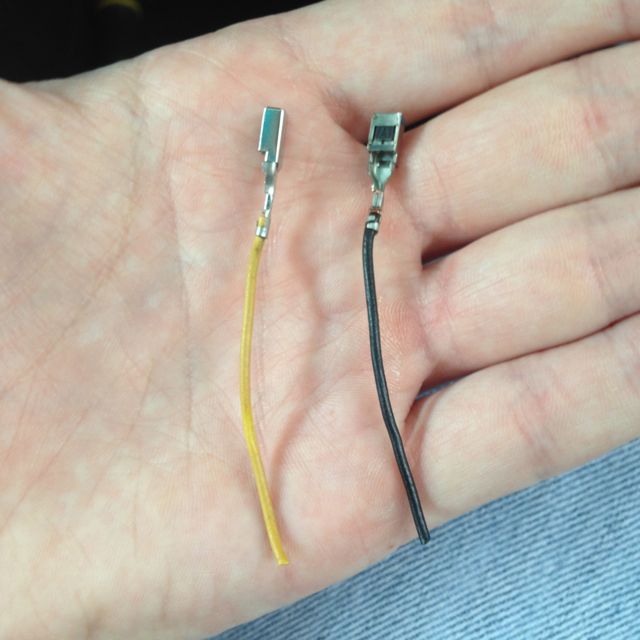
These are crimp on connectors, but I don't like crimp on connectors, so I took them apart so I could solder them. Also put heat shrink on the end to make them neater.
Soldered solid..
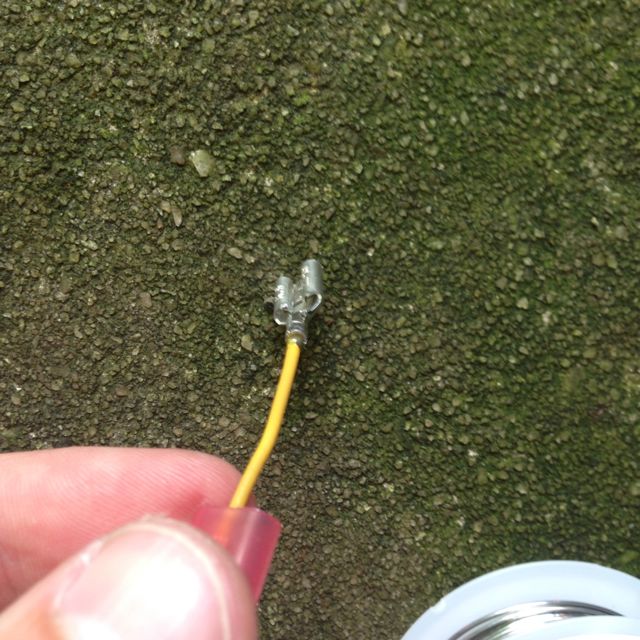
Another angle, soldered solid

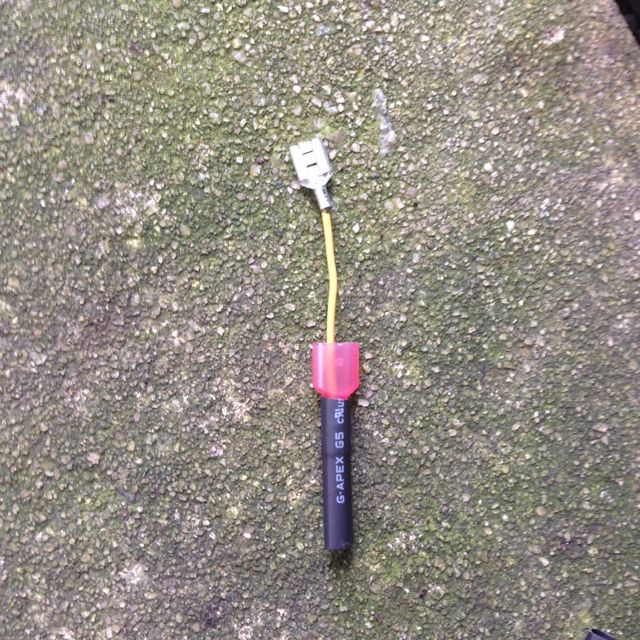
Both wires done
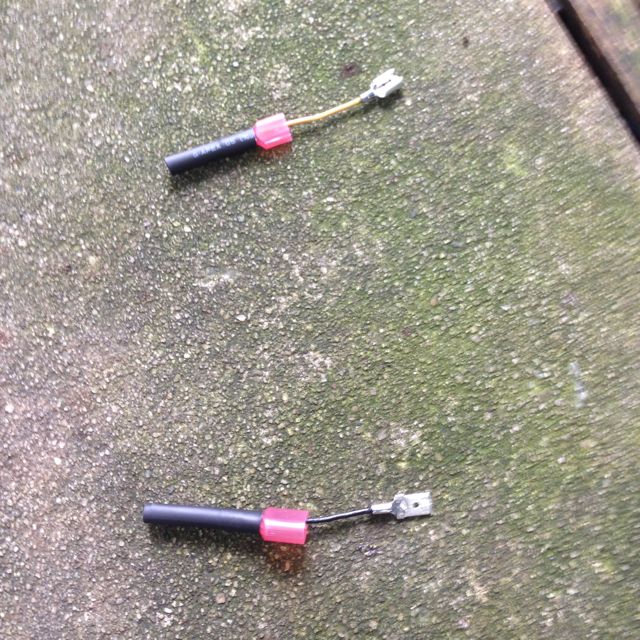
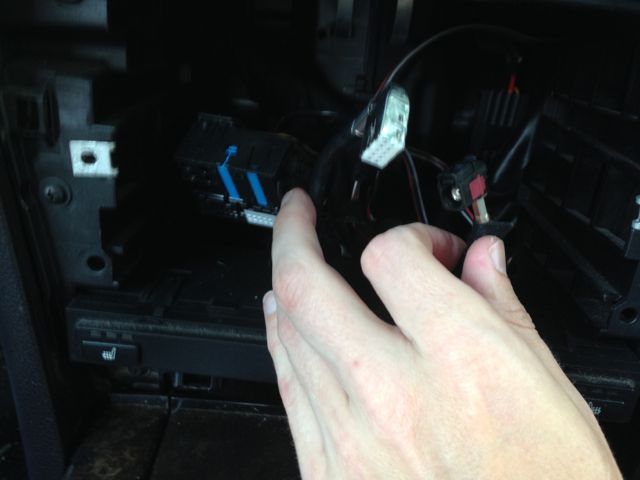
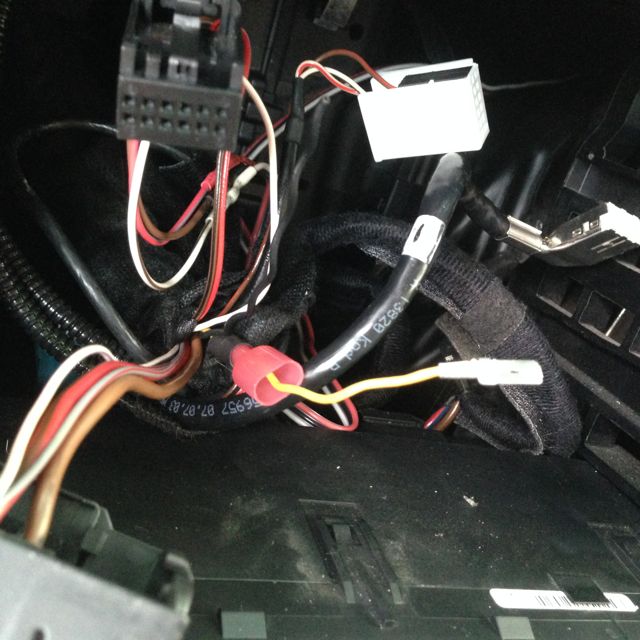
Here's how they'll connect once on the car
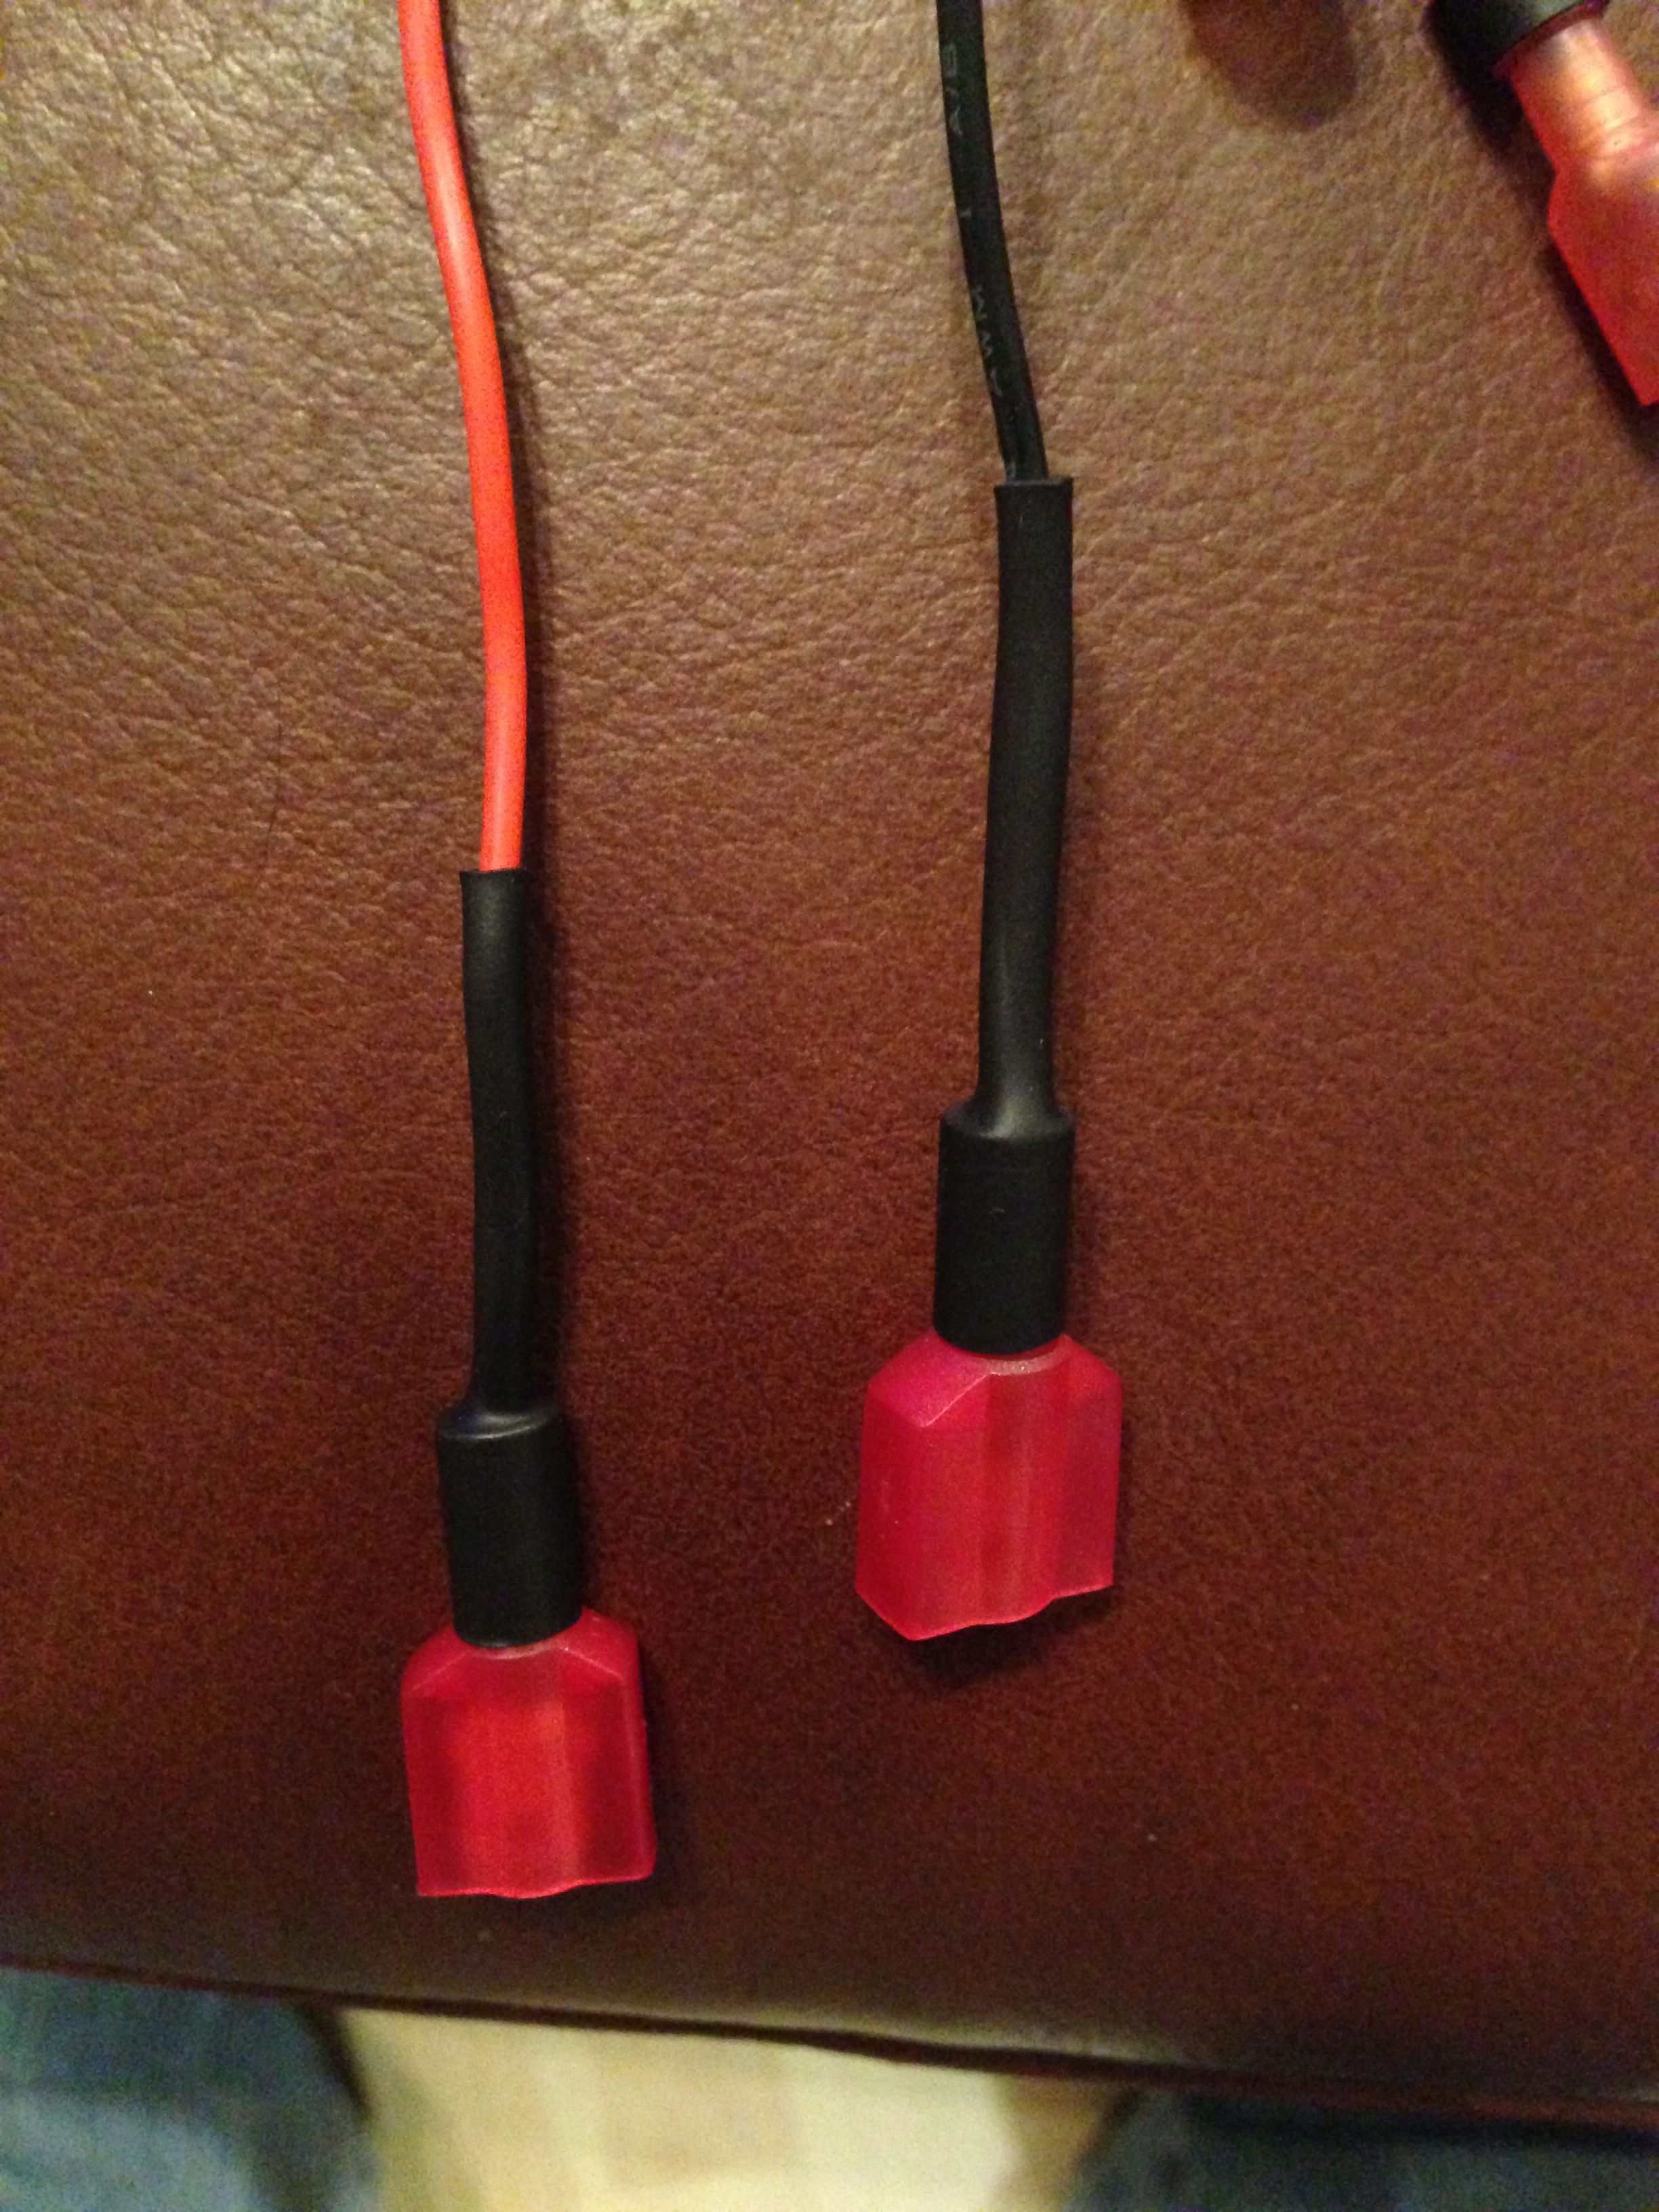
Here's adding connectors to the "car" side.. same deal. Soldered + covers put back on + heat shrink
Another shot
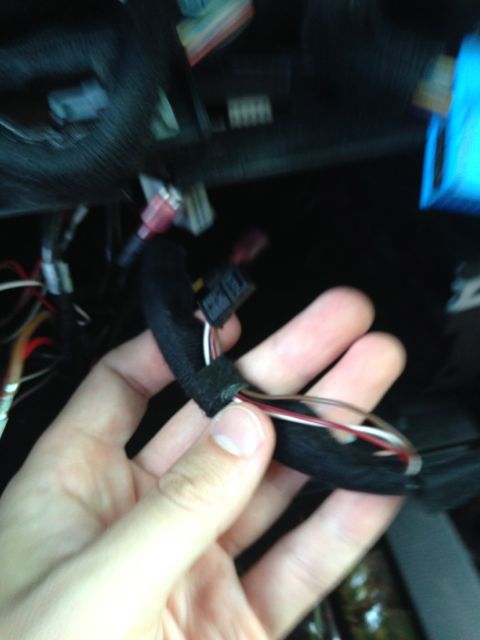
I am going to try to use this CCC fan connector (my car has CCC / Nav prep) to power the emulator so I can leave the main power wires to the CIC alone.. I didn't get around to wiring this today though.
Another shot? Not sure why.
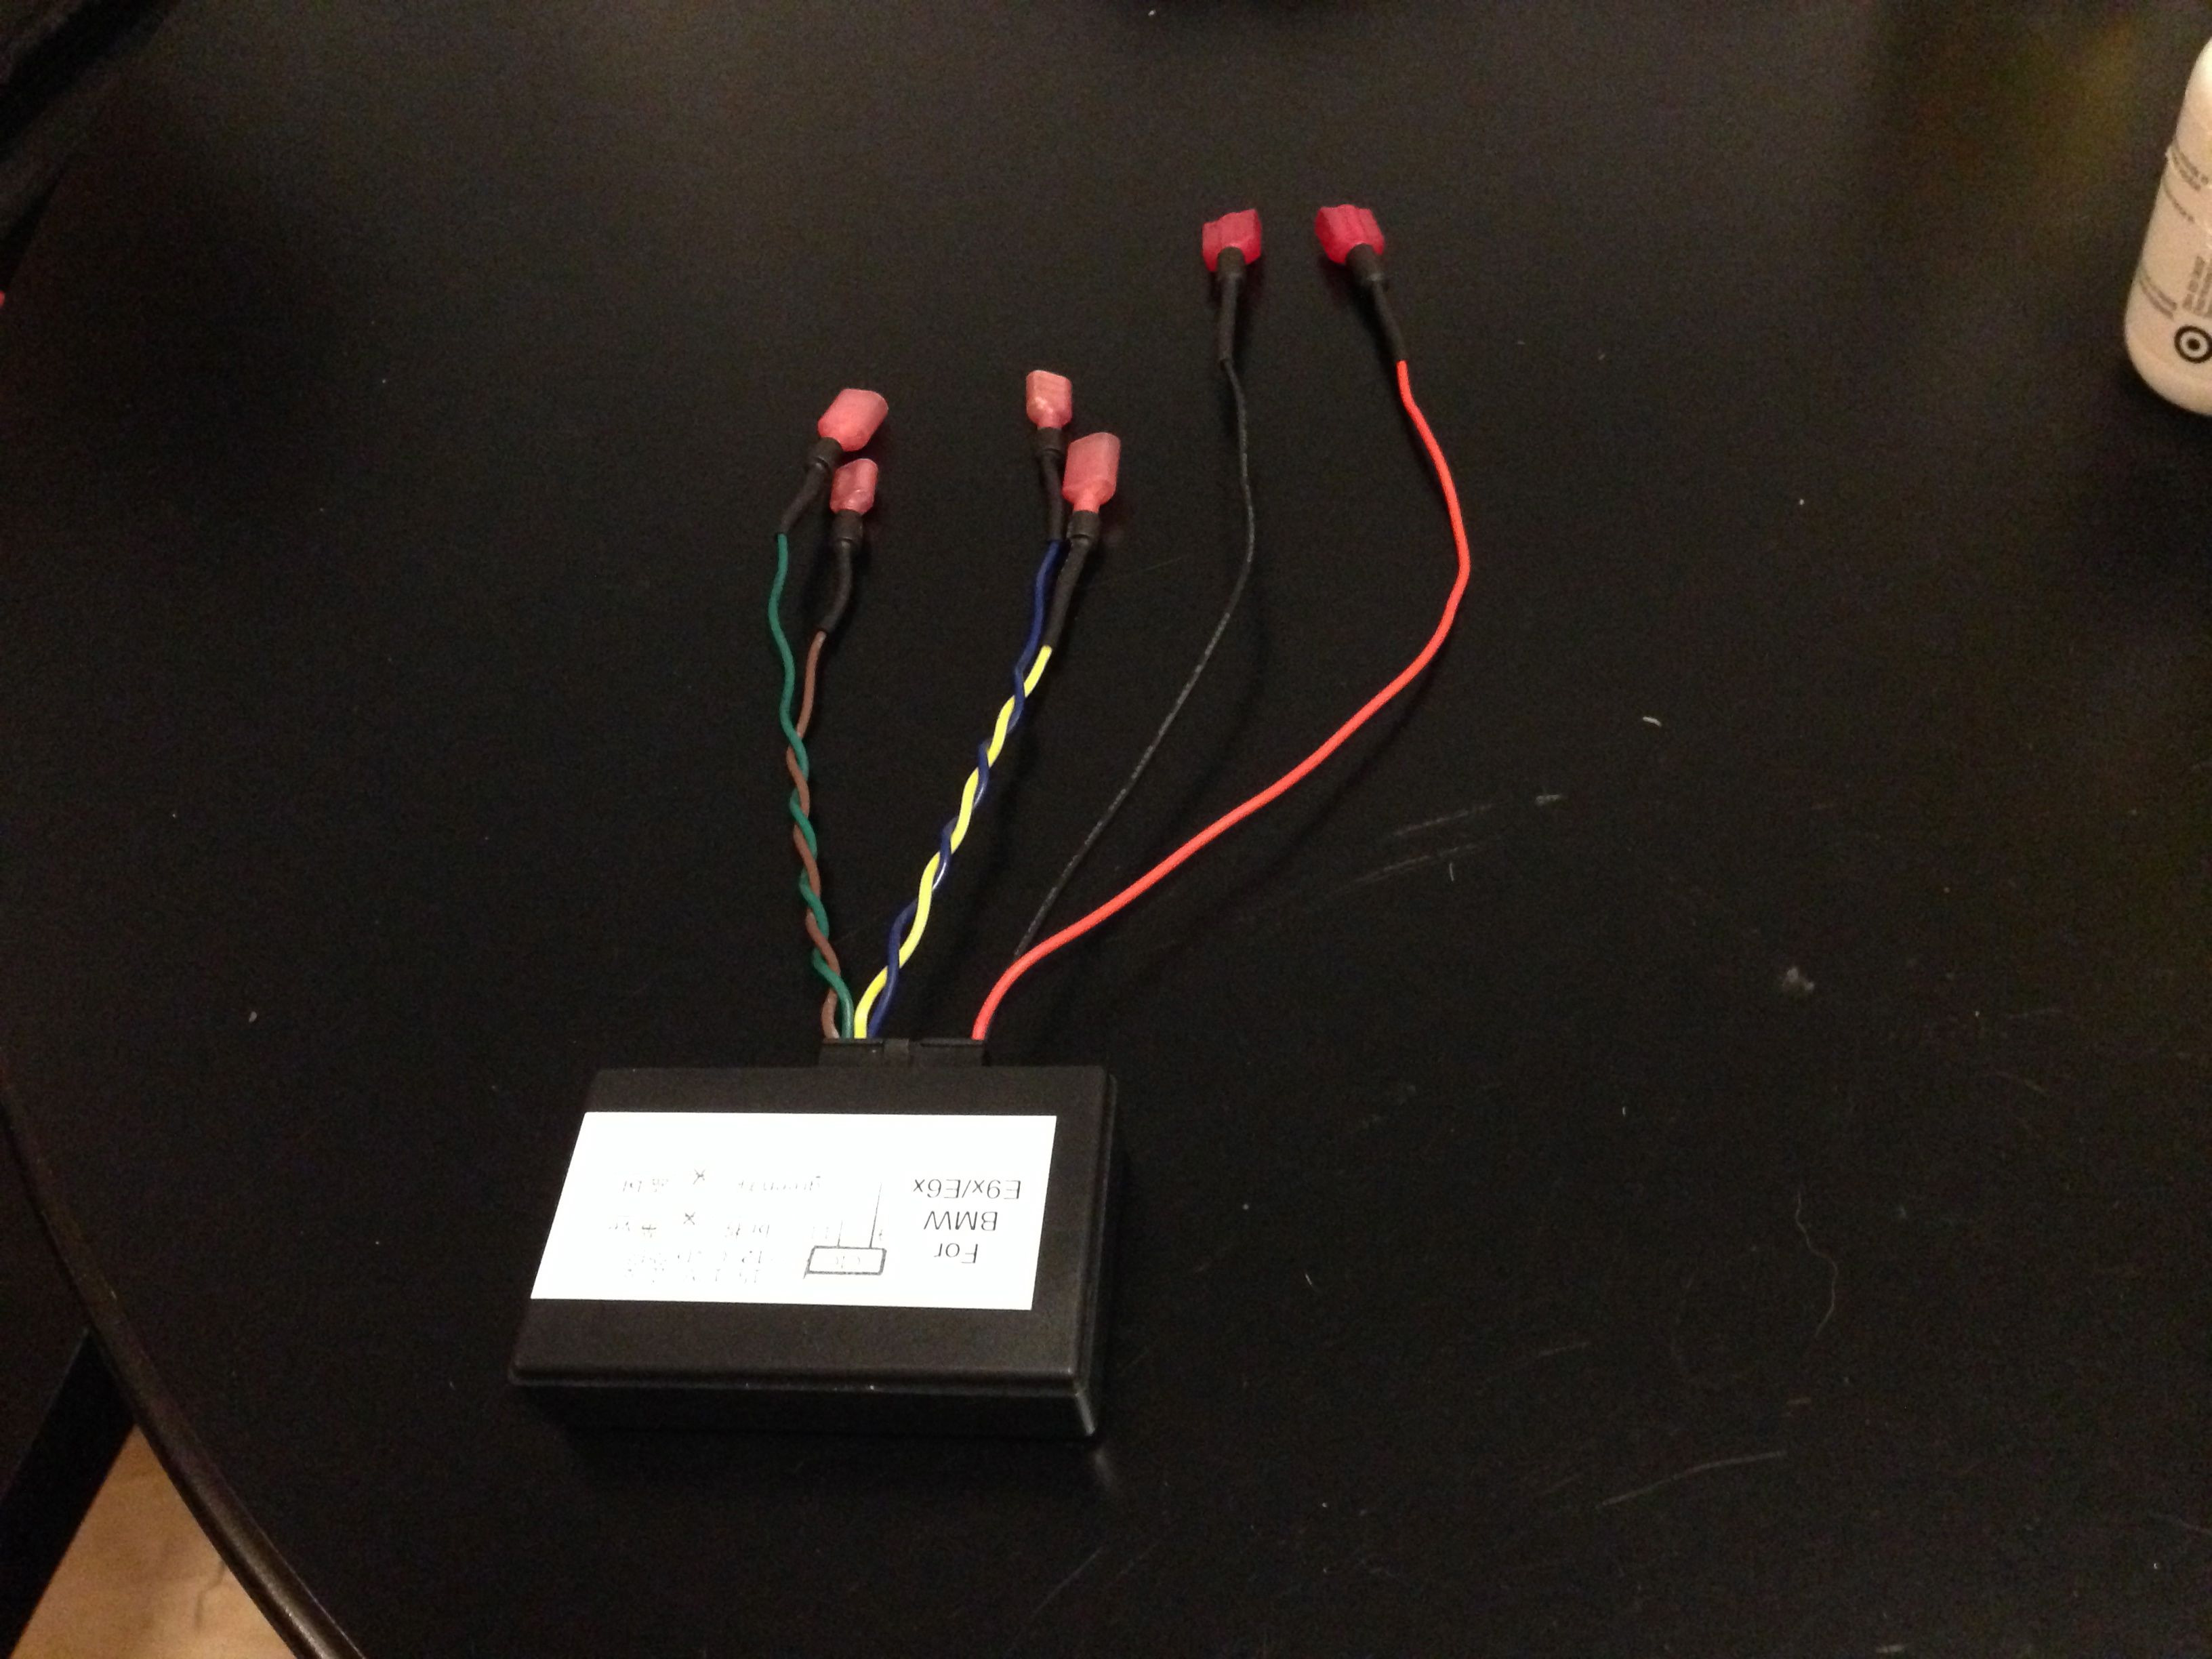
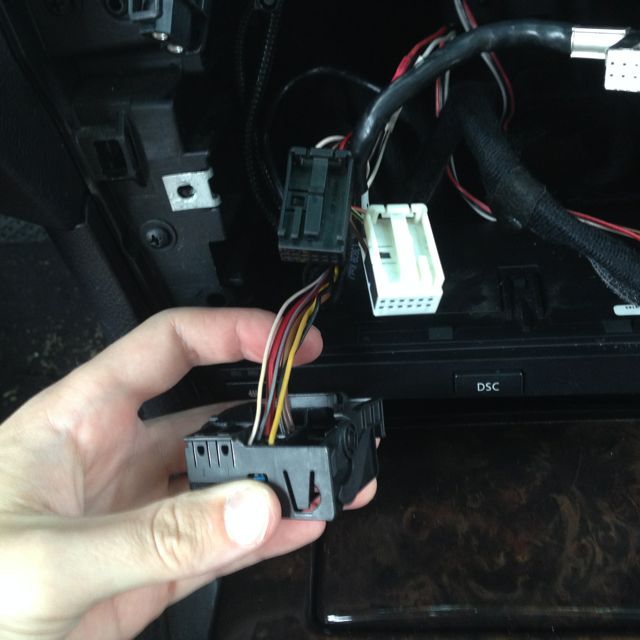
Here's everything back together in the "stock" setup. I put the MASK back in today.. didn't have time to do the whole changeover (well, probably did, but didn't think I would so I didn't attempt it)
For those of you that don't know, basically the emulator connects between the car and CIC. Used CIC's are already setup / licensed to a particular car's VIN, and I have heard that the activation codes to switch it over to your car the "proper" way is quite expensive (something like $1300 for voice and navigation to be enabled). So, the emulator basically tells the CIC what it wants to hear and makes it think everything is activated, and voila, no need for expensive activation codes. I'm not too sure on the specifics of how that actually works, but evidently it does.
I bought this one on eBay for $85 + $15 for DHL shipping from China (which is INSANELY fast by the way. I ordered it on Wednesday and had it Friday)
Anyways... k, time for lots of pictures.
Pulling wood trim off.. just start at one end and give it a yank every 6 inches or so. The white rectangle things are what holds it on.

Before you pull the trim off, you have to push the hazard / lock button out first so you can disconnect the wire for it. By "push out" I mean push it from behind the dash, towards the rear of the car. The hazard button will come out the front basically, after it's disconnected.

Two screws hold on the cover around the radio/climate control. It also has a few clips--one on mine always seems to get stuck and takes a LOT of force to get off. I cracked some of the plastic in the process this time

Finally got it off. Usually the box at the bottom (has the seat heater buttons) will come out with it, but this time I had twisted the plastic piece so bad it came off. Worked better actually, but not exactly how it's supposed to work..

Cracks on the back of the cover.. oops

OOPS!

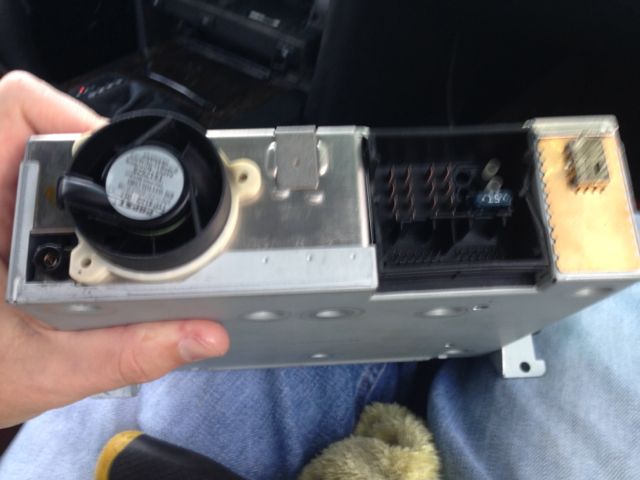
Back of MASK

Wiring.. left is main connector, center is for the display, one on the right is for radio antenna

More wires

Here's the business.. back of the main block. The green ones are for the MOST bus. The white and black on the right side of the connector will come out. The only one left will isn't a separate plug, so those wires come out one at a time instead of in a set

Another angle

And another

black/white plugs pulled out to get them out of the way

Everything out except the ones I need to get to.. these we have to pull out one at a time (technically I guess you could leave them in and work on them that way, but I decided to just pull them out to give me good access to them.

another angle

Here's another shot.. the area where the blue thing is is where the wires are we need to get out. We need to remove the blue thing first...

Another angle

Another angle

And another

Push down on the tab (right hand side in the pic) and slide the blue bar out

Here's a picture of the tab

From there, take a small screw driver and push down on the pin.. when you get it right it will slide right out

Here are the two wires I need for the emulator..

These are crimp on connectors, but I don't like crimp on connectors, so I took them apart so I could solder them. Also put heat shrink on the end to make them neater.

Soldered solid..

Another angle, soldered solid

Both wires done

Here's how they'll connect once on the car

Here's adding connectors to the "car" side.. same deal. Soldered + covers put back on + heat shrink

Another shot

I am going to try to use this CCC fan connector (my car has CCC / Nav prep) to power the emulator so I can leave the main power wires to the CIC alone.. I didn't get around to wiring this today though.

Another shot? Not sure why.

Here's everything back together in the "stock" setup. I put the MASK back in today.. didn't have time to do the whole changeover (well, probably did, but didn't think I would so I didn't attempt it)
 07-29-2013, 06:18 PM
#4
New Members
Thread Starter
Join Date: Sep 2012
Location: Greensboro, NC (USA)
Posts: 246
Likes: 0
Received 0 Likes
on
0 Posts
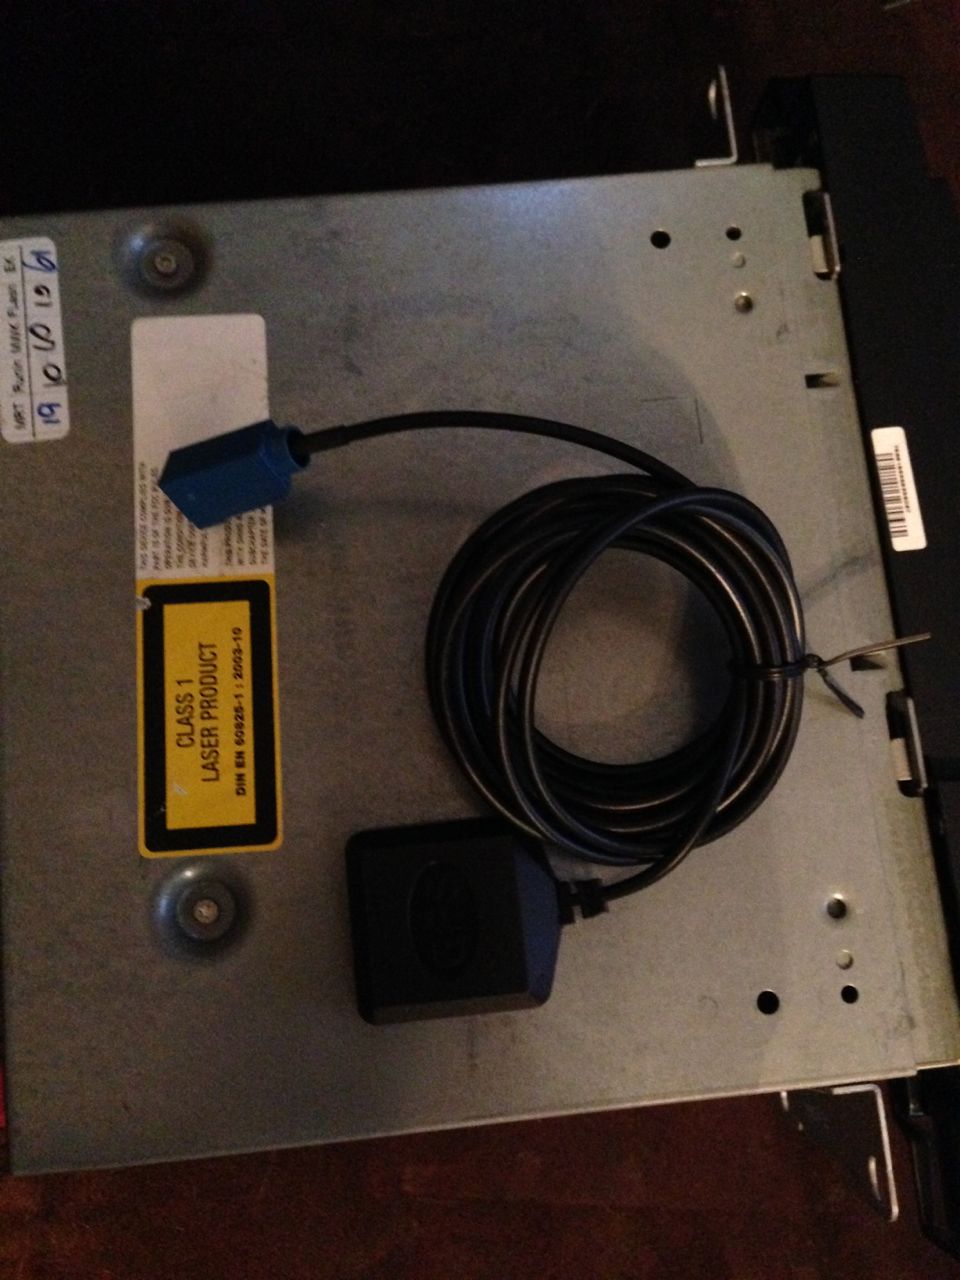
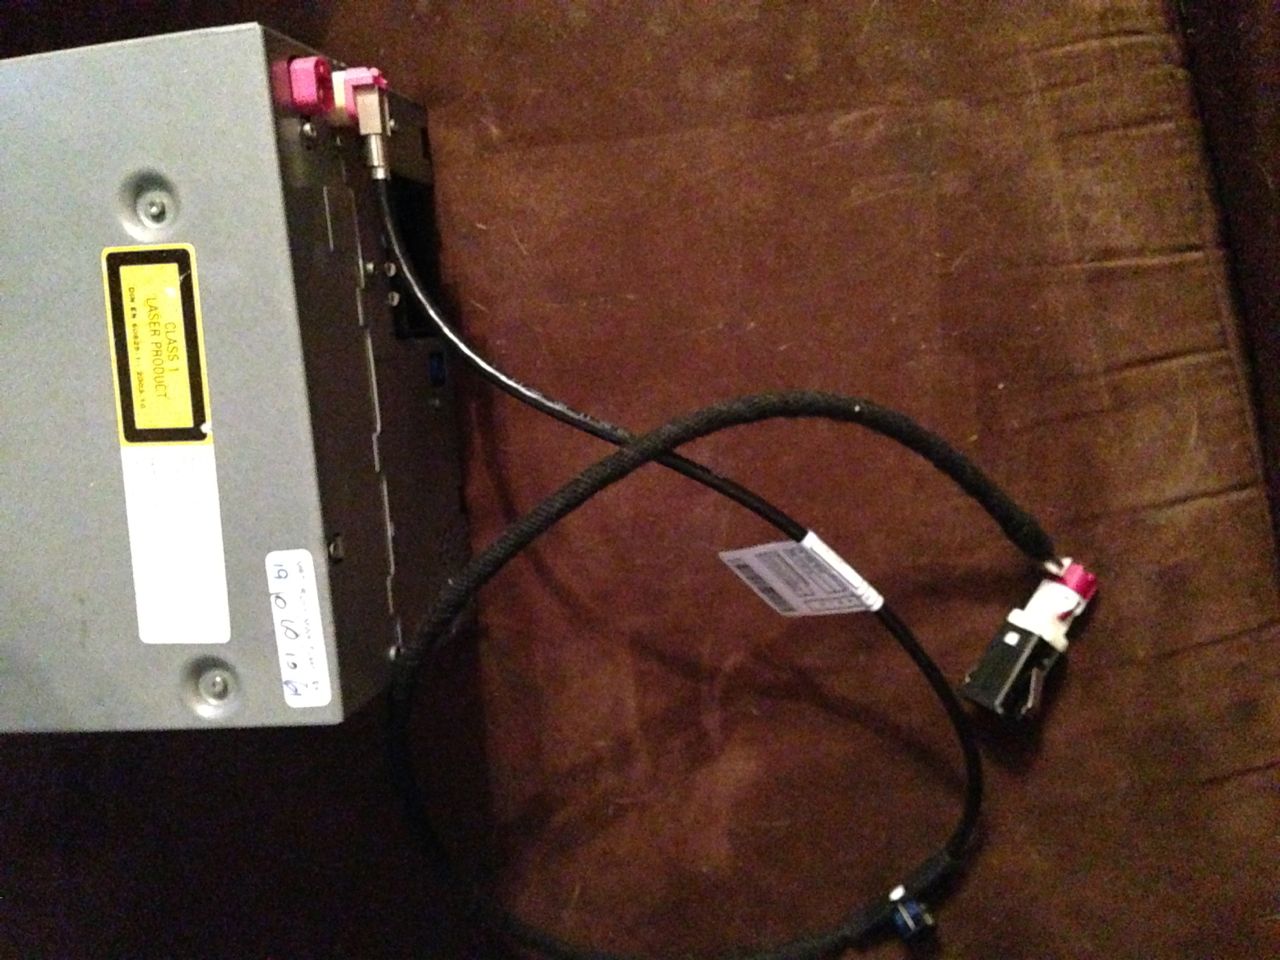
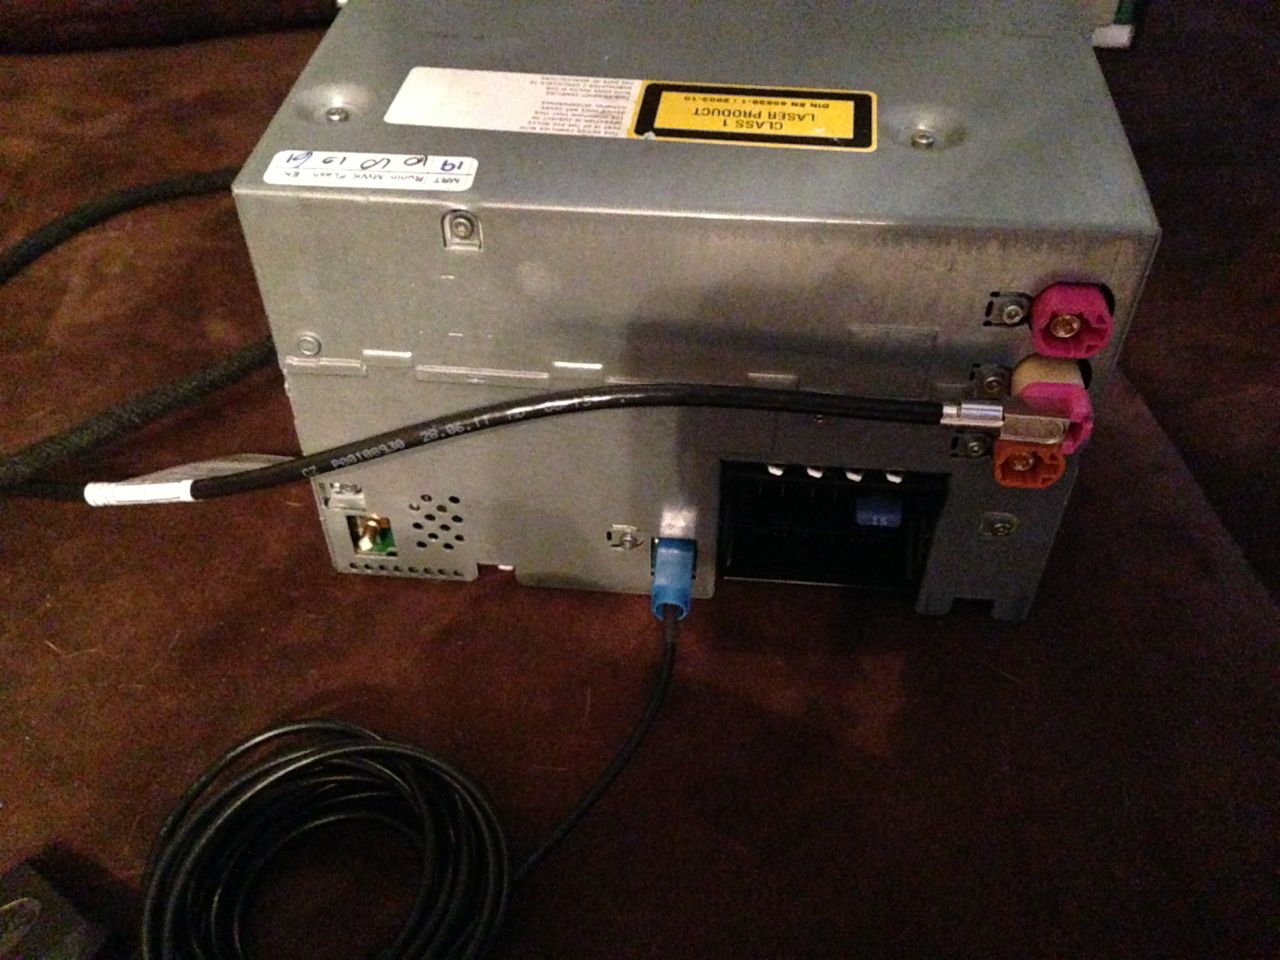
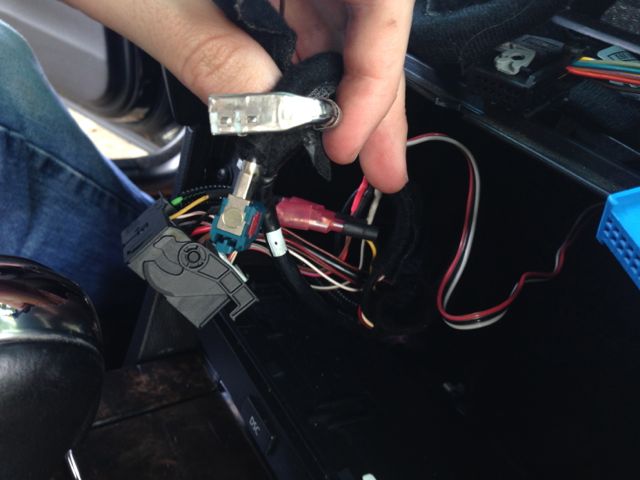
WOOHOO, my car already had a GPS antenna wired all the way up front.. that's the green'ish fakra connector. I guess that comes with CCC prep?
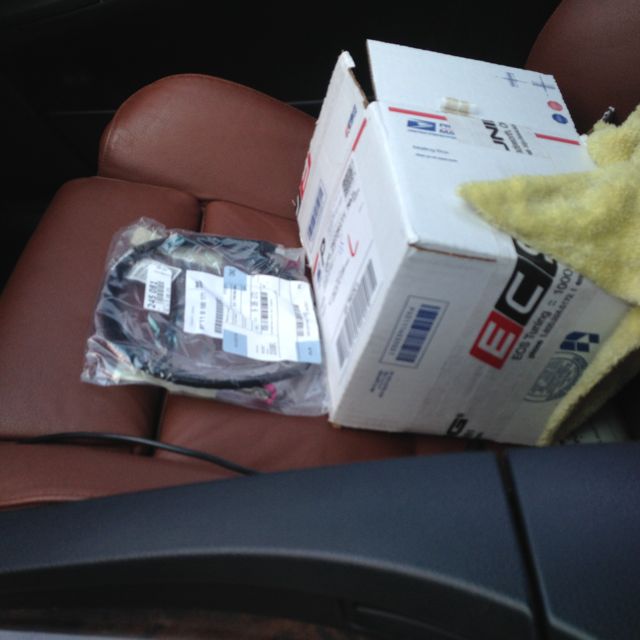
Random
Going back together.
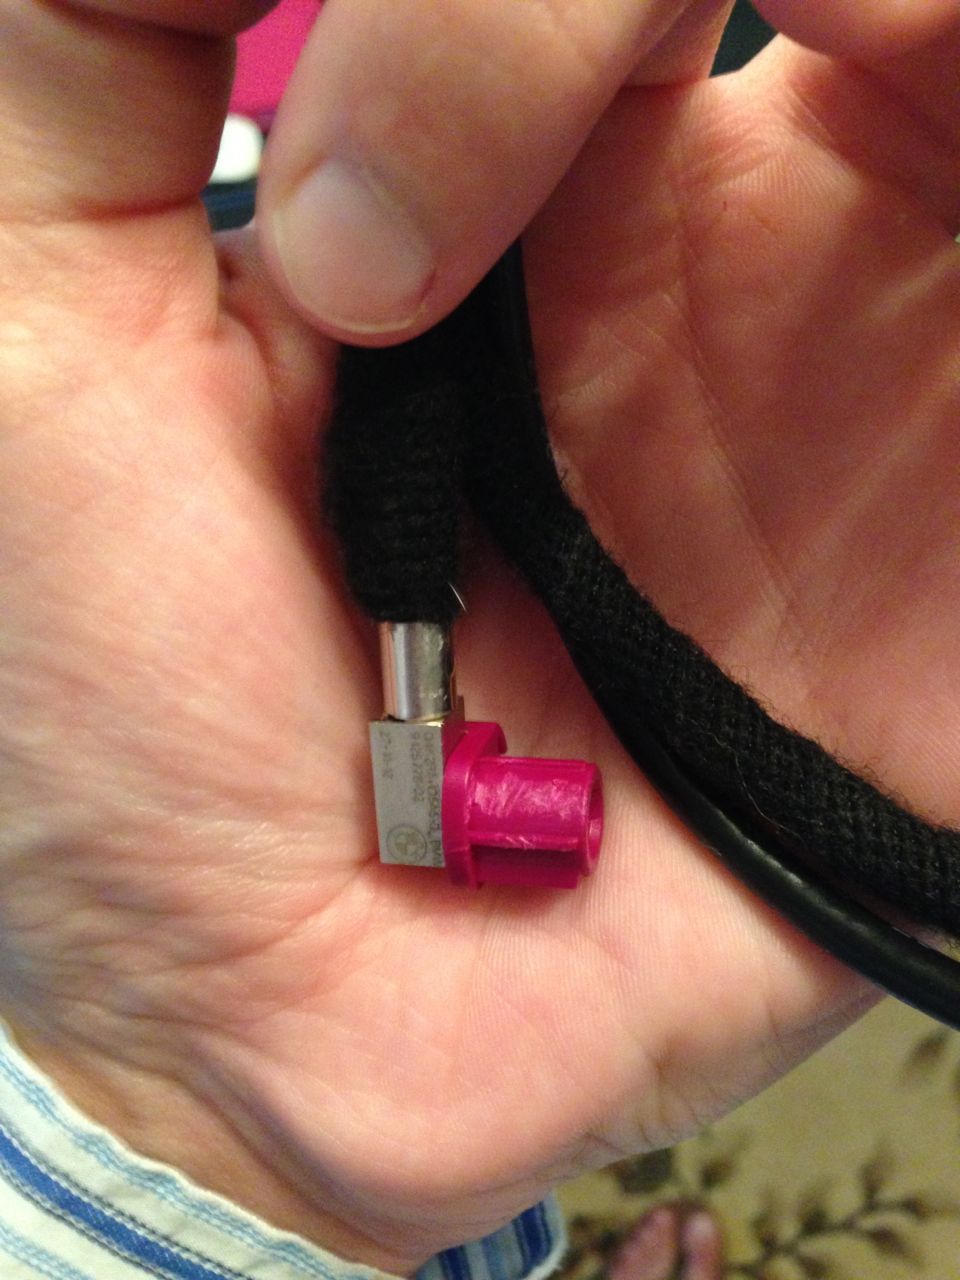
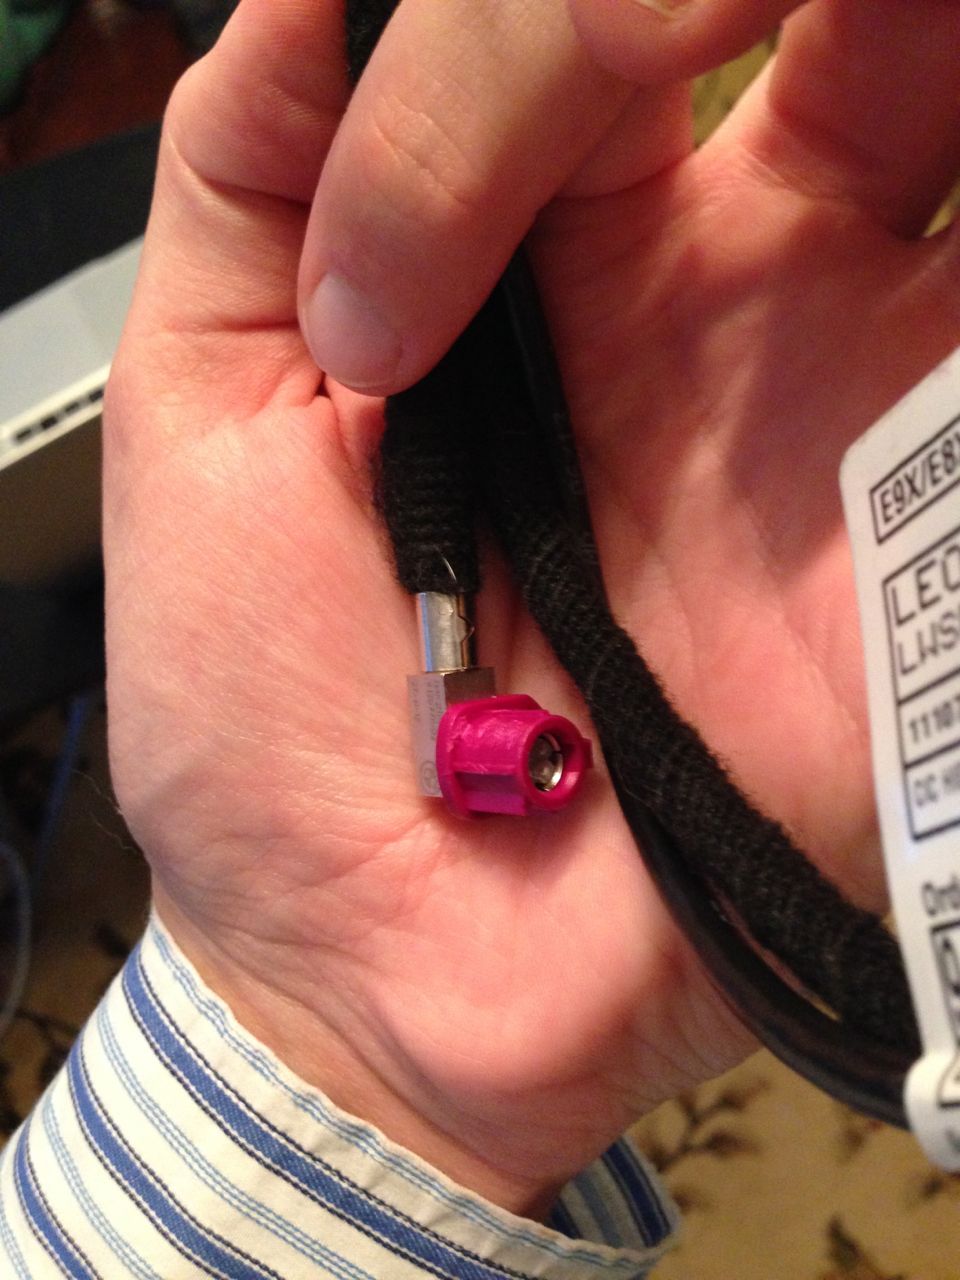
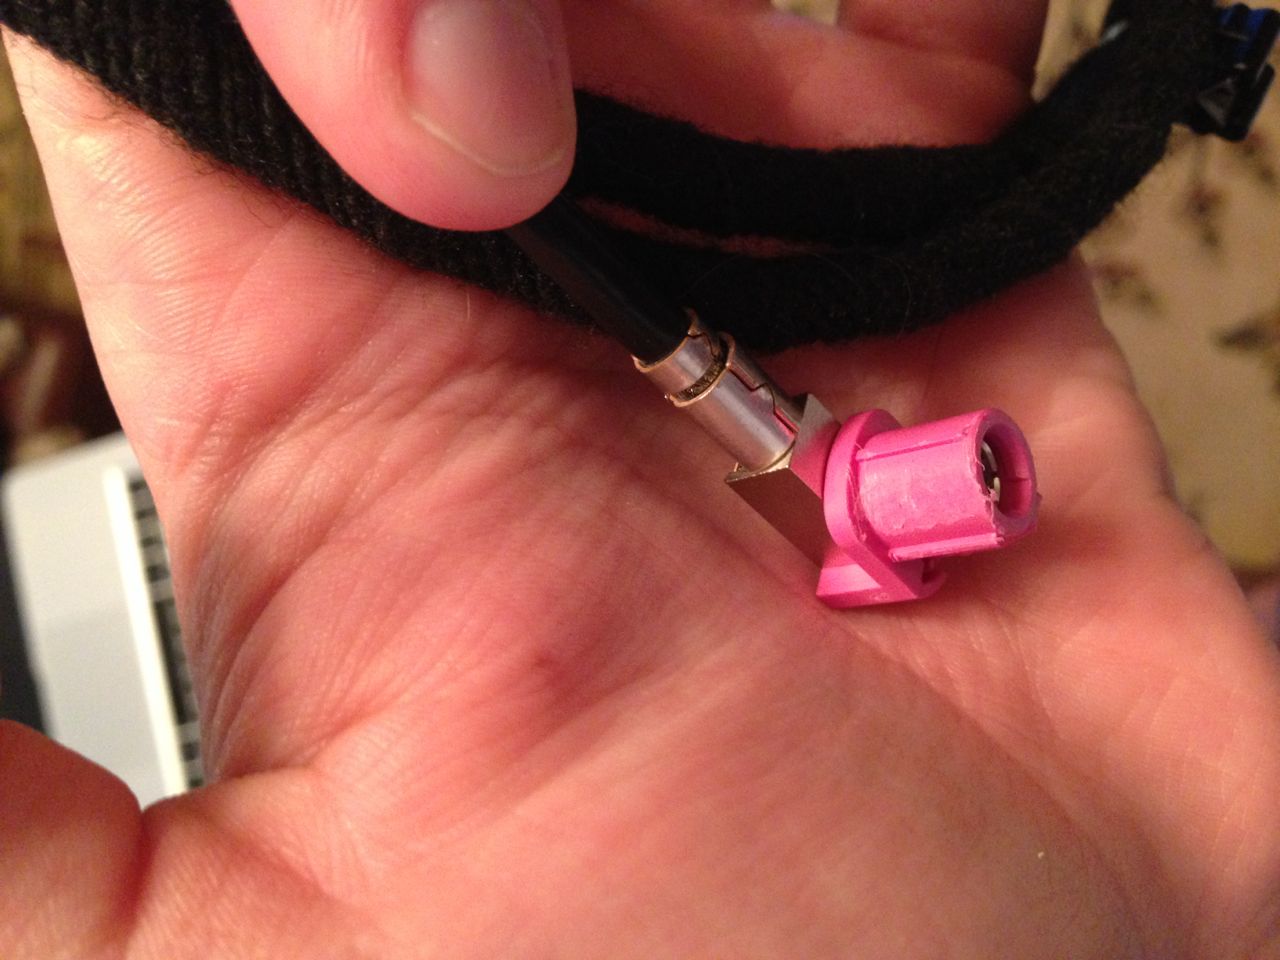
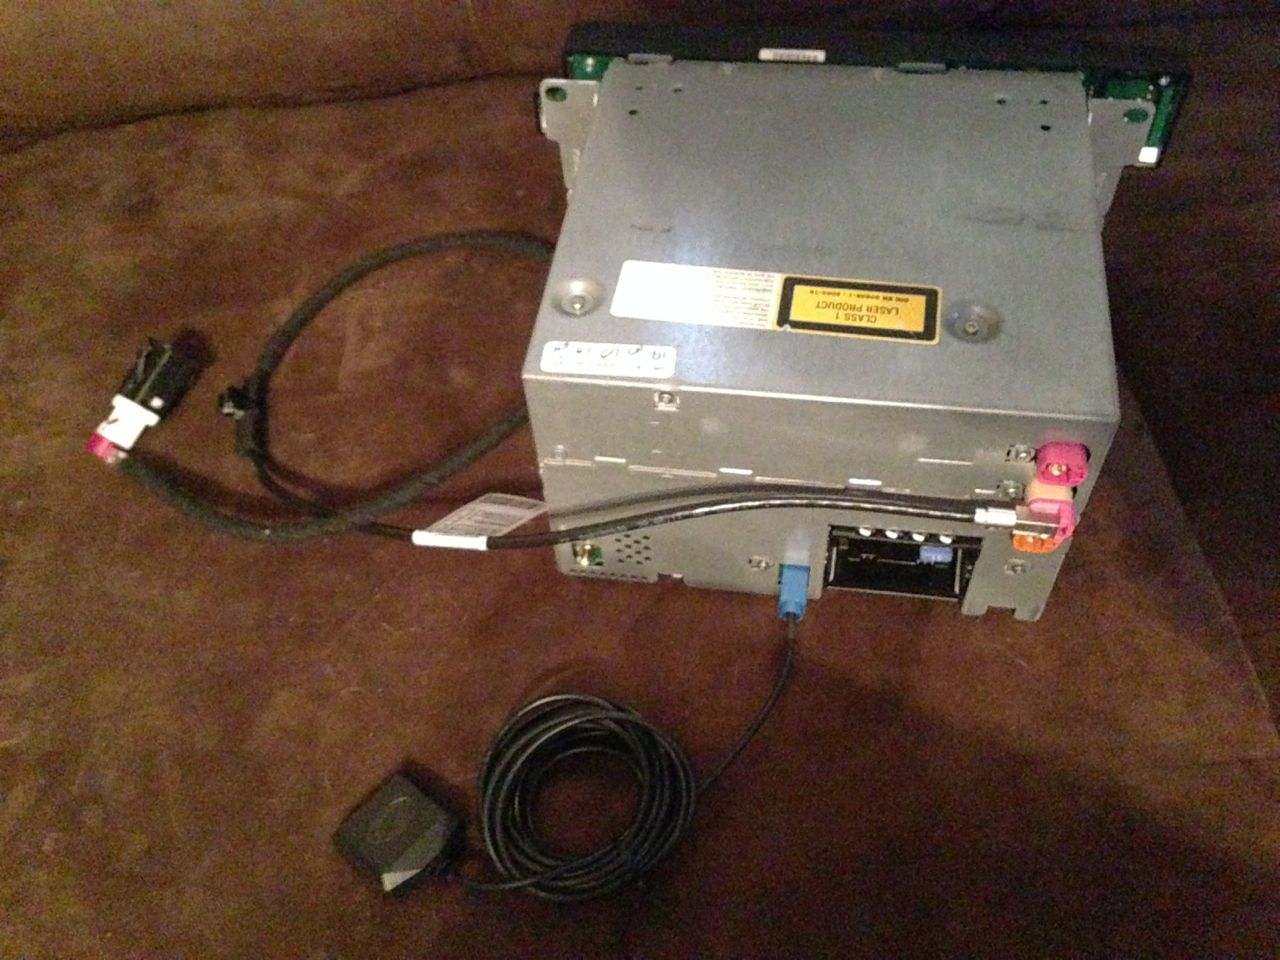
And here's the last part I need.. cable to connect CIC to screen
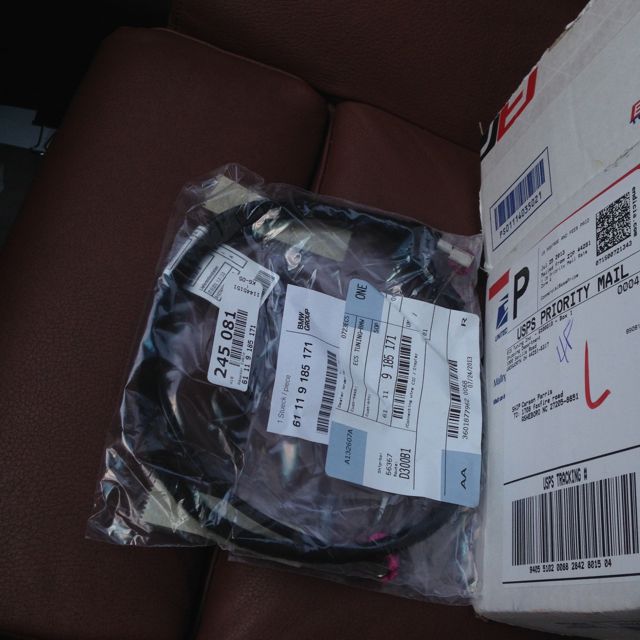
Another
Welp, that's it for now!
Sometime this week I may go ahead and hook it all up and see what happens..

Random

Going back together.

And here's the last part I need.. cable to connect CIC to screen

Another

Welp, that's it for now!
Sometime this week I may go ahead and hook it all up and see what happens..
07-29-2013, 06:18 PM
#5
New Members
Thread Starter
Join Date: Sep 2012
Location: Greensboro, NC (USA)
Posts: 246
Likes: 0
Received 0 Likes
on
0 Posts
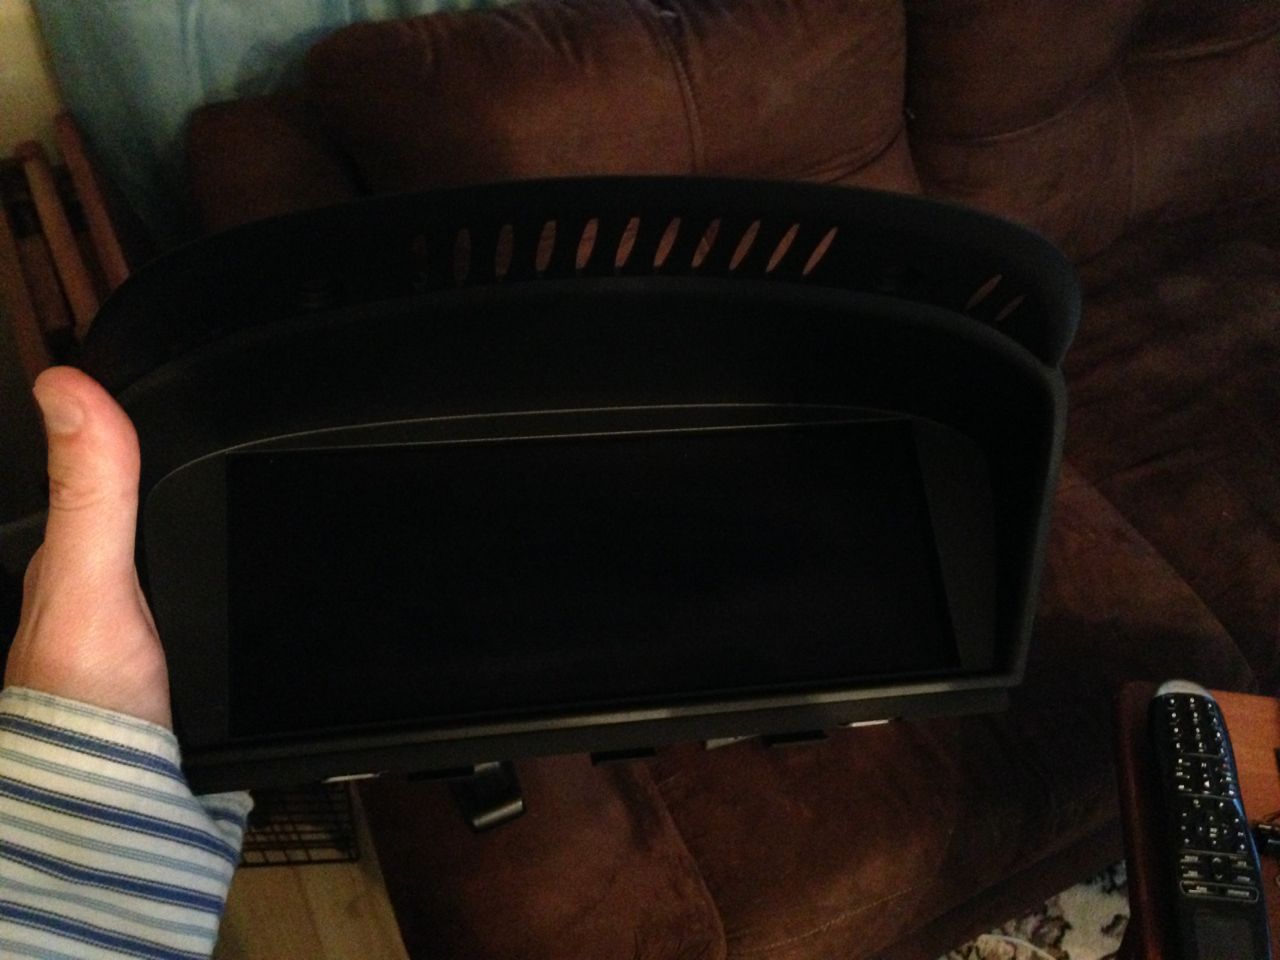
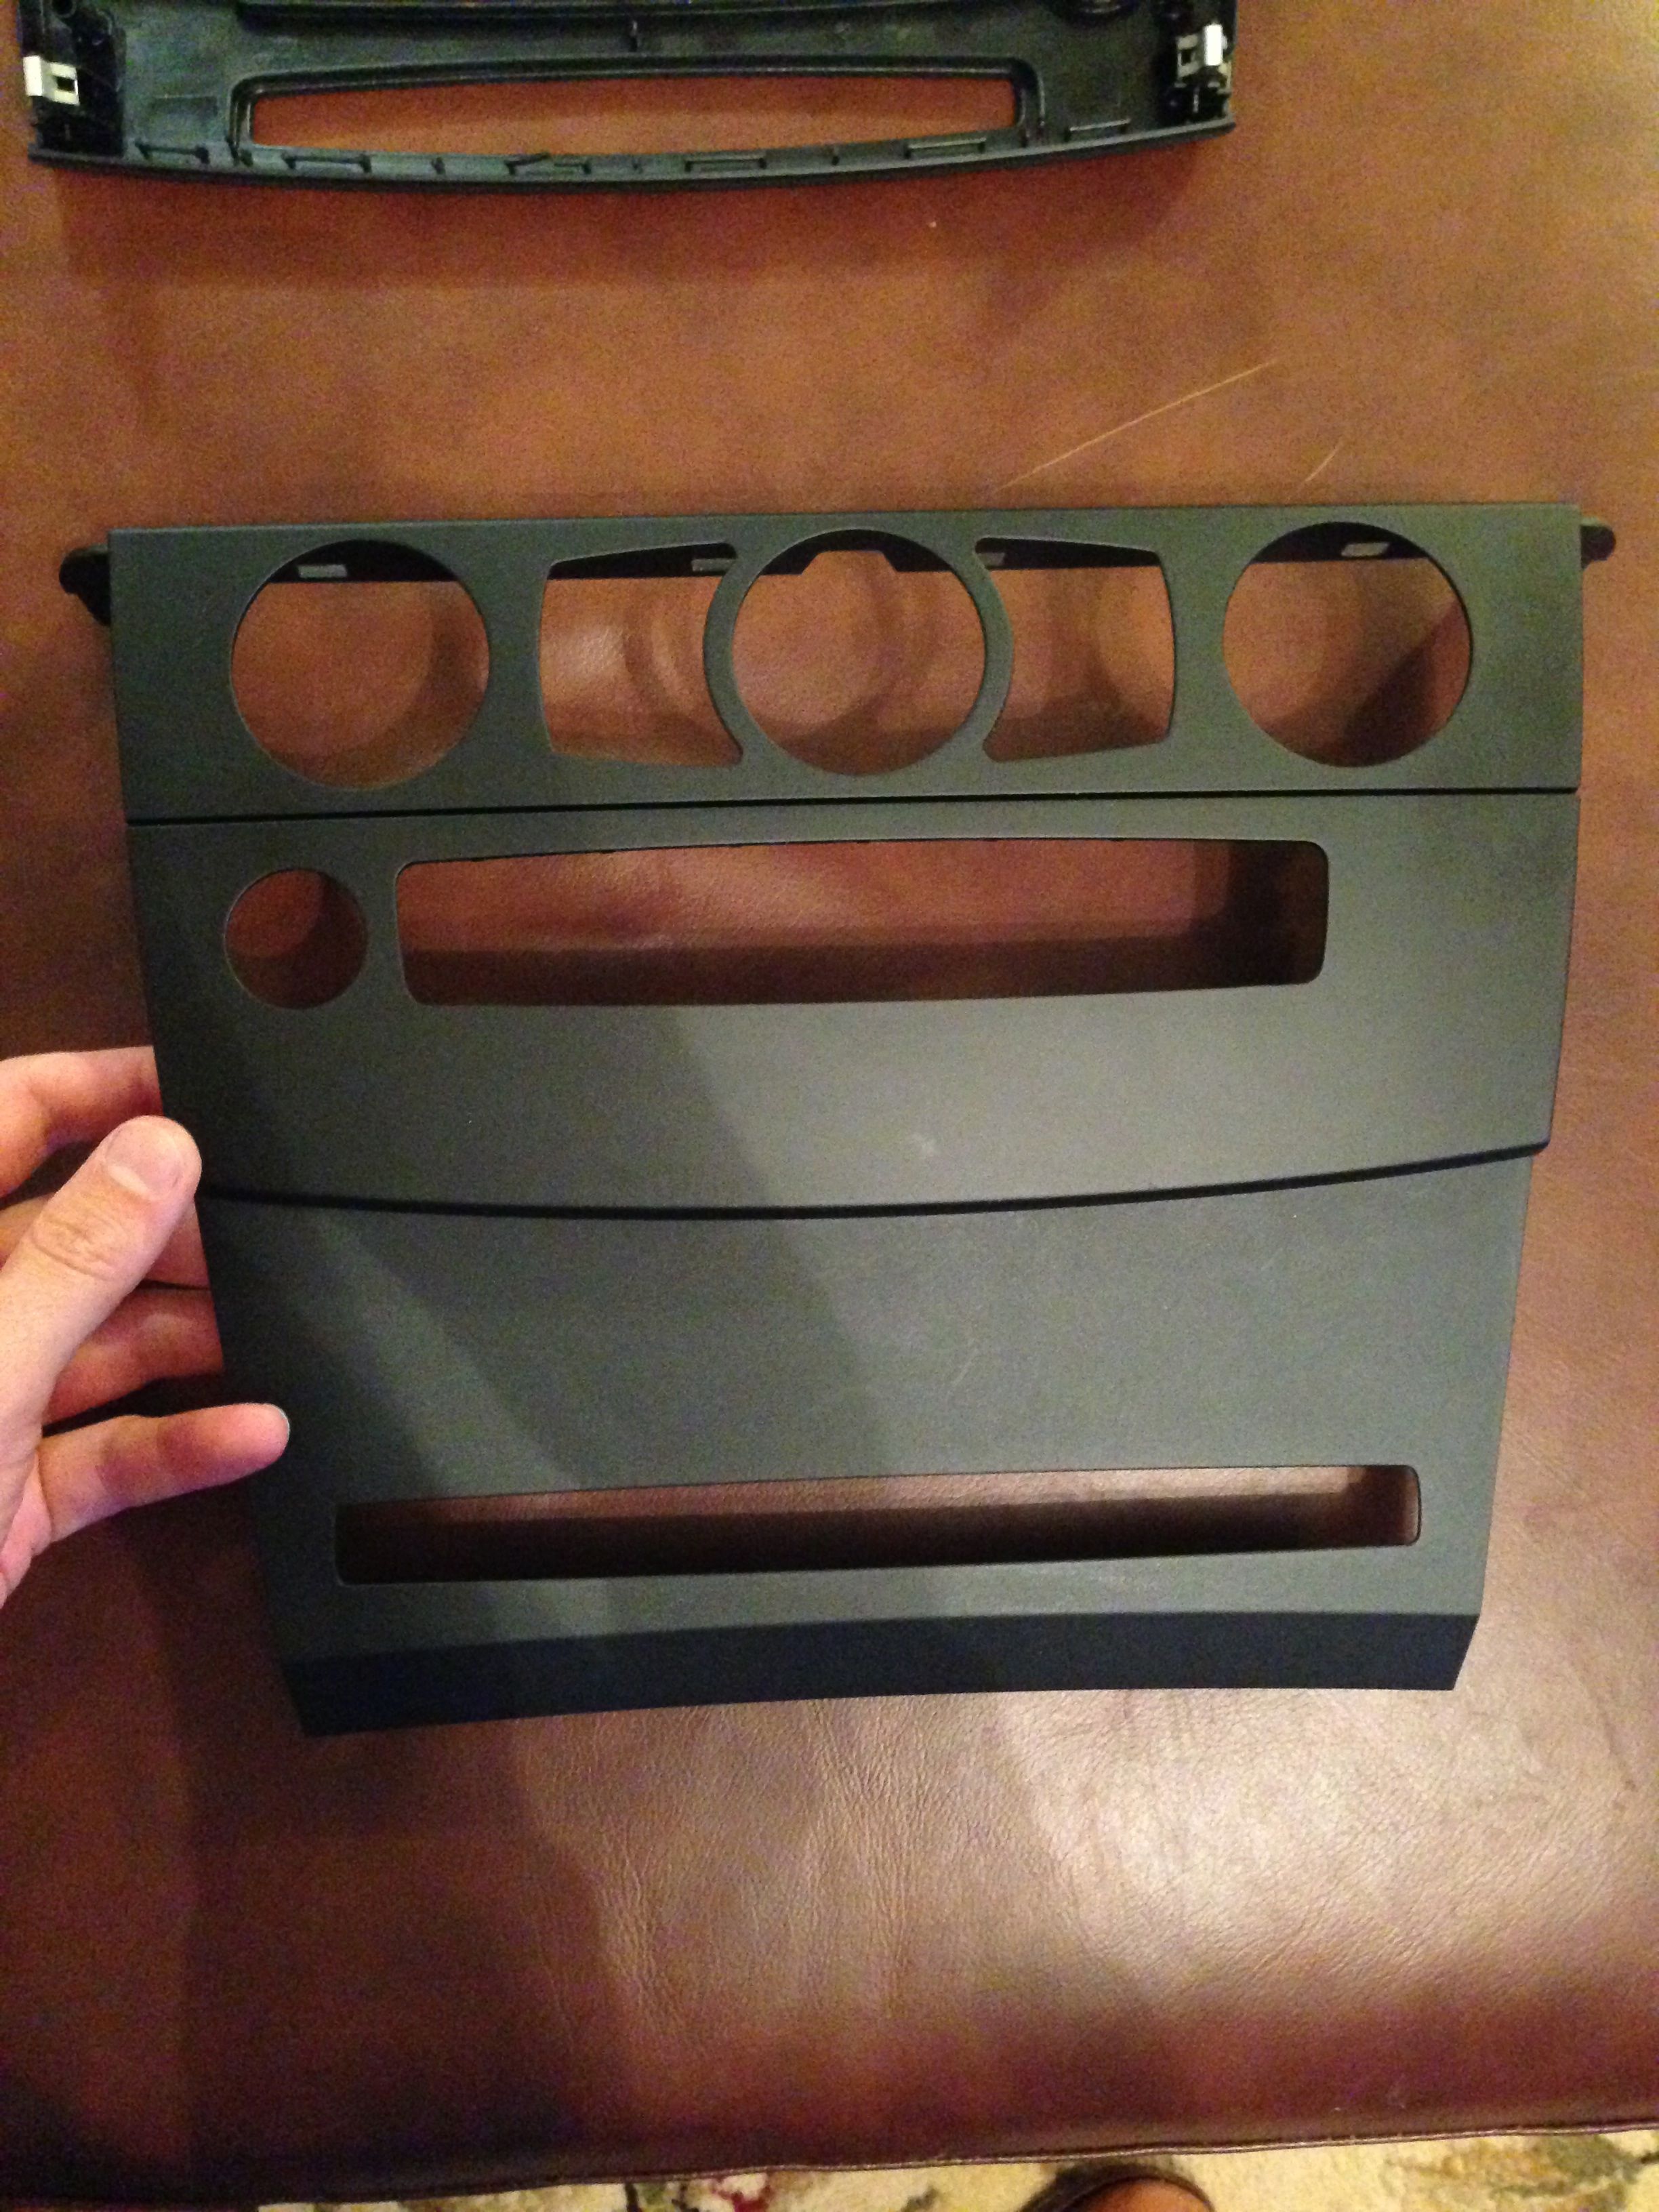
If you have the MASK version in your car currently, the little cubby thing under the CD slot has got to go..
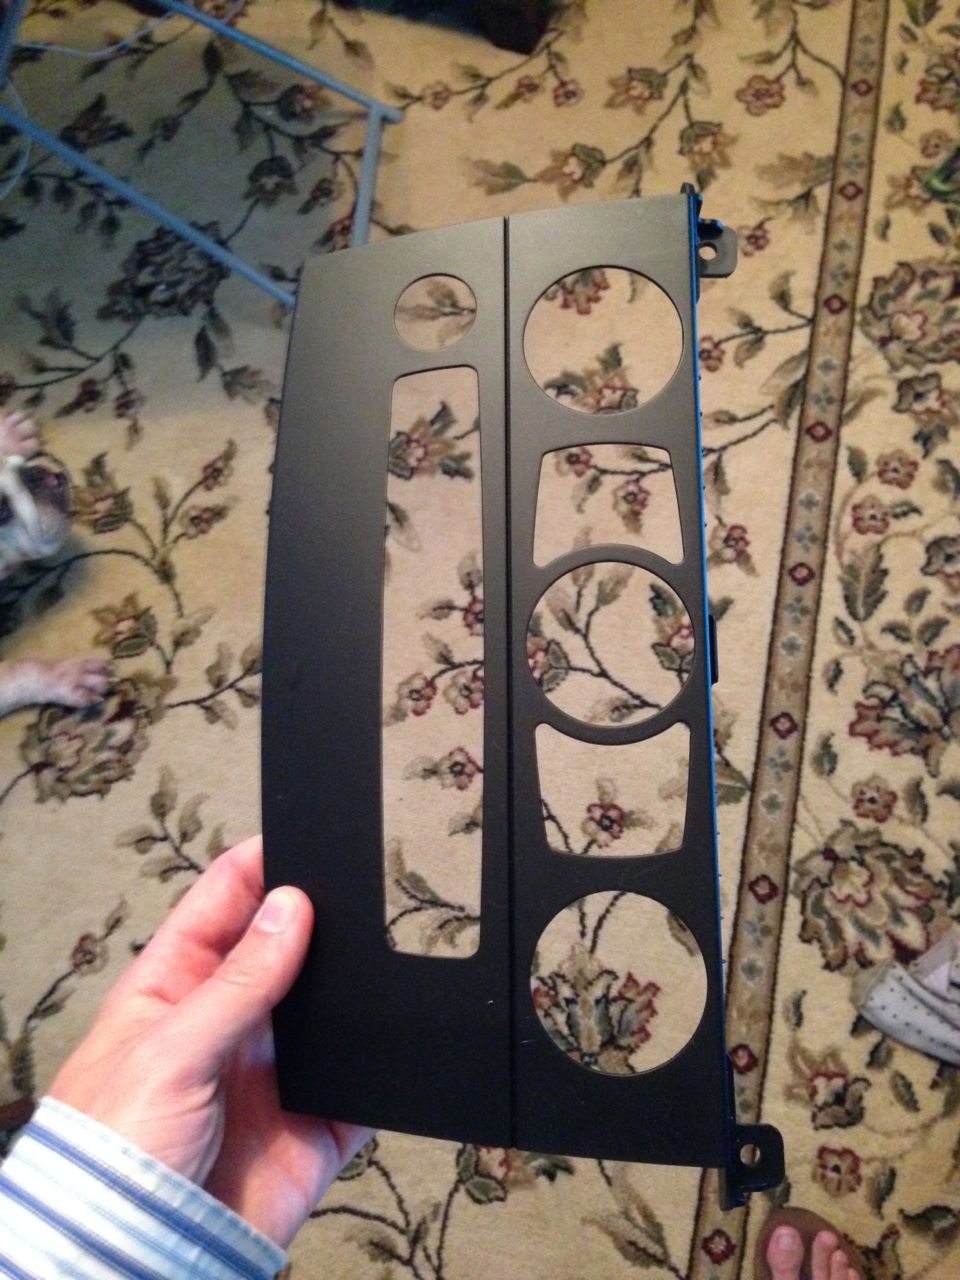
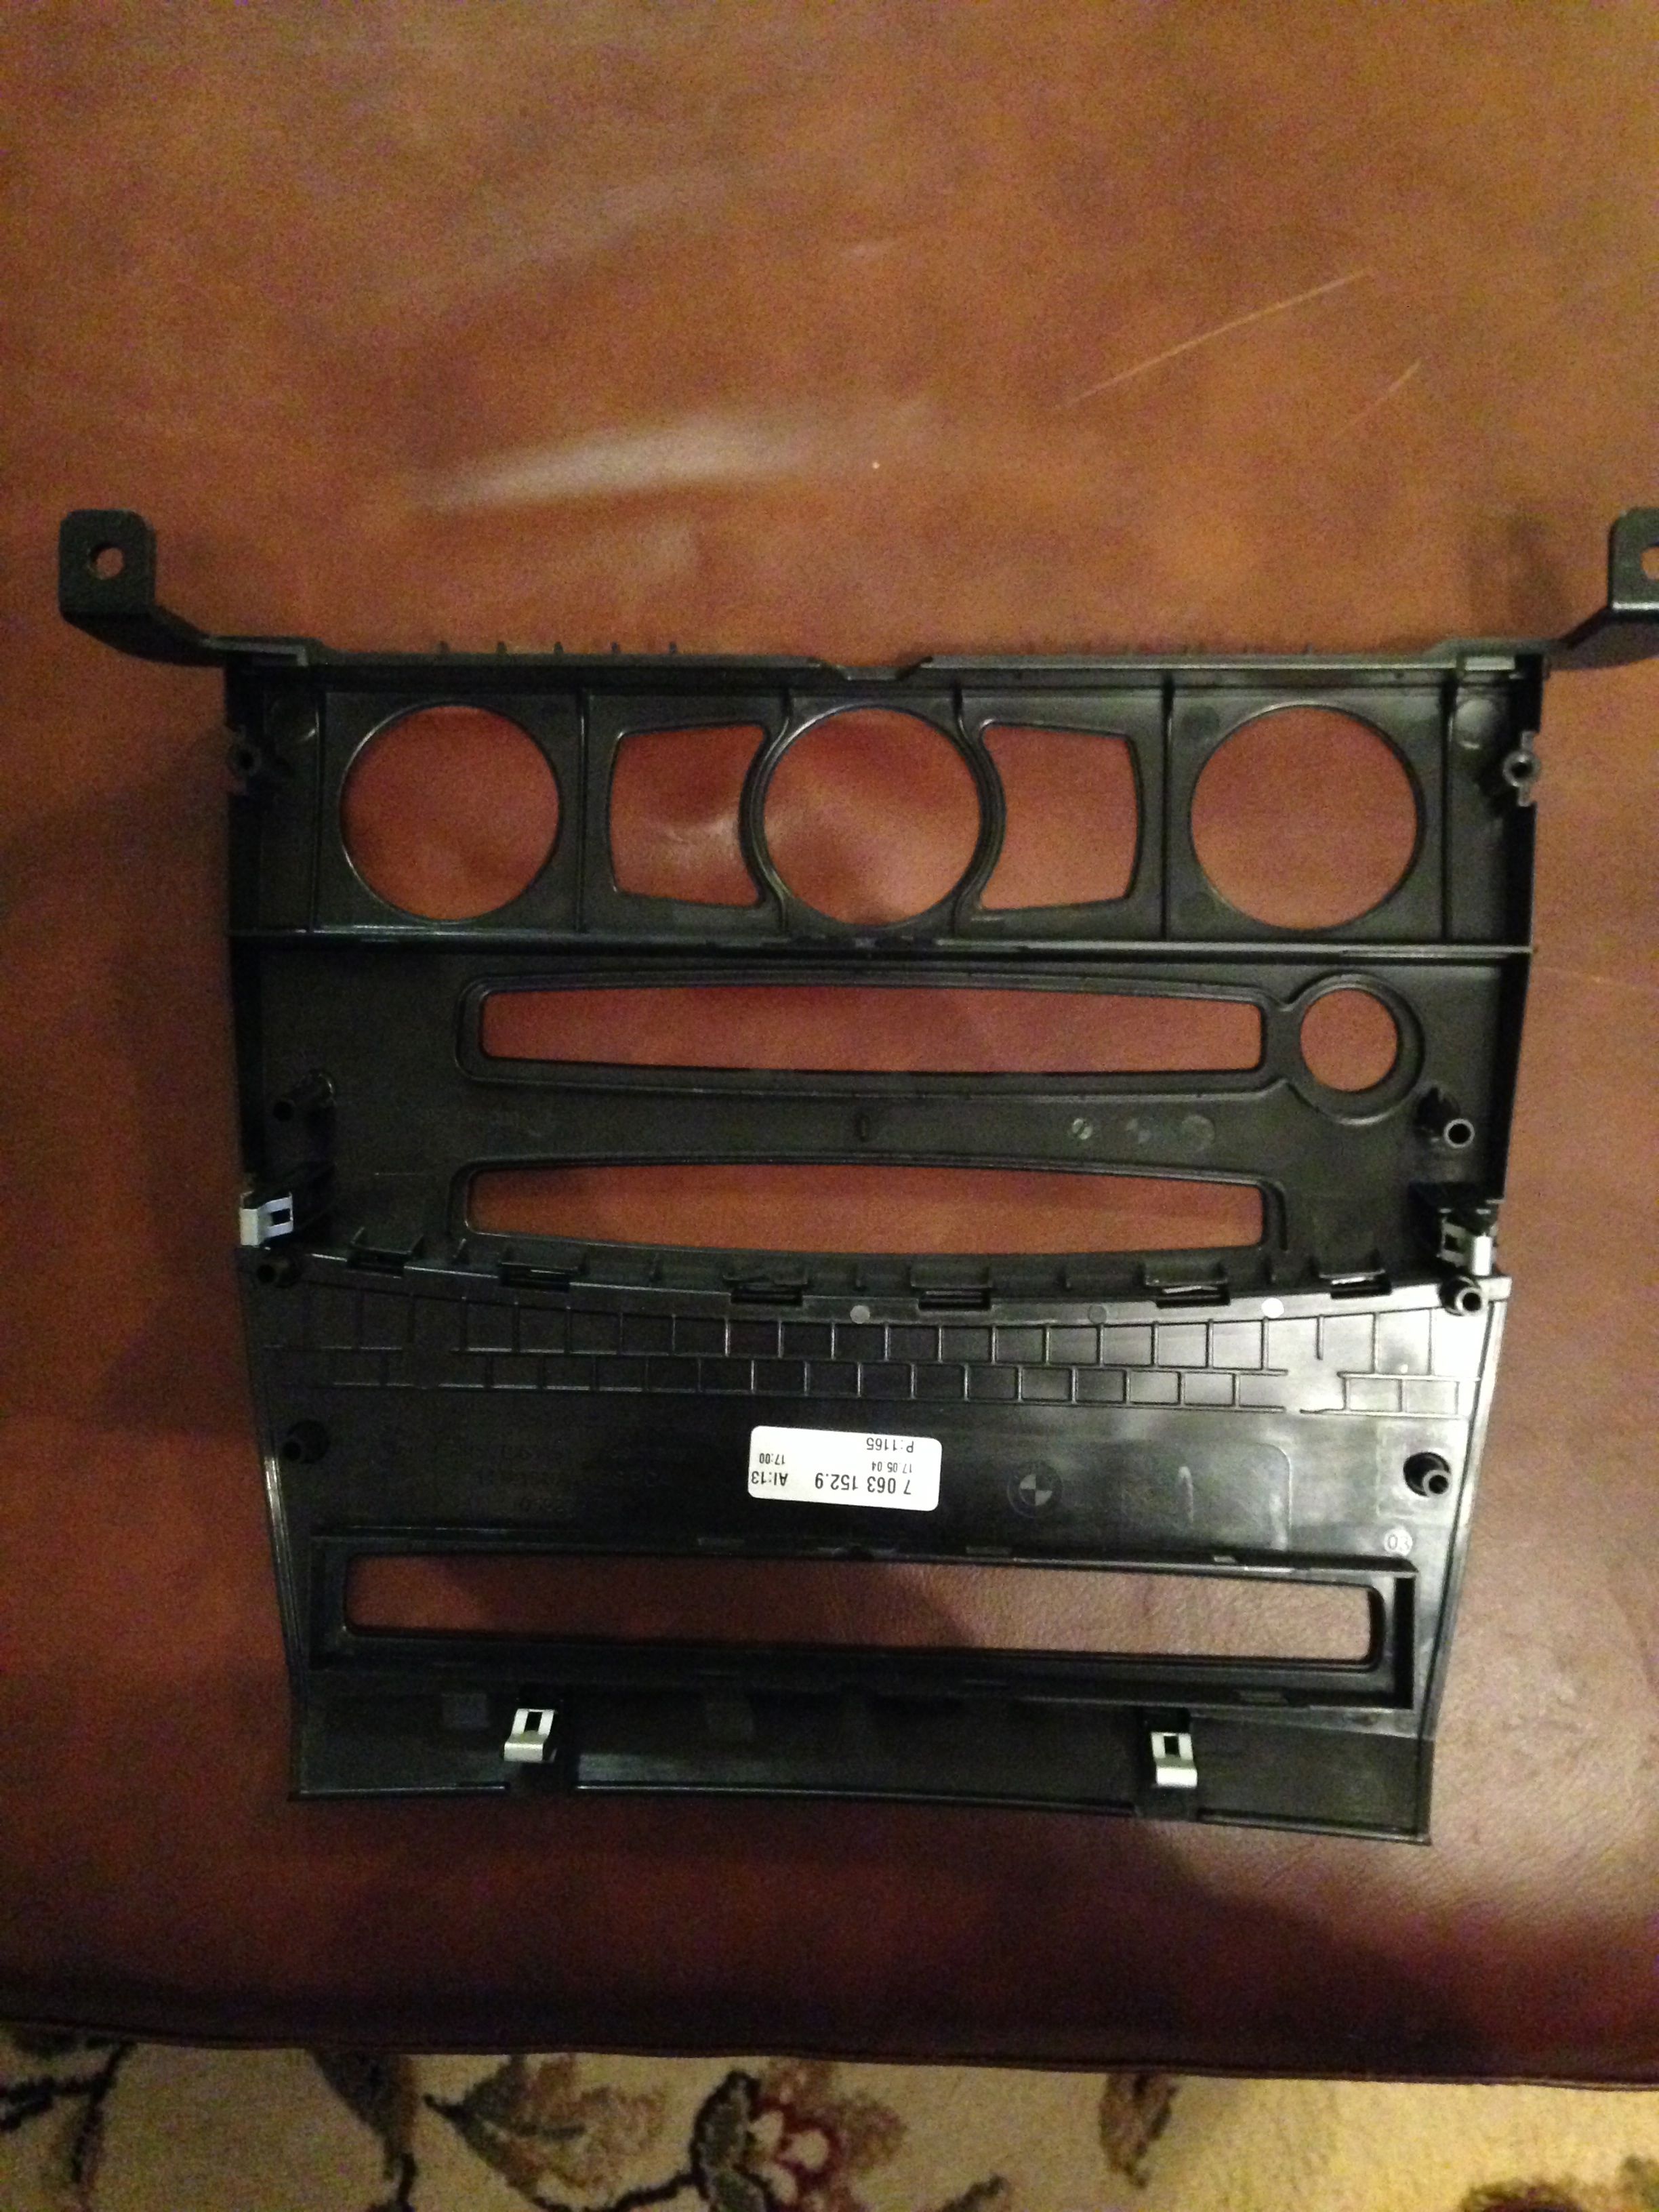
If you look closely on the CIC trim piece I posted ealrier, you'll see it is only the top half. The bottom half is a separate piece that you'll need.
I happened to have a CCC trim piece from my previous expedition of a CCC retrofit, and we can use the bottom half of that here... pictures:
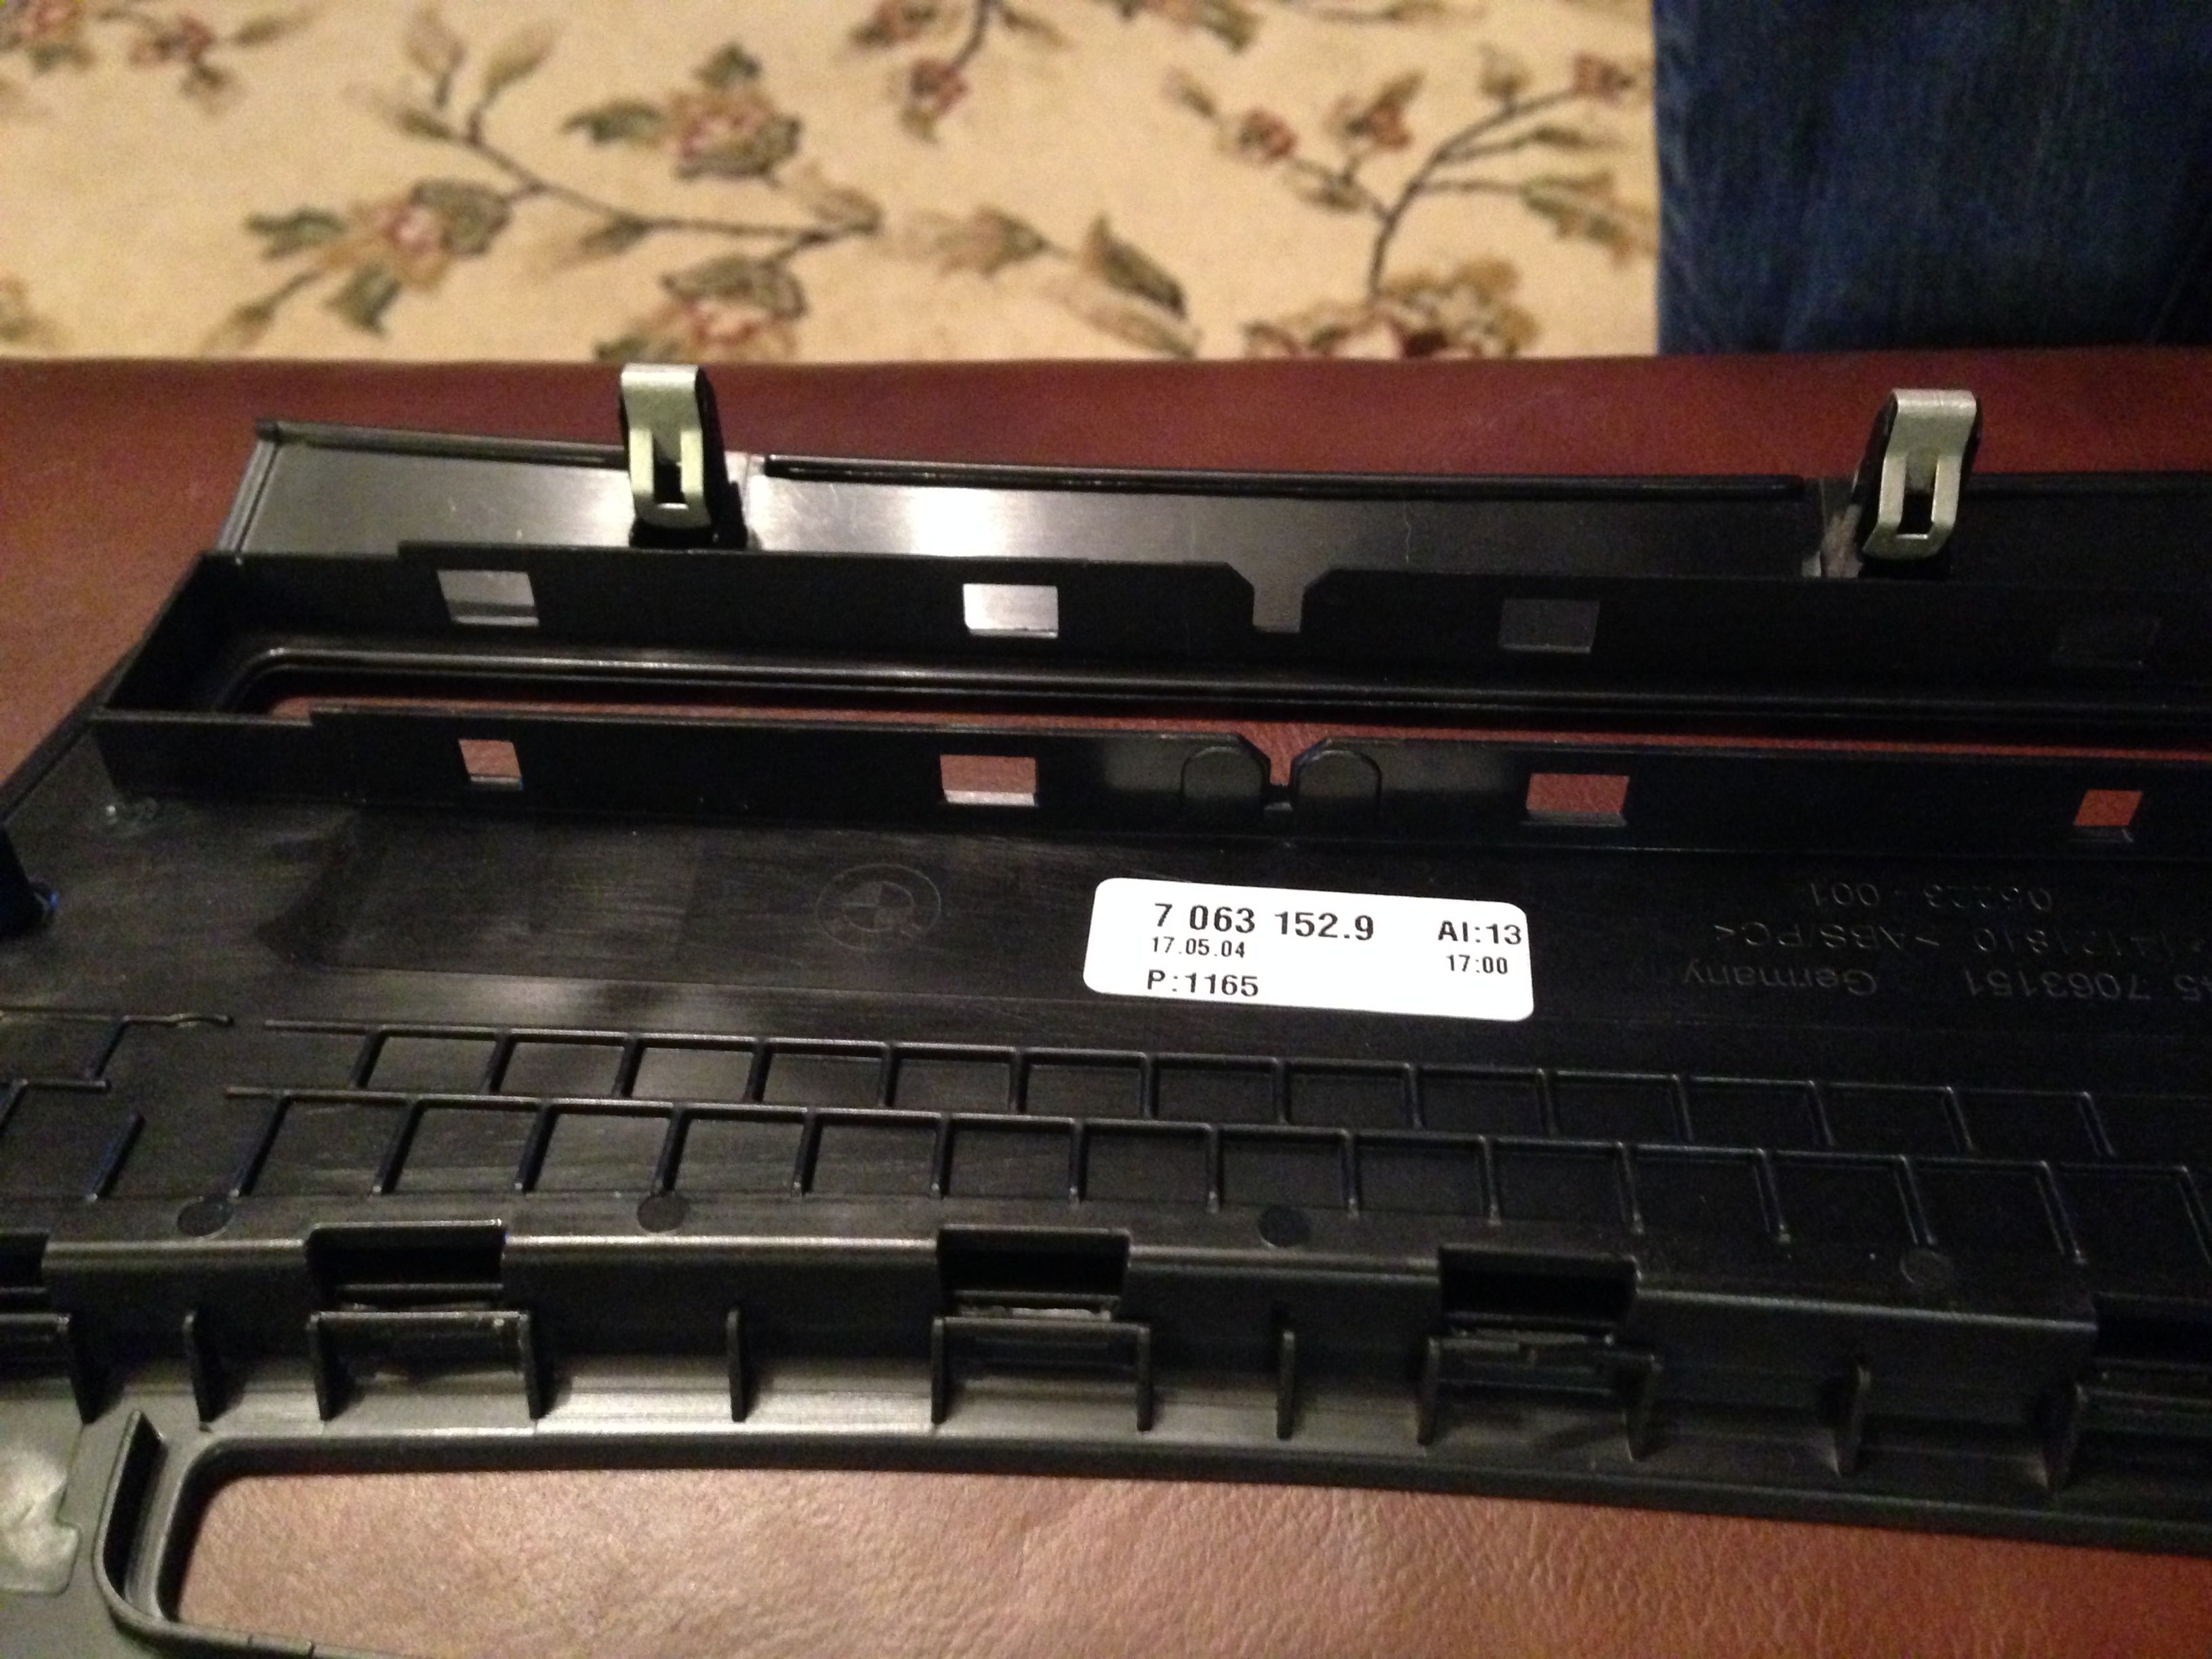
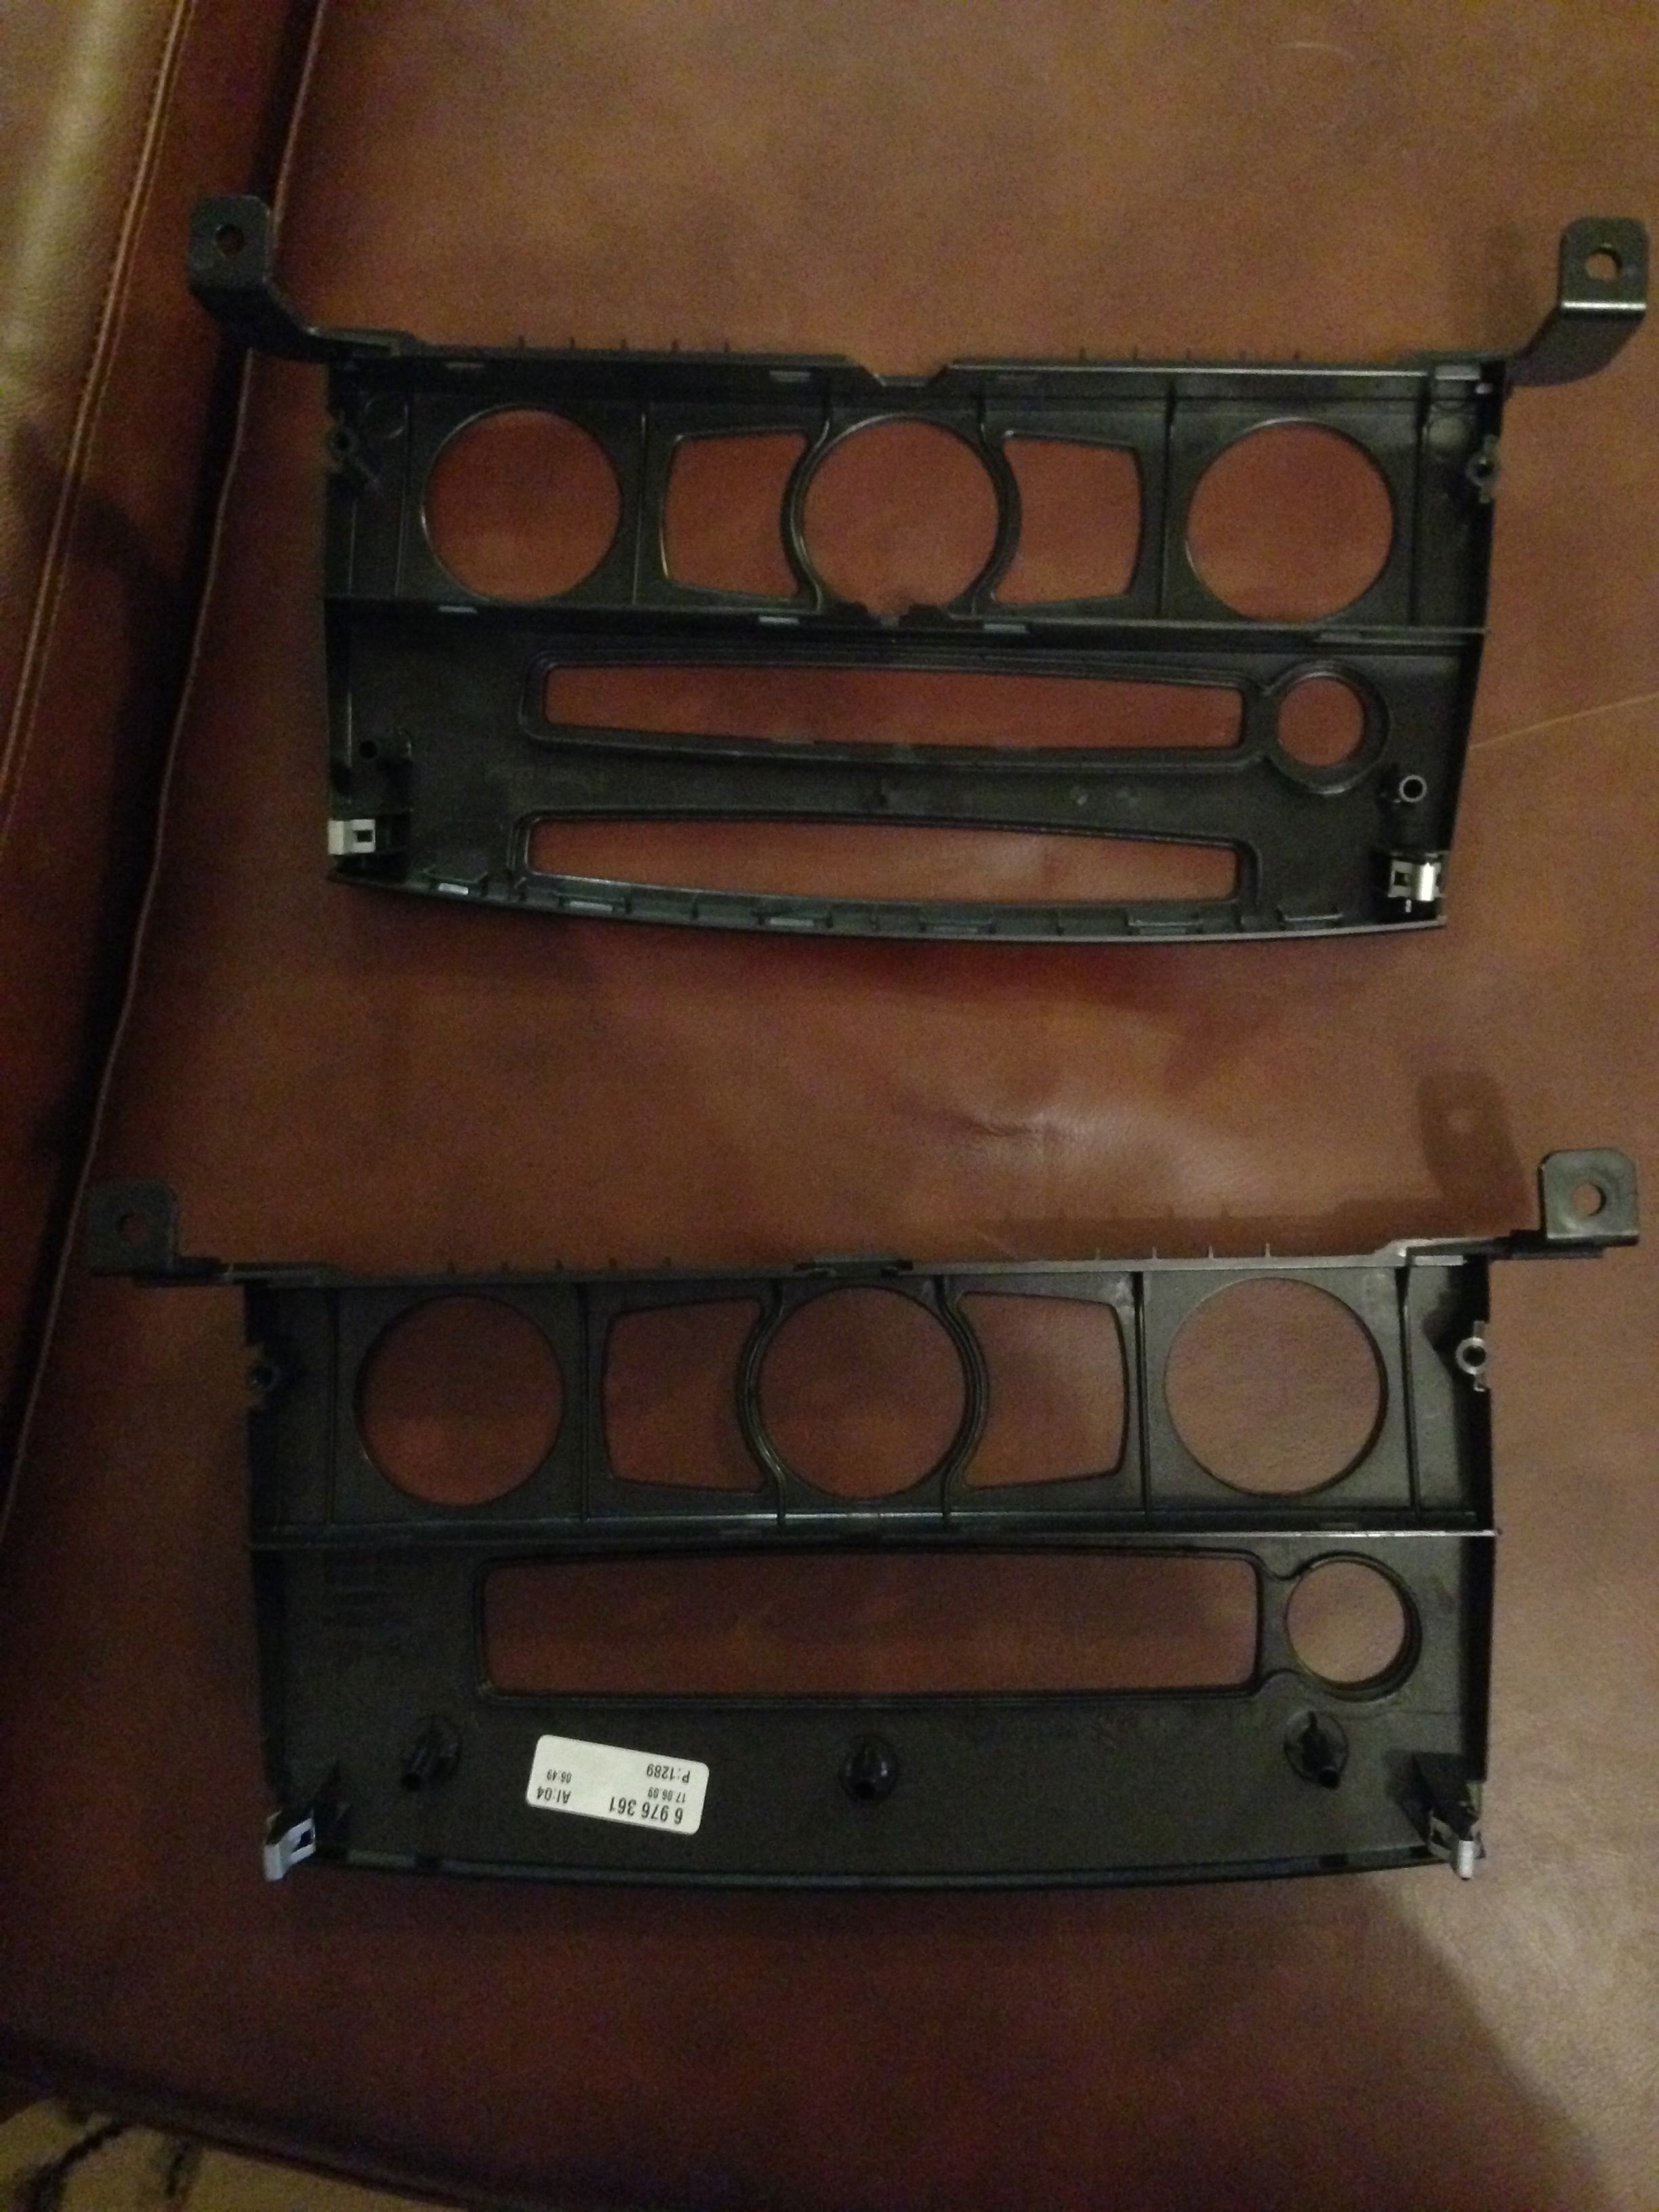
Here's the CCC trim in it's original form
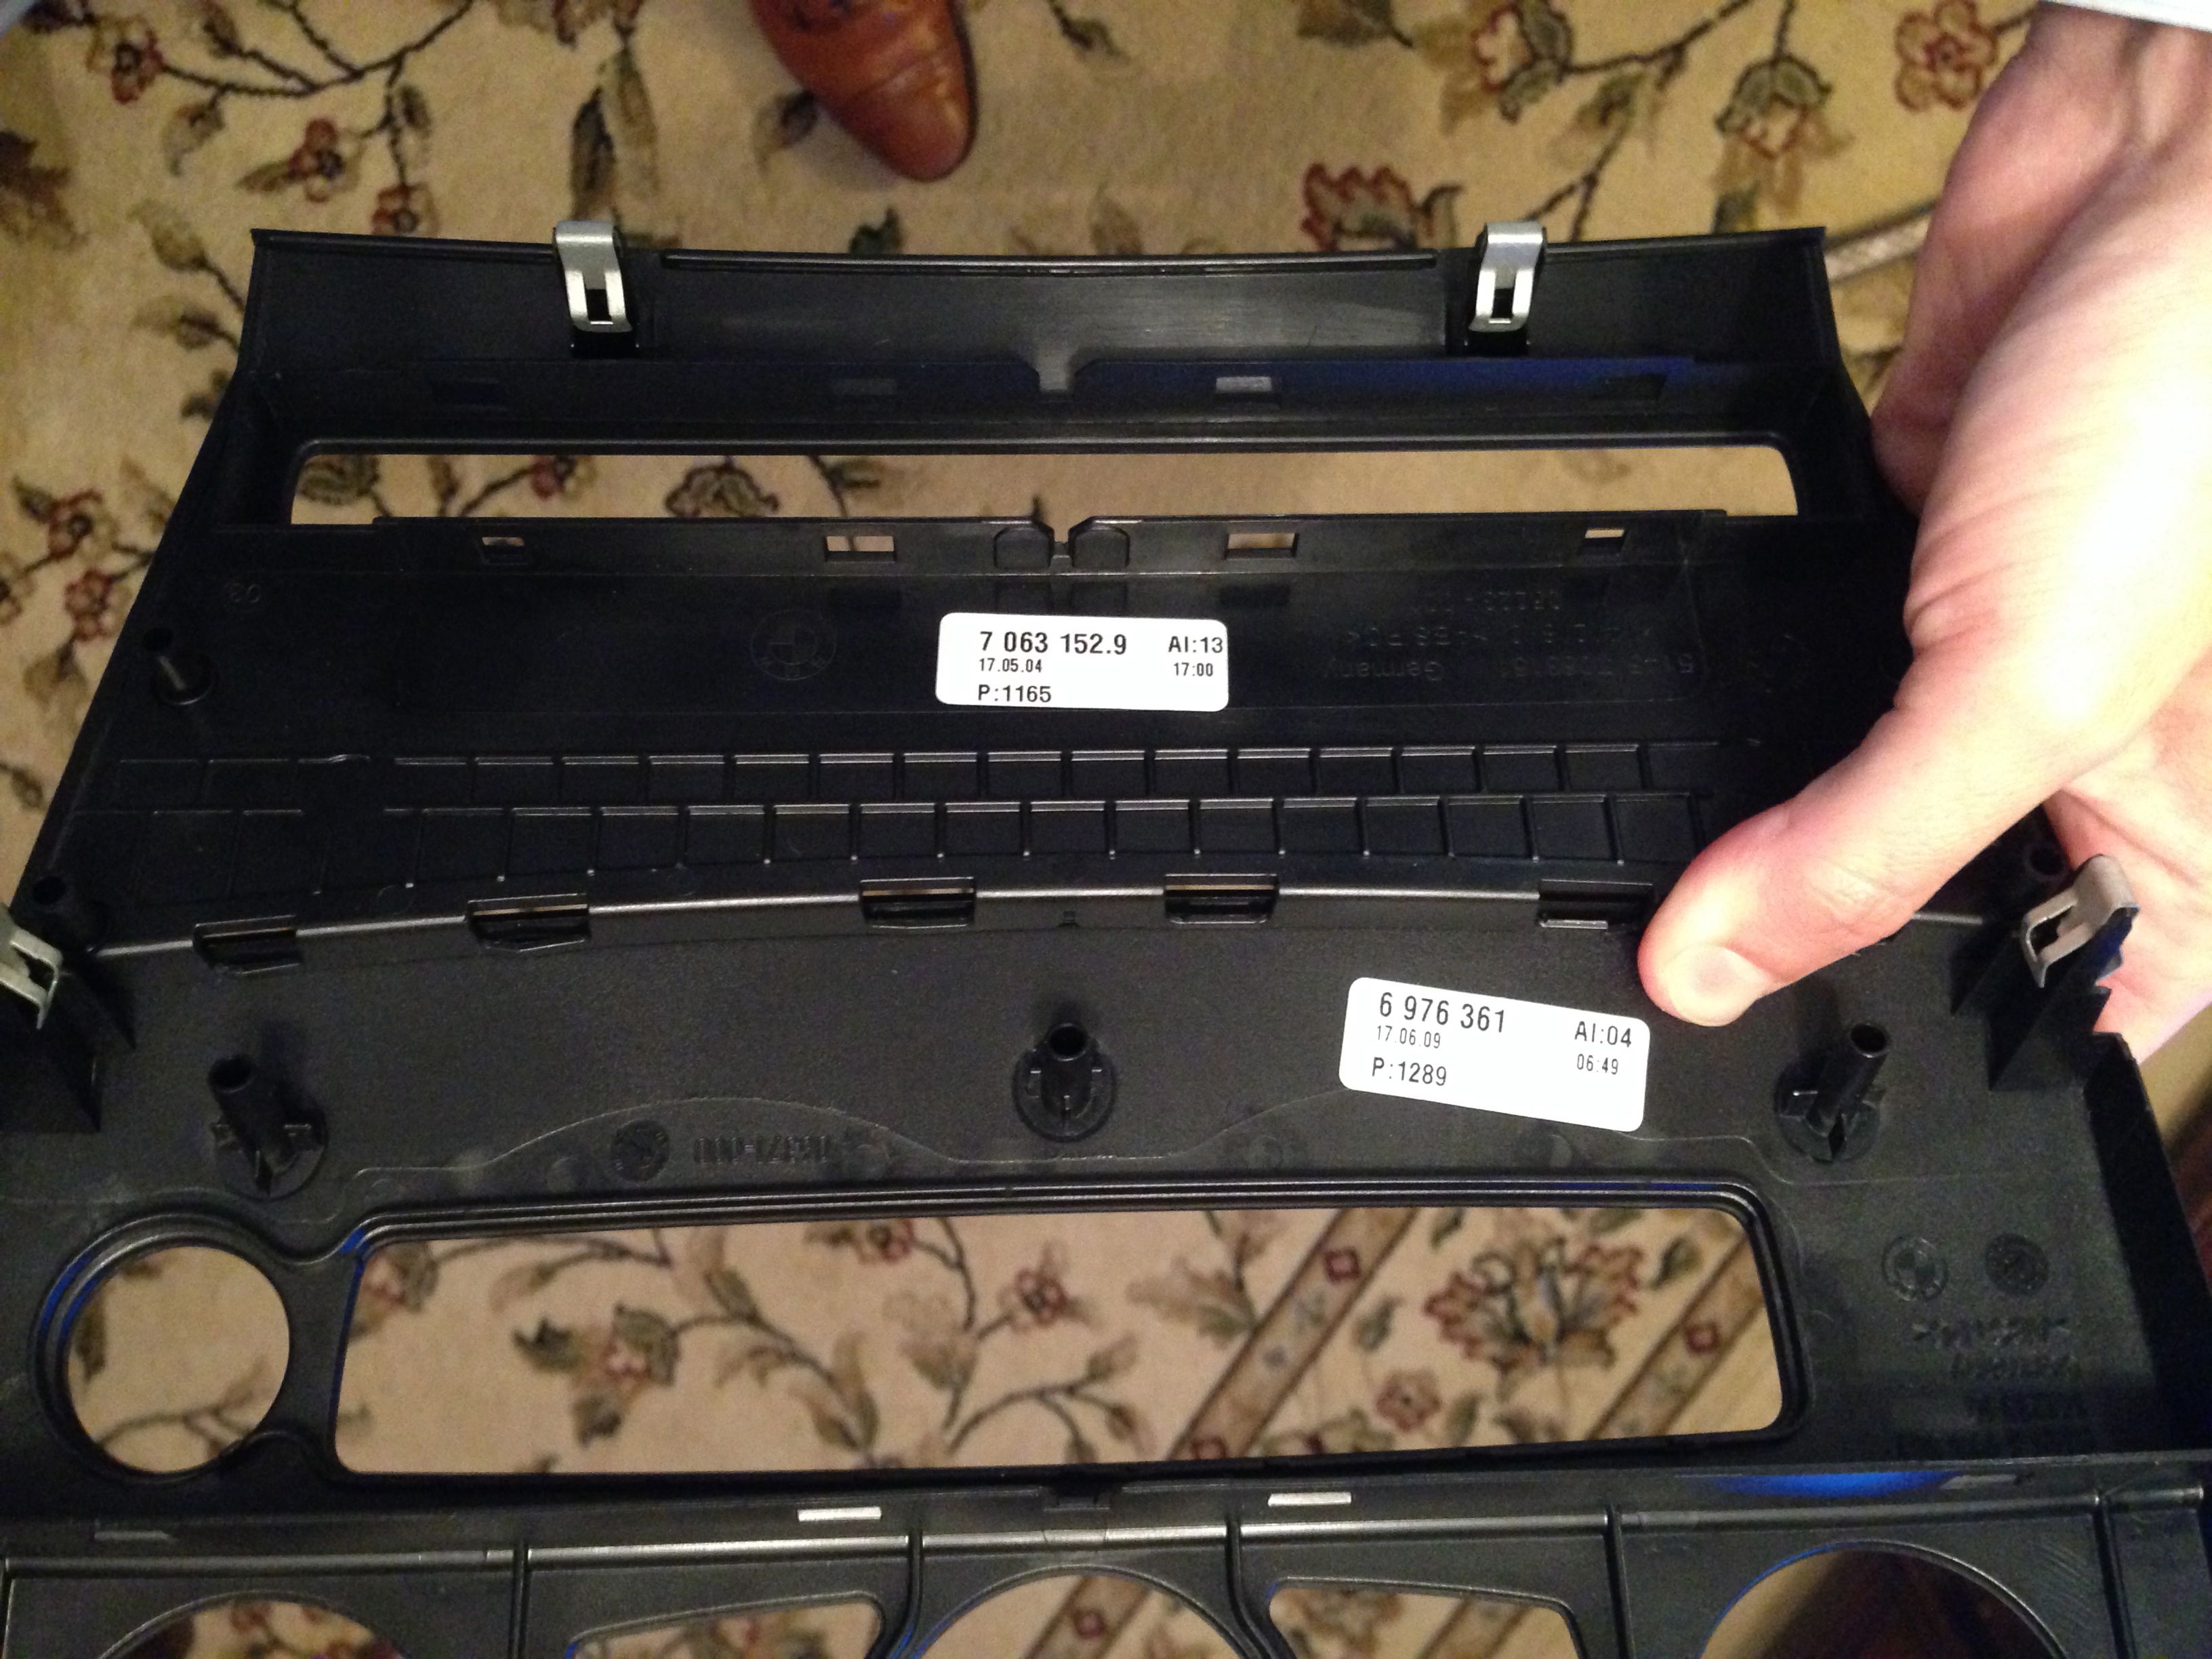
Here's where the two halves snap together.. luckily the new version doesn't use the snaps, so you can break these if you need to to get it apart.. I broke a few
Another picture.. One tab snapped on the first try
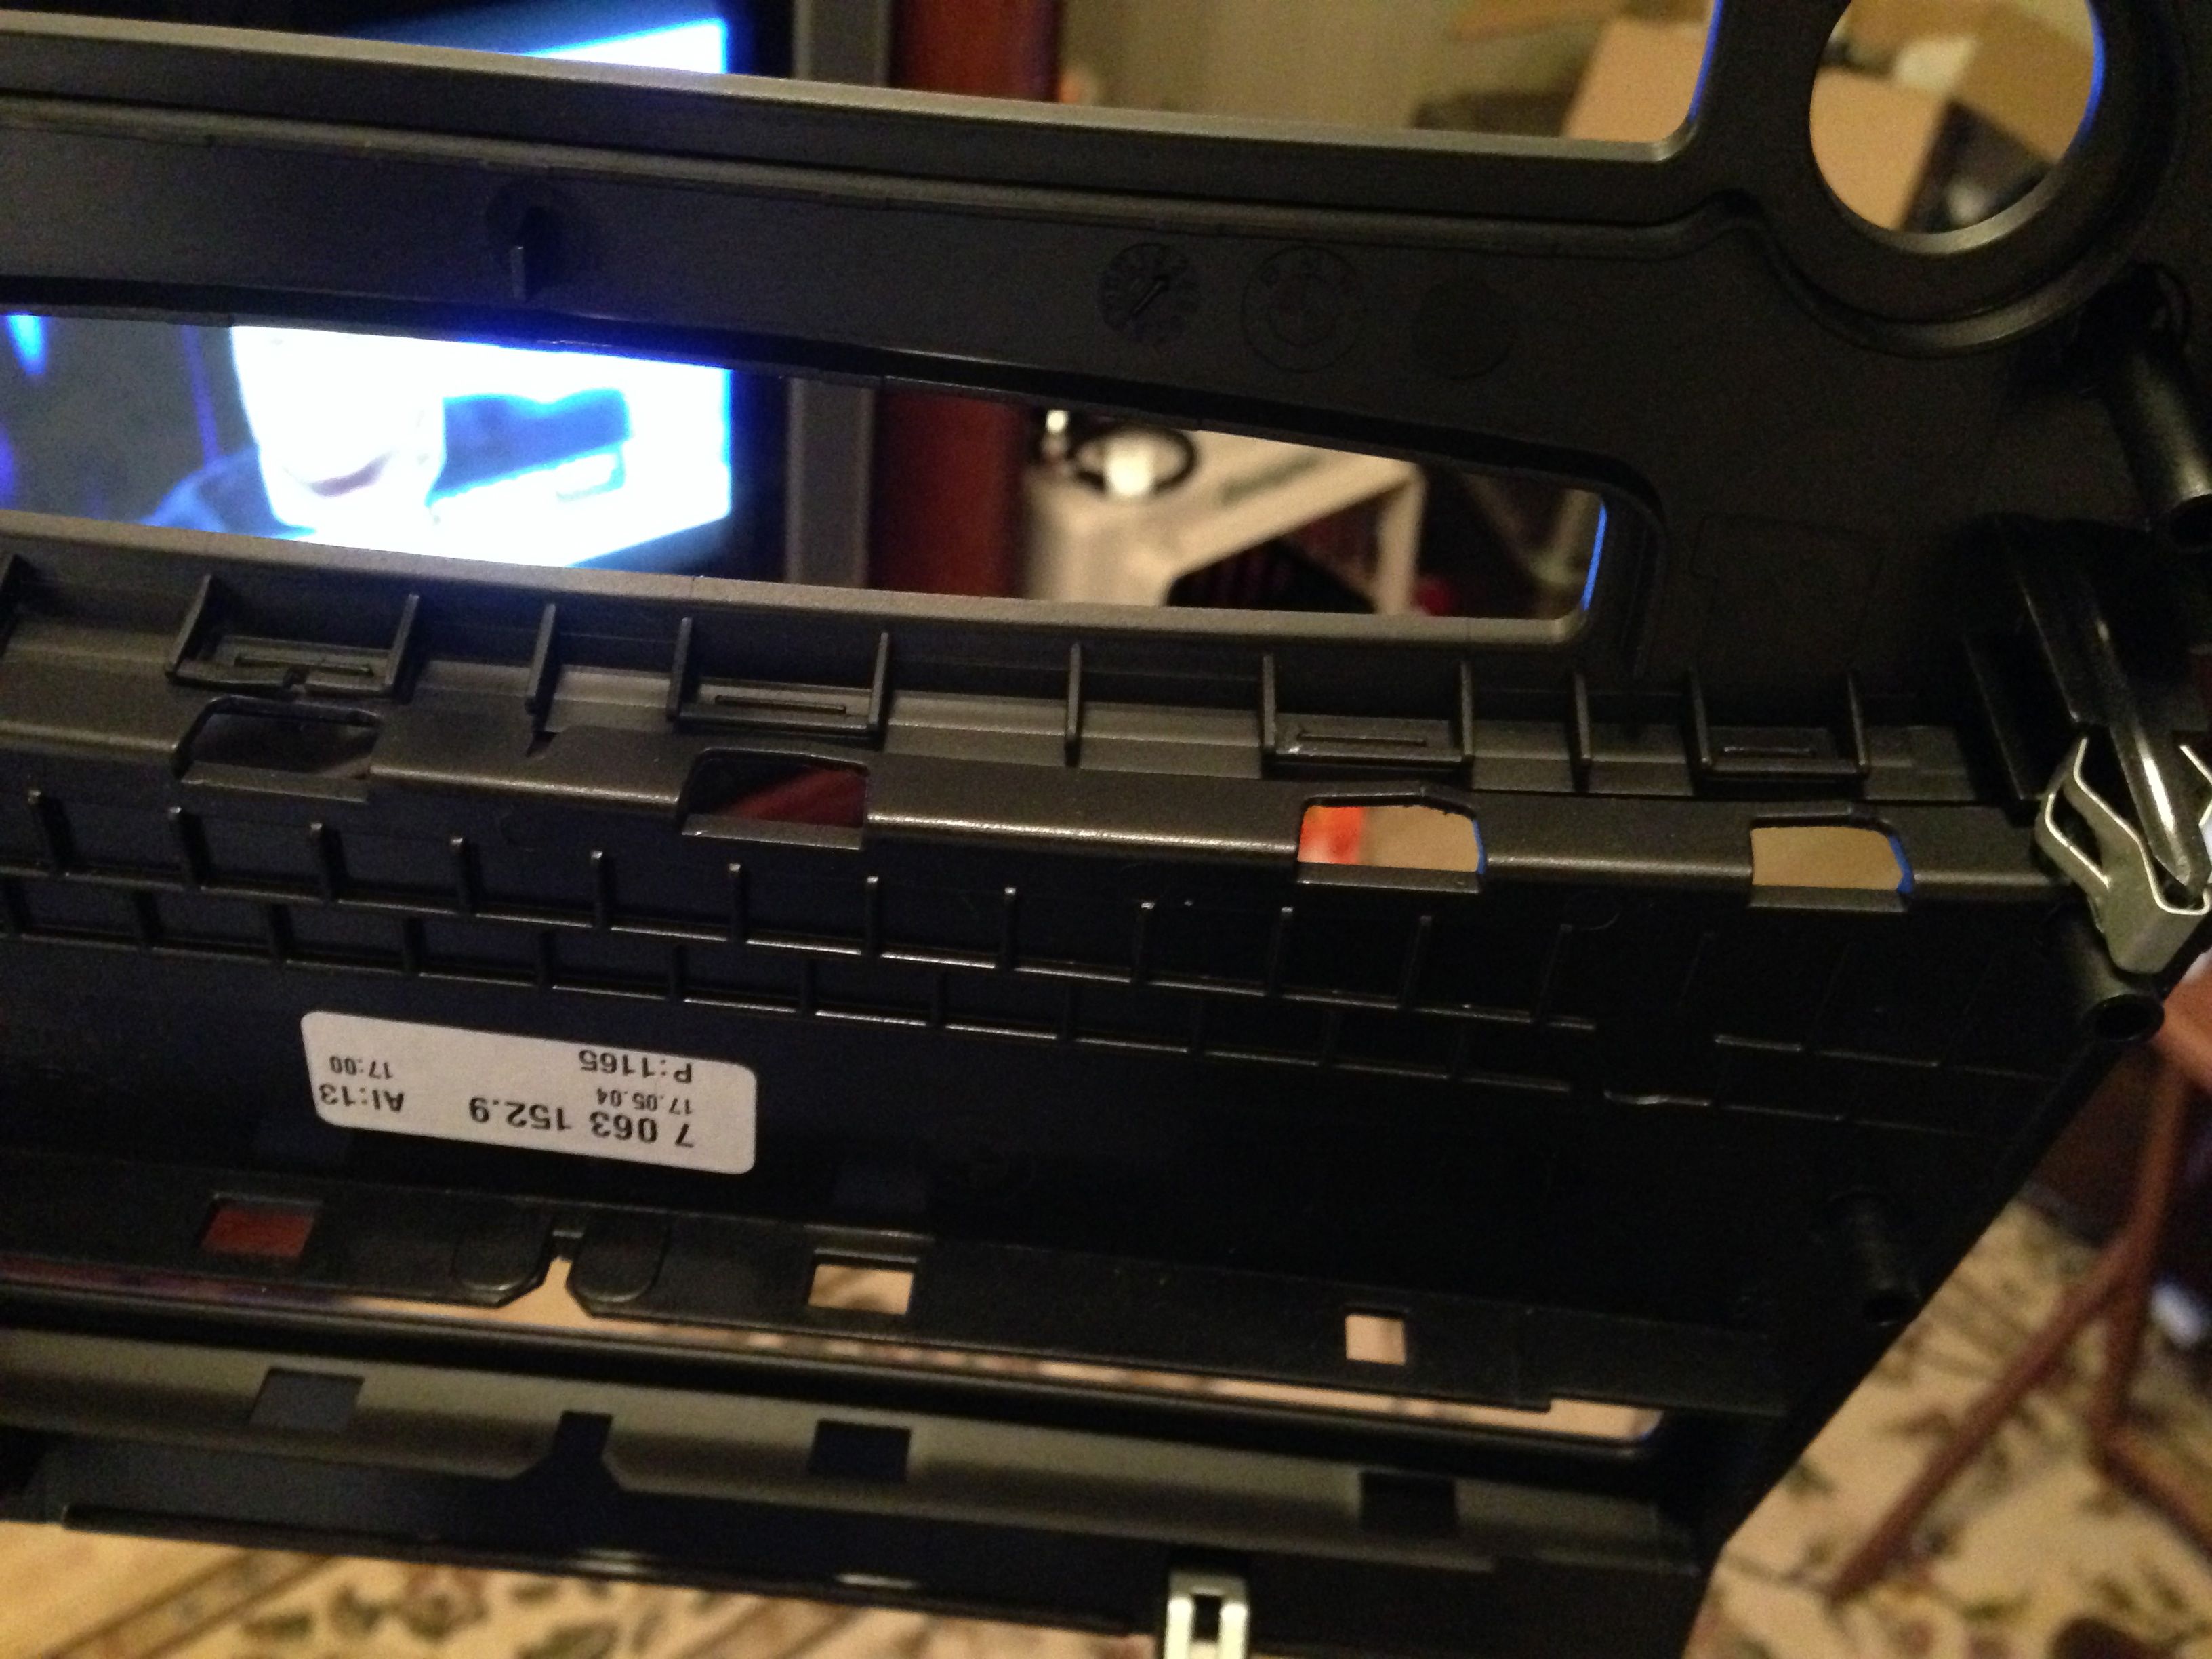
One more
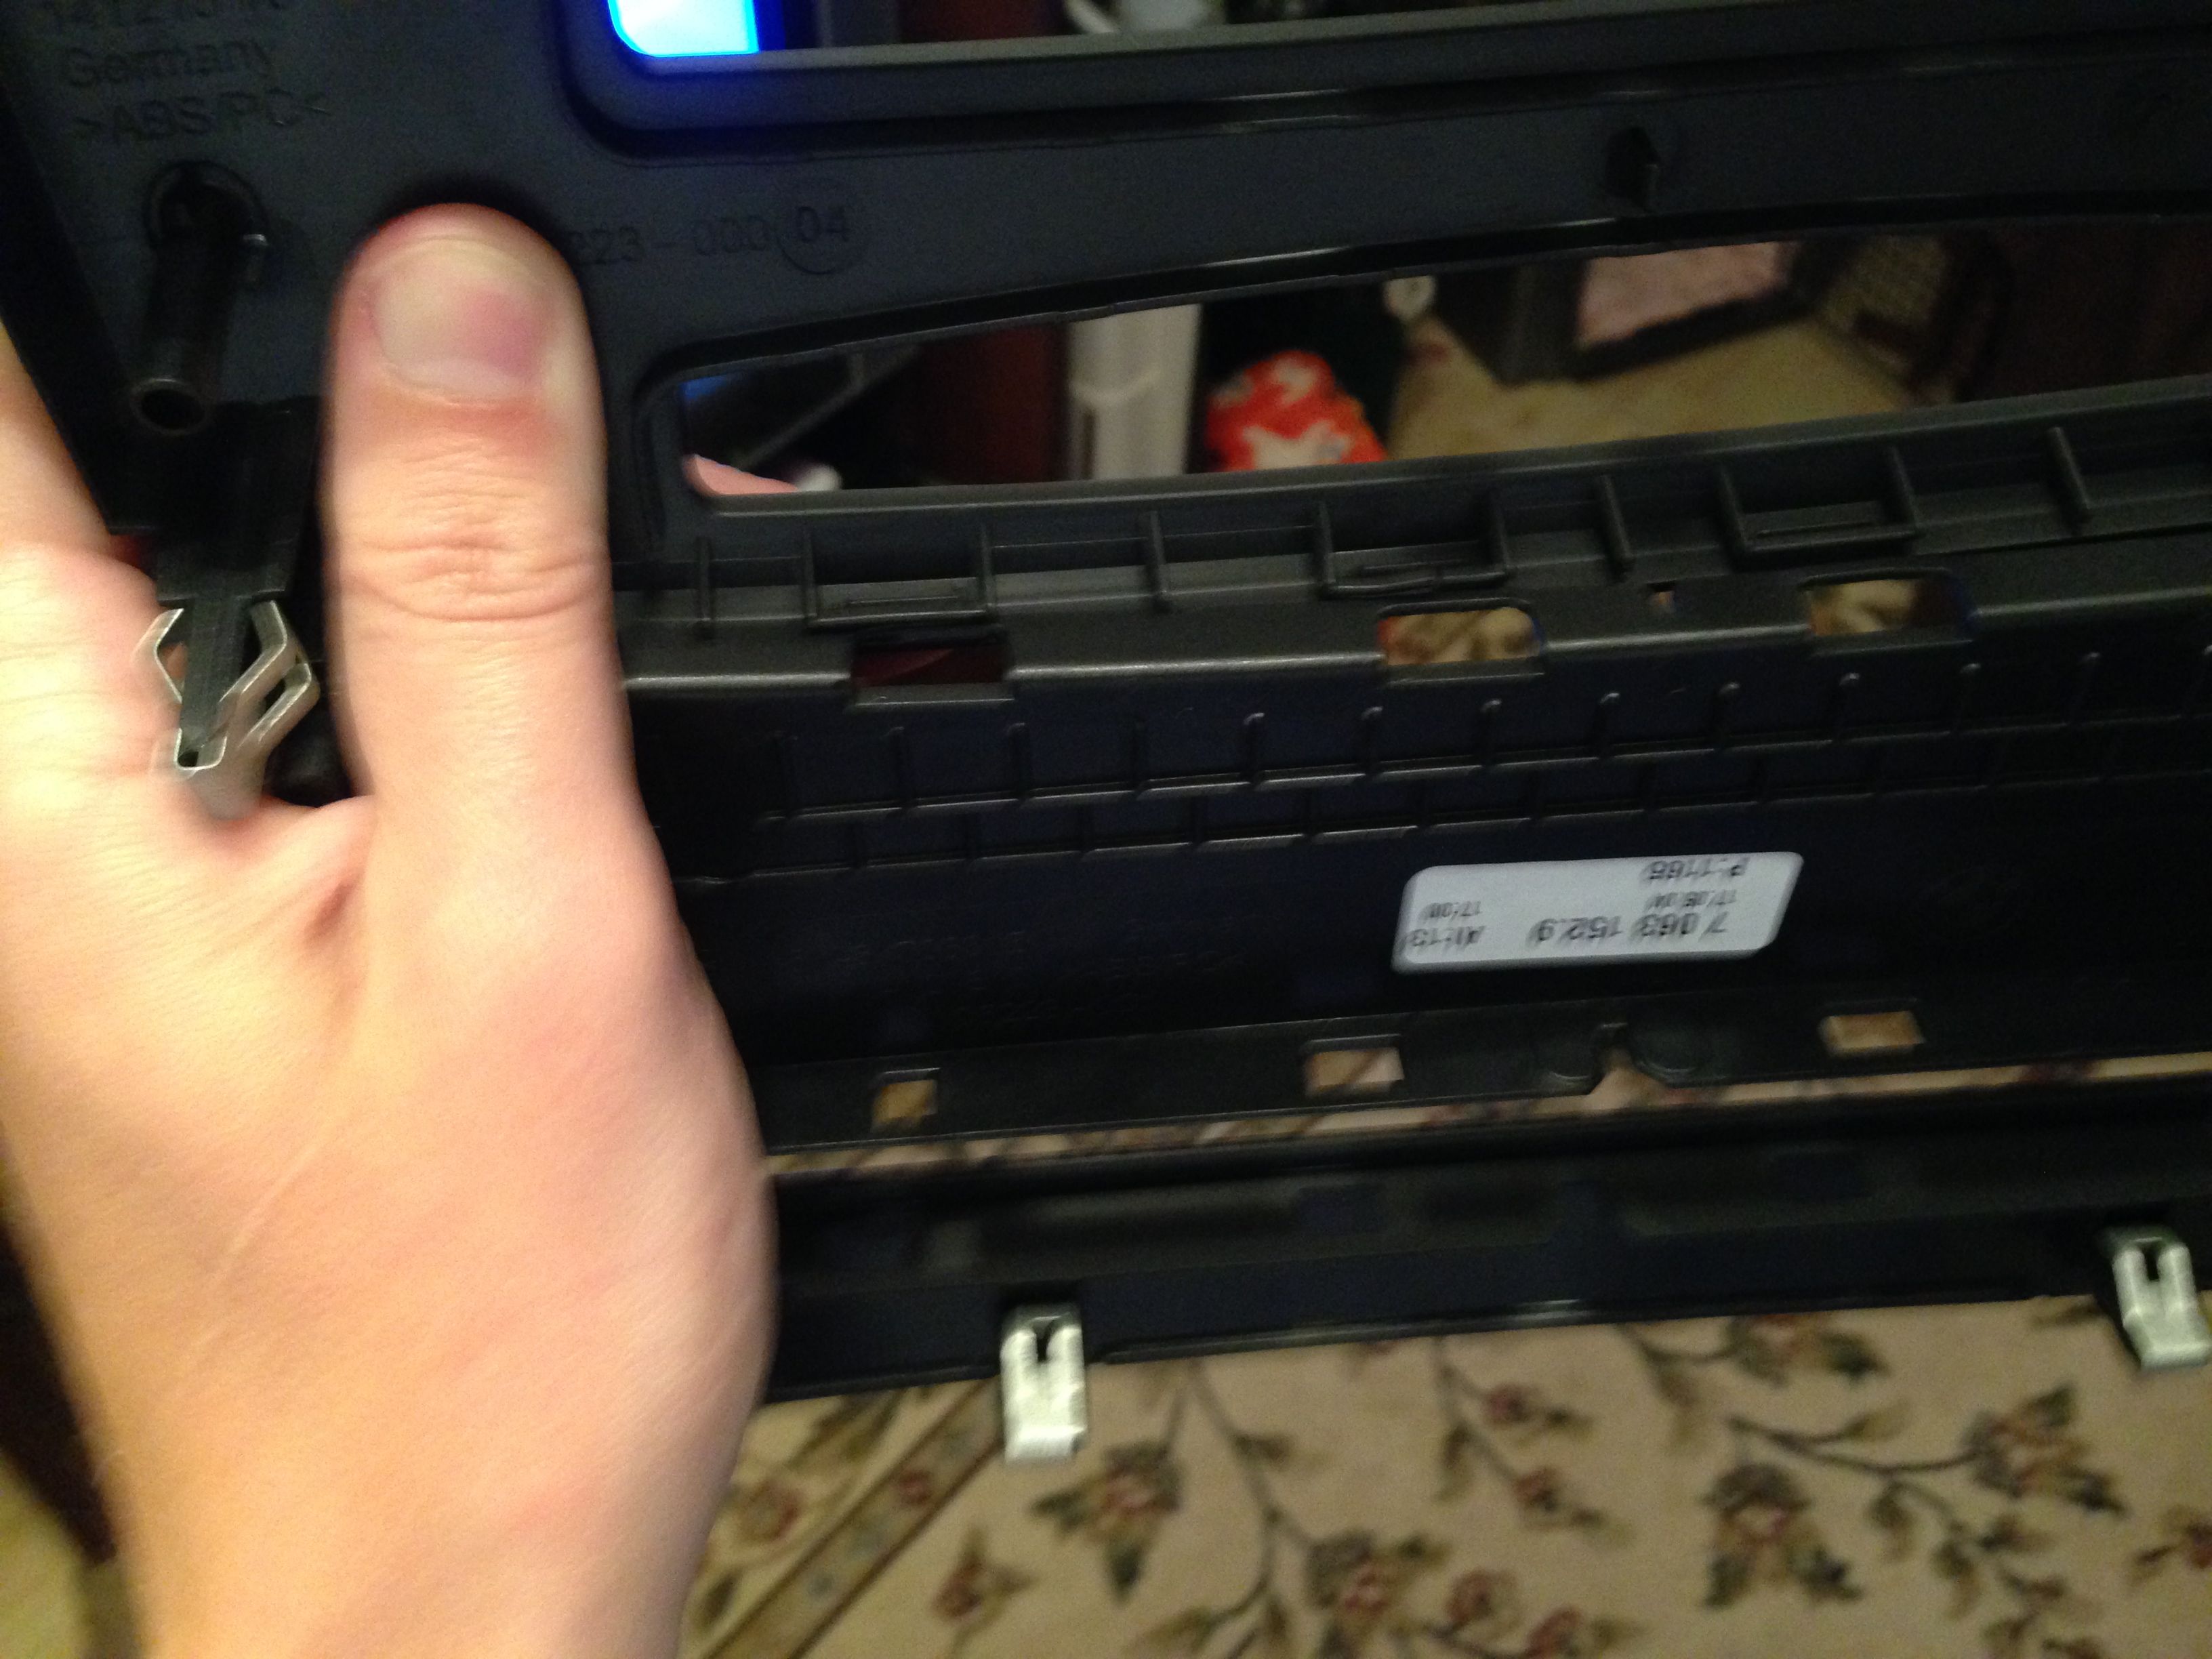
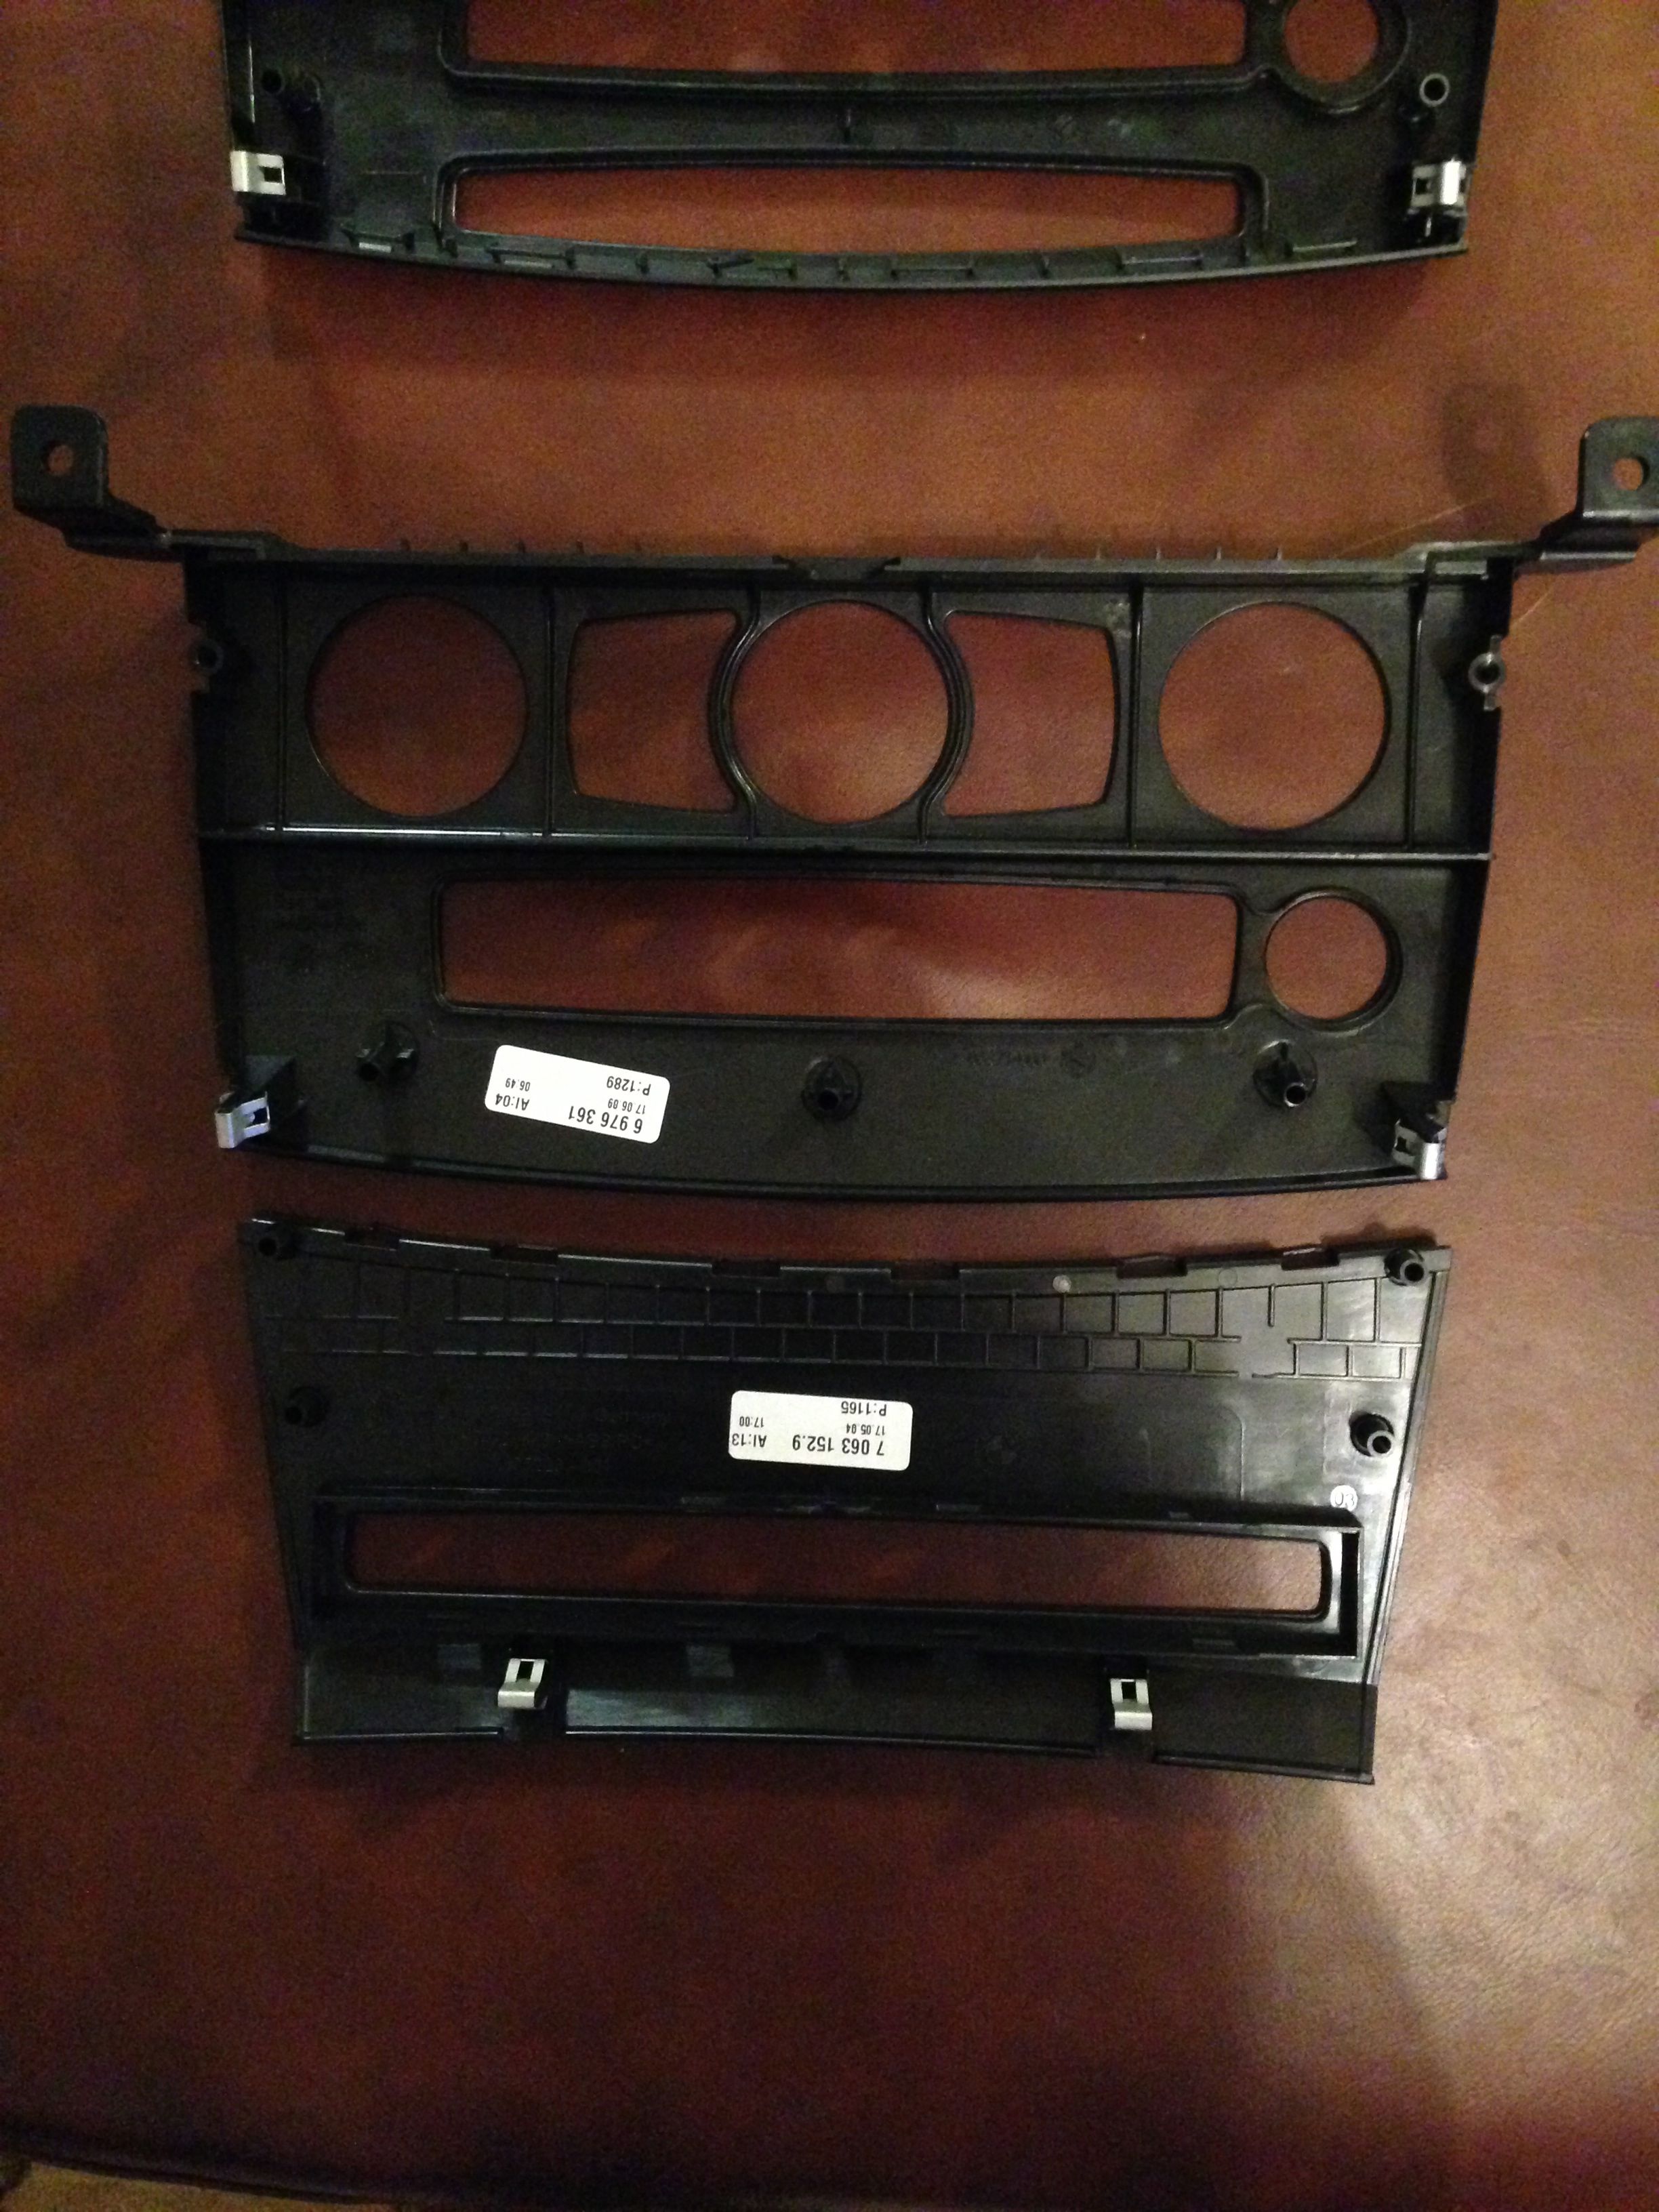
Separated.. I only snapped almost every one of them, oops
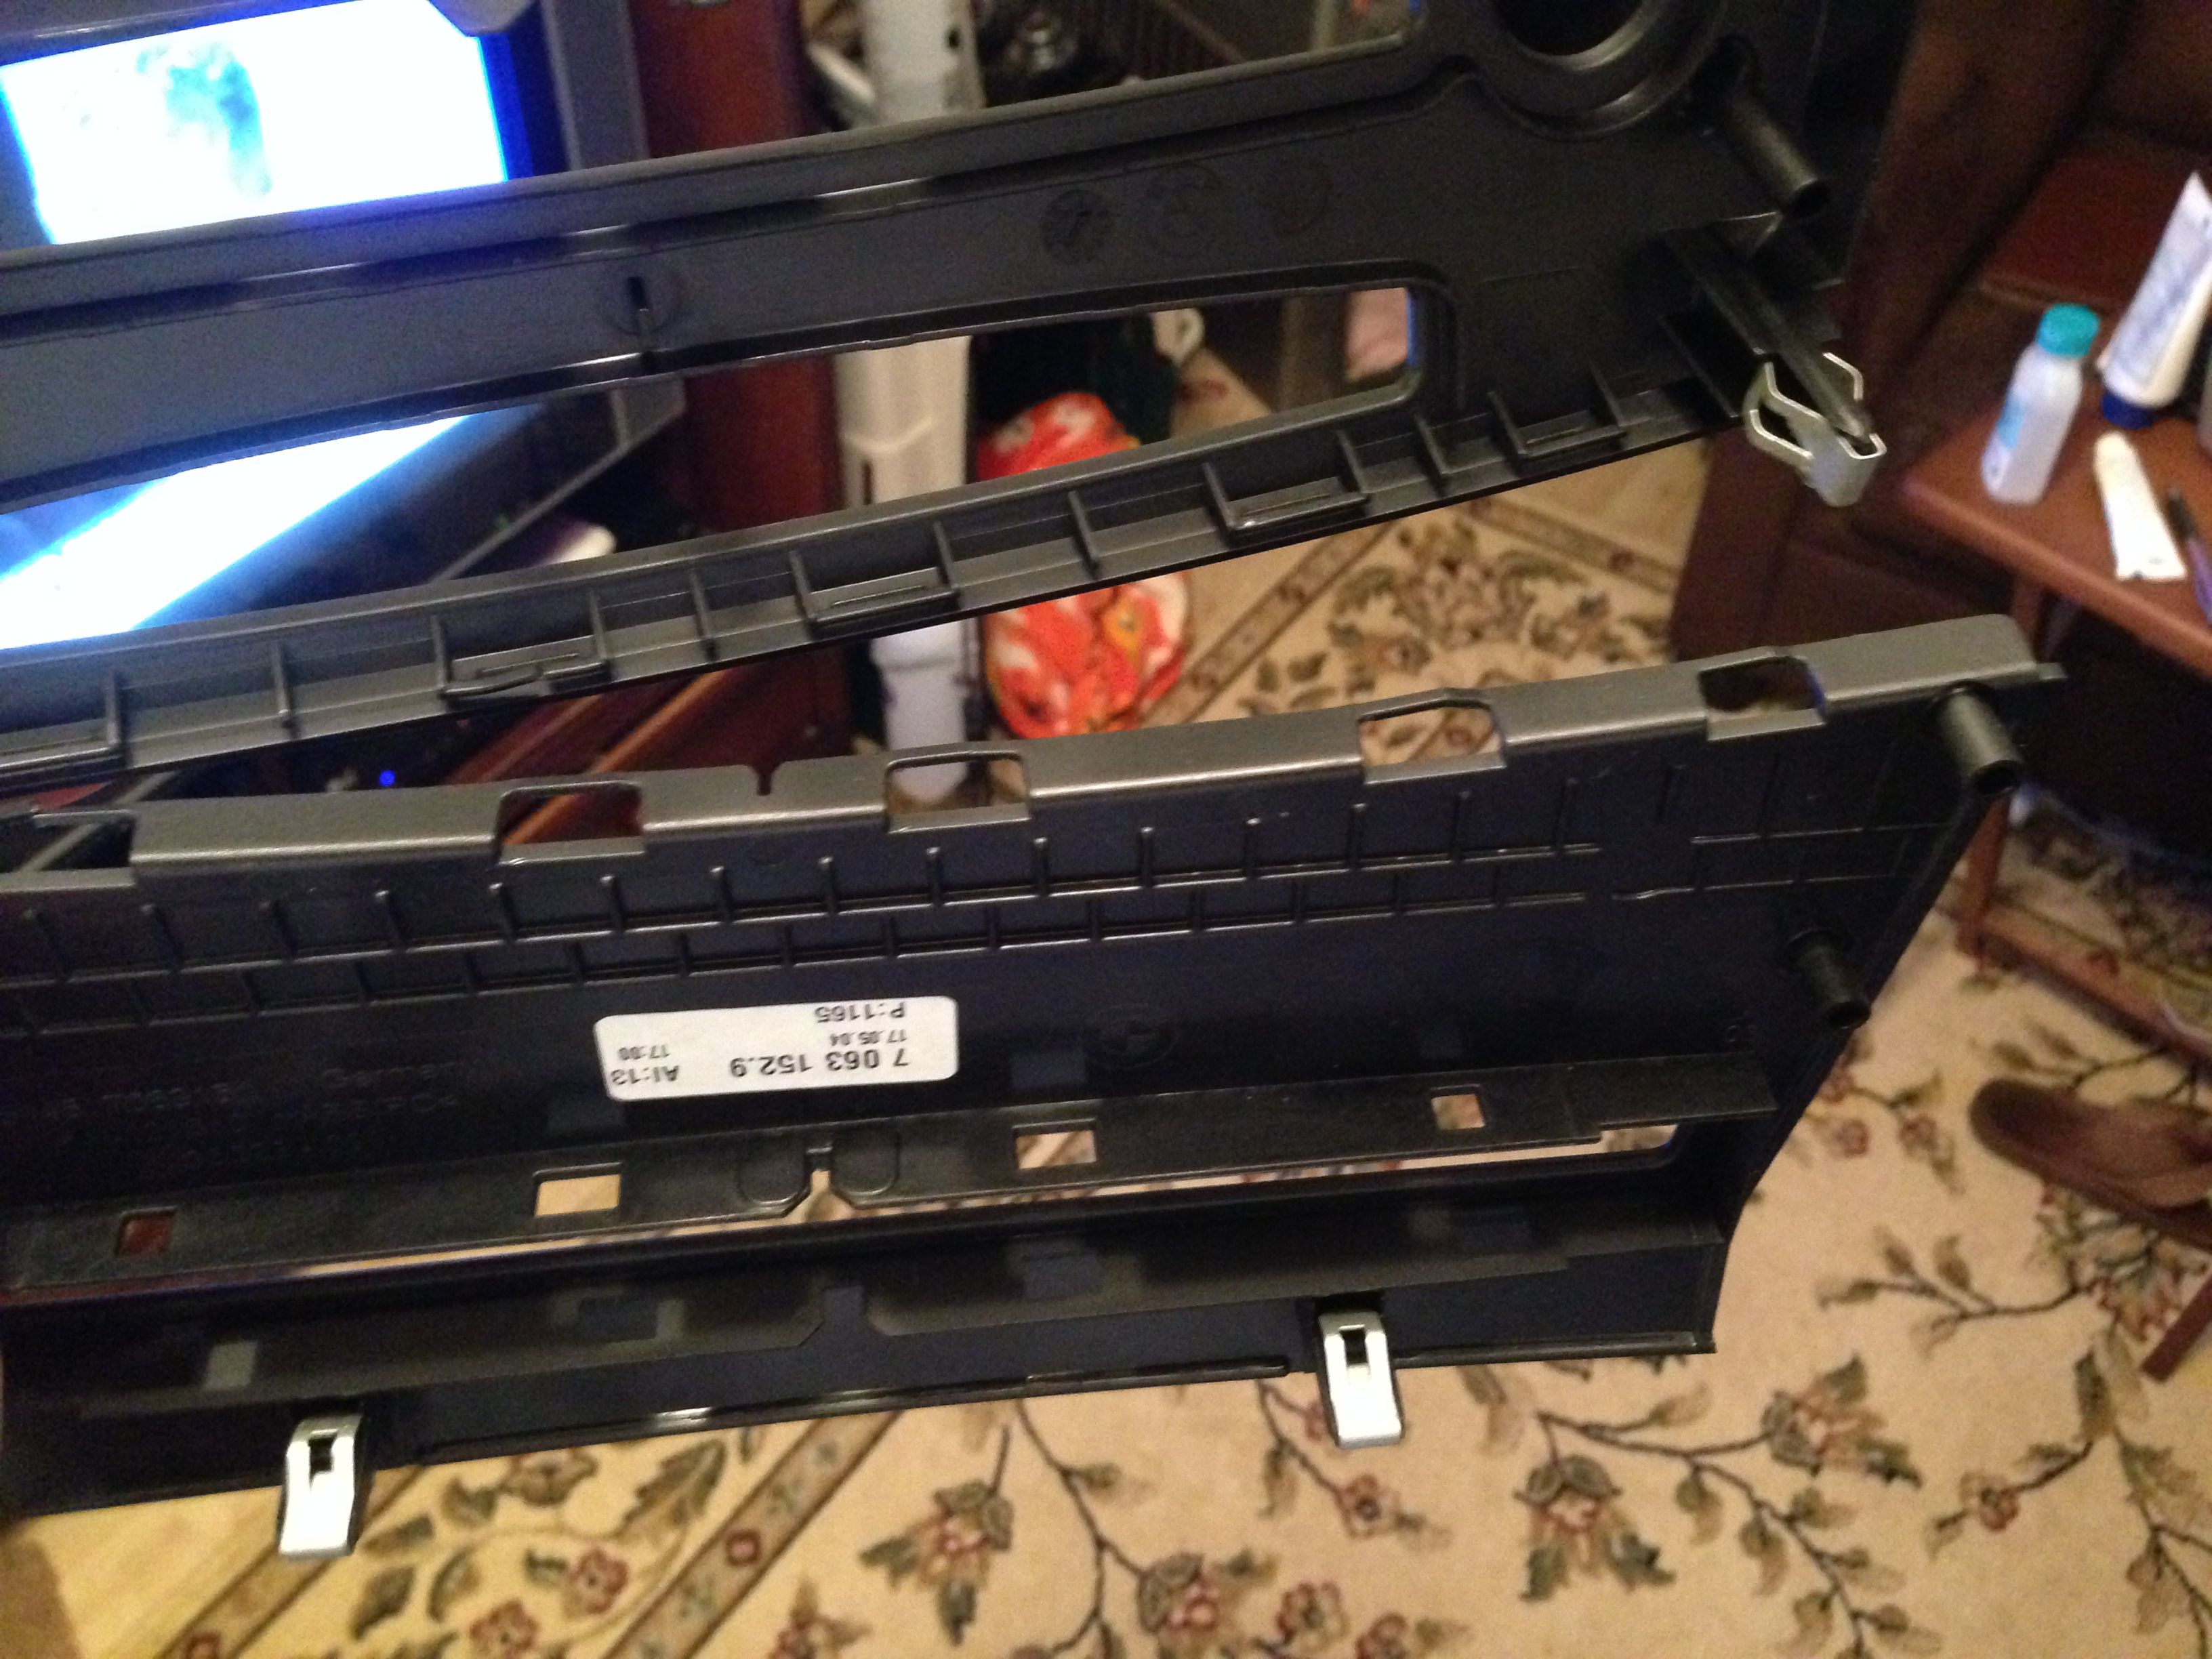
Old top half vs. new top half
New version top + old CCC lower
Here's how they go in the car
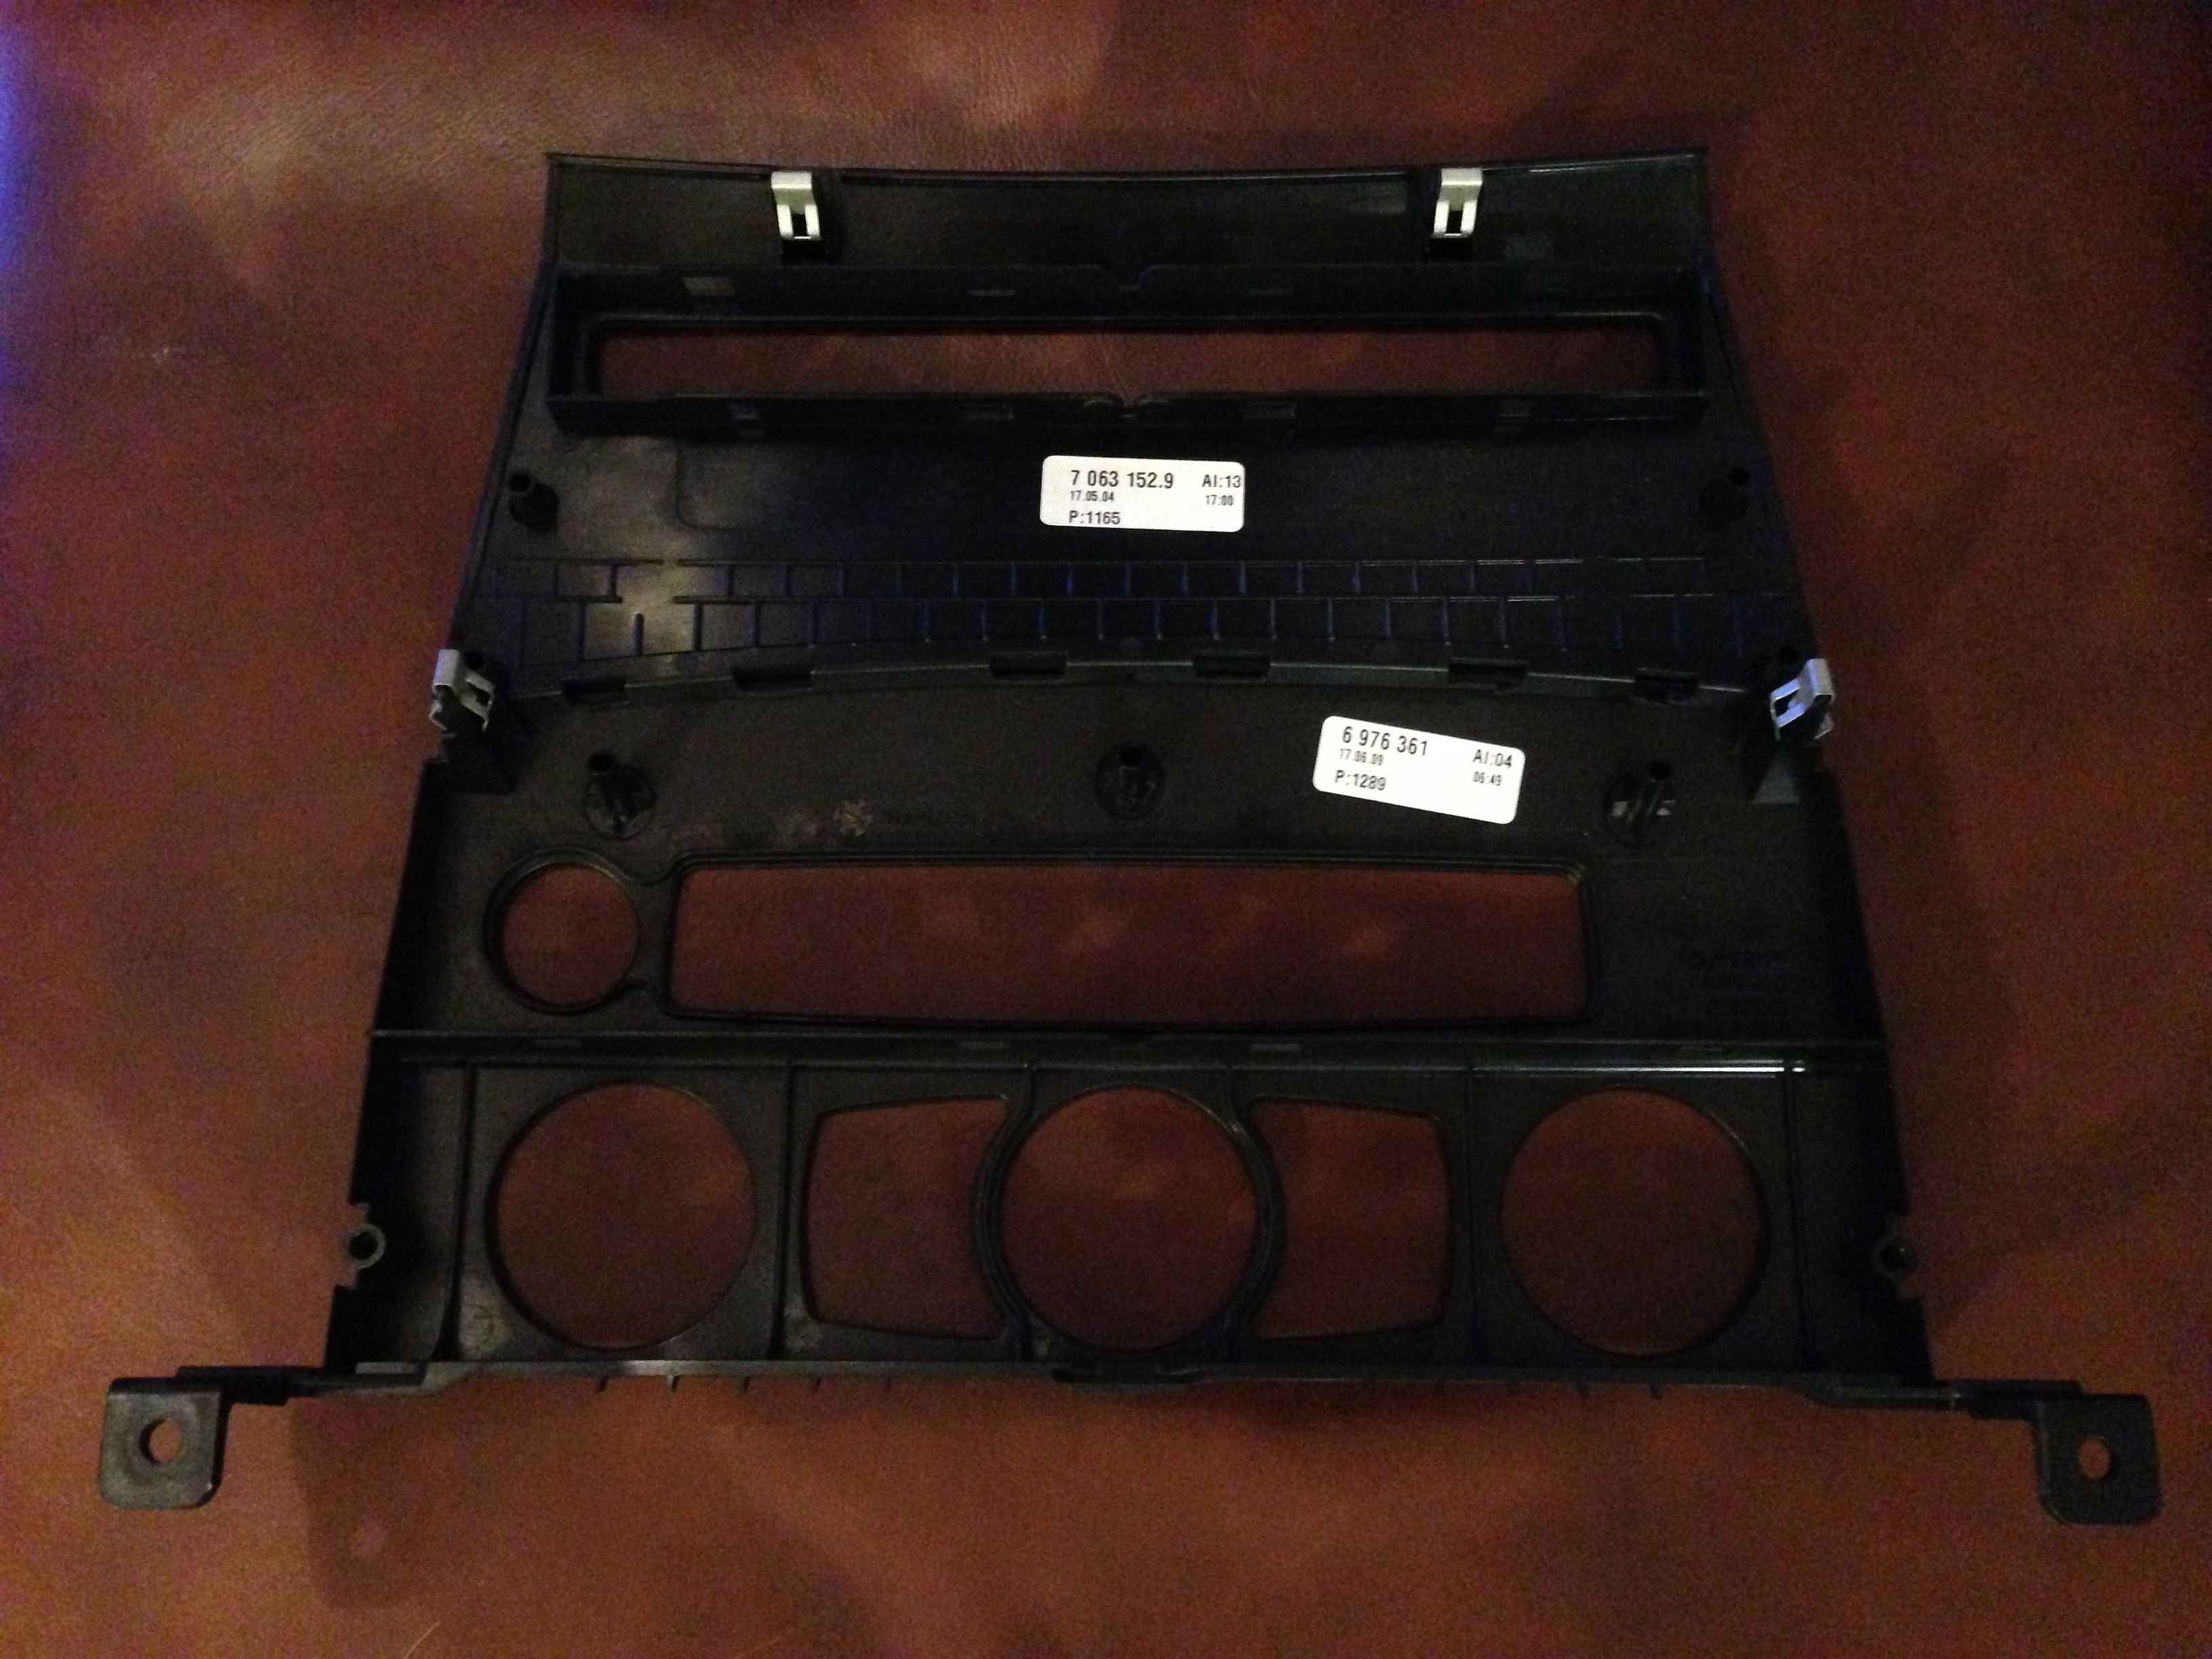
And another view
If you look closely on the CIC trim piece I posted ealrier, you'll see it is only the top half. The bottom half is a separate piece that you'll need.
I happened to have a CCC trim piece from my previous expedition of a CCC retrofit, and we can use the bottom half of that here... pictures:
Here's the CCC trim in it's original form

Here's where the two halves snap together.. luckily the new version doesn't use the snaps, so you can break these if you need to to get it apart.. I broke a few

Another picture.. One tab snapped on the first try

One more

Separated.. I only snapped almost every one of them, oops

Old top half vs. new top half

New version top + old CCC lower

Here's how they go in the car

And another view


 07-30-2013, 08:47 AM
#10
New Members
Thread Starter
Join Date: Sep 2012
Location: Greensboro, NC (USA)
Posts: 246
Likes: 0
Received 0 Likes
on
0 Posts
Thanks everyone.. I'll keep up the pictures. I haven't decided if I'm going to try to do everything at once (including cutting up the center console for the new iDrive controller) or do it in some other order
Any way I do it I'll probably have some limited functionality for a little while while I TRY to figure out how to make it work.
I found an entire center console on eBay for not much over $100.. I almost bought that just to leave the original parts of the car in one piece but didn't . Still might though.
edit: the center console has been sold.. so scratch that idea. ah well
Last edited by ncsugrad2006; 07-30-2013 at 10:36 AM.