My Build 2004 BMW 530i - E60SHEEZY
#1
hey guys, I have been meaning to do this for a while and i figured there might be some people out there who'd like to see my build! After all i love seeing what you have all done and I have definitely taken some of my inspiration from you all. My apologies if theres something that you don't like or think looks nice but I love it so in the end to each his own.
(I apologize for the variety of photos, lost my sd card I was saving them on)
Alright so lets begin with the basics, January 2016 I finally got the love of my life, also known as my dream car. I had been wanting this thing for as long as I can remember and even started buying parts 3 years before owning it lol.
The car is a 2004 Jet Black BMW 530i (m54 i6 of course)
I wish I could have an n54 but the price was a little more than my budget.
So this was the first day bringing it home
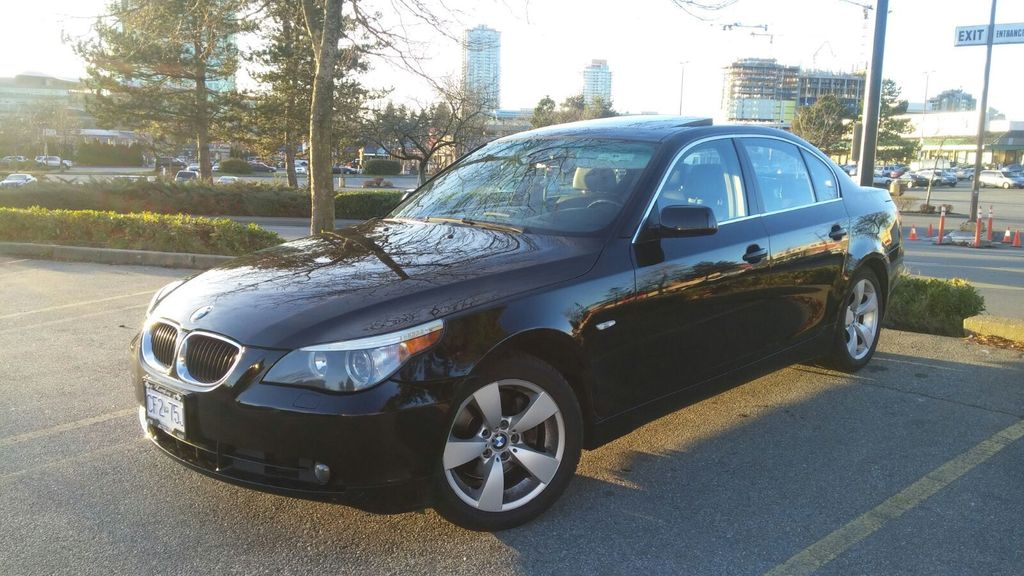
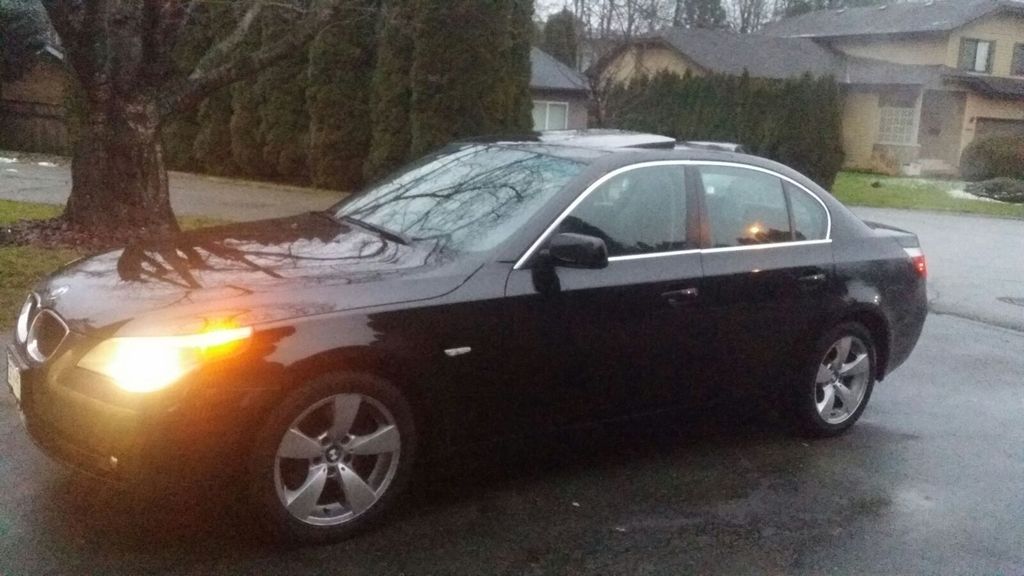
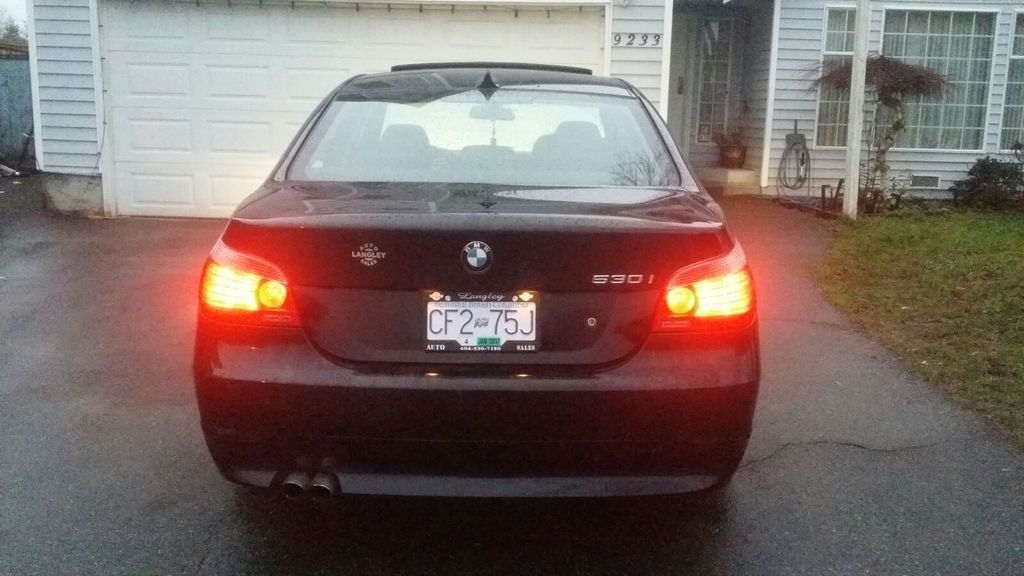
Now of course the first thing I had to do was to change the Halo bulbs, so I picked up a cheap pair off amazon for $10.99... Obviously not the best, but I needed something to change the yellow oem into a little more BMW. If anyones interested in a cheap pair, I got them here:
 Amazon.com: YITAMOTOR 2x 7w Spot Angle Eye CREE Led Halo Ring White Lights for BMW US E39 E53 E61 E60: Automotive
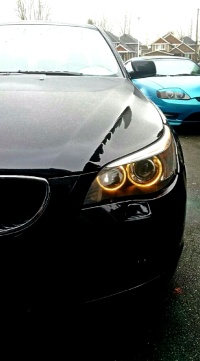
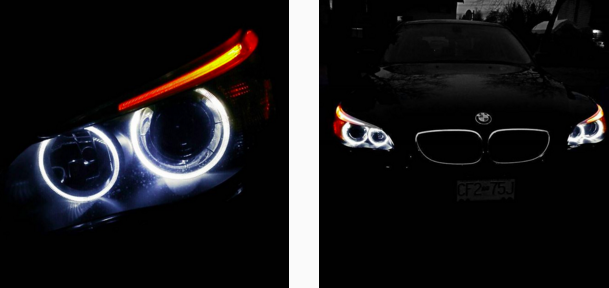
I mean they looked good, but not visible during the day, and the outer ring looked stained as if it was still a little yellow.
So after that I really needed to do something with my car and went the typical route of painting my OEM wheels black, not my favorite decision but I figured why not since I was getting new wheels
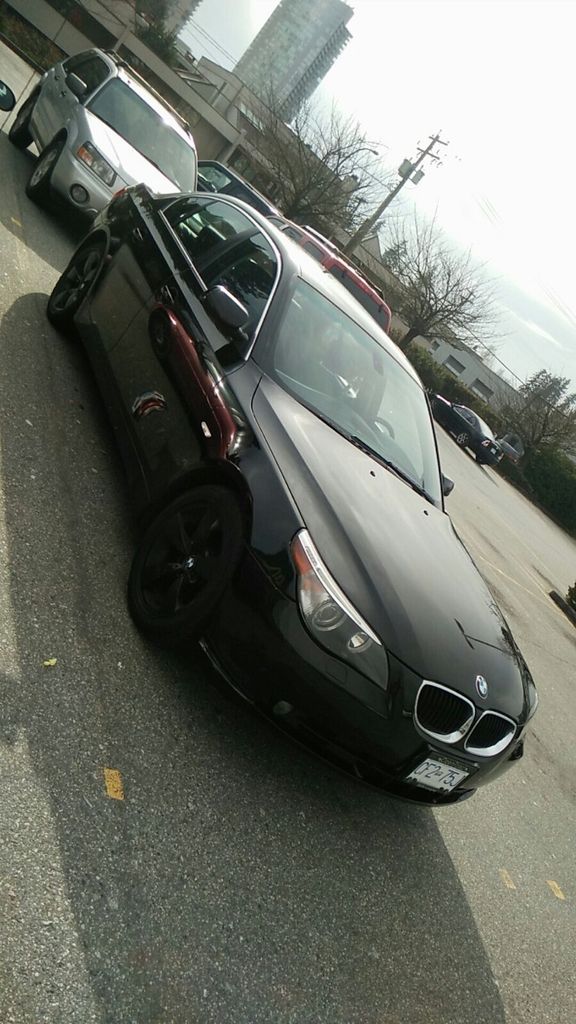
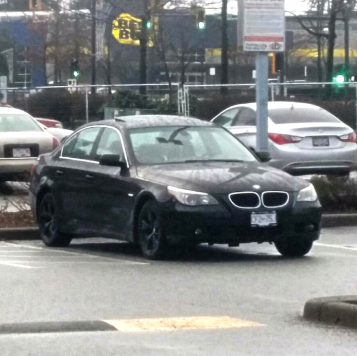
A little hard to see in the photos but it did give the car a more aggressive look
Almost forgot to mention I finally put these in, they were collecting dust on my tv stand for the last 3 years lol. Nothing to crazy but different, seeing as everyone has the LCI tails which I actually wanted and drove all the way to seattle for to pick them up (I live in Vancouver, BC Canada btw) but when I got there they werent actually smoked lci tail lights, they were these but I said what the heck why not and now I love them

You can get these for pretty cheap on ebay for those of you looking (Link)
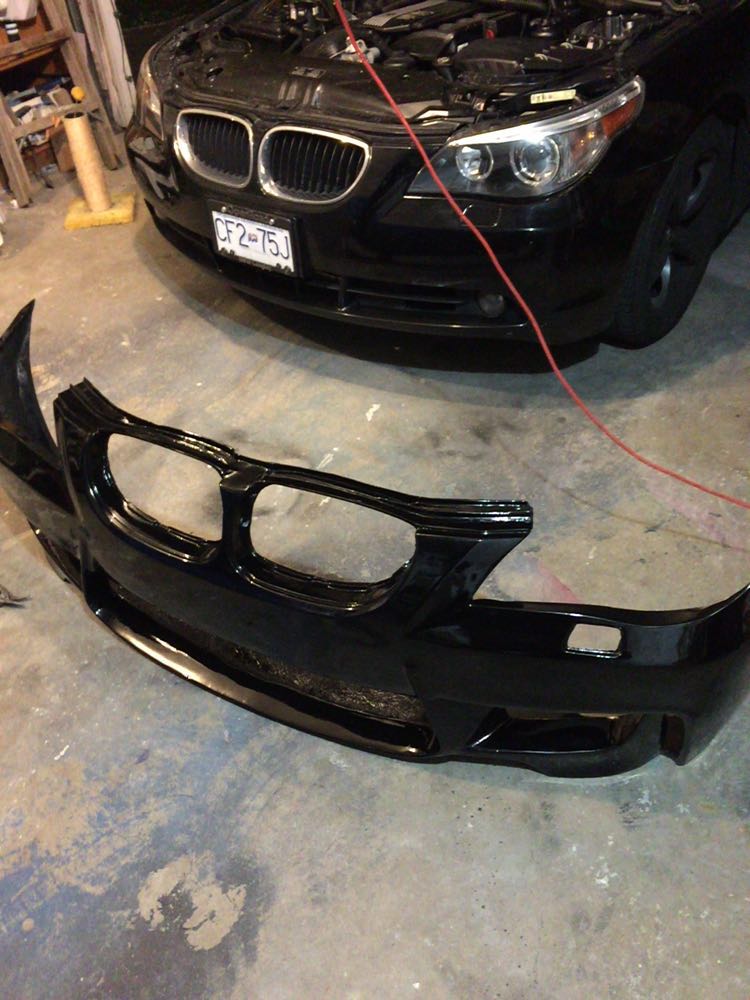
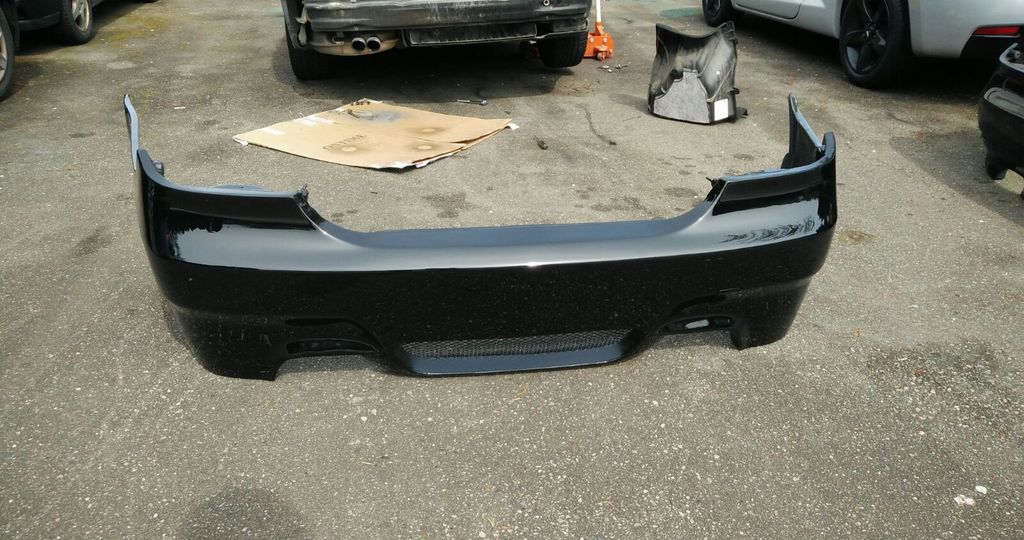
Alright so now heres where the big boys come in, I have always wanted the 1m bumper and ever since the group buy days I knew I had to have it. I thought it was a dream come true when extreme dimensions came out with the replicas for all BMW models. Seeing as how expensive they are for an oem plastic weld, duraflex was my best bet. So I actually managed to find a used one on ebay with a little cosmetic issues but I got those fixed, also ordered a duraflex rear m5 style bumper from andysautosport for $122.40. Freight shipping cost more than the bumper did lol

 DISCLAIMER

Im going to have to state this because I know it has been said a million times but desperate times called for desperate measures and I was forced to buy duraflex products.. Now I love them dont get me wrong, but definetly prepare your self for the head ache of
Very important to keep in mind that they did not paint well, line up well or even have any holes to drill thru. Also the front bumper was a lot smaller than my actual car and only has mesh in the centre grill. Heres some pictures of the process..
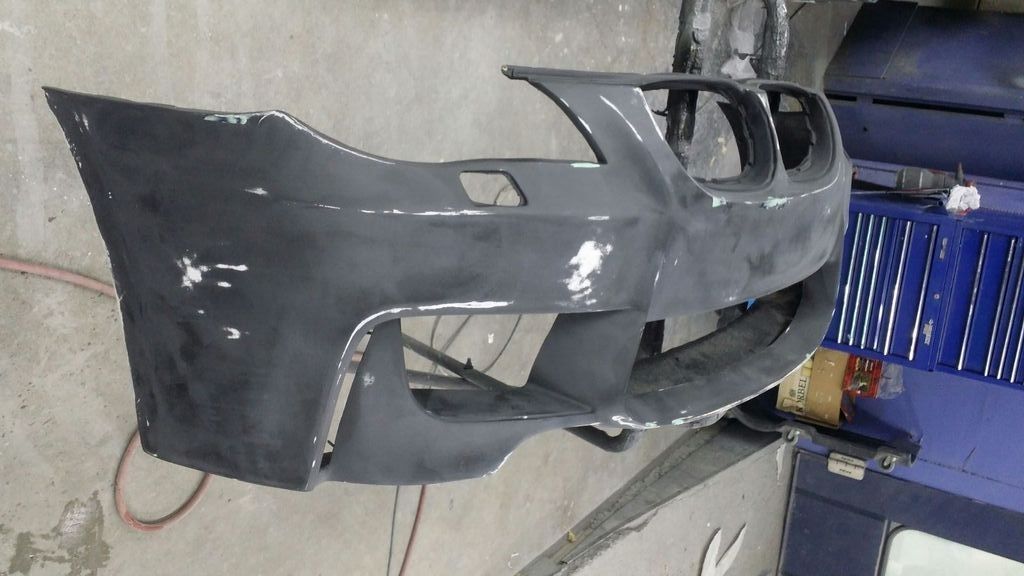
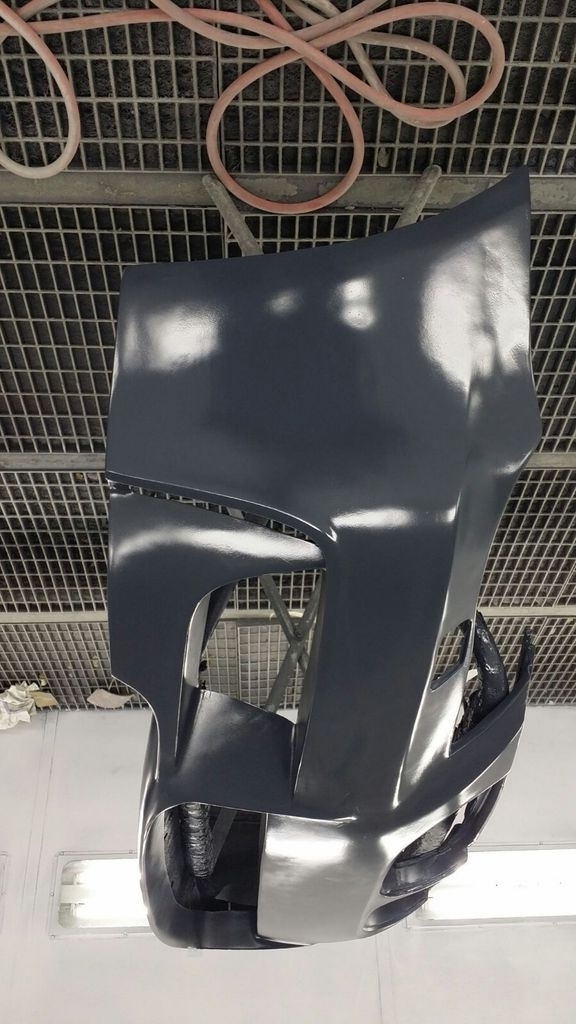
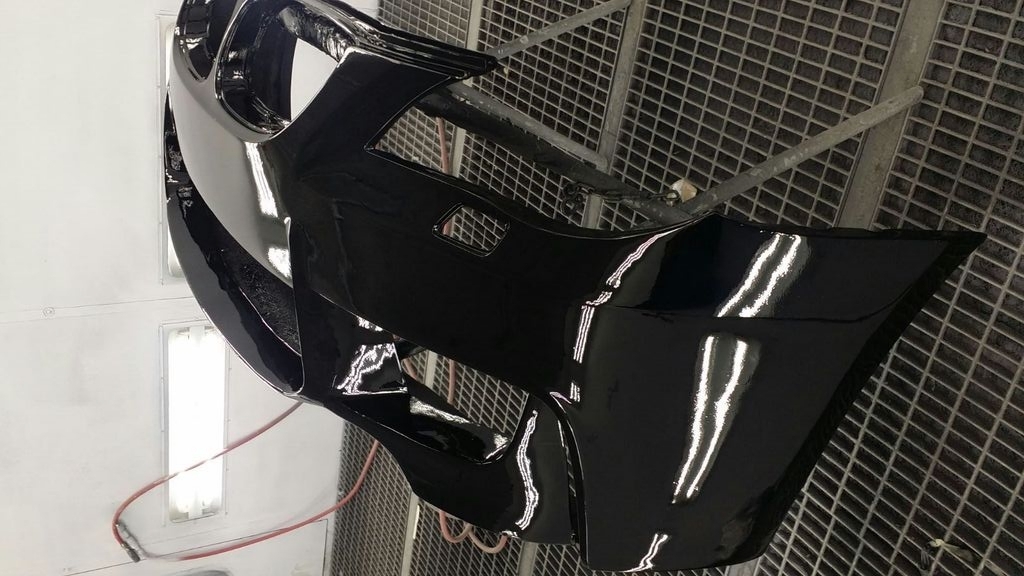
Also had to make some mesh for the bumper out of gutter drain mesh that turned out to work perfectly
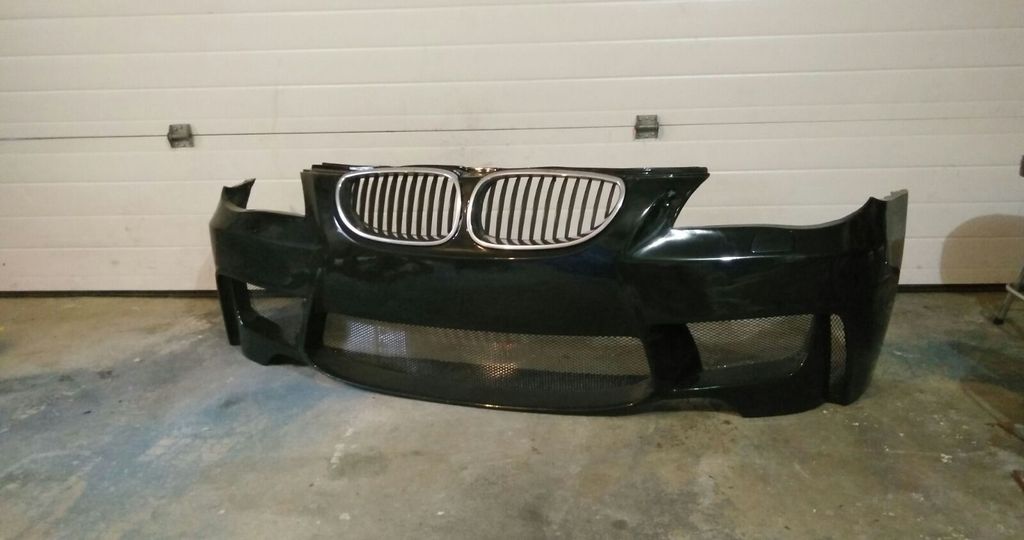
Heres a small update of the look at this point..
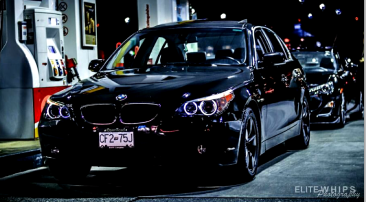
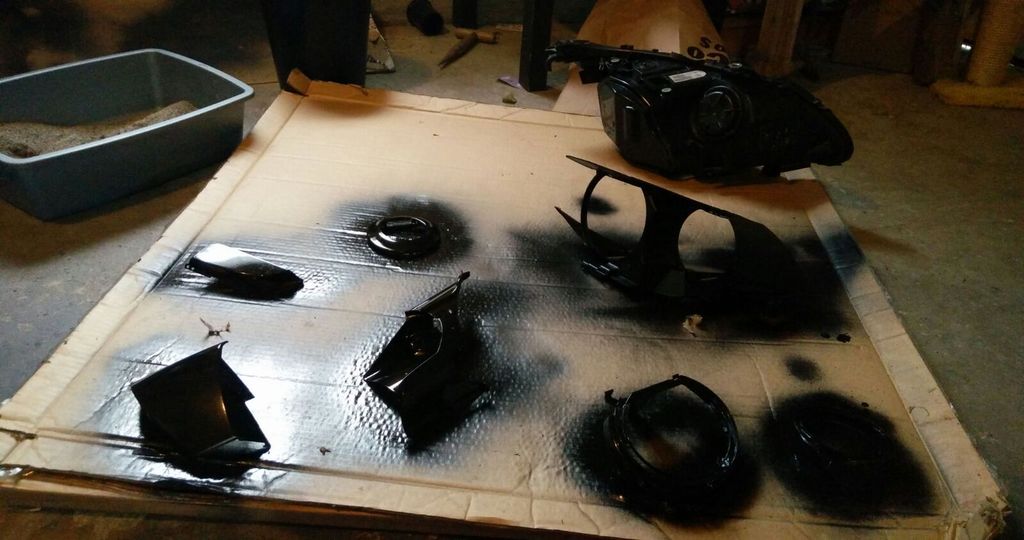
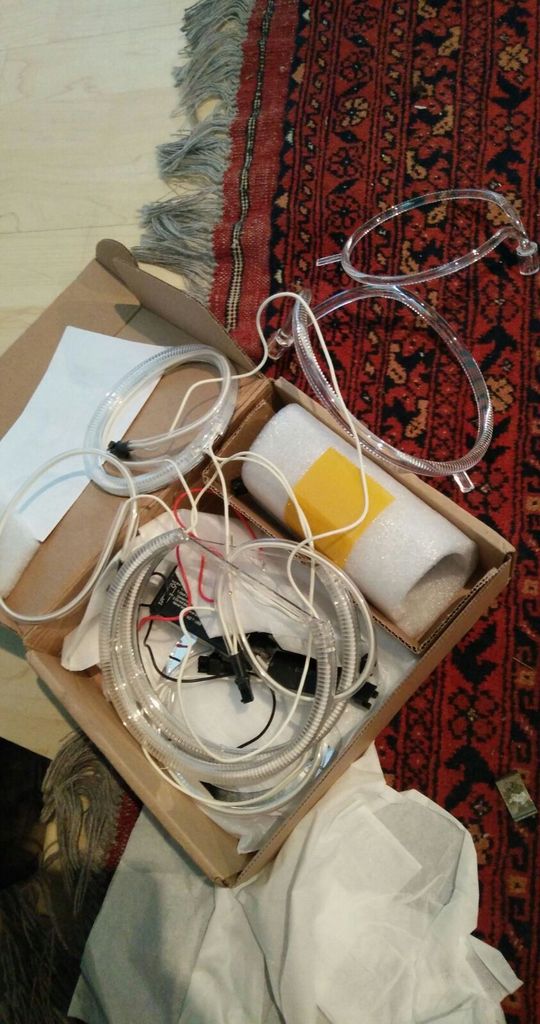
In the mean time of the bumper being painted I had actually used a heat gun and managed to open my permasealed head lights, I replaced my halo rings with brighter CCFL rings that I custom fit, and just did a black out of the housing and side markers. I dont have any photos of the process other than these
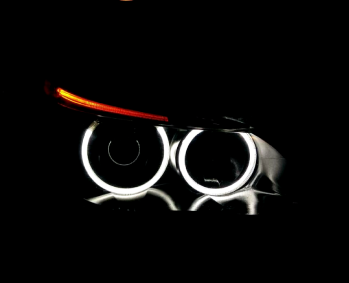
You'll see more photos of the final lights in the end but for now I have a picture of them at night, and their reflection off the gloss painted housing was beautiful
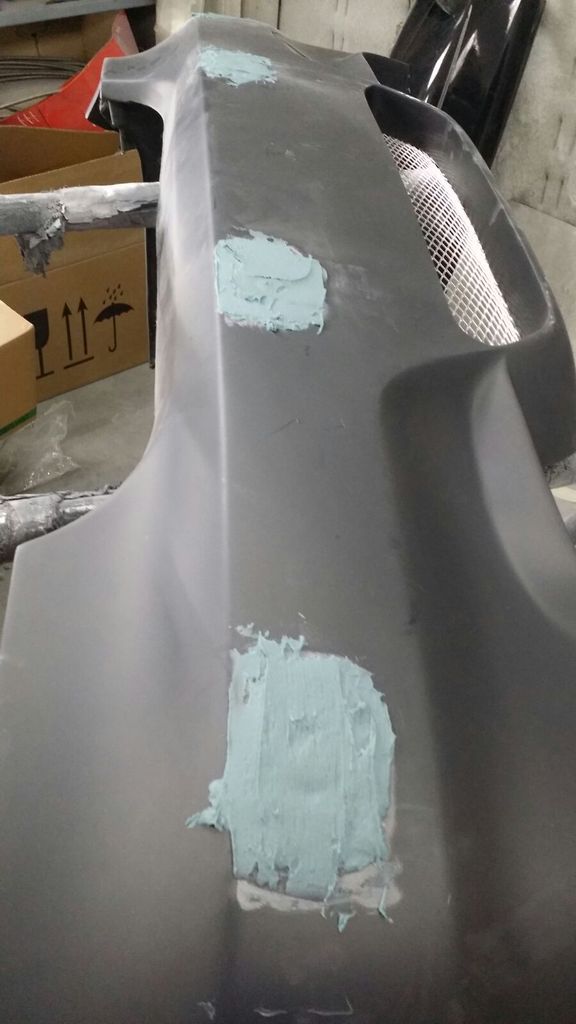
Now the rear needed some work as well but not as bad as the front, my car doesn't have parking assist or back up sensors as u can call them, so I just filled them over with some putty
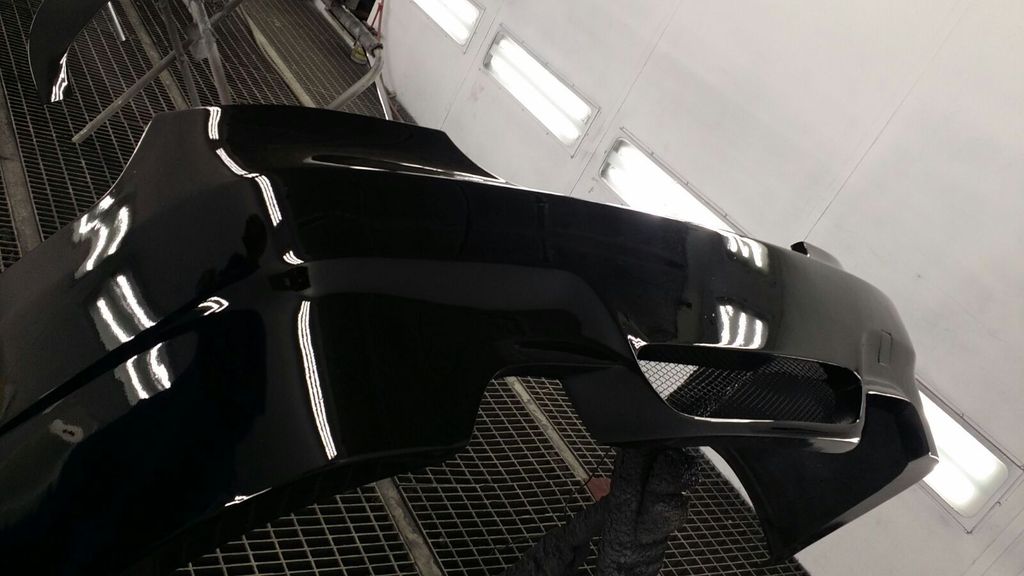
And then it was time to put them on (excuse the parts of my messy garage)
Now in the mean time, well actually after I installed my front bumper I finally received my coilovers, I wanted to be slammed and couldnt afford KW's or bags, so I cheaped out and settled for the infamous FK coils, I got the AK Streets from venommotorsports for about 4 hundredish after conversion and they shipped reasonably fast from germany. Check them out here
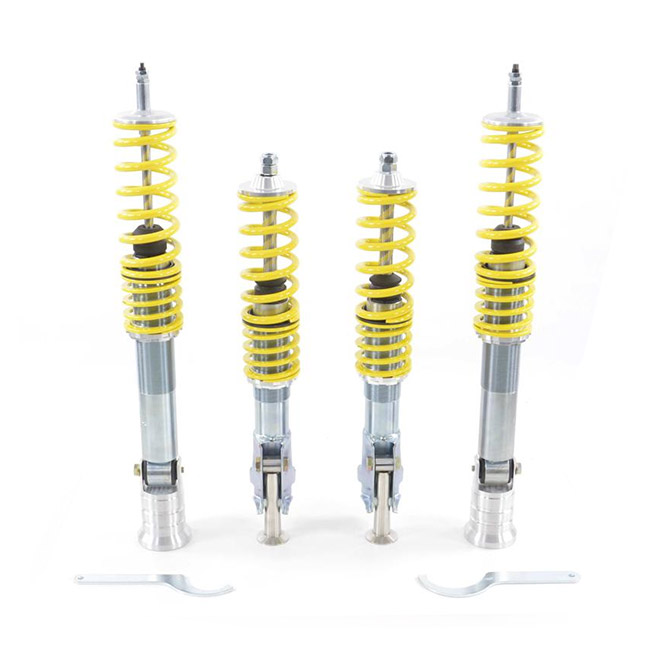
Few issues here and there but I gotta say pretty good ride quality for something that has non adjustable dampening (fixed at 30%) and these things can go low! I mean like at least 4"
So anyways heres the good stuff! btw Incase your wondering I also got a painted AC Schnitzer style rear spoiler off ebay for my birthday from my best friend lol link here
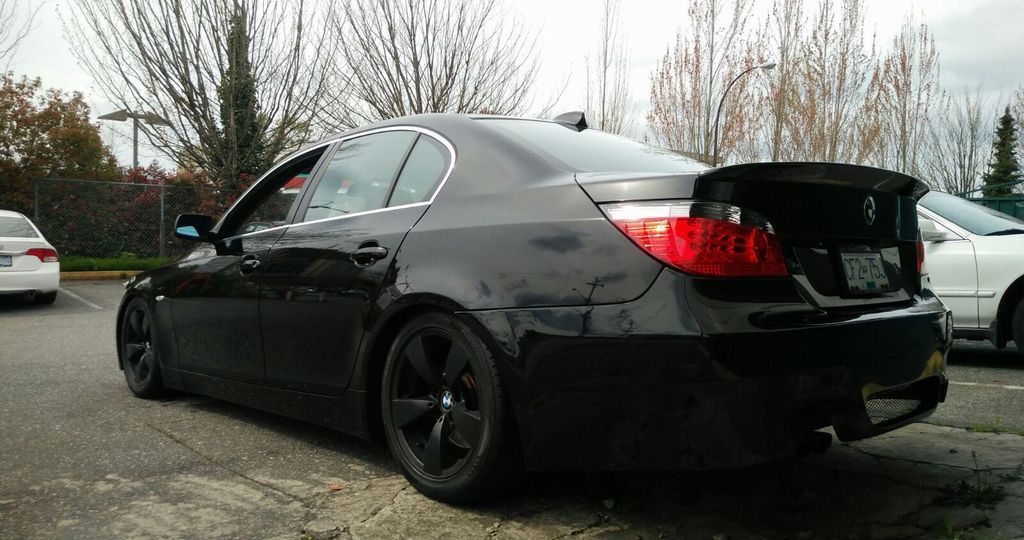
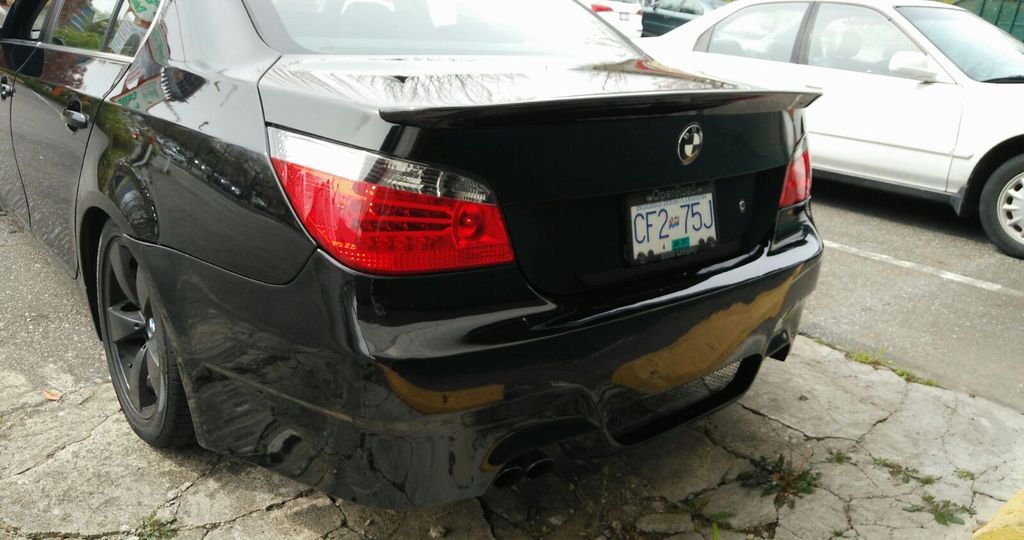
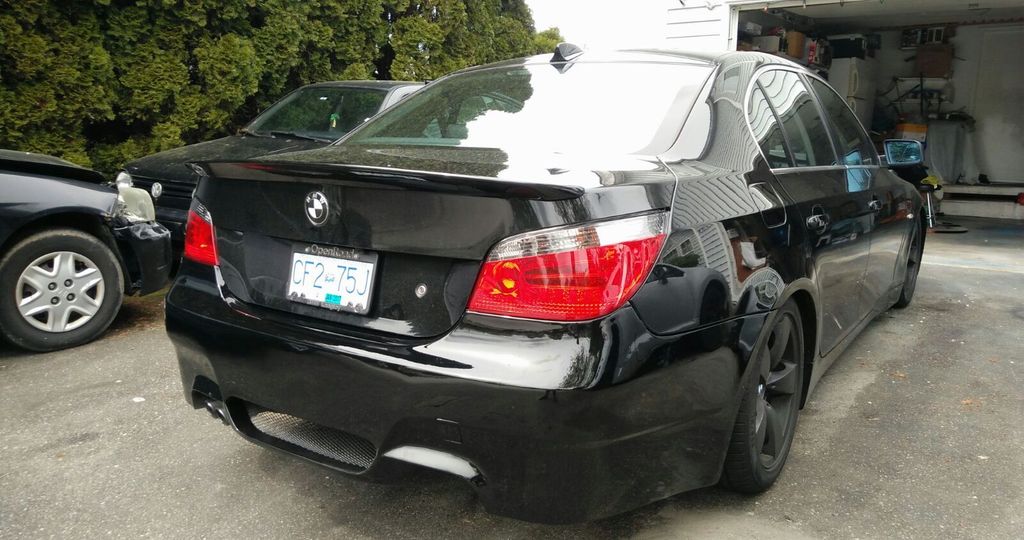
and now I thought I'd save the front for the pics I took on my real camera!
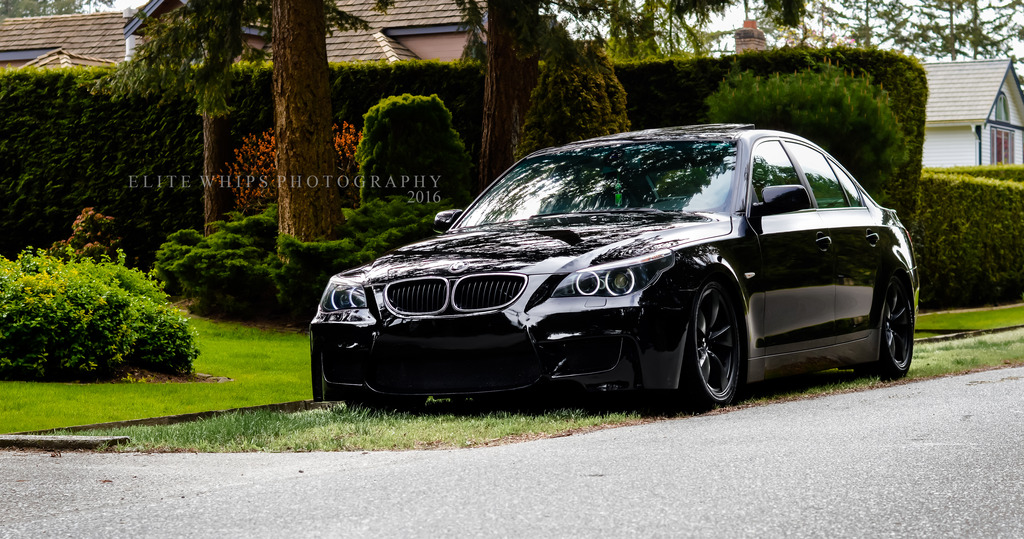
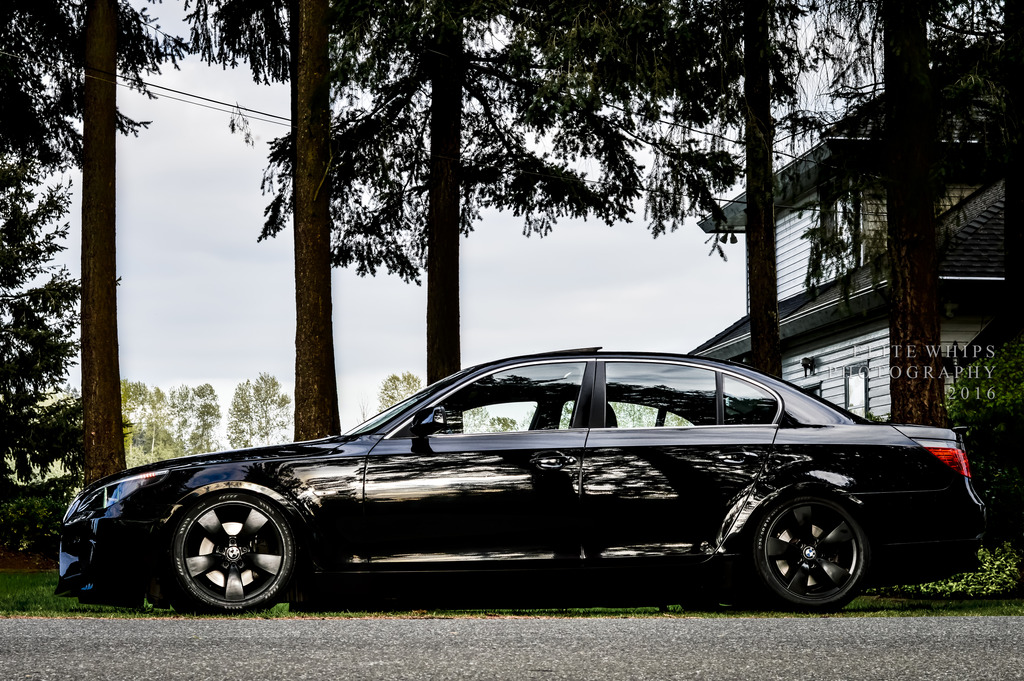
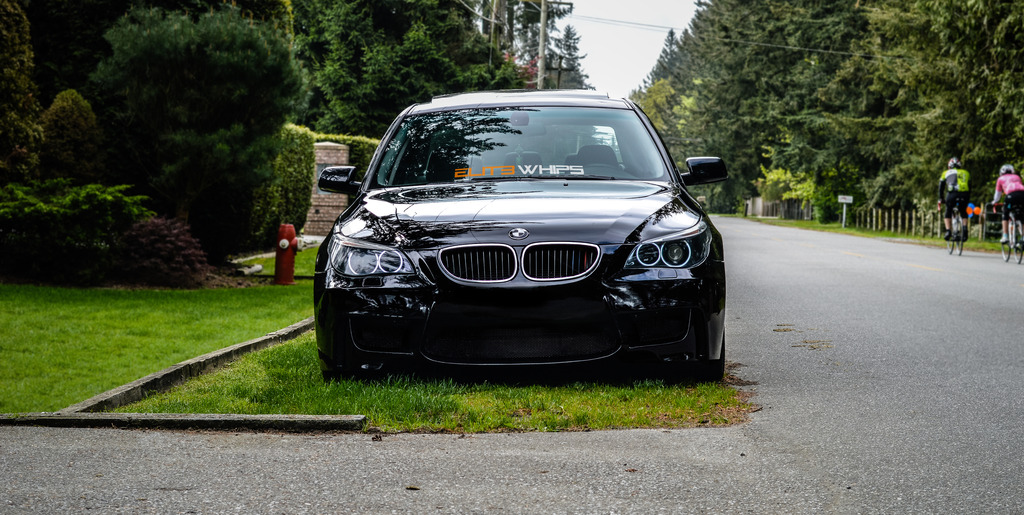
Well, I guess thats it for now, still have a few more things cooking that I havent taken pictures of yet but I'll have those up soon! Quad exhaust, front lip, retractable license plate etc.
Thanks for taking a look, feel free to say what ever you like. I'd love to hear what you guys think I should do next
(I apologize for the variety of photos, lost my sd card I was saving them on)
Alright so lets begin with the basics, January 2016 I finally got the love of my life, also known as my dream car. I had been wanting this thing for as long as I can remember and even started buying parts 3 years before owning it lol.
The car is a 2004 Jet Black BMW 530i (m54 i6 of course)
I wish I could have an n54 but the price was a little more than my budget.
So this was the first day bringing it home


Now of course the first thing I had to do was to change the Halo bulbs, so I picked up a cheap pair off amazon for $10.99... Obviously not the best, but I needed something to change the yellow oem into a little more BMW. If anyones interested in a cheap pair, I got them here:


I mean they looked good, but not visible during the day, and the outer ring looked stained as if it was still a little yellow.
So after that I really needed to do something with my car and went the typical route of painting my OEM wheels black, not my favorite decision but I figured why not since I was getting new wheels


A little hard to see in the photos but it did give the car a more aggressive look
Almost forgot to mention I finally put these in, they were collecting dust on my tv stand for the last 3 years lol. Nothing to crazy but different, seeing as everyone has the LCI tails which I actually wanted and drove all the way to seattle for to pick them up (I live in Vancouver, BC Canada btw) but when I got there they werent actually smoked lci tail lights, they were these but I said what the heck why not and now I love them

You can get these for pretty cheap on ebay for those of you looking (Link)
Alright so now heres where the big boys come in, I have always wanted the 1m bumper and ever since the group buy days I knew I had to have it. I thought it was a dream come true when extreme dimensions came out with the replicas for all BMW models. Seeing as how expensive they are for an oem plastic weld, duraflex was my best bet. So I actually managed to find a used one on ebay with a little cosmetic issues but I got those fixed, also ordered a duraflex rear m5 style bumper from andysautosport for $122.40. Freight shipping cost more than the bumper did lol

 DISCLAIMER

Im going to have to state this because I know it has been said a million times but desperate times called for desperate measures and I was forced to buy duraflex products.. Now I love them dont get me wrong, but definetly prepare your self for the head ache of
- Prepping and Painting
- Drilling holes and slits
- Actually fitting the damn thing on your car and having it semi line up
Very important to keep in mind that they did not paint well, line up well or even have any holes to drill thru. Also the front bumper was a lot smaller than my actual car and only has mesh in the centre grill. Heres some pictures of the process..


Also had to make some mesh for the bumper out of gutter drain mesh that turned out to work perfectly

Heres a small update of the look at this point..

In the mean time of the bumper being painted I had actually used a heat gun and managed to open my permasealed head lights, I replaced my halo rings with brighter CCFL rings that I custom fit, and just did a black out of the housing and side markers. I dont have any photos of the process other than these


You'll see more photos of the final lights in the end but for now I have a picture of them at night, and their reflection off the gloss painted housing was beautiful

Now the rear needed some work as well but not as bad as the front, my car doesn't have parking assist or back up sensors as u can call them, so I just filled them over with some putty


And then it was time to put them on (excuse the parts of my messy garage)


Now in the mean time, well actually after I installed my front bumper I finally received my coilovers, I wanted to be slammed and couldnt afford KW's or bags, so I cheaped out and settled for the infamous FK coils, I got the AK Streets from venommotorsports for about 4 hundredish after conversion and they shipped reasonably fast from germany. Check them out here


Few issues here and there but I gotta say pretty good ride quality for something that has non adjustable dampening (fixed at 30%) and these things can go low! I mean like at least 4"
So anyways heres the good stuff! btw Incase your wondering I also got a painted AC Schnitzer style rear spoiler off ebay for my birthday from my best friend lol link here


and now I thought I'd save the front for the pics I took on my real camera!


Well, I guess thats it for now, still have a few more things cooking that I havent taken pictures of yet but I'll have those up soon! Quad exhaust, front lip, retractable license plate etc.
Thanks for taking a look, feel free to say what ever you like. I'd love to hear what you guys think I should do next
#5


