Subwoofer Instal
 11-10-2008, 10:03 PM
#1
Contributors
Thread Starter
Join Date: Sep 2008
Location: Los Angeles
Posts: 728
Likes: 0
Received 0 Likes
on
0 Posts
My Ride: 05 530i
87 325is
85 VW GTI
For as long as i can remember i've been hooked on cars and music. When i was 15 i installed a 4 channel amp fed by my discman powering two 6x9's and two 12" kenwood subwoofer on my bed. Yup, that's right. My bed had a stereo system. The first mod i do to all my cars is an upgraded stereo system. I've done everything from VW rabbits to toyota prius' but have never tried fiberglass enclosures. I made at least a dozen custom boxes and amp racks so i thought i'd step up my game with the e60. My intent is to create something simple that does not take up trunk space and and will not empty my wallet. My plans are to use one 12" low wattage (under 500w) woofer powered by a kicker zx200.2 200watt rms bridged amp that i got as an open box buy for $20. I have the L7 so i'm going to leave the factory speakers alone for the time being. My budget is $200 which is about 5% of what i normally spend.
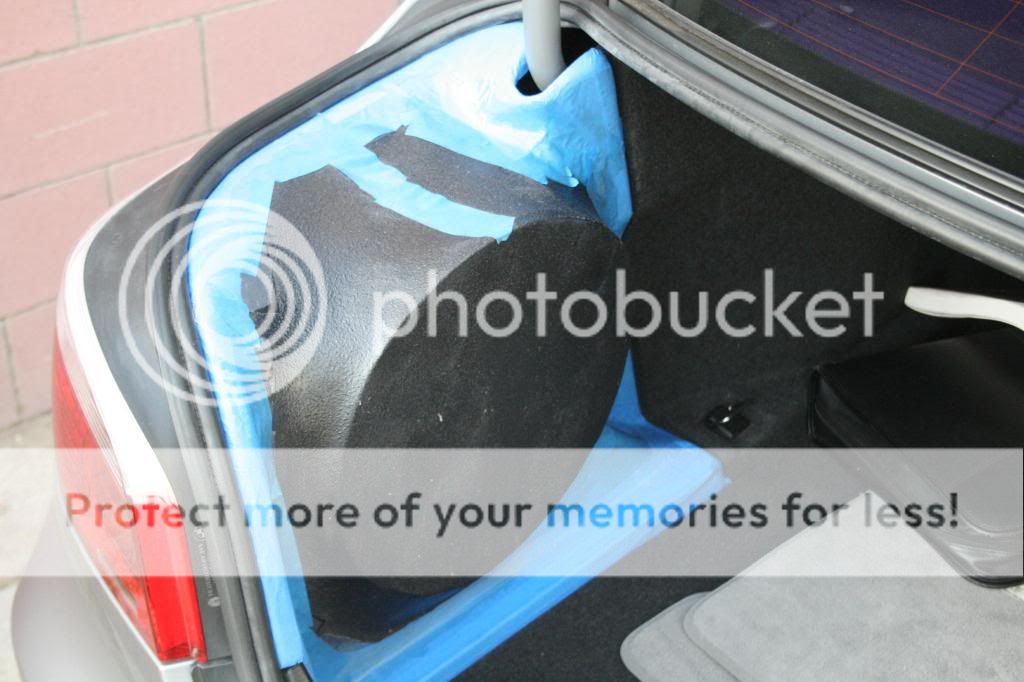
The First thing I did was remove the factory drivers side trunk carpet panel and covered it in painters tape.
I then removed the factory dvd changer rack to see it the amp would fit. Of course it was a half inch to bing so i incorporated a design change for the amp.
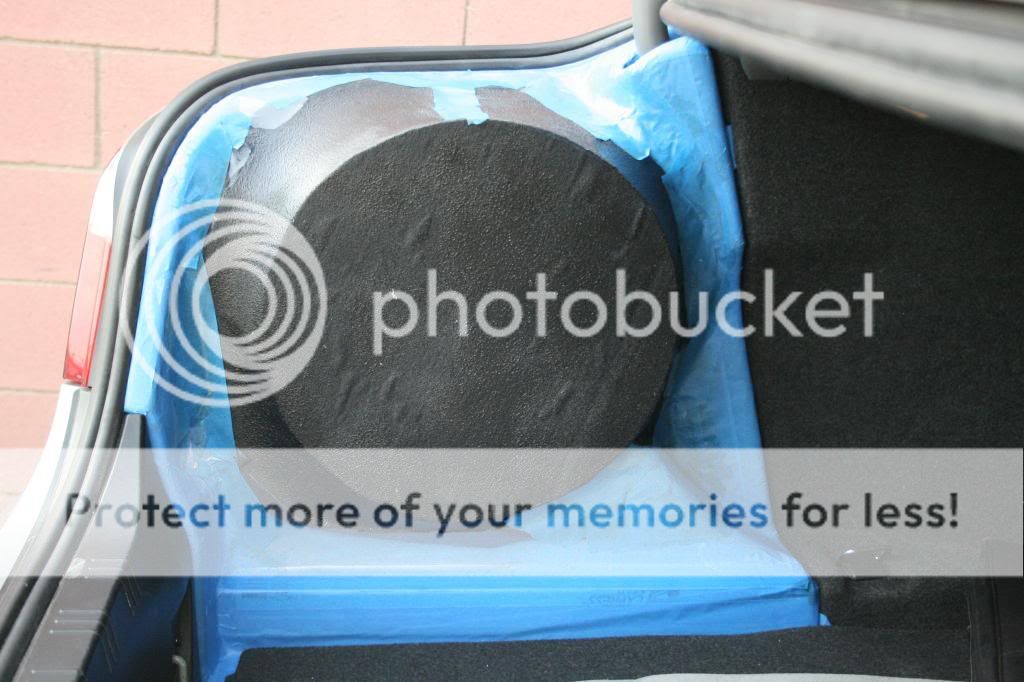
I then cut out a 13" circle out of cardboard and affixed it to the panel with cardboard support brackets.
I then reshaped the lower stepped portion of the panel with cardboard allowing room for the amp and continuing the factory lines.
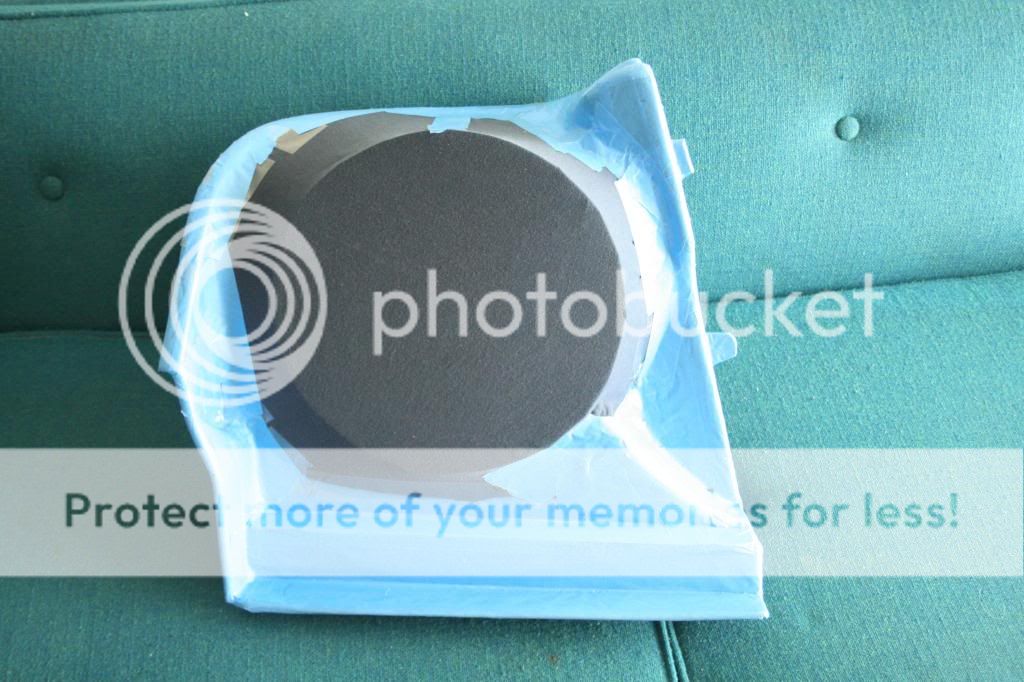
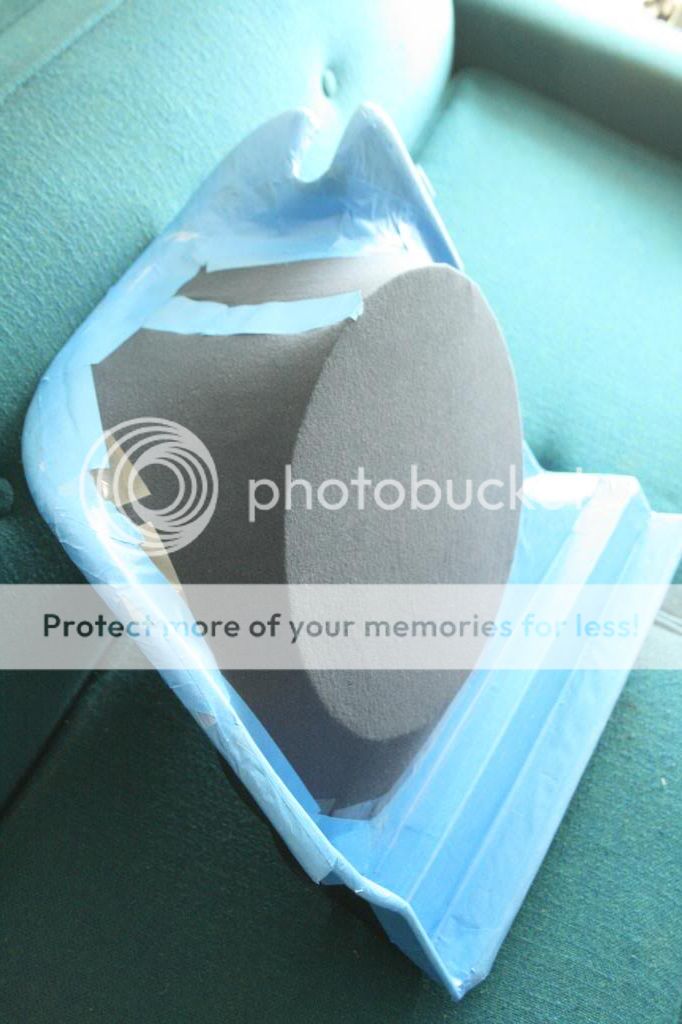
I then stretched some jersey knit cotton over the cardboard speaker cutout to and taped it to the panel.
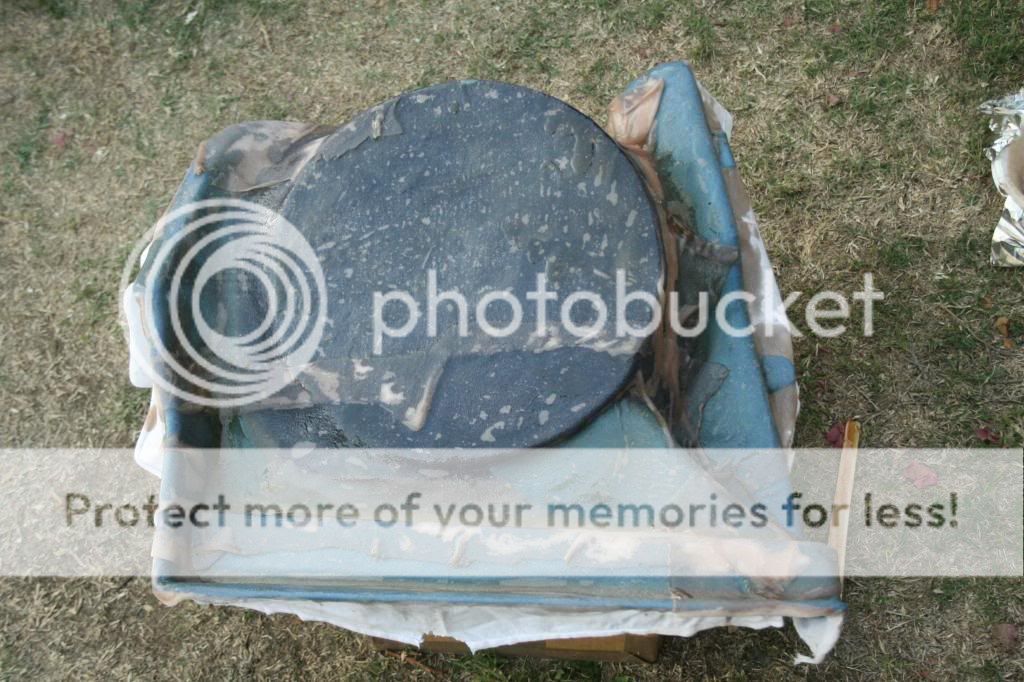
I applied a layer of polyester resin and will let if cure overnight.
Tomorrow will do some filler work and spray a layer of PVA mold release ( i'm going to make a master mold so i can reproduce it if anyone is interested in the final product) and start the rear of the enclosure if time permits as i'm also doing my brakes, and creating a true CAI for my e30. Here are pics before i glassed it. Notice the bottom stepped portion levels off instead of sloping down. This is to provide additional clearance room for the amplifier.

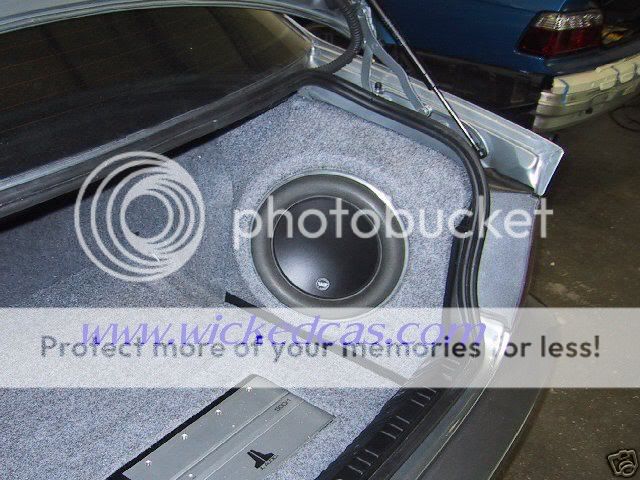
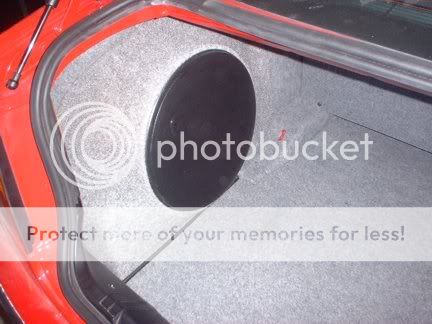
Here is what i hope to accomplish as the finished product.
The First thing I did was remove the factory drivers side trunk carpet panel and covered it in painters tape.
I then removed the factory dvd changer rack to see it the amp would fit. Of course it was a half inch to bing so i incorporated a design change for the amp.
I then cut out a 13" circle out of cardboard and affixed it to the panel with cardboard support brackets.
I then reshaped the lower stepped portion of the panel with cardboard allowing room for the amp and continuing the factory lines.
I then stretched some jersey knit cotton over the cardboard speaker cutout to and taped it to the panel.
I applied a layer of polyester resin and will let if cure overnight.
Tomorrow will do some filler work and spray a layer of PVA mold release ( i'm going to make a master mold so i can reproduce it if anyone is interested in the final product) and start the rear of the enclosure if time permits as i'm also doing my brakes, and creating a true CAI for my e30. Here are pics before i glassed it. Notice the bottom stepped portion levels off instead of sloping down. This is to provide additional clearance room for the amplifier.
Here is what i hope to accomplish as the finished product.
 11-10-2008, 10:11 PM
#2
Senior Members

Join Date: Apr 2008
Location: Cerritos
Posts: 1,991
Likes: 0
Received 0 Likes
on
0 Posts
My Ride: Jet Black 530i with some mods
finshed product looks to be very clean  .... I can't wait to see how it turns out when youre done.... keep us updated!
I'd love to add a little more bass without losing my trunk space
.... I can't wait to see how it turns out when youre done.... keep us updated! I'd love to add a little more bass without losing my trunk space
11-11-2008, 05:21 PM
#3
Contributors
Thread Starter
Join Date: Sep 2008
Location: Los Angeles
Posts: 728
Likes: 0
Received 0 Likes
on
0 Posts
My Ride: 05 530i
87 325is
85 VW GTI
Was not able to do much today. My other side projects took more time then expected. I went to my paint supply store but they don't carry PVA. I'll have to order some online. So i decided to work on the skeletal structure. Very simple but effective. I'm going to use some OEM speed nuts and secure the base o the frame with some L brackets. The base fits great behind the panel. Not much more to do with until i can start making the molds.
Oversized amp

Test fitting base
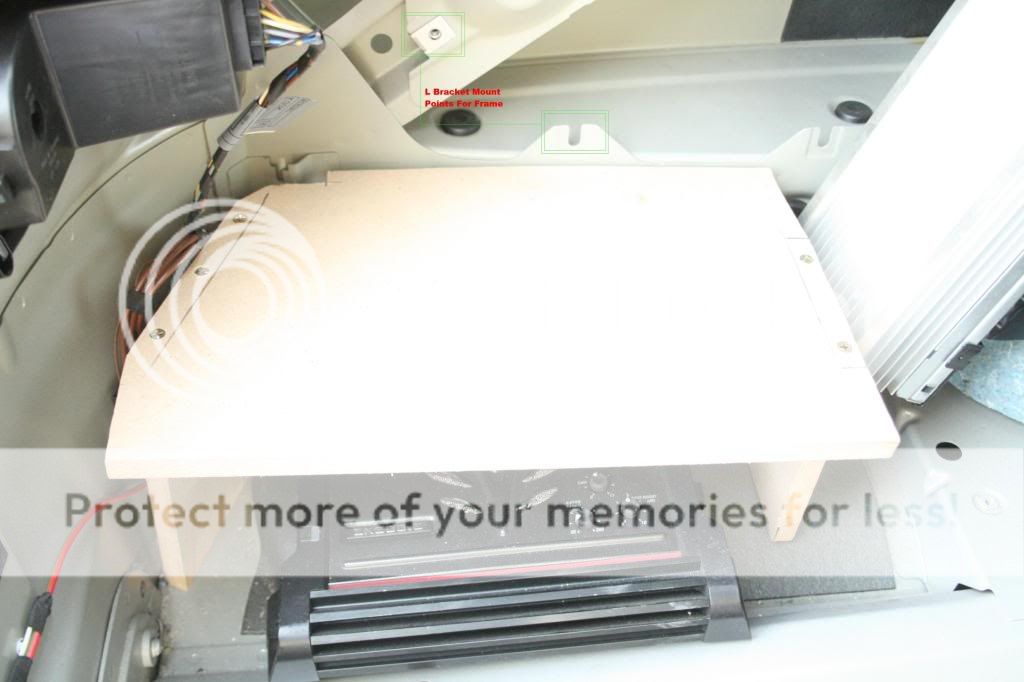
Base snug behind the panel
Oversized amp
Test fitting base
Base snug behind the panel
11-11-2008, 05:29 PM
#6
Contributors
Join Date: Sep 2008
Location: SFV California
Posts: 2,341
Likes: 0
Received 0 Likes
on
0 Posts
My Ride: 2006 530i Alpine White on Black interior, Sport and Premium Package, Steptronic, Navigation, Xenon Adaptive Headlights, Mtec V2.1 angel eyes,Hoen Fog Lights, Full M-Tech kit, ACS pedals, LED plate lights, CF Steering Wheel badge, CF Titanium trim, OE
looking pretty good!! post pics once your done with it 
good job!
post pics once your done with it good job!
11-14-2008, 04:52 PM
#7
Contributors
Thread Starter
Join Date: Sep 2008
Location: Los Angeles
Posts: 728
Likes: 0
Received 0 Likes
on
0 Posts
My Ride: 05 530i
87 325is
85 VW GTI
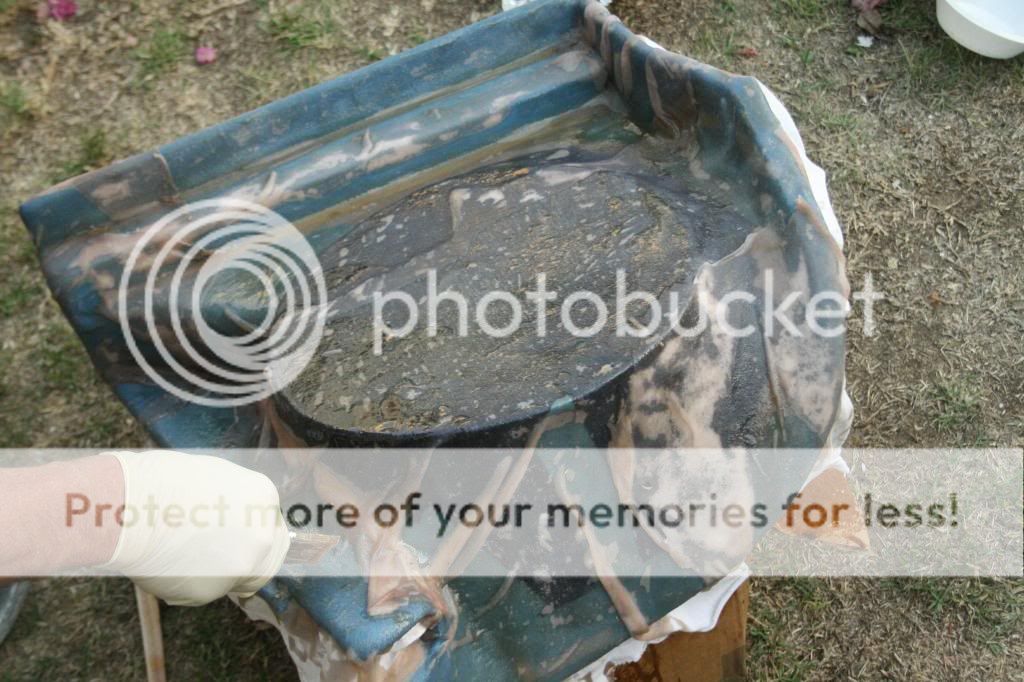
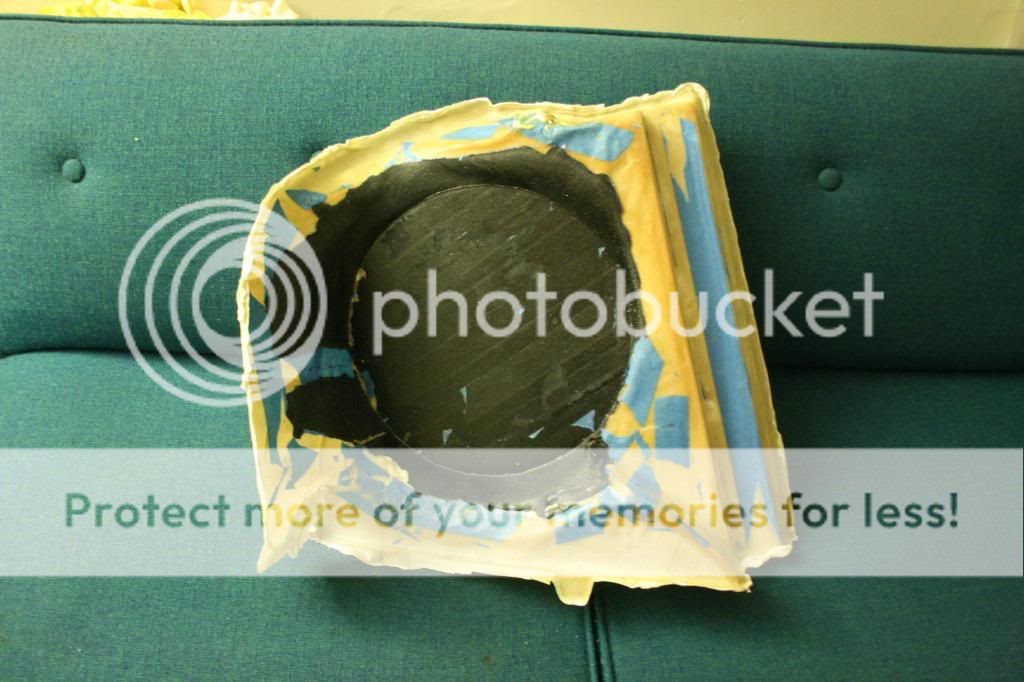
So got sick of looking at an empty spot in the trunk and was starting to get bored so after coming up short on the PVA I decided i'd try and use silicon spray as a mold release. Since i was not planning on keeping this as a master mold i made it as quickly and cheaply as possible. Notice the old torn up t-shirt in place of fiberglass. Unfortunately the silicon did not work to well and i'll probably end up sanding out stuck pieces of tape and the speaker support shape.
11-17-2008, 11:32 AM
#10
Contributors
Join Date: Sep 2008
Location: SFV California
Posts: 2,341
Likes: 0
Received 0 Likes
on
0 Posts
My Ride: 2006 530i Alpine White on Black interior, Sport and Premium Package, Steptronic, Navigation, Xenon Adaptive Headlights, Mtec V2.1 angel eyes,Hoen Fog Lights, Full M-Tech kit, ACS pedals, LED plate lights, CF Steering Wheel badge, CF Titanium trim, OE
Originally Posted by leggomysakyo' post='723403' date='Nov 17 2008, 12:30 PM
have you installed this thing yet!!!?!?!? 
