How does your RPi Soop look mounted?
 05-19-2010, 04:10 PM
#1
Contributors
Thread Starter

Join Date: Mar 2010
Location: Los Angeles, CA
Posts: 3,098
Likes: 0
Received 4 Likes
on
4 Posts
My Ride: BMW
Model Year: 2006
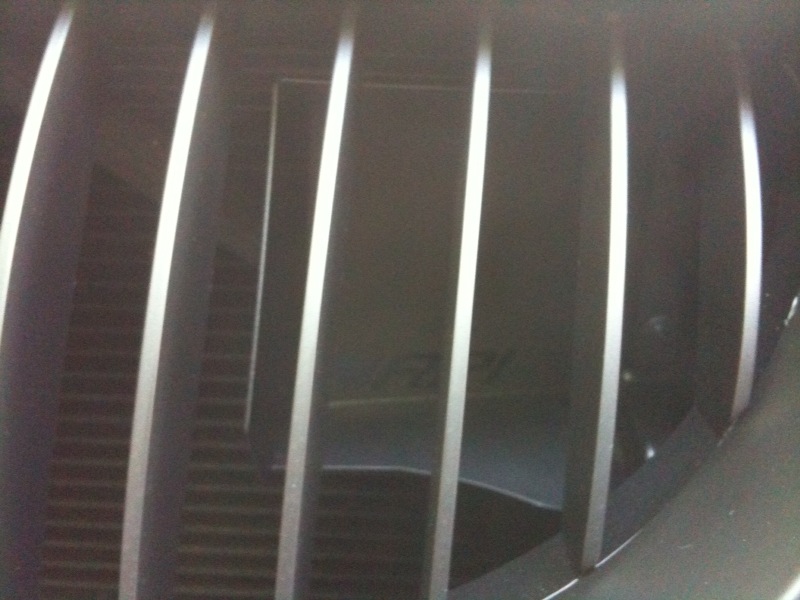
I just installed the RPi scoop based on memory from instructions at raceprecision.com. Here is what it looks like:
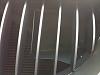
Notice the gap between the bottom of the scoop and the actuall entrance to the air intake.
Now compare the 2nd to the last picture and 4th to the last picture of the instructions:
http://raceprecision.com/forums/viewtopic.php?f=7&t=17
Mine seem more like the 2nd to the last picture. Does it matter? Maybe I'm just being anal about it.
Balbs


 05-19-2010, 10:38 PM
#5
Former Vendor

Join Date: Oct 2006
Location: Anaheim, CA
Posts: 19,460
Likes: 0
Received 0 Likes
on
0 Posts
My Ride: F13 M6
 05-19-2010, 10:49 PM
#6
Senior Members
Join Date: Dec 2009
Location: 626 & 909 (Rowland Heights, CA)
Posts: 1,519
Likes: 0
Received 0 Likes
on
0 Posts
My Ride: check siggg
i just installed mine too! too bad i forgot to take pictures. haha. i got a red one cuz i think it goes better with my color.
05-20-2010, 11:57 AM
#8
Contributors
Join Date: Dec 2008
Location: dallas, tx
Posts: 824
Likes: 0
Received 0 Likes
on
0 Posts
My Ride: e60
i think its posted somewhere that u should use tape or something to smooth over the gap between the 2 areas
:l
something about causing unneeded turbulence of the air
in either case i put aluminum tape in that gap then spray painted it silver grey metallic just like i did the inside of my scoop

:l
something about causing unneeded turbulence of the air
in either case i put aluminum tape in that gap then spray painted it silver grey metallic just like i did the inside of my scoop
05-23-2010, 10:11 AM
#9
Contributors
Join Date: Apr 2010
Location: Rijswijk, The Netherlands
Posts: 578
Likes: 0
Received 0 Likes
on
0 Posts
My Ride: 2005 E60 523 executive
20"ASA / Bi-Xenon / Full M-tech / LED Angel Eyes / Matte Black Kidney's / LED Side Markers
this is how I installed mine

[font="'Lucida Grande"] [/font]
[font="'Lucida Grande"] [/font]
[font="'Lucida Grande"]
[/font][font="'Lucida Grande"]
[/font]

Thread
Thread Starter
Forum
Replies
Last Post
bestofthebest
Complete Car Sales
4
03-28-2016 02:47 PM