ZR3 Installation
 04-01-2007, 07:40 PM
#1
Senior Members
Thread Starter

Join Date: Aug 2005
Location: Baltimore, MD
Posts: 353
Likes: 0
Received 0 Likes
on
0 Posts
My Ride: 2006 550i, Alpine White, Beige Ltr, Sport Pkg, Cold Weather Pkg, Premium Sound, Active Steering, Comfort Access, Steptronic, Nav, Satellite Radio, Split Fold Rear Seats, V1
This is much easier than it looks. With the directions below it should take a little over an hour for a great installation. Good luck!
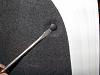
To start the installation locate the two torx screws on the front bumper next to each fog lamps and remove. This will be the mounting location. After some experimentation, I found that some silicone sealer on the back of the bracket helped prevent it from moving once the shifters were aligned. No additional holes were needed to be drilled.
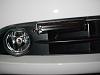
The front brackets must be modified by lengthening the long holes to allow more travel. This will allow the alignment of the shifter to point forward. The bracket is soft metal and can easily be modified. I used the Dremel with a grinder attachment. It only took a minute per bracket.
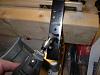
The brackets attached to the front shifters have to be reversed to allow for a minimal depth installation. Unscrew, flip, and rescrew the shifter brackets as shown. Attach the shifters to the brackets you installed on the bumper. Align them to point forward and parallel to the ground.
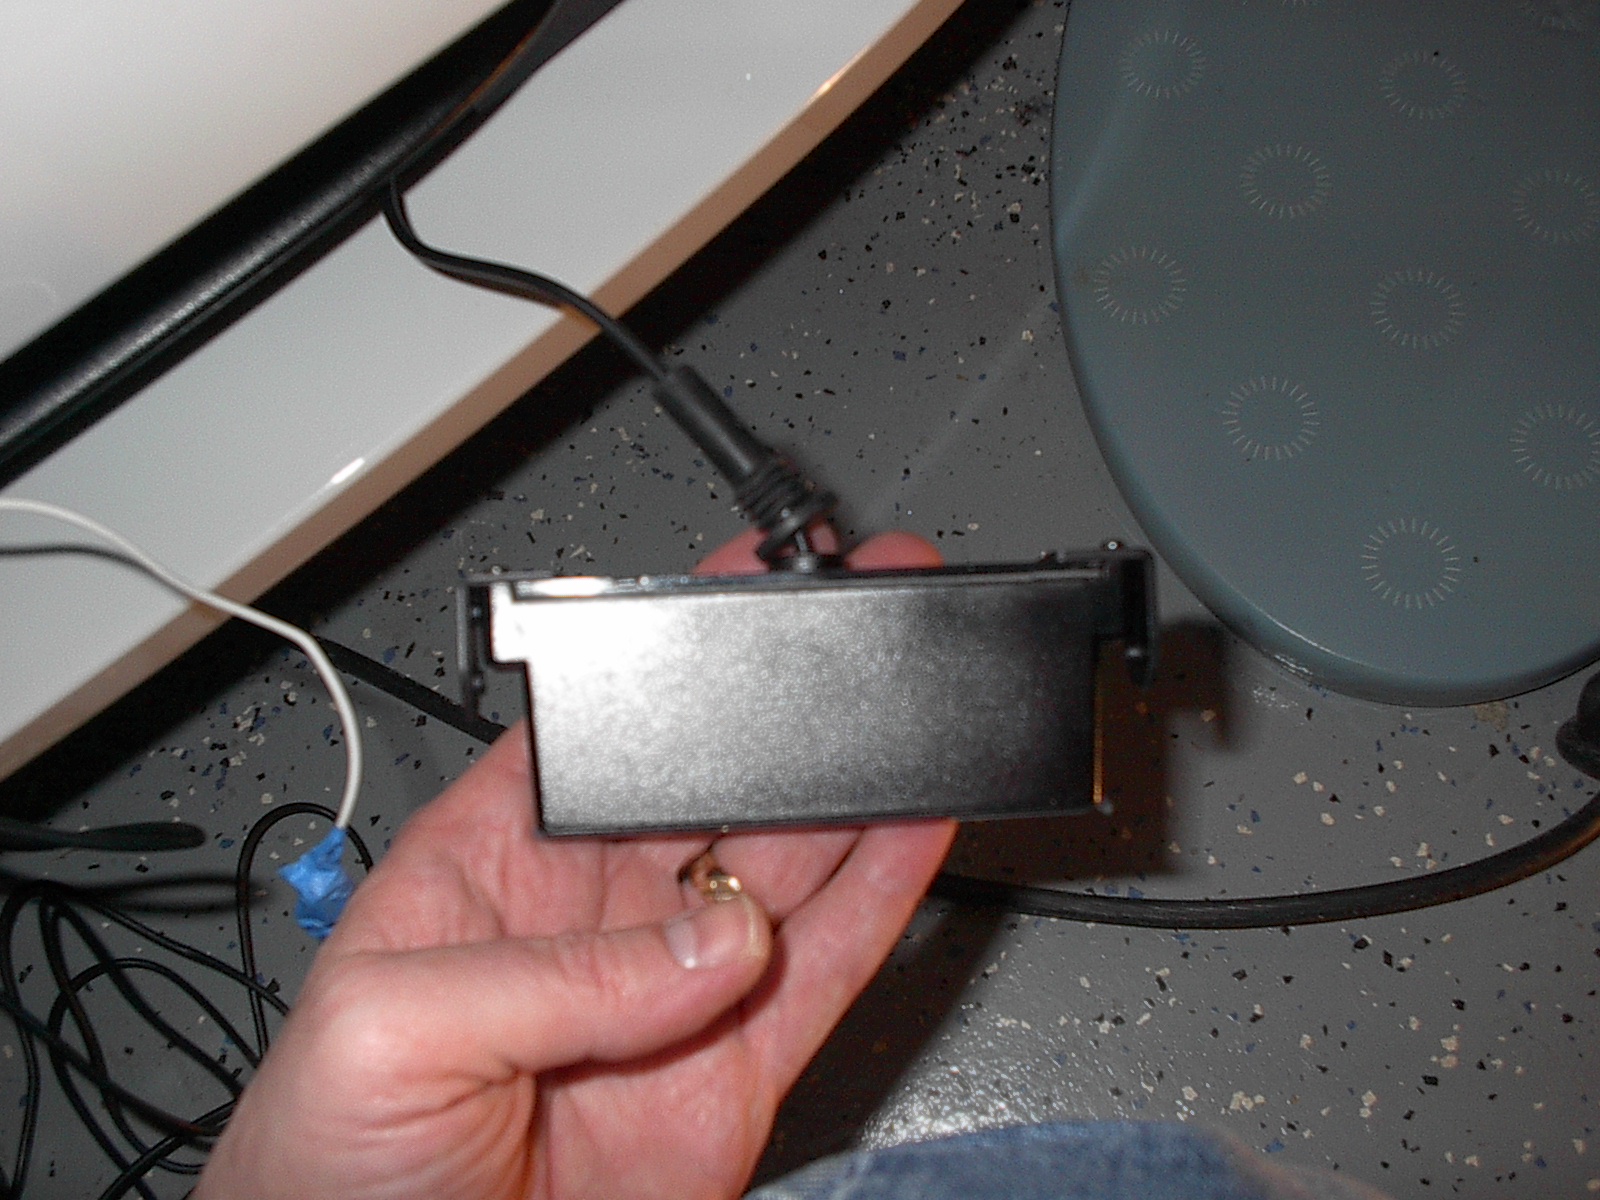
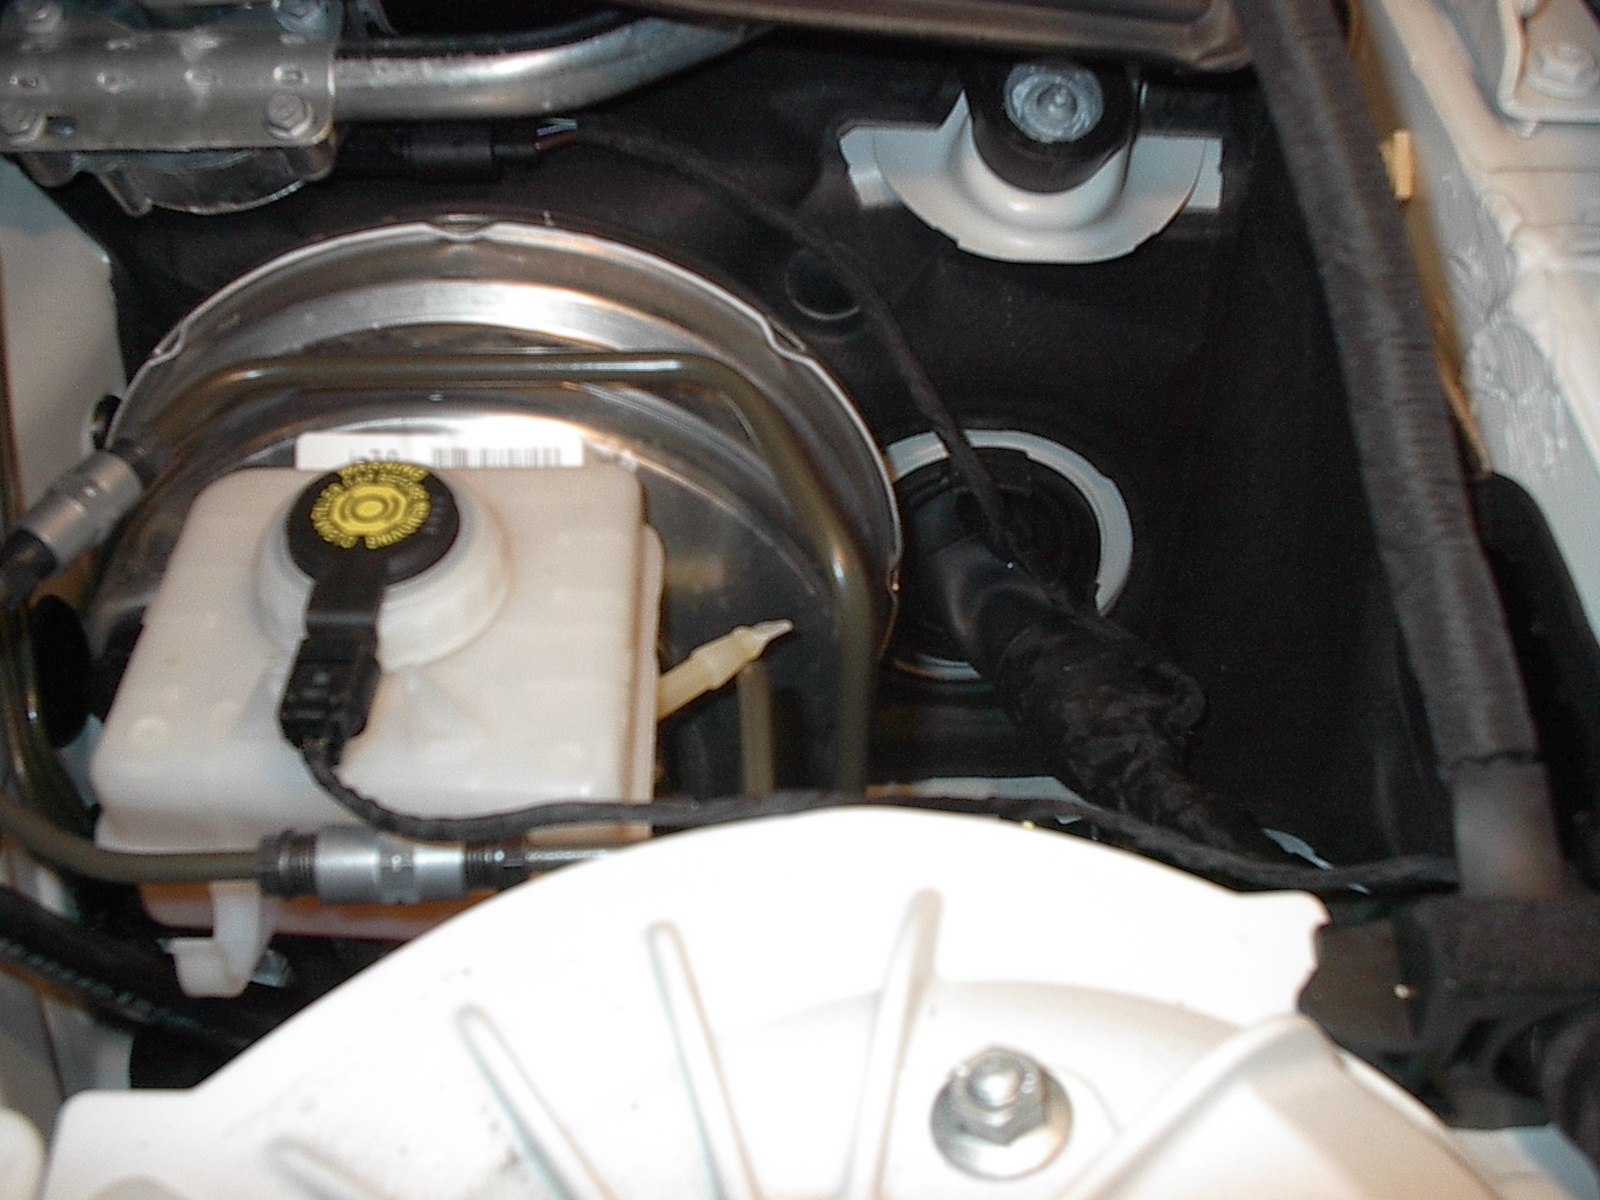
Route both shifter cables up to the top of the engine bay and bring them along the drivers side where they can be routed with the existing cables. This will look very neat and clean.

Continue routing the cables toward the firewall along the existing cables.
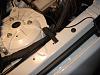
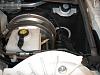
Removing the cover, expose the firewall pass thru for the existing wiring harness. There is a rubber boot that covers the wiring harness where it enters the firewall. I cut a small slit in the end of the rubber boot and fed the two shifter wires thru the boot. I used some silicone sealer to reseal the boot. After disassembling the drivers footwell cover, pull the wires thru from inside the car.
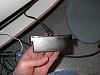
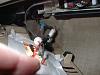
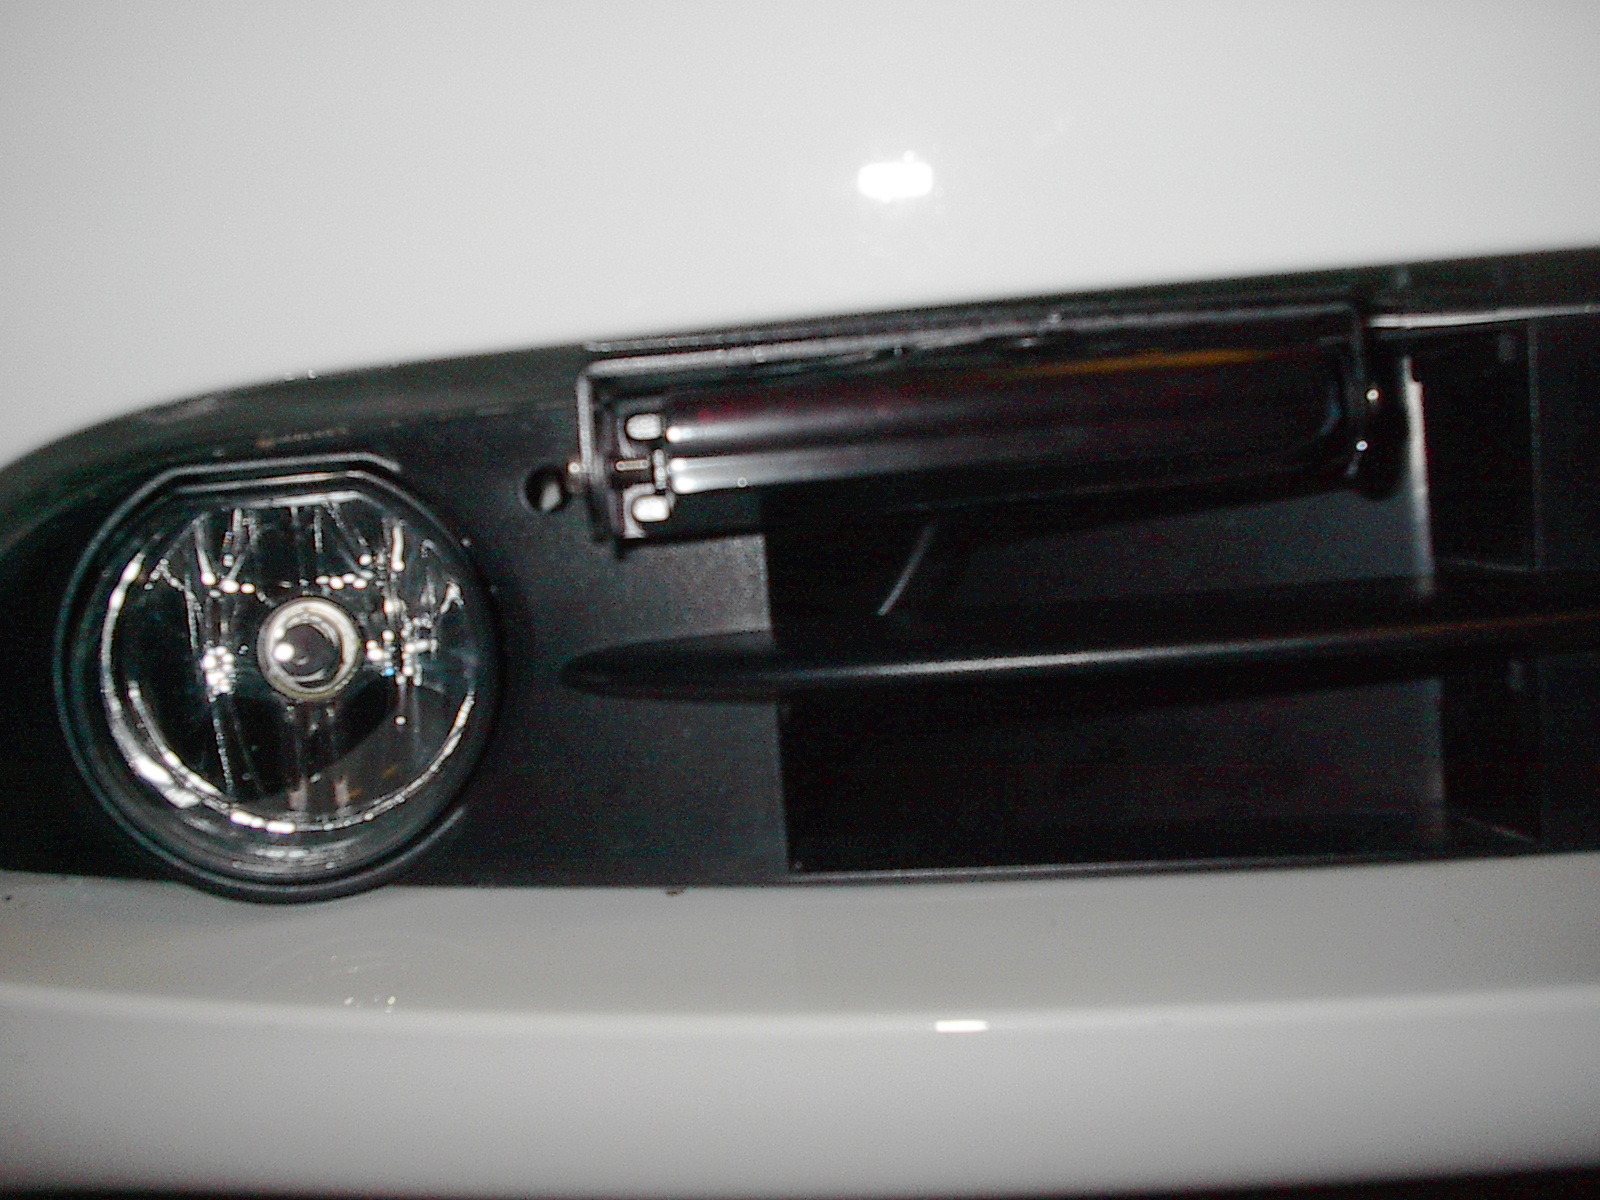
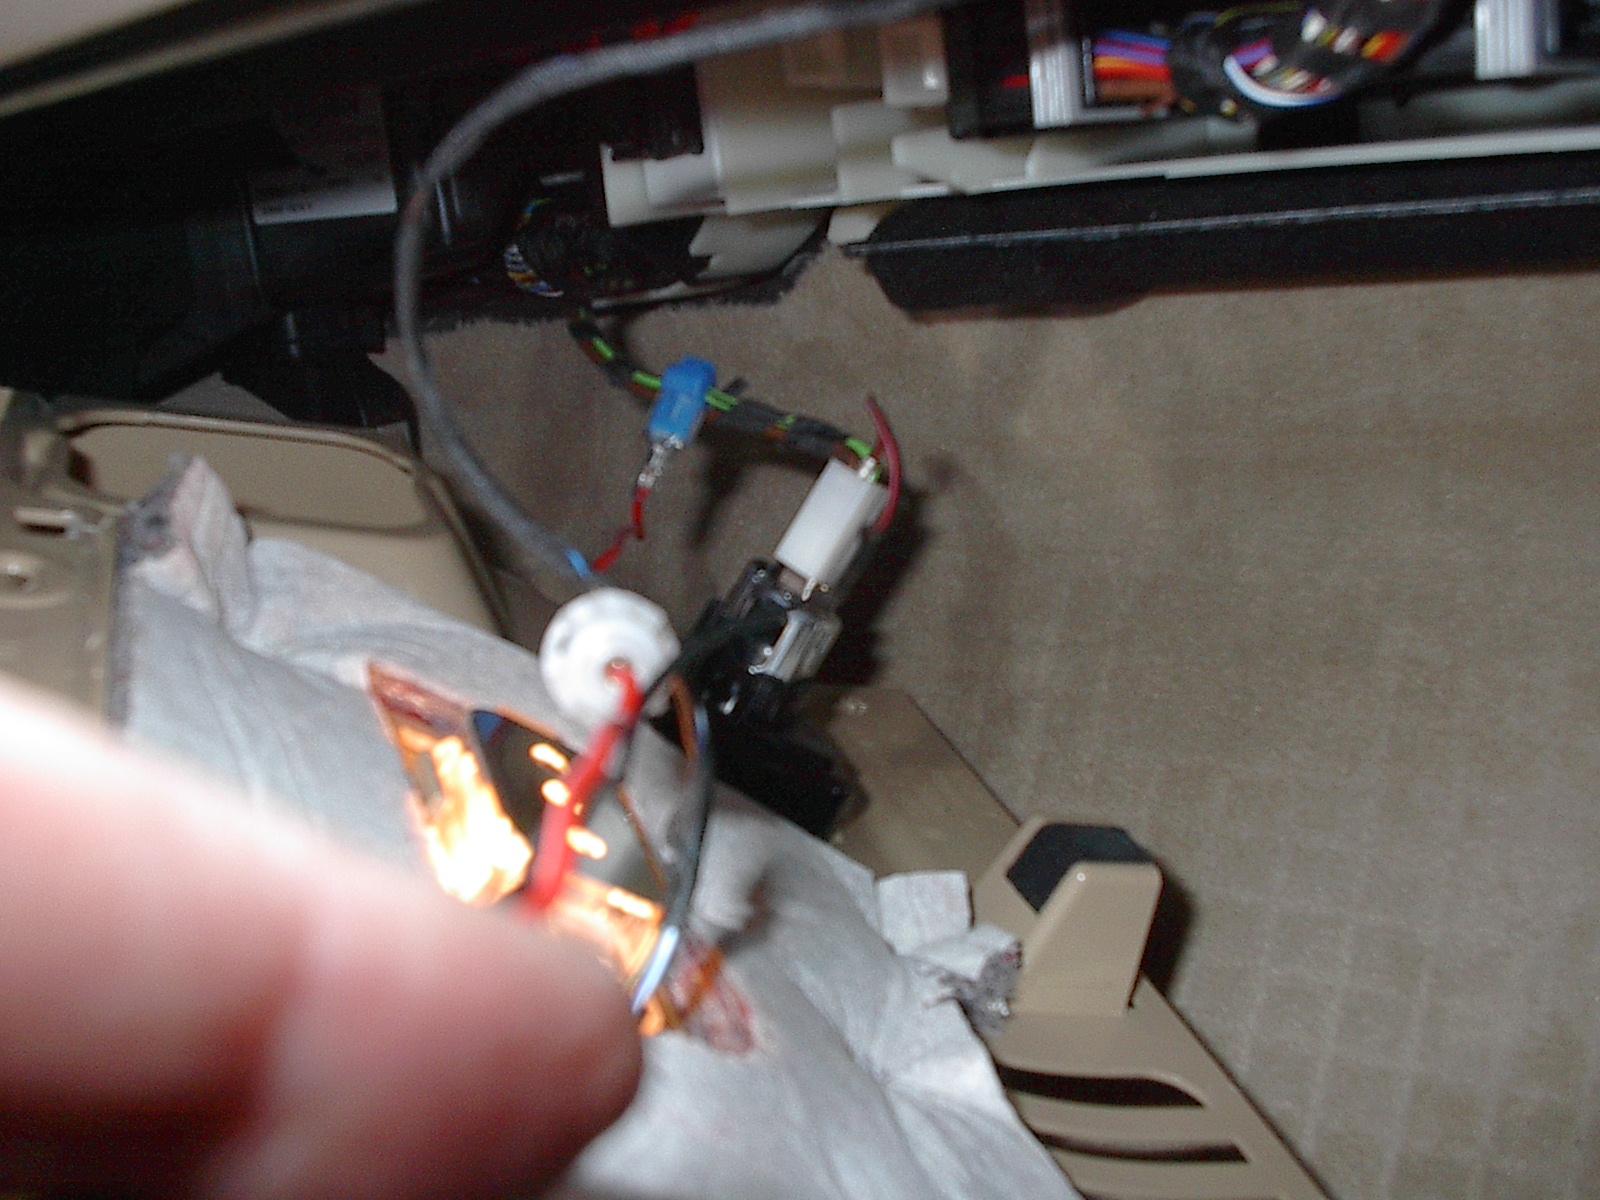
Remove the cover from the passenger footwell under the glove box. This is where I located the "brain" and made the electrical connections. Plug the front shifters into the "Brain" and work on the hot and ground wires next. I tapped into the hot lead of the power port located here. This allows the shifter to be powered on and off with the ignition. Very convenient. Find a nice grounding screw and tie in the ground wire. There are plenty of options for that in this location.
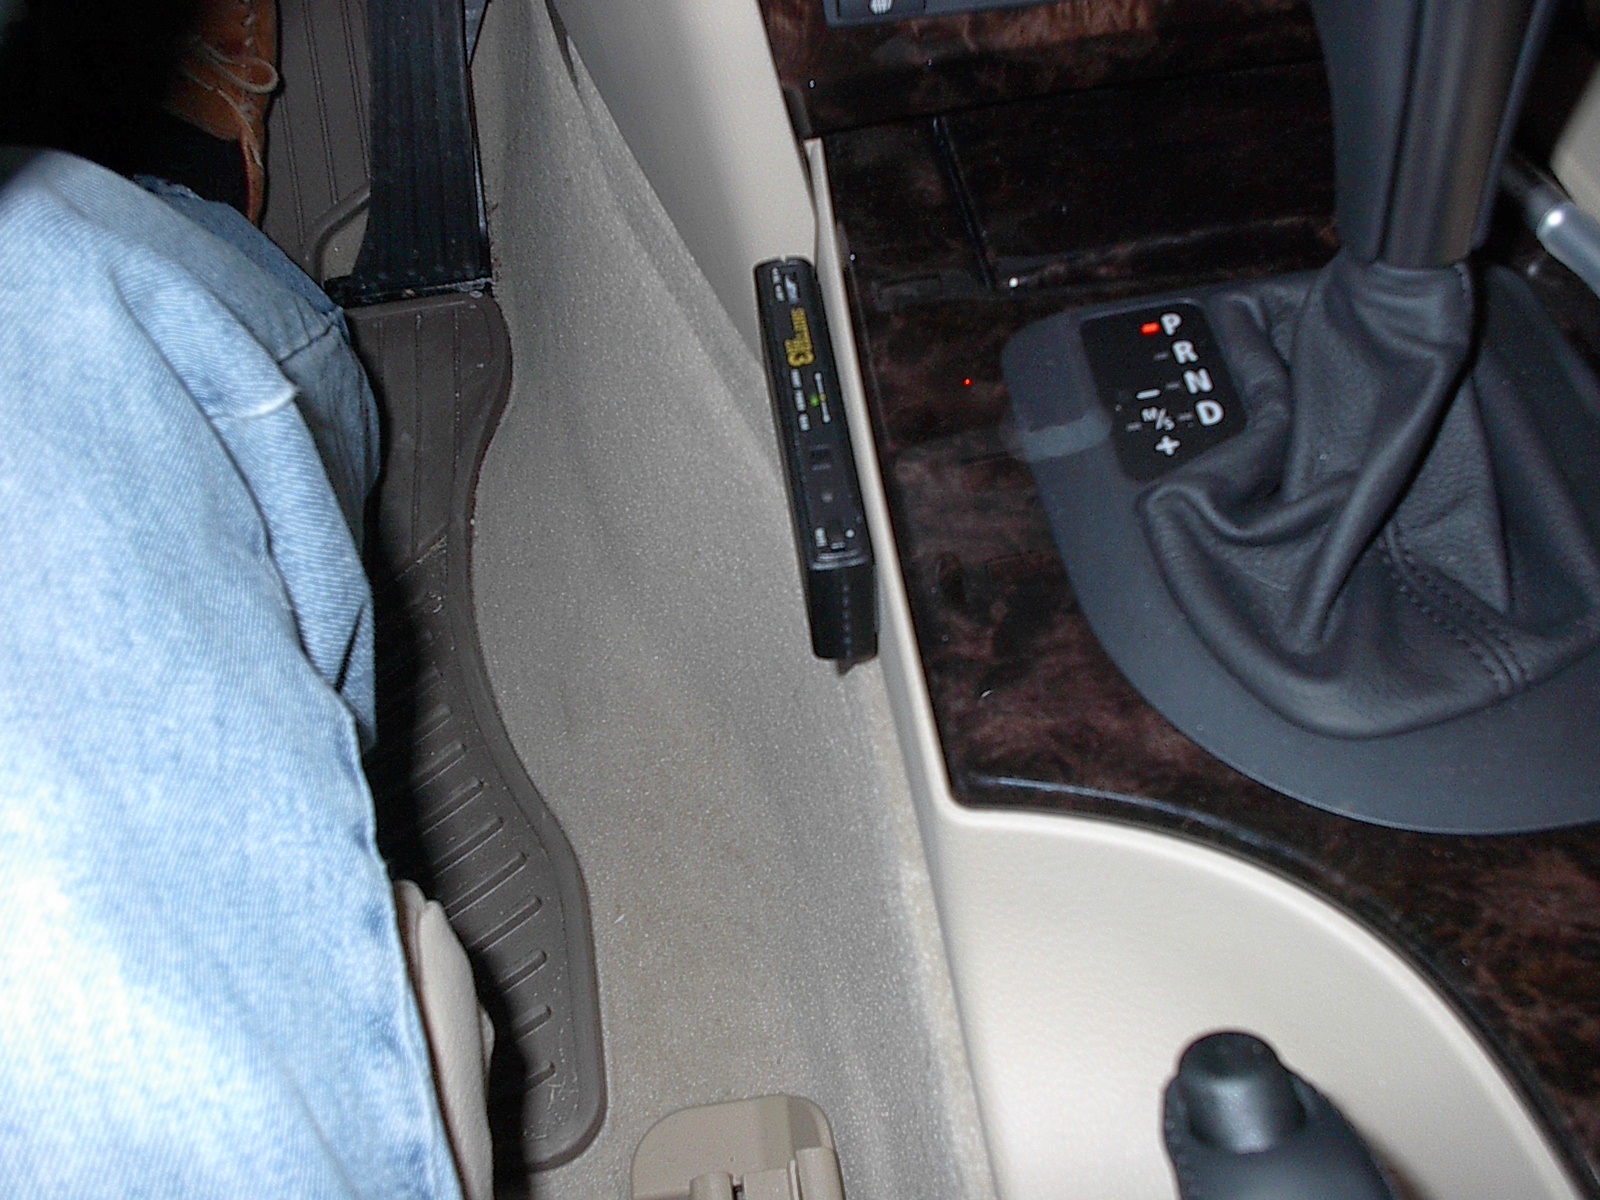
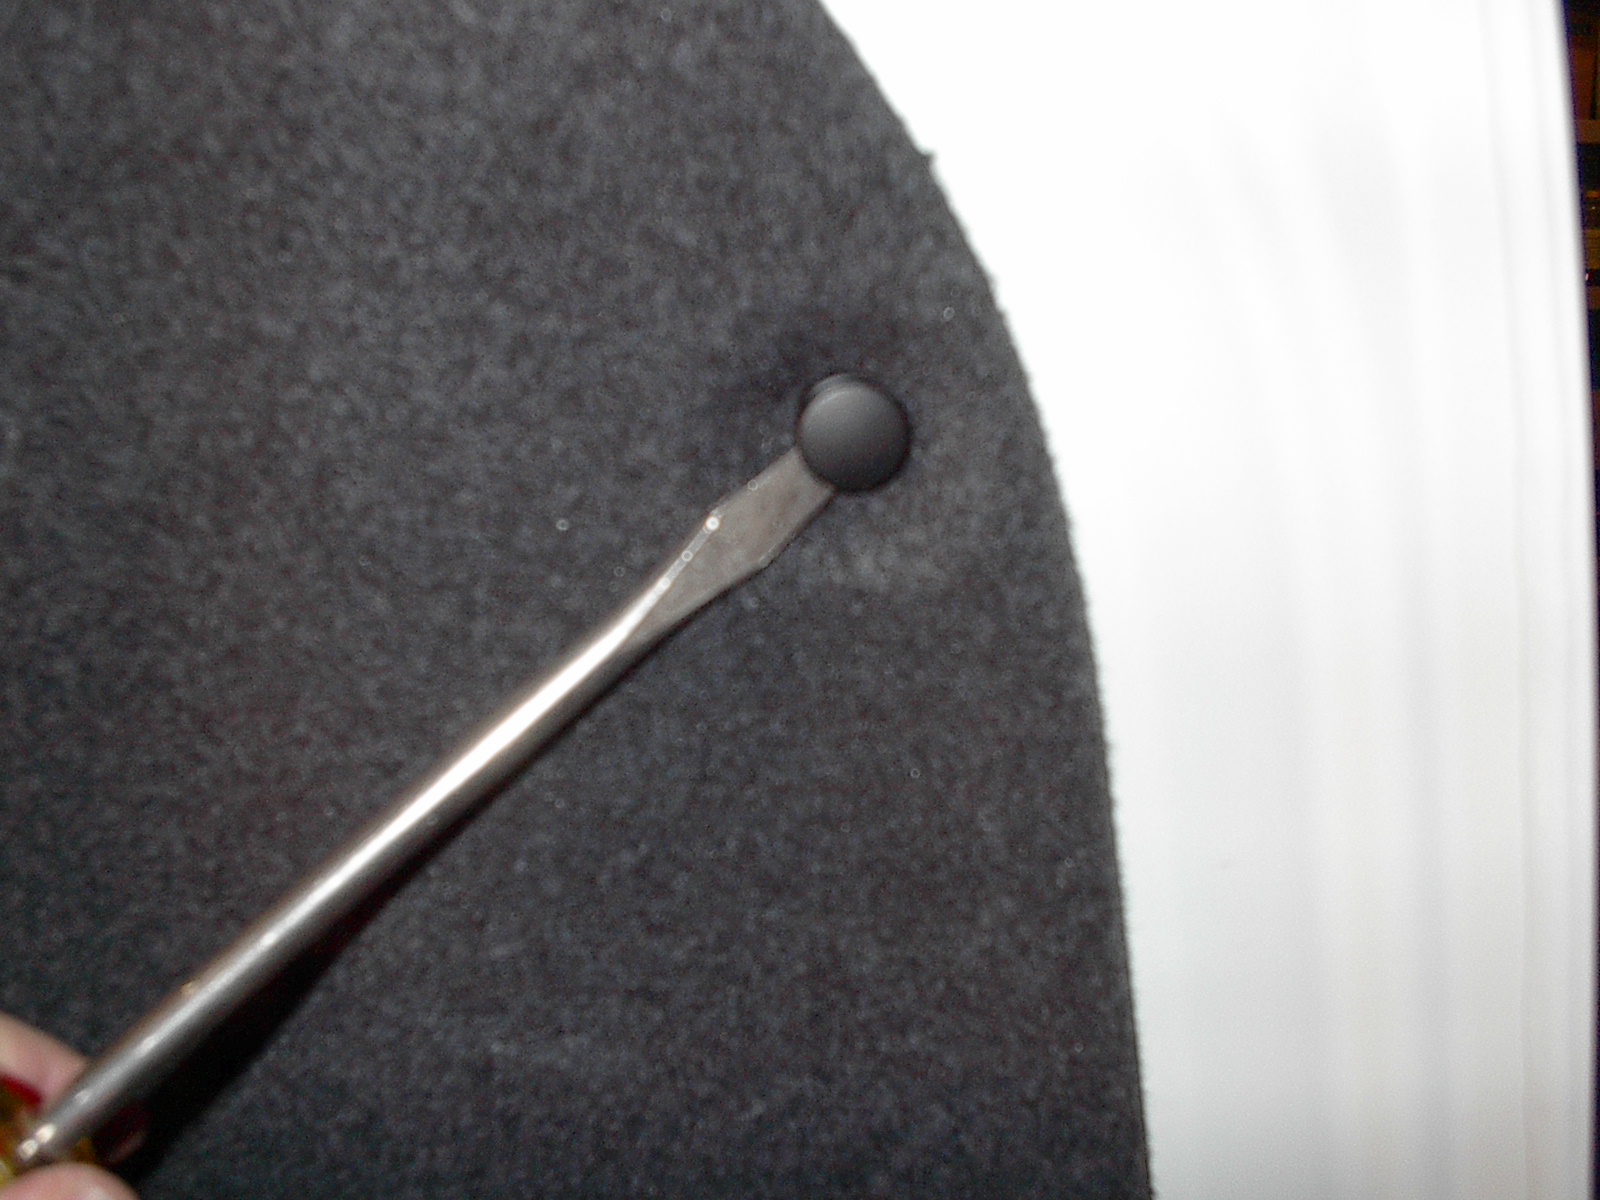
To locate the inside display module, remove the long thin carpeted trim strip along the drivers side of the center console. This is removed by gently pushing the panel toward the rear of the car. It will move about a half inch rearward and can then be lifted away.
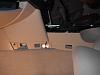
I attached the shifter display to the center console with high strenth double sided tape and routed the wire down thru one of the holes in the plastic trim and thru the center console along the carpeting. Once you fish it out the passenger footwell, plug it into the "brain" module. Reattach the carpeted trim strip in the drivers side console and you are looking good.

I attached the rear shifter to the top of the license plate using the plate screws. This will render the rubber coated handle for lifting the trunk useless because it covers the handle. I find that I always use the keyfob button or the inside release for the trunk and I do not miss the functionality of this sacrificed handle. Having the rear shifter up top makes it very discrete compared to locating it by the bottom screws. Originally I located the wire around the bottom lip of the trunk. Later I found the license plate light can easily be removed and the wire should be routed up thru that opening. The license plate lights can be removed by gentle sliding them to the side. They can then be removed. I recommend removing the passenger side light for routing. Sorry no picture.
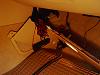
Remove the carpeted trunk liner from the inside of the trunk lid by pulling out each of the fasteners and lowering the liner. I used zip ties to tie the cable to the passenger side hinge arm and brought the cable thru the rear seat into the cabin.
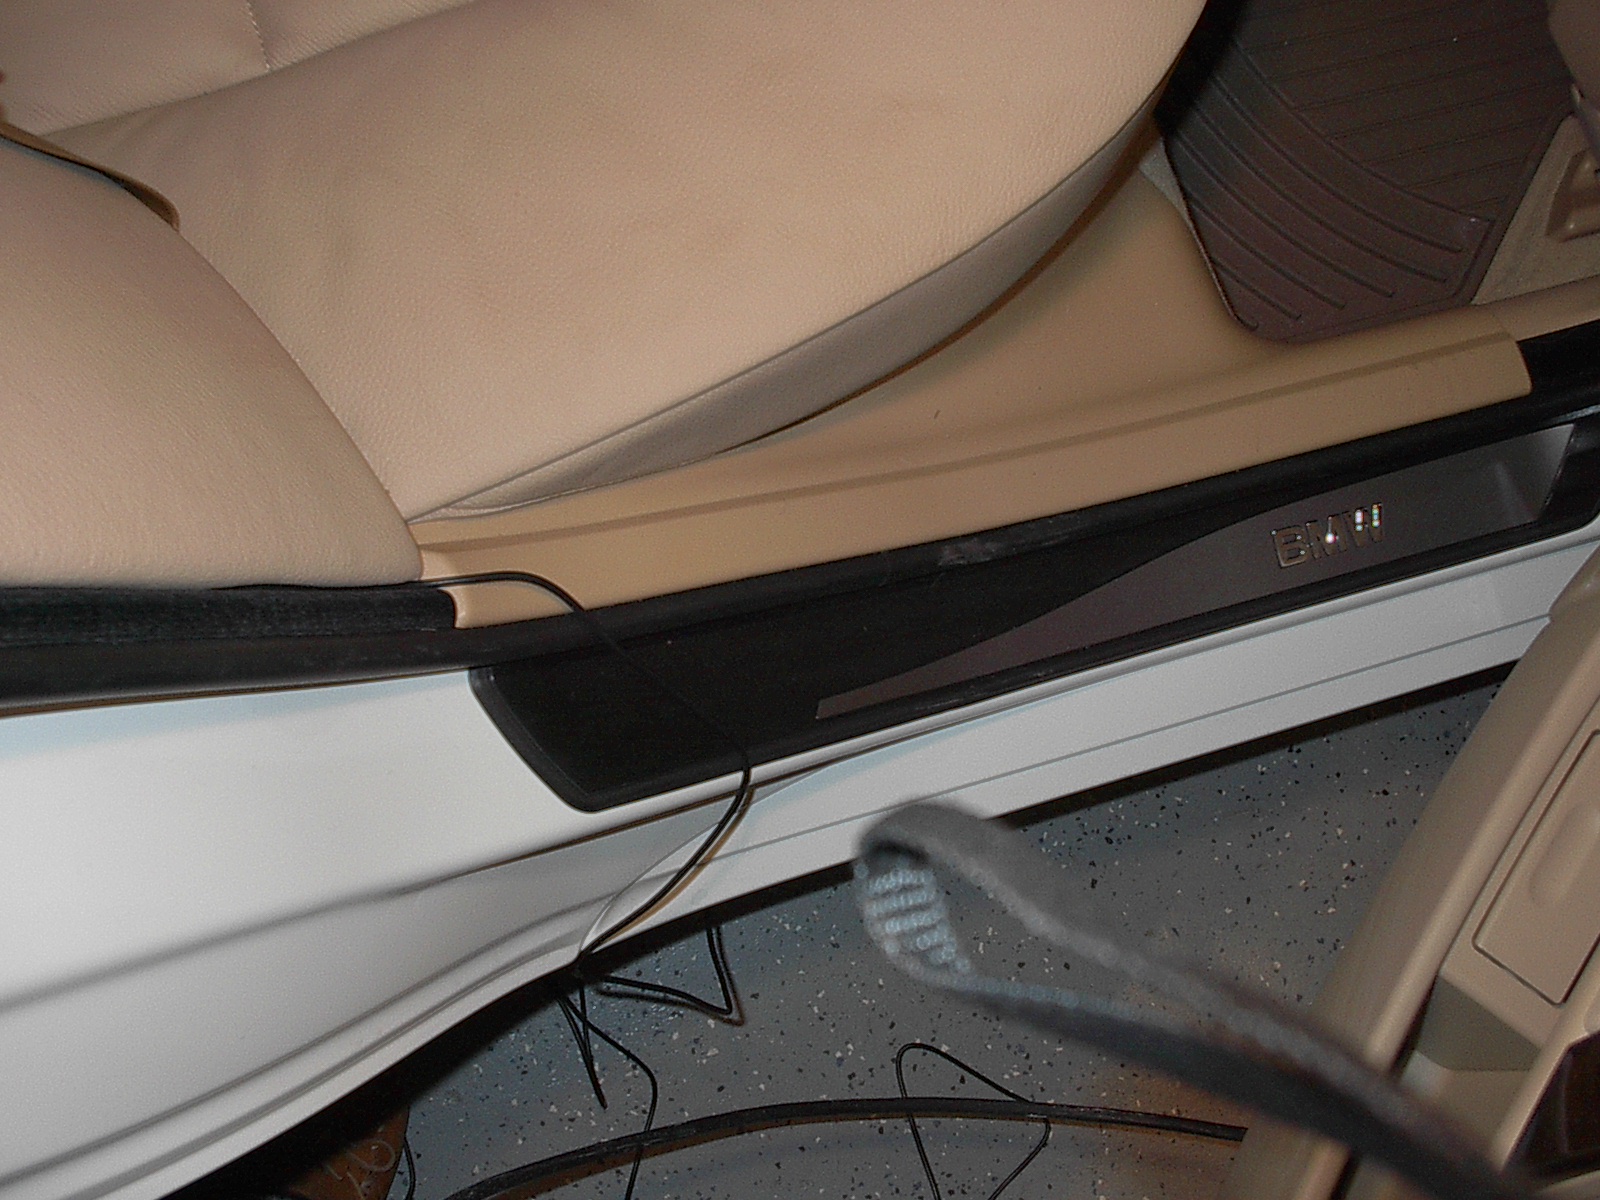
Neatly tuck the wire under the rocker panel and trim from the rear door, B Pillar, and front rocker panel until you have it to the front passenger footwell. Plug it into the "Brain".

With everything plugged in, start the car and let the shifter run thru the self test. If everything works as described in the manual, you are OK to button up all of the trim panels and enjoy worry free driving.
Happy motoring - be safe.
To start the installation locate the two torx screws on the front bumper next to each fog lamps and remove. This will be the mounting location. After some experimentation, I found that some silicone sealer on the back of the bracket helped prevent it from moving once the shifters were aligned. No additional holes were needed to be drilled.
The front brackets must be modified by lengthening the long holes to allow more travel. This will allow the alignment of the shifter to point forward. The bracket is soft metal and can easily be modified. I used the Dremel with a grinder attachment. It only took a minute per bracket.

The brackets attached to the front shifters have to be reversed to allow for a minimal depth installation. Unscrew, flip, and rescrew the shifter brackets as shown. Attach the shifters to the brackets you installed on the bumper. Align them to point forward and parallel to the ground.
Route both shifter cables up to the top of the engine bay and bring them along the drivers side where they can be routed with the existing cables. This will look very neat and clean.
Continue routing the cables toward the firewall along the existing cables.
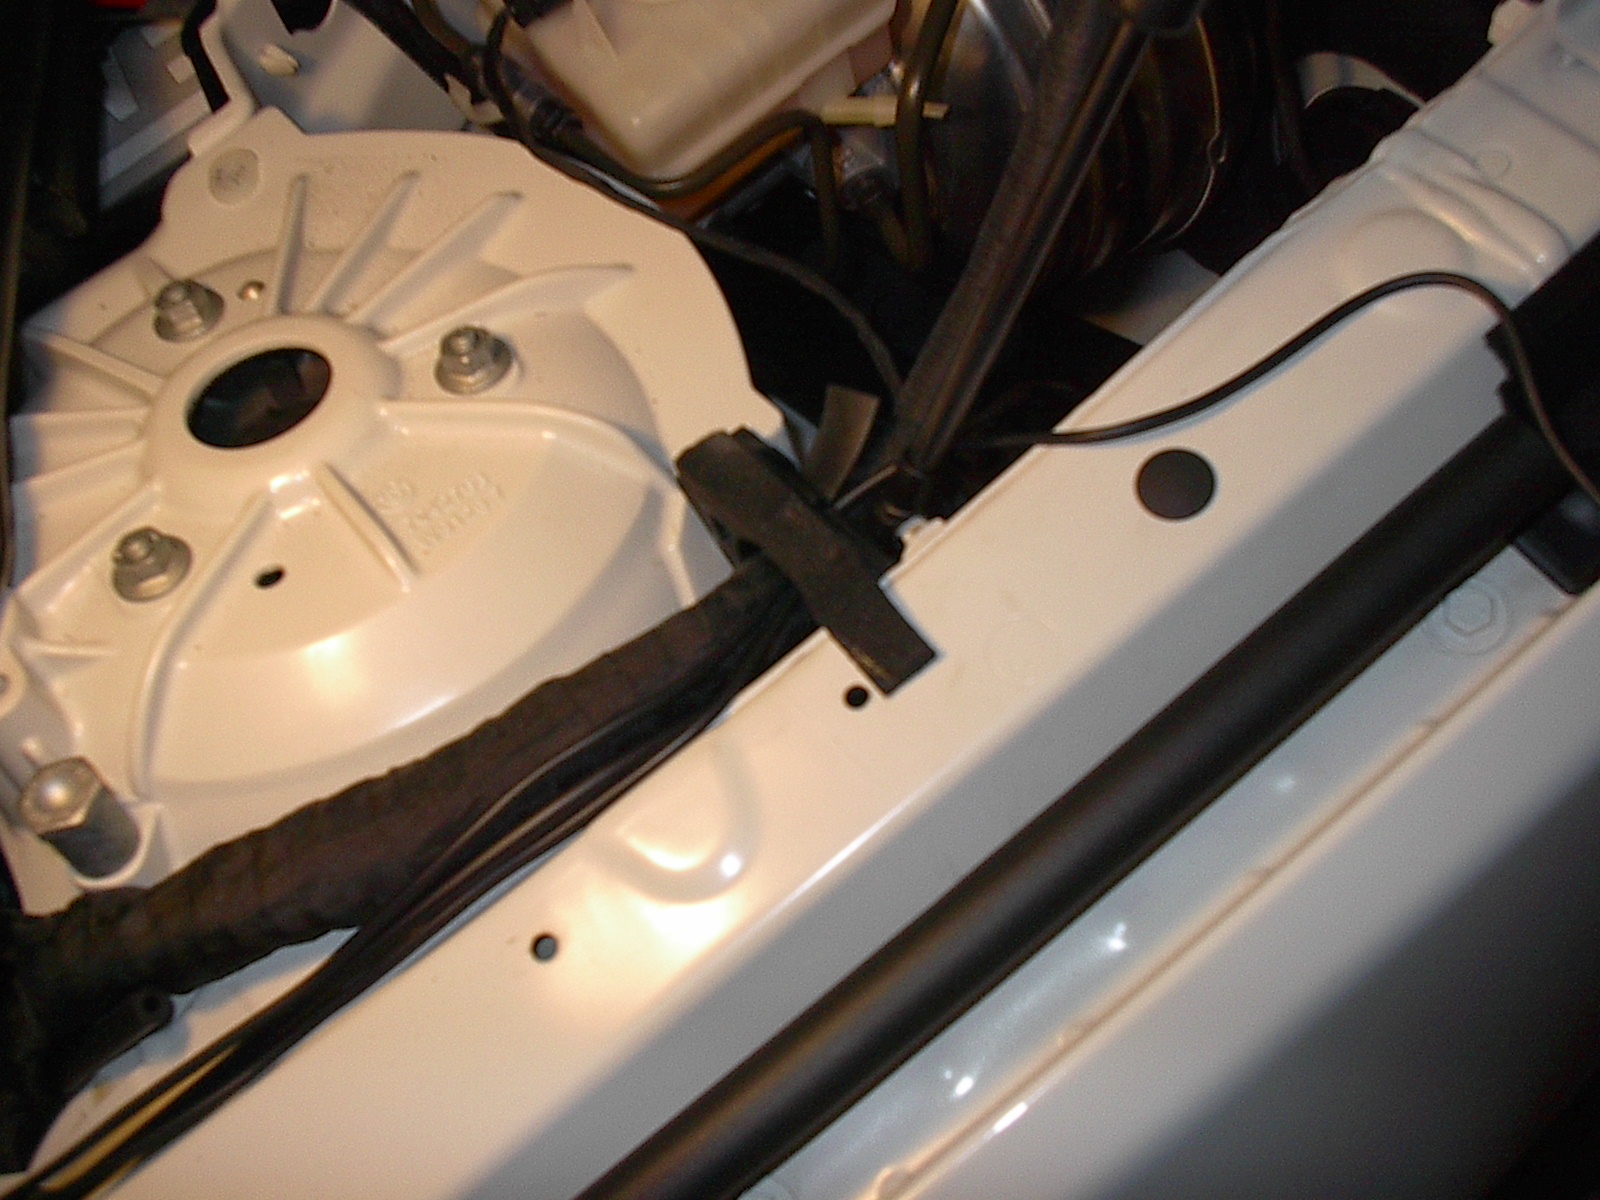
Removing the cover, expose the firewall pass thru for the existing wiring harness. There is a rubber boot that covers the wiring harness where it enters the firewall. I cut a small slit in the end of the rubber boot and fed the two shifter wires thru the boot. I used some silicone sealer to reseal the boot. After disassembling the drivers footwell cover, pull the wires thru from inside the car.
Remove the cover from the passenger footwell under the glove box. This is where I located the "brain" and made the electrical connections. Plug the front shifters into the "Brain" and work on the hot and ground wires next. I tapped into the hot lead of the power port located here. This allows the shifter to be powered on and off with the ignition. Very convenient. Find a nice grounding screw and tie in the ground wire. There are plenty of options for that in this location.

To locate the inside display module, remove the long thin carpeted trim strip along the drivers side of the center console. This is removed by gently pushing the panel toward the rear of the car. It will move about a half inch rearward and can then be lifted away.

I attached the shifter display to the center console with high strenth double sided tape and routed the wire down thru one of the holes in the plastic trim and thru the center console along the carpeting. Once you fish it out the passenger footwell, plug it into the "brain" module. Reattach the carpeted trim strip in the drivers side console and you are looking good.
I attached the rear shifter to the top of the license plate using the plate screws. This will render the rubber coated handle for lifting the trunk useless because it covers the handle. I find that I always use the keyfob button or the inside release for the trunk and I do not miss the functionality of this sacrificed handle. Having the rear shifter up top makes it very discrete compared to locating it by the bottom screws. Originally I located the wire around the bottom lip of the trunk. Later I found the license plate light can easily be removed and the wire should be routed up thru that opening. The license plate lights can be removed by gentle sliding them to the side. They can then be removed. I recommend removing the passenger side light for routing. Sorry no picture.
Remove the carpeted trunk liner from the inside of the trunk lid by pulling out each of the fasteners and lowering the liner. I used zip ties to tie the cable to the passenger side hinge arm and brought the cable thru the rear seat into the cabin.
Neatly tuck the wire under the rocker panel and trim from the rear door, B Pillar, and front rocker panel until you have it to the front passenger footwell. Plug it into the "Brain".
With everything plugged in, start the car and let the shifter run thru the self test. If everything works as described in the manual, you are OK to button up all of the trim panels and enjoy worry free driving.
Happy motoring - be safe.
 04-01-2007, 08:44 PM
#2
Contributors
Join Date: Jul 2004
Location: Costa Mesa, CA
Posts: 1,591
Likes: 0
Received 0 Likes
on
0 Posts
My Ride: Gone: 2004 525i Jet Black, Built 03/04, Premium Package, Black Dakota Leather, Halogen to Euro Spec Bi-Xenons Retrofit, Dark Poplar Wood Trim, Steptronic Breyton Spirit Reps 20x9F 20x10R - Nitto NT555 245/35/20F-275/30/20R, M5 Front Bumper, H&R Sport Springs, Chrome Grills, 20% Tint, Euro Reflectors, Debadged, Aux Input, CIP v19.x
Excellent write-up. Thanks for sharing 

Thread
Thread Starter
Forum
Replies
Last Post
socale39
Complete Car Sales
9
09-05-2023 08:30 AM
umnitza
E60, E61 Parts, Accessories and Mods
6
06-23-2015 03:41 PM
DetailersDomain
Detailing Forum
0
05-29-2015 04:52 AM
snaprolll
DIY: Do It Yourself
0
05-05-2015 05:09 PM