
My LED panel reverse light DIY
 11-15-2009, 06:37 PM
#1
Contributors
Thread Starter
Join Date: Jun 2008
Location: Saskatchewan Canada
Posts: 2,696
Likes: 0
Received 1 Like
on
1 Post
My Ride: 2004 530i
premium package/active steering/auto sunshade/tiag/black dakota leather/logic 7
35% tint all around
19' DPE GT7
Hey guys just thought I would share a DIY on this great mod that was very cheap to do and quite easy.
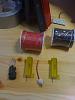
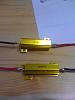
So I bought the panels from khoalty for very cheap and also got the resistors for cheap. So the items you need are:
2 LED panels
2 resistors
some solder and a solder iron
some wiring if the resistors did not come with any attached
hot glue gun
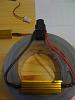
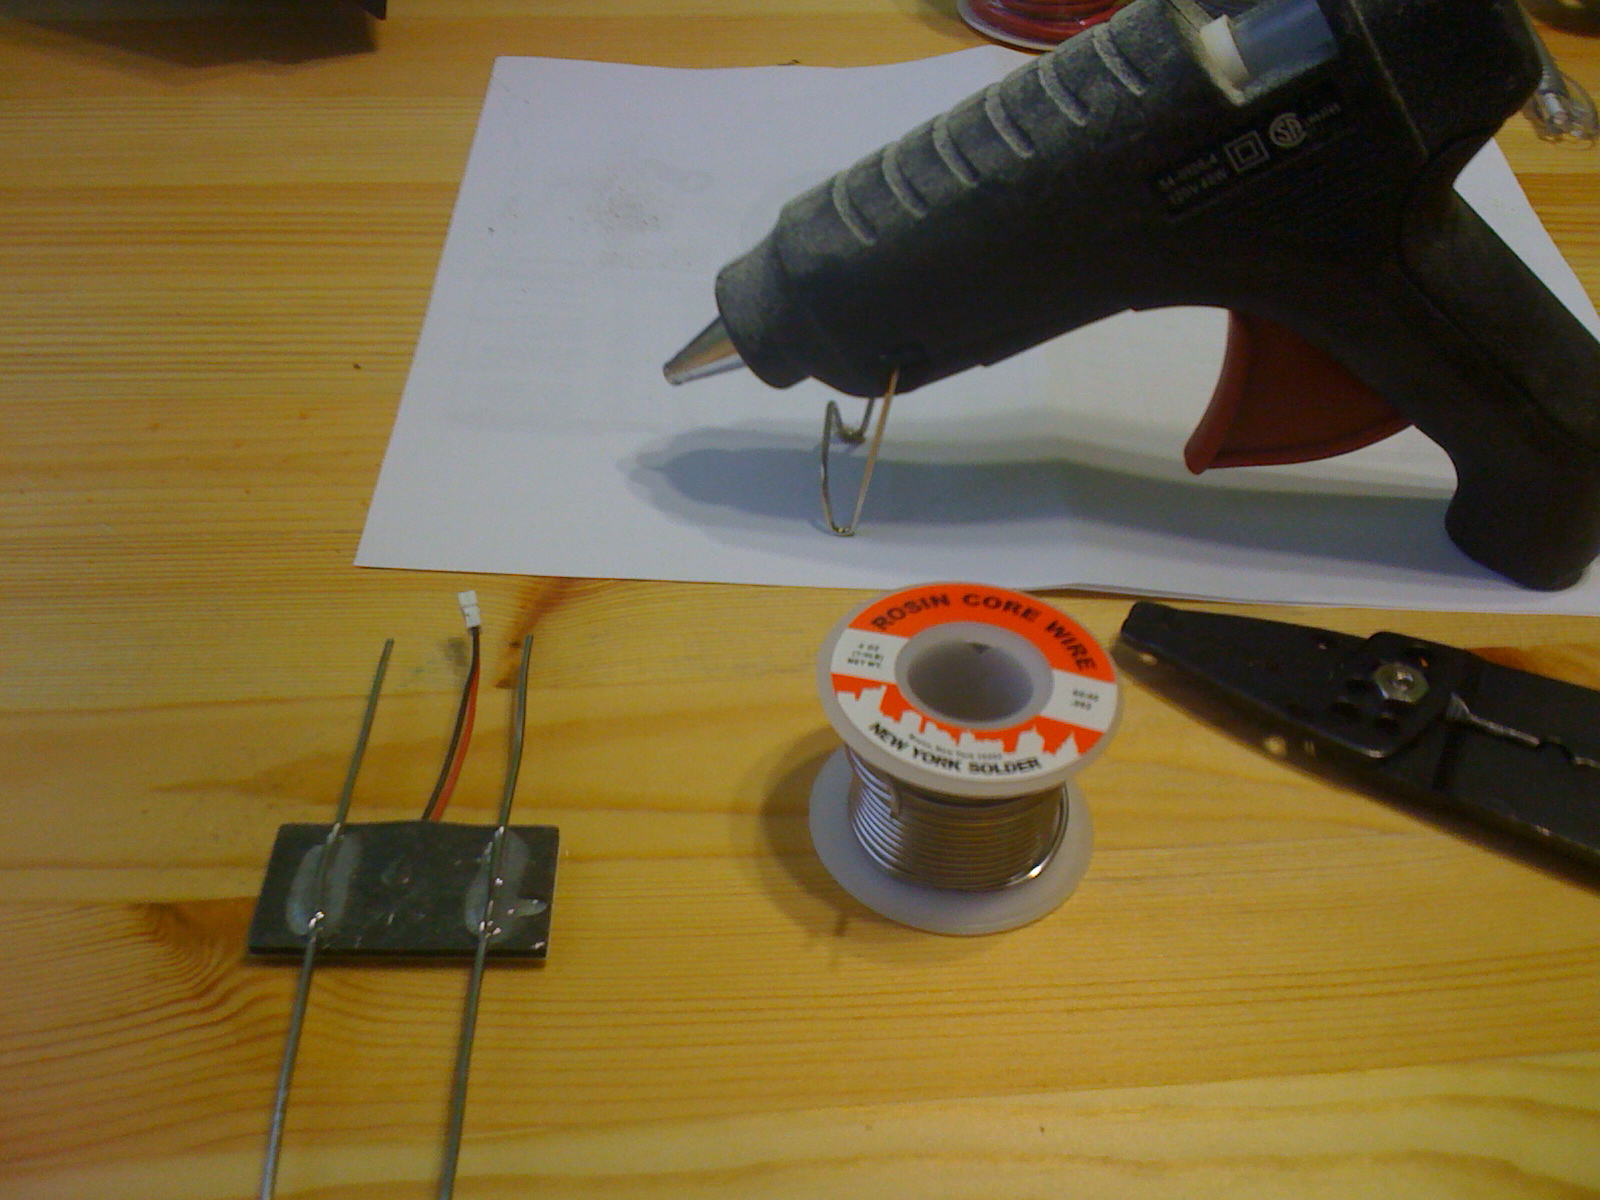
So first I cut 2 strips of solder which I hot glued to the back of the LED panels, you can use something different as well as long as its flexible and twistable.
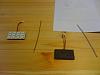
use some tape to cover the glue
Take off the rear taillight housing, I don't have pics of this but basically open trunk remove to plastic plugs that hold cover on then remove bulb holder and remove 4 nuts that hold the housing to the car then the housing will just slide off.
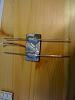
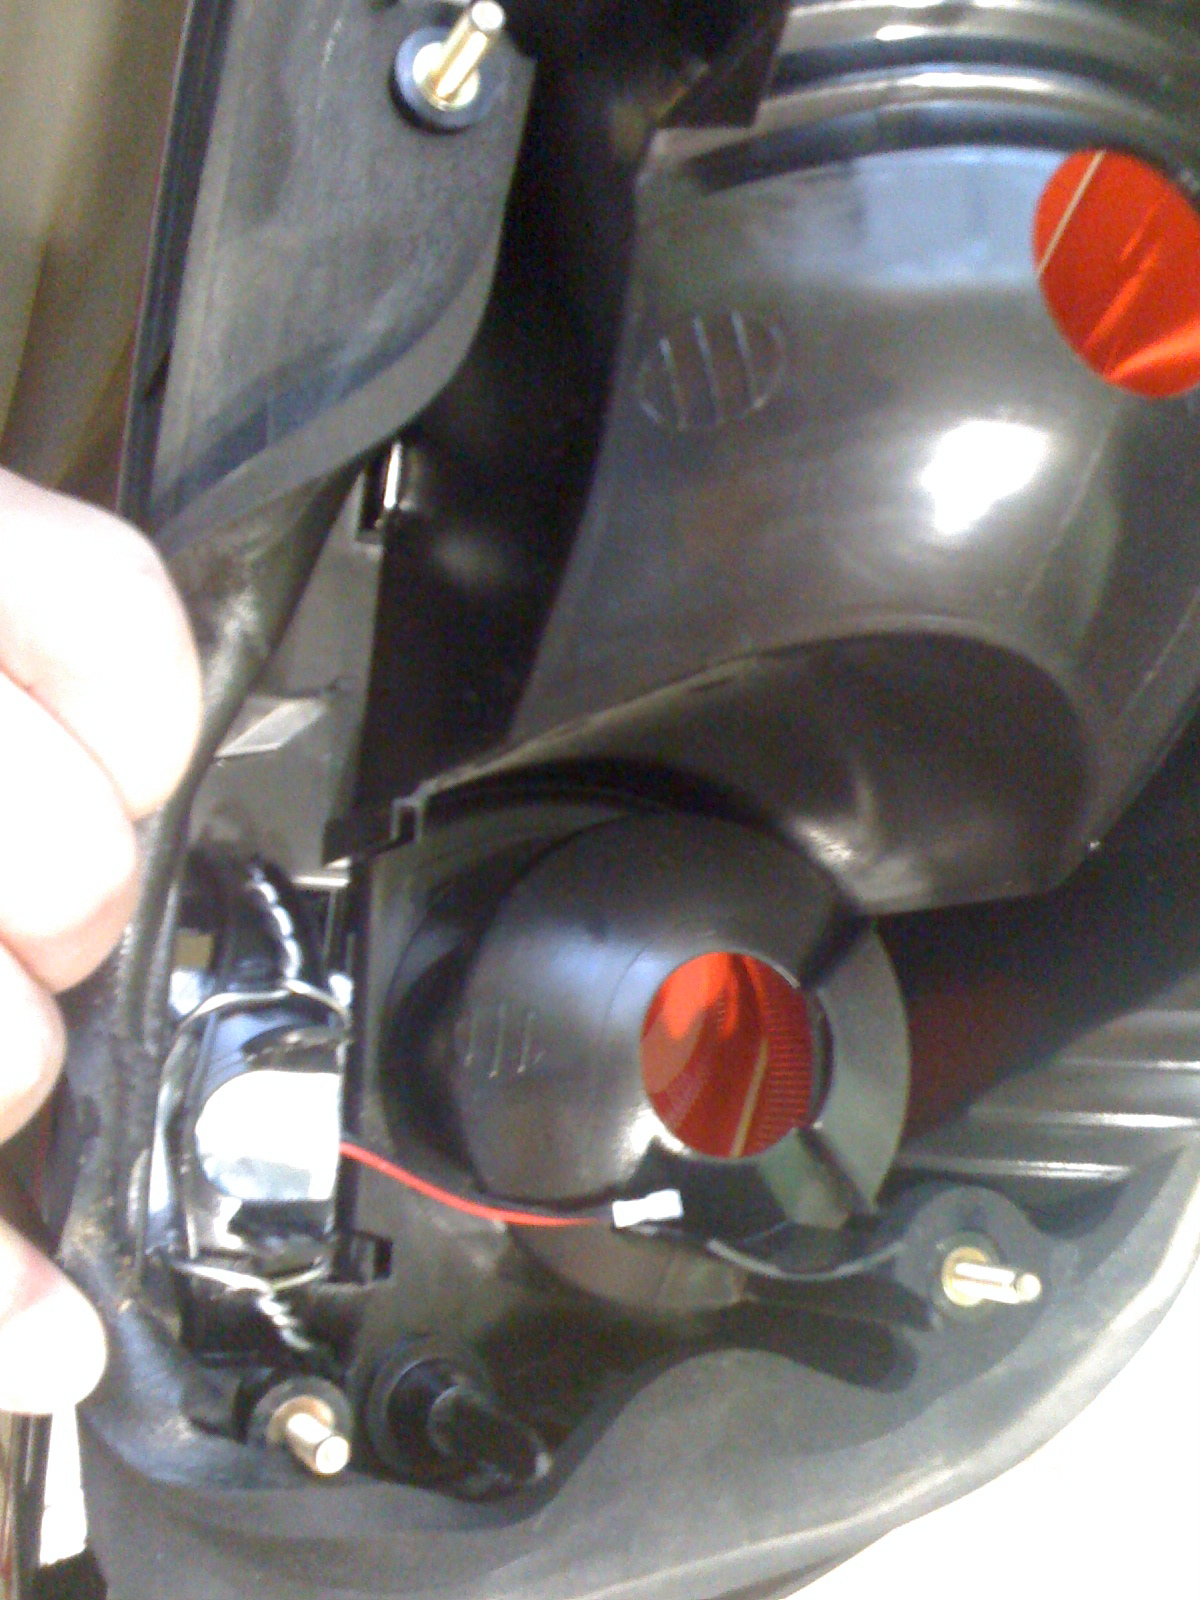
here is the housing
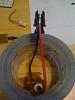
peel the foam back a bit, and use some pliers to pull the metal plate out this will give you a little bit more room to work
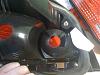
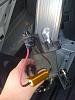
Now take the LED panel and bend the solder sticks that you just glued on and work it into the reverse light spot and twist the 2 ends together around the plastic part. I know I'm not really explaining this well hopefully the picture will help
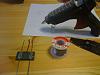
Now to connect the resistors first solder some wire to the risistors
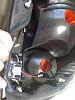
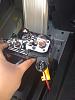
Now take the light bulb holder (plastic plug that holds the reverse bulbs) and notch out a little notch on the back part to make room for the wires to be attached.
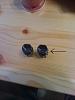
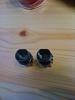
Now solder the wires to the metal tabs on the bulb holders
Now take the plugs to the car and put them back in the light rack, put the taillight housing back in and connect the LED panels and put everything back together.
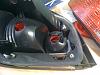
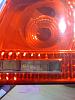
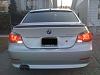
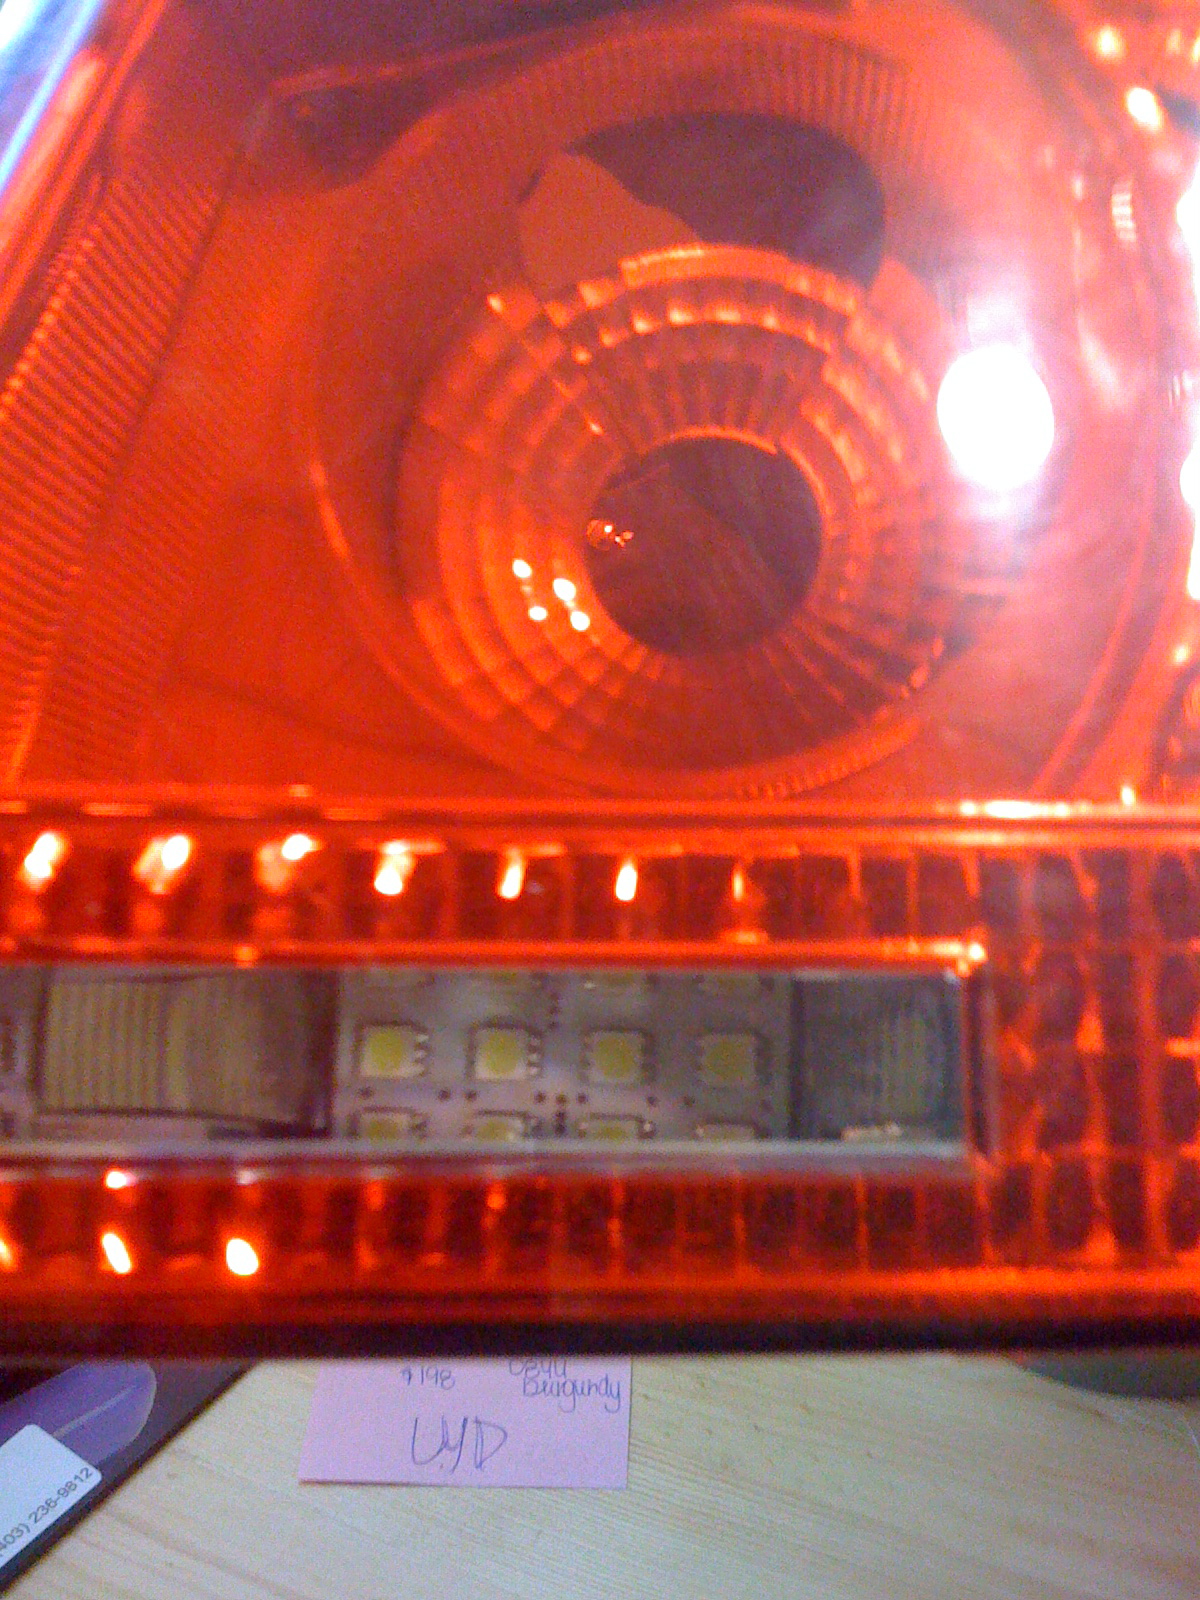
and finished product
Hope this DIY helps sorry if it wasn't very thorough (my first time trying to post a DIY)
So I bought the panels from khoalty for very cheap and also got the resistors for cheap. So the items you need are:
2 LED panels
2 resistors
some solder and a solder iron
some wiring if the resistors did not come with any attached
hot glue gun
So first I cut 2 strips of solder which I hot glued to the back of the LED panels, you can use something different as well as long as its flexible and twistable.

use some tape to cover the glue

Take off the rear taillight housing, I don't have pics of this but basically open trunk remove to plastic plugs that hold cover on then remove bulb holder and remove 4 nuts that hold the housing to the car then the housing will just slide off.
here is the housing

peel the foam back a bit, and use some pliers to pull the metal plate out this will give you a little bit more room to work

Now take the LED panel and bend the solder sticks that you just glued on and work it into the reverse light spot and twist the 2 ends together around the plastic part. I know I'm not really explaining this well hopefully the picture will help
Now to connect the resistors first solder some wire to the risistors


Now take the light bulb holder (plastic plug that holds the reverse bulbs) and notch out a little notch on the back part to make room for the wires to be attached.


Now solder the wires to the metal tabs on the bulb holders


Now take the plugs to the car and put them back in the light rack, put the taillight housing back in and connect the LED panels and put everything back together.


and finished product


Hope this DIY helps sorry if it wasn't very thorough (my first time trying to post a DIY)


Thread
Thread Starter
Forum
Replies
Last Post
TexaZ3
Complete Car Sales
17
05-06-2015 09:54 AM