Car Detailer in GTA [Toronto/Markham/Unionville]
 07-12-2015, 07:20 AM
#11
Members

Join Date: Feb 2009
Location: Toronto
Posts: 98
Likes: 0
Received 0 Likes
on
0 Posts
Just wanted to bump this up for anyone else in the GTA looking for a detailer. Here is an example of our work...
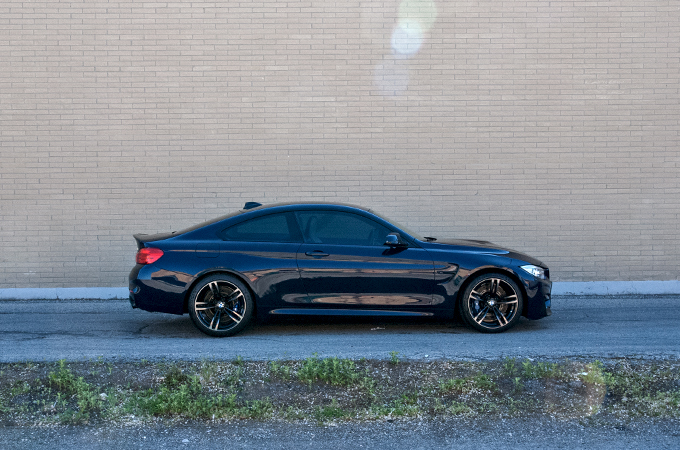
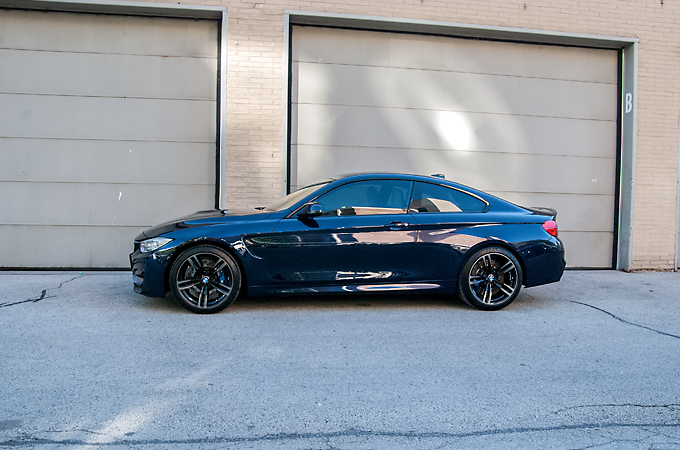
This new M4 came to us in pretty good condition straight from the dealer. Other then a few light swirls that the camera couldn't pick up the paint was in great shape. Not much else to say other then enjoy the pics!
As usual the arrival pics
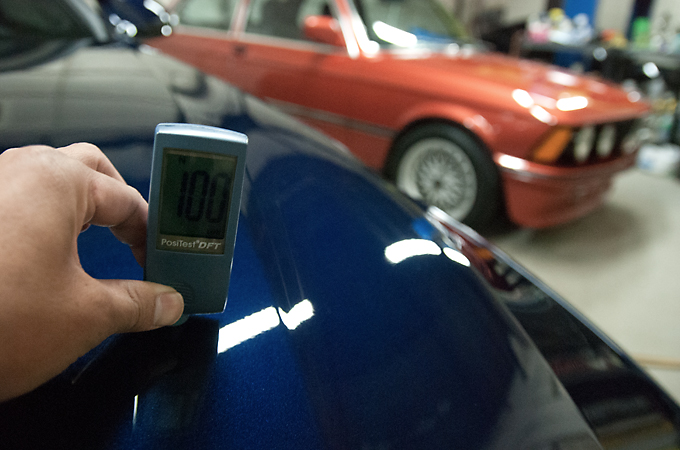
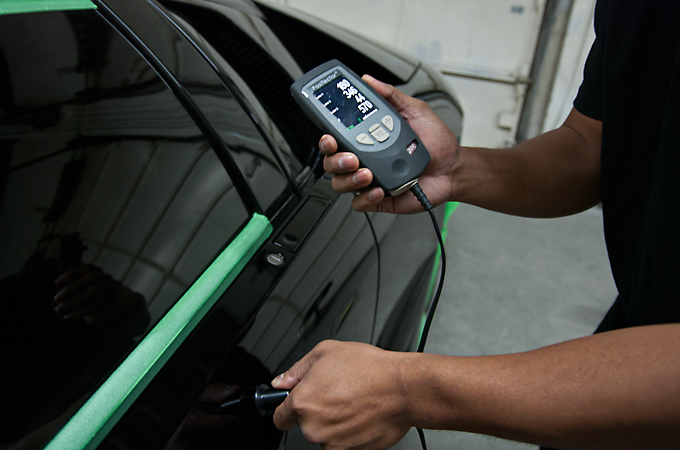
Paint measurements
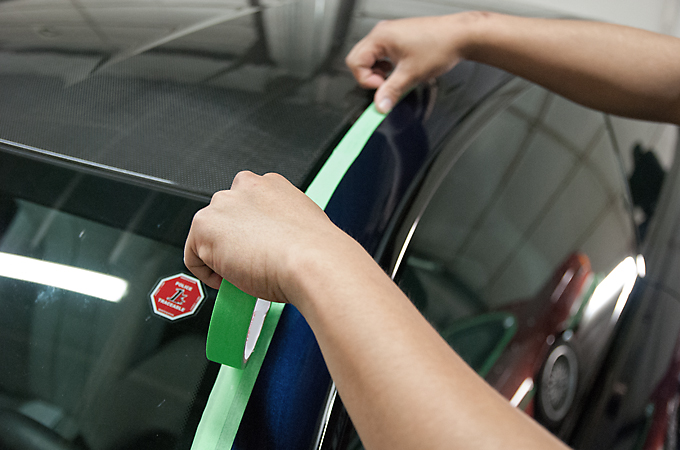
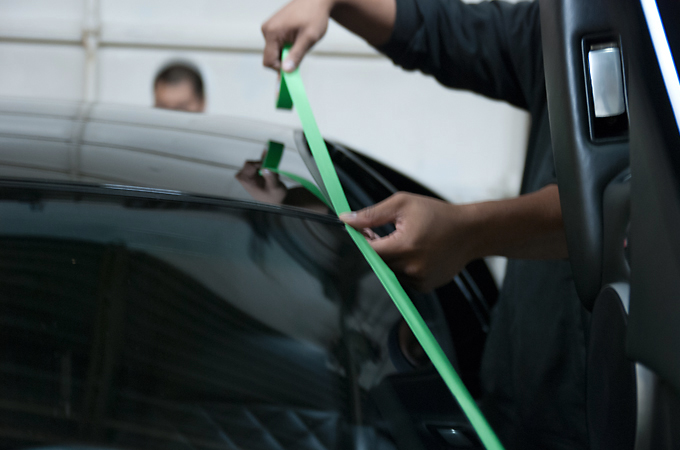
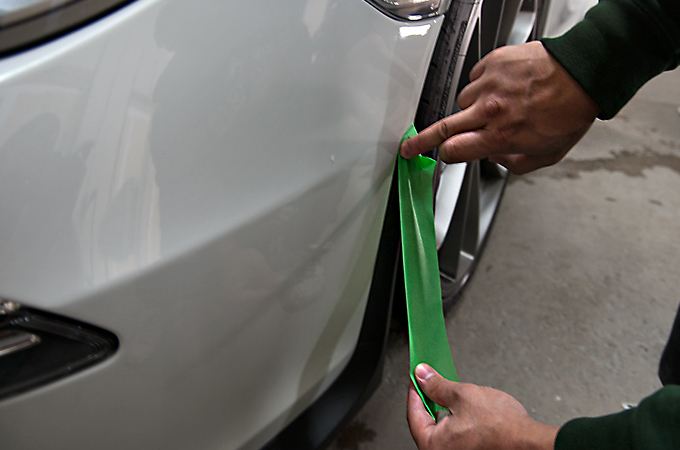
Masking off the rubber trim
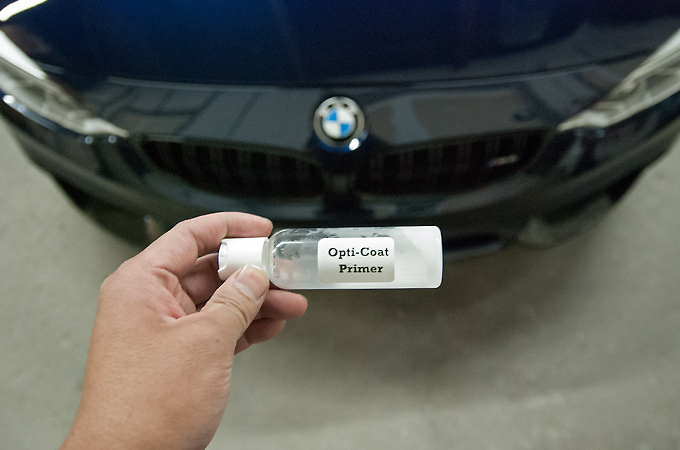
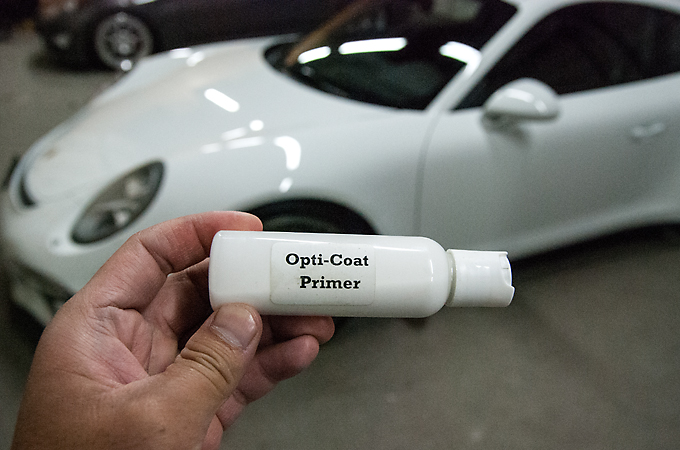
Applied Opti Coat Primer via machine
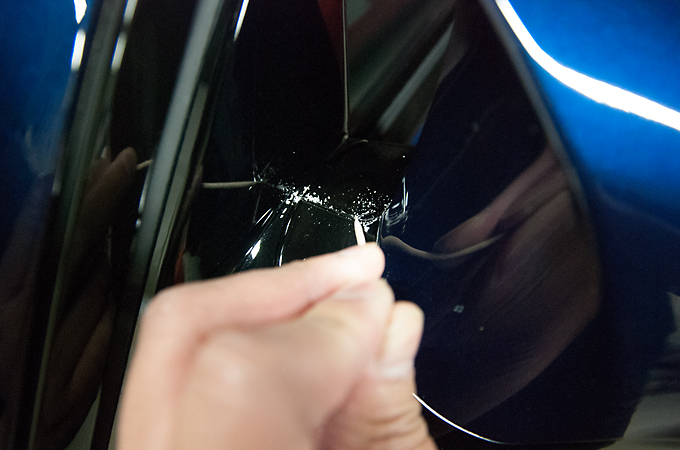
After removing the tape etc we cleaned out some polish residue with our trusty tooth pick
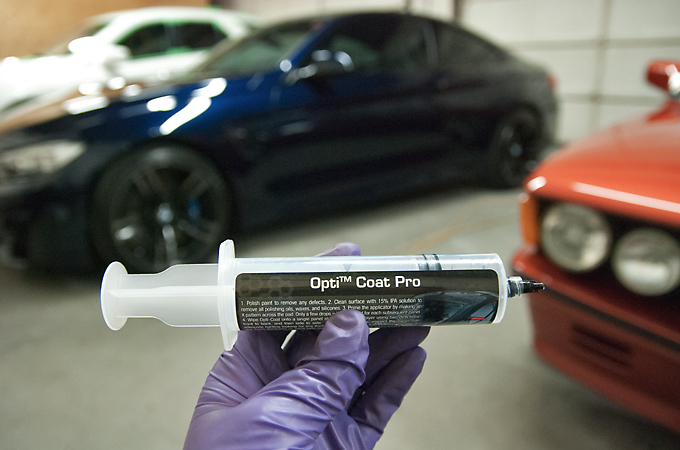
Opti Coat Pro
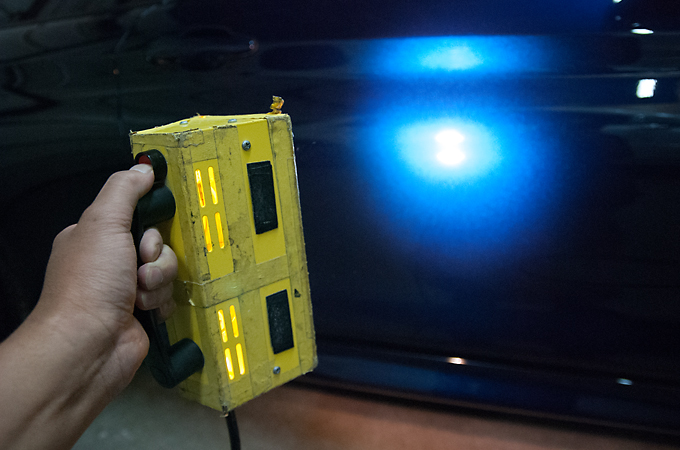
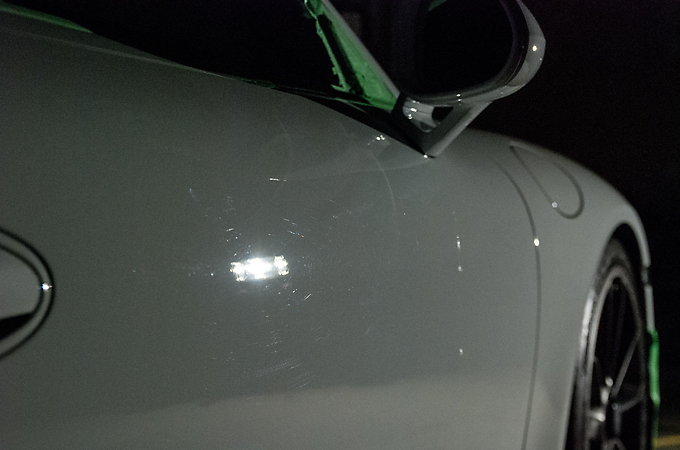
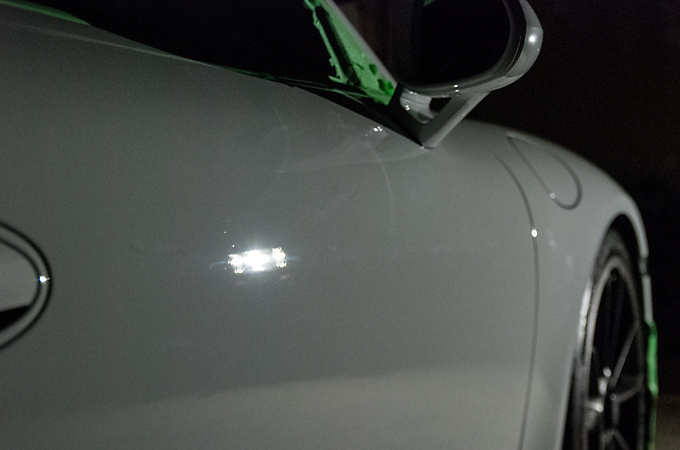
Double checking our work with a light that emits the same color light as the sun
Perfect
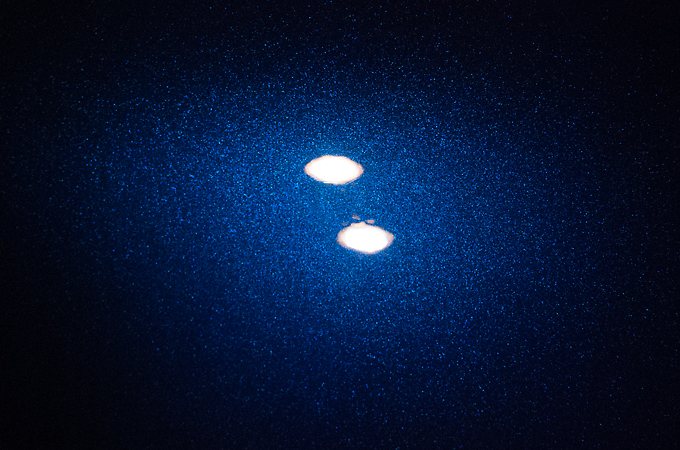
And finally the fruits of our labour
This new M4 came to us in pretty good condition straight from the dealer. Other then a few light swirls that the camera couldn't pick up the paint was in great shape. Not much else to say other then enjoy the pics!
As usual the arrival pics
Paint measurements
Masking off the rubber trim
Applied Opti Coat Primer via machine
After removing the tape etc we cleaned out some polish residue with our trusty tooth pick
Opti Coat Pro
Double checking our work with a light that emits the same color light as the sun
Perfect
And finally the fruits of our labour
 07-17-2015, 07:26 AM
#12
Members
Join Date: Feb 2009
Location: Toronto
Posts: 98
Likes: 0
Received 0 Likes
on
0 Posts
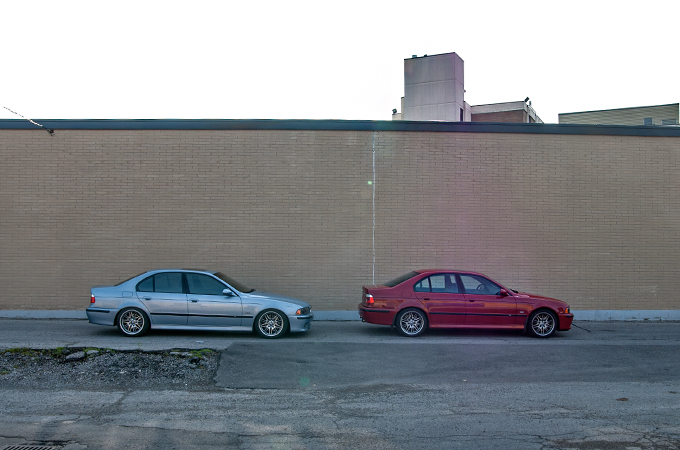
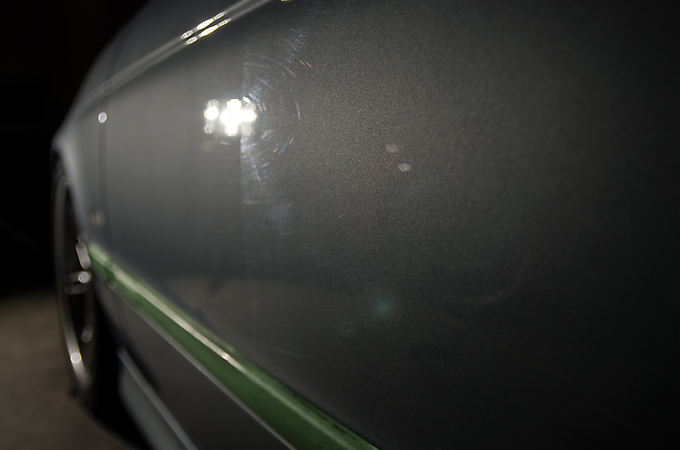
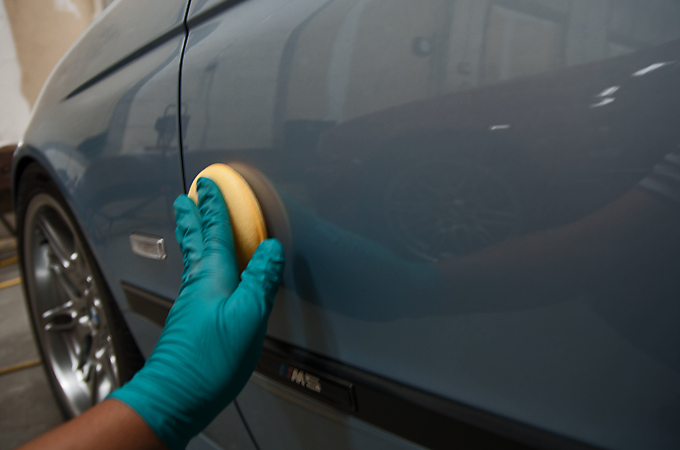
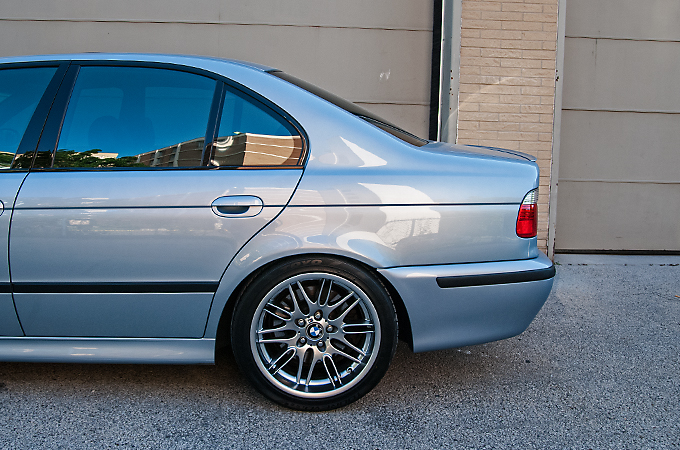
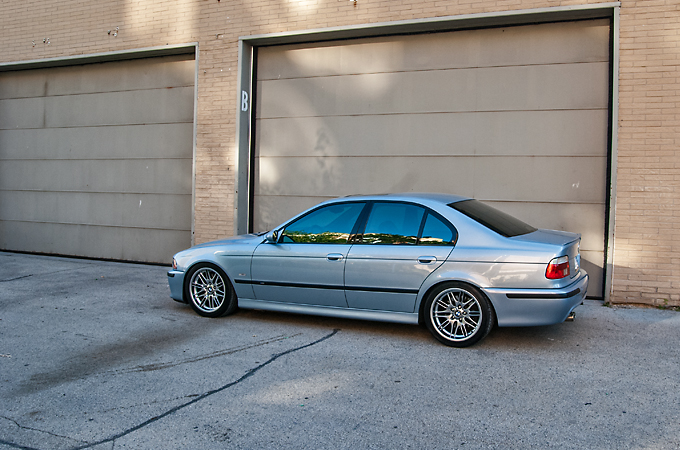
This was totally a coincidence that two e39 M5s came in for a 2 stage polish + Opti Coat Pro. They had both booked on the same day so I ended up doing the write up on both cars at the same time which is a first and was quite interesting to do. I was very happy with the out come on both cars as were the owners so enjoy seeing the process and final pics!
Arrival (you should have seen both owners' faces lol)
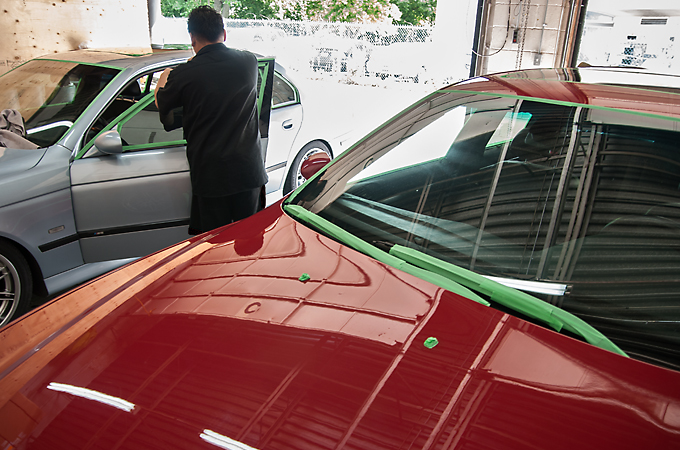
Masking off the rubber trim after the wash and clay
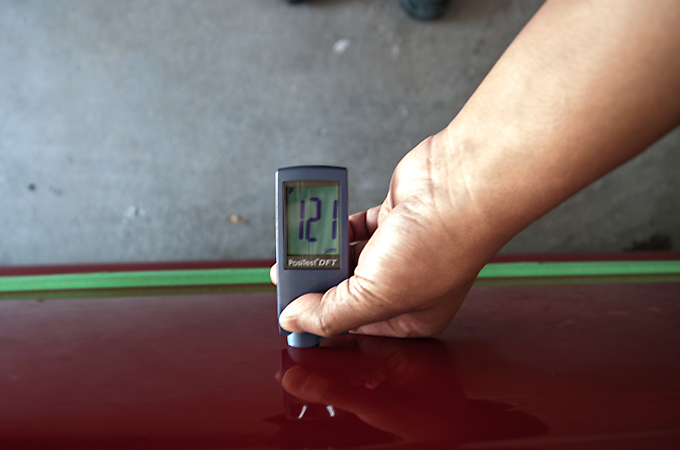
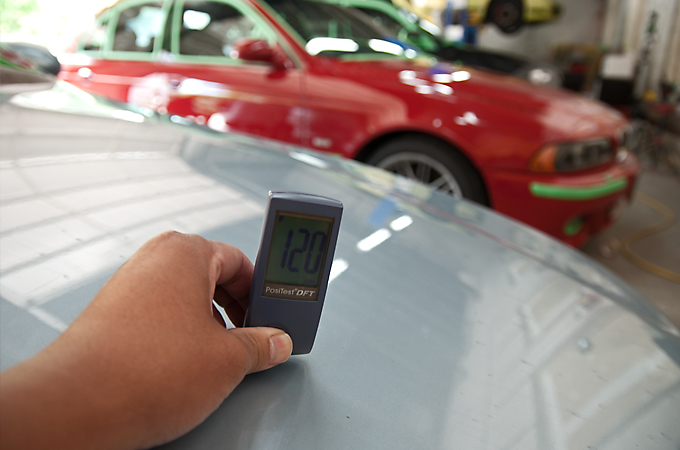
Taking paint measurements
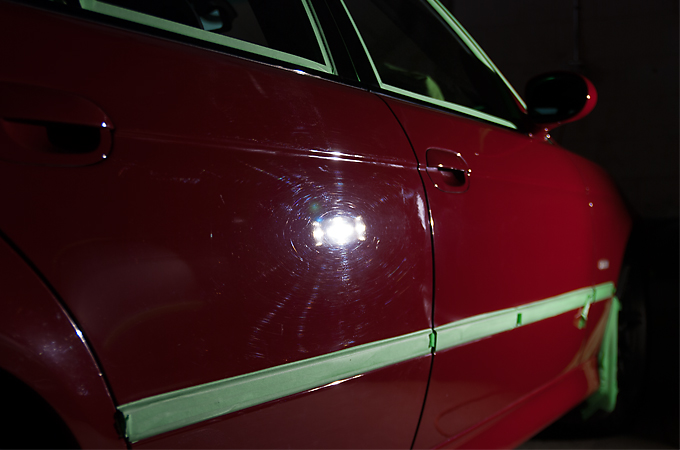
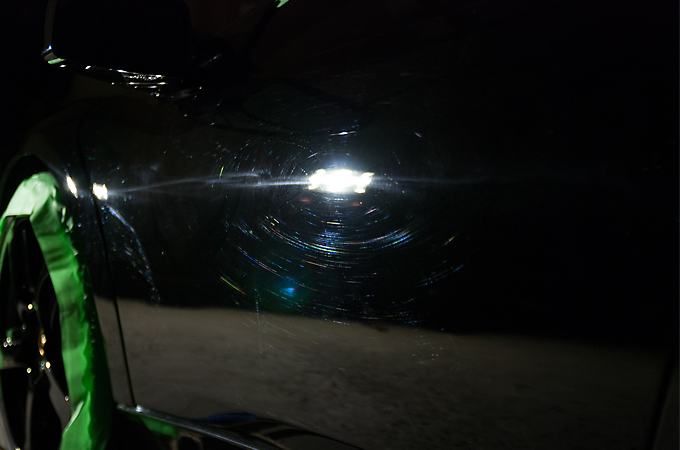
Before
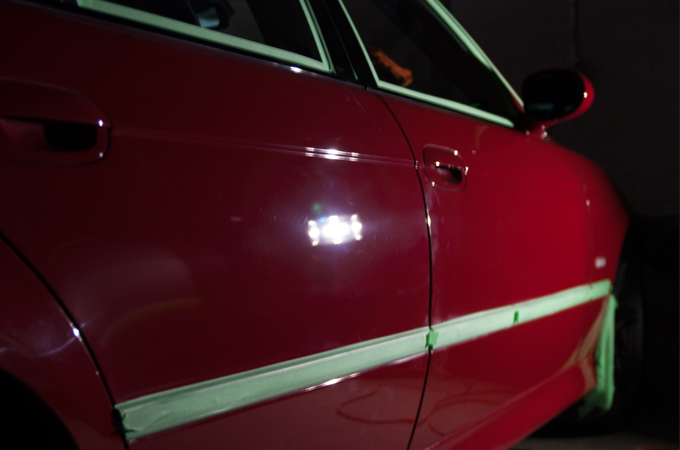
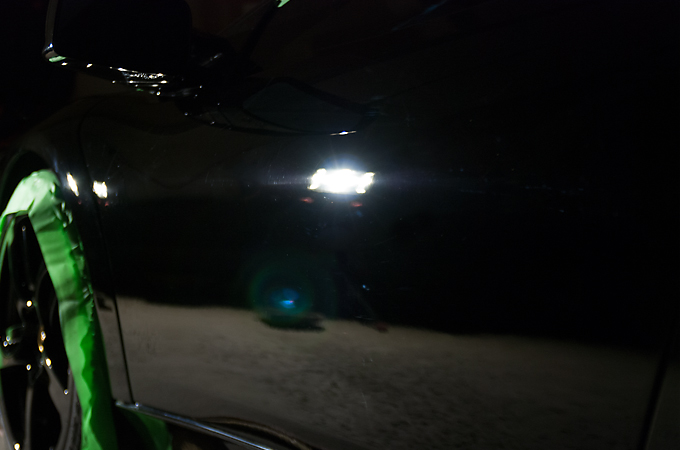
After
50/50 shot
Opti Coat Pro
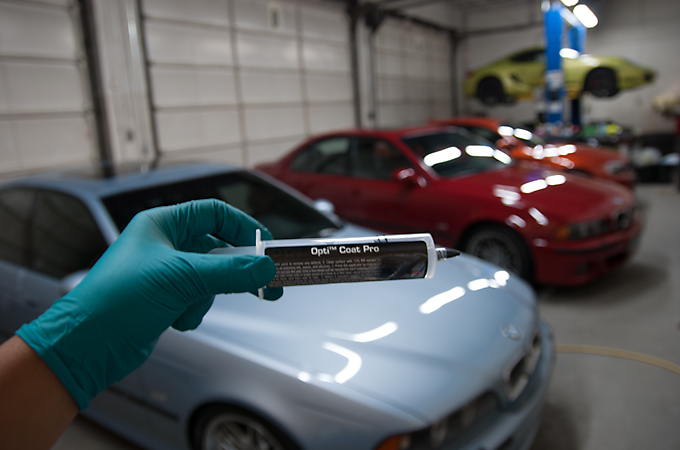
Application
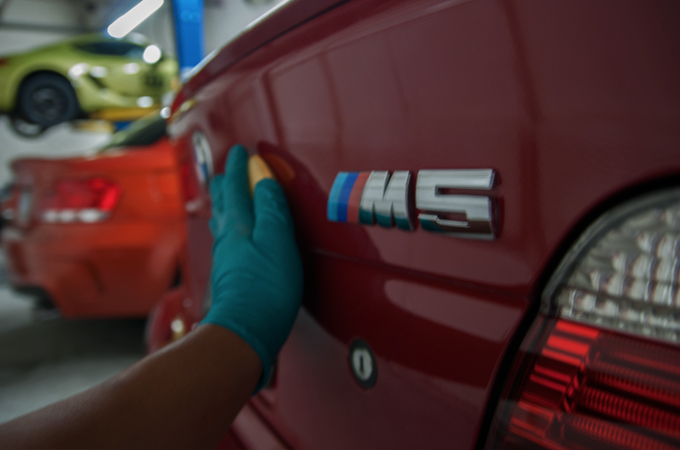
And the finished pics
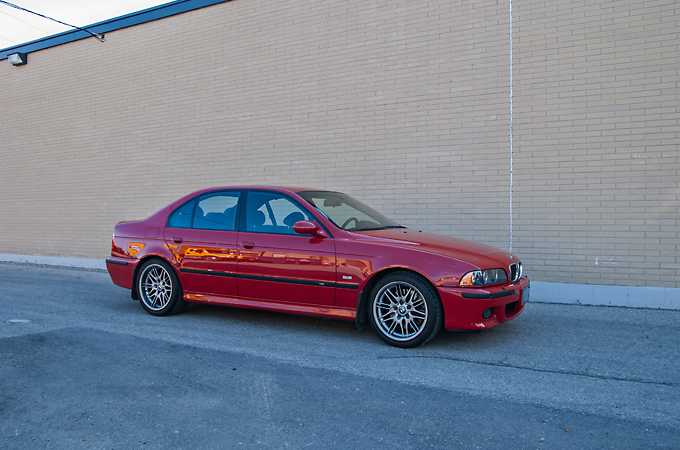
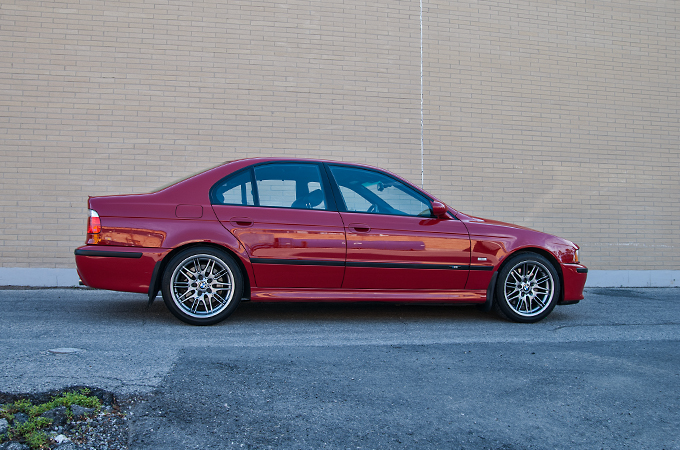
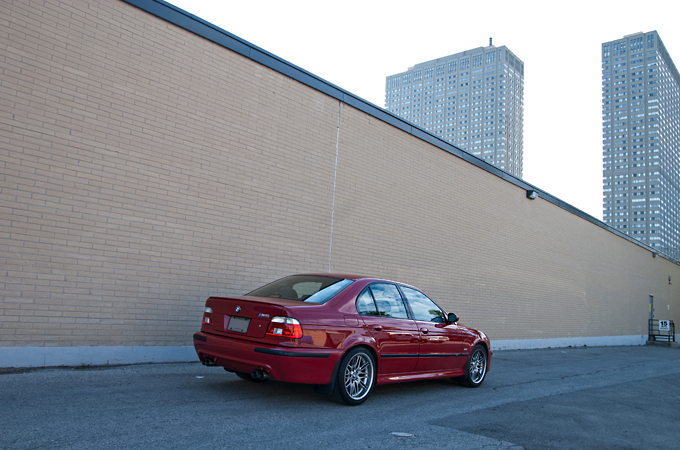
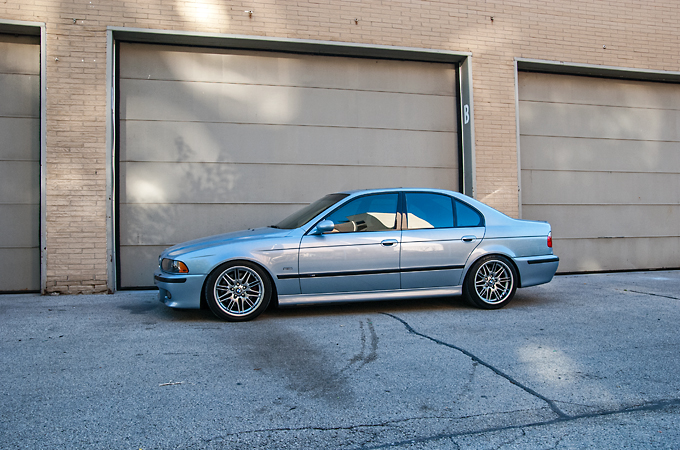
I hope you enjoyed the pics as much as I enjoyed working on my favorite generation M5!
Arrival (you should have seen both owners' faces lol)
Masking off the rubber trim after the wash and clay
Taking paint measurements
Before
After
50/50 shot
Opti Coat Pro
Application
And the finished pics
I hope you enjoyed the pics as much as I enjoyed working on my favorite generation M5!
08-02-2015, 08:39 AM
#13
Members
Join Date: Feb 2009
Location: Toronto
Posts: 98
Likes: 0
Received 0 Likes
on
0 Posts
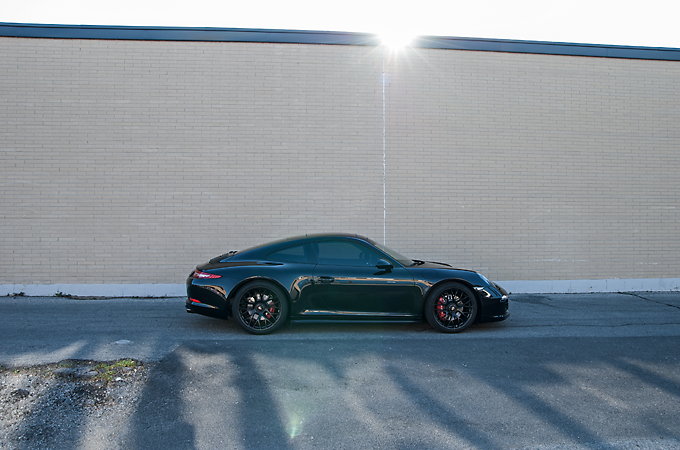
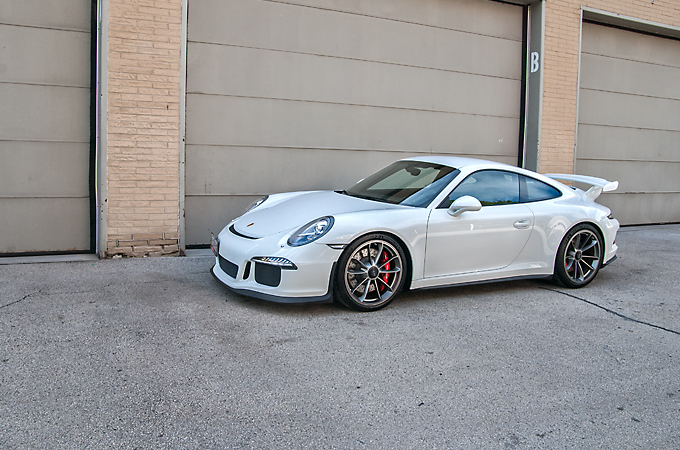
A long time customer recently purchased this new 4 GTS from Pfaff and wanted to get the paint protected asap. Well after 1000km in it finally came.
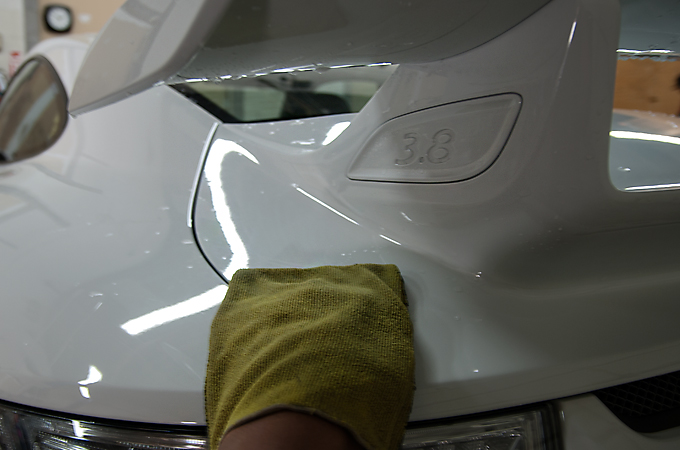
I must say this is one of the most beautifulest 991s we have done this year and we had a great time working on it and admiring all the little details put together on this 4 GTS.
Paint wasn't in bad shape so just a quick 1 stage polish and then protected with Opti Coat Pro.
Enjoy!
Arrival pic
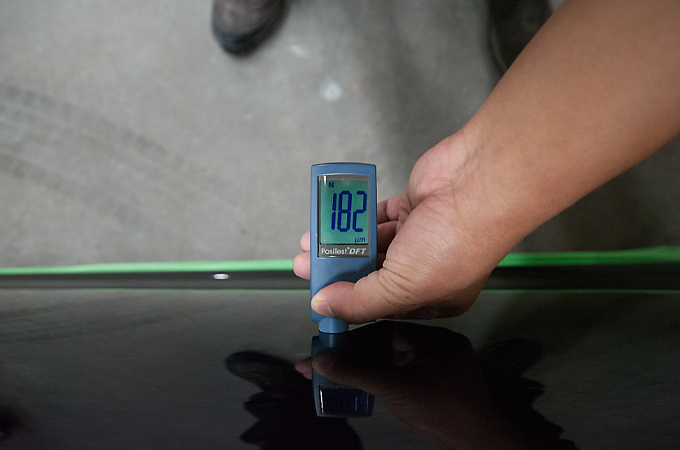
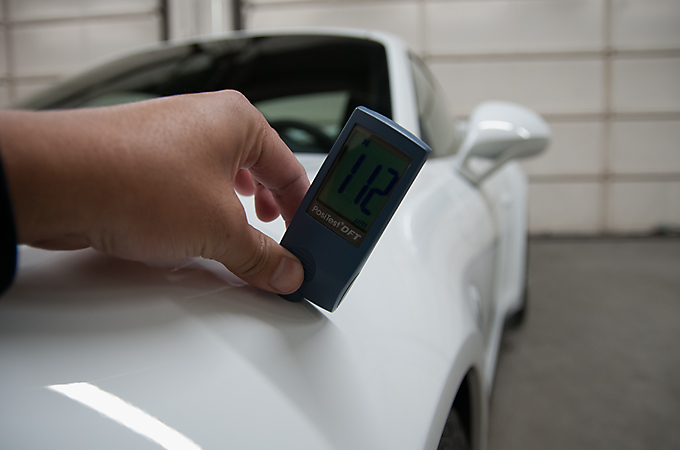
Paint measurement and plastic trim masked off
Before
After
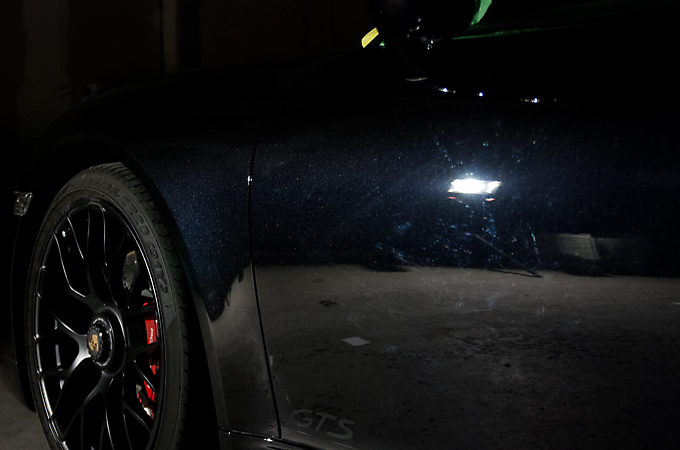
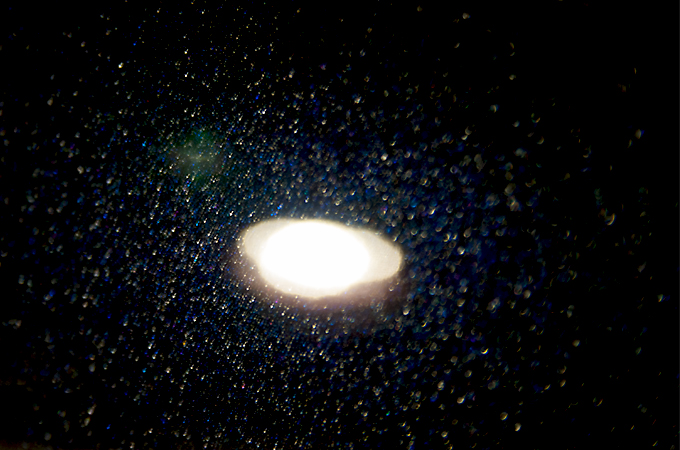
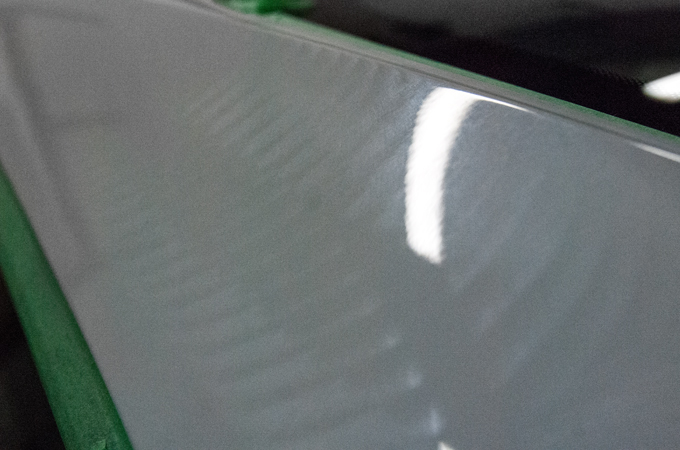
Lovely metallic flake shot
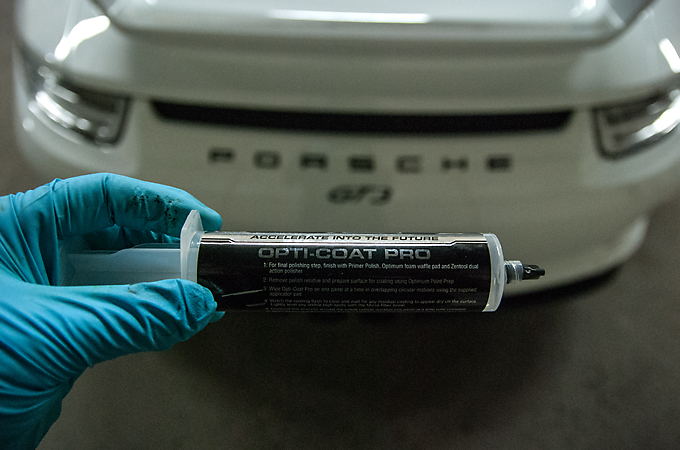
Opti Coat Pro

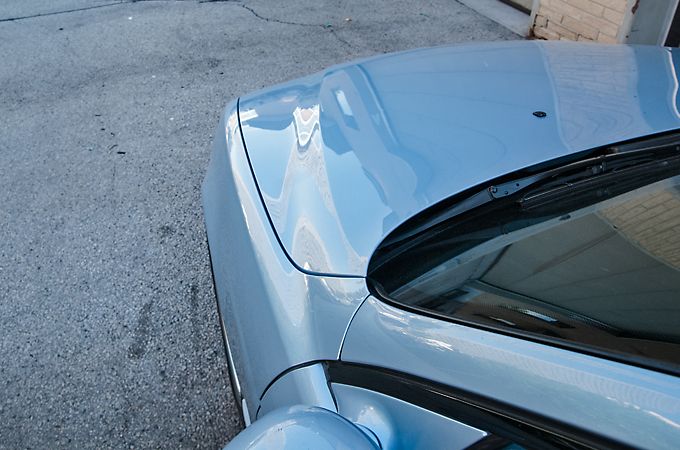
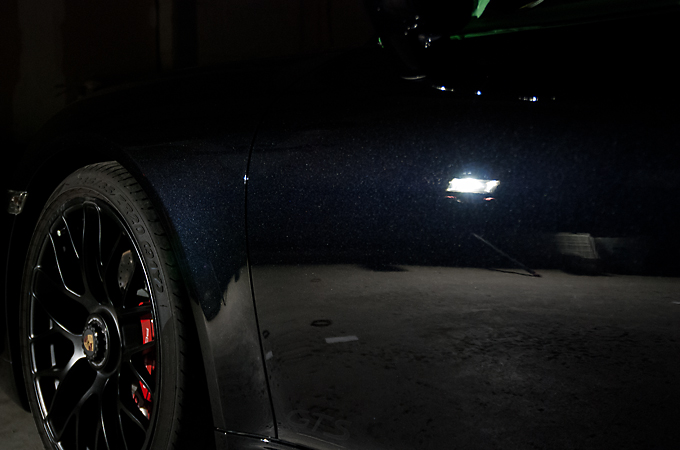
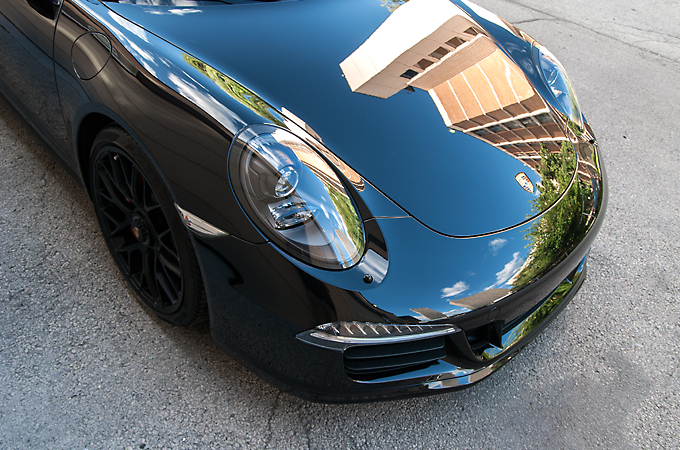
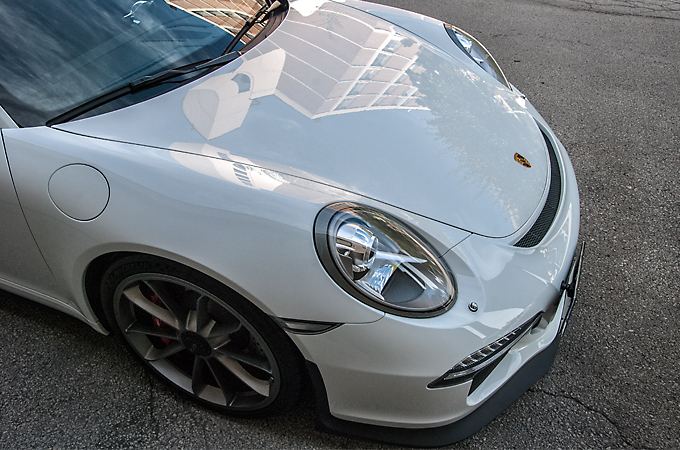
And the finished pics starting with reflections off the hood
Definitely looking forward to maintaining this one over the years!
I must say this is one of the most beautifulest 991s we have done this year and we had a great time working on it and admiring all the little details put together on this 4 GTS.
Paint wasn't in bad shape so just a quick 1 stage polish and then protected with Opti Coat Pro.
Enjoy!
Arrival pic
Paint measurement and plastic trim masked off
Before
After
Lovely metallic flake shot
Opti Coat Pro
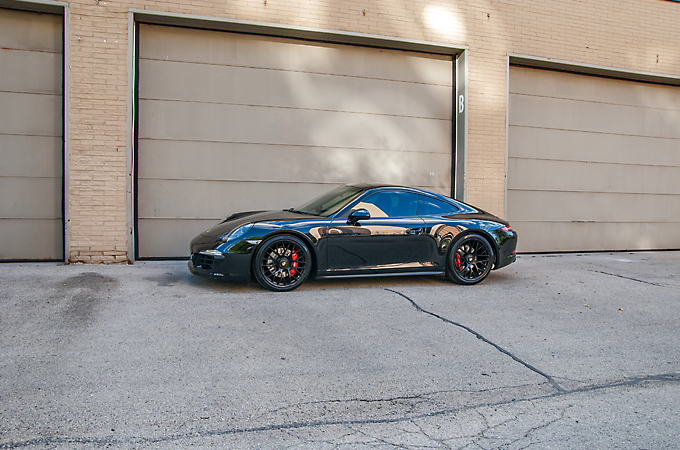
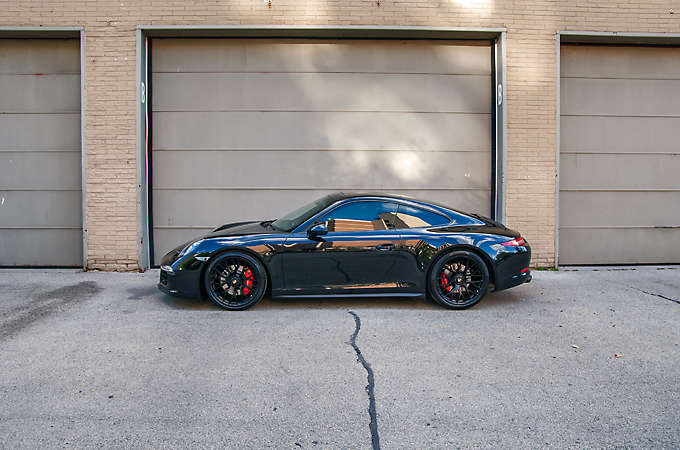
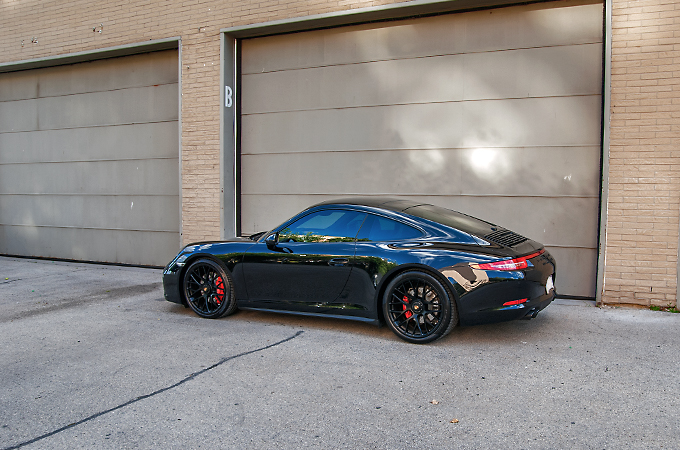
And the finished pics starting with reflections off the hood
Definitely looking forward to maintaining this one over the years!
08-18-2015, 06:13 AM
#14
Members
Join Date: Feb 2009
Location: Toronto
Posts: 98
Likes: 0
Received 0 Likes
on
0 Posts
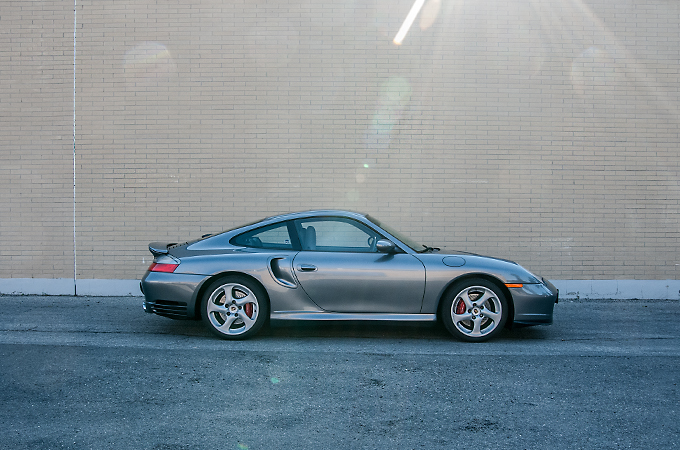
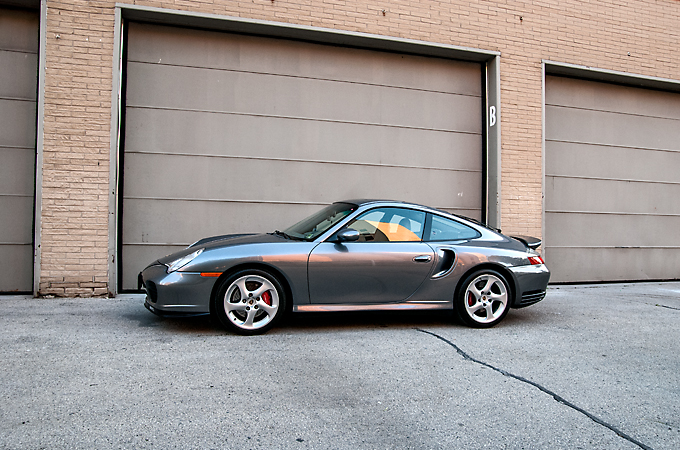
This was a US 996 Turbo with very low mileage, to be honest I forget but I'm pretty sure it was around 30000km. Paint wasn't that bad but some of the swirls were a little deeper so a 2 stage polish was needed to correct the paint. As usual with most cars we do nowadays it was protected afterwards with Opti Coat Pro.
Hope you like the pics!
Arrival pic
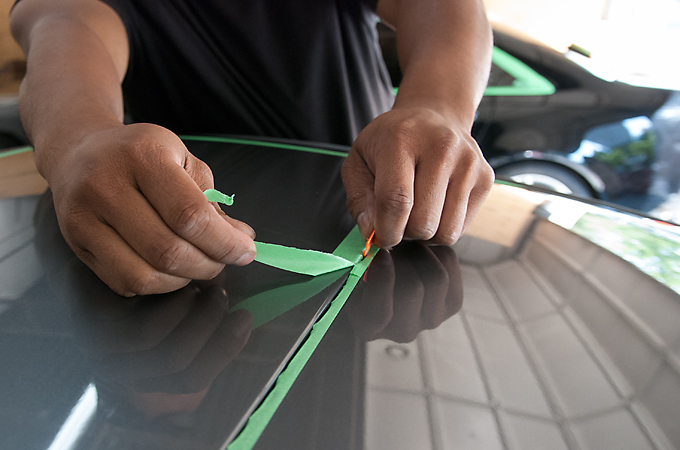
Masking off the rubber trim on the moonroof and had trim it with the plastic razor to get proper coverage
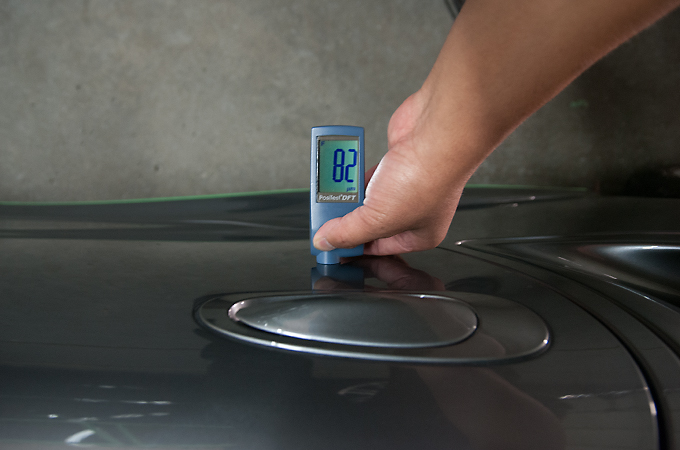
Measuring the paint
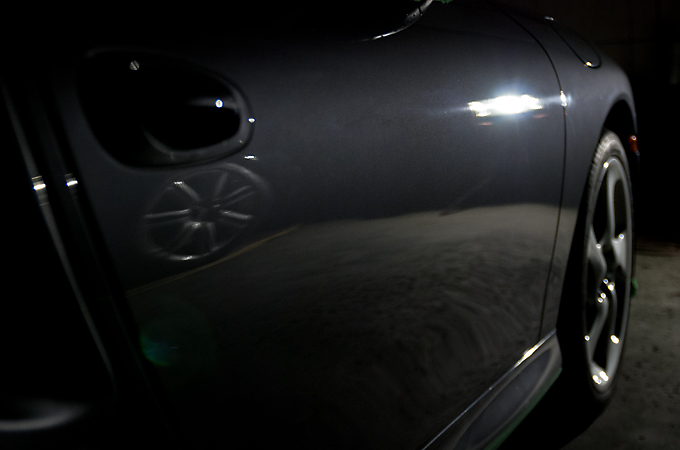
Before

After
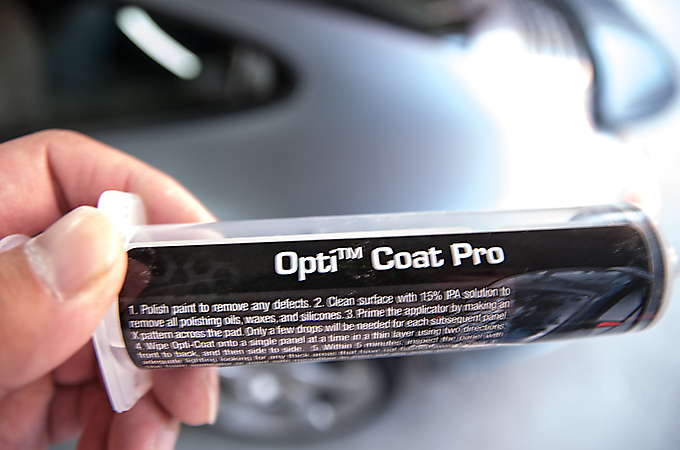
Opti Coat Pro(sorry for the blurry pic)
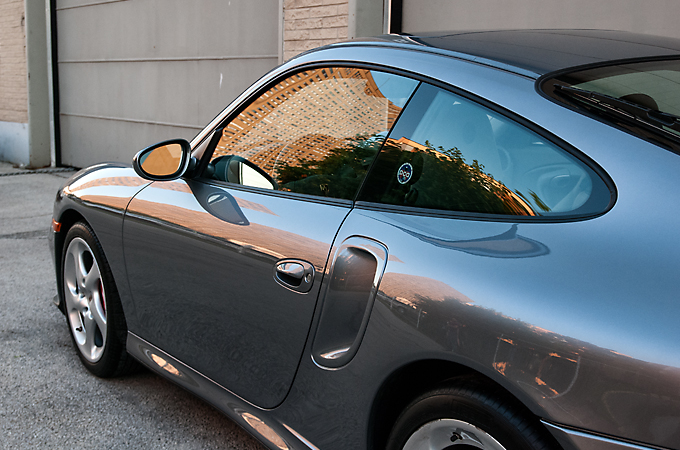
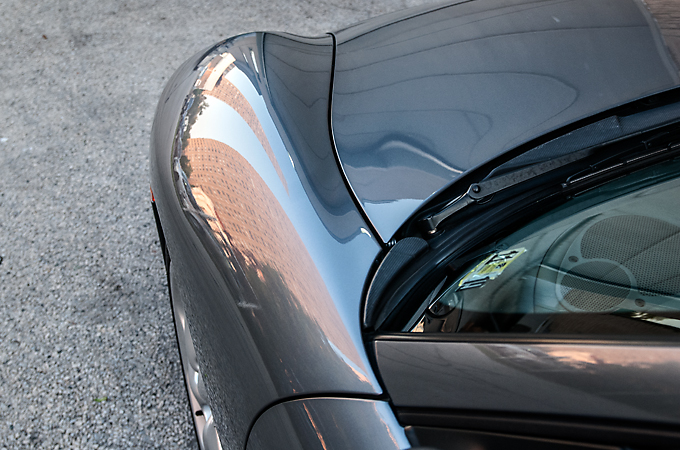
And the finished pics

After spending the day with this one I have to say I still like the 996 Turbo and think it's great value for the money! Now I am window shopping for a 996 Turbo S or 996 GT2 hahahaha.
Hope you like the pics!
Arrival pic
Masking off the rubber trim on the moonroof and had trim it with the plastic razor to get proper coverage
Measuring the paint
Before
After
Opti Coat Pro(sorry for the blurry pic)
And the finished pics
After spending the day with this one I have to say I still like the 996 Turbo and think it's great value for the money! Now I am window shopping for a 996 Turbo S or 996 GT2 hahahaha.
09-27-2015, 11:38 AM
#15
Members
Join Date: Feb 2009
Location: Toronto
Posts: 98
Likes: 0
Received 0 Likes
on
0 Posts
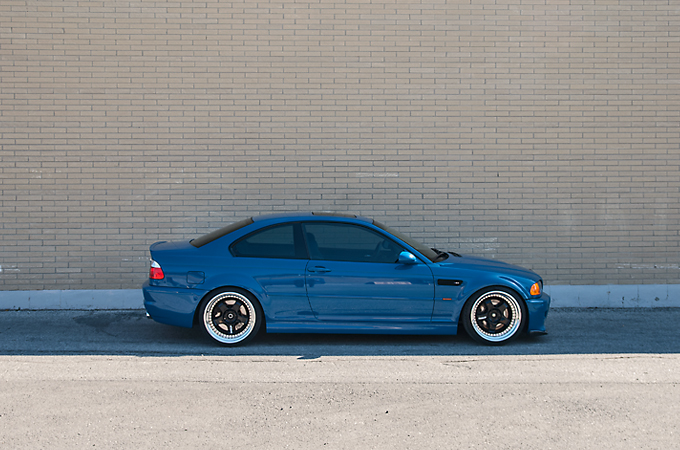
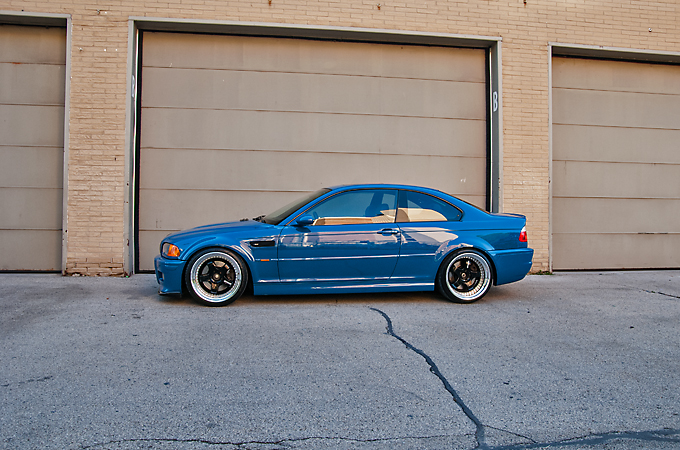
I love this e46 M3! Laguna Seca Blue on Laguna Seca Blue seats and navi! What more could you ask for.
The shine on this M3 was still great but the swirls in the sun was annoying the client and he wanted to get as much of the swirls out as possible. We ended up doing a 2 stage polish which brought the paint condition to about a 9 out of 10 minus the deeper scratches.
Hope you enjoy the pics as much as we enjoyed polishing this one!
Arrival
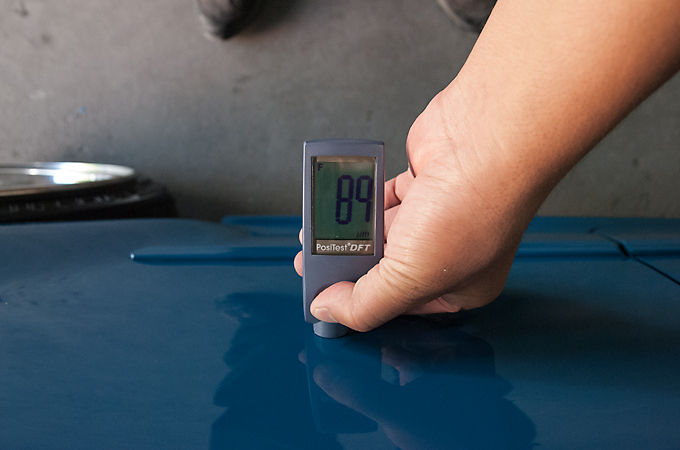
Paint measurements
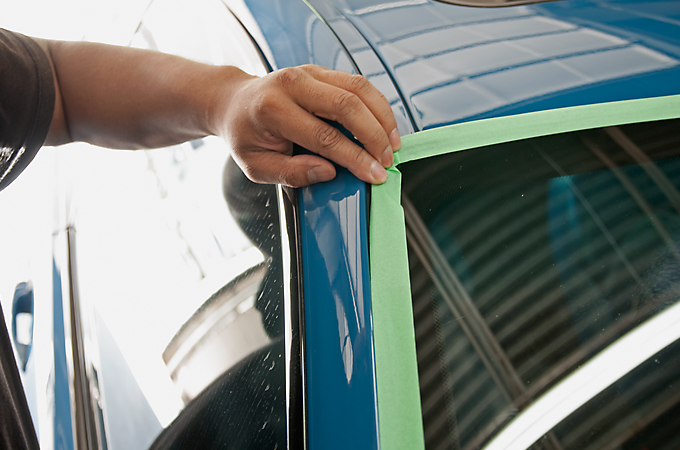
Masking off the rubber trim
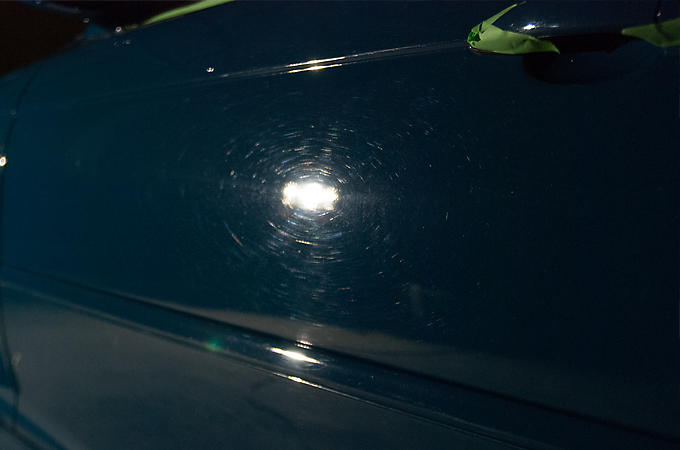
Before
After
50/50 shot
And the finished product
The shine on this M3 was still great but the swirls in the sun was annoying the client and he wanted to get as much of the swirls out as possible. We ended up doing a 2 stage polish which brought the paint condition to about a 9 out of 10 minus the deeper scratches.
Hope you enjoy the pics as much as we enjoyed polishing this one!
Arrival
Paint measurements
Masking off the rubber trim
Before
After
50/50 shot
And the finished product
10-17-2015, 07:41 PM
#16
Members
Join Date: Feb 2009
Location: Toronto
Posts: 98
Likes: 0
Received 0 Likes
on
0 Posts
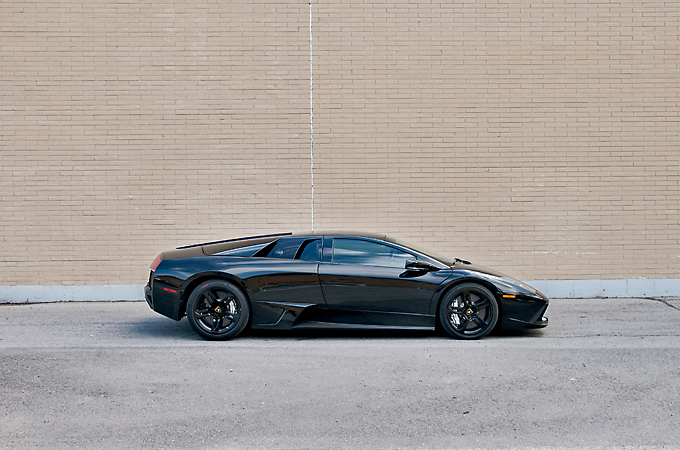
Very good client contacted me regarding a 2 stage polish + Opti Coat Pro on his recently purchased Lp640.
We had tried to schedule an appointment prior to this one but due to rainy weather we had to reschedule and he mentioned that maybe he was considering postponing the detail until the springtime, which is understandable. Luckily ... he had a change of heart and we were able to schedule a date where the weather worked in our favour!
So in to the shop it came!
As usual, the arrival pic
After cleaning the wheels, 2 Bucket Method wash, and clay bar, we masked the rubber trim
Next up was to take measurements of the paint with our special paint depth gauge which measures via ultrasound due to a few panels not being made of steel or aluminium. This gauge is not cheap at all and costed us $3000
These are the results of the 1st stage of polishing
Before
After(did I mention that solid black is a pain in the a**?!)
Headlights & Taillights were polished as well
Before
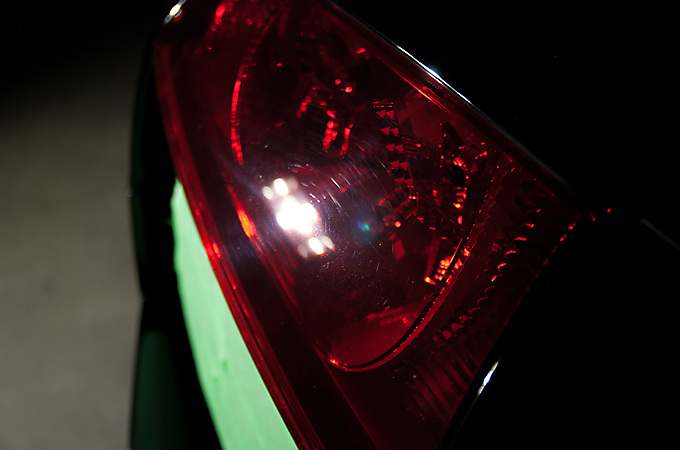
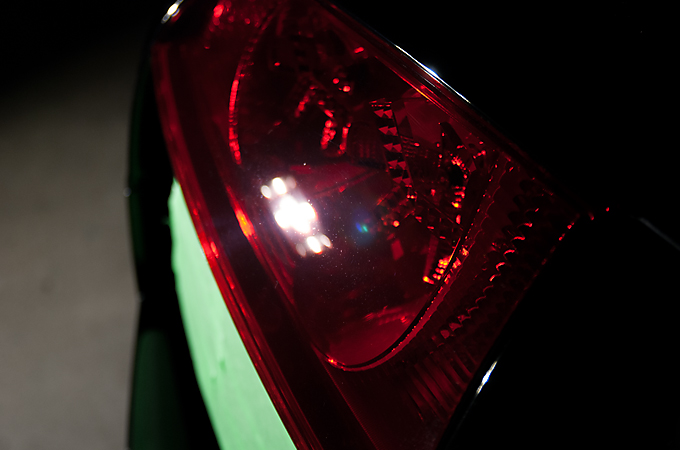
After
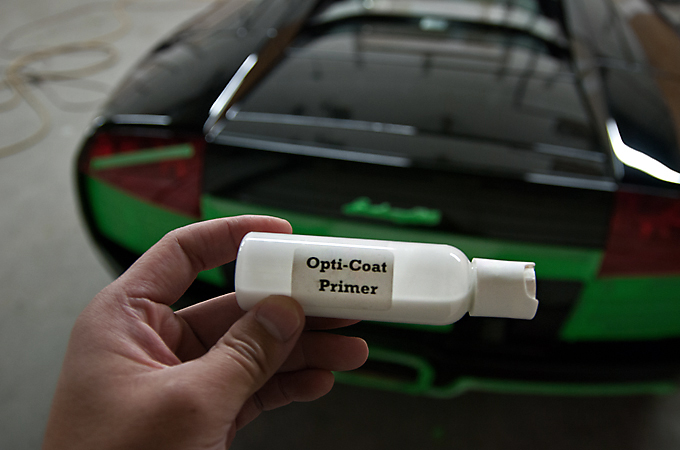
2nd stage of polishing was completed and then an alcohol wipe down to remove the polishing oils. Finally Opti Coat Primer applied to prepare for the Opti Coat Pro application
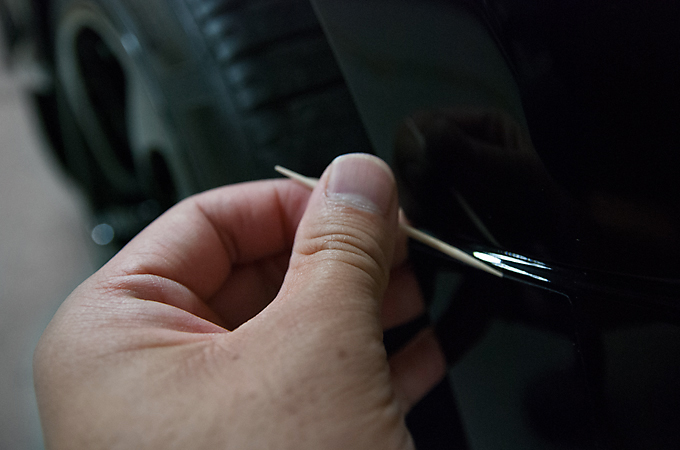
Tape removed and little details such as removing polish with a tooth pick from the edge of the stone guard was performed
And finally the star of the show, Opti Coat Pro
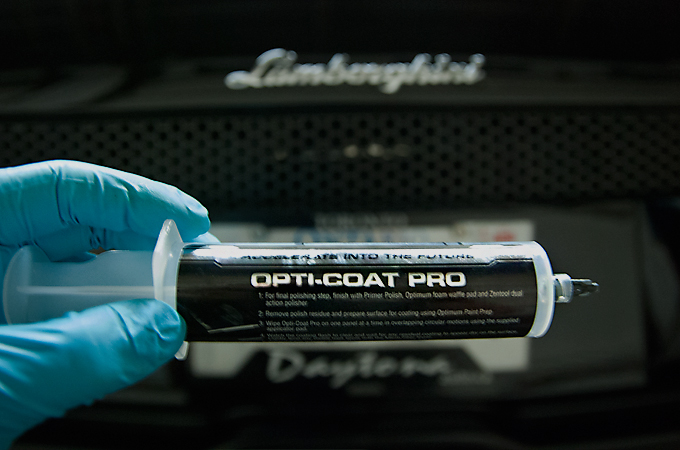
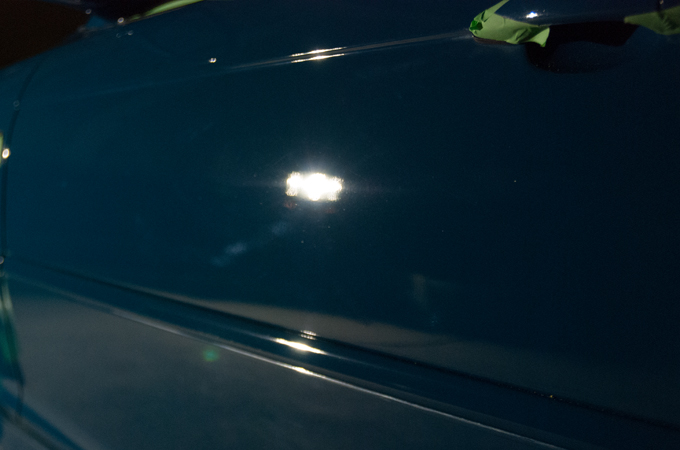
A shot in the sun to show no more swirls in the paint
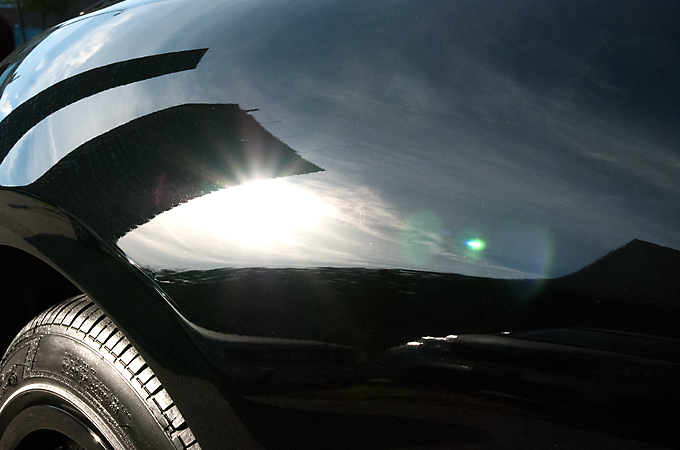
All in all minus some deeper scratches which I suspect may have been from people leaning on the car for pics and the fact that it is solid black, I would say we got the paint condition to about an 8.5/9 out of 10.
Here are the results
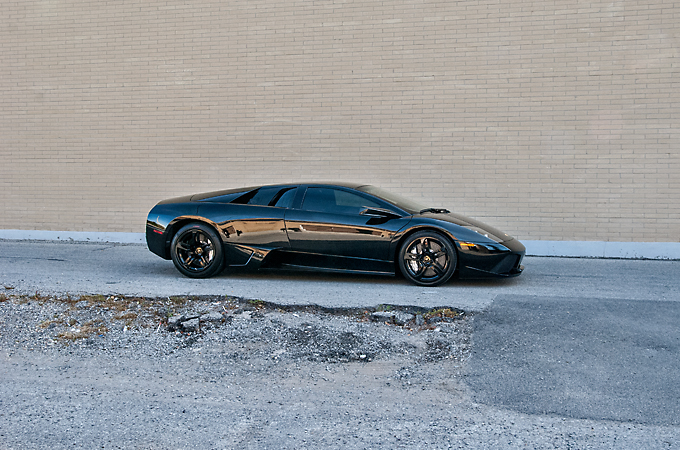
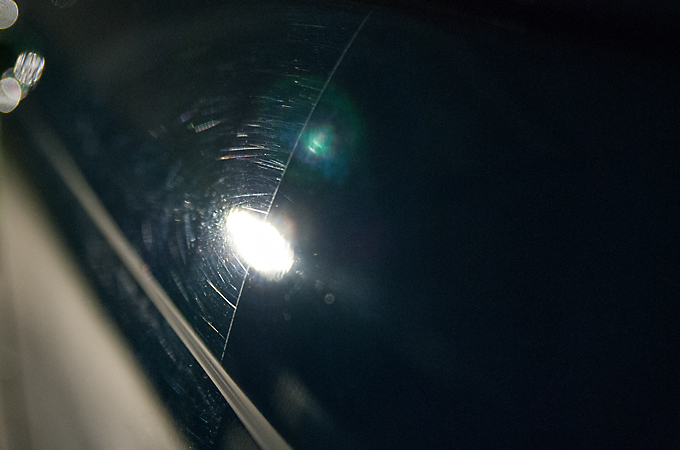
I love reflection pics
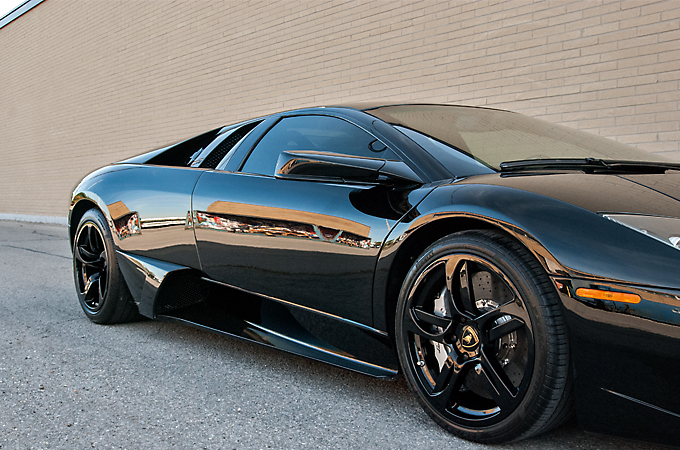
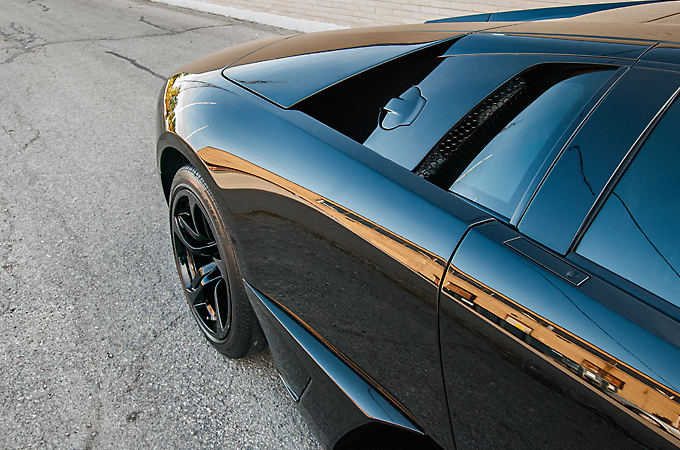
The lens flare pointing at the car is pretty cool
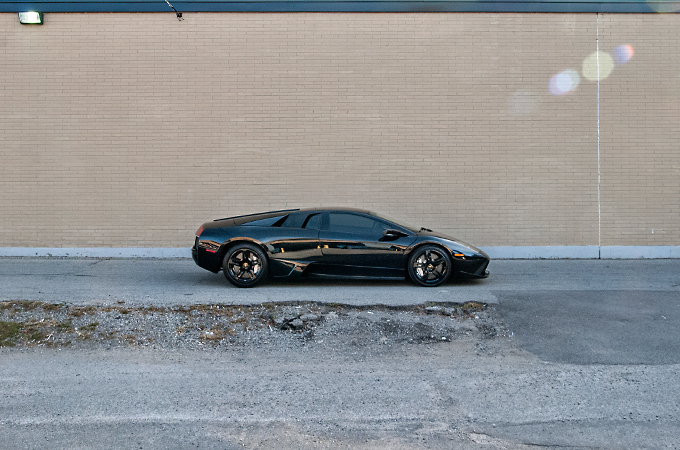
And the last pic to finish the walk around
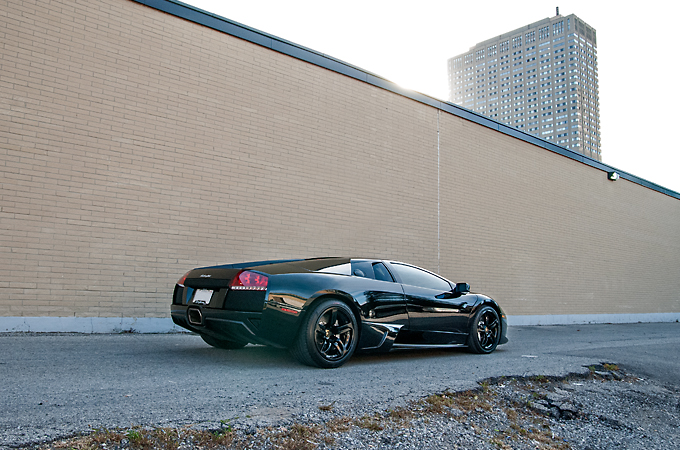
Hope you enjoyed the pics!!!
We had tried to schedule an appointment prior to this one but due to rainy weather we had to reschedule and he mentioned that maybe he was considering postponing the detail until the springtime, which is understandable. Luckily
... he had a change of heart and we were able to schedule a date where the weather worked in our favour!So in to the shop it came!
As usual, the arrival pic
After cleaning the wheels, 2 Bucket Method wash, and clay bar, we masked the rubber trim
Next up was to take measurements of the paint with our special paint depth gauge which measures via ultrasound due to a few panels not being made of steel or aluminium. This gauge is not cheap at all and costed us $3000
These are the results of the 1st stage of polishing
Before
After(did I mention that solid black is a pain in the a**?!)
Headlights & Taillights were polished as well
Before
After
2nd stage of polishing was completed and then an alcohol wipe down to remove the polishing oils. Finally Opti Coat Primer applied to prepare for the Opti Coat Pro application
Tape removed and little details such as removing polish with a tooth pick from the edge of the stone guard was performed
And finally the star of the show, Opti Coat Pro
A shot in the sun to show no more swirls in the paint
All in all minus some deeper scratches which I suspect may have been from people leaning on the car for pics and the fact that it is solid black, I would say we got the paint condition to about an 8.5/9 out of 10.
Here are the results
I love reflection pics
The lens flare pointing at the car is pretty cool
And the last pic to finish the walk around
Hope you enjoyed the pics!!!
11-02-2015, 02:01 PM
#17
Members
Join Date: Feb 2009
Location: Toronto
Posts: 98
Likes: 0
Received 0 Likes
on
0 Posts
We had spoken to this client while we were polishing the 991 GT3 in Vancouver. He had a few vehicles he was taking delivery of and wanted to protect them all with Opti Coat Pro.
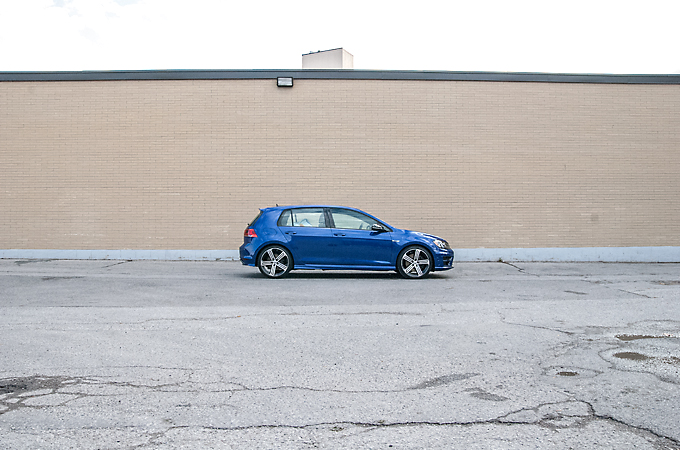
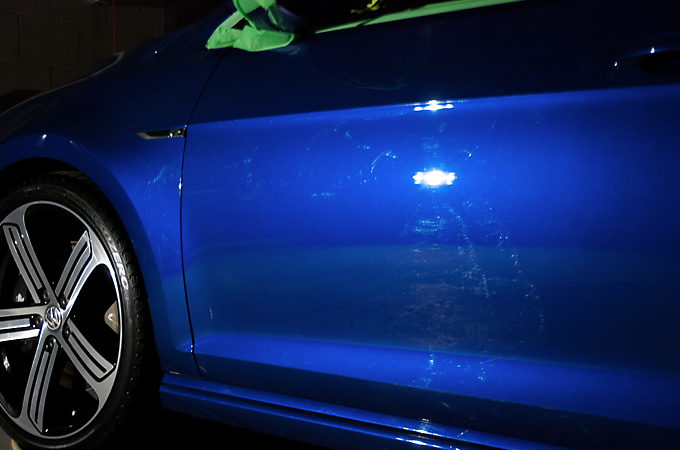
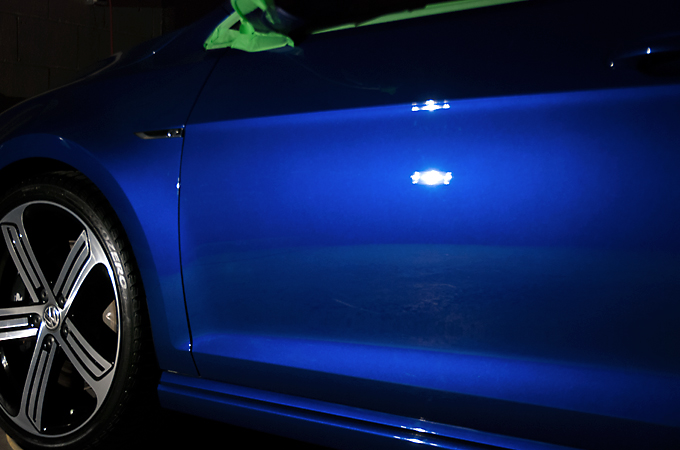
This was the Golf R that literally came directly from the dealership. It had very light swirling and a 1 stage polish was all that was needed to clean it up.
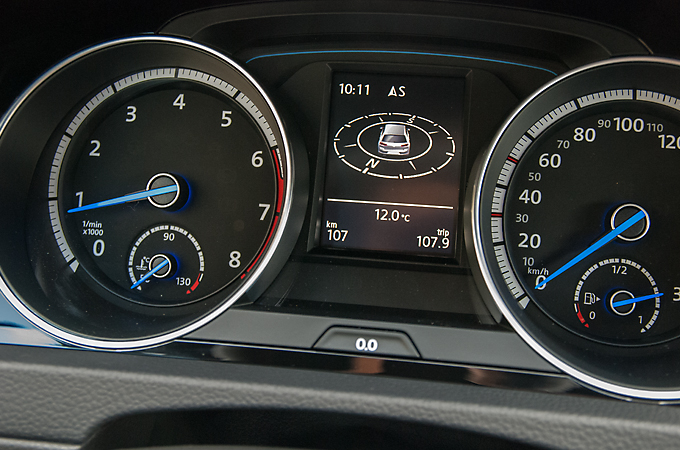
Arrival pic
Only 107km on the odometer
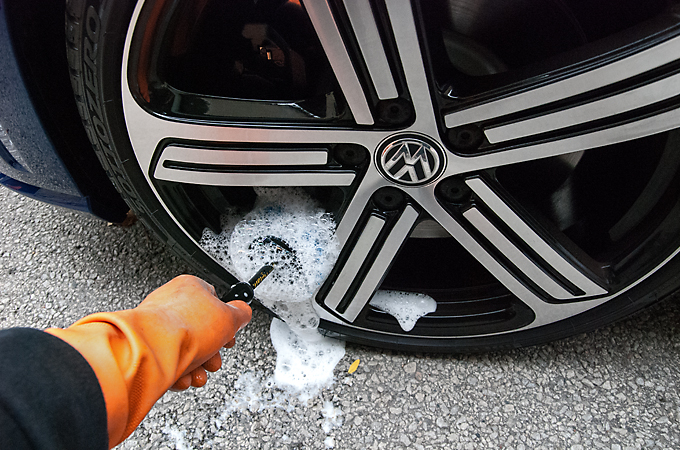
Cleaning the wheels
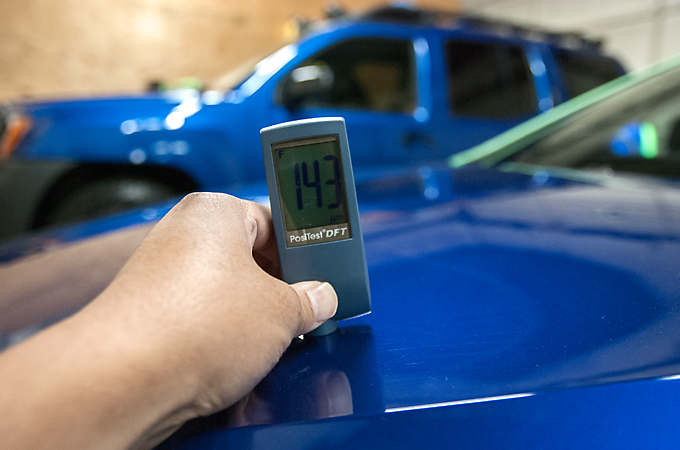
Measuring the paint to make sure there were no surprises
Before
After
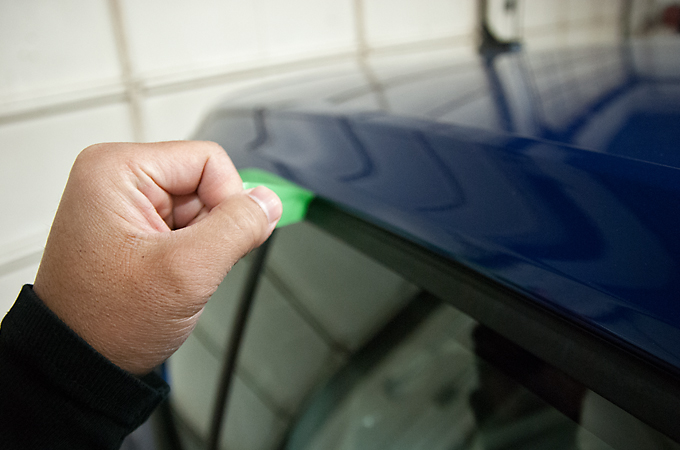
Removing the masking tape
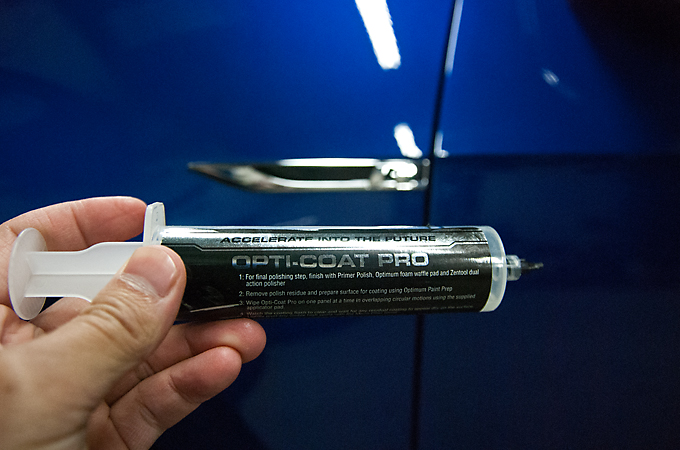
Opti Coat Pro
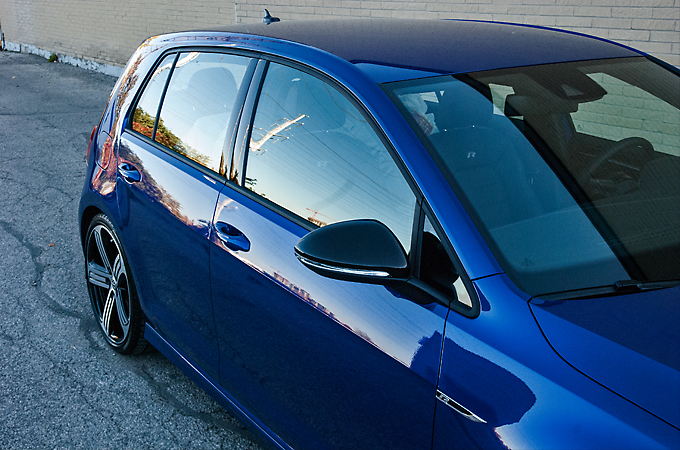
And the finished pics
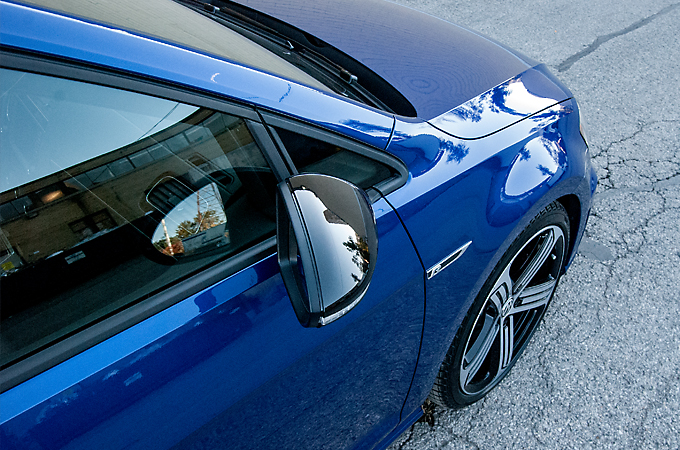
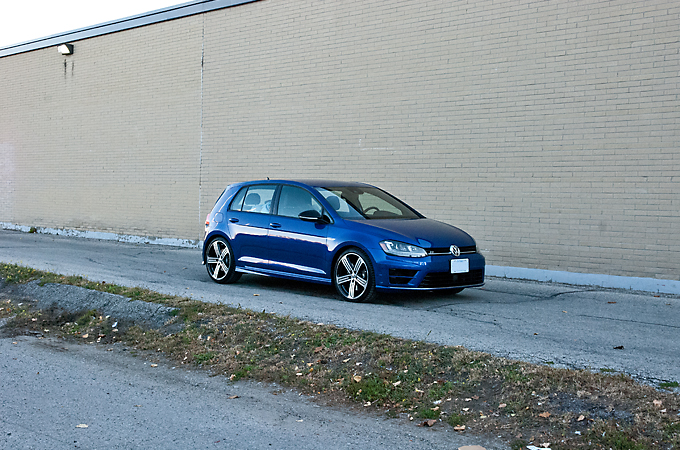
This was the Golf R that literally came directly from the dealership. It had very light swirling and a 1 stage polish was all that was needed to clean it up.
Arrival pic
Only 107km on the odometer
Cleaning the wheels
Measuring the paint to make sure there were no surprises
Before
After
Removing the masking tape
Opti Coat Pro
And the finished pics
11-15-2015, 05:20 AM
#18
Members
Join Date: Feb 2009
Location: Toronto
Posts: 98
Likes: 0
Received 0 Likes
on
0 Posts
We had spoken to this client a few weeks prior to this detail and he had actually referred a Bentley to us earlier in the spring.
The car was fairly new and well taken care of so the paint was not in bad shape at all. A 1 stage polish was all that was needed to clean up the light swirls which then was protected with Opti Coat Pro afterwards.
Arrival

Claybarring the paint
Taking measurements
Masking up the plastic and rubber trim
Then on to polishing the paint
Before
After
After the polishing Opti Coat Primer was applied to the paint
Via machine
Then Opti Coat Pro applied
And finally the finished pics starting with a reflection on the hood
Hope you liked the pics on this track monster!
The car was fairly new and well taken care of so the paint was not in bad shape at all. A 1 stage polish was all that was needed to clean up the light swirls which then was protected with Opti Coat Pro afterwards.
Arrival
Claybarring the paint
Taking measurements
Masking up the plastic and rubber trim
Then on to polishing the paint
Before
After
After the polishing Opti Coat Primer was applied to the paint
Via machine
Then Opti Coat Pro applied
And finally the finished pics starting with a reflection on the hood
Hope you liked the pics on this track monster!
12-09-2015, 03:01 PM
#19
Members
Join Date: Feb 2009
Location: Toronto
Posts: 98
Likes: 0
Received 0 Likes
on
0 Posts
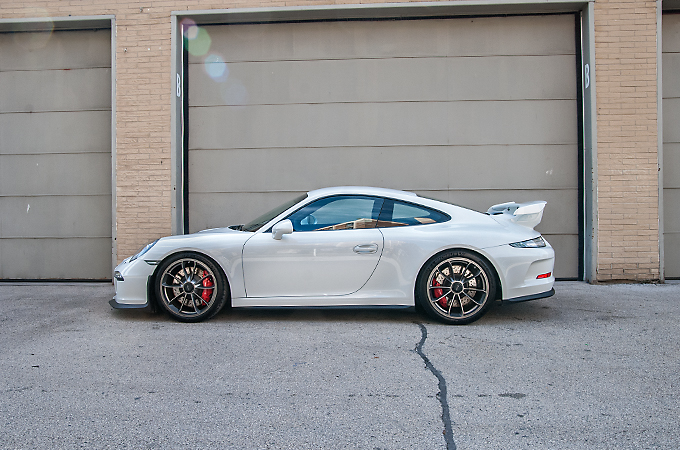
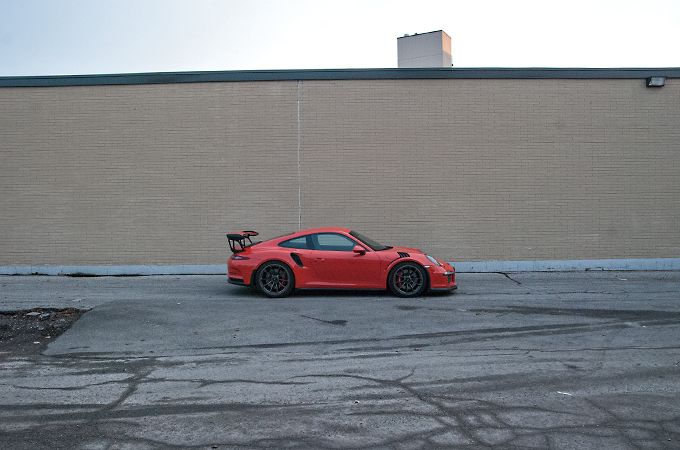
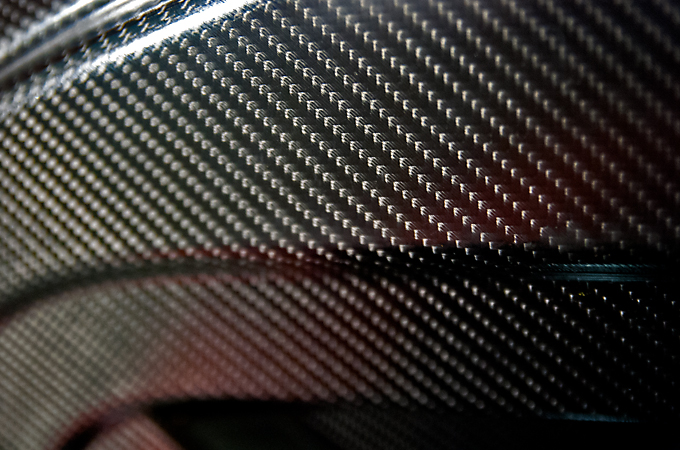
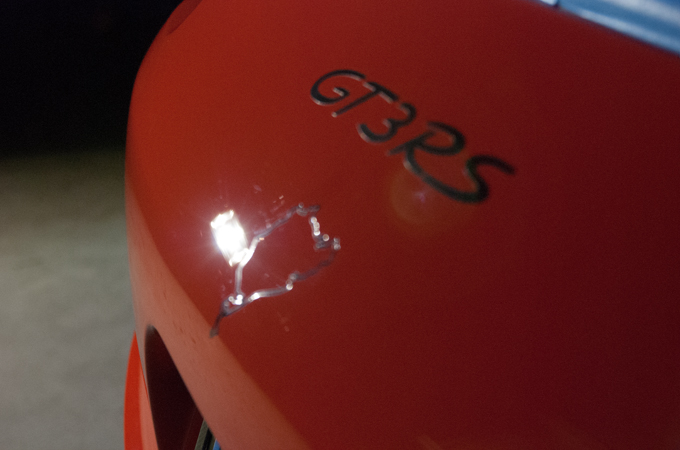
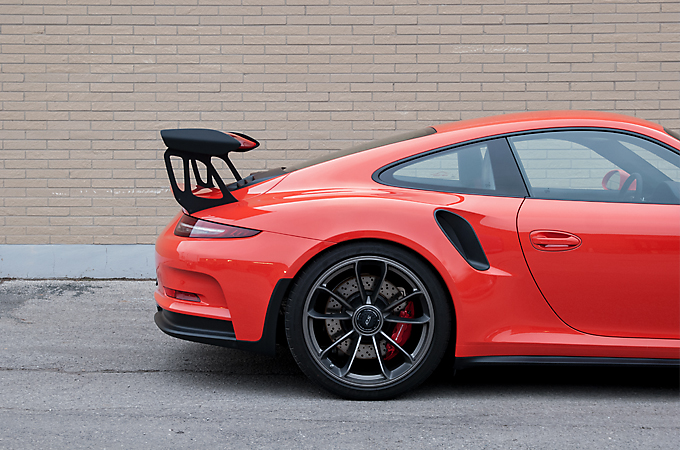
We had been looking forward to this Lava Orange 991 GT3RS for quite sometime. We maintain this clients other RS's as well so we knew about this one for almost a year now.
Not really much else to say, got the call Saturday evening and it was in the shop by Wednesday
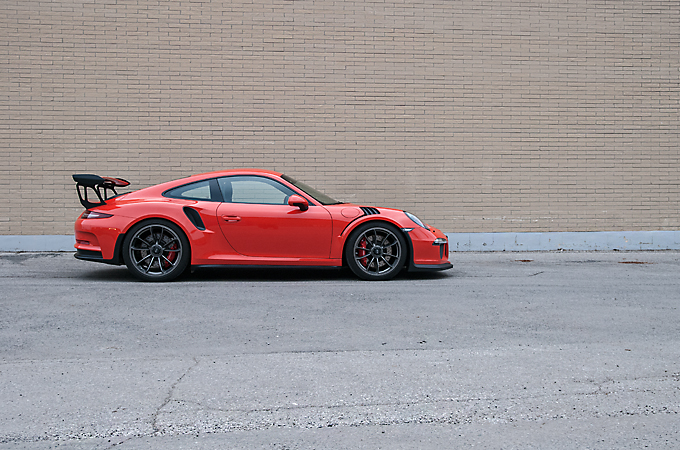
Arrival
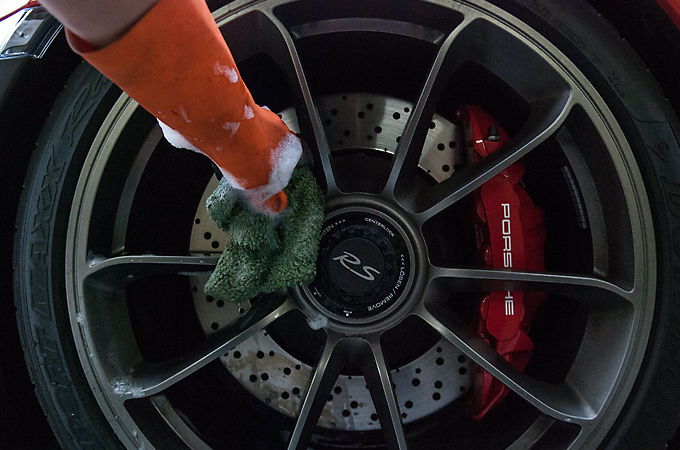
Cleaning the wheels
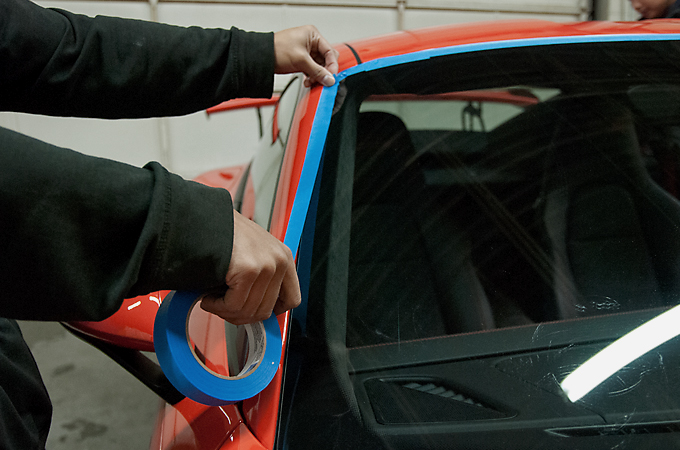
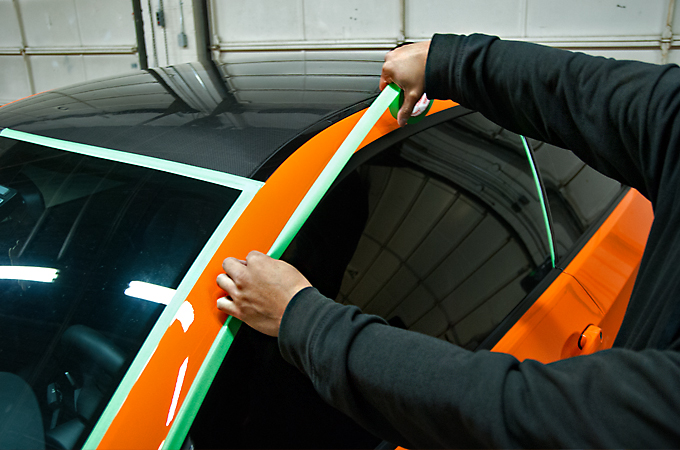
Masking off the rubber and plastic trim
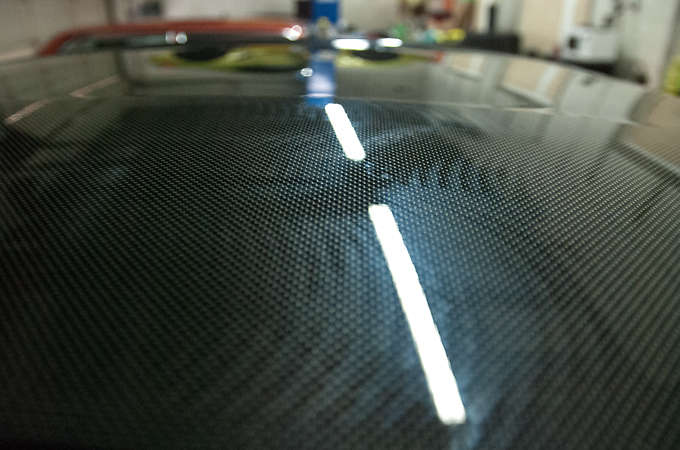
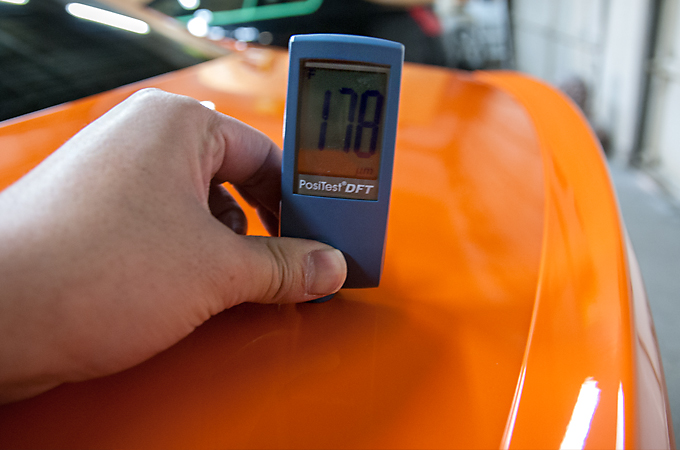
The whole front end is carbon fibre so we had to bring out our ultrasound paint gauge to measure the paint
Underneath the hood
Ultrasound measurements
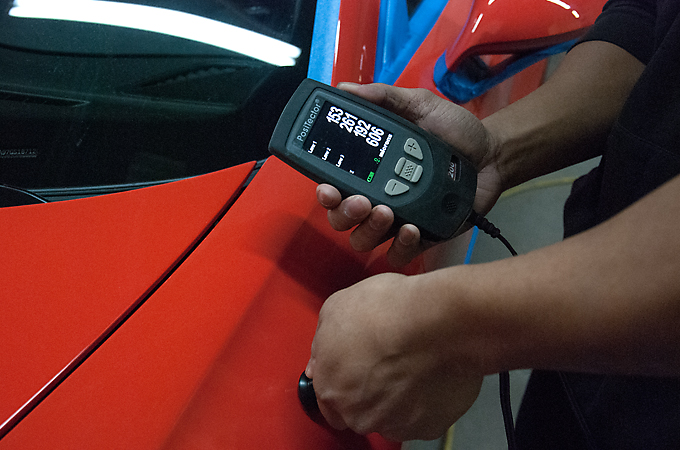
Magnetic measurements

And on to polishing the paint.
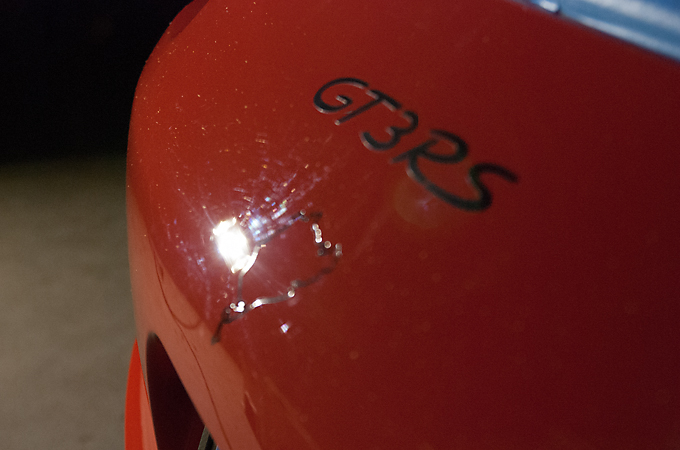
There was already close to 5000km on the odometer so the paint had some light swirls to polish out before applying Opti Coat Pro.
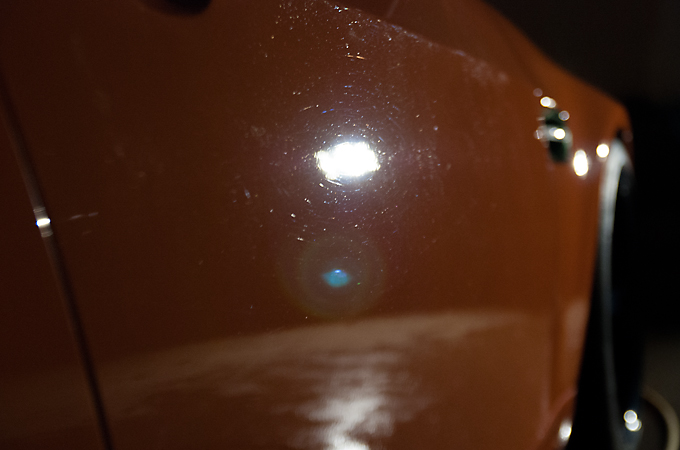
Before

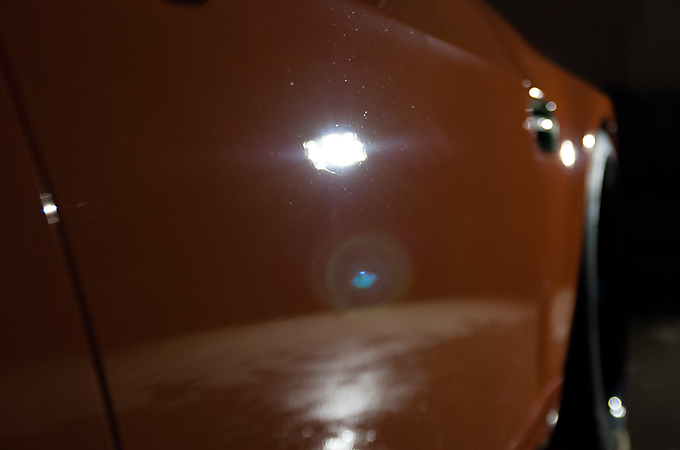
After
Before
After
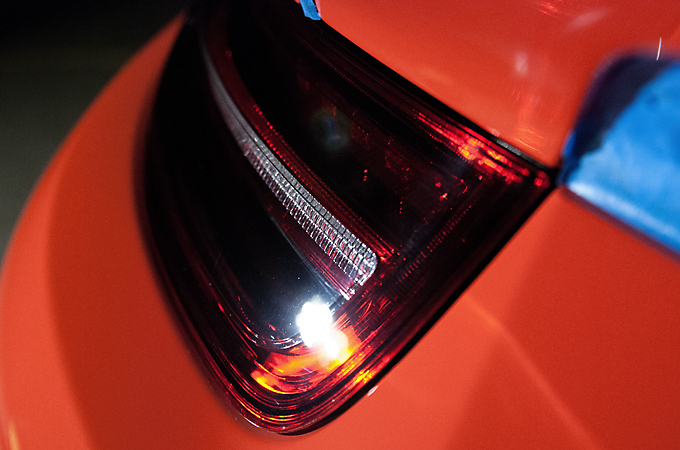
The taillights were polished as well
Before
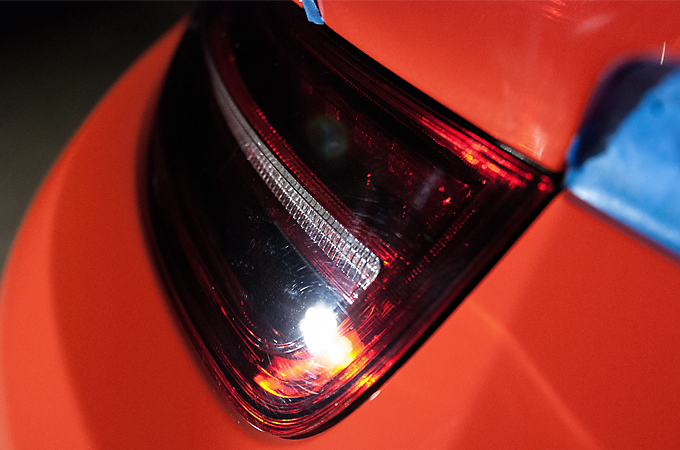
After
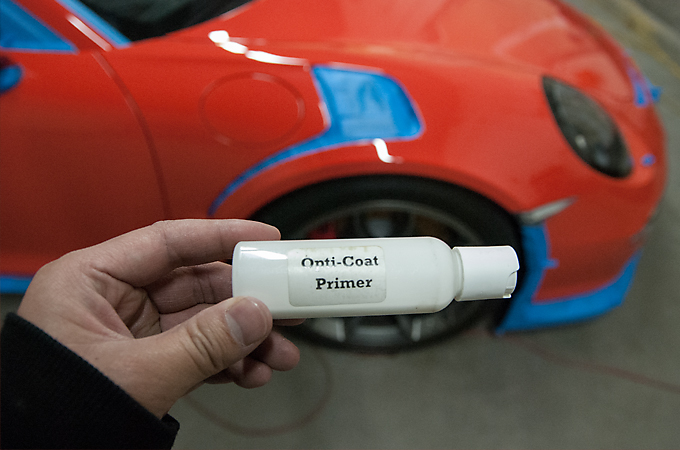
After the 2nd stage of polishing was completed we applied Opti Coat Primer via machine to the paint

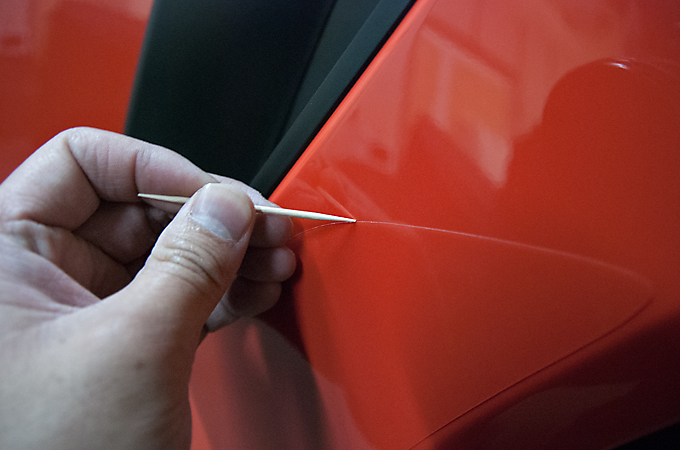
We unmasked the trim and took care of some finishing touches like cleaning up the polishing dust and cleaning polish from the edge of the stone guard with a tooth pick
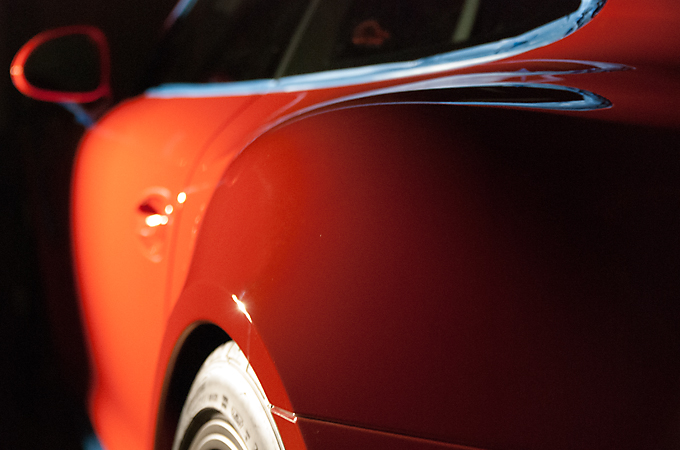
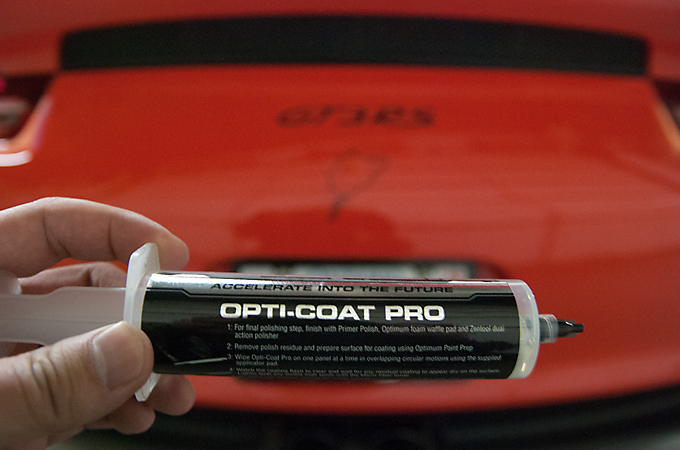
And finally applied Opti Coat Pro
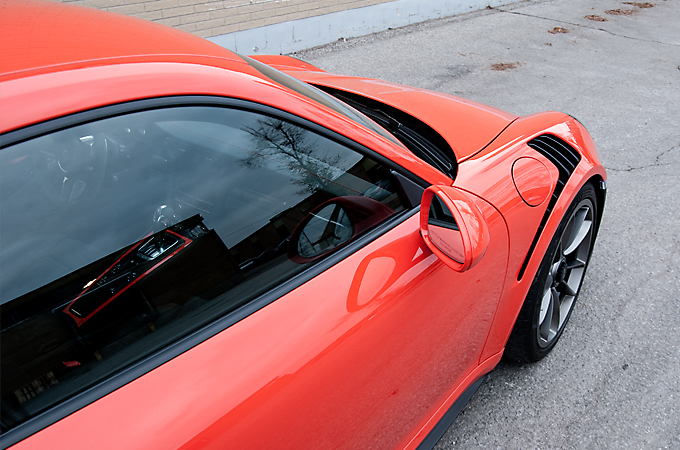
Overcast day so the gloss was not photographing the best it could be, but still happy with the finished pics!

And the icing on the cake.... an autograph under the hood from Wolfgang Porsche!!!
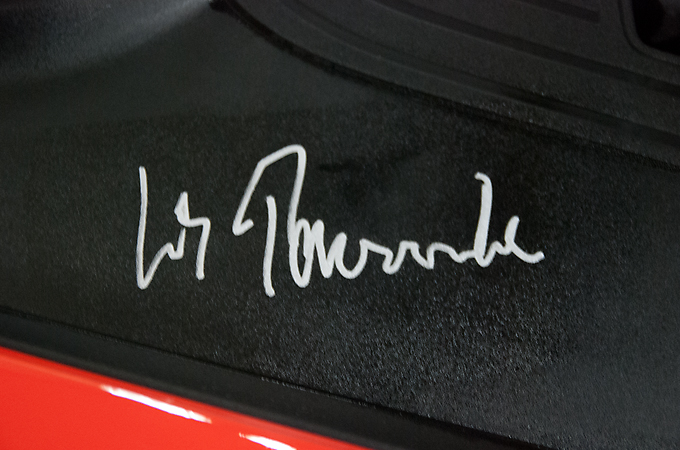
Hope you enjoyed the pics as much as we enjoyed working on the car!
Thanks!
Not really much else to say, got the call Saturday evening and it was in the shop by Wednesday
Arrival
Cleaning the wheels
Masking off the rubber and plastic trim
The whole front end is carbon fibre so we had to bring out our ultrasound paint gauge to measure the paint
Underneath the hood
Ultrasound measurements
Magnetic measurements
And on to polishing the paint.
There was already close to 5000km on the odometer so the paint had some light swirls to polish out before applying Opti Coat Pro.
Before
After
Before
After
The taillights were polished as well
Before
After
After the 2nd stage of polishing was completed we applied Opti Coat Primer via machine to the paint
We unmasked the trim and took care of some finishing touches like cleaning up the polishing dust and cleaning polish from the edge of the stone guard with a tooth pick
And finally applied Opti Coat Pro
Overcast day so the gloss was not photographing the best it could be, but still happy with the finished pics!
And the icing on the cake.... an autograph under the hood from Wolfgang Porsche!!!
Hope you enjoyed the pics as much as we enjoyed working on the car!
Thanks!
01-06-2016, 03:45 PM
#20
Members
Join Date: Feb 2009
Location: Toronto
Posts: 98
Likes: 0
Received 0 Likes
on
0 Posts
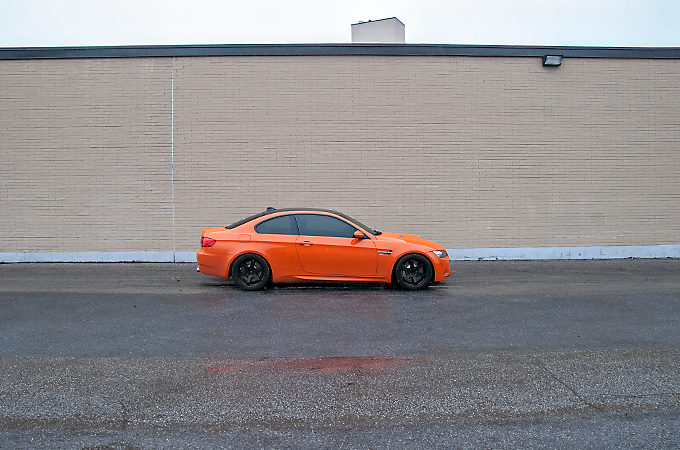
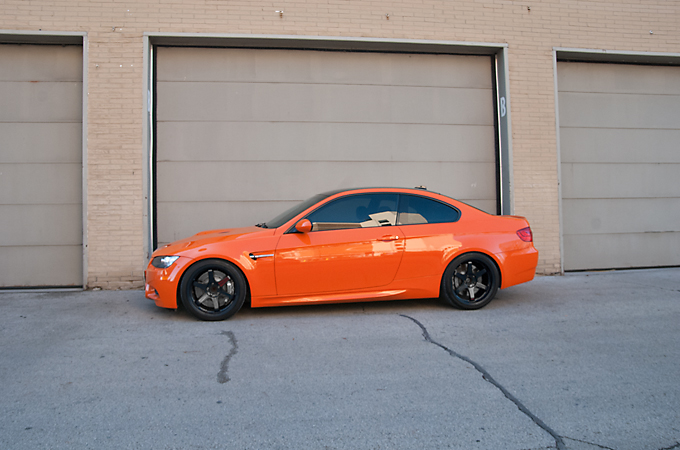
Happy New Year!
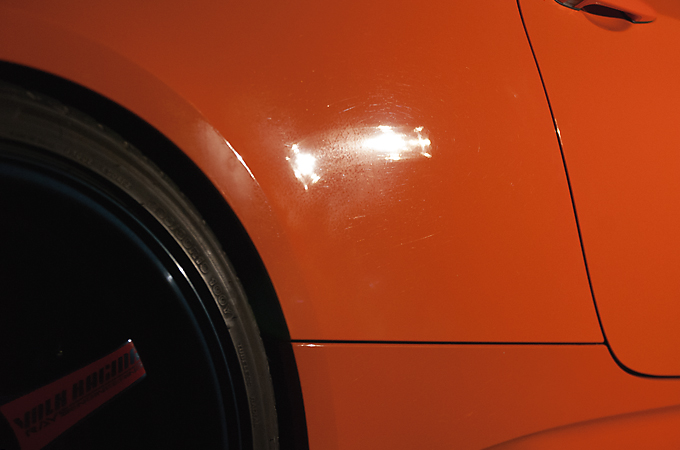
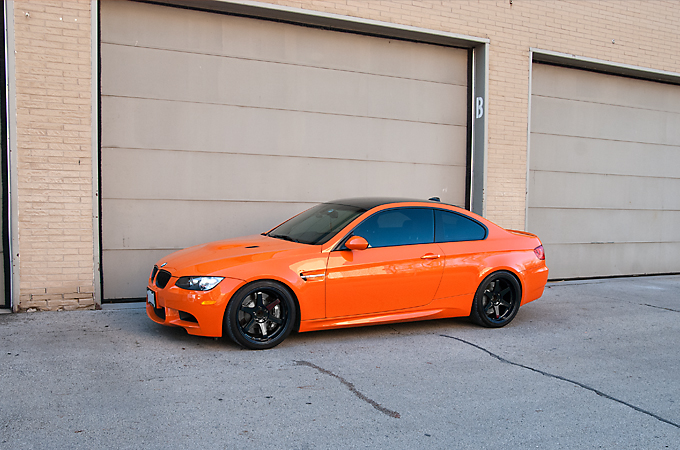
We were contacted by this client to detail this rare fire orange M3,1 of 2 I believe in Toronto, for storage. When it came in to the shop and upon inspection we came to the conclusion that it definitely needed a 2 stage polish as the paint was in rough condition. Anyways onto the polishing.
Arrival
Claybarring the paint
Measuring the paint
Masking off the rubber and plastic trim
Finally with all the prep done we started the compounding
Before
After
Before
After

Before (the trunk was in horrible shape with buffer trails everywhere)
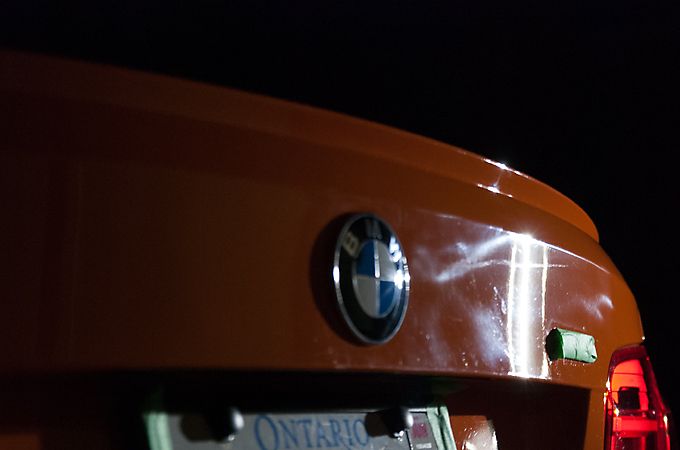
After (there was a deeper scratch that was to deep to come out)
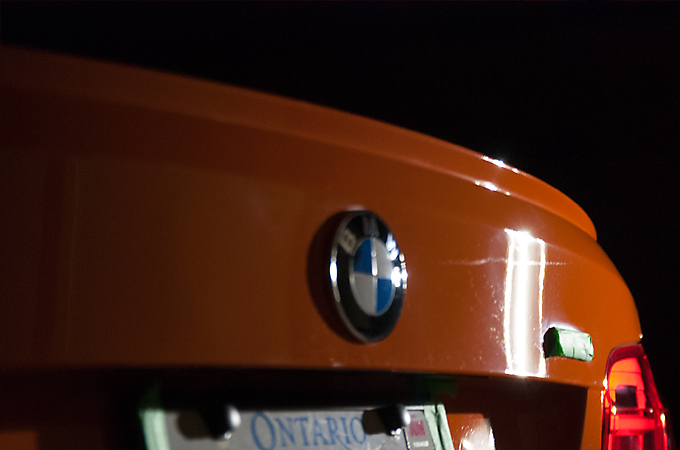
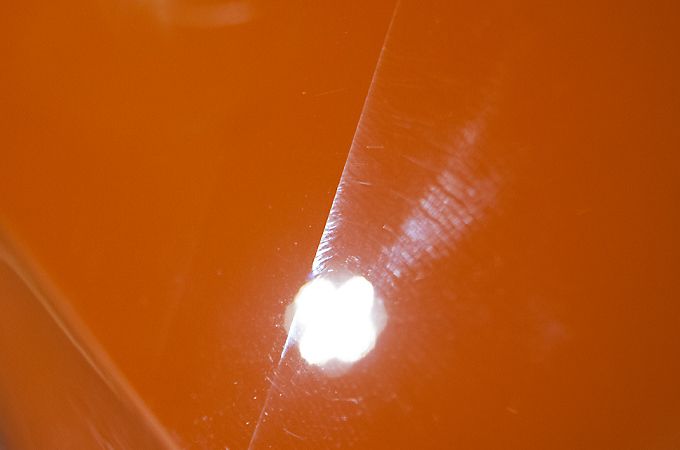
50/50 shot
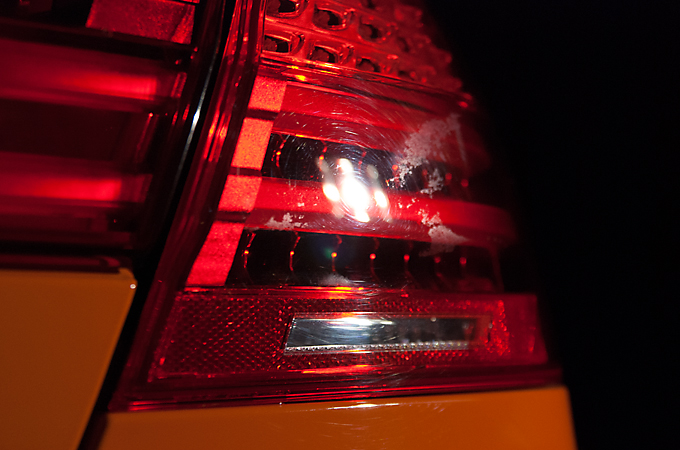
Headlights and taillights were polished as well
Before
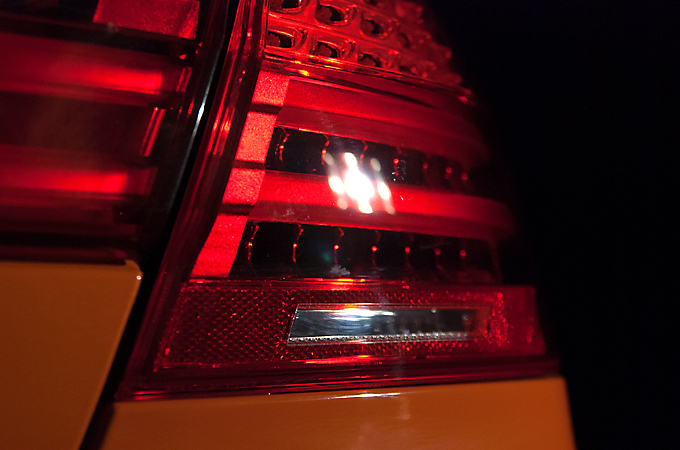
After
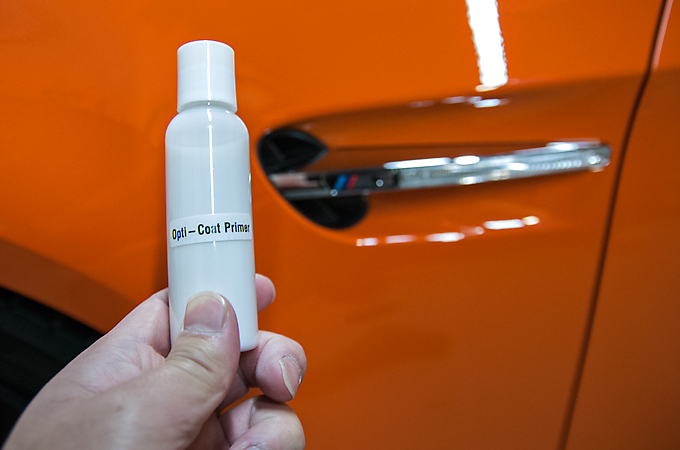
After all the compounding and polishing Opti Coat Primer was applied
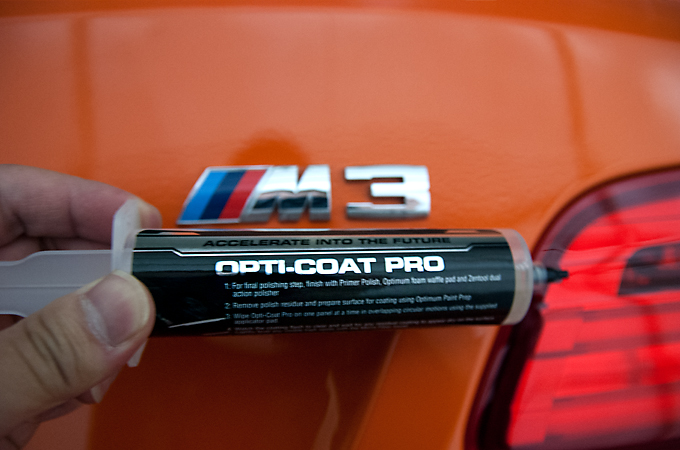
Then Opti Coat Pro was applied
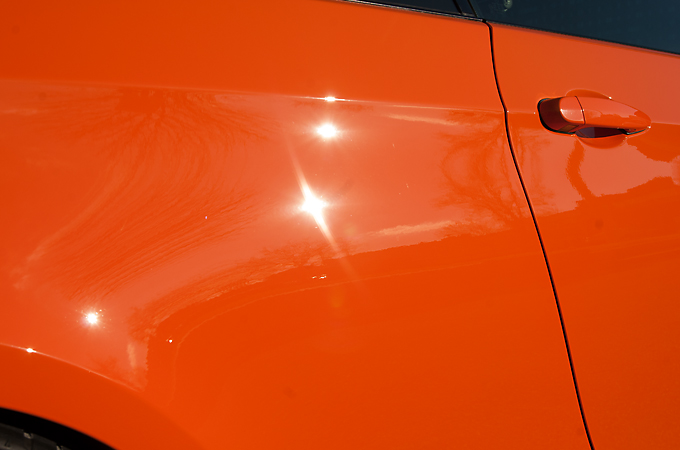
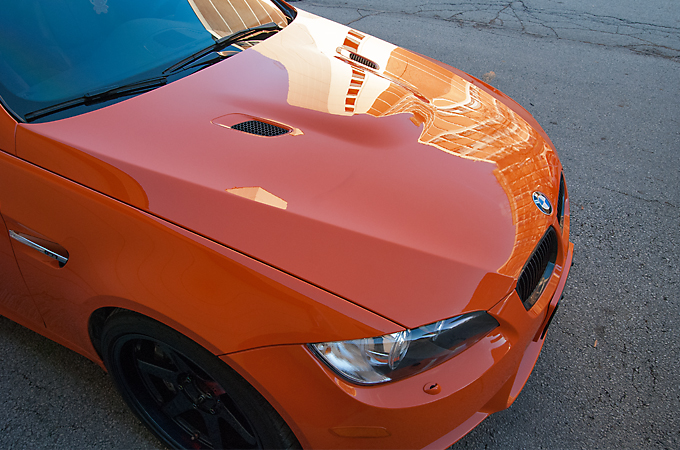
Here is the result of all our hard work starting with a sun shot
And finally my favourite shot
All the best in 2016!
We were contacted by this client to detail this rare fire orange M3,1 of 2 I believe in Toronto, for storage. When it came in to the shop and upon inspection we came to the conclusion that it definitely needed a 2 stage polish as the paint was in rough condition. Anyways onto the polishing.
Arrival
Claybarring the paint
Measuring the paint
Masking off the rubber and plastic trim
Finally with all the prep done we started the compounding
Before
After
Before
After
Before (the trunk was in horrible shape with buffer trails everywhere)
After (there was a deeper scratch that was to deep to come out)
50/50 shot
Headlights and taillights were polished as well
Before
After
After all the compounding and polishing Opti Coat Primer was applied
Then Opti Coat Pro was applied
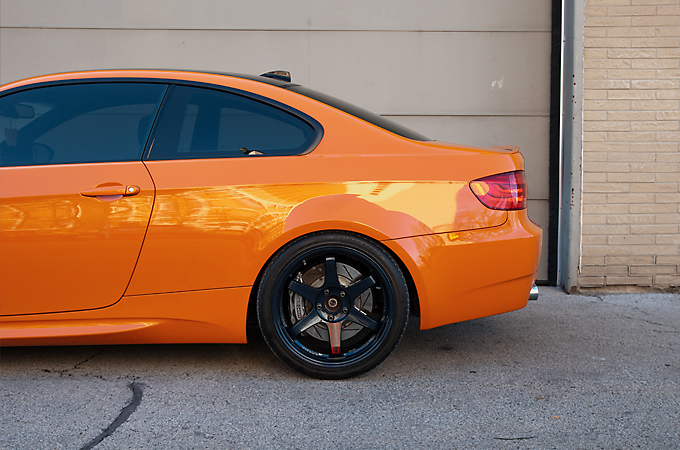
Here is the result of all our hard work starting with a sun shot
And finally my favourite shot
All the best in 2016!