Audi B5 RS4 2001 - Black nightmare
 09-24-2012, 09:42 AM
#1
Contributors
Thread Starter
Join Date: Apr 2007
Location: Kajaani, Finland
Posts: 5,851
Likes: 0
Received 3 Likes
on
3 Posts
My Ride: Bmw 530d 2004
Hello folks.
Few weeks ago I was asked to polish this awesome car. I wasn?t sure what to expect, when I heard few facts about it:
- Audi --> Rock hard clearcoat, I thought (proved to be something totally else, though)
- RS4 --> Not a very usual daily driver
- Flat black --> The most difficult colour to correct, possibly
Well, man gotta do what a man gotta do, right?
Car:
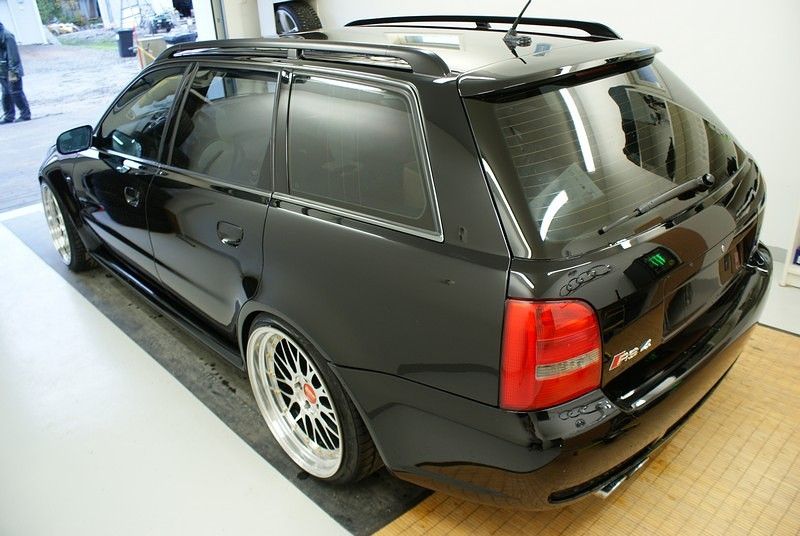
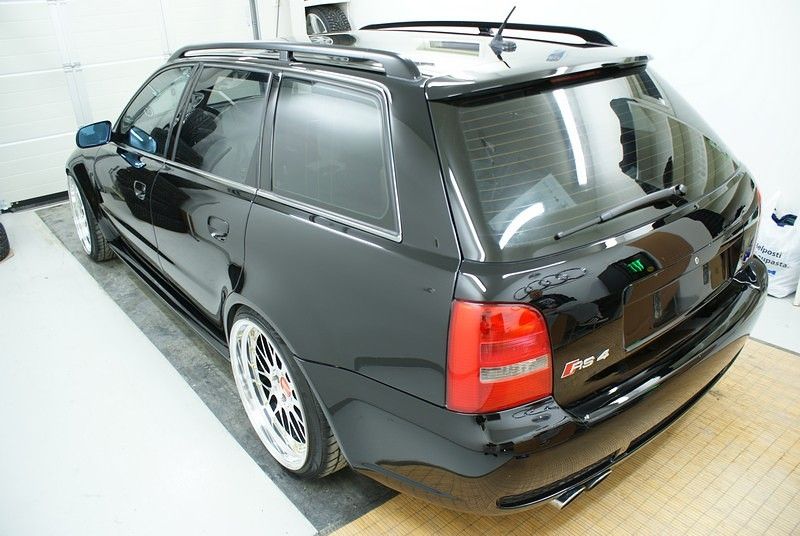
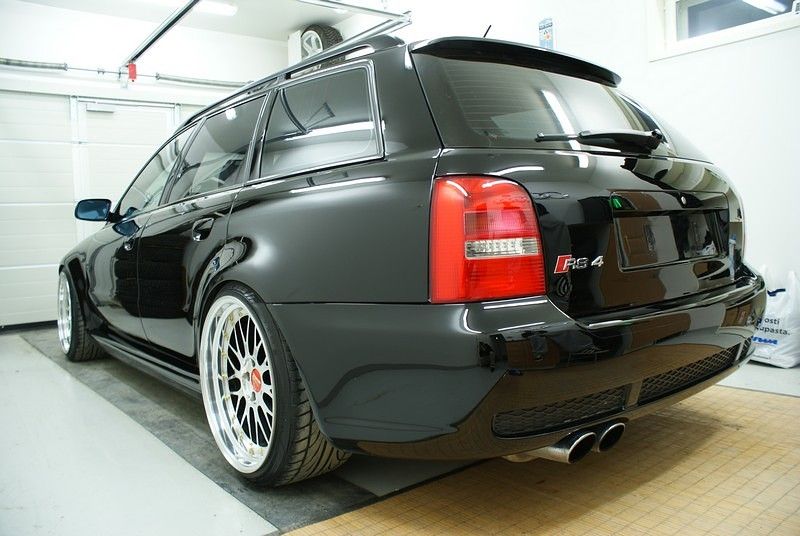
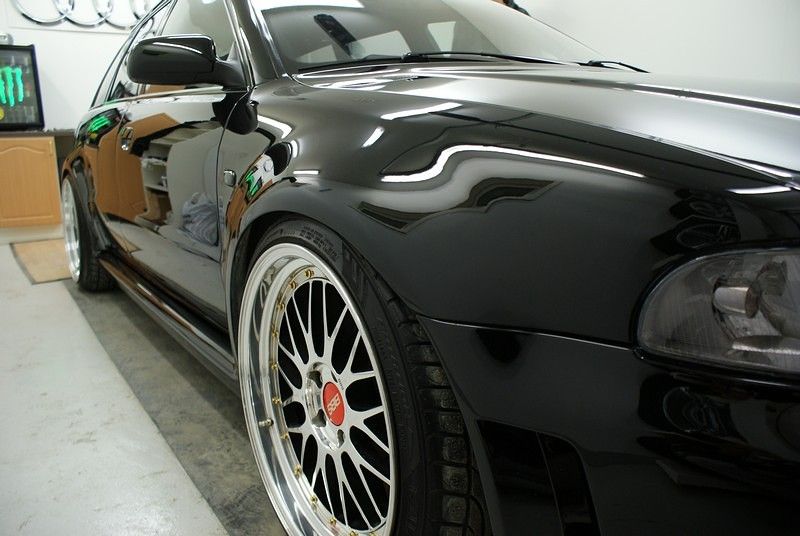
So, the car is Audi B5 RS4 2001. This one is probably the most powerful B5 RS4 in Finland, over 600hp and over 700Nm of torque. A true beast and very classy looking car. Designed very timelessly, I think.
Scratches and clearcoat:
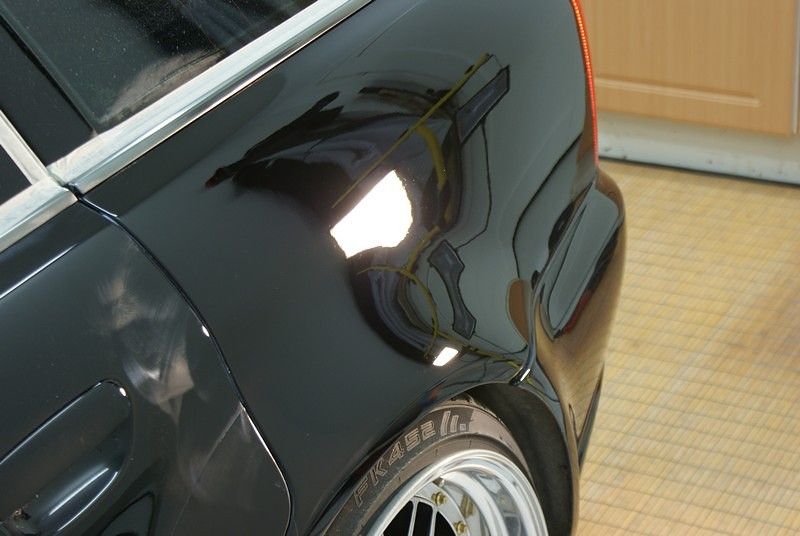
I don?t know what?s the correct name for the Audi?s solid black, but this is the colour of the car. Then I heard the car had been repainted few years ago, and I felt relieved I wouldn?t need to fight against the hard Audi clearcoat. Well, it became a fight after all. The repaint was done very nicely, though.
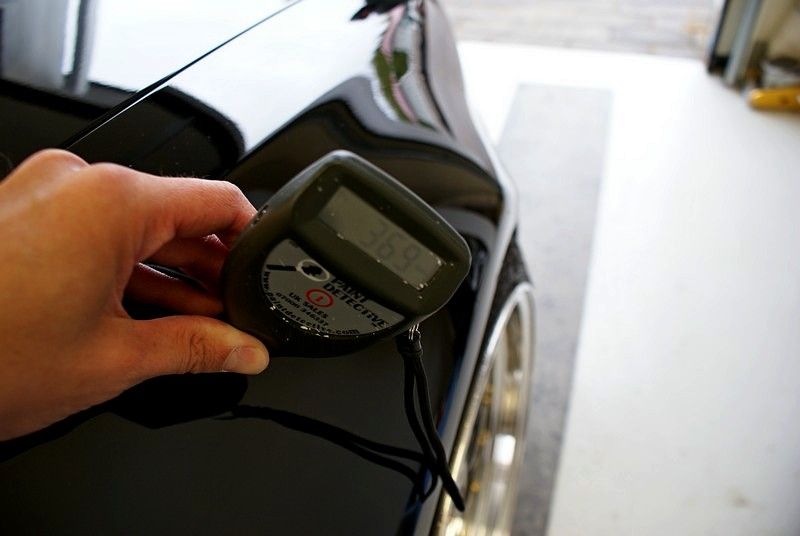
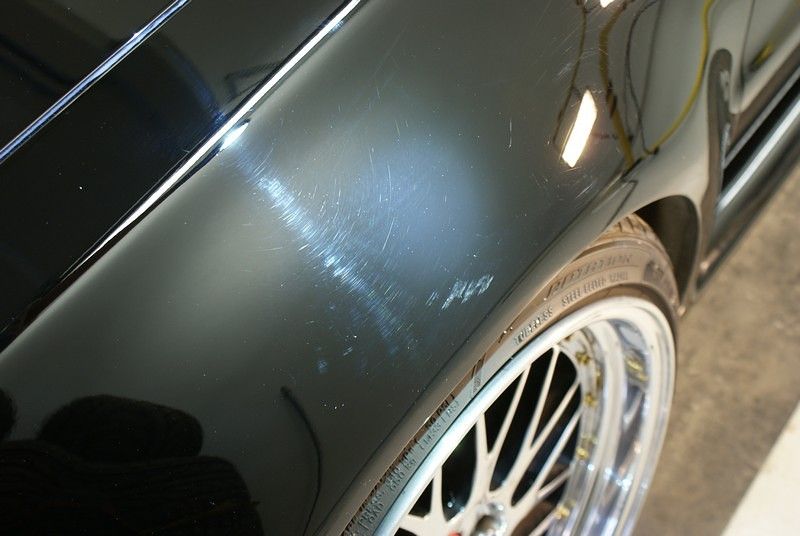
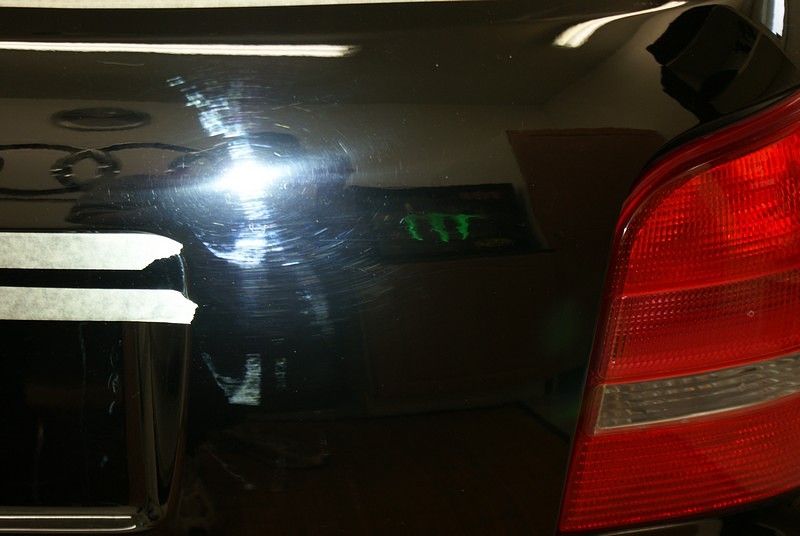
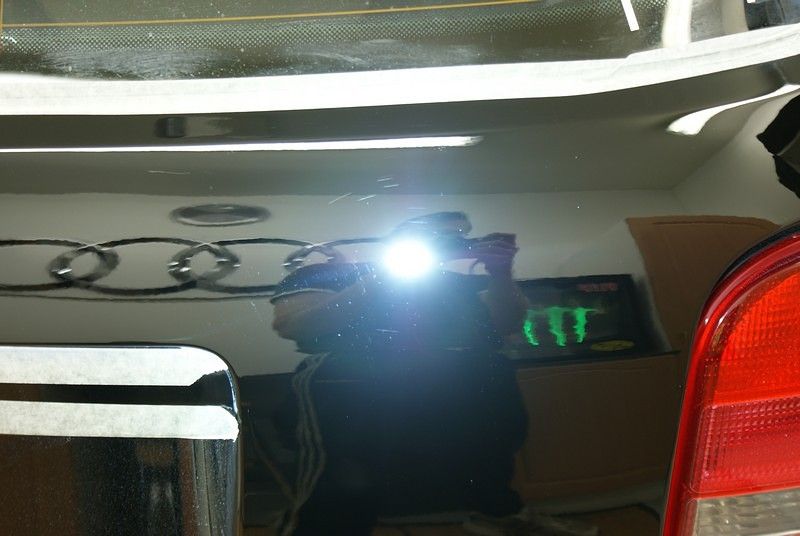
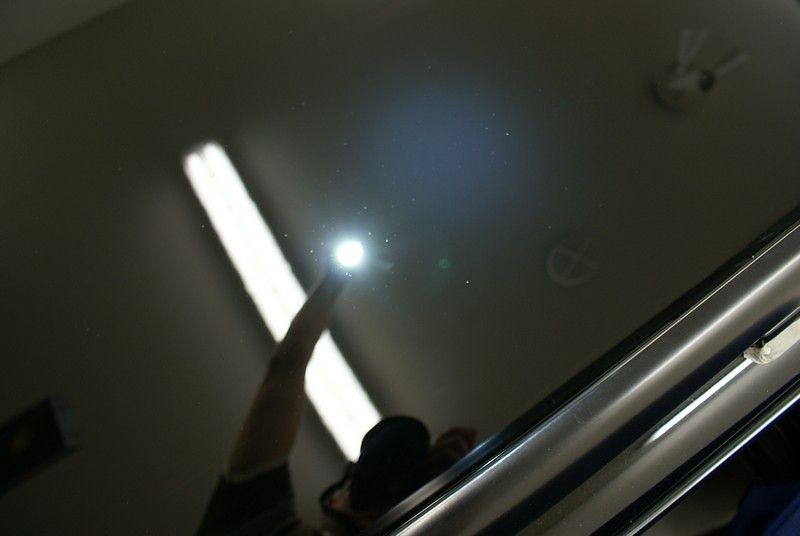
However, this kind of black is a colour where every imperfection will show ruthlessly. A professional detailer had polished this car only few months back, but somehow there was tons of holograms and swirls everywhere. I wasn?t able to achieve a 100% swirless surface either, because the clearcoat was almost as soft as the surface of the CD!!! When wiping the clearcoat with a microfiber with just a bit of force, it was scratched. Totally hopeless.
Pads and compounds:
The search for the right and most suitable combination was a big job. Everything was tested. Just imagine how many different combinations can be combined of the following products; FLEX PE 14-2 (rotary), FLEX XC 3401 VRG (orbital), Lake Country CCS yellow, orange, white, black and blue pads, Menzerna PO203S, PO106FA, PO85RD and Britemax #4 compounds. Lets add different working techniques to this. Whoa!
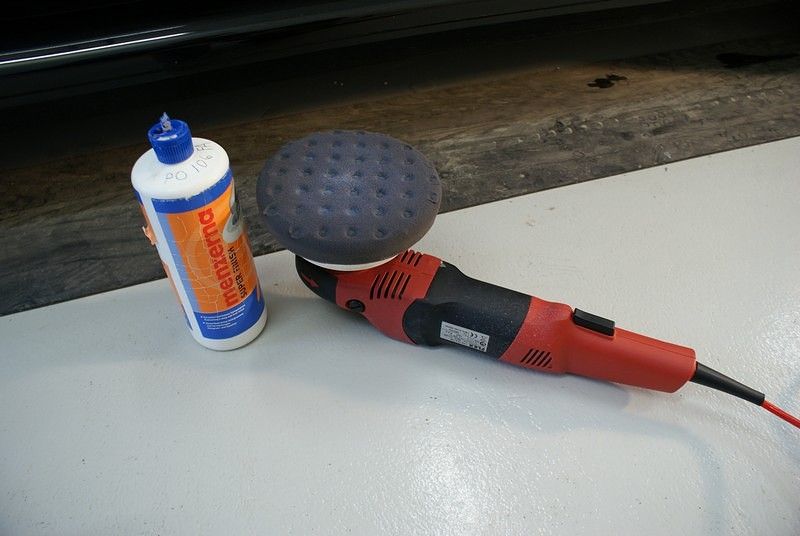
The FLEX PE14-2, Menzerna PO106FA and LC CCS white and black (depending on the area) pad turned out to be the best combination for this car. The technique was lots of rpms, pressure and running the compound till the very end. If I changed to any harsher pad or compound, the clearcoat was scratched.
Because of the very soft surface, I knew I had to do another round with an orbital polisher. This was easier said than done. If I used the same very soft combination (or even softer for that matter), the paint was sratched. WTF? I think the scratches were produced before the compound was breaking down, and then the orbital polisher hadn?t enough potency to correct it. So, I had to break down the polish with a rotary at first, and then quickly change the pad to an orbital polisher and run the end of it with moderate pressure and low rpms. I hope there was no holograms left behind. I cound?t find any, fortunately.
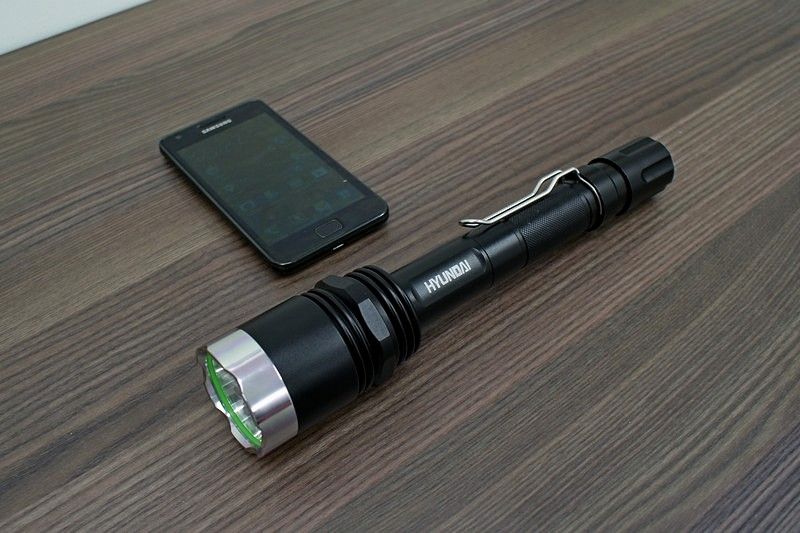
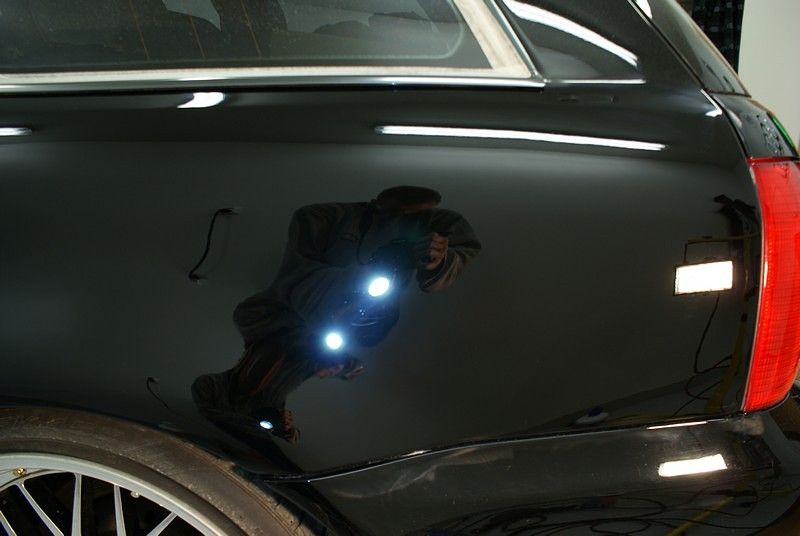
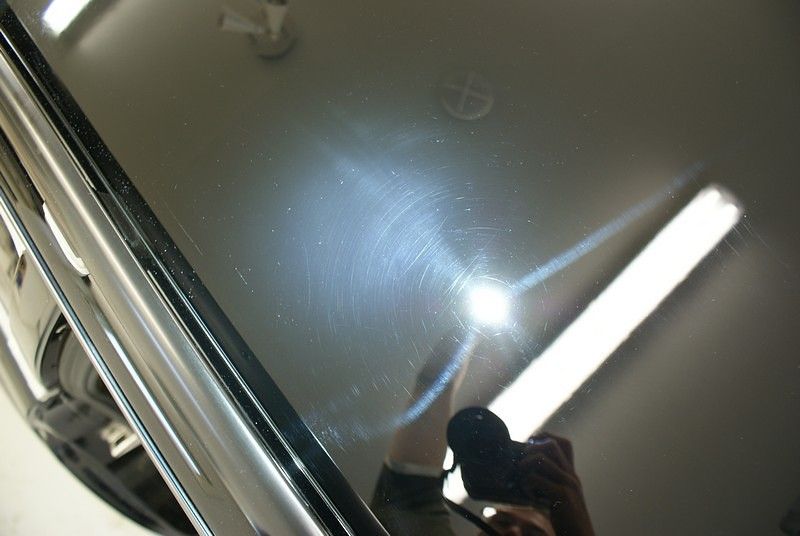
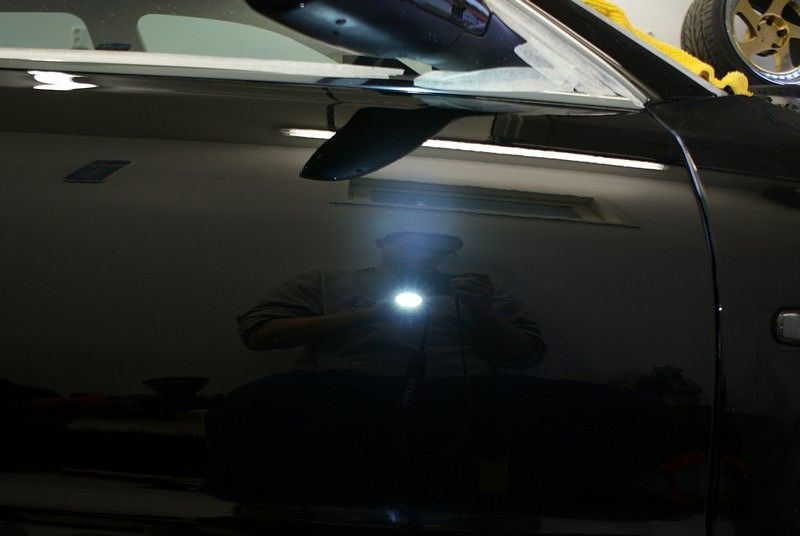
Oh, I have to praise then newest weapon in my arsenal; Hyundai 6W CREE LED flashlight. Bright as the Sun (1000 lumen)! Very useful for finding scratches. Almost too good in this case.
LSP:
I ended up putting Finish Kare 1000P on car.
Thoughts:
A total time spent was 18 hours. If I had a possibility to work around the car for a week, then maybe a perfect surface could have achieved. But when considering the softness of the clearcoat, it would be totally impossible the keep the achieved condition. The owner was thinking about the color changing, and I recommend that. This car is worth keeping, and then repainting (or vinyl wrapping) would be worth it, I think.
-----------------------------------------------------------------
The process:
1) Pre-wash
- Turtle Wax Super Detergent spray wash
- Bilt-Hamber Autofoam
2) Wash
- Bilt-Hamber Autofoam
- AutoGlym Intensive Tar Remover
- Two bucket method + sheepskin mitt
3) Claying
- Son�s Ultra Fine Detailing Clay
- Bilt-Hamber Autofoam as lubricant
4) Polishing
- Menzerna PO106FA + Lake Country CCS white polishing -laikka / black finishing pads + Flex PE14-2
- Same combination for the second round, but doing the final passes with the FLEX XC 3401 VRG
5) LSP
- Finish Kare 1000P
6) Others
Tyres:
- Meguiar's Gold Class Endurance Tyre Gel
Windows:
-IPA
-----------------------------------------------------------------
Pictures
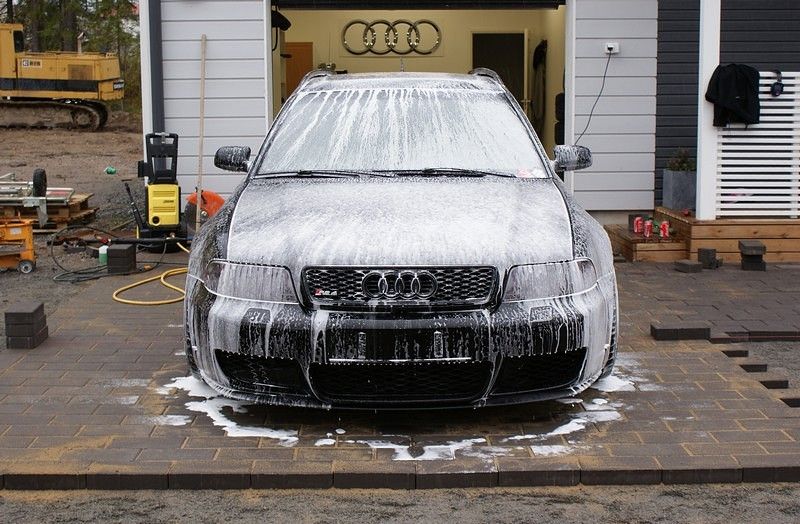
The wash
Foam party.

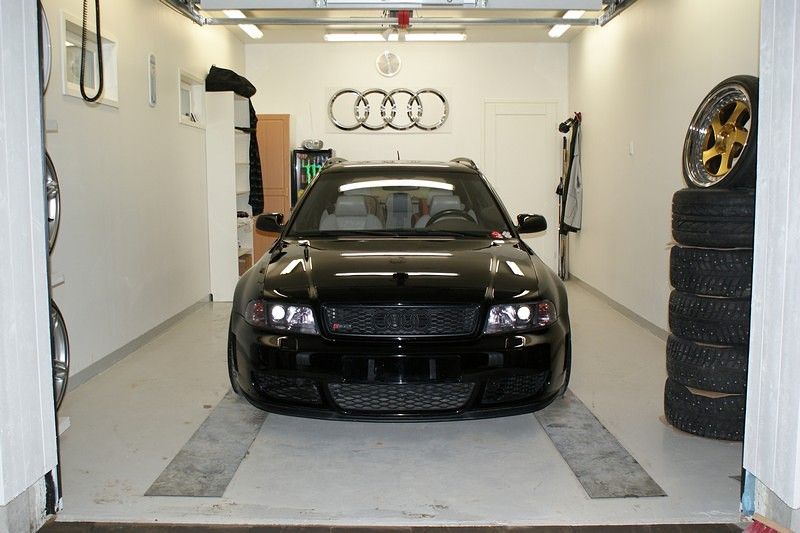
Then backing up to the garage which was very cool!
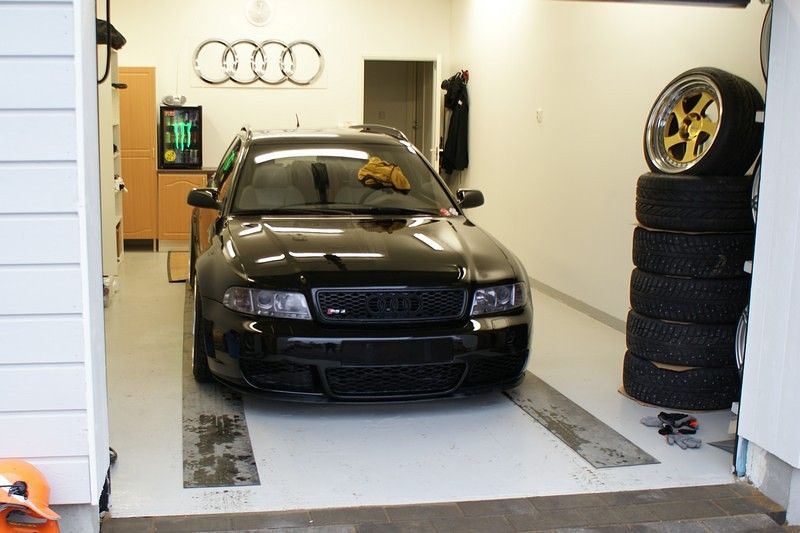
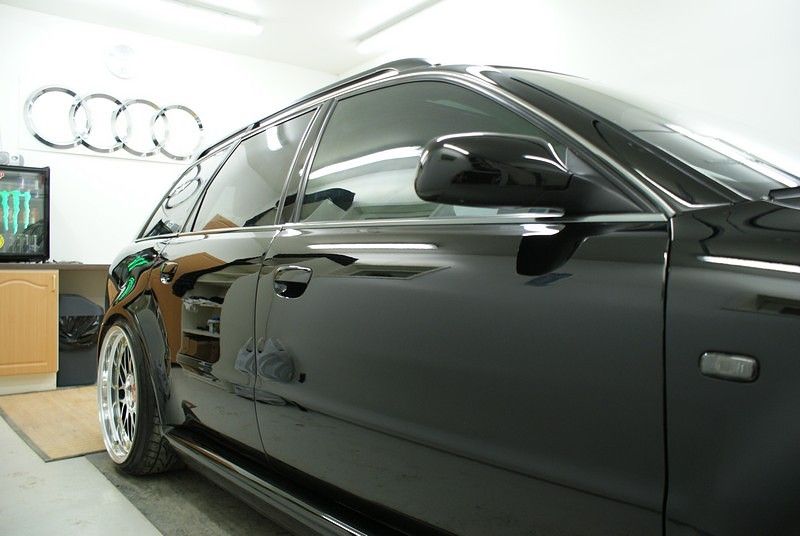
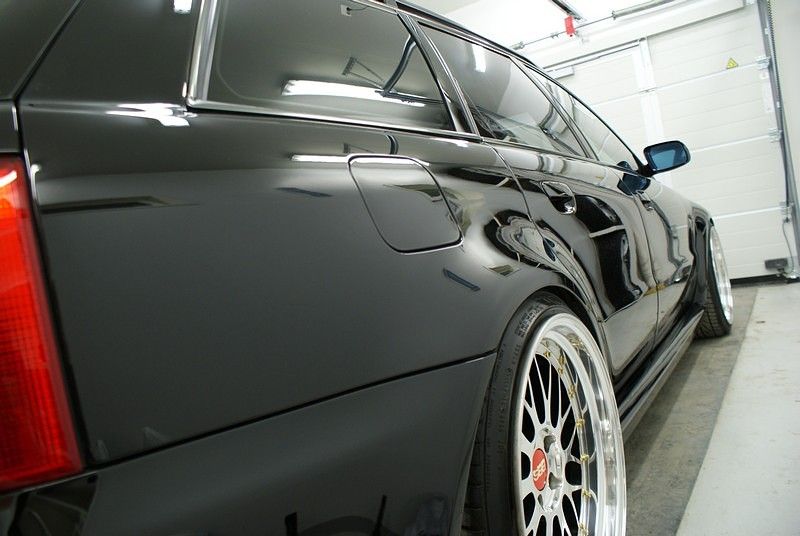
The overall look looked nice at this point.
-----------------------------------------------------------------
Polishing
The roof was the only area that wasn?t repainted.
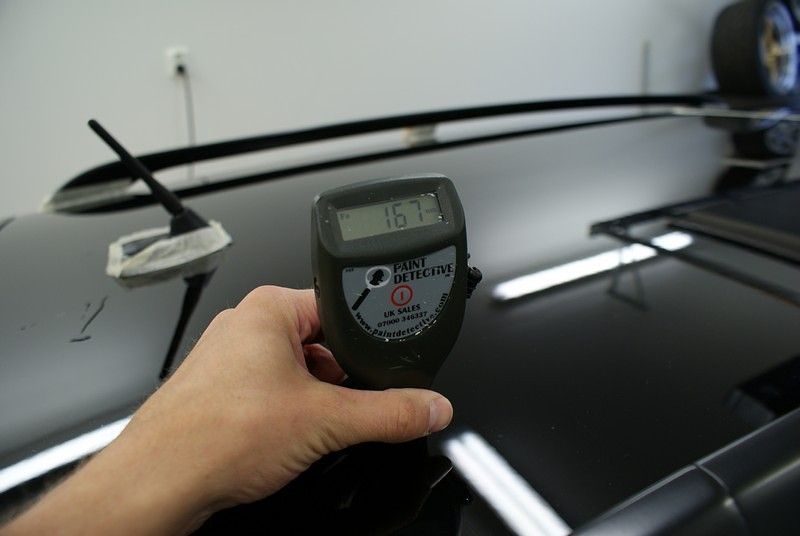
All other areas were resprayed.
Here?s the Hyundai?s big gun!
The soft combo that was used.
Few weeks ago I was asked to polish this awesome car. I wasn?t sure what to expect, when I heard few facts about it:
- Audi --> Rock hard clearcoat, I thought (proved to be something totally else, though)
- RS4 --> Not a very usual daily driver
- Flat black --> The most difficult colour to correct, possibly
Well, man gotta do what a man gotta do, right?
Car:
So, the car is Audi B5 RS4 2001. This one is probably the most powerful B5 RS4 in Finland, over 600hp and over 700Nm of torque. A true beast and very classy looking car. Designed very timelessly, I think.
Scratches and clearcoat:
I don?t know what?s the correct name for the Audi?s solid black, but this is the colour of the car. Then I heard the car had been repainted few years ago, and I felt relieved I wouldn?t need to fight against the hard Audi clearcoat. Well, it became a fight after all. The repaint was done very nicely, though.
However, this kind of black is a colour where every imperfection will show ruthlessly. A professional detailer had polished this car only few months back, but somehow there was tons of holograms and swirls everywhere. I wasn?t able to achieve a 100% swirless surface either, because the clearcoat was almost as soft as the surface of the CD!!! When wiping the clearcoat with a microfiber with just a bit of force, it was scratched. Totally hopeless.
Pads and compounds:
The search for the right and most suitable combination was a big job. Everything was tested. Just imagine how many different combinations can be combined of the following products; FLEX PE 14-2 (rotary), FLEX XC 3401 VRG (orbital), Lake Country CCS yellow, orange, white, black and blue pads, Menzerna PO203S, PO106FA, PO85RD and Britemax #4 compounds. Lets add different working techniques to this. Whoa!
The FLEX PE14-2, Menzerna PO106FA and LC CCS white and black (depending on the area) pad turned out to be the best combination for this car. The technique was lots of rpms, pressure and running the compound till the very end. If I changed to any harsher pad or compound, the clearcoat was scratched.
Because of the very soft surface, I knew I had to do another round with an orbital polisher. This was easier said than done. If I used the same very soft combination (or even softer for that matter), the paint was sratched. WTF? I think the scratches were produced before the compound was breaking down, and then the orbital polisher hadn?t enough potency to correct it. So, I had to break down the polish with a rotary at first, and then quickly change the pad to an orbital polisher and run the end of it with moderate pressure and low rpms. I hope there was no holograms left behind. I cound?t find any, fortunately.
Oh, I have to praise then newest weapon in my arsenal; Hyundai 6W CREE LED flashlight. Bright as the Sun (1000 lumen)! Very useful for finding scratches. Almost too good in this case.
LSP:
I ended up putting Finish Kare 1000P on car.
Thoughts:
A total time spent was 18 hours. If I had a possibility to work around the car for a week, then maybe a perfect surface could have achieved. But when considering the softness of the clearcoat, it would be totally impossible the keep the achieved condition. The owner was thinking about the color changing, and I recommend that. This car is worth keeping, and then repainting (or vinyl wrapping) would be worth it, I think.
-----------------------------------------------------------------
The process:
1) Pre-wash
- Turtle Wax Super Detergent spray wash
- Bilt-Hamber Autofoam
2) Wash
- Bilt-Hamber Autofoam
- AutoGlym Intensive Tar Remover
- Two bucket method + sheepskin mitt
3) Claying
- Son�s Ultra Fine Detailing Clay
- Bilt-Hamber Autofoam as lubricant
4) Polishing
- Menzerna PO106FA + Lake Country CCS white polishing -laikka / black finishing pads + Flex PE14-2
- Same combination for the second round, but doing the final passes with the FLEX XC 3401 VRG
5) LSP
- Finish Kare 1000P
6) Others
Tyres:
- Meguiar's Gold Class Endurance Tyre Gel
Windows:
-IPA
-----------------------------------------------------------------
Pictures
The wash
Foam party.
Then backing up to the garage which was very cool!
The overall look looked nice at this point.
-----------------------------------------------------------------
Polishing
The roof was the only area that wasn?t repainted.
All other areas were resprayed.
Here?s the Hyundai?s big gun!
The soft combo that was used.
 09-24-2012, 09:42 AM
#2
Contributors
Thread Starter
Join Date: Apr 2007
Location: Kajaani, Finland
Posts: 5,851
Likes: 0
Received 3 Likes
on
3 Posts
My Ride: Bmw 530d 2004
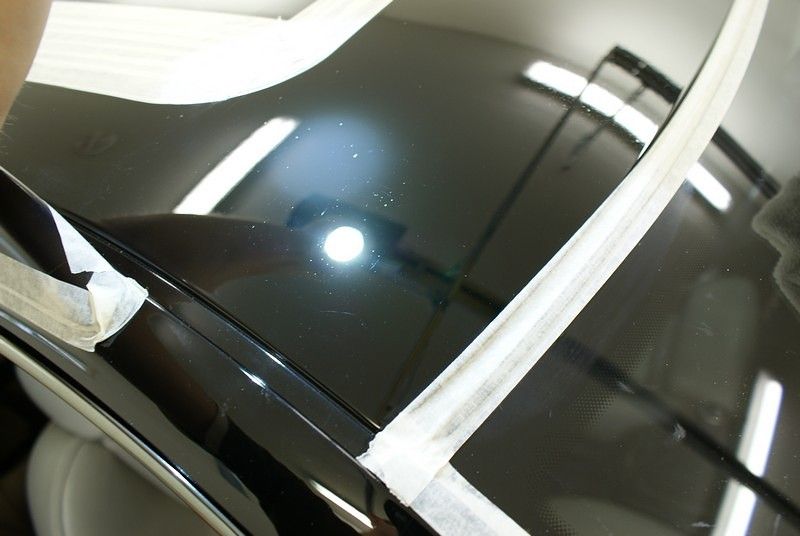
There?s your problem!
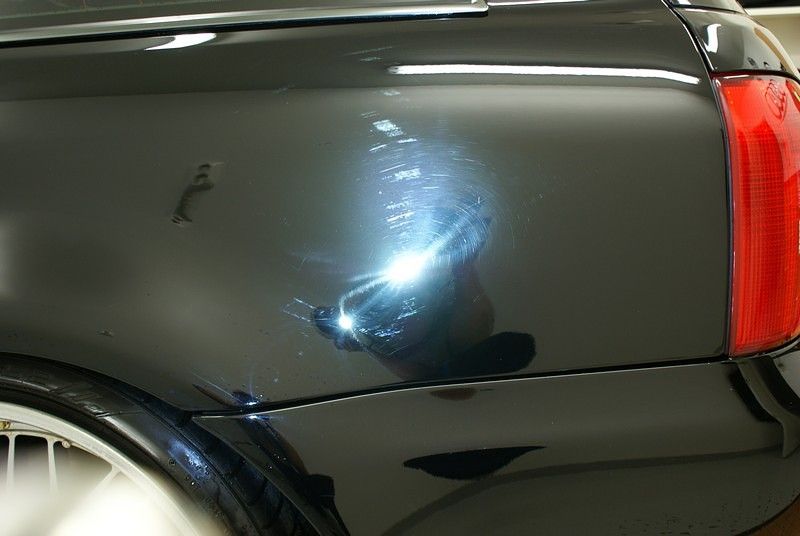
The difference.

The same area done.
Halogen lights were pretty useless this time.
Then some more before & after pics will follow.
Front left fender before.
Front left fender after.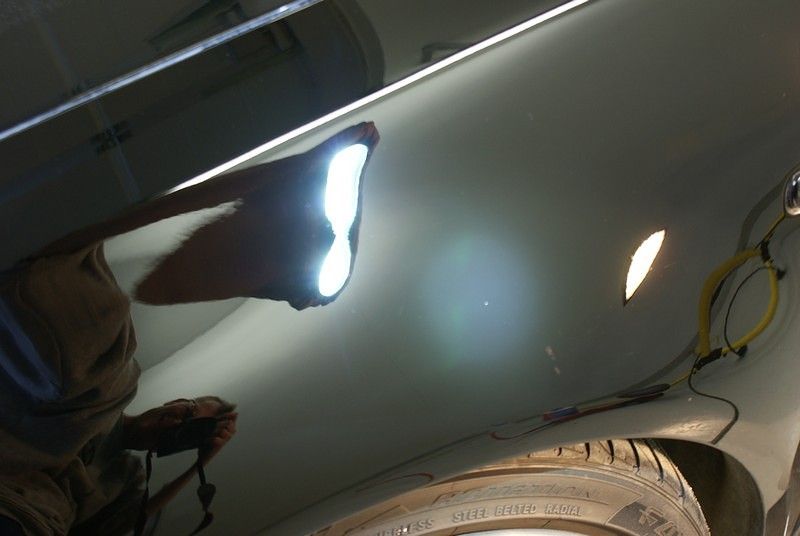
Trunk door before.
Trunk door after.
Roof before.
Roof after.
The difference.
The same area done.
Halogen lights were pretty useless this time.
Then some more before & after pics will follow.
Front left fender before.
Front left fender after.
Trunk door before.
Trunk door after.
Roof before.
Roof after.
09-24-2012, 09:43 AM
#3
Contributors
Thread Starter
Join Date: Apr 2007
Location: Kajaani, Finland
Posts: 5,851
Likes: 0
Received 3 Likes
on
3 Posts
My Ride: Bmw 530d 2004
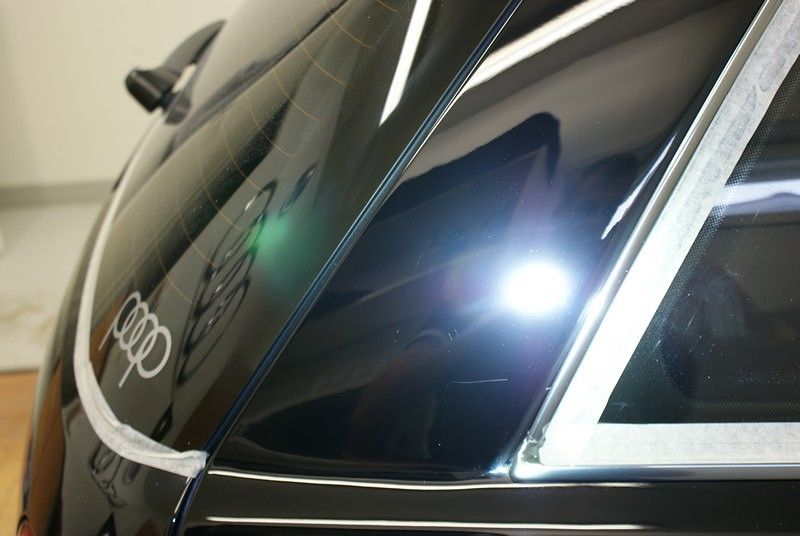
Front right corner of the roof before.

Front right corner of the roof after.
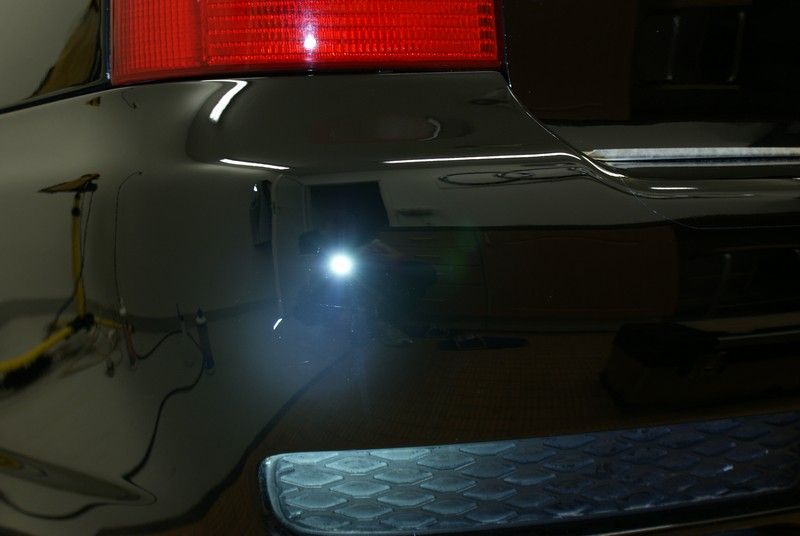
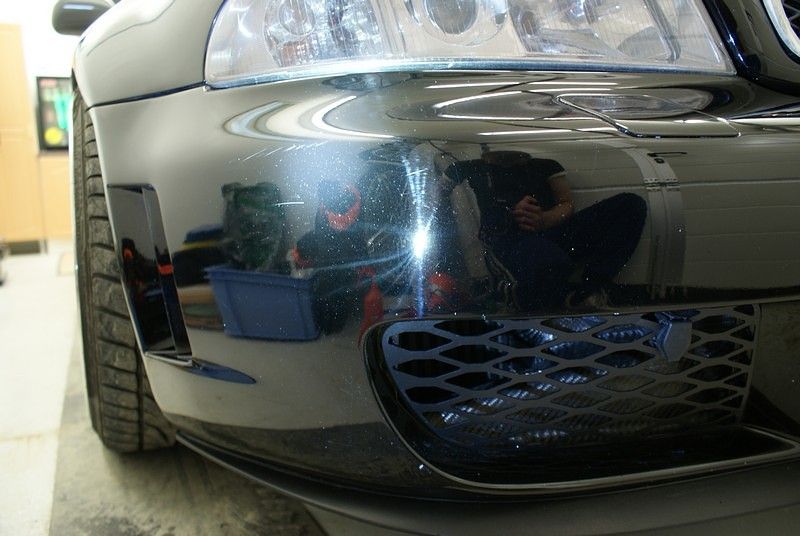
Bumper corner before.
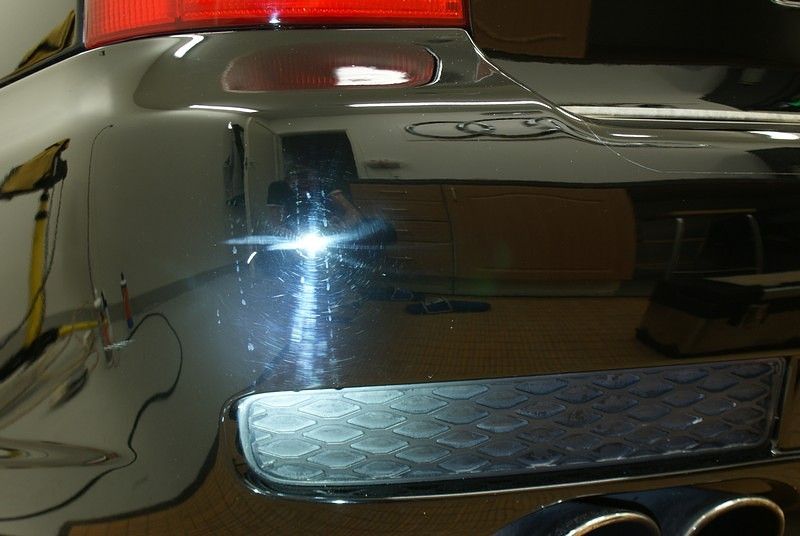
Bumper corner after.
Right side C pillar before.
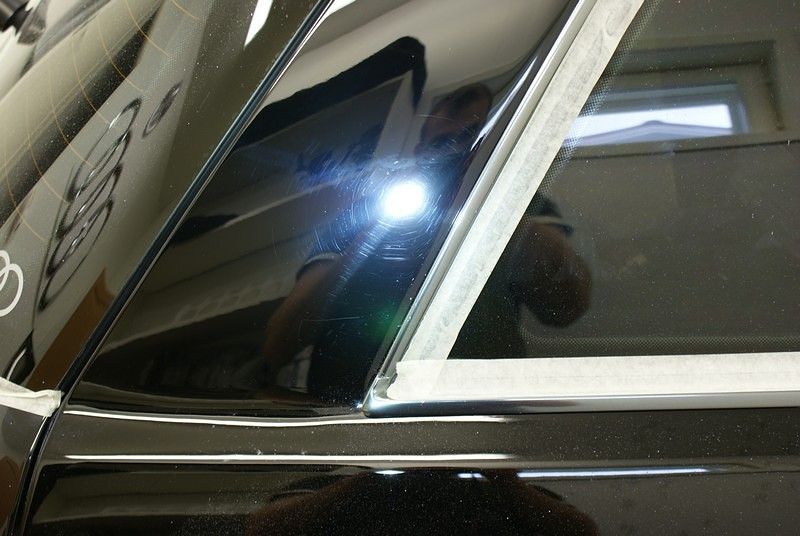
Right side C pillar after.
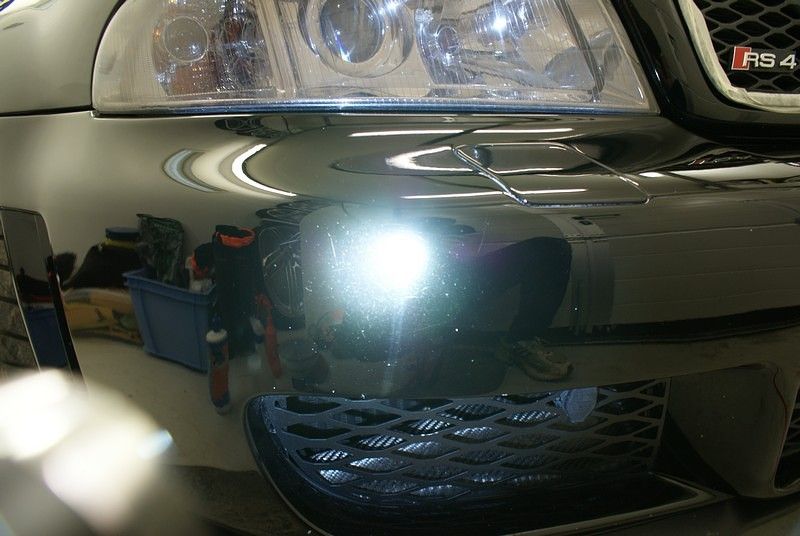
Front bumper before.
After.
Right front door after (only after pic sorry).
Front right corner of the roof after.
Bumper corner before.
Bumper corner after.
Right side C pillar before.
Right side C pillar after.
Front bumper before.
After.
Right front door after (only after pic sorry).
09-24-2012, 09:43 AM
#4
Contributors
Thread Starter
Join Date: Apr 2007
Location: Kajaani, Finland
Posts: 5,851
Likes: 0
Received 3 Likes
on
3 Posts
My Ride: Bmw 530d 2004
All done
-----------------------------------------------------------------
Thank you for watching. Any comments are welcome!
- Antti -
-----------------------------------------------------------------
Thank you for watching. Any comments are welcome!
- Antti -
09-24-2012, 10:06 AM
#5
Contributors
Join Date: Sep 2008
Location: Kuopio � Finland
Posts: 886
Likes: 0
Received 0 Likes
on
0 Posts
My Ride: 530ix / E60
Model Year: 2007
Nothing clearcoat is not impossible for you Antti. One mastepiece detailing work is done again. I'm speechless, fantastic work 

 Excellent work as always. Damn that's a nice Audi and collection of wheels. Those gold Rotiform wheels.
  09-25-2012, 11:13 AM
#10
Contributors
Thread Starter
Join Date: Apr 2007
Location: Kajaani, Finland
Posts: 5,851
Likes: 0
Received 3 Likes
on
3 Posts
My Ride: Bmw 530d 2004
Thanks guys  .
.
Here's a short and slipshod video of the 50/50 situation after the FLEX PE 14-2 + PO105FA + LC CCS black finishing pad combination. You can notice that even this lame combination left some holograms. Sure they were corrected at the second phase. Lots of swirls and hologramming on the left, untouched side .
.
http://s469.photobucket.com/albums/r...fterrotary.mp4
- Antti -
.Here's a short and slipshod video of the 50/50 situation after the FLEX PE 14-2 + PO105FA + LC CCS black finishing pad combination. You can notice that even this lame combination left some holograms. Sure they were corrected at the second phase. Lots of swirls and hologramming on the left, untouched side
.http://s469.photobucket.com/albums/r...fterrotary.mp4
- Antti -

Thread
Thread Starter
Forum
Replies
Last Post