Vinyl wrapped my shadowline trim, EASY!!
 10-07-2012, 07:19 PM
#1
Members
Senior Members
Thread Starter
Join Date: Sep 2011
Location: so cal
Posts: 476
Likes: 0
Received 1 Like
on
1 Post
My Ride: coilvers retrofits
Model Year: 2001 and 2011
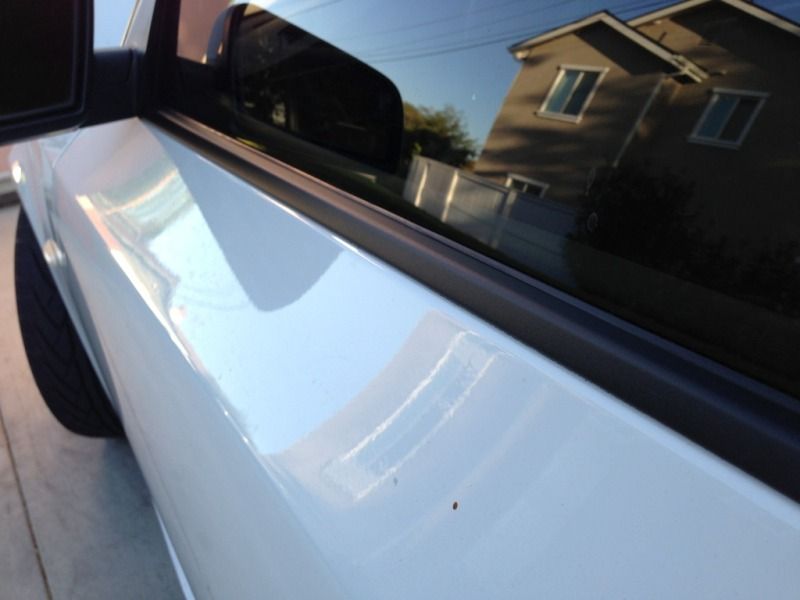
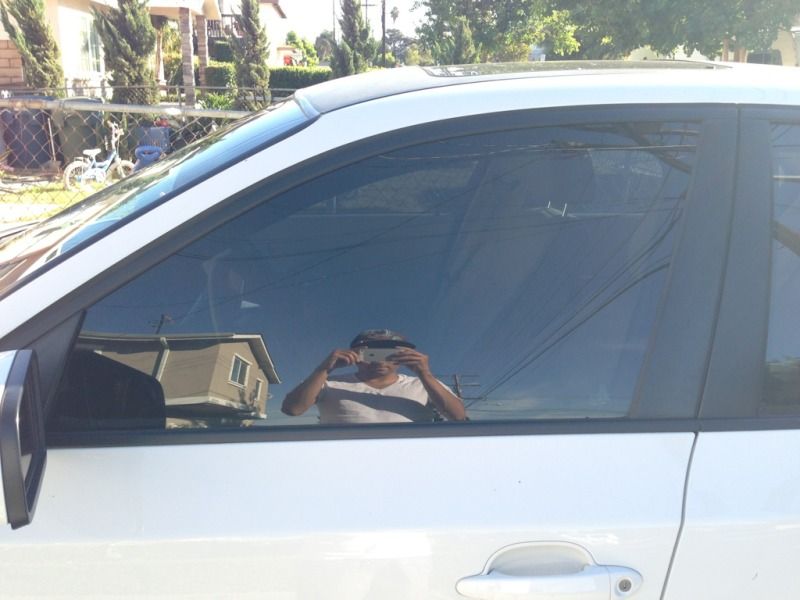
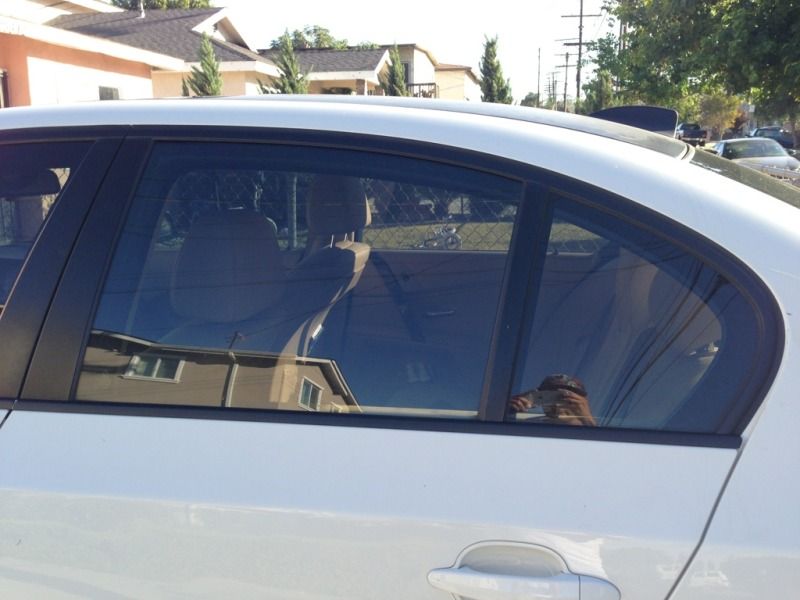
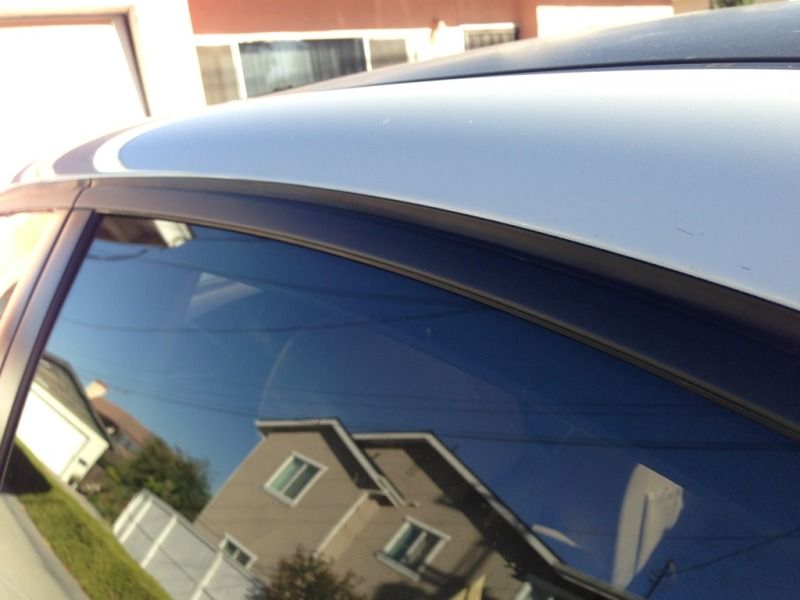
i had some extra vinyl laying around from when wrapped my roof. my shadowline was plastidiped (WHICH I WILL NEVER DO AGAIN!) but after months, it started to look cheap, and starting weathering away, after a lot of wasted time removing the plastidip that seem to have stuck itself on my trim i finally did what i should have done from the beginning. came out PERFECT, wasted no vinyl, every strand i cut i used, didnt have to redo anything.
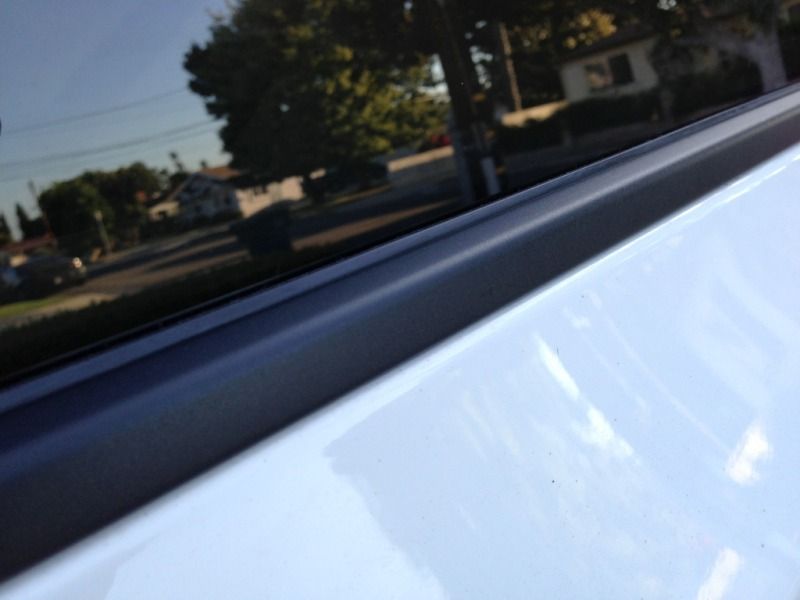
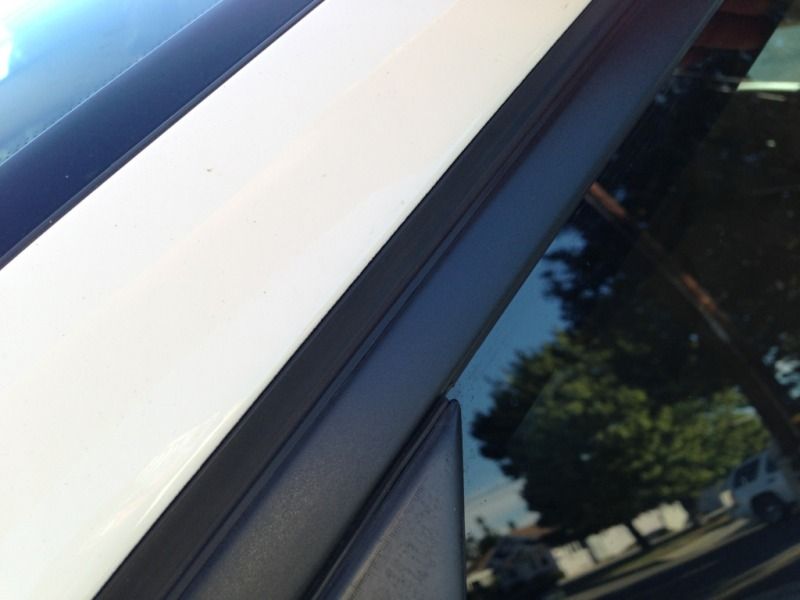
few tricks for those wanting to do it. when applying the vinyl, use your fingernail (if its long enough), or credit card to kinda go over where the trim and rubber gasket meet, i know a lot of people have problem in this area, and i found a technique and made this easy. run your nail/credit card along between the trim and rubber a few times, be Patience, i ran it like 5 times, now i have a nice crease, it will help me run my blade smoothly when i make the cut, then get your brand new razor, and slowly run it along the crease you made to use as a guide, theirs a certain way i hold the blade and use my finger thats sliding along the trim to help guide it straight. you can use a little heat to help stretch it but i used very little. once cut use your credit card or nail to run it between the trim again to help "tuck" the vinyl between the two so you see no chrome.
took these photos before it got dark. tomorrow im going to try to finish the other side and post more photos, although i really want to use a gloss black now, but i just had matte laying around. any questions ill be glad to help. I have very little experience vinyl wrapping, i just bought some and started warping anything i found around the house to practice, once i got the hang of it, to finally do the shadow line, next move, practice on my bumper and then the whole car.
keywords: vinyl wrap e60 5 series bmw window trim shadowline shadow line diy how to
 10-07-2012, 08:14 PM
#2
Super Moderator
Join Date: Jan 2008
Location: So. Cal (SFV)
Posts: 17,508
Likes: 0
Received 3 Likes
on
3 Posts
My Ride: 2011.5 Alpine White E90 M3 | Black Novillo Leather | Carbon Fiber Leather Trim | ZCP | ZP2 | M-DCT | Navigation | Moonroof | 6FL Mods: TMS 12.5mm spacers all around l Hawk HPS Brake Pads l OEM M3 Edition Grills l Paint Matched Side Gills l Key Hole D
storm trooper look 
10-08-2012, 03:40 AM
#5
Senior Members
Join Date: Mar 2011
Location: KY
Posts: 596
Likes: 0
Received 0 Likes
on
0 Posts
My Ride: 02/2006 525i Titanium Silver Metallic
Manual 6-Speed
I really need to re-do one or two pieces of my trim. After having it wrapped for almost a year now, the weather has caused it to shrink up around some of the edges.. If I re-wrap it, I am going to actually remove it and reinstall it this time.
Nice job.
Nice job.

 10-15-2012, 03:23 PM
#8
Members
Senior Members
Thread Starter
Join Date: Sep 2011
Location: so cal
Posts: 476
Likes: 0
Received 1 Like
on
1 Post
My Ride: coilvers retrofits
Model Year: 2001 and 2011
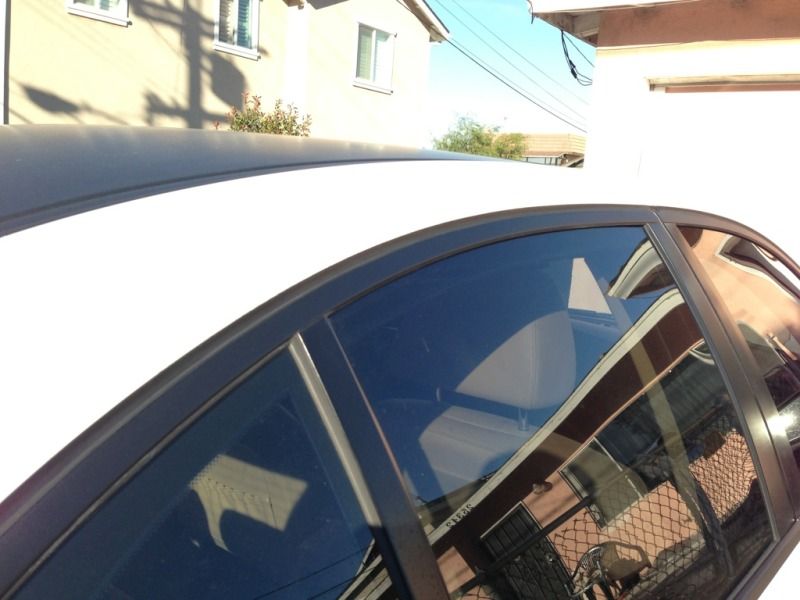
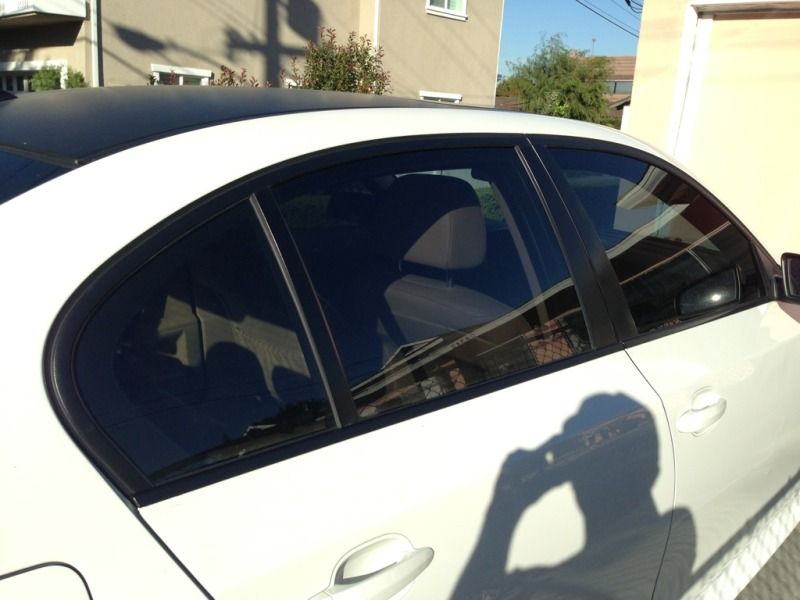
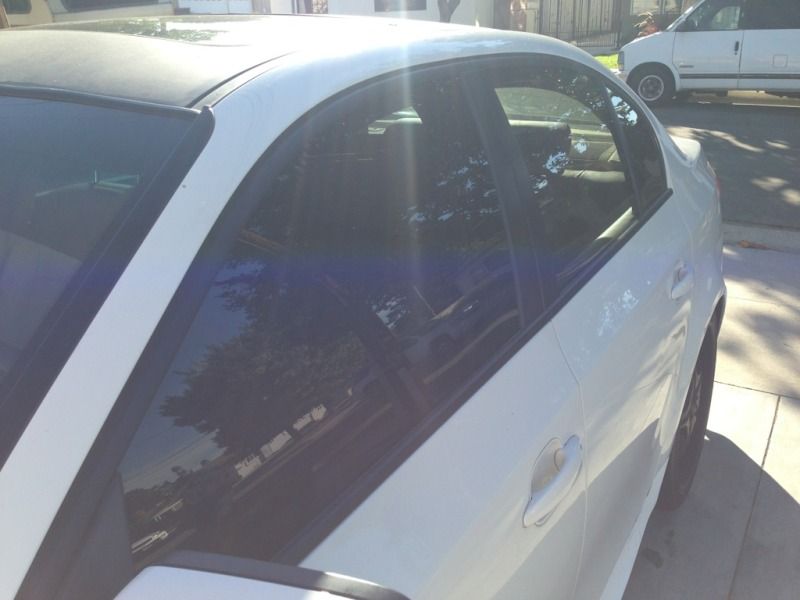
finally finished doing the top part. once again, it was very easy. same steps as mentioned before. didnt waste any material, cut some strips from letover vinyl and never had to recut another strip. didnt cut any rubber gaskets between the glass. cannot believe how easy this was the whole time. i would never have used plastidip the first time had i known it was this easy. people pay to have this done?
like i said earlier, i used matte black vinyl i had laying around i use for practice, i want to use gloss black next time, and ill see if i can have a buddy hold a camera so i can do a how-to youtube video, as i realized not too many people do a DIY for laying the vinyl in details.
like i said earlier, i used matte black vinyl i had laying around i use for practice, i want to use gloss black next time, and ill see if i can have a buddy hold a camera so i can do a how-to youtube video, as i realized not too many people do a DIY for laying the vinyl in details.
10-15-2012, 03:47 PM
#10
Contributors

Join Date: Mar 2010
Location: Los Angeles, CA
Posts: 3,098
Likes: 0
Received 4 Likes
on
4 Posts
My Ride: BMW
Model Year: 2006
Eventually I just spent the $240 to get the OEM matte black trim.