D1S to D2S Retrofit (50W)
 08-20-2012, 08:16 PM
#1
Senior Members
Thread Starter
Join Date: May 2011
Location: West Covina, CA
Posts: 401
Likes: 0
Received 2 Likes
on
2 Posts
My Ride: 08 528i TiAg Premium/Cold Weather Pkg, 20% Tint, Technic Harness, JL Audio 12W7, JL HD 750/1 and LOTS of lighting mods!!!!!
As you might have noticed I have become quite obsessed with exterior lighting. The story began with me installing 55W HIDs in my low beams when I once had halogen headlights. Since then I did a Bi-Xenon retrofit and, well, the 55W HID's had to be moved down to my fogs. As happy as I was to upgrade to Bi-Xenon's my eyes were still accustomed to seeing the daylight during the night and these factory 35W HID's were just not cutting it....
Fast forward to two months after the Bi-Xenon's were installed (and after trying a couple different D1S bulbs) and you have a simple yet effective customized installation of an aftermarket HID kit.
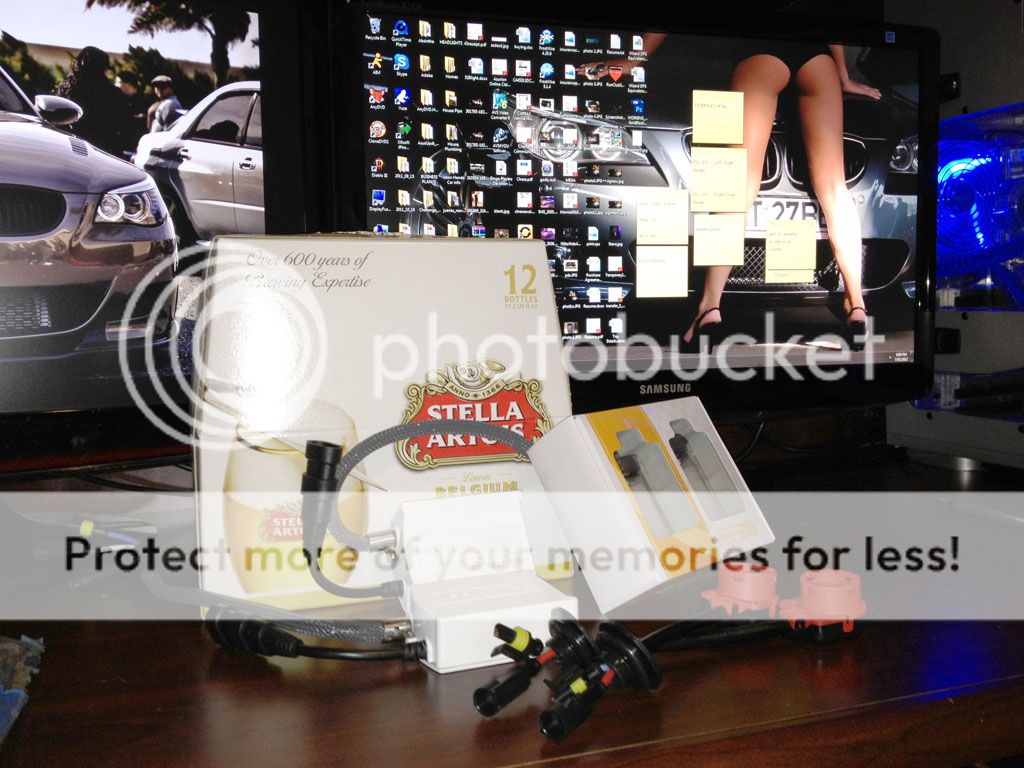
What you'll need:
1. TRS 50W AMP HID Ballasts
2. TRS 50W 6000K D2S Bulbs
3. D2S to AMP Adapters
4. Circular rubber wire grommets (Try to carefully cut some off from another set of bulbs...perhaps the bulbs on your fogs since they don't need them...make sure to cut as close to the wires as possible)
5. Black Silicon Sealant (Link here)
6. Wire taps, Zip ties, Duct tape
7. 12 Pack of Stella (Optional but makes things more fun)
Step 1: Remove Headlights
There's lots of tutorials on the net about removing them so I'm going to skip this. In short its 6 screws total (4 on the HL and 2 on the front bumper). Takes 2 mins to remove each headlight. Easy stuff...
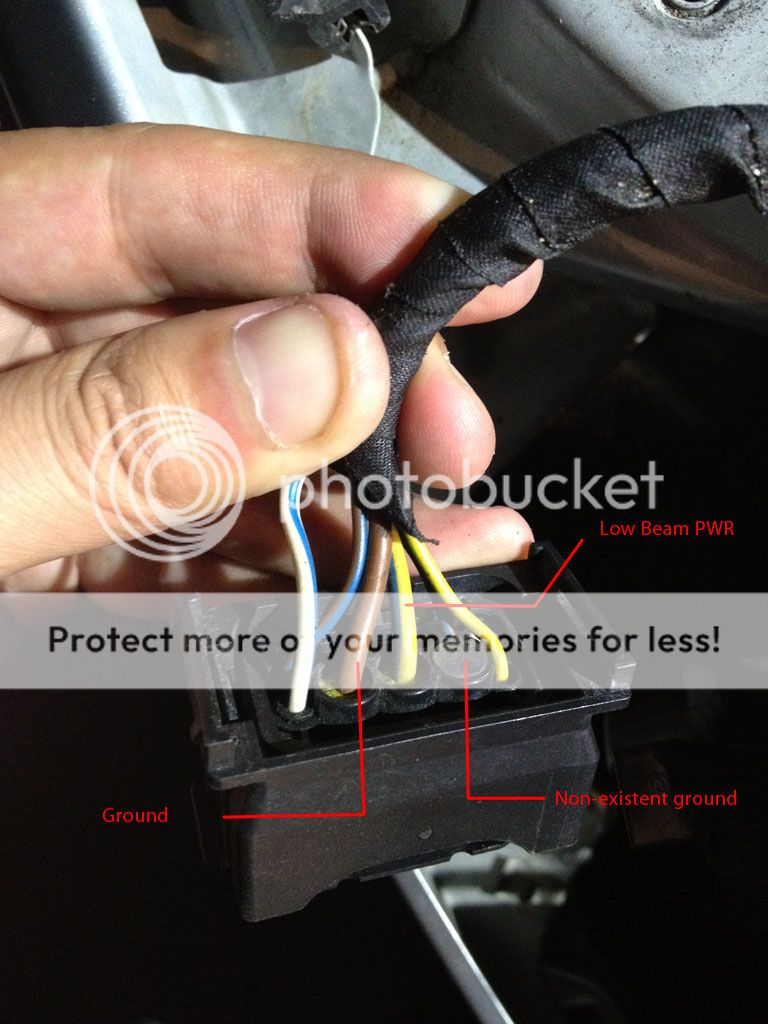
Step 2: Grab the factory wire harness and locate which wires you would like to tap
Check out the diagram below. Keep in mind that my car came with LCI halogen headlights so those of you with LCI Xenons can tap using the "non existent ground" (PIN 2) instead of the ground that I used (PIN 4). The positive wire will remain the same (PIN 3). If you're on pre-LCI you may need to look at a wiring diagram to figure out which wire does what. Either way the concept is the same.
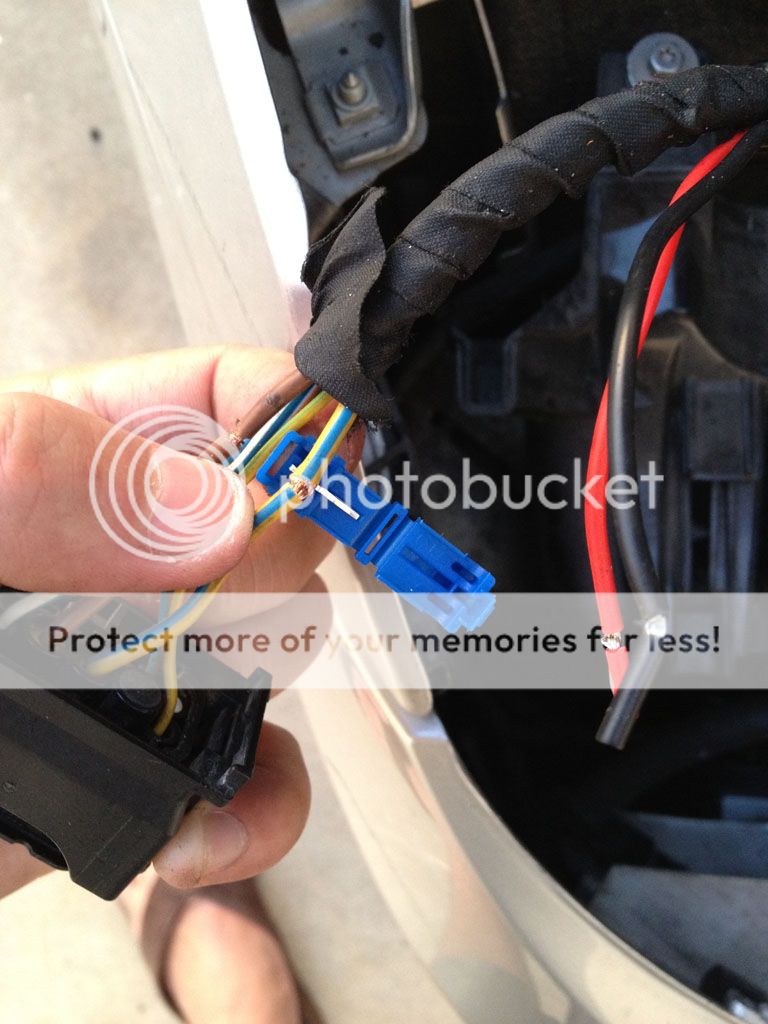
Step 3: Pre-strip the proper wires and secure the wiretaps
Don't skip this step. I've already gone through too many headaches when wiretaps don't properly strip the insulation. Just take a extra few minutes and do this. It will make your life easier in the long run.
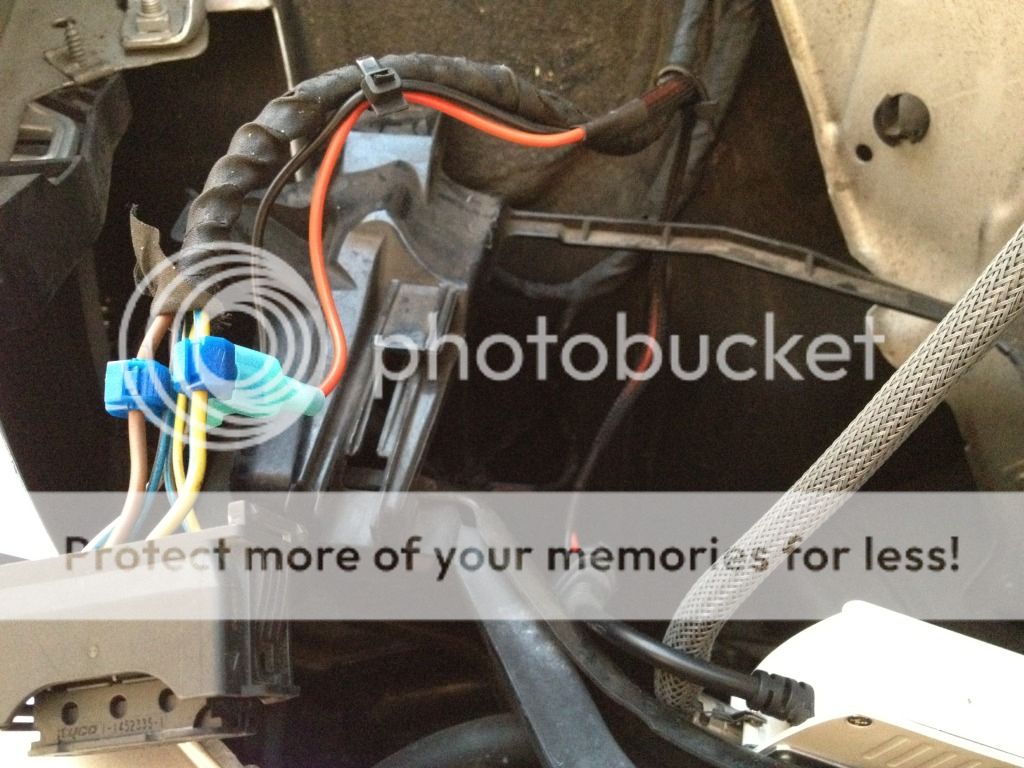
Step 4: Connect factory wire harness to Aftermarket ballasts using the 9006 connectors
This one is pretty straight forward...make sure you connect the black to brown and red to yellow on the open end
Step 5: Secure ballast's to headlight bracket with zip ties
Again...straight forward...put the zip tie between the ballast mounting brackets to ensure that the ballasts don't fall off.
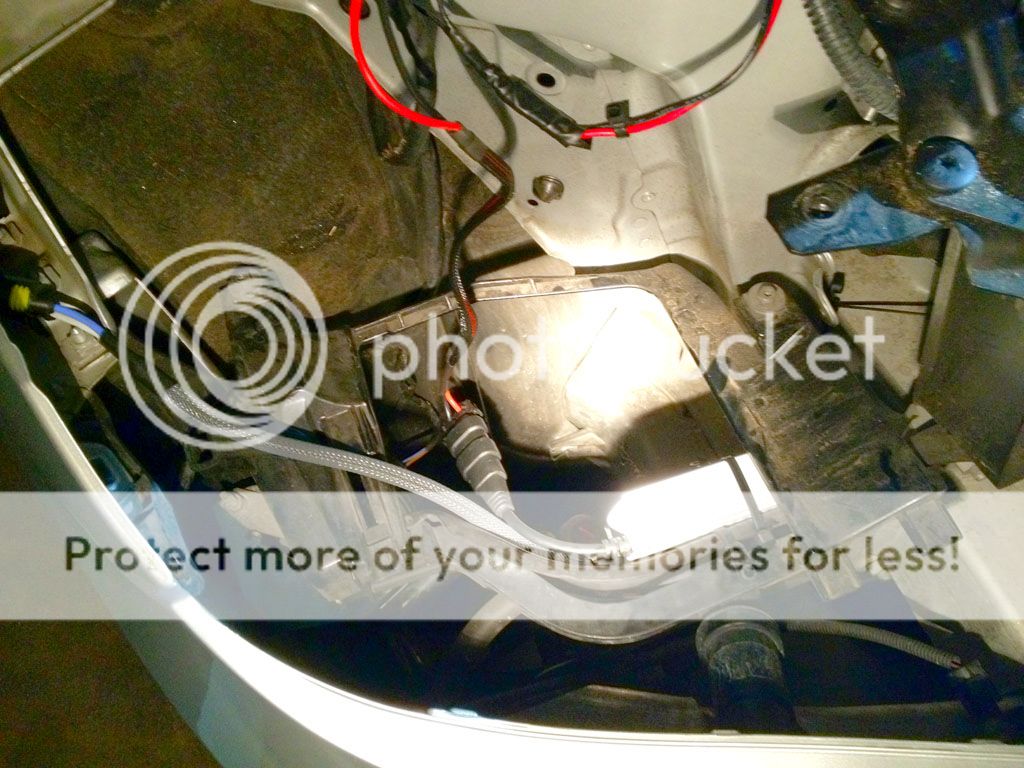
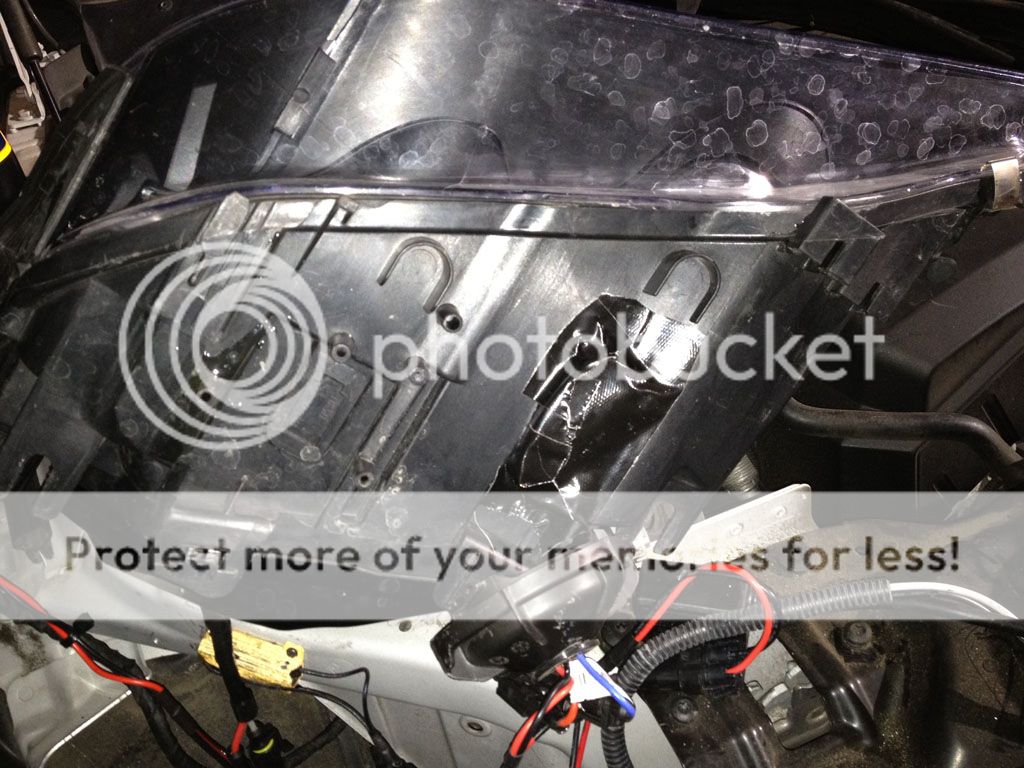
Step 6: Remove factory ballast's and seal area with duct tape
I'm sure you could use something better...but I decided to just use gorilla tape for this one. It's holding up ok.
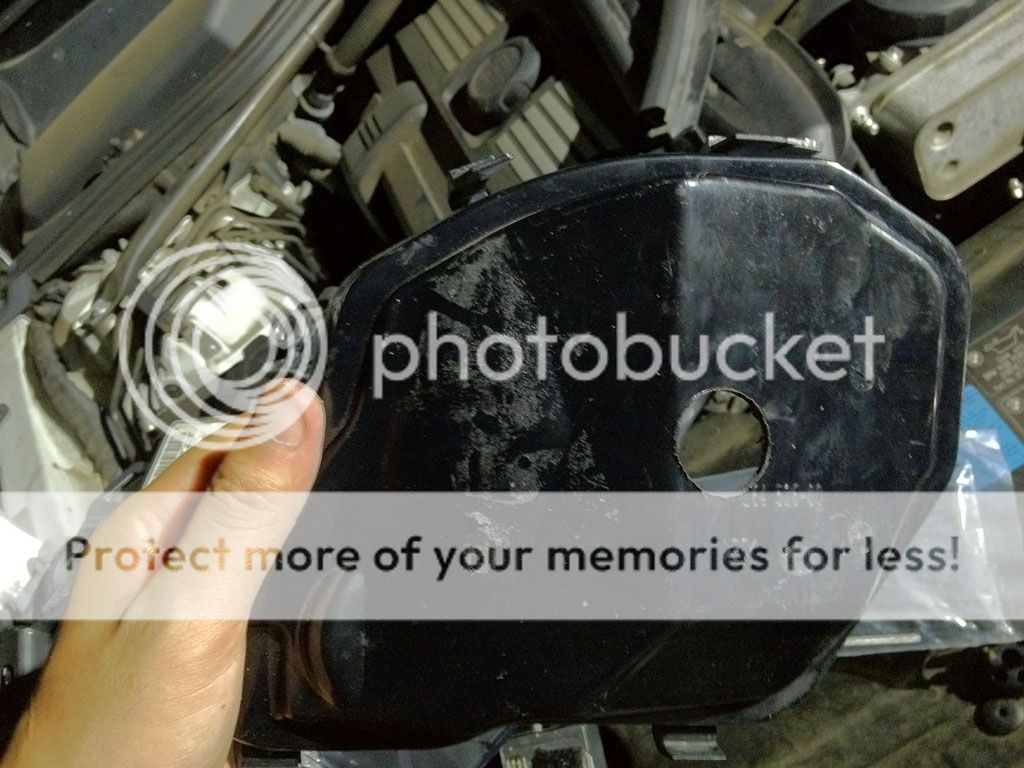
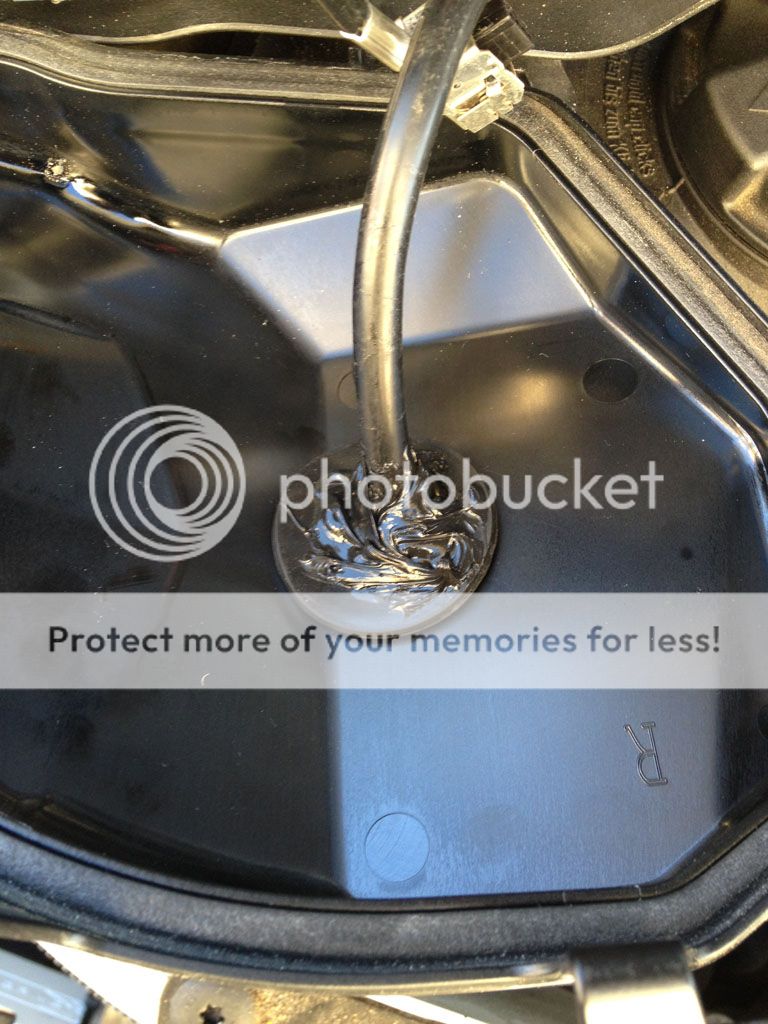
Step 7: Remove rear cover and drill a 1" hole
You might be able to get away with a 7/8" hole... I feel like I went a little big...the grommet fits ok though... Also, theres a circular indentation in the right spot already. Simply drill through this indentation.
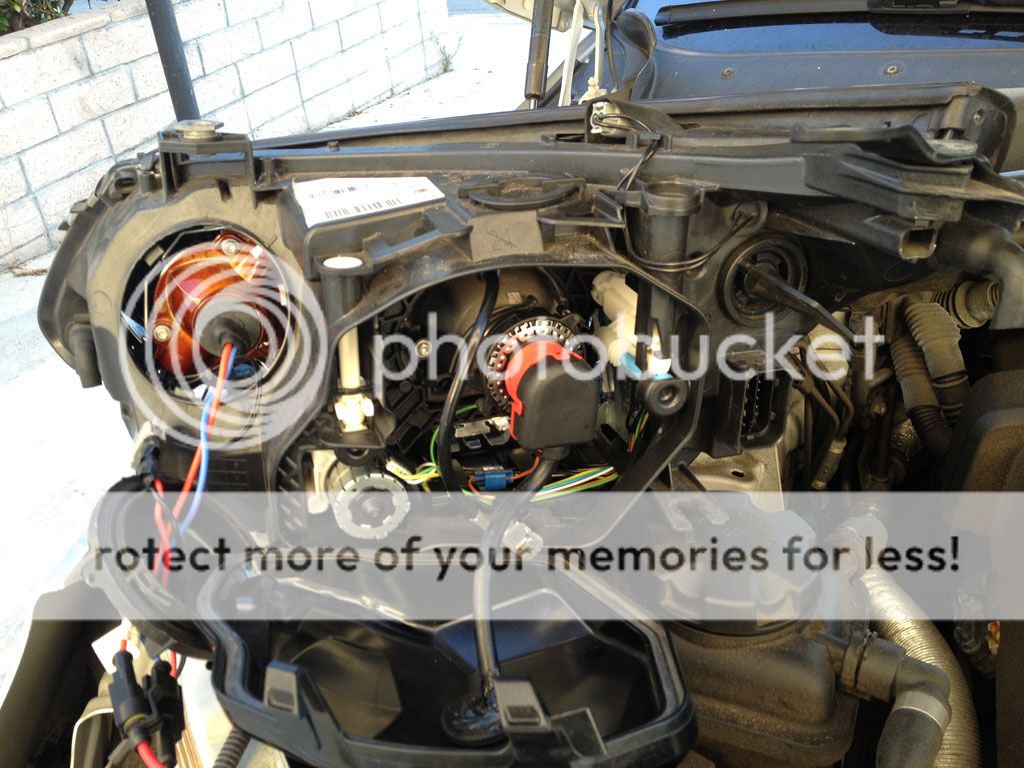
Step 8: Install D2S bulb & adapters using the factory D1S bulb holder
It just so happens that the factory bulb holder will fit the d2s bulb perfectly. Once installed simply snap the D2S to amp adapter in place and secure the grommet on the back cover. Note that it might be easier to get the adapter on before installing the bulb...feel free to experiment on this one...
Step 9: Apply Silicon sealant to the inside of the grommet so that the back of the headlight is properly sealed.
This is why it is important to cut the grommet as close to the wires as possible. Make sure to leave a lot of slack on the adapter to the inside of the headlight so that you may open the cover without breaking the seal. You can put electrical tape temporarily on the opposite side so that the silicon doesn't leak out.
Step 10: Start car and test low beams. If everything works ok re-install the headlights and enjoy!!
You shouldn't have any errors or any malfunctions. If you do, re-check your wiring. This whole process should take about 1-2 hours.
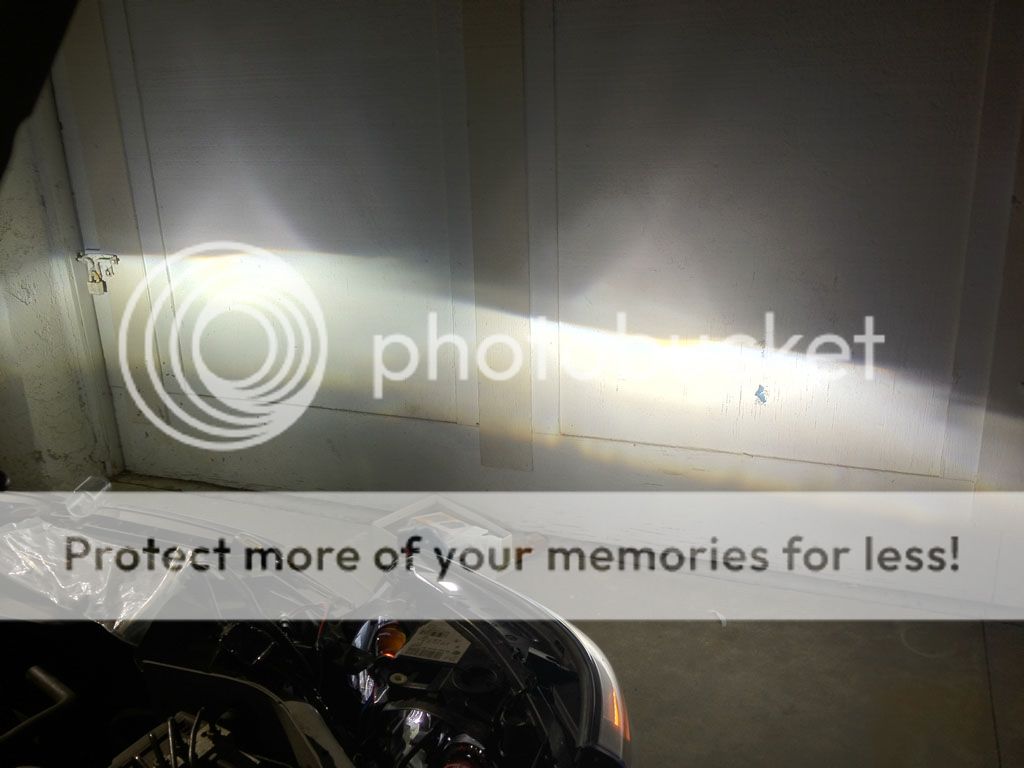
Some pics after the installation!
Generic 35W 6000K on the left vs 50W 6000K on the right (there is no yellow in my low beams...these are pure white with a little blue...my cell phone just doesn't have the best white balance in it's pictures)
Fast forward to two months after the Bi-Xenon's were installed (and after trying a couple different D1S bulbs) and you have a simple yet effective customized installation of an aftermarket HID kit.
What you'll need:
1. TRS 50W AMP HID Ballasts
2. TRS 50W 6000K D2S Bulbs
3. D2S to AMP Adapters
4. Circular rubber wire grommets (Try to carefully cut some off from another set of bulbs...perhaps the bulbs on your fogs since they don't need them...make sure to cut as close to the wires as possible)
5. Black Silicon Sealant (Link here)
6. Wire taps, Zip ties, Duct tape
7. 12 Pack of Stella (Optional but makes things more fun)
Step 1: Remove Headlights
There's lots of tutorials on the net about removing them so I'm going to skip this. In short its 6 screws total (4 on the HL and 2 on the front bumper). Takes 2 mins to remove each headlight. Easy stuff...
Step 2: Grab the factory wire harness and locate which wires you would like to tap
Check out the diagram below. Keep in mind that my car came with LCI halogen headlights so those of you with LCI Xenons can tap using the "non existent ground" (PIN 2) instead of the ground that I used (PIN 4). The positive wire will remain the same (PIN 3). If you're on pre-LCI you may need to look at a wiring diagram to figure out which wire does what. Either way the concept is the same.
Step 3: Pre-strip the proper wires and secure the wiretaps
Don't skip this step. I've already gone through too many headaches when wiretaps don't properly strip the insulation. Just take a extra few minutes and do this. It will make your life easier in the long run.
Step 4: Connect factory wire harness to Aftermarket ballasts using the 9006 connectors
This one is pretty straight forward...make sure you connect the black to brown and red to yellow on the open end
Step 5: Secure ballast's to headlight bracket with zip ties
Again...straight forward...put the zip tie between the ballast mounting brackets to ensure that the ballasts don't fall off.
Step 6: Remove factory ballast's and seal area with duct tape
I'm sure you could use something better...but I decided to just use gorilla tape for this one. It's holding up ok.
Step 7: Remove rear cover and drill a 1" hole
You might be able to get away with a 7/8" hole... I feel like I went a little big...the grommet fits ok though... Also, theres a circular indentation in the right spot already. Simply drill through this indentation.
Step 8: Install D2S bulb & adapters using the factory D1S bulb holder
It just so happens that the factory bulb holder will fit the d2s bulb perfectly. Once installed simply snap the D2S to amp adapter in place and secure the grommet on the back cover. Note that it might be easier to get the adapter on before installing the bulb...feel free to experiment on this one...
Step 9: Apply Silicon sealant to the inside of the grommet so that the back of the headlight is properly sealed.
This is why it is important to cut the grommet as close to the wires as possible. Make sure to leave a lot of slack on the adapter to the inside of the headlight so that you may open the cover without breaking the seal. You can put electrical tape temporarily on the opposite side so that the silicon doesn't leak out.
Step 10: Start car and test low beams. If everything works ok re-install the headlights and enjoy!!
You shouldn't have any errors or any malfunctions. If you do, re-check your wiring. This whole process should take about 1-2 hours.
Some pics after the installation!
Generic 35W 6000K on the left vs 50W 6000K on the right (there is no yellow in my low beams...these are pure white with a little blue...my cell phone just doesn't have the best white balance in it's pictures)
 08-20-2012, 08:18 PM
#2
Senior Members
Thread Starter
Join Date: May 2011
Location: West Covina, CA
Posts: 401
Likes: 0
Received 2 Likes
on
2 Posts
My Ride: 08 528i TiAg Premium/Cold Weather Pkg, 20% Tint, Technic Harness, JL Audio 12W7, JL HD 750/1 and LOTS of lighting mods!!!!!
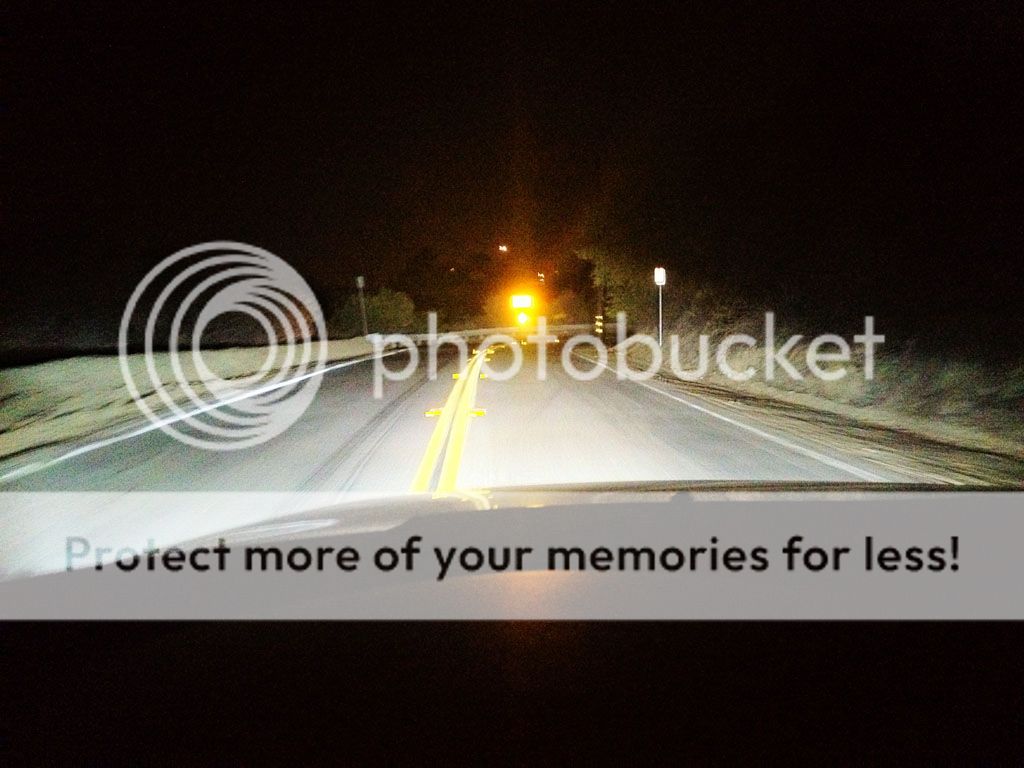
Driving through the canyons with my high beams on!
Huntington Beach. (Gotta love those 7000K Mtec License plate LED housings )
)
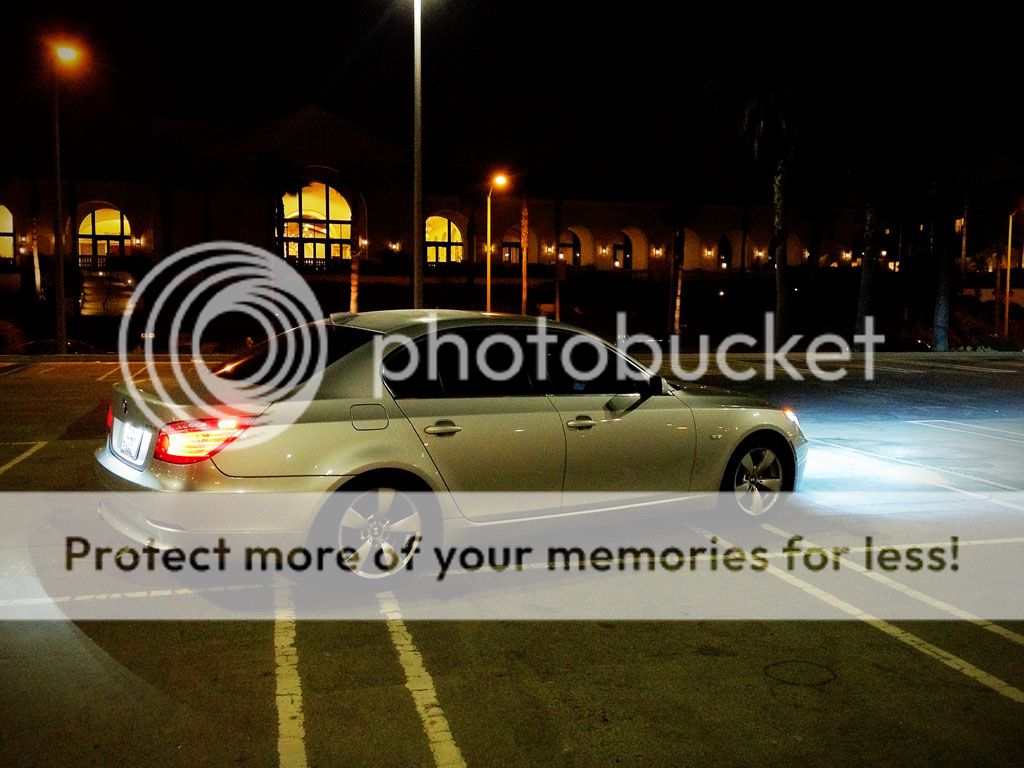
Huntington Beach. (Gotta love those 7000K Mtec License plate LED housings
)
 10-17-2015, 10:42 AM
#4
Members

Join Date: Apr 2012
Location: Sweden
Posts: 25
Likes: 0
Received 0 Likes
on
0 Posts
My Ride: E61 535D LCI Hybrid CPM Performance Stage 3
Model Year: 2007
Great mod man! But.. was it really a great idea to drive thru the cannons after drinking a 12-pack of Stellas? Hehe 

Thread
Thread Starter
Forum
Replies
Last Post
jcolley
Private Member Classifieds
7
08-01-2016 06:48 AM
bestofthebest
Complete Car Sales
4
03-28-2016 02:47 PM
umnitza
Vendor Classifieds
1
11-03-2015 02:58 PM
umnitza
Vendor Classifieds
1
09-02-2015 11:28 AM